What Is Golden Hour And Why It Matters For Golden Hour Wedding Photos
The Science Behind Golden Hour Light
Golden hour occurs when the sun sits at a low angle in the sky. This happens shortly after sunrise and just before sunset. During this window, sunlight travels through more of the Earth atmosphere. The atmosphere filters out blue light and scatters shorter wavelengths. This process leaves behind long red and orange wavelengths. It creates a warm glow that is physically impossible at noon.
The low sun position creates directional lighting rather than top down illumination. Direct overhead sun causes harsh shadows on faces and bright highlights on skin. Low angle light hits subjects from the side or back. This specific geometry softens the transition between light and shadow. It reduces high contrast problems that ruin digital sensor data. Tactical timing ensures the most natural color reproduction for wedding photography sunset shots.
Why Photographers Consider Golden Hour The Best Time To Shoot
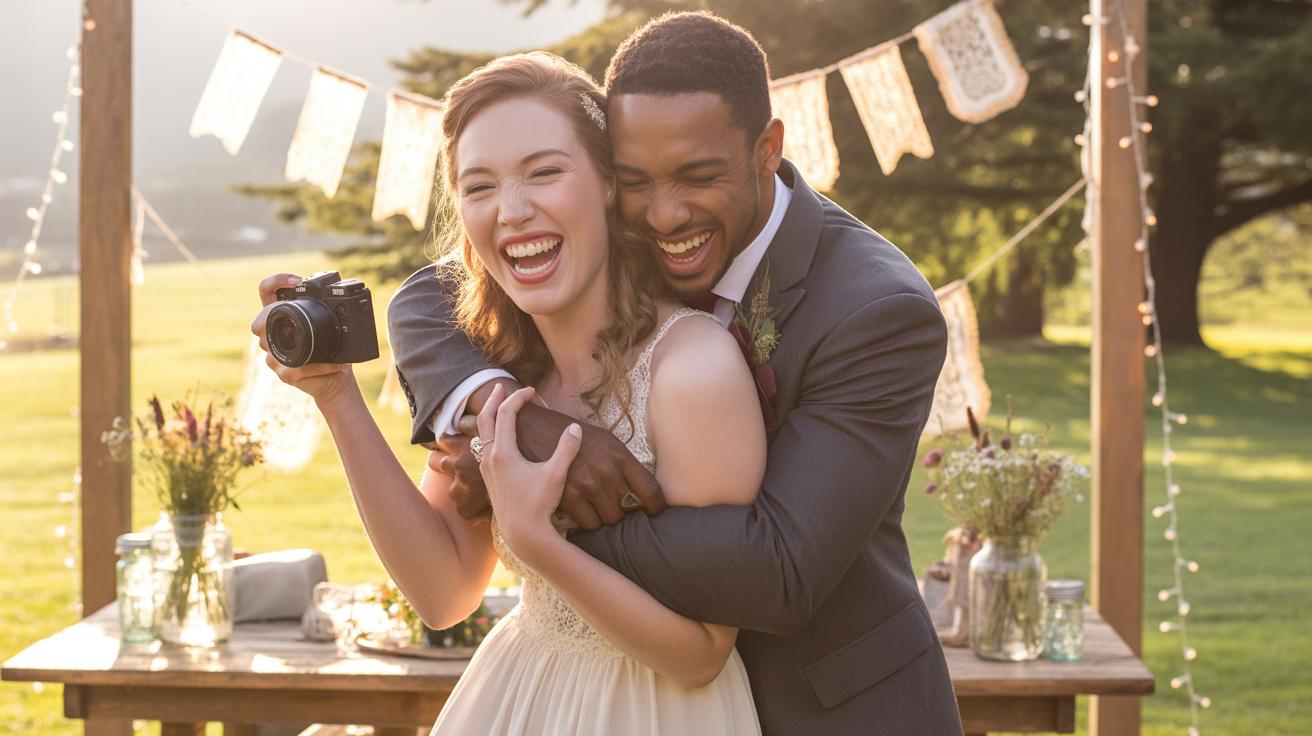
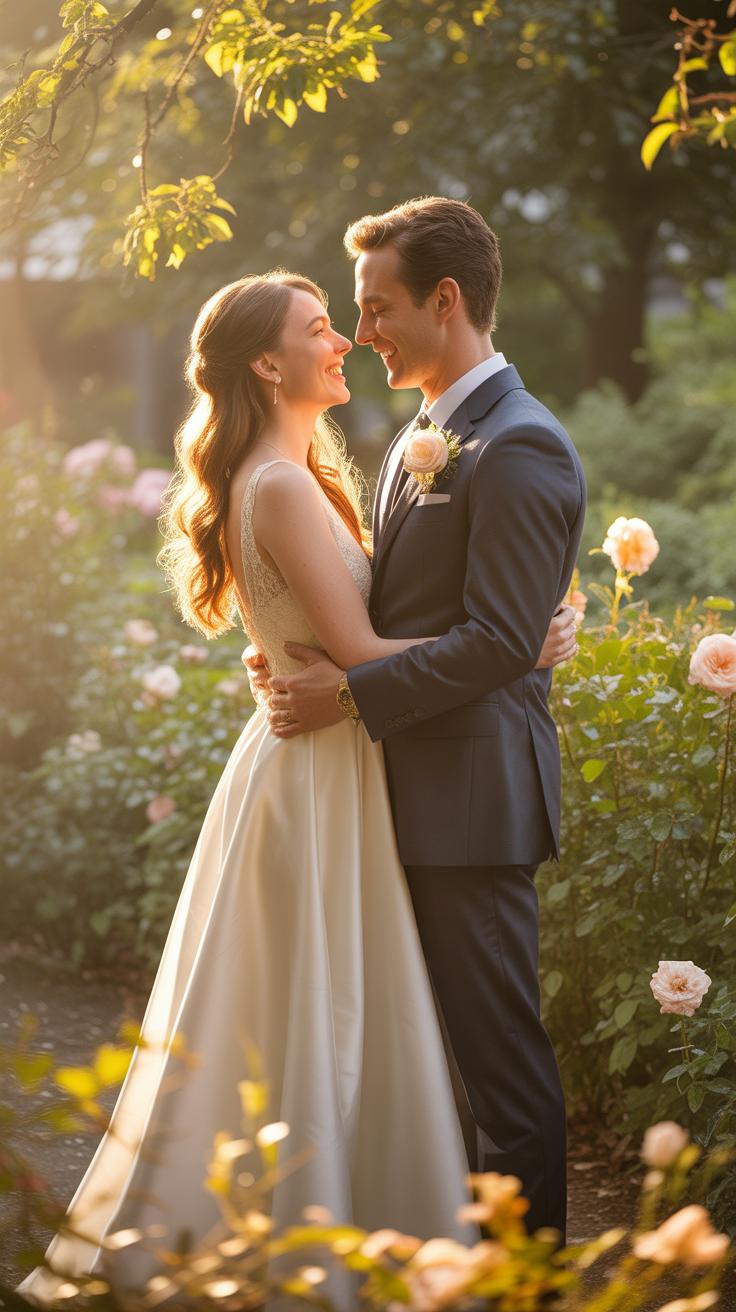
Photographers prioritize this time because the light quality is soft and diffused. Soft light acts like a giant natural softbox on the couple. It minimizes skin imperfections and harsh glares on white wedding dresses. You avoid the squinting caused by high intensity midday sun. This creates a relaxed environment for couple photos wedding sessions. Technical execution becomes more predictable when the light source is consistent and flattering.
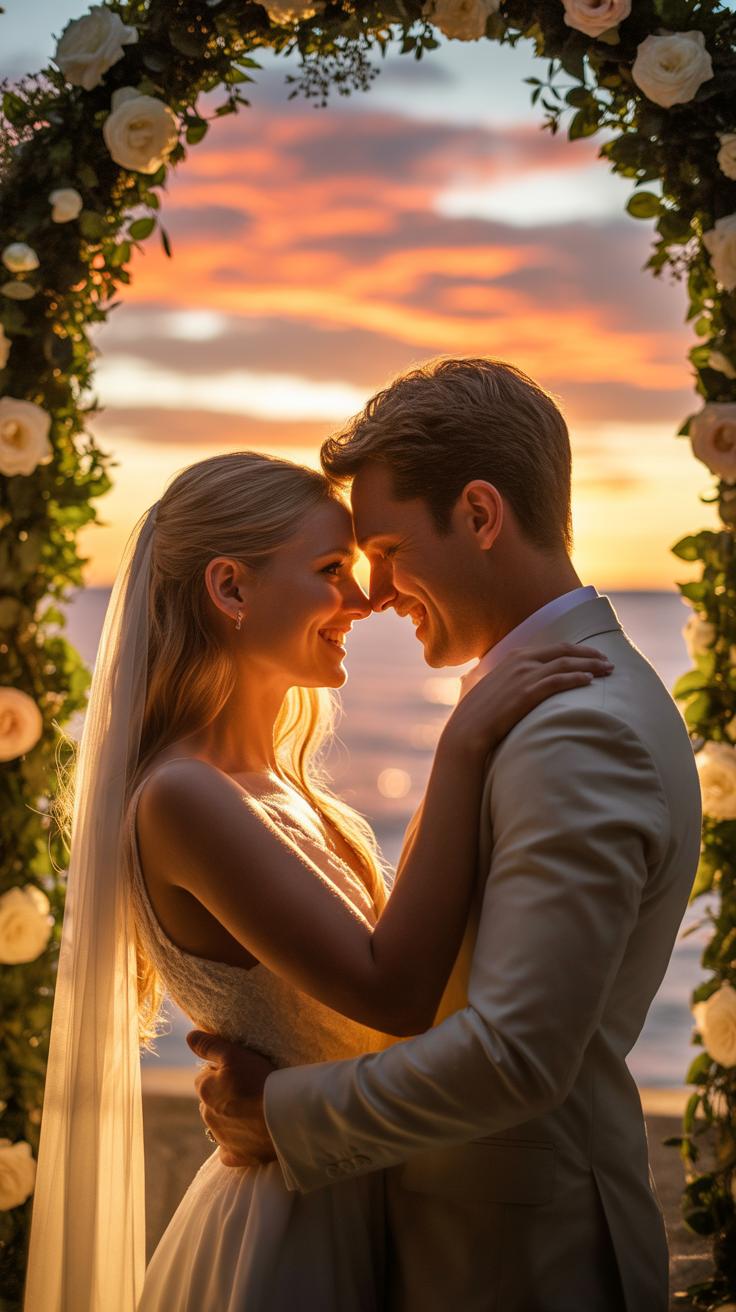
Atmospheric conditions during this period allow for advanced techniques like rim lighting. Rim lighting occurs when the sun is behind the couple. It creates a halo effect that separates the subjects from the background. This depth is hard to replicate with artificial flash. Using this window for golden hour wedding portraits ensures professional results with minimal editing. It provides the most aesthetic environment for capturing high value sunset wedding photo assets.
How To Time Your Wedding Day Schedule Around A Golden Hour Wedding
Working With Your Planner To Build A Golden Hour Window Into Your Timeline
Identify the exact sunset time for your date before booking your venue or finalizing the ceremony start. Most planners overlook the transition period between the ceremony and the reception. You must reserve a forty-five minute block specifically for golden hour wedding photos during the window while the sun sits low. This slot usually occurs sixty minutes before the official sunset time.
Communicate clearly with your catering team to avoid service conflicts. If the kitchen serves dinner during peak light, you will miss the opportunity for wedding pictures sunset shots. Move the main course or speeches to occur after the sun goes down. A strategic planner will use this time to flip the room while you are outside. This ensures the timeline stays tight and productive.
How Season And Location Affect The Timing Of Your Golden Hour Window
Latitude and season dictate the duration of usable light. Summer weddings offer longer windows but much later sunset times. In winter, the sun drops rapidly and sets early. You must adjust your ceremony time to account for these shifts. If you marry in December, your wedding photography sunset session might need to happen before the guests even arrive for the late afternoon ceremony.
Topography changes how light hits your specific site. A mountain range or tall city buildings will block the sun long before the official sunset. This creates an earlier “artificial” sunset. Check the horizon line at your venue months in advance. Use a tracking app to see where shadows fall. This precision prevents you from losing the light behind a physical obstacle while following a generic schedule.
Choosing The Right Locations For Stunning Wedding Sunset Photos
Outdoor Venues And Natural Backdrops That Shine During Golden Hour
Open fields and meadows offer the best results for golden hour wedding photos. These areas provide an unobstructed view of the horizon. They allow low-angle light to wrap around subjects without creating harsh shadows. Tall grass or wheat acts as a natural reflector. This adds warmth to the skin tones. Avoid thick forests where trees block the light too early in the evening.
Waterfront locations like beaches or lakes provide a second light source through reflection. This doubles the amount of soft light available for wedding pictures sunset. High elevation points like hills or cliffs ensure the sun stays visible for longer periods. These spots extend your shooting window. Urban rooftops work well if they have a clear western view. They offer a clean silhouette against the glowing sky.
How To Scout And Evaluate A Location Before Your Wedding Day
Use a sun tracking app to find the exact path of the sun. You must know where the sun will set relative to your venue’s landmarks. Visit the site at the exact time of sunset one day before. Observe how building shadows move across the ground. Large structures can end your wedding photography sunset session early by blocking the direct light.
Check for physical obstacles that might ruin your couple photos wedding. Look for power lines or bright exit signs that will distract from the background. Test the ground stability for your wedding party. Soft mud or steep slopes limit movement during the short light window. Identify a backup spot within walking distance. Transitions must be fast because the light changes every few minutes.
Essential Camera Settings For Wedding Photography Sunset Conditions
Understanding Exposure, White Balance, And Aperture In Warm Light
Golden hour creates high dynamic range challenges. You must protect the highlights to keep detail in the sky. Set your camera to manual mode to maintain total control. Dial in a wide aperture between f/1.2 and f/2.8 to create depth. This separates the couple from the background. Low f-stops allow more light into the lens as the sun drops lower.
Watch your white balance carefully during the transition. Auto white balance often cools down the natural warmth you want to capture. Set a custom Kelvin temperature between 6000K and 7000K to lock in those amber tones. Use the histogram to ensure you do not clip the reds or yellows. Proper exposure prevents grainy shadows when you edit the raw files later in post-production.
To be the person you are, in the place you are, with the person you love, is the greatest golden hour of all.
— Robert Brault
Top Camera Settings And Gear Recommendations For Sunset Wedding Shoots
The right hardware ensures sharp images in declining light. Use a full-frame sensor to minimize digital noise at higher ISO levels. Prime lenses like an 85mm or 50mm offer superior clarity compared to zoom lenses. Speed is critical during this twenty-minute window. Prepare your backup batteries and clear memory cards before the sun hits the horizon line to avoid technical delays.
- Manual Focus Toggle: Switch to manual if the lens hunts in backlight. Direct sun rays confuse autofocus systems. Use focus peaking to keep eyes sharp while shooting wide open during the brightest flares of the golden hour session.
- Exposure Compensation: Set this to negative one or two stops when using semi-auto modes. This prevents the camera from overexposing the bright sky. It keeps the saturated orange and pink hues intact for more dramatic and professional looking wedding portraits.
- Lens Hood Removal: Take off the lens hood to encourage intentional lens flare. Position the sun at the edge of the frame to create soft light leaks. This technique adds a natural glow to the final images without using artificial filters or overlays.
- External Reflector: Use a silver or gold reflector to bounce light back onto faces. This fills in harsh shadows under the eyes and chin. It balances the exposure between the bright background and the skin tones of the couple without needing heavy flash.
- High Speed Sync: Enable HSS if you must use a flash. This allows you to use shutter speeds faster than 1/200th of a second. It lets you maintain a wide aperture for blurred backgrounds while still controlling the power of your artificial light source.
Carry a circular polarizer to manage glare and increase color saturation in the sky. This tool cuts through haze and makes the clouds pop. Monitor your shutter speed to keep it above 1/125th to prevent motion blur from hand tremors. If the light fades too fast, increase your ISO incrementally. Maintain a balance between light intake and image grain for clean results.
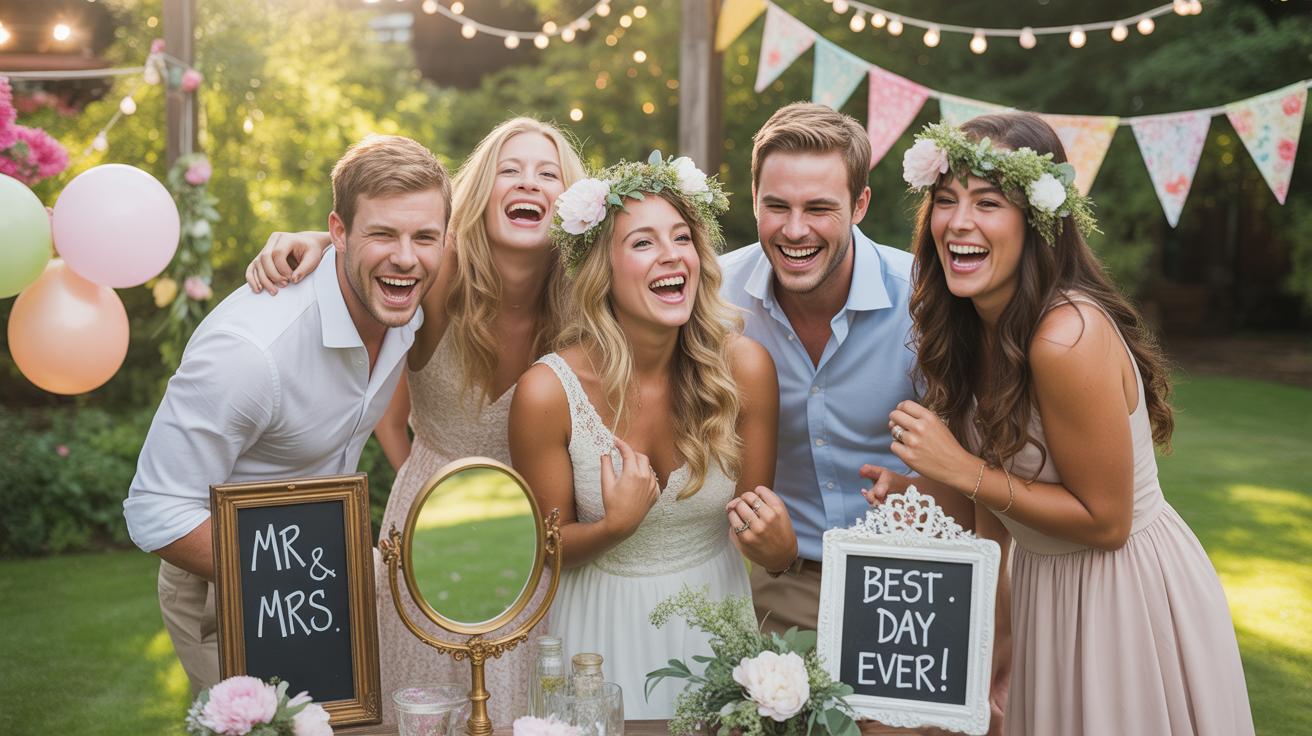
The Best Wedding Photos Poses To Flatter Couples During Golden Hour
Natural And Candid Posing Techniques That Look Effortless In Warm Light
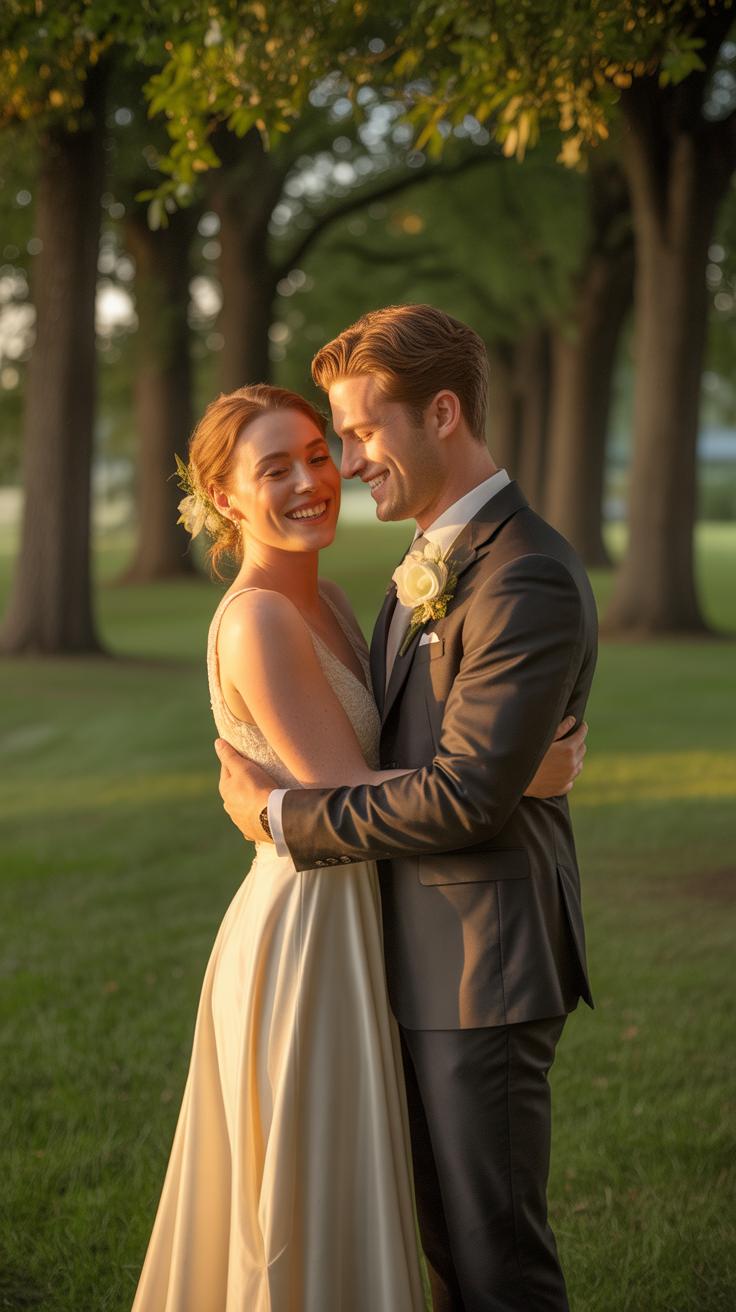
Golden hour creates long shadows and soft contrast. To look natural, keep your body in constant motion. Avoid stiff, formal stances that clash with the fluid quality of low-angle light. Shift your weight between feet or look toward the horizon to catch the glow on your face. This movement prevents the camera from capturing awkward tension in your shoulders or neck.
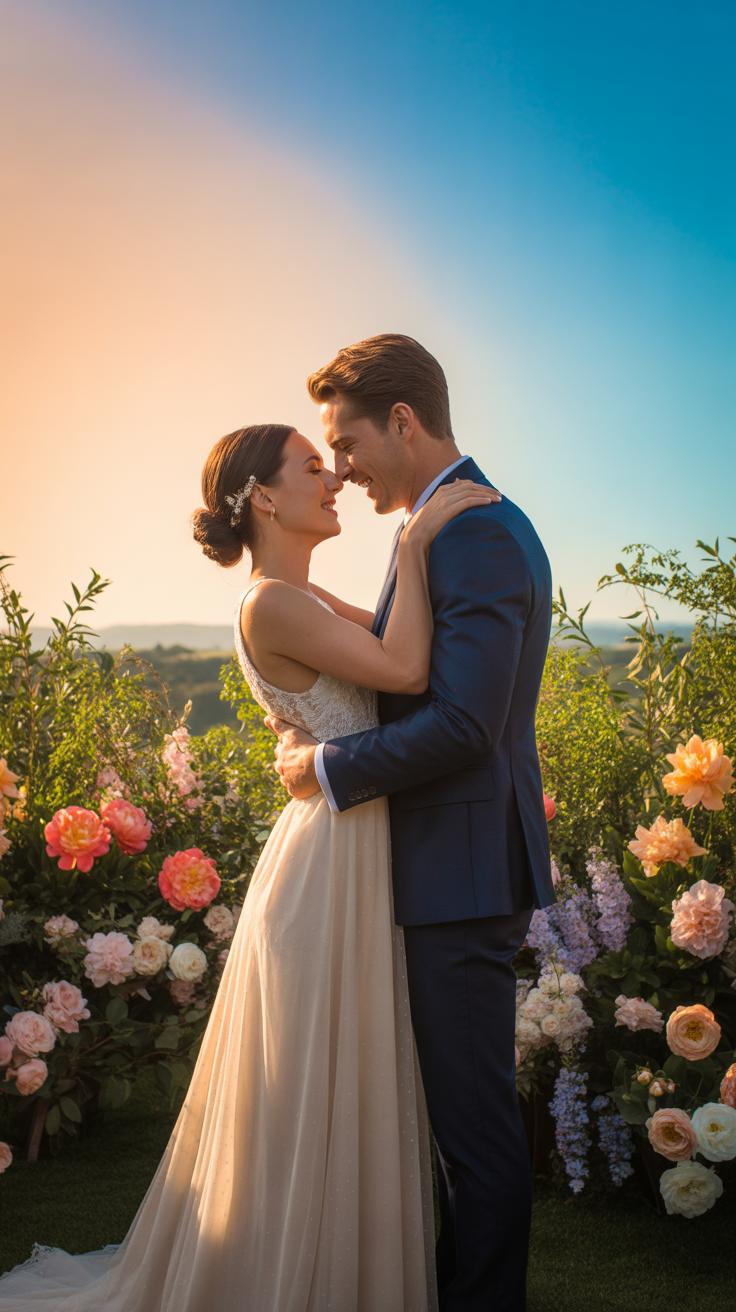
Facing directly into the sun causes squinting and harsh facial shadows. Position yourselves at a three-quarter angle to the light source. This technique creates a rim light effect that separates your silhouettes from the background. Keep physical contact light and intentional. Hold hands or lean shoulders together to create a sense of connection without blocking the light hitting your partner.
Posing Guides And Prompts Your Photographer Can Use To Direct You

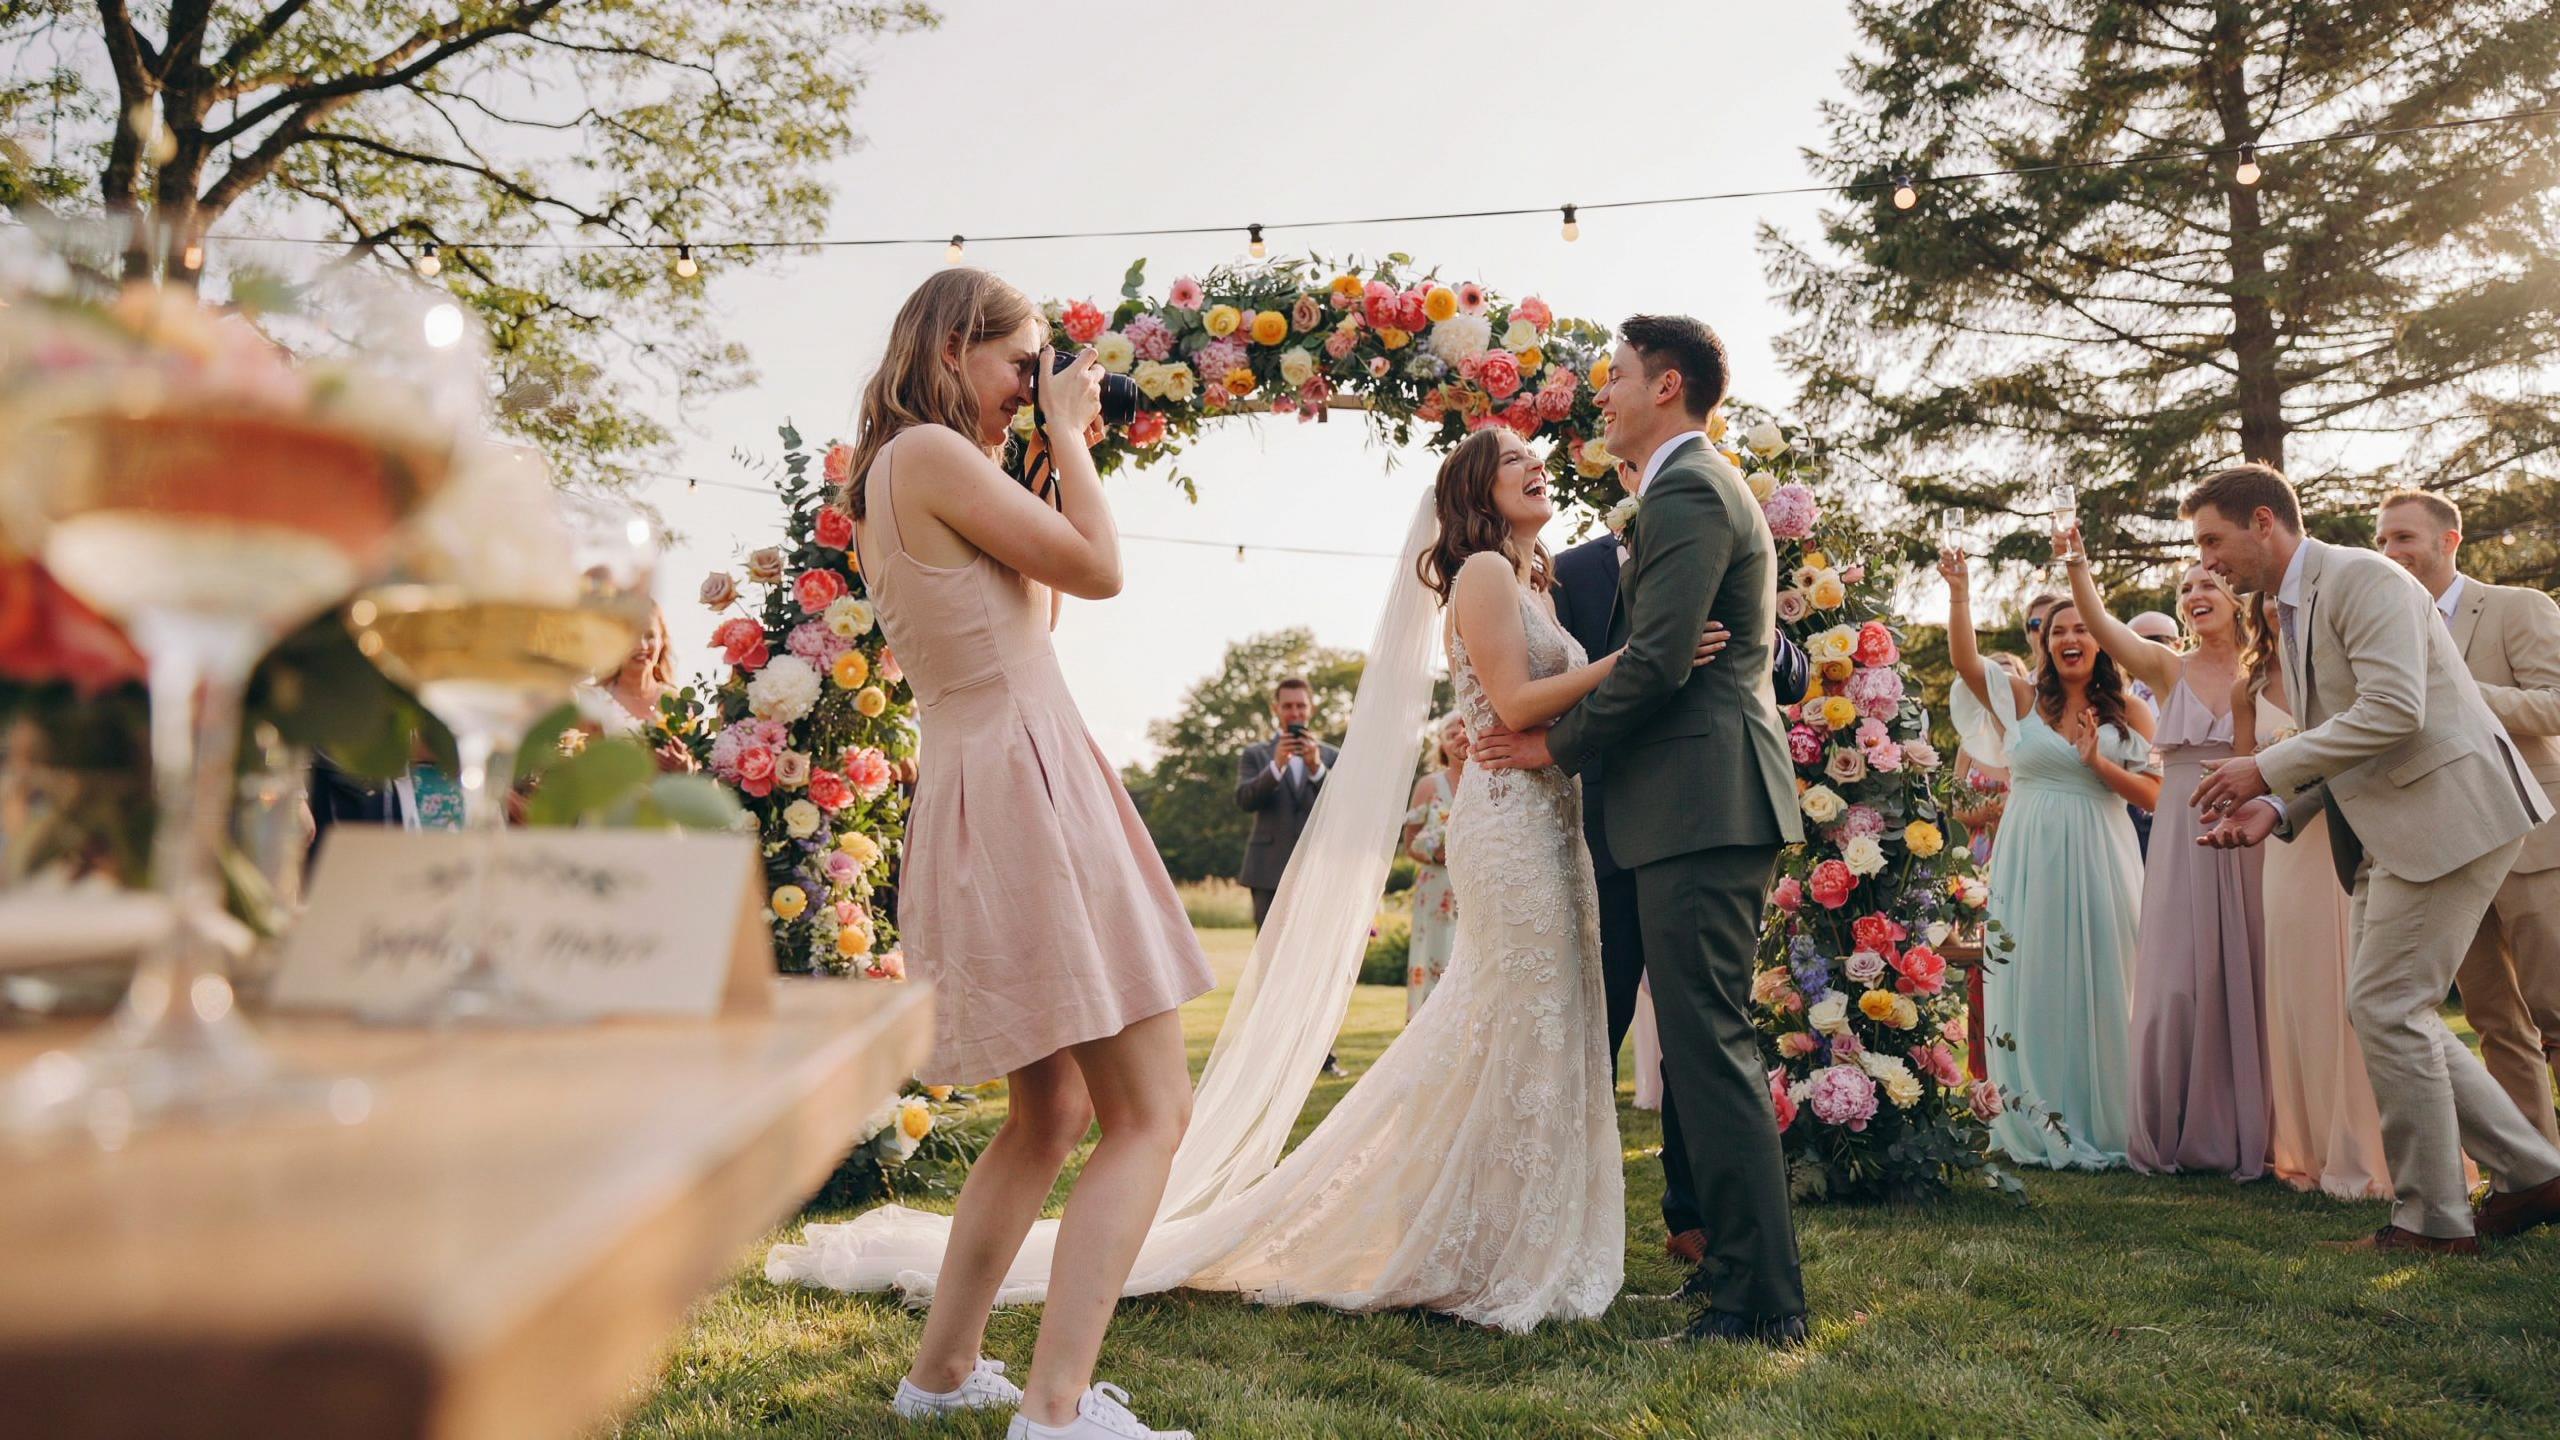
Photographers use specific tactical prompts to trigger authentic reactions during the short window of sunset. These directives focus on physical interaction rather than static positions. Proper direction ensures you utilize the fading light efficiently before it disappears. Use these prompts to create depth and variety in your portrait gallery while maintaining a cohesive look across all your wedding pictures.
- The Stroll: Walk slowly away from the camera while looking at each other. This movement allows the lens to capture the hair and clothing catching the backlighting. It creates a dynamic frame that feels unforced and highlights the landscape.
- The Forehead Touch: Close your eyes and rest your foreheads together while standing profile to the sun. This pose emphasizes the facial structure and creates a clean silhouette. It eliminates the risk of squinting while the sun is at its lowest point.
- The Veil Toss: If applicable, have the photographer or assistant lift the veil into the breeze. Thin white fabric glows when backlit by golden hour rays. This action adds texture and a sense of motion to a standard couple portrait.
- The Whispered Joke: Lean into your partner’s ear and speak softly. This prompt forces a natural smile and breaks any remaining tension. The camera captures genuine facial expressions which look best in the soft, forgiving light of the late afternoon.
- The Hip Lean: Stand side-by-side and lean your hips together while looking toward the camera. This creates an A-frame shape that is structurally pleasing. It provides a stable base for the shot while allowing the upper bodies to remain relaxed.
Focus on the space between you as much as the poses themselves. Small gaps allow light to pass through and define your individual shapes. Too much compression results in a dark, indistinguishable mass in the final image. Keep your arms slightly away from your torso to maintain a clear profile. These small adjustments ensure every frame looks professional and sharp.
Composition And Framing Techniques For Golden Hour Wedding Portraits
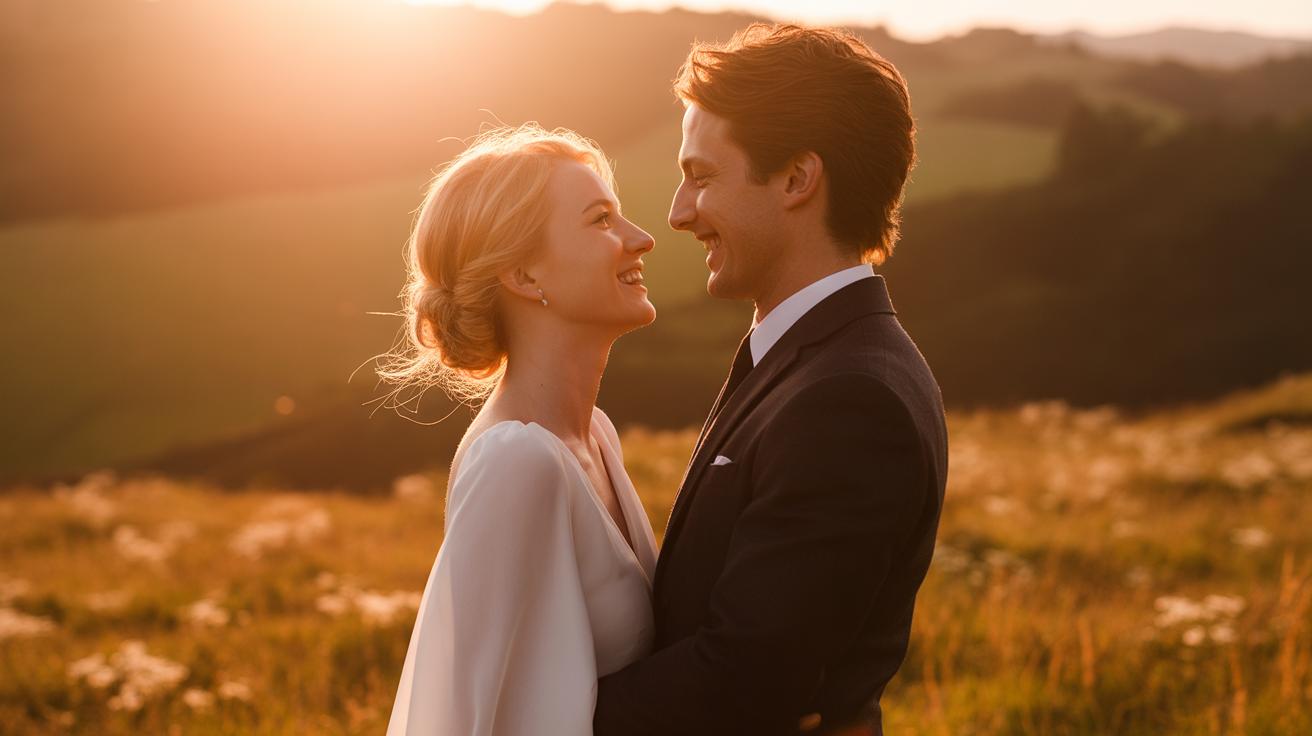
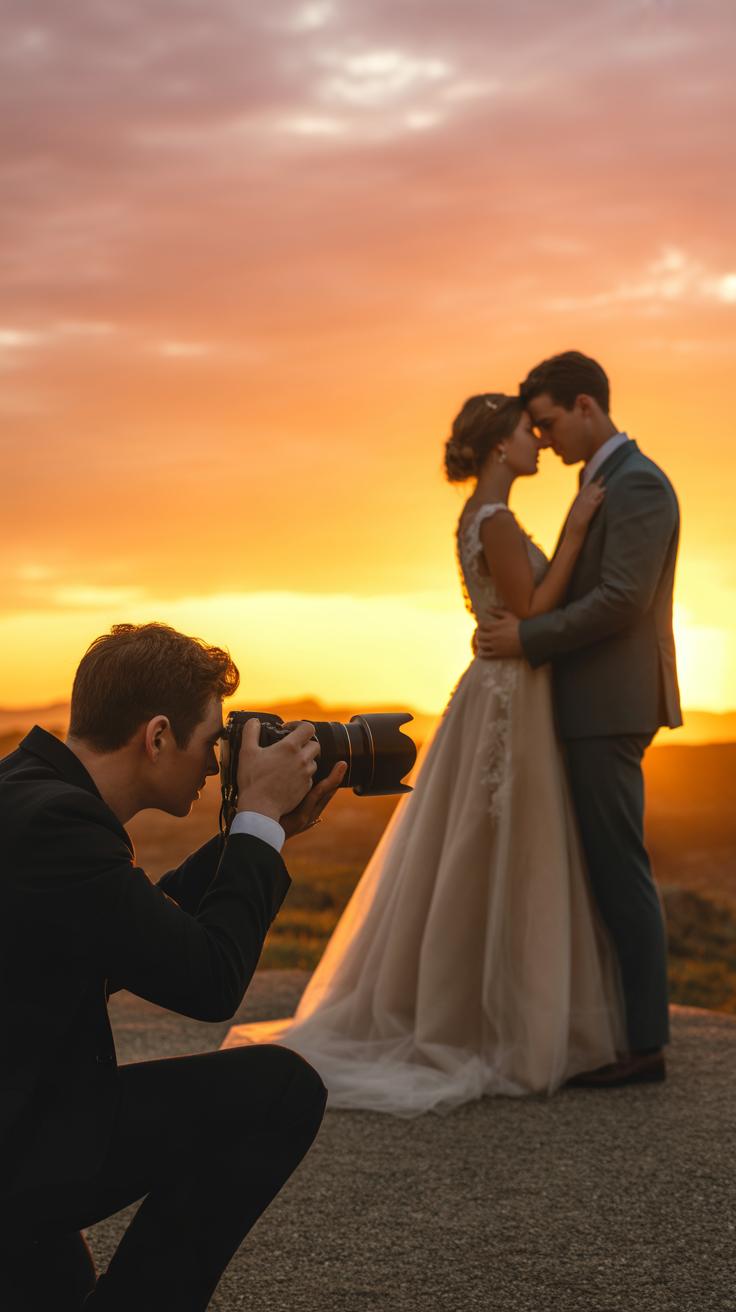
Using Silhouettes And Backlighting To Create Dramatic Wedding Portraits
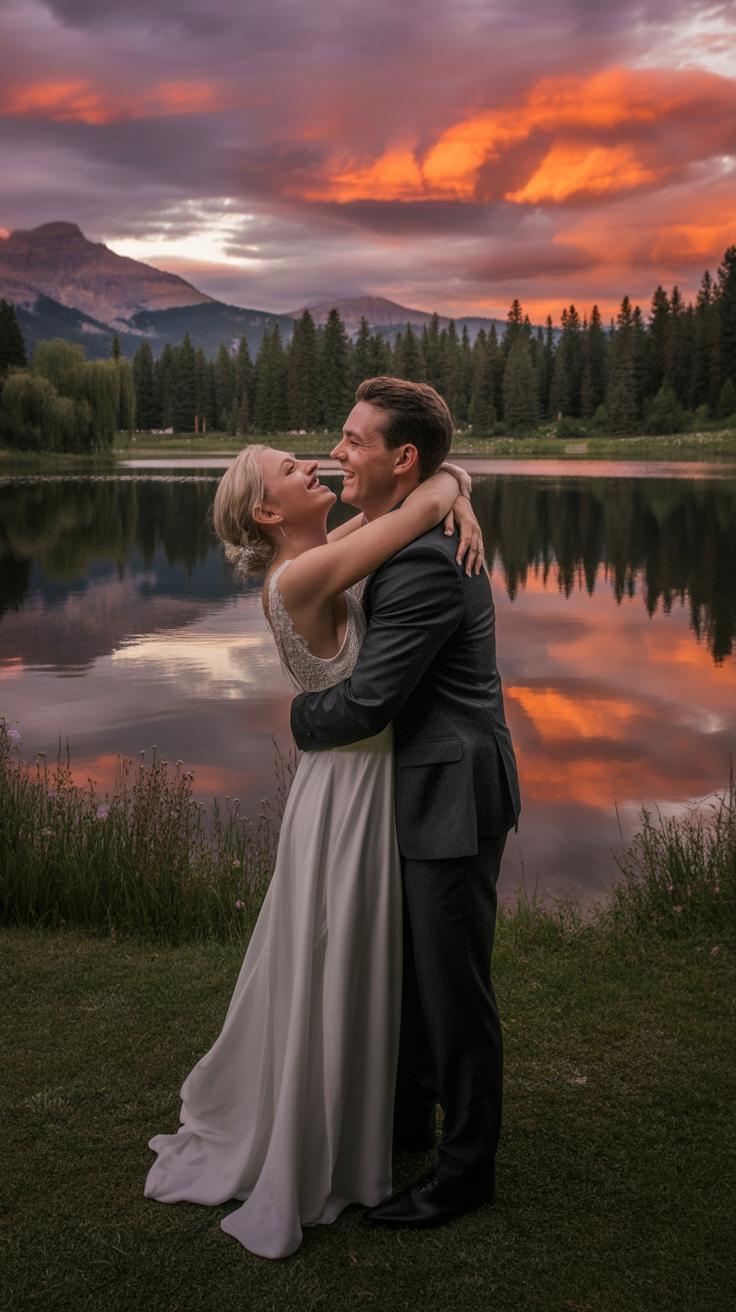
Backlighting places the sun directly behind the couple to create a halo effect called rim lighting. This technique separates the subjects from the background by illuminating the edges of hair and clothing. Photographers must expose for the skin tones to prevent the couple from becoming too dark. This approach highlights textures like lace or tulle in the wedding dress while softening the overall image contrast.
Silhouettes require underexposing the subjects against the bright sky. The photographer focuses on the outline of the couple to emphasize shape over detail. Couples should create clear space between their bodies to ensure distinct profiles. Avoid overlapping limbs which can result in a confusing dark mass. This method works best when the sun is very low on the horizon and the sky is vibrant.
Rule Of Thirds Leading Lines And Natural Framing At Sunset
The rule of thirds improves golden hour balance by placing the couple away from the center of the frame. Aligning the horizon on the lower third line gives more space to the colorful sky. Placing the couple at the intersection points draws the eye naturally to them. This creates a professional look that avoids static and boring compositions found in centered snapshots.
Leading lines and natural frames use the environment to direct focus toward the couple. Use shadows or rows of trees to point toward the subjects. Natural frames like overhanging branches or archways add depth to the shot. These elements contain the golden light within a specific area of the photo. Controlled framing ensures the viewer knows exactly where to look amidst the bright sunset colors.
How Wardrobe And Color Choices Enhance Your Sunset Wedding Photo
Colors And Fabrics That Complement Warm Golden And Orange Tones
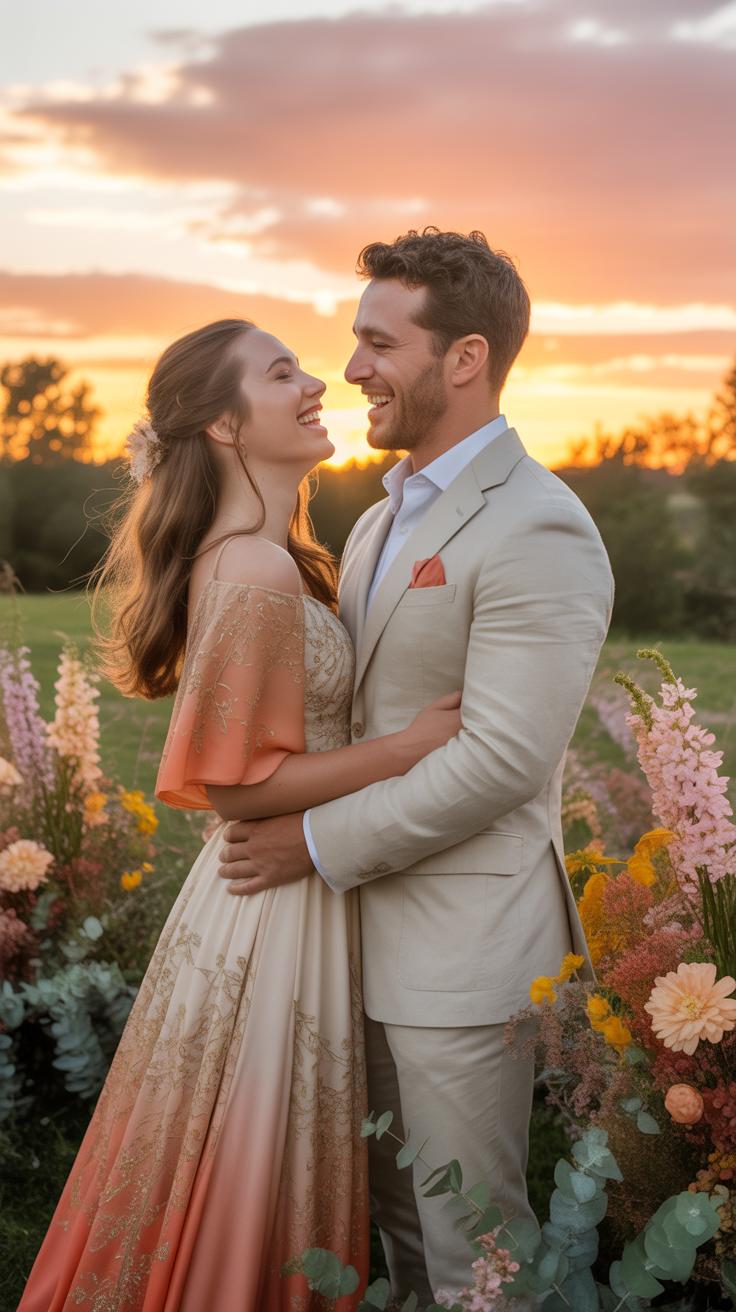
Select colors that harmonize with a low sun angle. Earth tones like terracotta, sage green, and champagne work best. These hues absorb the warm spectrum without clashing. Avoid stark white fabrics. Pure white often loses detail or turns neon yellow under direct sunset light. Choose ivory or cream instead. These shades maintain their texture and depth when the light hits them at a sharp angle.

Choose fabrics with organic textures to catch the light. Silk and satin offer high reflectivity. This creates a glow effect on the garment edges. Chiffon and tulle allow light to pass through the fibers. This backlighting highlights the movement of the dress. Heavy wool or matte cotton absorbs light and can look flat. Opt for light materials that react to the environment. This ensures the clothing looks dynamic and expensive.
Accessories And Details That Photograph Beautifully In Low Warm Light
Metal choices impact the final image quality. Gold jewelry is the standard for sunset sessions. It matches the color temperature of the sun. Silver and platinum can appear cold or blue against the orange sky. This creates a visual disconnect. Choose polished finishes over matte ones. Shiny surfaces create small points of light called specular highlights. These highlights add dimension to close up portraits and hand shots.
Veils and hairpieces serve a tactical purpose during the golden hour. A single layer cathedral veil catches the light from behind. This creates a rim light effect around the silhouette. Avoid heavy beaded headpieces that might reflect light into the camera lens. This causes unwanted lens flare. Select translucent stones or delicate lace. These materials glow when the sun is low on the horizon. They turn a standard photo into a high end editorial shot.
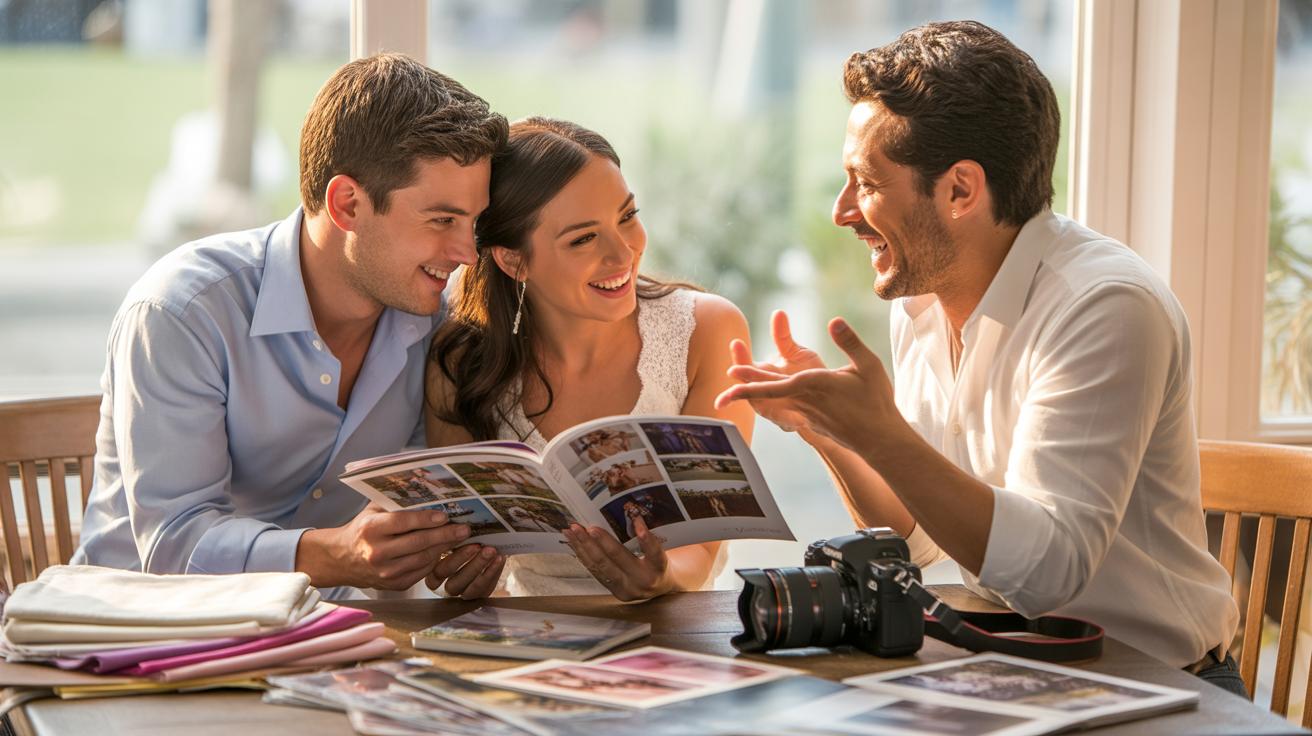
Working With Your Photographer To Plan Perfect Couple Photos Wedding Moments
Questions To Ask Your Wedding Photographer About Golden Hour Planning
Establish technical competence by asking about specific gear and experience. Ask your photographer which lenses they use for backlighting. Prime lenses with wide apertures often handle flare better than zoom lenses. Inquire how they track sun position. Professional photographers use apps like SunSurveyor or PhotoPills to predict exact light angles. You need to know if they use off camera flash or reflectors to balance the high dynamic range.
Confirm the photographer understands the specific sunset window for your venue coordinates. Ask how they handle overcast skies if the sun stays hidden. Many professionals use color temperature orange gels on flashes to fake a sunset glow. Determine their plan for transition timing between the ceremony and the shoot. A solid professional will have a minute by minute plan for the light changes. Technical skill ensures your golden hour wedding photos look professional.
How To Communicate Your Vision And Build Trust With Your Photographer
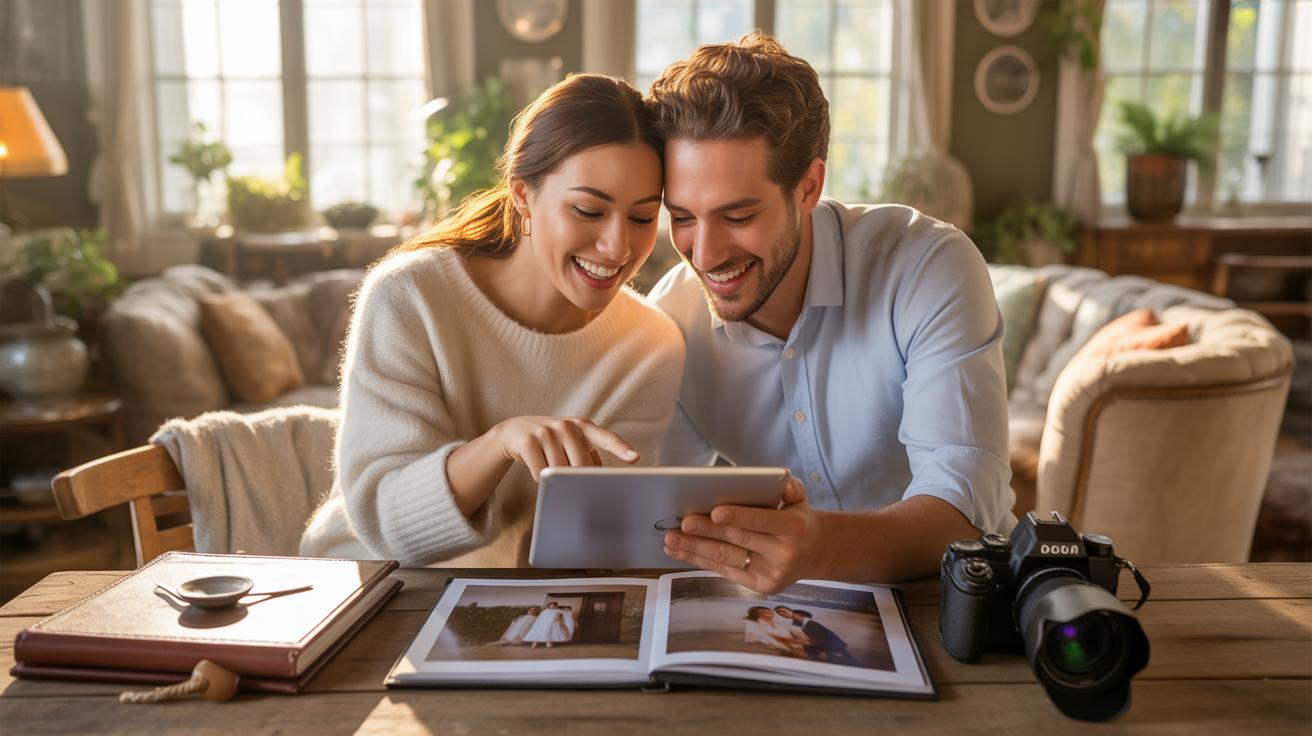
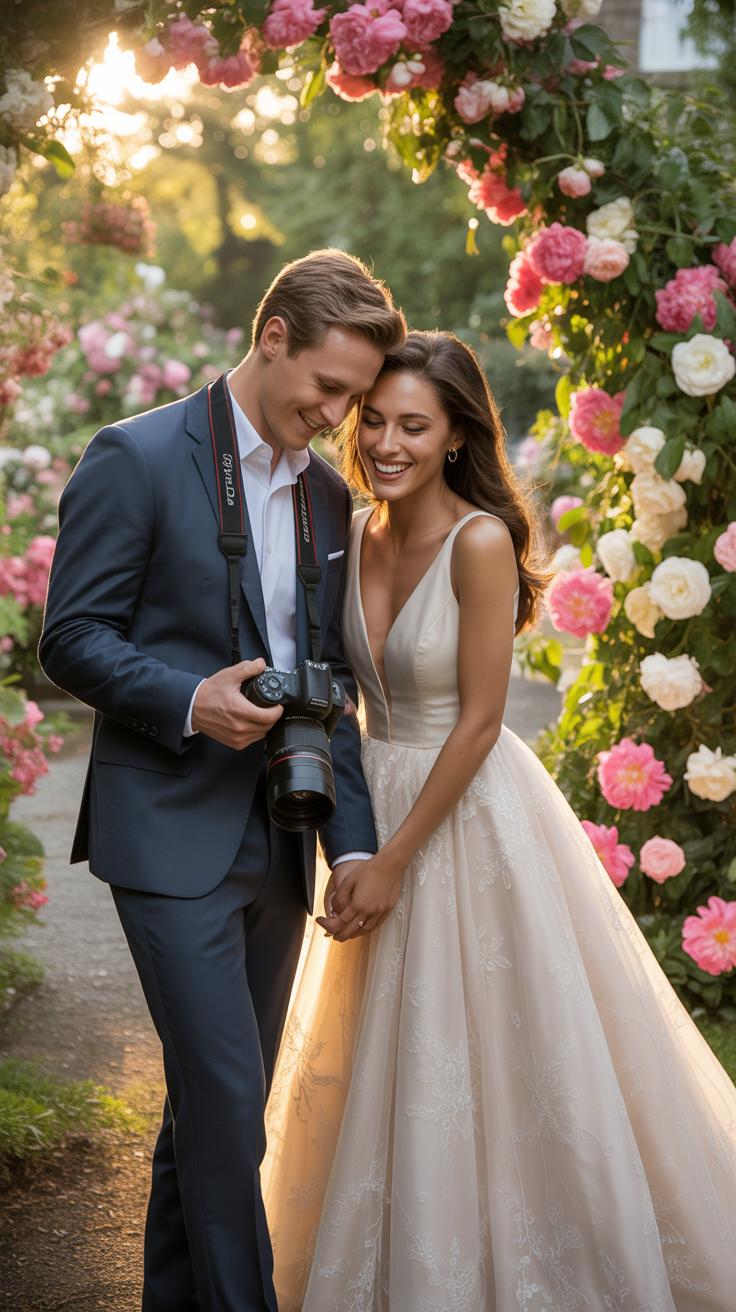
Share a specific shot list well before the wedding day. Avoid vague requests for pretty light. Use specific terms like rim lighting or silhouettes to describe your desired wedding sunset photos. Be honest about your comfort level with posing. If you prefer candid movement over static poses, the photographer needs to know. Clear communication allows the expert to select the best location for your wedding photography sunset session.
Trust the professional judgment of your photographer regarding timing and location. Light changes rapidly during the final twenty minutes of the day. If the photographer asks you to move fast, follow their lead immediately. Do not micromanage the settings or the angles during the shoot. Effective couple photos wedding sessions happen when the couple focuses on each other while the expert manages the technical light requirements. Decisions made in the field rely on years of experience.
Frequently Asked Questions

What exactly is the golden hour and why is it so popular for weddings?
The golden hour refers to the short window of time just after sunrise or right before sunset when the sun is low on the horizon. This period produces a soft, reddish glow that eliminates harsh shadows and creates a romantic, dreamlike atmosphere. Planning your schedule around this lighting ensures your golden hour wedding photos have a natural, flattering radiance that simply cannot be replicated with artificial studio lights or midday sun.
How can we best prepare our wedding day timeline to capture these shots?
To capture the best golden hour wedding photos, check the exact sunset time for your date and location. Work closely with your photographer to block out twenty to thirty minutes starting about an hour before the sun ducks behind the horizon. It is helpful to have your hair and makeup touched up ahead of time so you can slip away from your reception quietly without missing the peak lighting conditions.
Do we need expensive lighting equipment to achieve this look?
One of the biggest benefits of this timeframe is that it provides high-end, professional results without the need for additional expensive gear. Because the sun acts as a massive, natural softbox, your photographer can rely on the existing light to create stunning portraits. This makes it a very accessible option for couples on any budget, as the breathtaking scenery and warm glow do most of the heavy lifting for you.