What Is A Bridal Hair Trial And Why It Matters For Your Wedding Day
Understanding The Purpose Of A Bridal Hair Trial
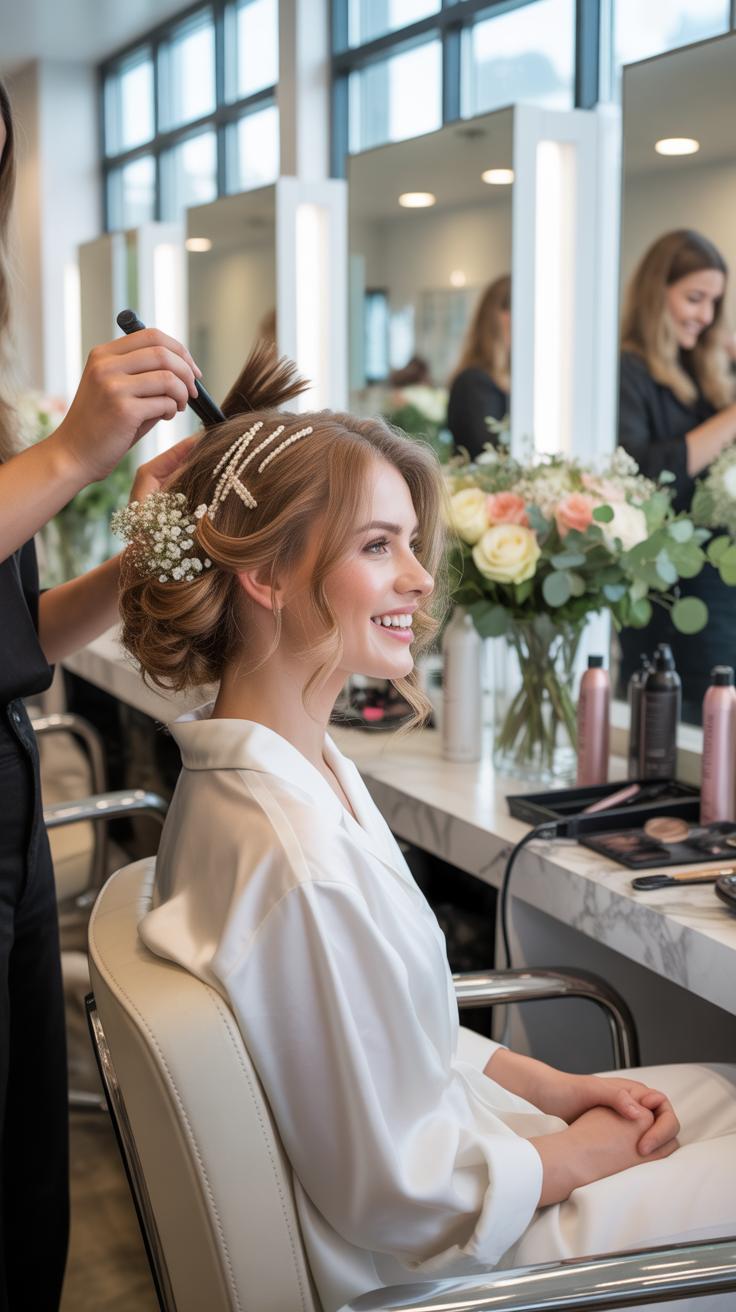
A bridal hair trial acts as a technical rehearsal for your wedding look. You test specific styles against your hair texture and length. This process identifies if your hair can hold a simple wedding hair half up half down look for several hours. You measure the durability of the style under physical movement. It provides a blueprint for the wedding morning timeline.
The trial allows you to troubleshoot hardware and products. You must determine if your hair needs extensions for volume or specific pins for security. Testing easy bun hairstyles wedding looks ensures the weight does not cause discomfort. You evaluate how the style interacts with your veil or headpiece. This session establishes a concrete plan so you avoid making creative decisions under pressure.
Why Skipping Your Hair Trial Can Lead To Wedding Day Stress
Skipping the trial introduces high technical risk on your wedding day. You may discover your hair cannot sustain a diy wedding hairstyle without professional-grade products. Unforeseen issues like frizz or lack of volume become emergencies. Without a trial, you waste precious morning minutes on corrections. This delays your entire event schedule and creates unnecessary tension for the bridal party.
The absence of a trial often results in a look that fails mid-event. Hair do ups easy techniques might collapse during photos or dancing if not pre-tested. You lose the chance to see how the style complements your face shape in natural light. Fixing mistakes during the ceremony preparation is costly and difficult. A trial guarantees the final result matches your expectations before the cameras start rolling.
How To Prepare For Your DIY Bridal Hair Trial At Home Like A Pro
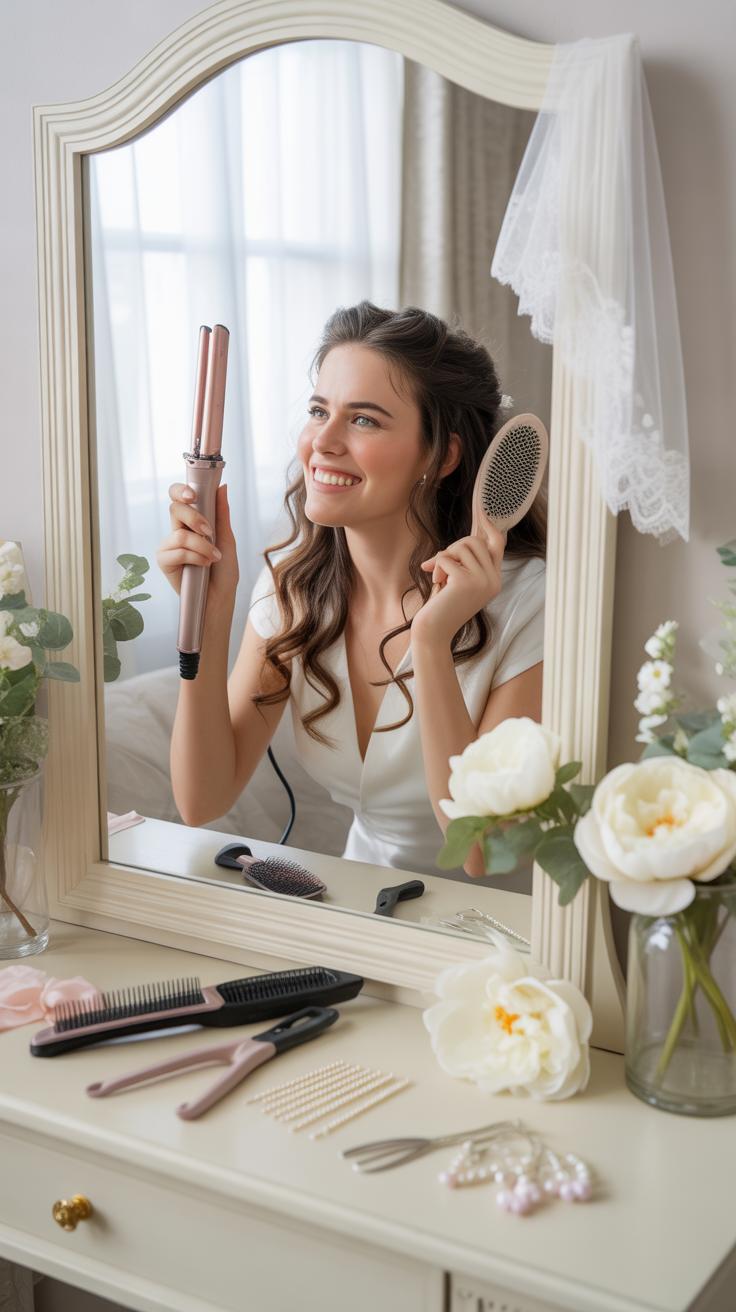
Gathering The Right Tools And Products Before You Begin
Professional results require professional equipment. You cannot rely on standard drugstore clips or weak hair ties for a wedding look. Success depends on high-heat styling tools and industrial-strength hold products. Every item must serve a specific function in your styling sequence. Gather your supplies before starting to avoid breaking your workflow. Proper organization prevents heat damage and ensures your style lasts.
- Professional Grade Heat Tools: Use a ceramic or tourmaline curling iron to maintain consistent heat levels. These materials protect the hair cuticle while ensuring the curl sets firmly. Cheap irons lose heat and create uneven textures.
- Sectioning Clips: Metal alligator clips hold hair firmly without leaving deep creases. Use these to partition your hair into manageable zones. Proper sectioning is the secret to even volume and clean lines in complex updos.
- Industrial Finish Hairspray: Select a fine-mist spray with high hold and low moisture content. Wet sprays weigh down the hair and ruin curls. Professional sprays provide a dry finish that locks the style in place for twelve hours.
- Tail Comb and Boar Bristle Brush: A metal-ended tail comb allows for surgical precision during parting. The boar bristle brush smooths the top layer of hair for a clean finish. These tools eliminate frizz and create the necessary tension for styling.
- U-Shaped Hair Pins and Bobby Pins: Match your pins to your hair color to make them invisible. Use U-shaped pins for securing bulk and bobby pins for locking the foundation. High-quality pins feature rubber tips to prevent scalp irritation and hair breakage.
Prep your hair by washing it twenty-four hours before the trial. Clean hair is too slippery for intricate braids or buns. Natural oils provide the grit needed for pins to stay in place. Apply a light heat protectant while the hair is damp. Dry it completely before using any hot tools. Total dryness prevents the hair from sizzling or losing its shape immediately after styling.
Your wedding hair should be as personal as your own love story, and there is no place more intimate to discover that beauty than in the mirror of your own home.
— Vera Wang
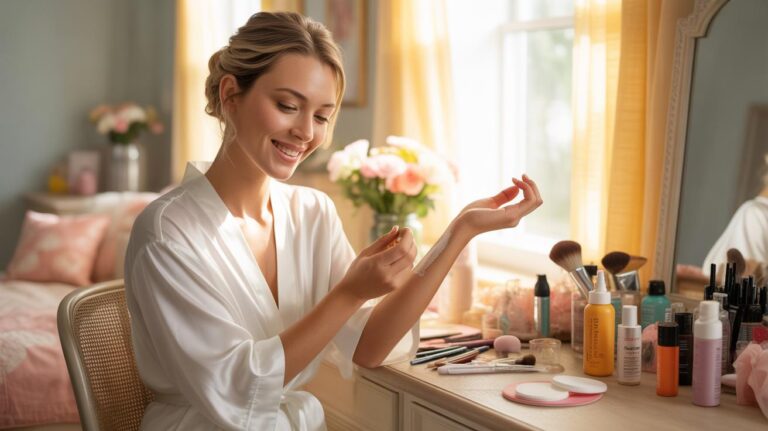
How To Set Up Your Space For The Best DIY Wedding Hairstyle Results
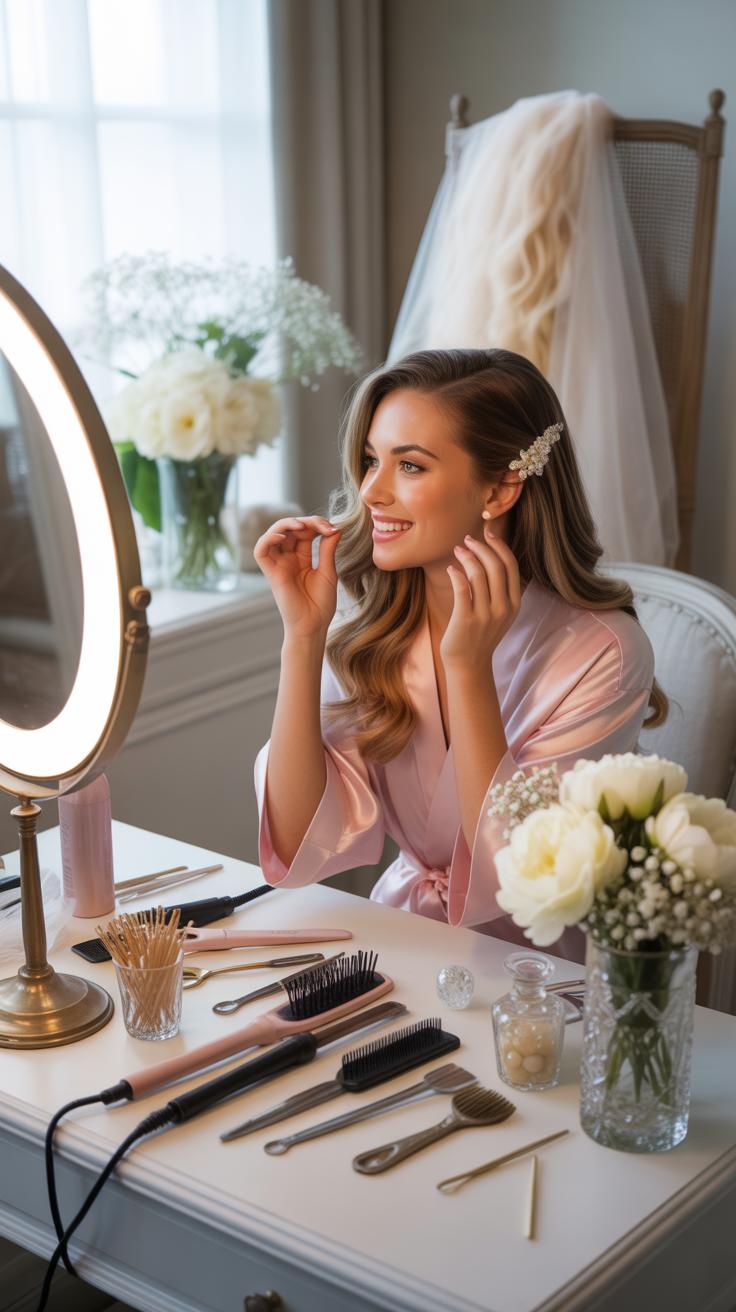
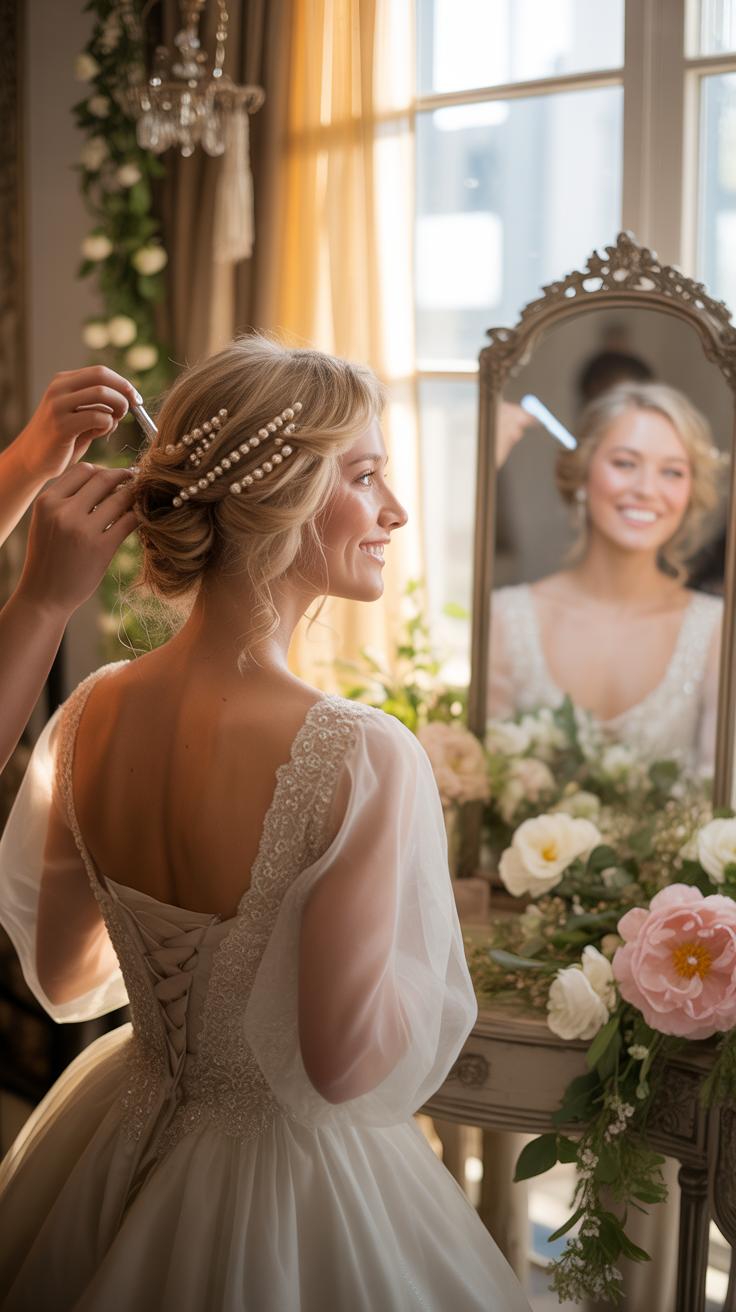
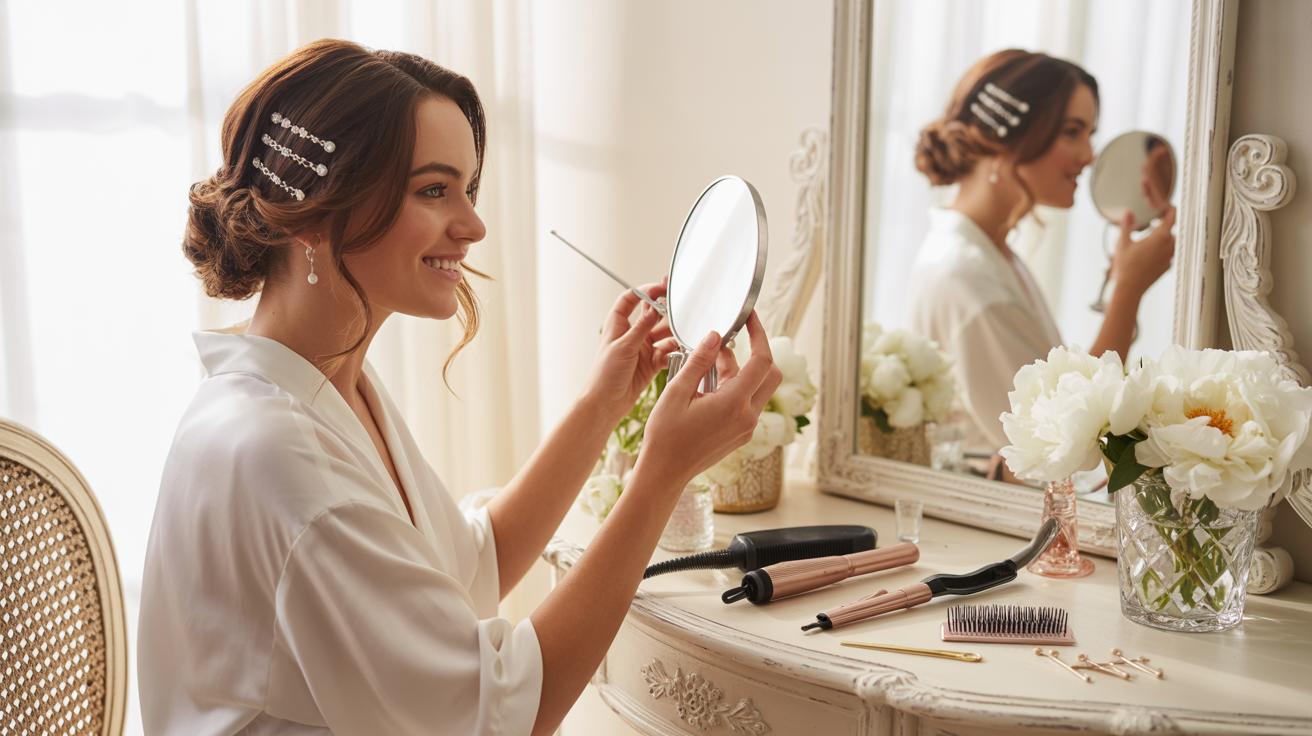
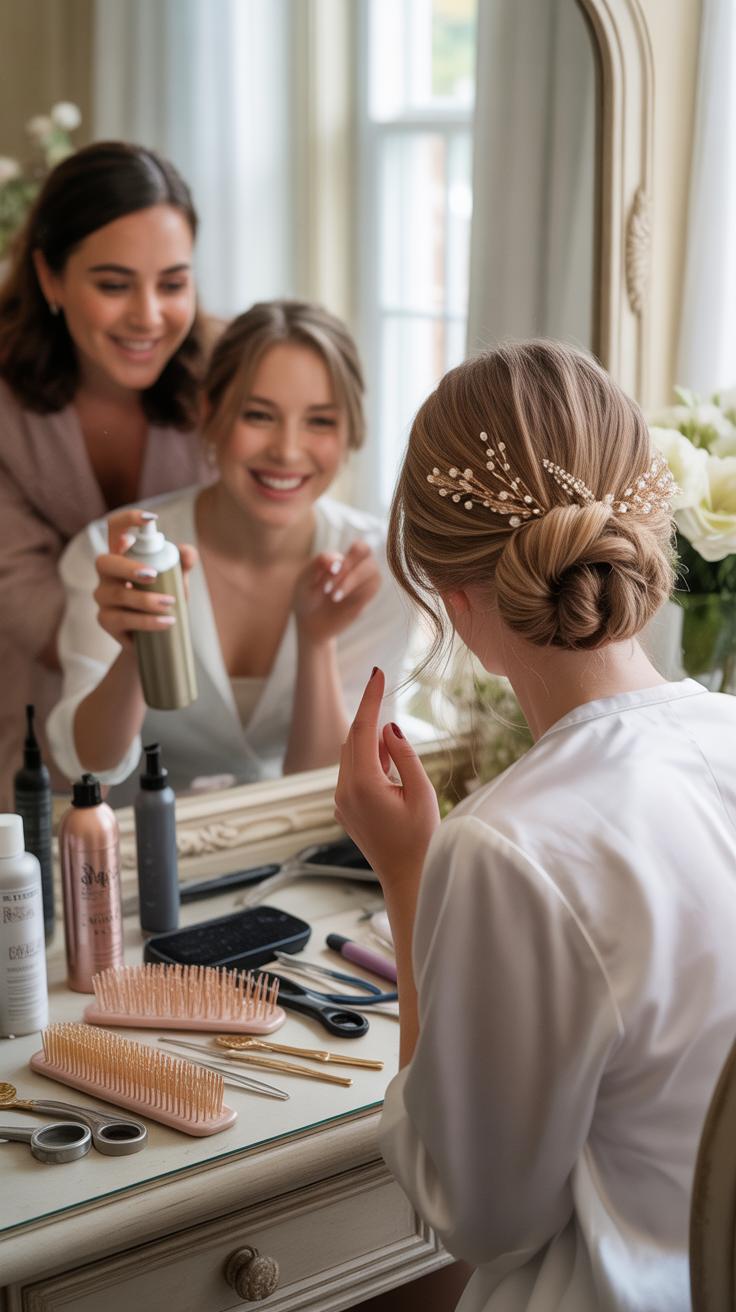
Position yourself in a room with strong natural light. Avoid yellow incandescent bulbs that hide gaps in your work. Place a large mirror in front of you and a smaller hand mirror nearby. This setup allows you to see the back of your head clearly. You must monitor every angle as you work. Blind spots lead to lopsided buns and messy nape areas.
Clear a flat surface for your tools to keep them within reach. Plug your heat tools into an outlet that does not require stretching the cords. Tangled cords limit your range of motion and cause accidents. Wear a button-down shirt or a robe during the trial. You must be able to remove your clothes without pulling them over your head. This protects the hairstyle from damage.
Choosing The Best Bridal Hair Style To Match Your Wedding Vision
How To Match Your Bridal Hair To Your Dress Neckline And Veil
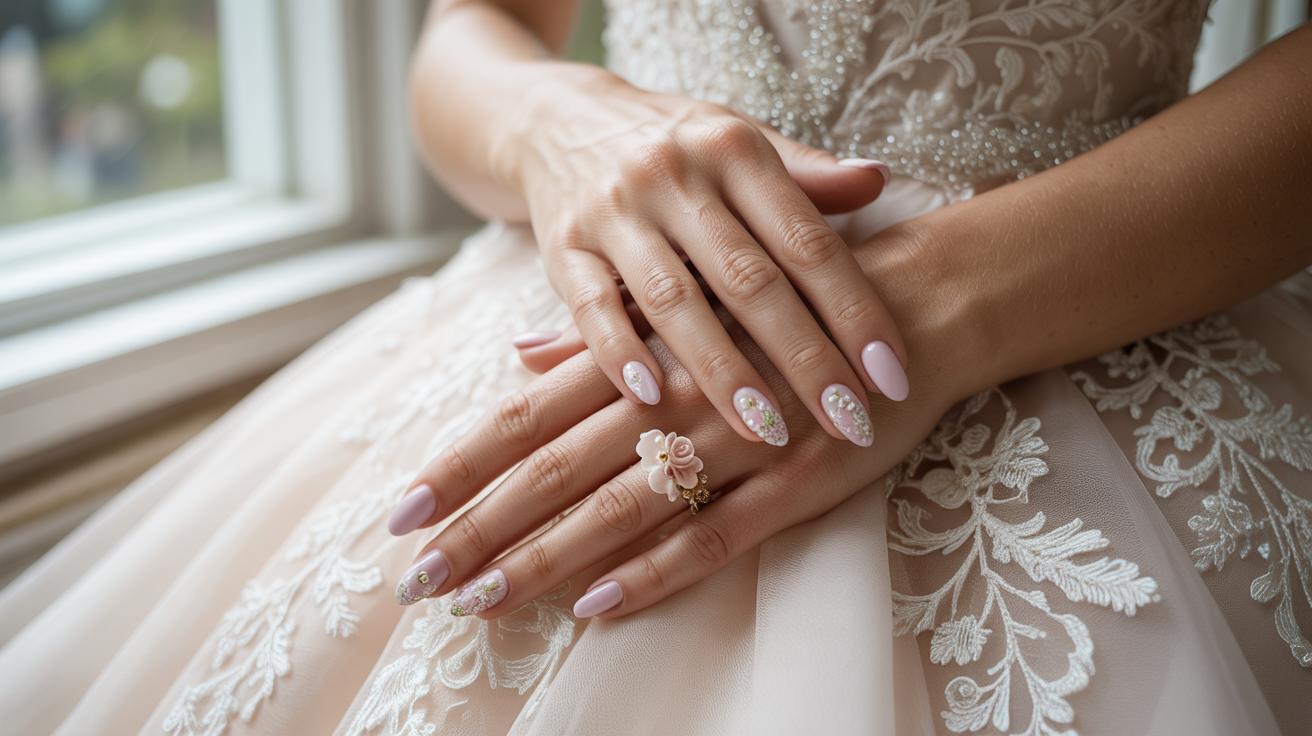
Your dress neckline dictates where hair should sit to maintain visual balance. High necklines and heavy detailing require up wedding hair to prevent a cluttered appearance. Open necklines like strapless or sweetheart styles provide the necessary space for hair to flow over the shoulders. You must ensure the hair does not cover unique design elements of the garment during your bridal hair trial at home.
Veil placement depends on the structure of your chosen hairstyle. Heavy cathedral veils require a sturdy base like a low bun to manage the weight. Pin your veil under a bun to showcase an intricate updo or place it at the crown for traditional height. Always test the weight of the veil during your trial to ensure the pins hold firm for several hours.
Exploring Half Up Hairstyles And Other Popular Bridal Hair Looks
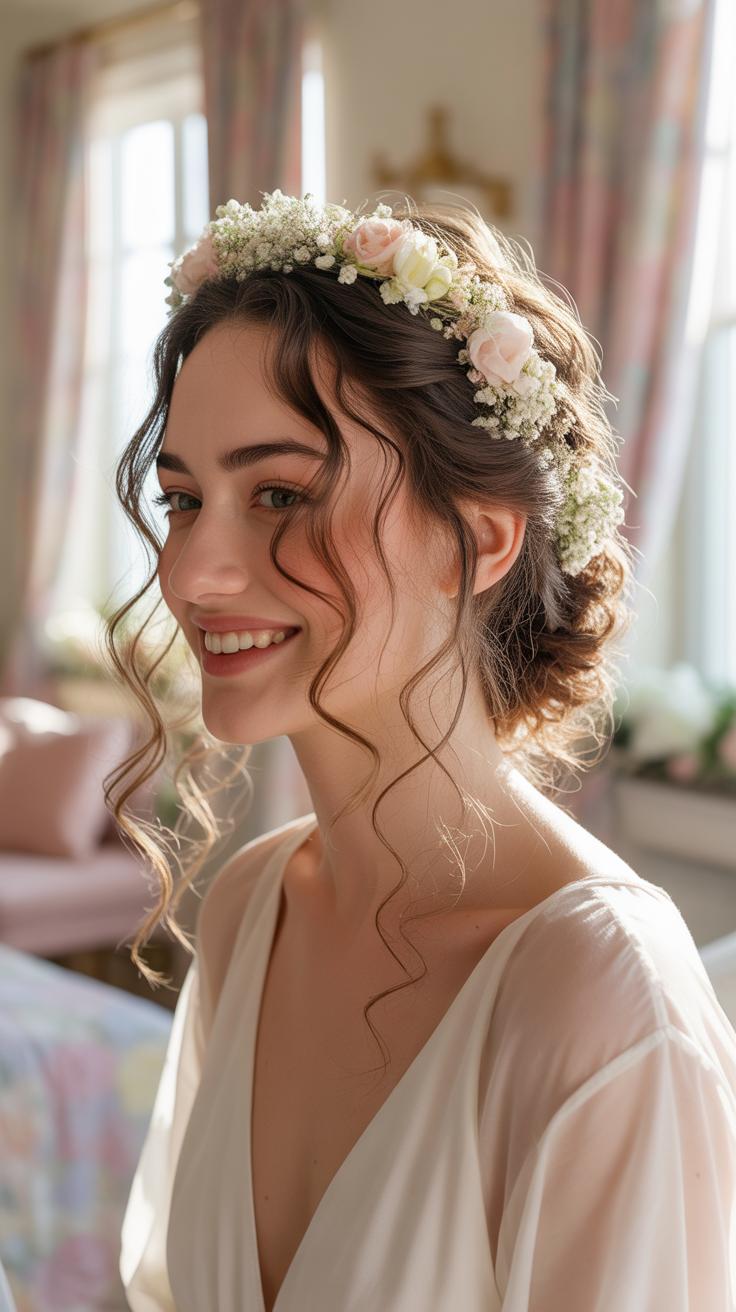
A simple wedding hair half up half down style offers a balance of security and loose aesthetics. This look keeps hair away from your face while showing off length and texture. It works for most hair types and provides a solid anchor point for hair accessories. Use small clear elastics or bobby pins to secure the top section before adding decorative elements or floral pieces.
Easy bun hairstyles wedding options focus on clean lines and structural integrity. Chignons and low buns remain popular because they resist wind and humidity effectively. If you want a diy wedding hairstyle, focus on a smooth finish and a tight base. Use high quality hairspray to lock the shape in place. Testing these styles at home allows you to measure how long the hold lasts.
Step By Step Guide To Creating A Simple Wedding Hair Half Up Half Down Look
How To Section And Prep Your Hair For A Half Up Half Down Style
Start with day-old hair for better grip. Clean hair is too slippery for mechanical holds. Apply a heat protectant and a texturizing spray to the roots. Divide your hair into two main zones using a rat-tail comb. Trace a line from the top of one ear, across the crown, to the other ear. Secure the bottom section with a clip to keep it separate while you work.
Curl the hair in small batches using a one-inch iron. Wrap strands away from your face to create a symmetrical frame. Use your fingers to break up the curls once they cool completely. Mist each section with a working hairspray to hold the shape without making it stiff. High-quality sectioning prevents the final look from collapsing under the weight of the veil or hair accessories later in the day.
Finishing Techniques That Make Your DIY Bridal Hair Half Up Look Polished
Smooth the top section back toward the crown using a natural bristle brush. Direct the hair into the center and secure it with two bobby pins crossed in an X shape. This physical lock ensures the style does not slide down. Conceal the pins by wrapping a small piece of hair around the base of the gather. Secure the wrap with a final pin pushed upward into the bulk.
Apply a lightweight shine serum to the ends to eliminate frizz and add a professional finish. Avoid the roots to prevent a greasy appearance in photos. Use a handheld mirror to inspect the back and sides for any gaps or uneven volume. Proper finishing turns a basic home style into a camera-ready look. Consistency in curl direction and tension provides the structure needed for an twelve-hour wedding day.
Easy Bun Hairstyles For Weddings You Can Master At Home
Classic Low Bun Versus Messy Bun: Which Works Best For Bridal Hair
The classic low bun relies on symmetry and smooth texture. It anchors at the nape of the neck for a formal look. This style works best with heavy veils because the structure provides a solid base for metal combs. You must use a boars hair brush to remove all bumps. It creates a polished profile that lasts through long ceremonies and reception dancing.
The messy bun prioritizes volume and soft edges. It uses curls and waves to build a relaxed shape. This style hides pins better than the classic version. It suits outdoor weddings where wind might ruin a sleek look. You pull small strands out to frame the face. The messy bun handles hair of varying lengths well. Use this style if you want a natural feel.
How To Secure And Accessorize Your Easy Bun Hairstyle For The Wedding
Securing a bun requires two types of pins. Use U-shaped pins to hold the bulk of the hair in place. These pins grip the scalp and the twist simultaneously. Use standard bobby pins for fine details and flyaways. Ensure you cross the pins in an X shape for maximum hold. This technique prevents the weight of the bun from sagging during the wedding day.
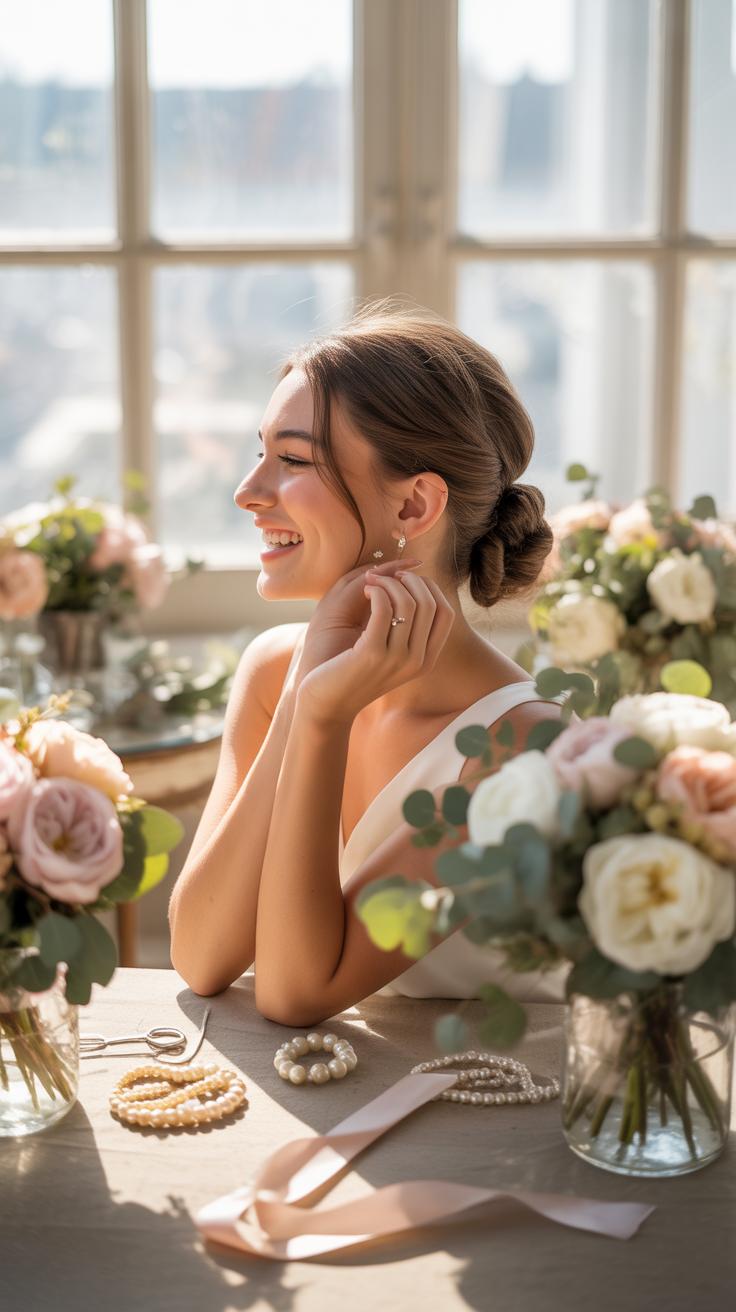
Accessories should enhance the bun without overcomplicating the structure. Place heavy combs above the bun so the hair supports the weight. Use hair vines by wrapping them around the base of the style. Secure these with thin pins at three points to prevent sliding. Test the weight of any jewelry during your trial. Heavy pieces can pull hair loose. Match your metals to your other jewelry.
How To Coordinate Your Bridal Hair And Makeup For A Cohesive Look
Balancing Bridal Hair And Makeup So Neither Overpowers The Other
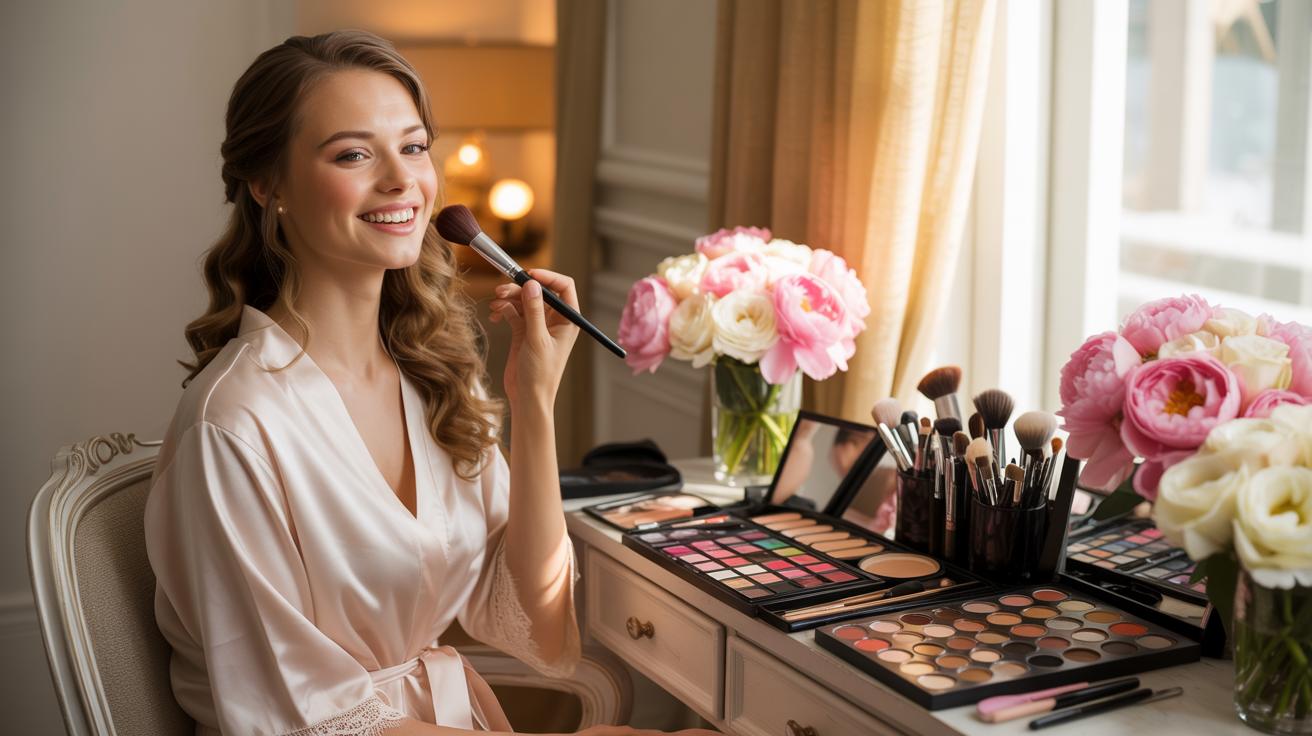
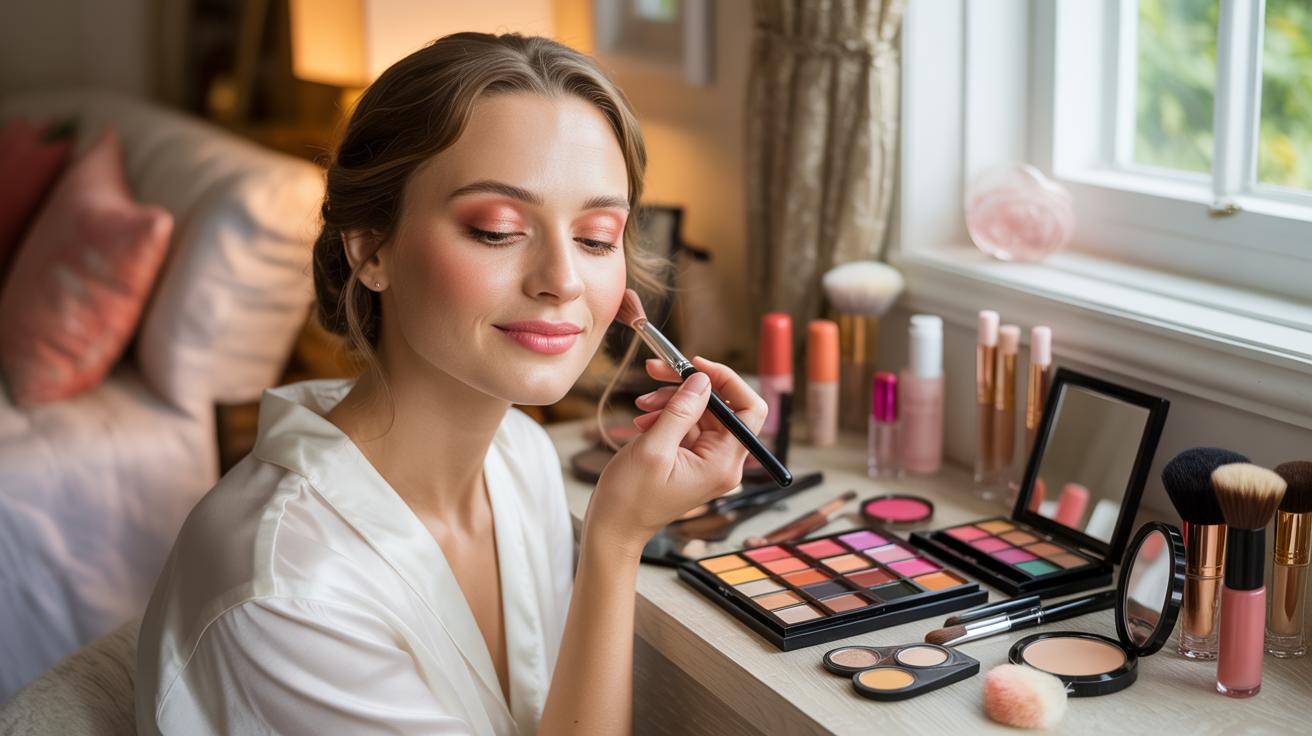
Visual balance requires a single focal point. You must choose between a bold hairstyle and dramatic makeup. If you select an intricate updo with heavy texture, keep the makeup neutral. High volume hair competes with bold red lips or dark smokey eyes. Too many focal points create a cluttered appearance. Decide which element represents your primary style before starting the trial.
Apply scale and proportion to your final look. A simple low bun allows for more color on the face. A complex braid or half up style with accessories demands a softer makeup palette. Professional stylists use this rule to prevent a dated look. Focus on harmony between your features and your hair. This strategy ensures you look like a person rather than a costume.
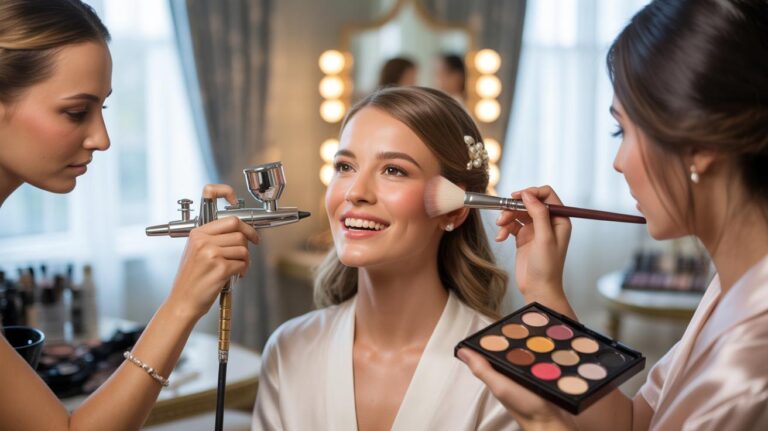
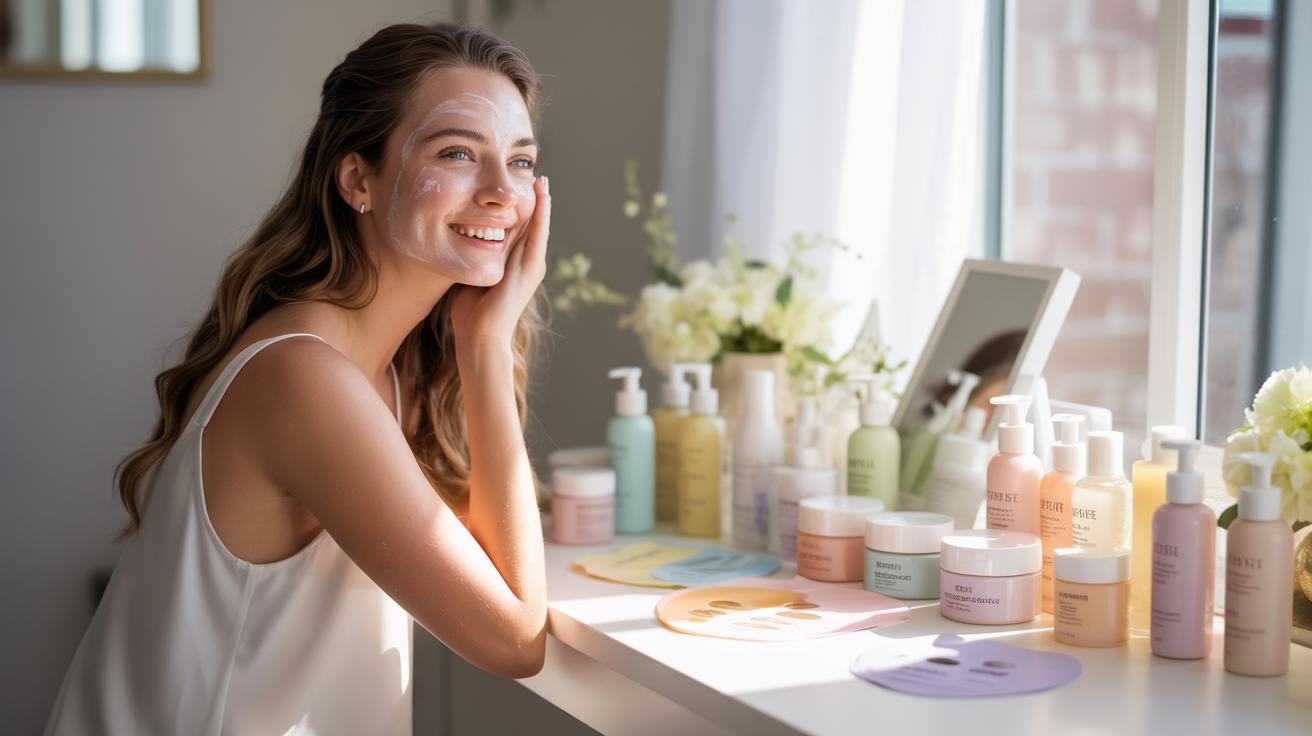
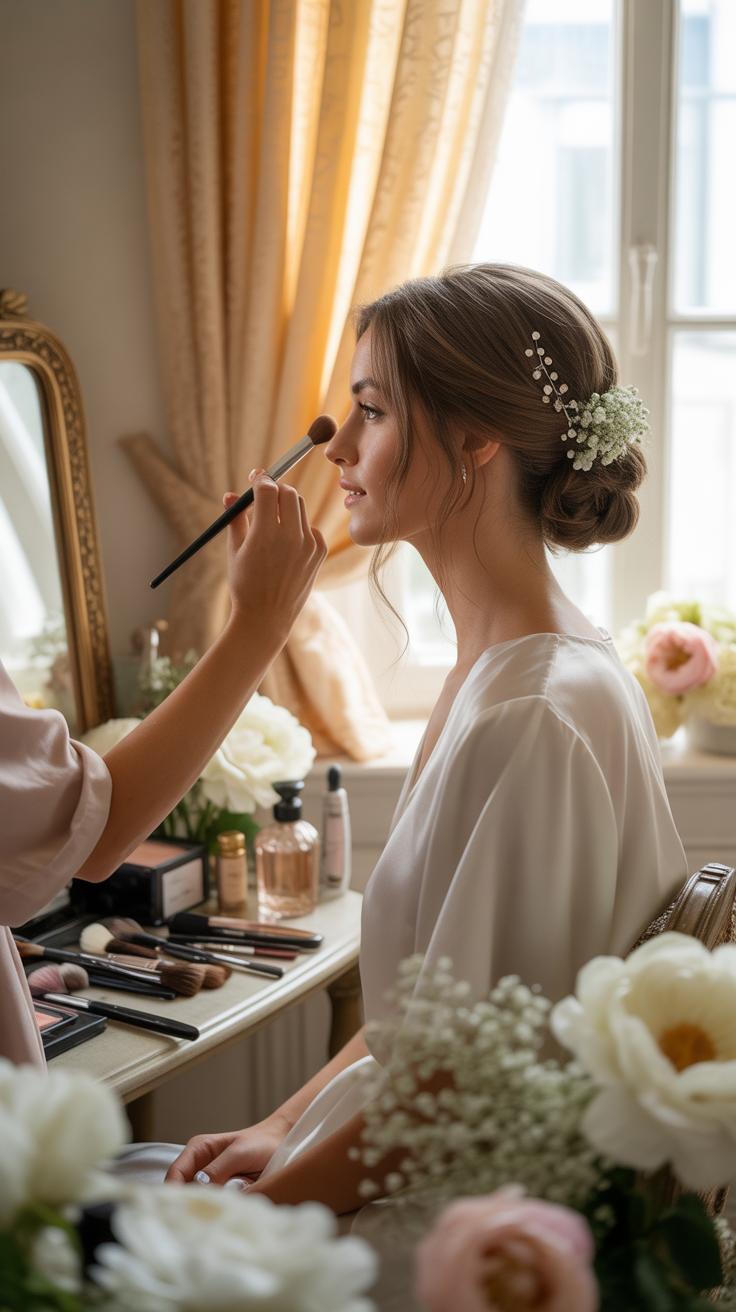
Testing Your Full Bridal Hair And Makeup Look Together During The Trial
Perform the hair and makeup trials on the same day. Do not test these elements separately. You need to see how the hair framing affects your face shape and contour. Shadows from certain hair styles change how your makeup appears in photos. Wear a white shirt to mimic the dress color. This provides a neutral backdrop to judge the color intensity.
Document the combined look under different lighting sources. Natural light reveals if the foundation matches your neck. Indoor lighting shows if the hair texture holds its shape. Take high resolution photos from every angle. Check for stray hairs or makeup smudges that appear after two hours of wear. This data tells you if the products and styles work together under stress. Consistency is your goal here.
Tips Hair Stylists Use That You Can Apply To Your Home Bridal Trial
Professional Hair Stylist Secrets For Long Lasting Bridal Updos
Professional stylists never work on fresh hair. Clean hair is too slippery for complex updos or braids. You must prep the hair with a dry texture spray or light sea salt spray before styling. This creates the necessary friction to hold pins in place for twelve hours. If your hair is too soft, the structure will collapse before the reception begins.
Strategic pinning is the foundation of any bridal look. Professionals use an anchor method by crossing two bobby pins in an X shape. This locking mechanism prevents the pins from sliding out under the weight of the hair. Always point the wavy side of the pin toward the scalp for maximum grip. Use professional grade pins rather than drugstore versions to ensure they maintain their tension.
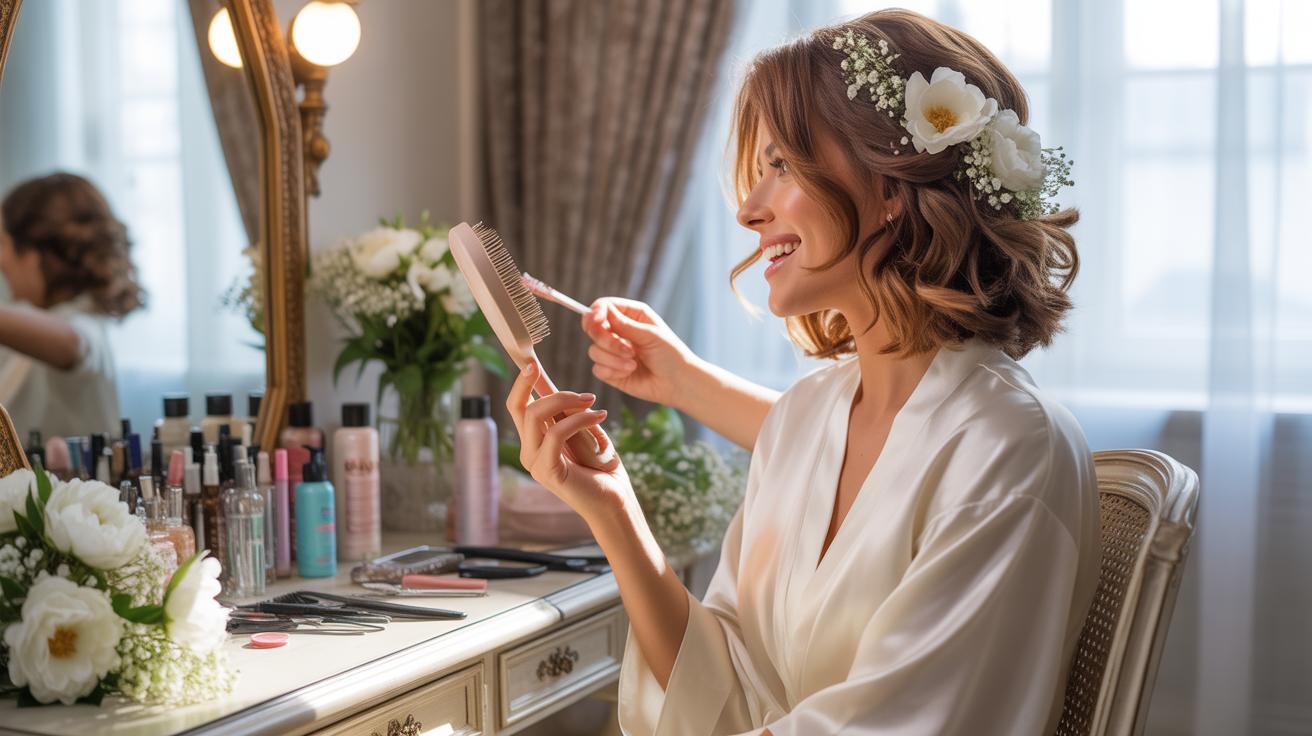
How To Photograph And Document Your Trial Results Like A Hair Stylist Would
Photos are your only objective record of how the hairstyle performs. Natural lighting is mandatory for accurate detail. Stand near a window but avoid direct sun which blows out the highlights. You need to see the texture and the silhouette clearly. Take photos from the front, both sides, and the back. These images act as your blueprint for the actual wedding day.
- Multi Angle Documentation: Capture a full three hundred sixty degree view of the style. High definition photos reveal if the balance is off or if certain sections look flat from specific angles.
- Natural Lighting Baseline: Use indirect sunlight to see how the color and texture appear in reality. Indoor yellow lights distort the hair tones and hide flaws that will show up in professional wedding photography.
- Movement Stress Test: Record a short video while shaking your head and walking. This shows how the hair moves and reveals any structural weak points. If a lock falls out now, it will fail later.
- Close Up Foundation Shots: Take macro photos of the pin placement and the hair tie locations. These technical shots serve as a map. You will forget the exact construction details without these specific visual cues.
- Time Stamp Evaluation: Take a photo immediately after finishing and another five hours later. Note exactly where the curls drop or where flyaways appear. This data tells you where you need more product or tighter pinning.
Compare your photos to your inspiration images to check for accuracy. Look for gaps in the volume or unevenness in the symmetry. Stylists use these photos to critique their own work and make adjustments. Save these images in a dedicated folder on your phone. Review them the morning of the wedding to refresh your memory on the exact steps you took during the trial.
Common Mistakes To Avoid During Your DIY Bridal Hair Trial At Home
Why Practicing Hair Do Ups Too Close To The Wedding Can Backfire
Timing is a critical tactical factor in your hair strategy. Attempting your first trial within fourteen days of the event creates unnecessary stress. You need time to identify if your hair lacks the required length or density for specific styles. Late discovery of these issues leaves no room to source extensions or change the theme. Early trials allow you to test how various products react with your unique scalp chemistry over several weeks.
Developing muscle memory for complex pinning and sectioning takes repeated sessions. You cannot master a professional grade updo in a single night. Procrastination limits your ability to wear the style for a full twelve hour period as a durability test. If the style fails two days before the wedding you will panic. Secure your final technique at least one month prior to ensure complete confidence on the morning of the ceremony.
How To Troubleshoot A Bridal Hairstyle That Is Not Holding Or Looking Right
Structural failure usually stems from poor foundation work. If your style collapses it likely lacks a sufficient base of dry texture spray or backcombing. Do not keep adding more hairspray to fix a sagging shape. Heavy product loading makes hair wet and heavy which pulls the style down further. Instead you must take the section apart and rebuild it. Check that your bobby pins are crossing in an X shape for maximum grip.
Visible pins or uneven proportions indicate the sectioning was sloppy. Use a three way mirror to inspect every angle of the head. If the half up look appears flat you must increase the volume at the crown using a fine tooth comb. Ensure you are using the correct heat settings on your tools. Low heat will not set the curl and high heat can burn the hair fibers. Adjust your tension until the hair stays secure.
Frequently Asked Questions

What exactly is a bridal hair trial at home and why should I consider one?
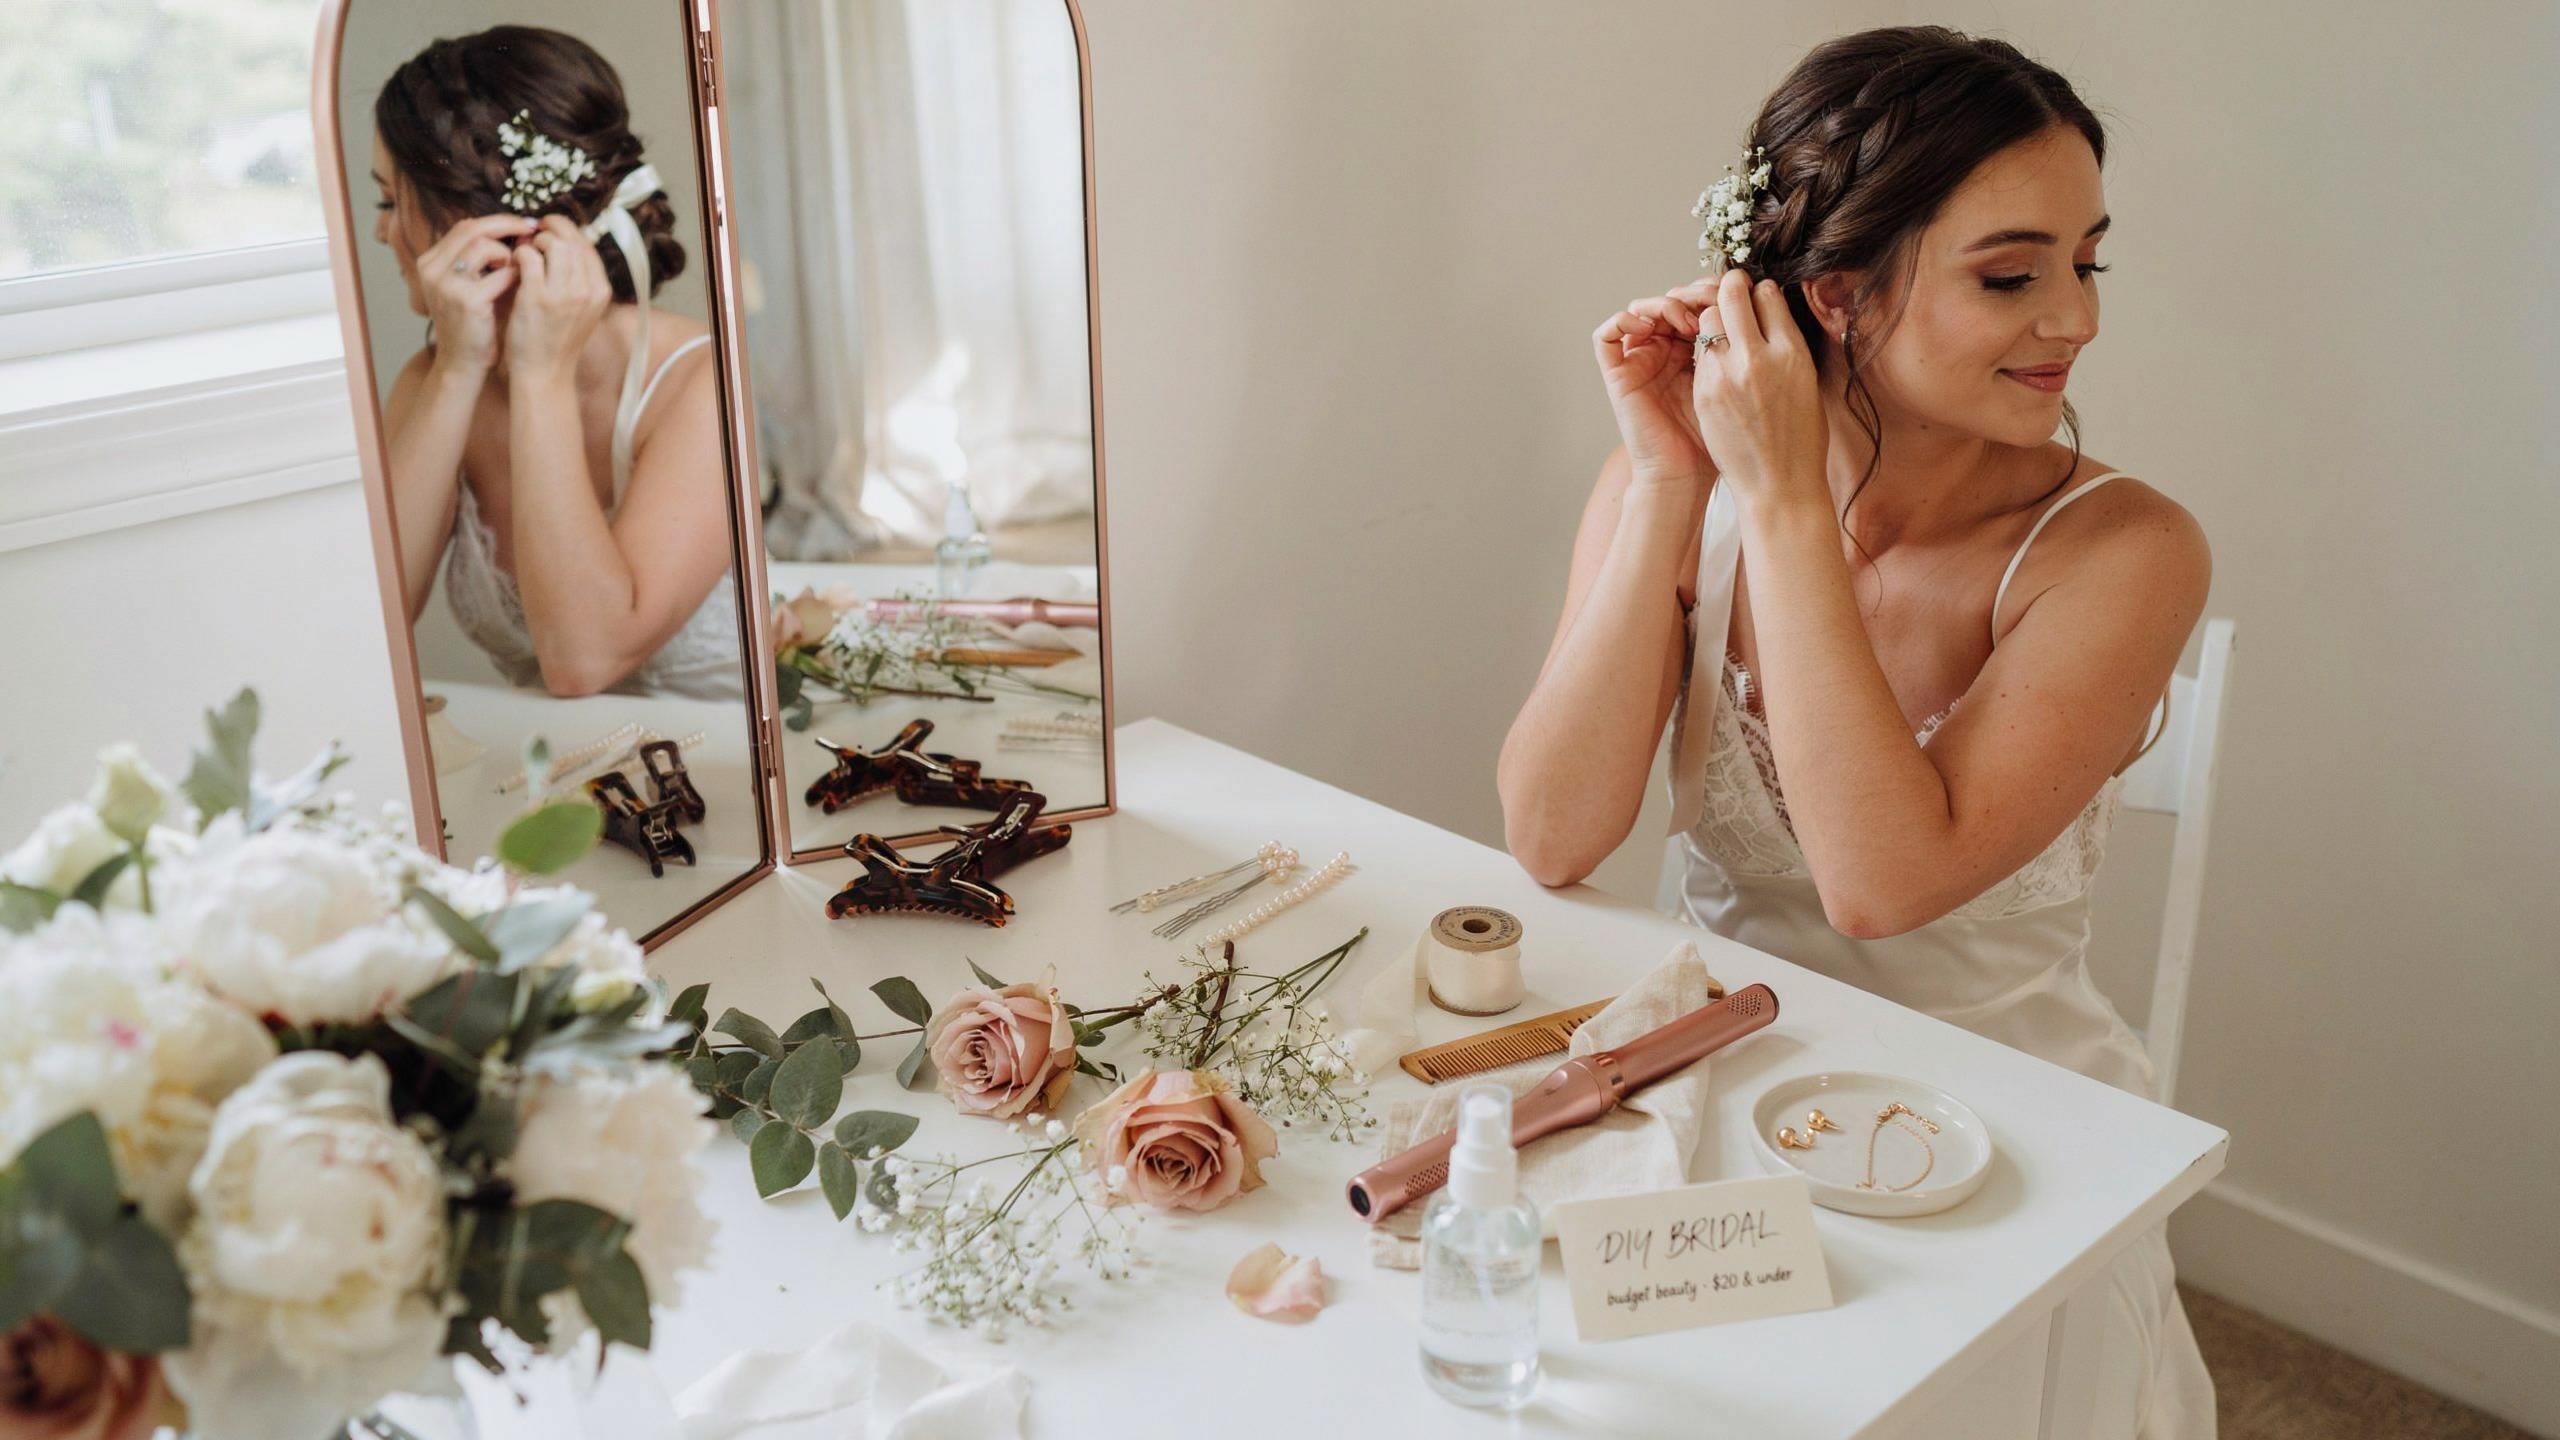
A bridal hair trial at home is a practice session where you test different wedding hairstyles in your own space before the big day. Doing this allows you to see how a look complements your dress and accessories without the pressure of a salon environment. It is the perfect way to ensure your chosen style lasts for hours while giving you total creative control over your final wedding day aesthetic.
How do I properly prepare my hair and space for a successful DIY trial?
To get the best results during your bridal hair trial at home, start with clean, dry hair—unless your specific style requires second-day grit. Set up your station near a large window for natural lighting and use a handheld mirror to check the back. Make sure you have all necessary tools, such as professional-grade pins, hairspray, and your veil, to accurately replicate how the style will look and hold.
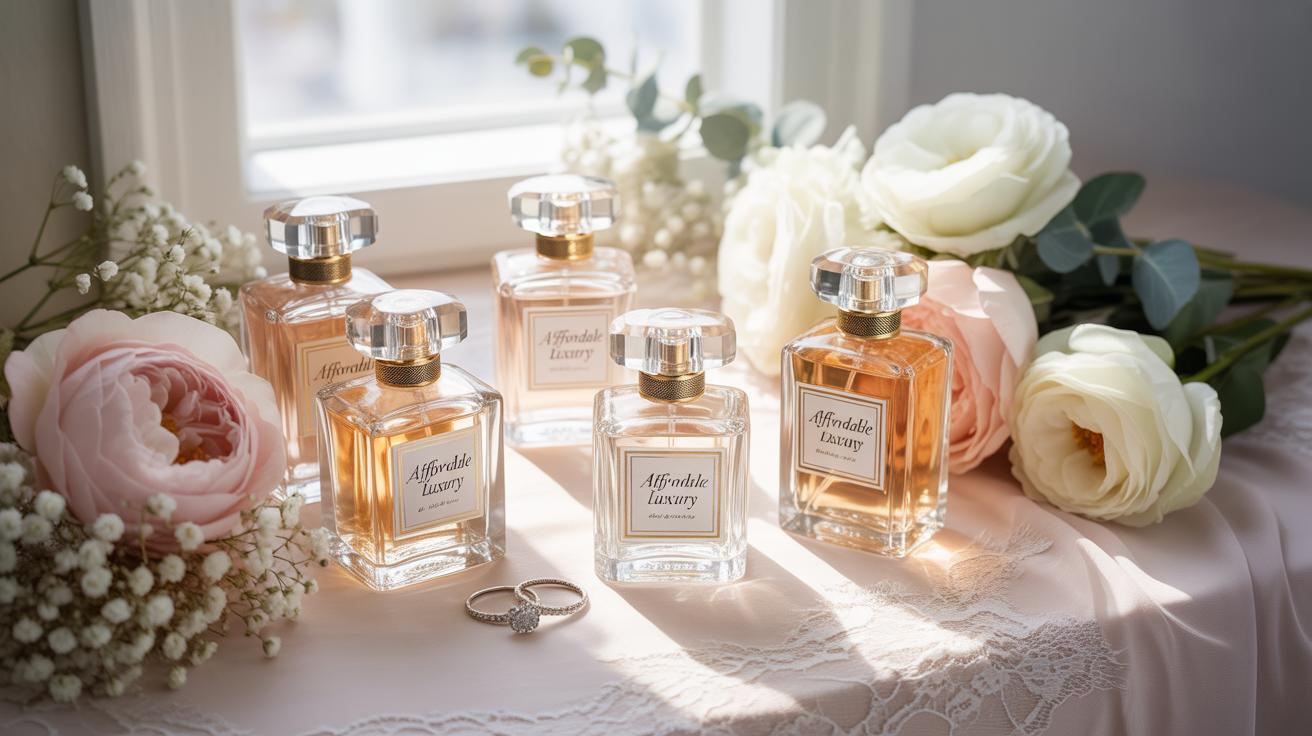
Can I achieve a professional wedding look at home if I am on a tight budget?
Absolutely! Performing your own trial is a fantastic way to save on stylist fees while still achieving a high-end look. By investing in a few quality products and following detailed video tutorials, you can master complex braids or elegant updos yourself. This budget-friendly approach ensures you feel confident and beautiful on your wedding day without the expensive price tag of multiple professional consultations or salon travel fees.