What Is Simple Wedding Makeup And Why Less Is More For Brides
The Philosophy Behind A Natural Bridal Look
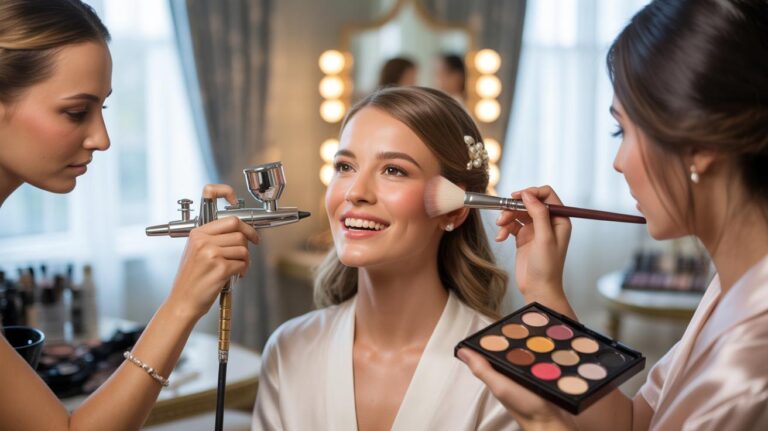
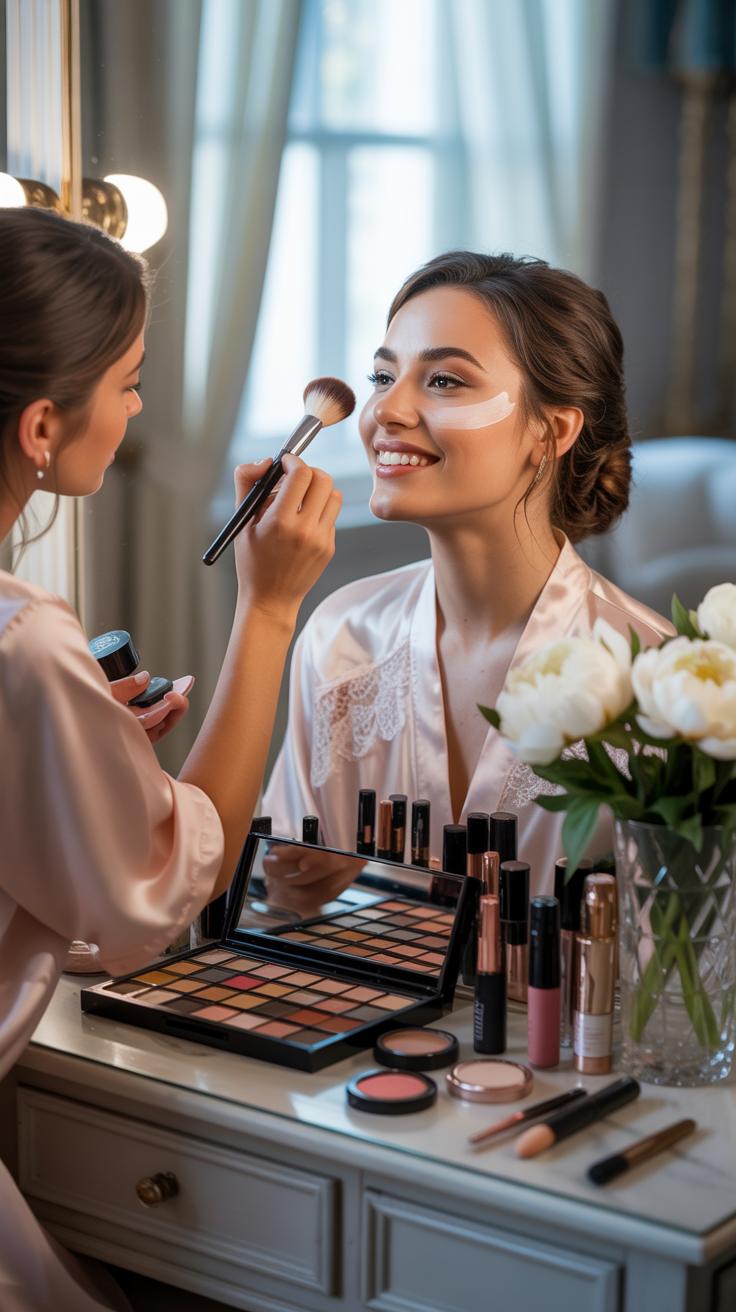
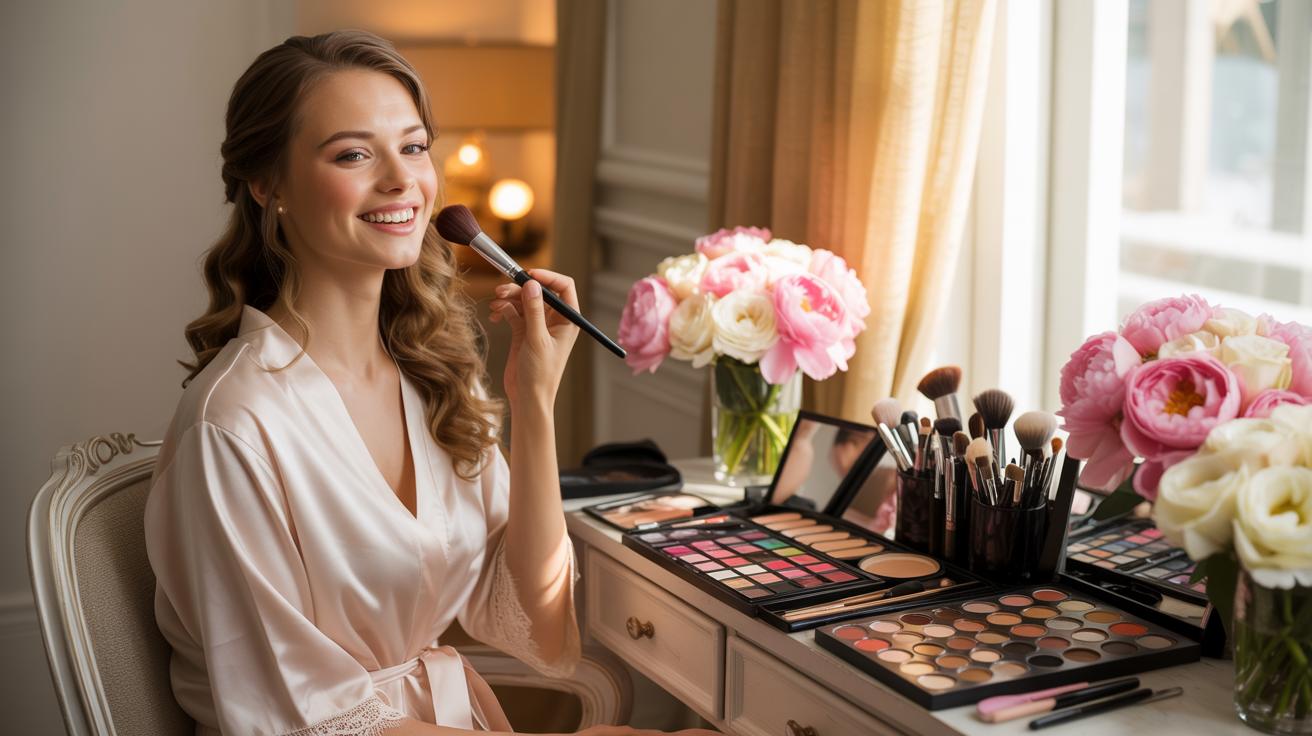
Simple Wedding Makeup focuses on skin correction and enhancing your existing facial structure. This approach rejects heavy masking in favor of strategic placement. Modern brides prefer Soft Bridal Makeup because it prioritizes comfort and longevity. When you choose a Bridal Makeup Tutorial like this, you ensure your face remains recognizable. You avoid the risk of a heavy mask cracking or shifting during a long ceremony.
Diy Wedding Makeup requires a tactical mindset to succeed. You must master blending and color theory rather than relying on thick product layers. This Bridal Makeup At Home strategy reduces the chances of application errors. Simple Makeup Looks rely on the quality of your skin prep and the precision of your tools. By focusing on a natural aesthetic, you create a timeless appearance that does not age.
How Natural Makeup Photographs Better On Your Wedding Day
Professional cameras and flash photography react to texture. A heavy Wedding Makeup Tutorial often results in a cakey finish under high-definition lenses. Soft Bridal Makeup avoids this by using light-reflective products that mimic real skin. Modern digital sensors pick up every layer of product. Choosing a Diy Makeup Wedding path with less product prevents the camera from highlighting fine lines and dry patches.
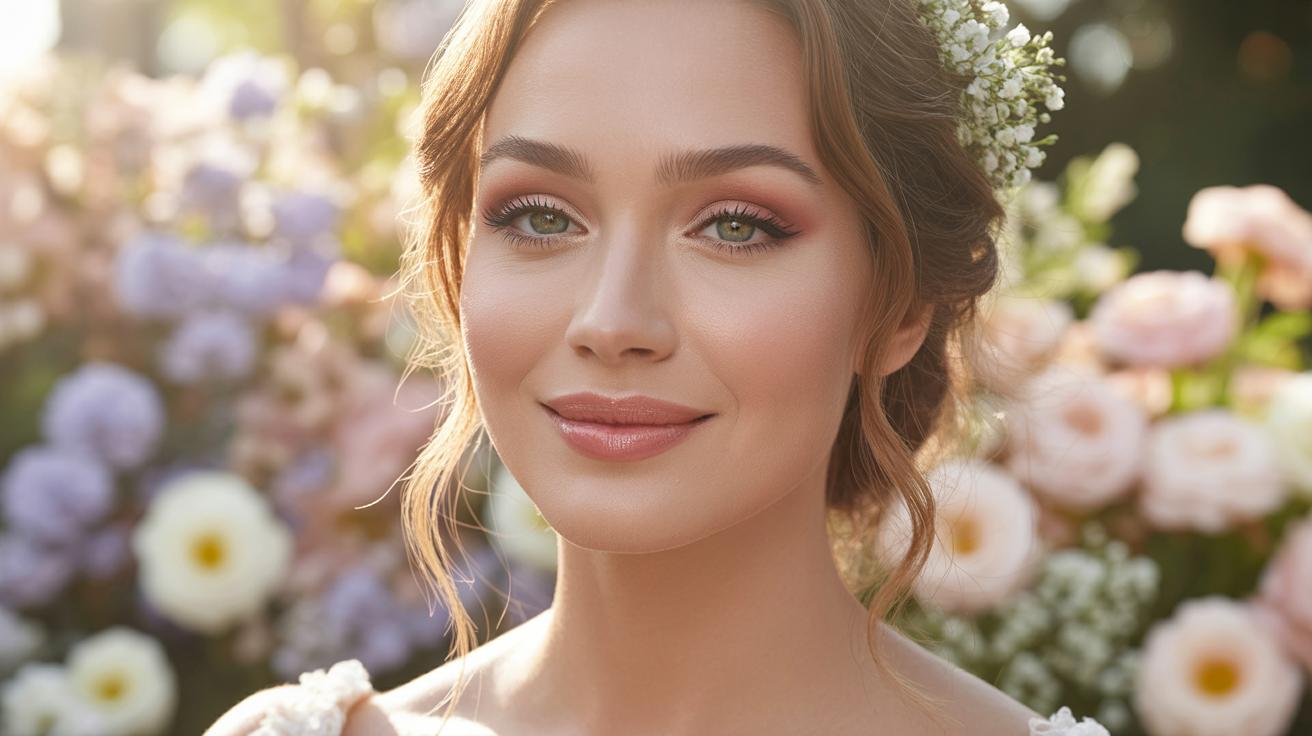
Lighting changes throughout the event from natural sun to indoor tungsten. Wedding Makeup Tutorials that emphasize heavy contour often look muddy in candid outdoor shots. A natural Bridal Makeup Tutorial ensures your face transitions smoothly between these environments. High-definition photography requires a clean base to look polished. Using Simple Makeup Looks helps you maintain a clear and fresh appearance in every single frame of your wedding album.
Essential Tools And Products For Bridal Makeup At Home
Must Have Makeup Products Every Beginner Bride Needs
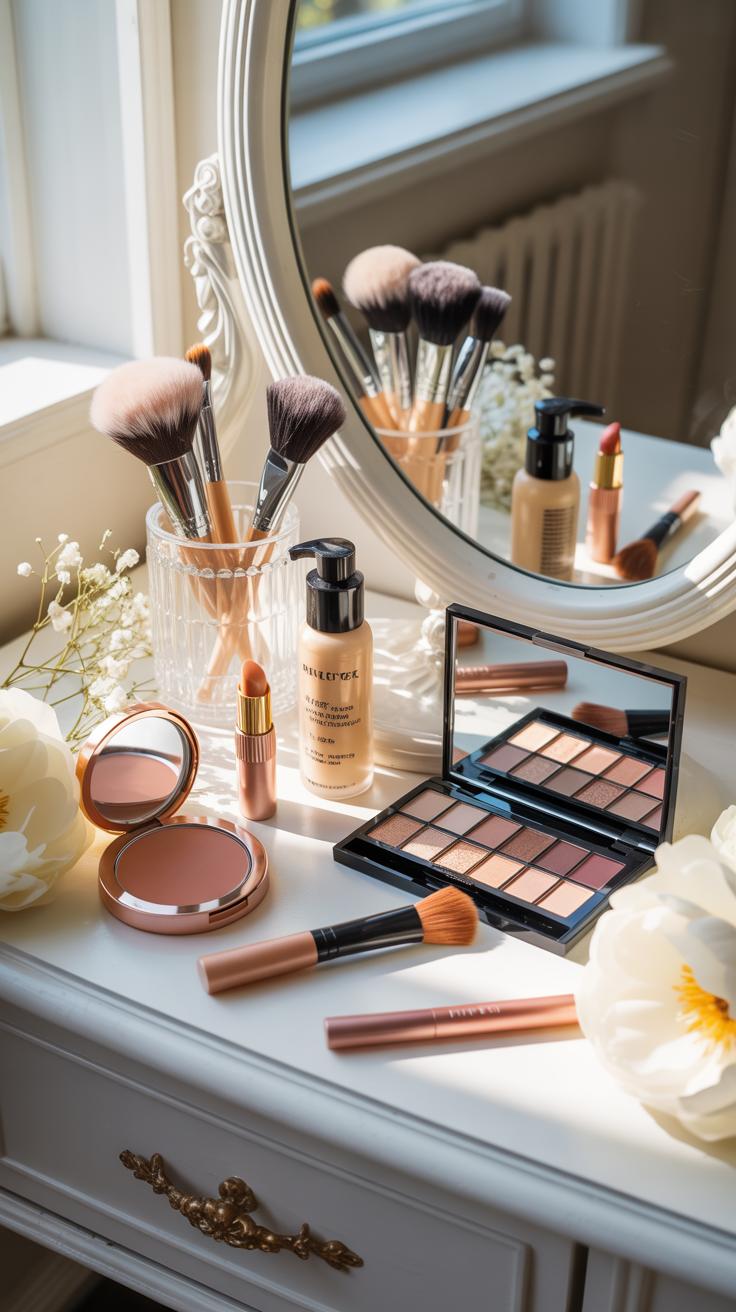
Successful Bridal Makeup At Home requires professional grade tools and specific product categories. You must select items built for longevity and high definition photography. A Simple Wedding Makeup kit eliminates unnecessary steps while focusing on color correction and structural enhancement. Beginners often fail because they use everyday products that oxidize or slide off. Invest in reliable formulas to ensure a polished result.
- Silicone Based Primer: This creates a smooth barrier between skin and foundation. It fills fine lines and pores to ensure even application. Use this to help your makeup withstand heat, humidity, and long hours of wear during your wedding celebration.
- Full Coverage Concealer: Select a creamy formula that matches your skin tone perfectly for blemishes. Use a shade lighter for the under eye area. This product hides fatigue and redness, providing the flawless base necessary for any professional looking Bridal Makeup Tutorial.
- Translucent Setting Powder: Choose finely milled powders to lock your base in place without adding texture. Avoid products with high silica content to prevent flashback in flash photography. This step is critical for maintaining your look from the ceremony through the late reception.
- Waterproof Mascara and Eyeliner: Emotional moments require smudge proof formulas that do not budge. Waterproof products resist tears and sweat throughout the day. These items are non negotiable for anyone following a Wedding Makeup Tutorial to ensure their eye makeup stays sharp.
- Cream or Powder Blush: Use a shade that mimics your natural flush for Soft Bridal Makeup. Layering a powder over a cream increases durability. This technique prevents the color from fading under bright camera lights, keeping your face looking vibrant and healthy in photos.
Your choice of tools determines the final finish of your Diy Wedding Makeup. High quality synthetic brushes blend cream products better than fingers. A damp beauty sponge is the best tool for pressing foundation into the skin for a seamless look. These Wedding Makeup Tutorials emphasize that the right equipment reduces blending time. Master these basics to achieve the best outcome.
Choosing Skin Friendly Formulas That Last Through The Ceremony
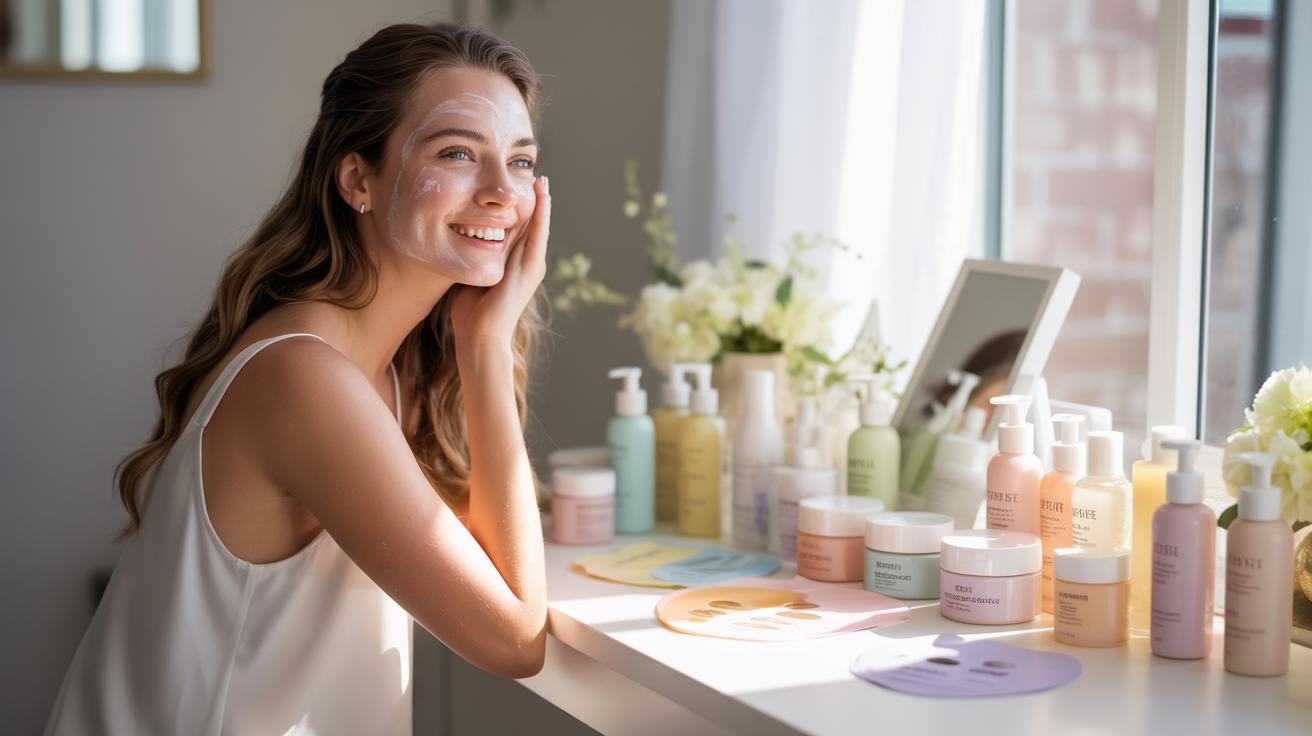
Selecting the right chemistry for your skin type prevents mid day meltdowns. Oily skin requires matte, oil free foundations to control shine. Dry skin needs hydrating formulas containing hyaluronic acid to prevent flaking. Your Simple Makeup Looks rely on products that move with your skin rather than sitting on top. Test all formulas at least one month before the event to check for reactions.
Longevity is the goal for any Diy Makeup Wedding project. Look for long wear labels and transfer resistant claims on all packaging. Avoid heavy fragrances and oils that can clog pores or cause sudden breakouts. Proper prep with a pH balancing toner helps these skin friendly formulas adhere better. Durable products allow you to focus on your day instead of worrying about constant touch ups.
Skin Prep The Secret Foundation Of Any Bridal Makeup Tutorial
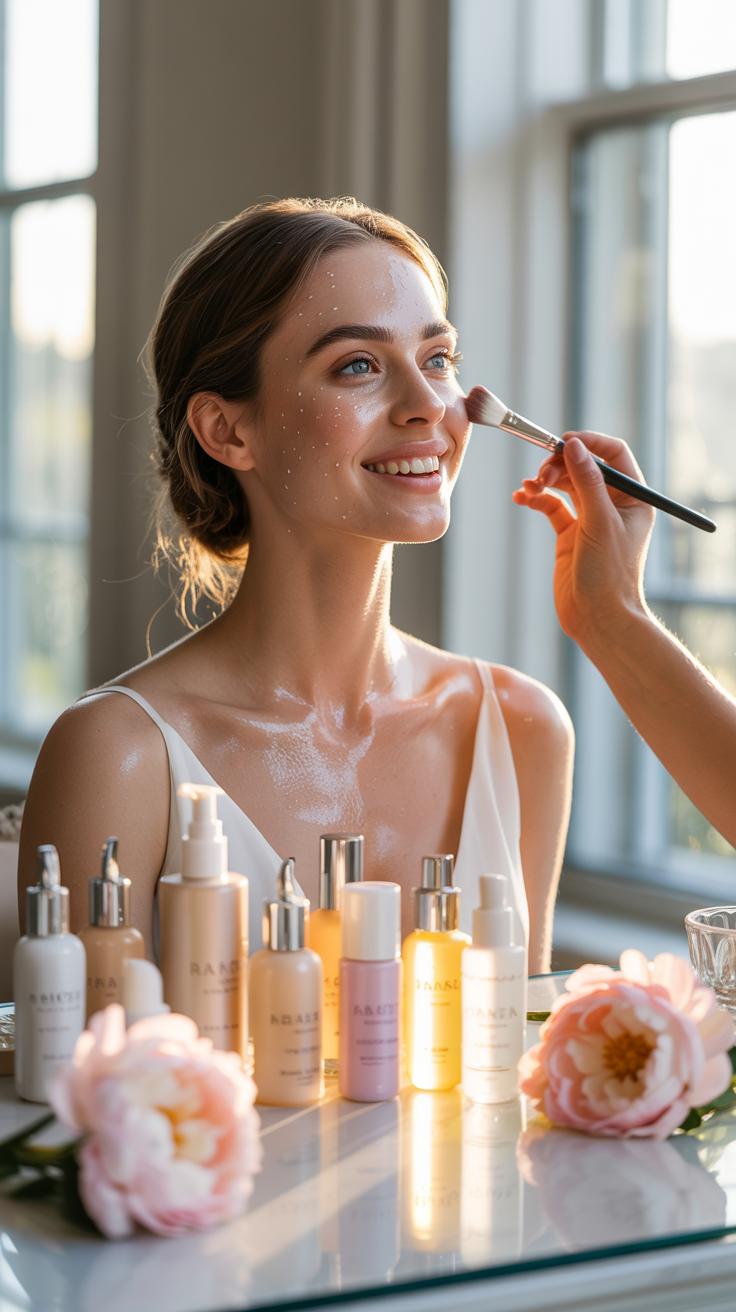
How To Cleanse, Moisturize, And Prime Your Skin Before Makeup
Start with a gentle pH balanced cleanser to remove surface oils without stripping the skin barrier. Applying Soft Bridal Makeup requires a smooth canvas free of debris. Use lukewarm water to prevent redness. Pat the skin dry with a clean towel. Avoid aggressive scrubbing that causes irritation. This step ensures your Bridal Makeup Tutorial results look professional and last throughout the entire wedding event.
Follow cleansing with a lightweight moisturizer suited for your specific skin type. Wait five minutes for the product to absorb completely before applying primer. A silicone based primer fills fine lines and pores for an effective Bridal Makeup At Home application. This creates a grip for the foundation. Proper prep ensures your Simple Wedding Makeup does not slide off or oxidize under heavy photography lights.
Why Skincare Weeks Before The Wedding Matters More Than Makeup
Consistent skincare sets the stage for successful Diy Wedding Makeup. Start a strict regimen of hydration and chemical exfoliation at least three months before the big day. This timeline allows the skin to renew itself naturally. Makeup cannot hide texture or active breakouts effectively. A healthy glow makes any Simple Makeup Looks appear more authentic and refined during up close interactions with guests.
Avoid trying new active ingredients or professional peels in the final fourteen days. High stress levels can cause reactive skin. Rely on proven products that provide intense moisture. Learning through various Wedding Makeup Tutorials is useless if the skin is peeling or inflamed. Success with Diy Makeup Wedding depends on dermal health. Good skin reduces the amount of heavy coverage needed for your Wedding Makeup Tutorial.
Step By Step Wedding Makeup Tutorial For A Flawless Base
Applying Foundation And Concealer For A Natural, Skin Like Finish
Select a medium coverage foundation for your Diy Wedding Makeup. Apply it to the center of your face where redness occurs most often. Use a damp sponge to bounce the product into the skin. This technique prevents heavy build-up and maintains the appearance of real texture. Start with a thin layer of product. You can add more only to areas that need extra help.
A Bridal Makeup Tutorial requires precision with concealer. Apply a creamy formula only to the inner corners of the eyes and around the base of the nose. Blend the edges thoroughly to create Soft Bridal Makeup. Do not drag the product or you will create streaks. High quality tools ensure your Simple Wedding Makeup looks professional while staying light enough for close-up photography.
Setting Your Base With Powder For Long Lasting Wedding Coverage
Setting your base is critical for Bridal Makeup At Home. Use a loose translucent powder to stop movement without adding weight. Press the powder into the skin using a velour puff rather than a brush. This method locks the foundation in place for a Wedding Makeup Tutorial that survives heat and humidity. Focus specifically on the T-zone area to control unwanted shine.
Diy Makeup Wedding success depends on strategic placement. Avoid heavy powder on the outer edges of the face to keep Simple Makeup Looks fresh. Lightly sweep away excess product with a clean fan brush to prevent a dry appearance. Mastering this step in Wedding Makeup Tutorials ensures your face looks like skin instead of a mask. Proper setting keeps your hard work intact for the full event.
Eyes And Brows Defining Simple Makeup Looks For The Bride
How To Shape And Fill Brows For A Soft, Polished Appearance
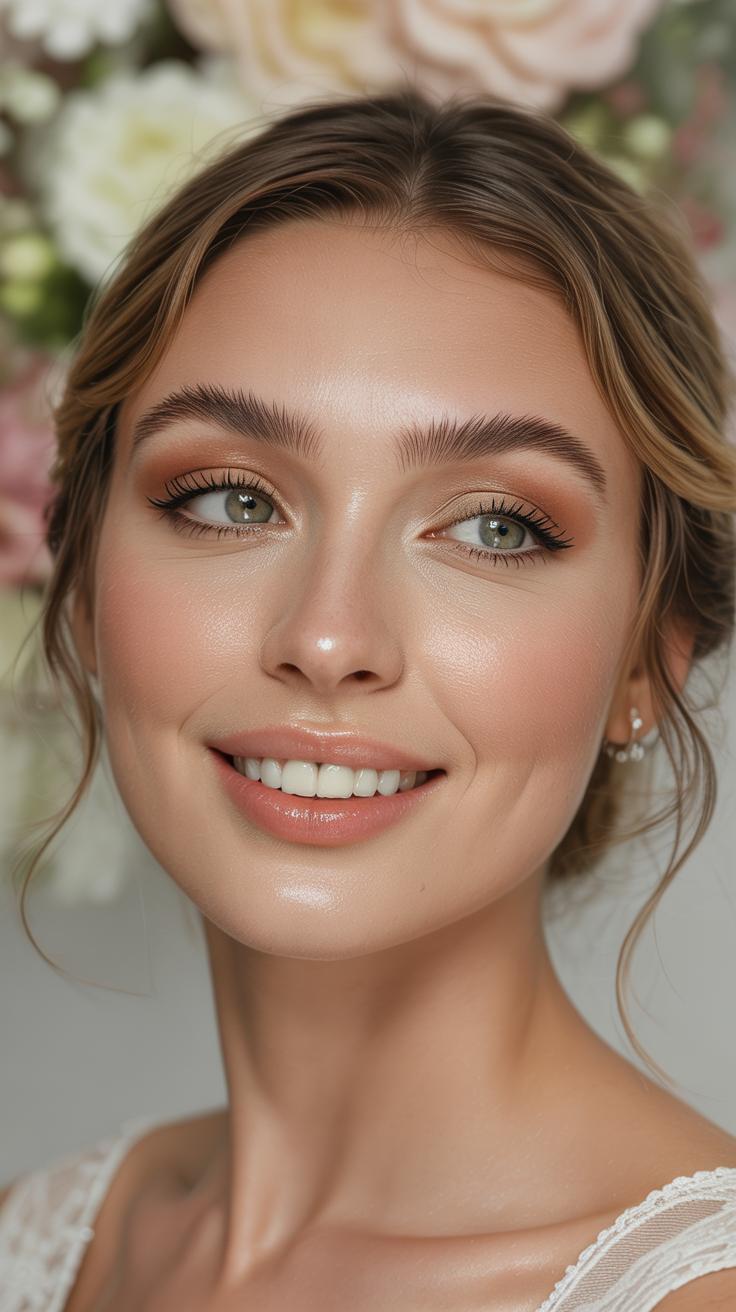
Effective Bridal Makeup Tutorial methods prioritize eyebrow structure to frame the face. Use a pencil one shade lighter than your natural hair color to avoid harsh lines. Start at the arch and move toward the tail using short and flicking motions. This technique mimics natural hair growth and ensures a Soft Bridal Makeup result. Avoid heavy blocks of color at the front of the brow.
Brush through the hairs with a clean spoolie to blend the pigment into the skin. This step is vital for Diy Wedding Makeup because it removes excess product that causes smudging. Set the shape with a clear brow gel to lock hairs in place for the full event duration. Consistent Simple Makeup Looks rely on tidy and symmetrical brows that do not distract from the eyes.
Natural Eye Makeup Techniques That Open And Brighten The Eyes

A successful Wedding Makeup Tutorial focuses on eye longevity and brightness. Apply a neutral primer from the lash line to the brow bone to prevent creasing. Use matte earth tones in the crease to add depth without looking heavy. These Wedding Makeup Tutorials emphasize using a light shimmer on the center of the lid. This reflects light and makes the eyes appear large and awake.
Mastering Diy Makeup Wedding application requires tightlining the upper lash line. Use a waterproof espresso or charcoal pencil to create thickness without a visible heavy line. Apply a nude liner to the lower waterline to neutralize redness. This tactic is essential for Simple Wedding Makeup because it keeps the gaze clear and bright. Finish with two coats of waterproof mascara for Bridal Makeup At Home success.
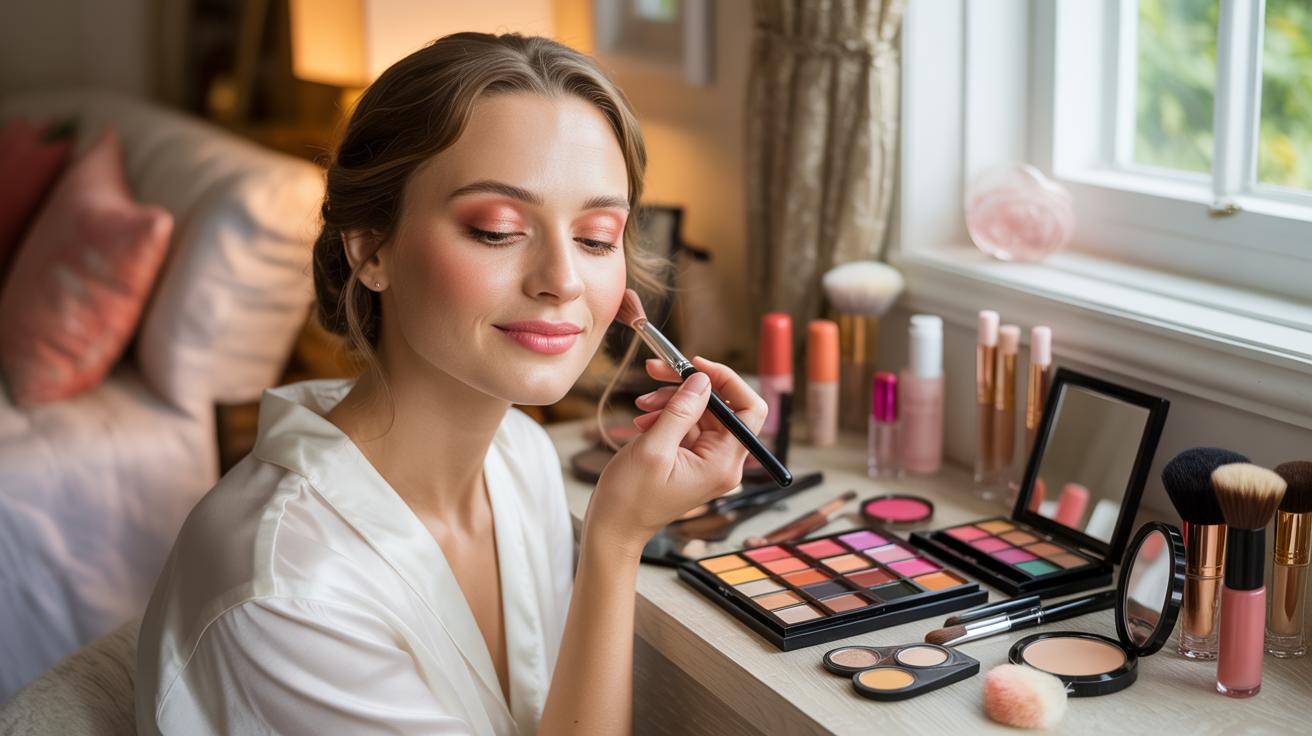
Blush Bronzer And Highlight The Art Of Soft Bridal Makeup
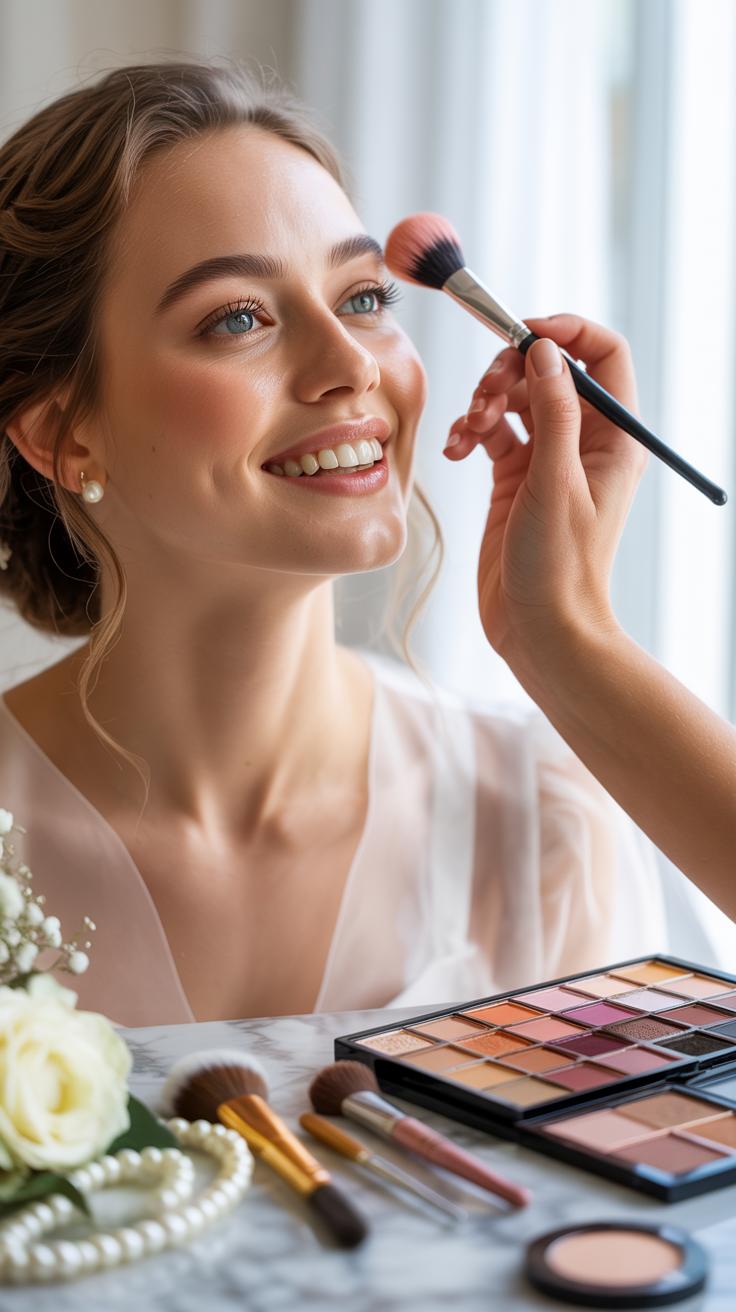
Where And How To Apply Blush For A Healthy, Radiant Flush
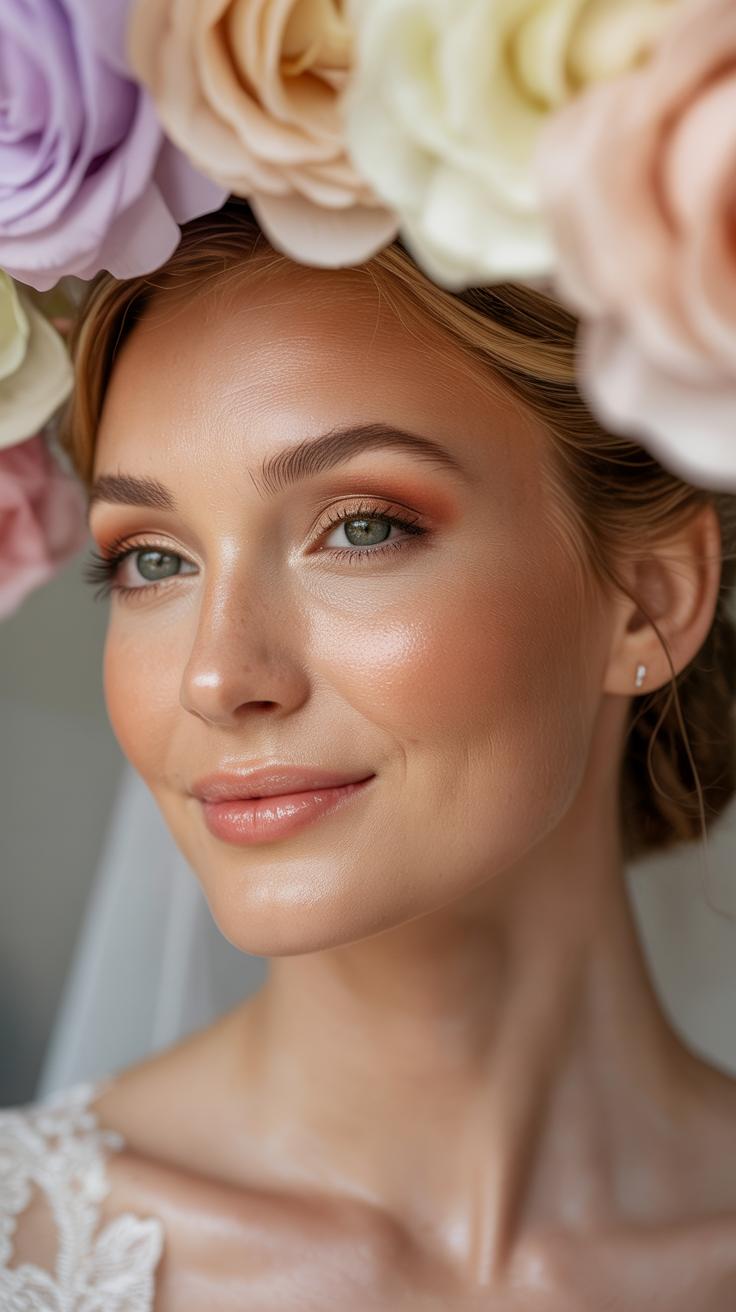
Successful Simple Wedding Makeup requires a blush application that mimics a natural blood flow to the face. You must place color on the high points of the cheekbones rather than the apples to create a lifted effect. Start with a cream formula for your Bridal Makeup At Home and blend it upward toward the temples using a dense brush. This technique ensures the pigment melts into the skin.
Select a shade that matches your natural flush after exercise for the most authentic Soft Bridal Makeup look. Avoid heavy shimmer in your blush to prevent unwanted texture in flash photography. Layer a small amount of translucent powder over the cream to lock the color in place for twelve hours. This step is critical in any Bridal Makeup Tutorial to ensure the color remains visible during long ceremonies.
Beauty, to me, is about being comfortable in your own skin. That, or a kick-ass red lipstick.
— Gwyneth Paltrow
Using Bronzer And Highlighter To Sculpt A Natural Bridal Glow
Bronzer provides the necessary structure for any Wedding Makeup Tutorial without the harsh lines of traditional contouring. Apply a matte powder bronzer to the forehead, jawline, and hollows of the cheeks using a large fluffy brush. This method defines the face shape for Simple Makeup Looks while maintaining a realistic finish. Focus on the perimeter of the face where the sun naturally hits the skin.
Proper Highlighter application is the final step in Diy Wedding Makeup to provide depth. Use a champagne or gold pressed powder on the tops of the cheekbones and the bridge of the nose. Keep the product away from the center of the forehead to avoid looking greasy in photos. Professional Wedding Makeup Tutorials emphasize this distinction to ensure the bride looks radiant rather than oily during Diy Makeup Wedding.
Lips And Setting Completing Your DIY Wedding Makeup Look
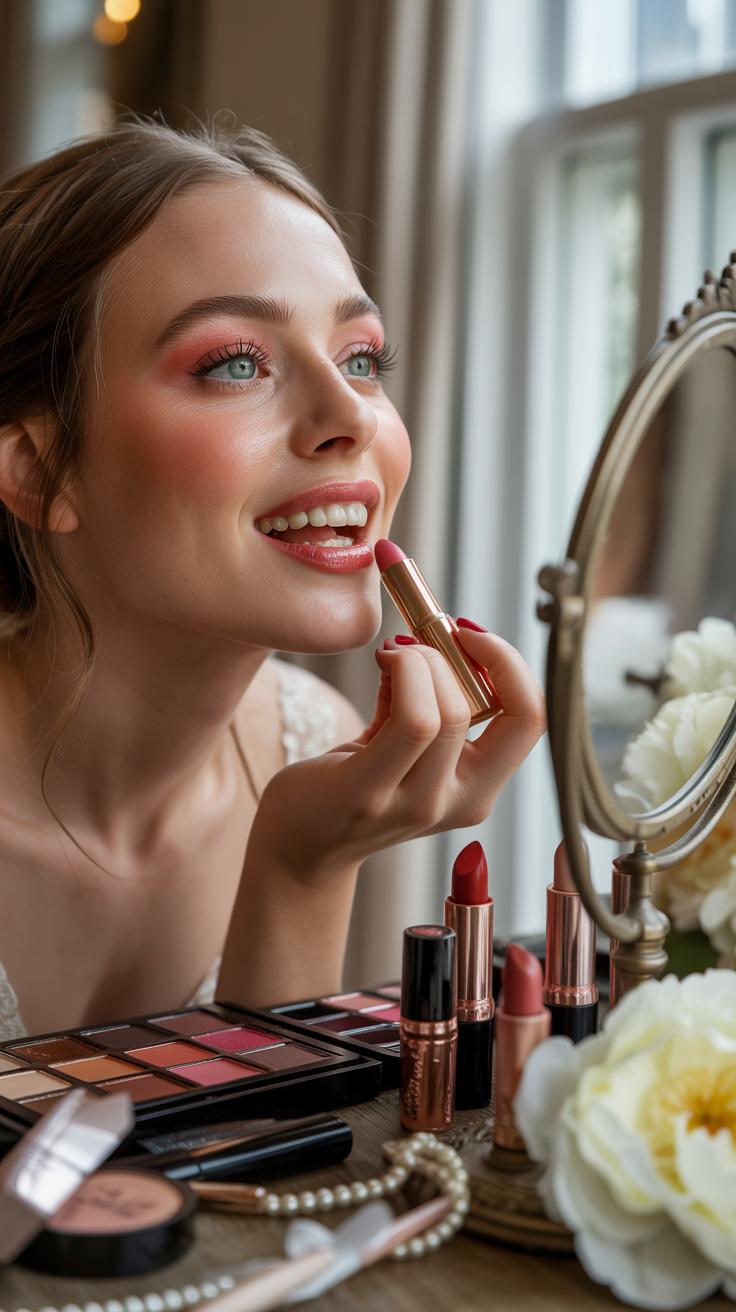
Choosing The Right Lip Color To Complement Your Natural Bridal Look
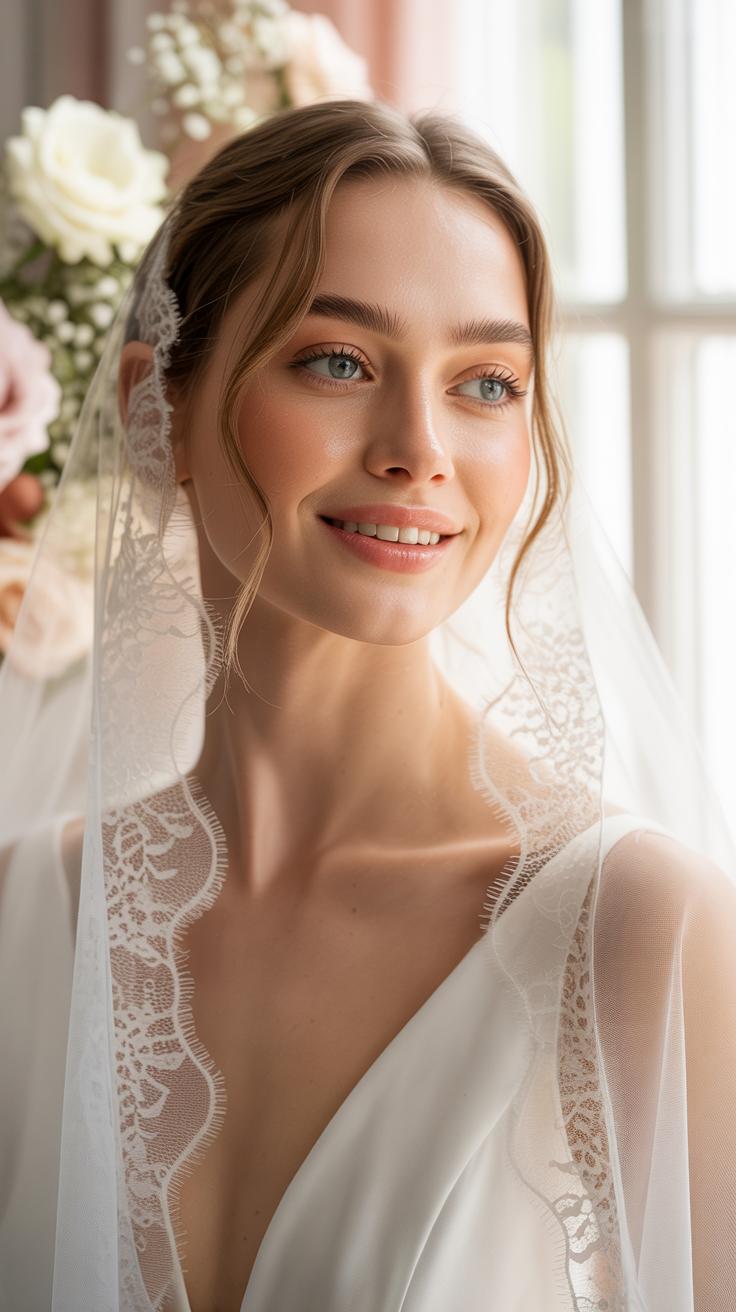
Select a lip shade that enhances your natural tone for a successful Bridal Makeup Tutorial. Use a color two shades deeper than your bare lips to ensure you do not look washed out in professional photos. Avoid high-gloss formulas that move during the ceremony. Instead, choose satin or matte finishes for Simple Makeup Looks. These textures provide longevity and require fewer touch-ups throughout your long event.
Diy Wedding Makeup requires a precise application to maintain the Soft Bridal Makeup aesthetic. Use a wax-based lip liner to prevent feathering and define the lip border. This creates a barrier for your lipstick or tint. Professional Wedding Makeup Tutorials often suggest blotting between layers to build a stain. This method ensures your lip color remains visible after talking, eating, and drinking during the reception.
How To Set Your Makeup So It Lasts From Ceremony To Reception
Longevity is the goal for any Bridal Makeup At Home. You must set cream products with a translucent powder to prevent sliding. Use a small brush to target the T-zone and under the eyes. This technique locks in your Simple Wedding Makeup without adding heavy texture. Proper setting ensures your base remains intact through sweat and tears. It also prevents your foundation from transferring onto clothing.
A high-quality setting spray is the final step in a Wedding Makeup Tutorial. Use a formula with film-former ingredients like PVP to create a water-resistant seal. Mist the face in an X and T pattern for full coverage. This step is critical for Diy Makeup Wedding success under harsh lighting. It binds the powder layers with the skin for a seamless finish. Your look will now withstand the entire day.
Top Tips From Wedding Makeup Tutorials Every Beginner Should Know
Common Bridal Makeup Mistakes And How To Avoid Them
Beginners often fail at diy wedding makeup by applying products too heavily. They assume camera flash requires thick layers. This is false. Heavy application causes creasing and makes soft bridal makeup look aged. You must balance coverage with skin texture. Avoid products with high SPF content to prevent white flashback in photos. Use thin layers and build coverage only where necessary for a clean look.
- Skipping Waterproof Products: Tears and sweat will ruin standard formulas. Ensure your mascara and eyeliner are waterproof to prevent smudging during the ceremony. This is a critical step in any bridal makeup tutorial to maintain a professional finish all day.
- Over-powdering the Face: Too much powder kills the natural glow. Focus powder only on the T-zone to control shine. Keeping the cheeks luminous ensures simple makeup looks remain fresh and youthful rather than flat or cakey under harsh lighting.
- Ignoring the Neck and Chest: A face that does not match the body looks like a mask. Blend your foundation down to your neck and collarbones. Consistency in skin tone is vital for bridal makeup at home to ensure seamless photos.
- Testing New Products Late: Never try a new skincare or makeup product the week of the wedding. Allergic reactions or breakouts can ruin your canvas. Stick to known, tested products that you have used successfully for at least one month prior.
- Using Excessive Highlighter: Large particles of glitter look like sweat or oily patches on camera. Choose finely milled shimmers for a wedding makeup tutorial. Apply it only to high points like cheekbones to achieve a healthy radiance without looking greasy.
Proper lighting is the most important factor when following wedding makeup tutorials. Many people apply makeup in yellow bathroom light. This leads to harsh lines and incorrect color matching. Always use natural daylight or 5500K LED bulbs. This setup reveals mistakes before you leave the house. Check your reflection from multiple angles to ensure every edge is properly blended for your event.
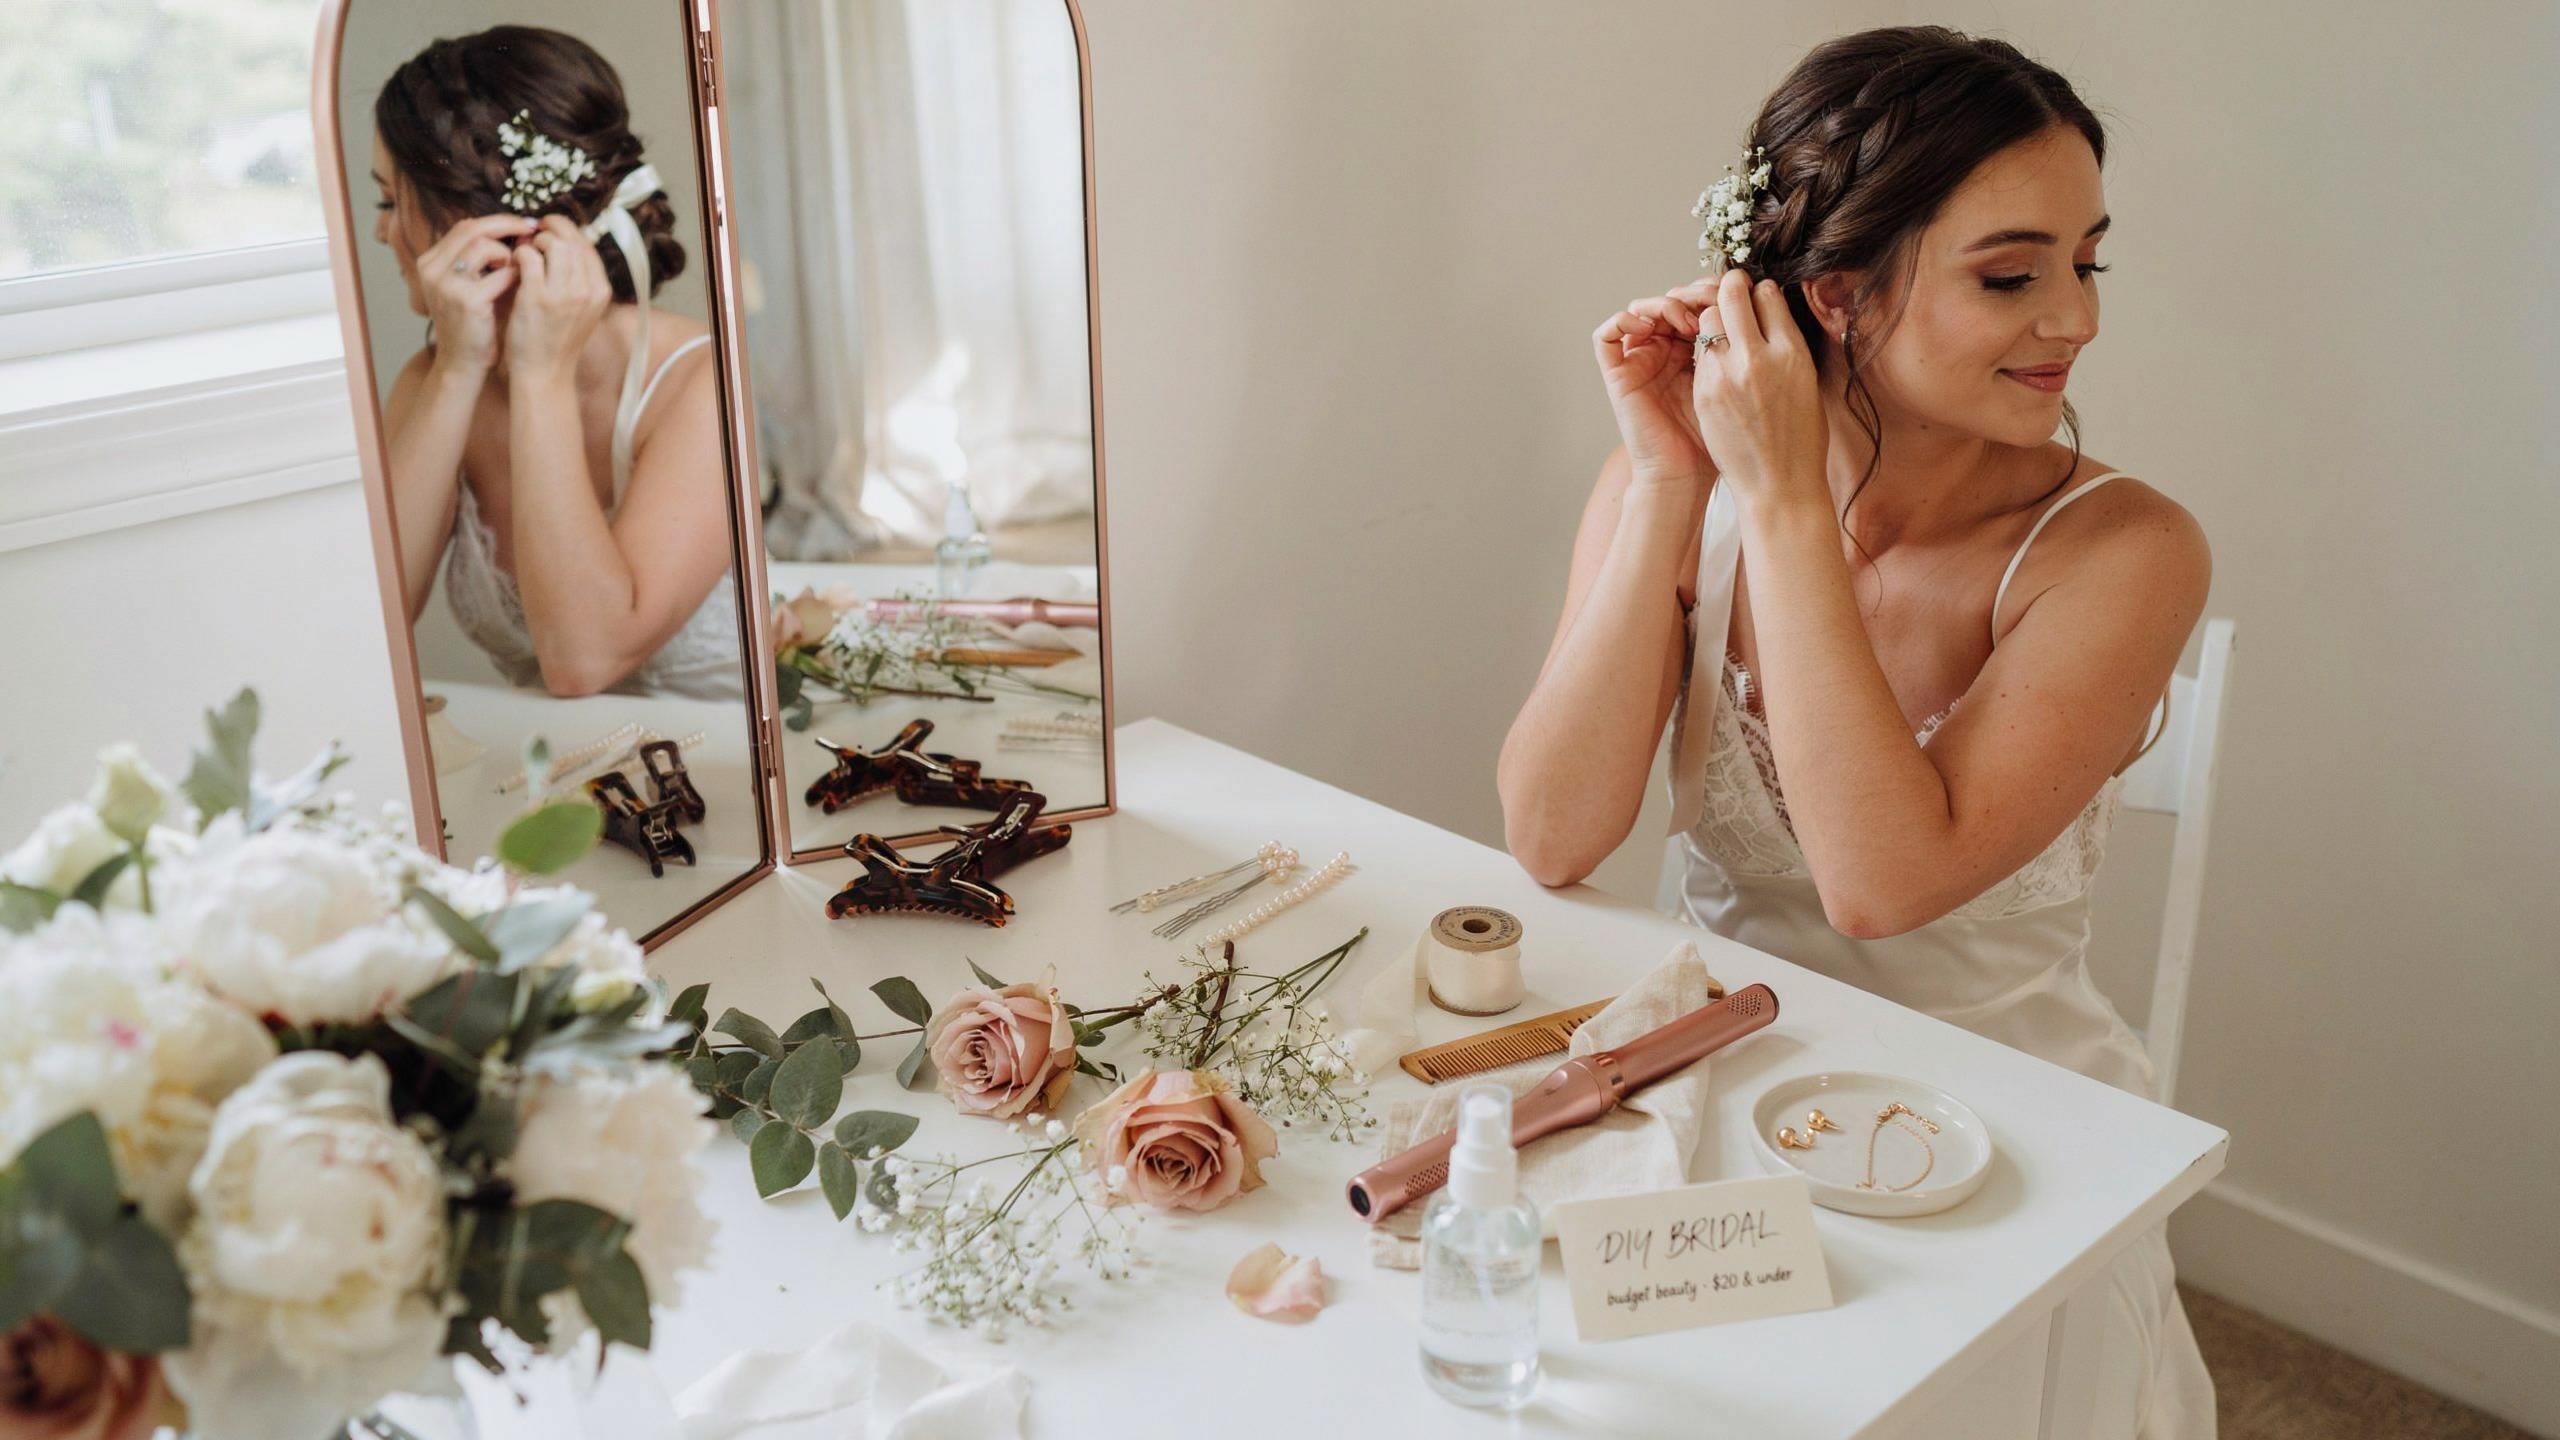
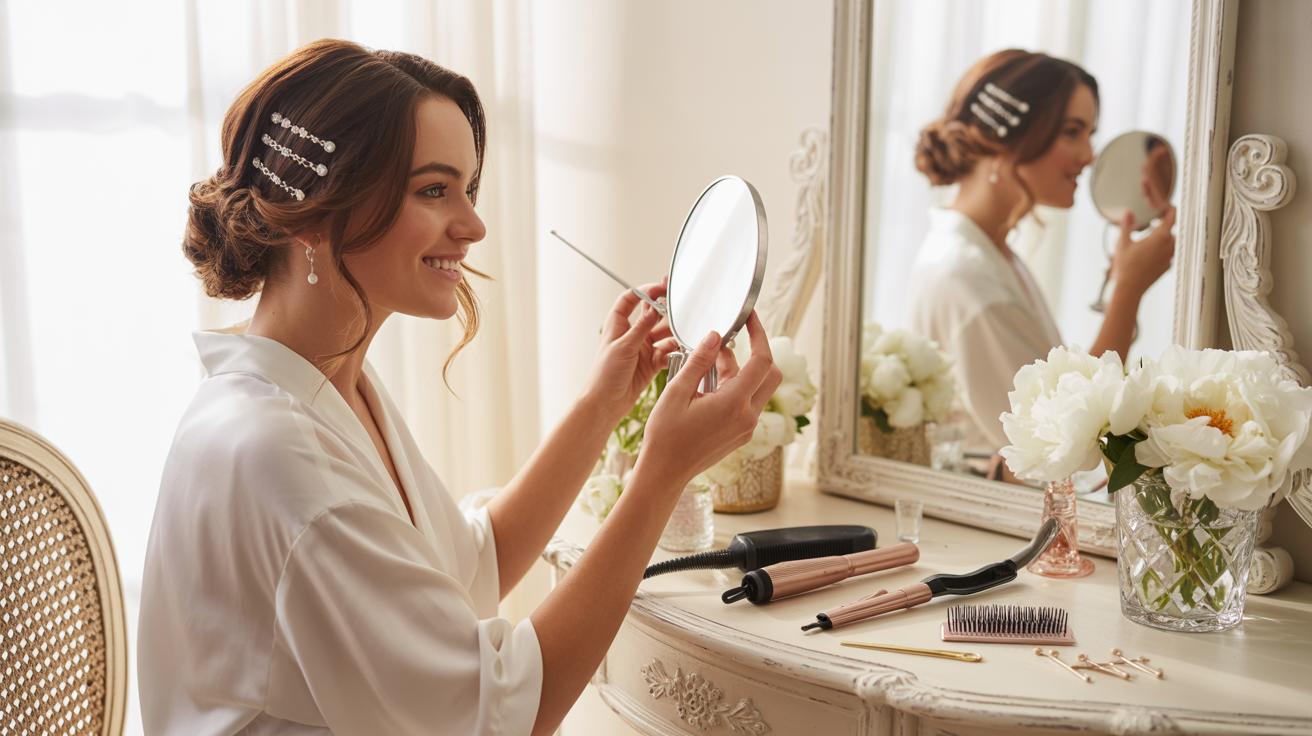
How To Do A Makeup Trial Run Before The Big Day
Executing a successful diy makeup wedding requires at least two full trial runs. Do not just test colors on your hand. Apply the full look from primer to setting spray. Wear a white shirt to see how the colors contrast with a bridal palette. Take photos in direct sunlight and indoors with flash. This identifies if your foundation shade is correct or if your blush is fading too fast.
Time your application during the trial to avoid stress on the wedding day. A simple wedding makeup routine should take roughly sixty minutes. If it takes longer, simplify your steps. Wear the makeup for at least eight hours to test longevity. Observe how the products settle into your skin over time. This data allows you to adjust your technique or products for the final wedding makeup tutorial.
DIY Makeup Wedding Touch Up Kit Stay Fresh All Day Long
What To Pack In Your Bridal Touch Up Bag For The Wedding Day
Success with diy wedding makeup depends on your survival kit. Pack your exact lip color and a matching liner for post-meal repairs. Include oil blotting papers to remove shine without disturbing the base layers. A small translucent powder compact fixes any breakthrough oil in the T-zone. Carry a travel sized setting spray to reactivate the makeup grip during the long reception hours.
Keep a few cotton swabs to clean up any mascara transfer or eyeliner smudges. These tools are vital for maintaining simple makeup looks throughout the full event timeline. Many wedding makeup tutorials emphasize that carrying too much leads to clutter. Only pack the essentials you used in your bridal makeup at home practice sessions. This ensures you remain mobile while keeping your soft bridal makeup looking sharp.
Quick Refresh Techniques To Keep Your Natural Look Intact For Hours
To maintain a simple wedding makeup style, press blotting papers firmly onto the skin instead of wiping. Wiping moves the pigment and ruins the foundation bond. If the face looks dry, mist lightly with water or setting spray from a distance. Use a clean finger to tap out any creasing under the eyes. This technique settles the product back into the skin without adding heavy extra layers.
Follow your bridal makeup tutorial steps even during quick fixes. Apply lipstick to the center of the lips and blend outward to avoid a harsh line. If you notice redness, spot treat with a tiny amount of concealer rather than re-applying the whole face. These wedding makeup tutorials focus on longevity through precision. Expert diy makeup wedding strategy relies on minimal intervention to preserve the original finish effectively.
Frequently Asked Questions

Why is a natural look best for a beginner bride doing her own makeup?
Choosing a natural bridal makeup tutorial is the smartest move for beginners because it focuses on enhancing your features rather than masking them. Soft, blended edges are much more forgiving if you make a mistake compared to bold, dramatic lines. This approach ensures you feel comfortable and like yourself while minimizing the stress of achieving perfection on your big day, making the entire application process much more enjoyable and manageable.
How do I ensure my natural bridal makeup lasts from the ceremony through the reception?
Long-wear success starts with high-quality skin prep and strategic layering. After following your natural bridal makeup tutorial steps, always lock in your work using a fine-mist setting spray and a translucent powder in your T-zone. By using thin layers of product and a reliable primer, you can maintain that effortless, glowing look for hours without the need for constant touch-ups, even if you are dancing the night away.
Can I achieve a professional bridal look using affordable drugstore products?
Absolutely! You do not need a luxury kit to look stunning on your wedding day. Many affordable brands offer high-performance foundations and pigments that photograph beautifully. The secret lies in the technique and tools you use rather than the price tag. By focusing on blending and proper color matching, you can create a high-end aesthetic that looks expensive and sophisticated while staying well within your wedding budget.