Why Lantern Centerpieces Are A Timeless Choice For Wedding Table Decor
The Enduring Appeal Of Lanterns In Wedding DéCor History
Lanterns transitioned from functional light sources to decorative staples during the Victorian era. Design movements like Arts and Crafts emphasized raw materials such as iron and glass. This period prioritized hand-built quality over mass production. Couples today choose lanterns because they mimic this historical focus on craftsmanship. Modern wood lantern wedding decorations use these same principles. They offer a grounded sense of tradition that remains relevant across generations.
The shift from oil lamps to gas lighting changed how society viewed portable light. Designers adapted these structures for aesthetic use in gardens and formal halls. Lanterns now represent stability and warmth in a physical form. They serve as a bridge between vintage aesthetics and contemporary utility. Using them as centerpieces honors a long history of communal lighting. This connection to the past makes them a reliable choice for any formal event.
How Lantern Centerpieces Set The Mood For Any Wedding Style
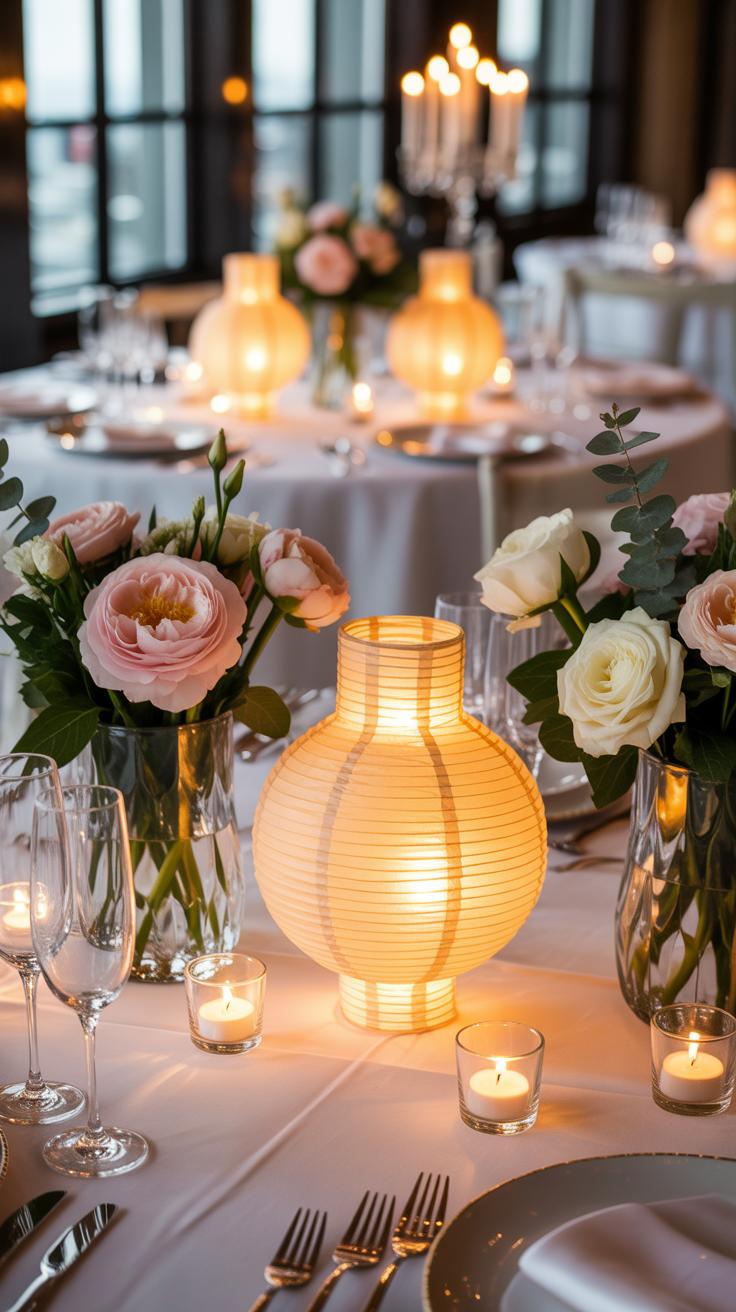
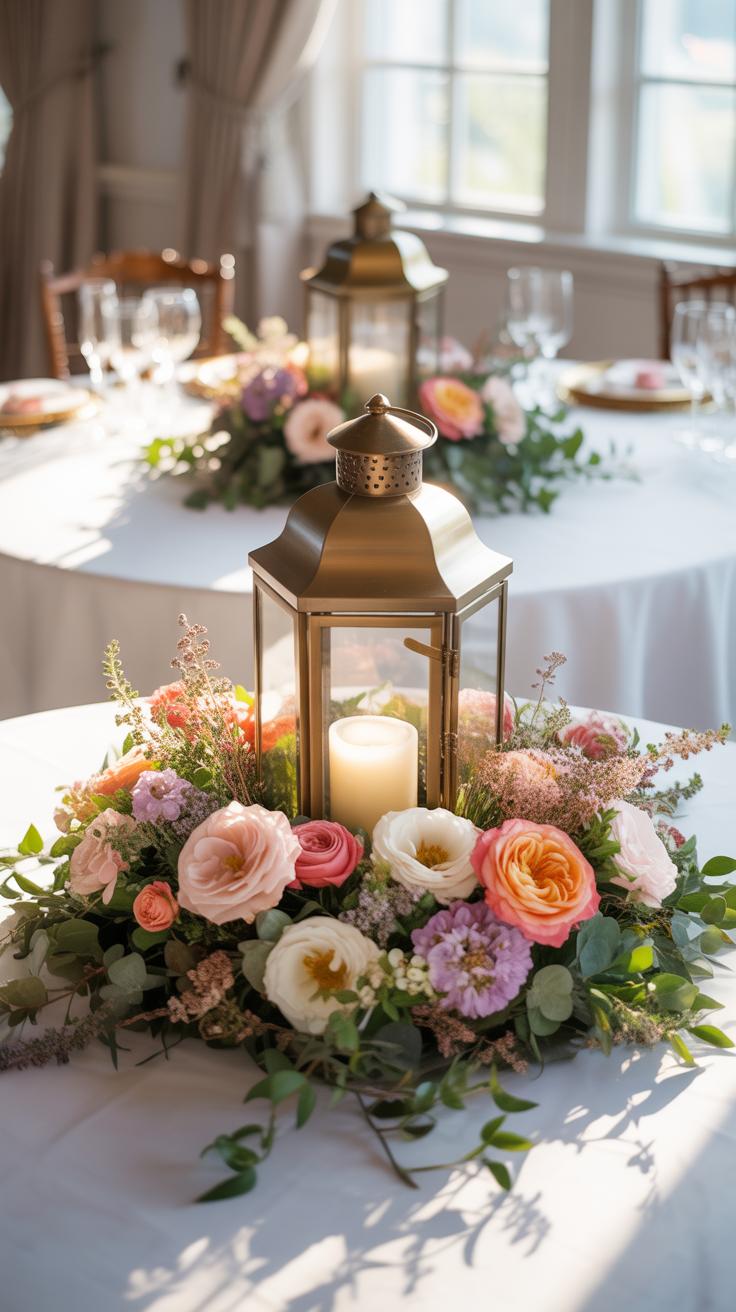
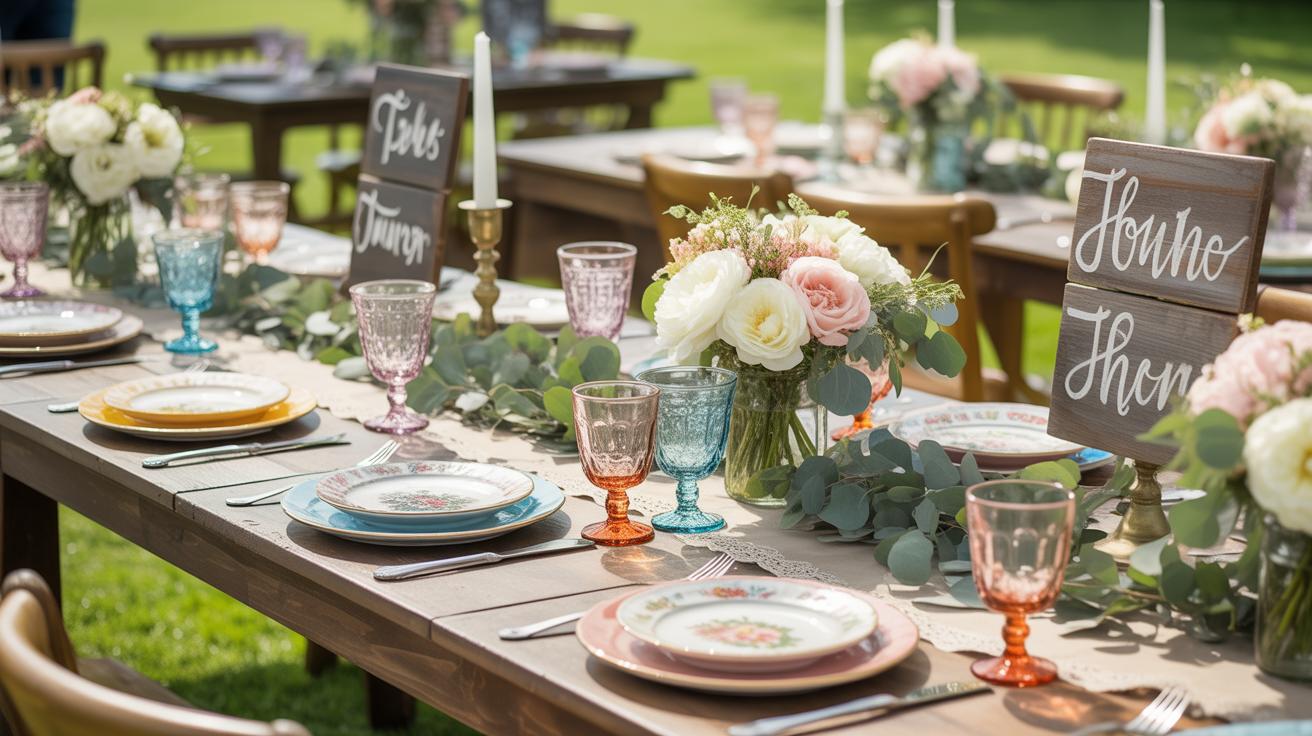
Lanterns control the visual flow of a reception table. Their vertical structure creates height without blocking eye contact between guests. Designers use wood lantern centerpiece DIY projects to anchor large spaces. Soft light from within the frame draws attention to the center of the table. This technique creates an intimate atmosphere even in large venues. It focuses the guest experience on the immediate surroundings through controlled light and shadow.
Versatility is the primary strategic advantage of this decor choice. A black iron frame fits an industrial theme. Distressed wood suits a rustic setting. You can swap internal elements like candles or greenery to match specific color palettes. This flexibility reduces the need for expensive floral arrangements. Lanterns provide a high impact for a lower cost per table. They function as a durable and reusable asset for various wedding design schemes.
Essential Materials For Building DIY Wood Lantern Wedding Decorations
Choosing The Right Wood Types And Hardware For Your Lantern Build
Pick pine or cedar for these builds. Pine is cheap and easy to cut for mass production. Cedar resists moisture and works well for outdoor venues. Avoid hardwoods like oak because they cost too much and dull your saw blades quickly. Use thin dimensional lumber like one-by-two strips. This sizing creates a sturdy frame without making the centerpiece look too bulky or heavy.
Hardware must remain functional and discreet. Small brad nails or wood screws hold the joints together under tension. Use metal glass clips or industrial adhesive if you plan to add side panels. Opt for matte black or brass hinges for the lid. These finishes match popular farmhouse and modern industrial styles. Cheap hardware ruins a high-end look. Buy quality fasteners to ensure the lanterns do not collapse.
The light of a handmade lantern carries the warmth of the hands that built it, turning a simple table into a memory of love. In the glow of these small flames, we find that the most beautiful decorations are the ones we create with our own hearts.
— Martha Stewart
Must Have Tools And Supplies Before You Start Crafting
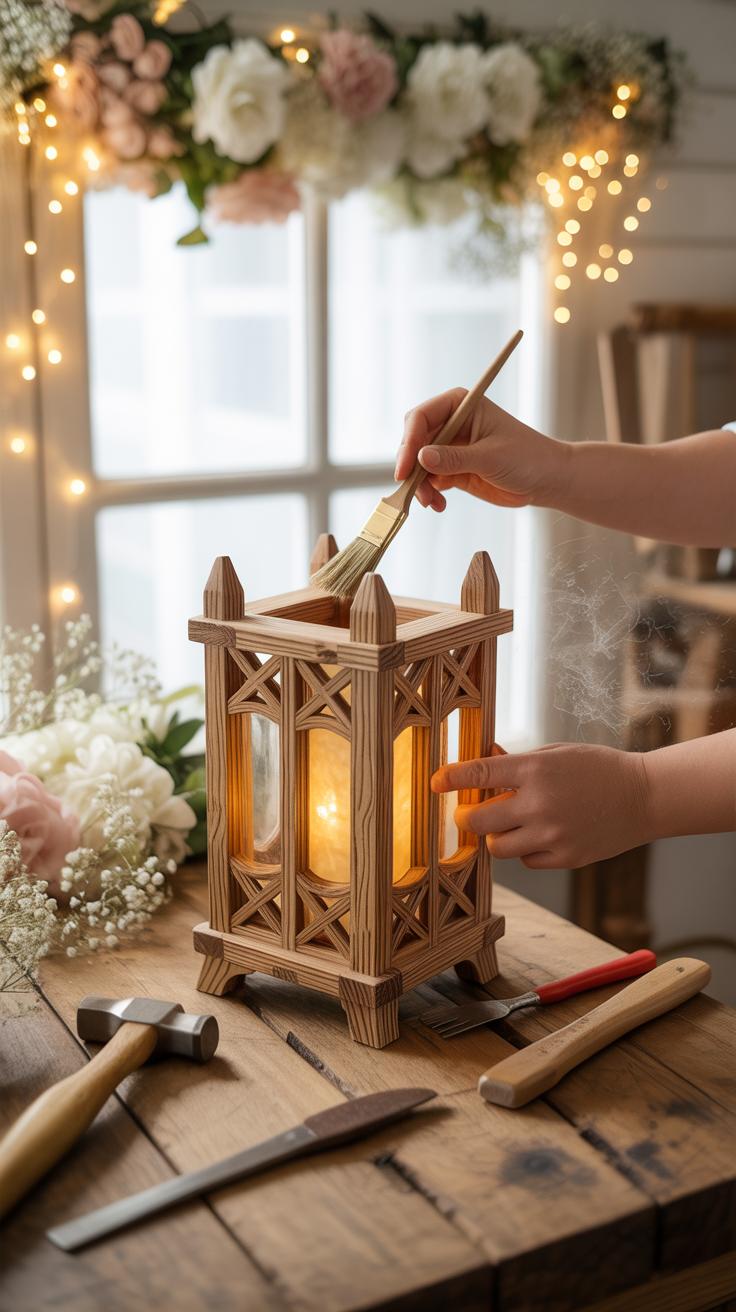
Assemble your workstation before you make the first cut. You need a flat surface to prevent warping during assembly. Precision is the most important factor in wood construction. Small errors in measurement lead to wobbly bases and crooked tops. Use a miter saw for clean angled cuts and a power drill for pilot holes. Gathering everything now saves hours of frustration during the building phase.
- Miter Saw: A miter saw creates the precise 45 or 90 degree angles needed for the frame. Accuracy here ensures the four corners meet perfectly without gaps. Hand saws work but increase the risk of uneven edges.
- Wood Glue: High strength wood glue creates a chemical bond between joints. Apply a thin layer before nailing pieces together for maximum durability. It acts as a primary stabilizer while the metal fasteners provide the structural grip.
- Brad Nailer: A pneumatic or electric brad nailer drives thin nails into the wood without splitting it. This tool hides the fastener head better than a standard hammer. It allows for rapid assembly when building dozens of lanterns.
- Sandpaper: Use 120 and 220 grit sandpaper to smooth out rough mill marks. Sanding the wood ensures the stain or paint adheres evenly across the entire surface. This step prevents splinters from snagging on expensive wedding table linens.
- Measuring Tape and Square: A speed square keeps every corner at a true 90 degree angle. Consistent measurements are vital so all centerpieces look identical on the tables. Even a sixteenth of an inch difference can cause the lantern to tilt.
Finish the wood with a high quality stain or paint to achieve the desired aesthetic. Use a tack cloth to remove dust before applying any liquid coatings. A clear polyurethane sealer protects the wood from candle heat or spilled drinks. If using real candles, ensure the top remains open for ventilation. Proper finishing turns raw construction lumber into a professional decorative piece for the event.
Step By Step Guide To Crafting DIY Wood Lanterns For Your Wedding
How To Measure, Cut, And Assemble A Basic Wooden Lantern Frame
Standard wood lanterns require four vertical pillars and eight horizontal rails. Use select pine or cedar for straight edges and structural integrity. Measure 1×1 square dowels for a compact footprint on wedding tables. Accuracy during the cutting phase prevents tipping. Use a miter saw to ensure 90-degree angles. Any deviation in length creates a wobbly base that ruins the centerpiece balance.
Assemble the frame using wood glue and a pneumatic brad nailer. Glue provides the primary bond while nails act as clamps during the drying process. Start by building two identical side panels first. Join these panels with the remaining horizontal rails to create a square box. Square the corners with a framing tool before the glue sets. This method creates a rigid structure capable of holding heavy glass or candles.
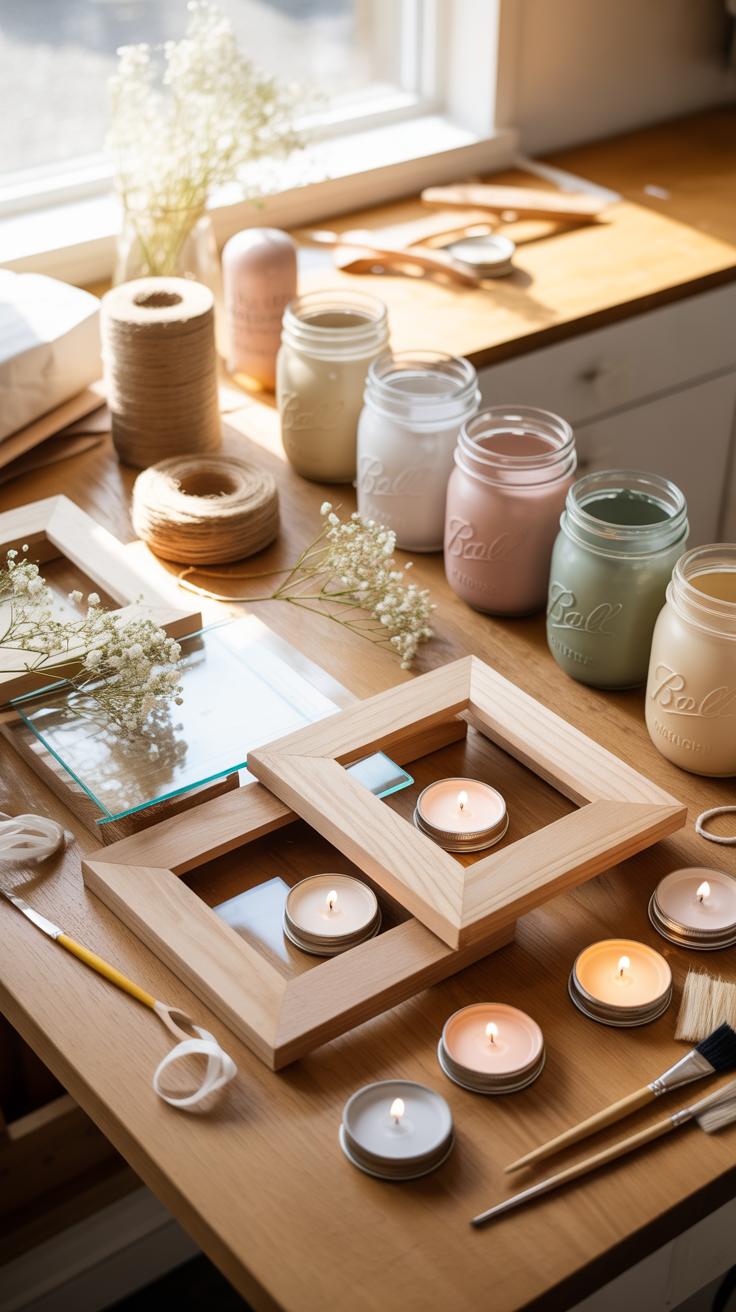
Finishing Touches: Staining, Painting, And Sealing Your Wood Lantern Centerpiece DIY
Preparation determines the final quality of your wood lantern. Sand every surface with 120-grit sandpaper to remove factory stamps and rough edges. Follow with 220-grit for a smooth finish. Remove all dust with a tack cloth or vacuum. Skipping this step leads to a blotchy finish. Apply a wood conditioner if using soft woods like pine to ensure even stain absorption across the entire lantern frame.
Apply your chosen finish using a lint-free rag or high-quality brush. Oil-based stains offer deep color for rustic themes. Acrylic paints work best for modern or clean aesthetics. Seal the wood with a clear polyurethane or wax to protect against moisture and wax drips. This layer also prevents the wood from drying or cracking over time. Allow 24 hours for the sealant to cure fully before adding decorative elements or candles.
Creative Floral And Greenery Styling For Lantern Wedding Centerpieces
Pairing Fresh Flowers With Lanterns For A Romantic Centerpiece Look
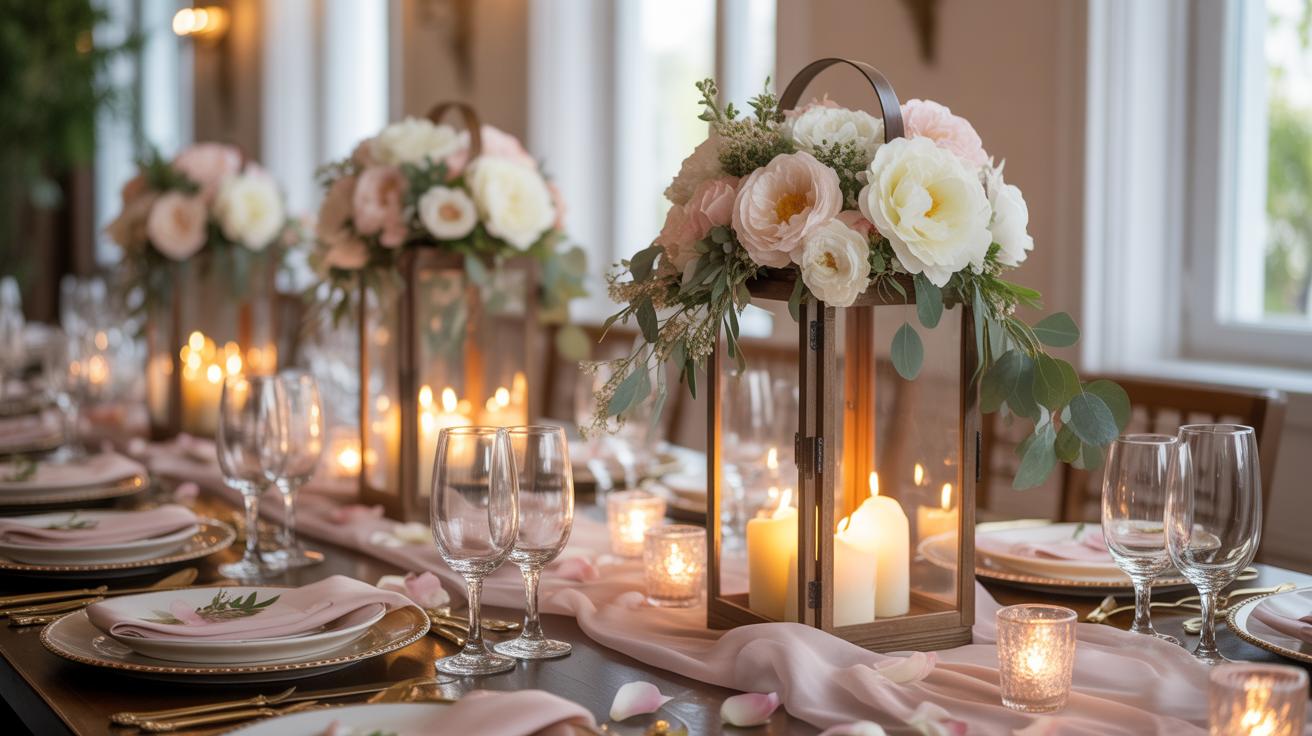
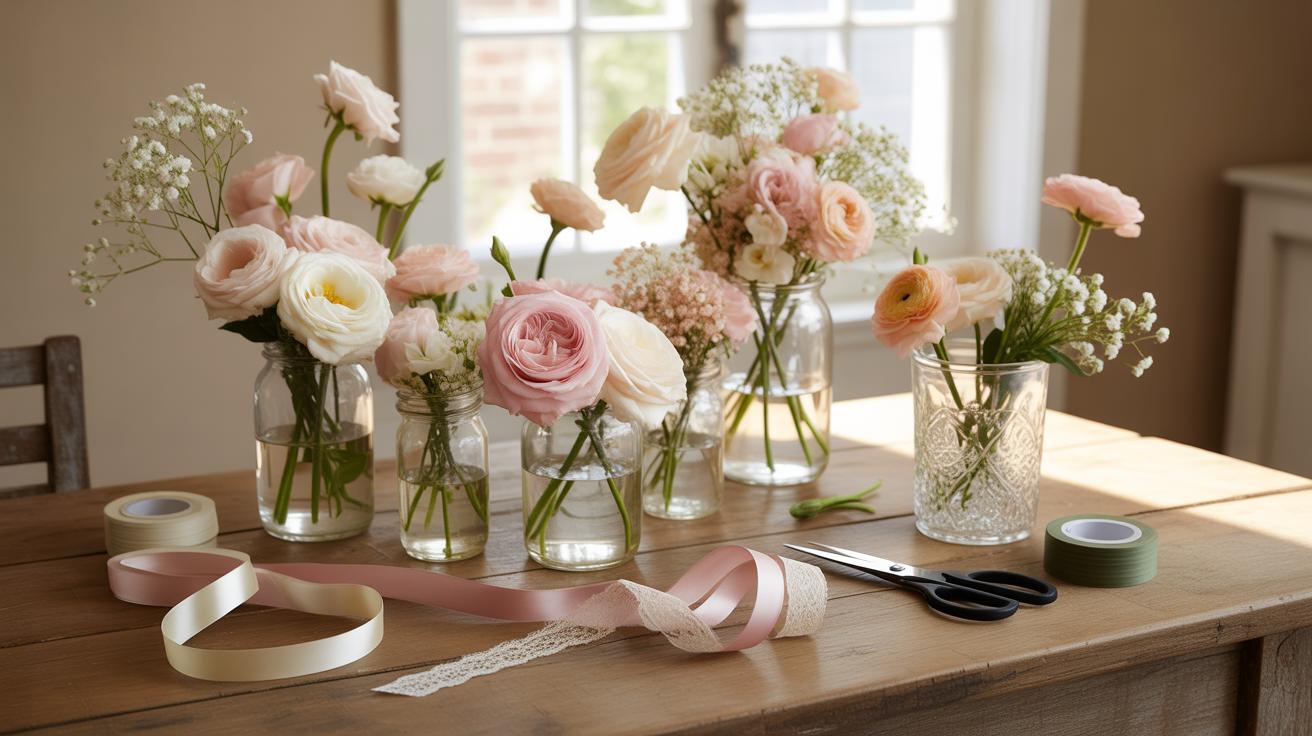
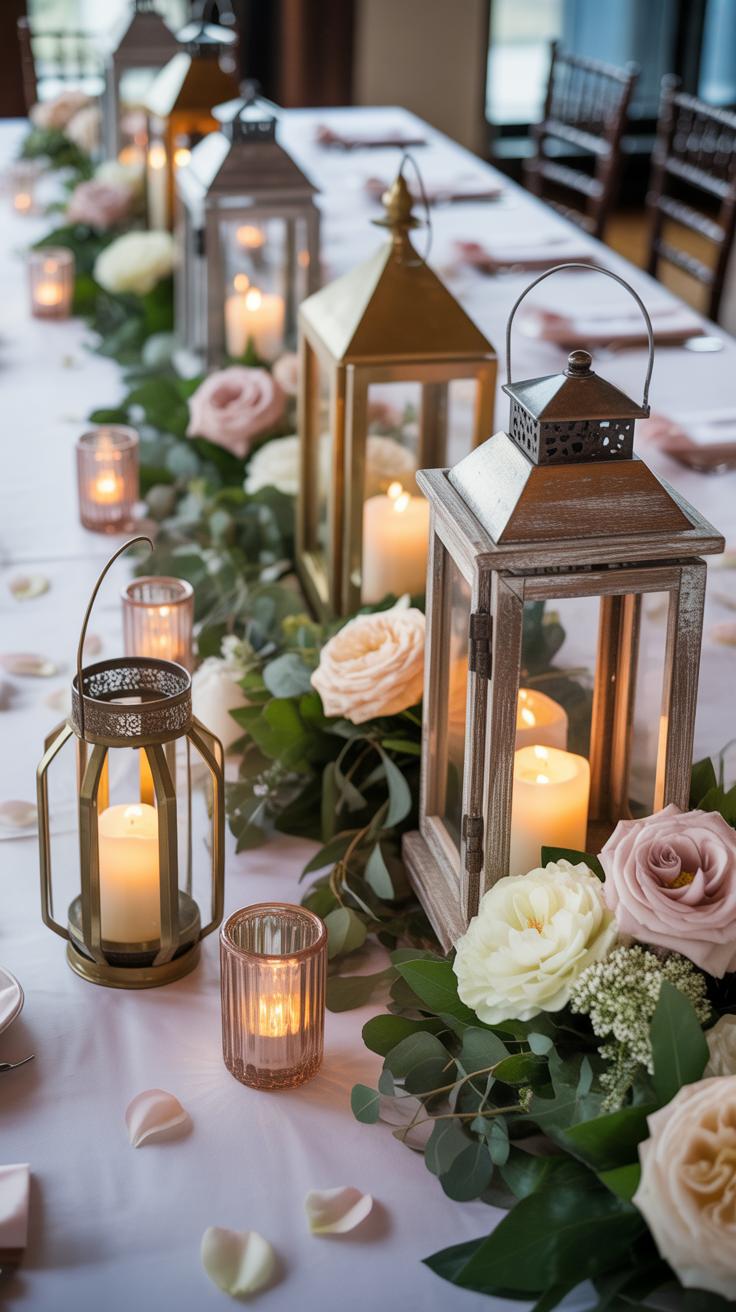
Select focal blooms like roses, peonies, or ranunculus to provide structural scale against the lantern frame. Place these flowers in small water tubes or hidden floral foam blocks to maintain hydration throughout the event. Ensure the floral volume does not exceed two-thirds of the lantern height. This balance keeps the metal or wood frame as the anchor. Align flower colors with your overall wedding palette for visual consistency.
Position the largest blooms at the base of the lantern to create a heavy visual foundation. Tuck smaller filler flowers like baby’s breath or waxflower into the gaps to soften hard edges. If the lantern is open, weave thin stems through the side panels to integrate the elements. Avoid placing petals directly against hot glass if using real candles. Use battery-operated LED pillars to prevent wilting from heat exposure.
Using Dried Botanicals And Eucalyptus Greenery Around Your Lantern Centerpiece
Eucalyptus varieties like silver dollar or seeded eucalyptus offer durable texture that survives long desert or summer weddings. These greens provide a matte finish that complements natural wood lanterns or matte black metal finishes. Lay the greenery in a circular wreath pattern around the base of the centerpiece. This technique grounds the lantern and covers any mechanical parts like plastic puck lights or heavy battery packs.
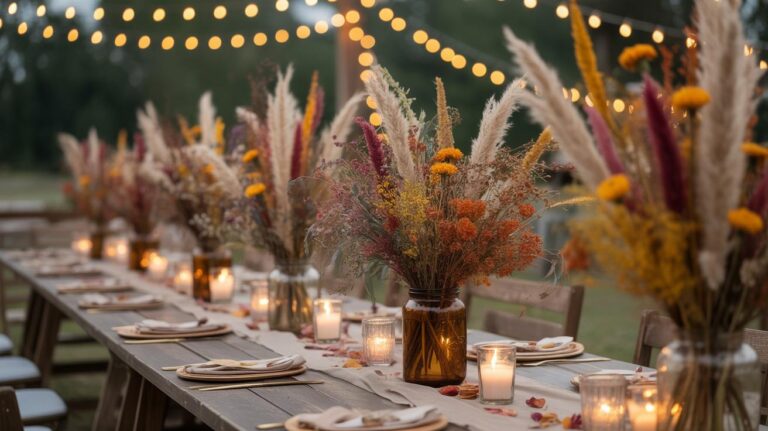
Dried botanicals like pampas grass, bleached ruscus, or bunny tails add vertical interest without needing water. These materials suit boho or rustic themes and offer a permanent structural shape that fresh greenery lacks. Pin the dried stems into a small piece of clay or foam to secure them. Always keep dried materials away from open flames. Use high-quality faux greenery if you need to prep centerpieces weeks before the wedding date.
Budget Friendly Wedding Centerpieces DIY Lantern Styling Tips
Guidance On Where To Source Affordable Lanterns For Large Wedding Table Settings
Volume purchasing dominates the strategy for large wedding setups. Professional event planners source units from wholesale importers or trade-only distributors to secure the lowest unit price. For DIY planners without trade licenses, industrial supply stores and liquidated stock outlets provide the best margins. These retailers offer bulk discounts when you buy cases of twelve or more units. Always verify stock availability before committing to a specific design.
Local marketplaces and wedding resale groups offer significant savings on second-hand inventory. Most lanterns only see four hours of actual use before couples sell them. This secondary market allows you to acquire high-quality metal or wood lanterns at sixty percent off retail prices. Check for structural integrity and paint chips before finalizing any cash purchase. Consistent sizing across tables maintains a professional look for the entire reception space.
Smart Cost Cutting Strategies Without Sacrificing Style Or Elegance
Strategic styling reduces the need for expensive secondary decor. You must focus on high-impact materials that fill visual space without increasing the total project cost. Use light and reflection to your advantage. A single well-placed candle produces more visual interest than a dozen cheap plastic trinkets. Focus on the core components of the lantern first. Scale your decorations based on the actual table dimensions.
- LED Pillar Candles: Remote-controlled LED pillars eliminate fire risks and save on venue insurance costs. High-quality wax-coated versions look real but do not melt or create messy cleanup tasks. You can reuse these units for future events or sell them easily after the wedding.
- Natural Greenery Fill: Use eucalyptus or ruscus stems to wrap the base of the lantern. Buying bulk greenery packs costs significantly less than focal flowers like roses or peonies. These hardy greens stay fresh for hours without a constant water source in the centerpiece.
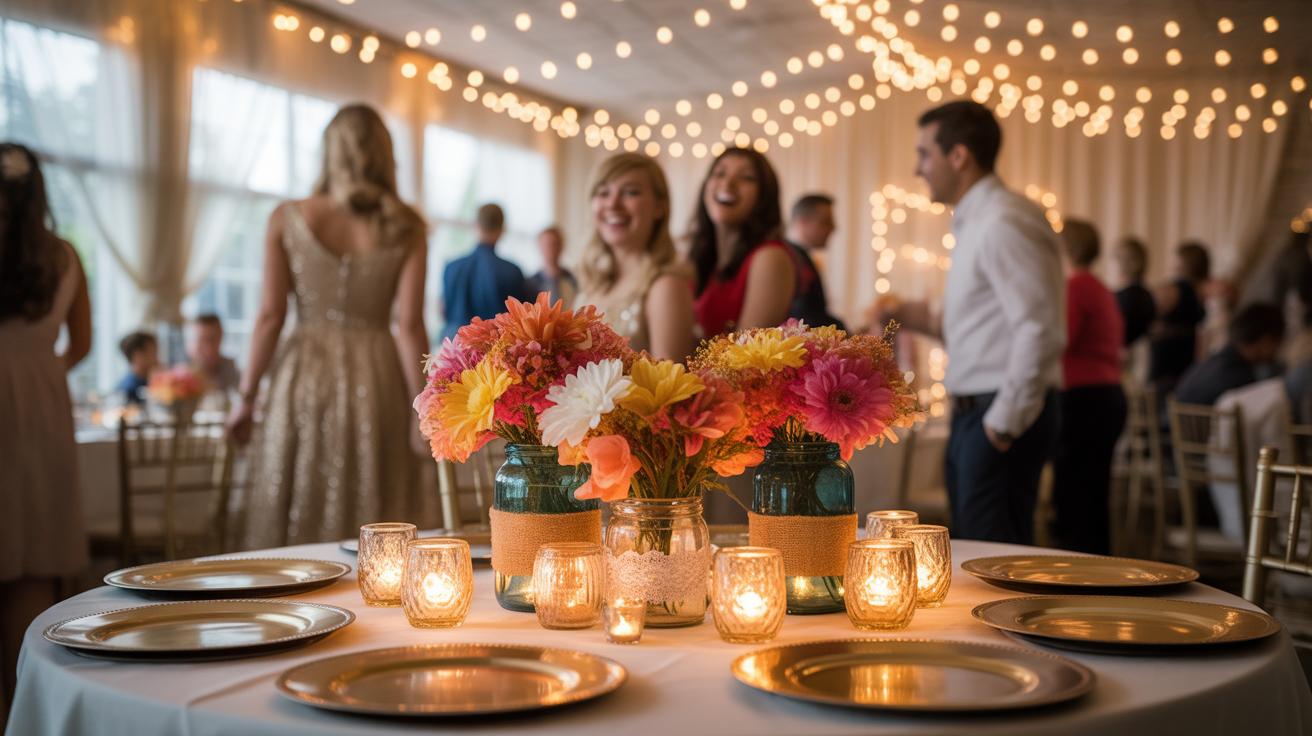
- Reflective Mirror Bases: Place a round or square mirror tile beneath the lantern to double the light output. This technique makes the centerpiece appear larger and more expensive than it is. Mirrors bounce the light upward to illuminate the faces of guests sitting at the table.
- Bulk River Rocks: Fill the bottom two inches of the lantern with polished river stones or pea gravel. This adds weight to prevent tipping and creates a grounded, professional appearance. Decorative stones cost very little at hardware stores compared to specialized craft store glass beads.
- Monochromatic Paint: Update mismatched thrift store finds with a single coat of matte black or metallic gold spray paint. Uniform color creates a cohesive look across twenty different tables. High-quality spray paint hides surface scratches and gives cheap materials a heavy wrought iron or brass look.
Avoid overcomplicating the interior of the lantern. Excess filler blocks the light source and creates a cluttered look. Stick to three main elements for a balanced design. Professional stylists use one light source, one organic texture, and one structural base. This formula ensures every table looks uniform and intentional. Control your costs by sticking to this rigid design plan throughout the entire assembly process.
How To Make DIY Paper Lantern Centerpieces For A Whimsical Wedding Atmosphere
Selecting The Right Paper Lantern Sizes And Colors For Your Wedding Palette
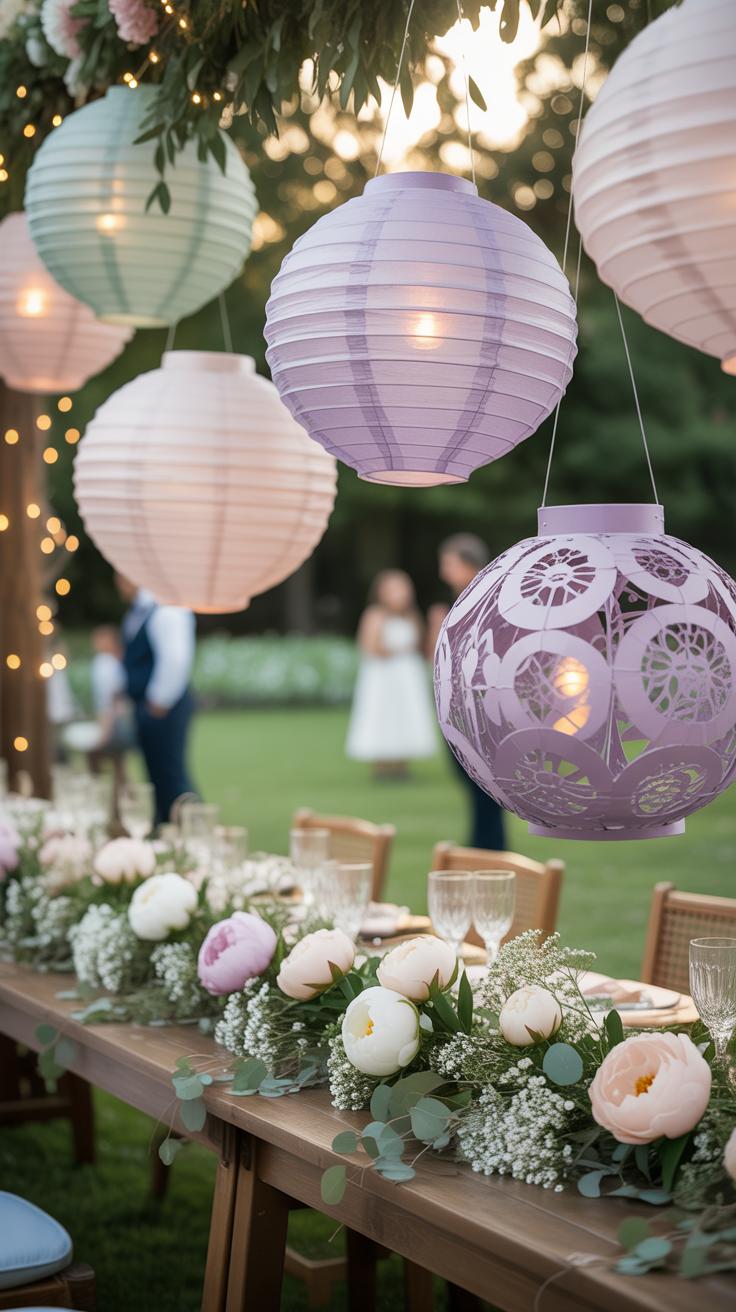
Select three distinct sizes to create visual depth on the table. Standard diameters typically range from 8 to 14 inches. Large lanterns act as a primary focal point. Smaller units fill the gaps and balance the arrangement. Use odd numbers for a natural look. Monochromatic schemes use different shades of one color for a modern feel. High contrast colors suit vibrant themes.
Match thin paper textures with your light source. White or cream paper allows maximum light transmission for a bright glow. Darker pigments like navy or burgundy produce a localized soft light. Check the weight of the paper before buying. Lightweight rice paper is traditional and delicate. Heavier cardstock options offer more durability for outdoor venues. Confirm your color choice matches the wedding linens exactly.
Decorating And Anchoring Paper Lanterns Safely As Table Centerpieces
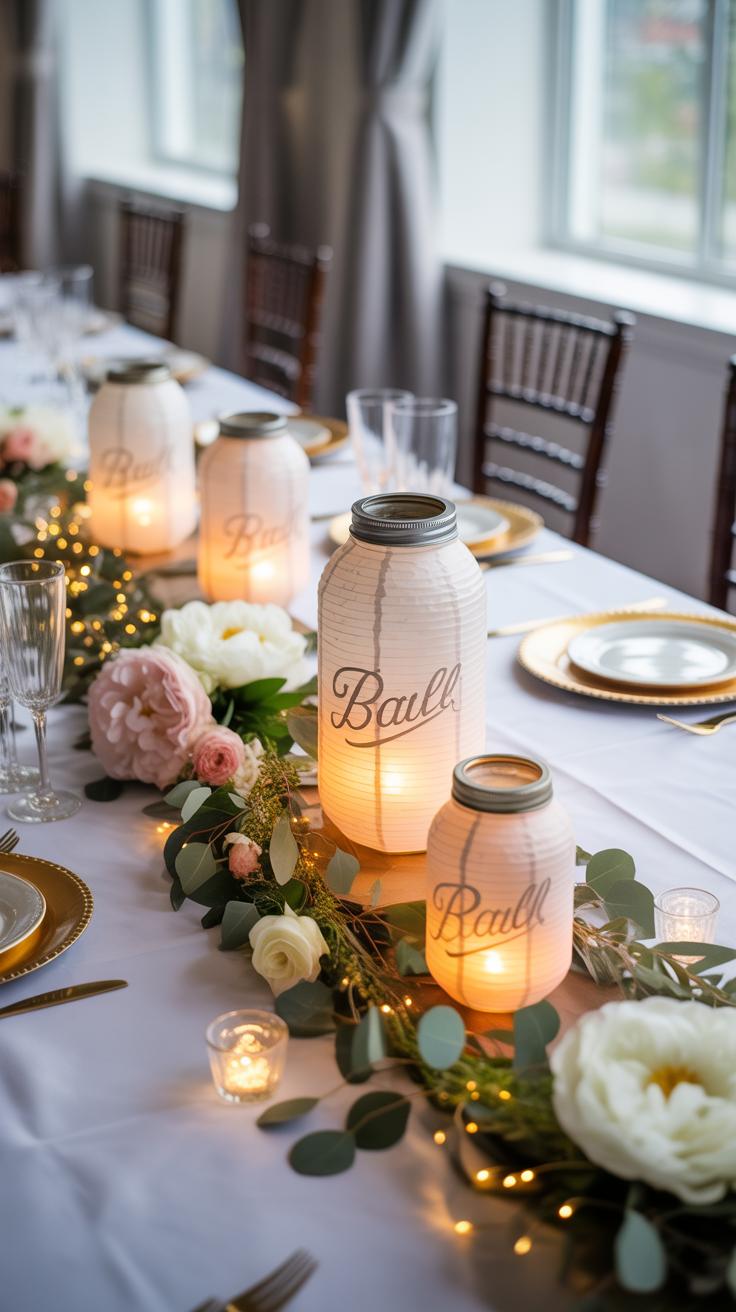
Stabilize the base of the lantern to prevent tipping. Use a heavy circular mirror or a wood slab as a foundation. Apply a small amount of clear adhesive or double sided tape to the bottom rim. This keeps the globe stationary during the event. If the lantern is hollow, place a weight inside. A small bag of sand or decorative stones works well.
Safety is your main priority with paper materials. Only use battery operated LED tea lights or puck lights inside the lanterns. Never use open flames or candles with real wax. Heat from traditional bulbs can also scorch paper. Select LEDs with a warm white temperature to mimic real fire. Secure the light source to the center wire frame. This ensures an even glow from all sides.
Lighting Options To Elevate Your Lanterns Centerpieces After Dark
Comparing Candles, LED Fairy Lights, And Battery Operated Votives For Lanterns
Standard wax candles provide high heat and traditional light. They suit wood or metal lanterns with open tops. Real flames create natural movement but require constant monitoring. LED fairy lights offer a modern alternative for wood lantern centerpiece DIY projects. These thin copper wires fill the entire glass volume with small light points. They work best in rustic themes and do not produce heat.
Battery operated votives provide the safest middle ground for DIY paper lantern centerpieces. These plastic units mimic the flicker of real fire without the risk of burning the material. Use high quality LED pillars for wood lanterns wedding decor to ensure the light reaches the top of the frame. Remote controlled versions allow you to activate the entire room at once. This saves labor during the event setup.
Safety Considerations When Using Open Flame Candles Inside Wedding Lanterns
Fire safety dictates your material choices for lantern wedding centerpieces. Never place real candles inside paper or wooden lanterns without a glass chimney. Heat rises and will ignite dry wood or paper quickly. Ensure the lantern has a vent at the top for heat to escape. If the lantern is fully enclosed, the glass will get hot enough to burn guests or melt nearby decorations.
Placement on the table affects stability. Use heavy bases for lantern centerpieces wedding table decor to prevent tipping. Secure the candle to the bottom of the lantern with melted wax or adhesive dots. Keep flammable items like silk flowers and ribbons at least six inches away from the flame. Assign a staff member to check the lanterns hourly. They must extinguish any candles that burn too low.
Styling Themes And Variations For Lantern Centerpieces Wedding Table Decor
Rustic, Bohemian, And Garden Party Themes Using Lantern Centerpieces
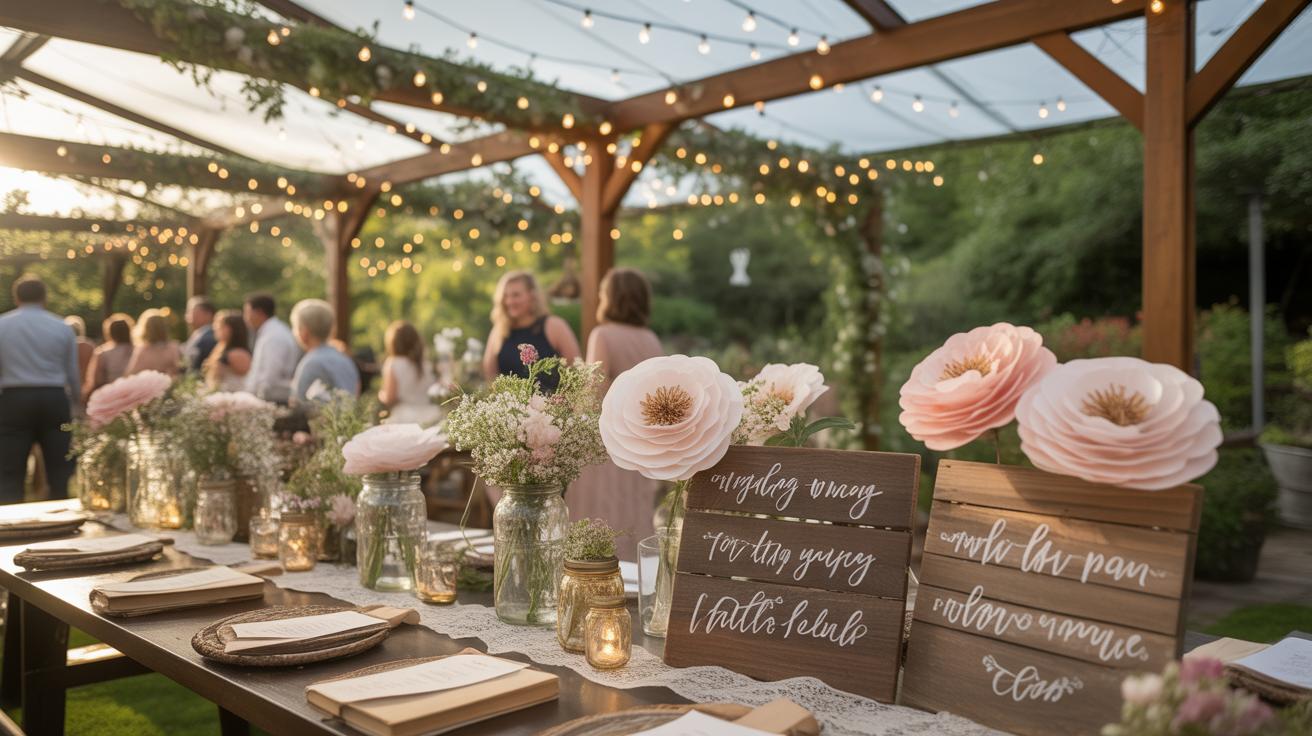
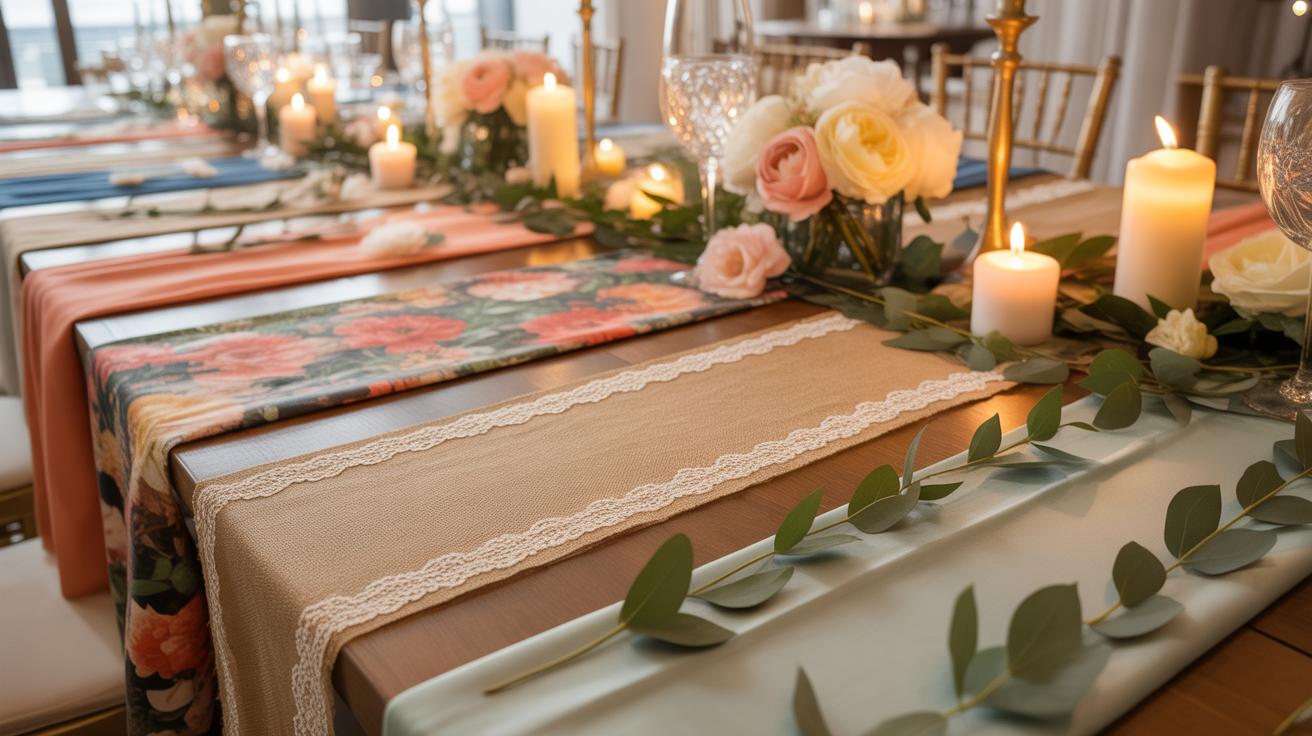
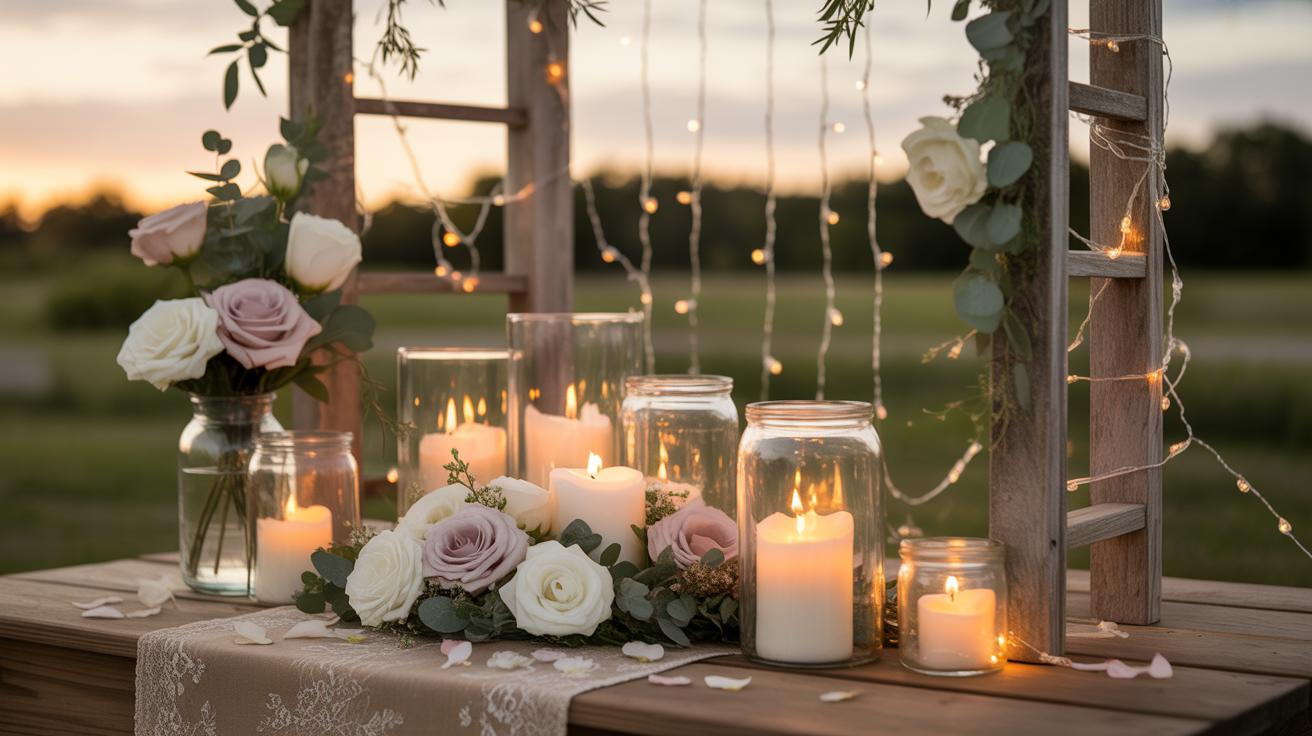
Rustic themes rely on raw materials and weathered textures. Use Diy Wood Lantern Wedding Decorations made from reclaimed cedar or pine for an authentic look. Apply a dark walnut stain or a distressed white paint finish to mimic aged barn wood. Place these lanterns on burlap runners or thick wood slices. Add bundles of dried wheat or herbs like rosemary to ground the design in a rural aesthetic.
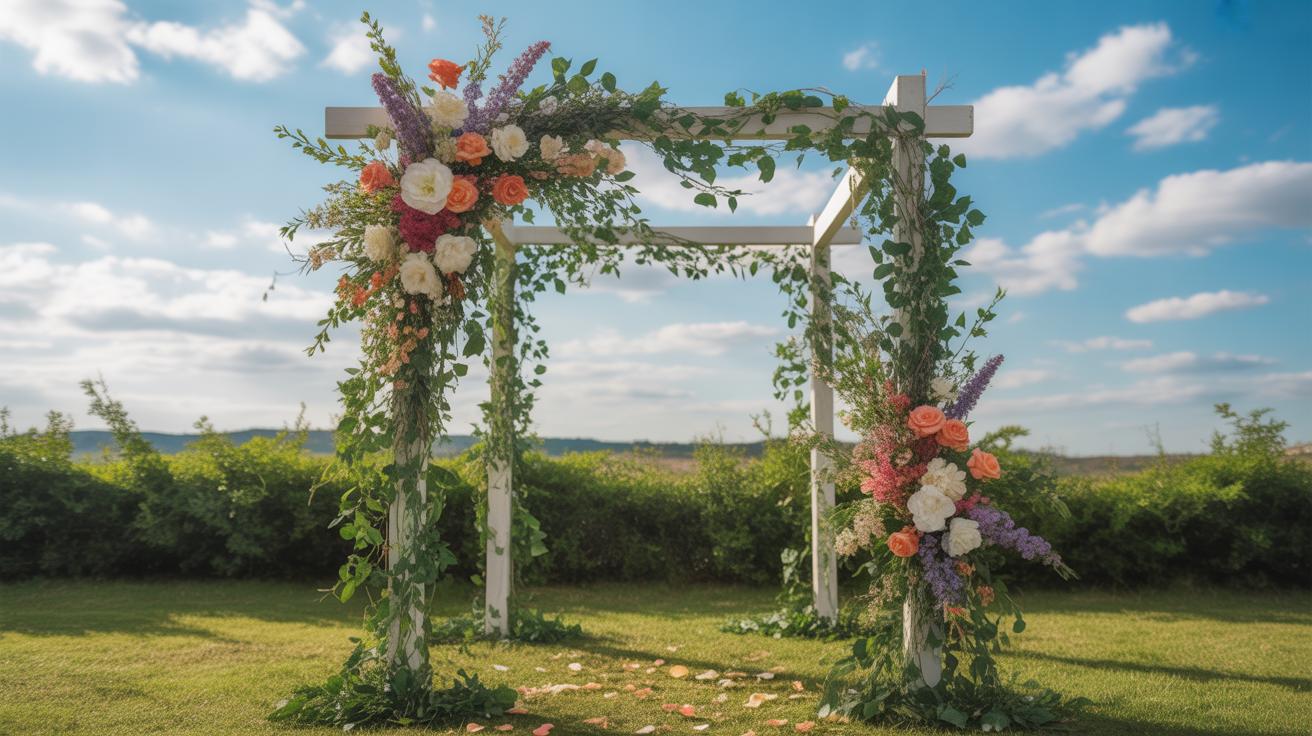
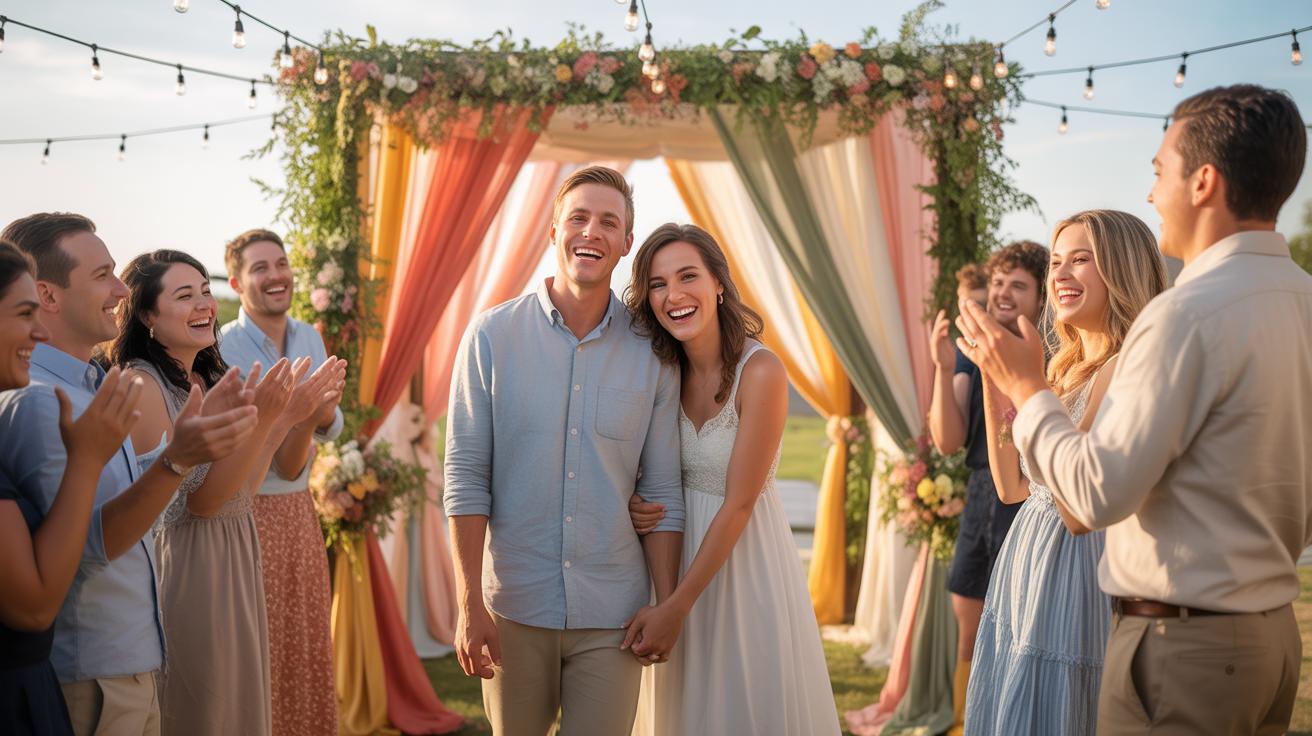
Bohemian and garden designs require softer elements and natural movement. Pair Diy Wood Lanterns Wedding setups with abundant greenery such as eucalyptus or ferns. Incorporate macrame accents or mismatched colored glass inside the lanterns for a eclectic feel. Garden parties benefit from hanging these lanterns at varying heights from low tree branches. Ensure the wood is sealed if using them outdoors to prevent moisture damage during the event.
Modern Minimalist And Glamorous Black Tie Lantern Centerpiece Arrangements
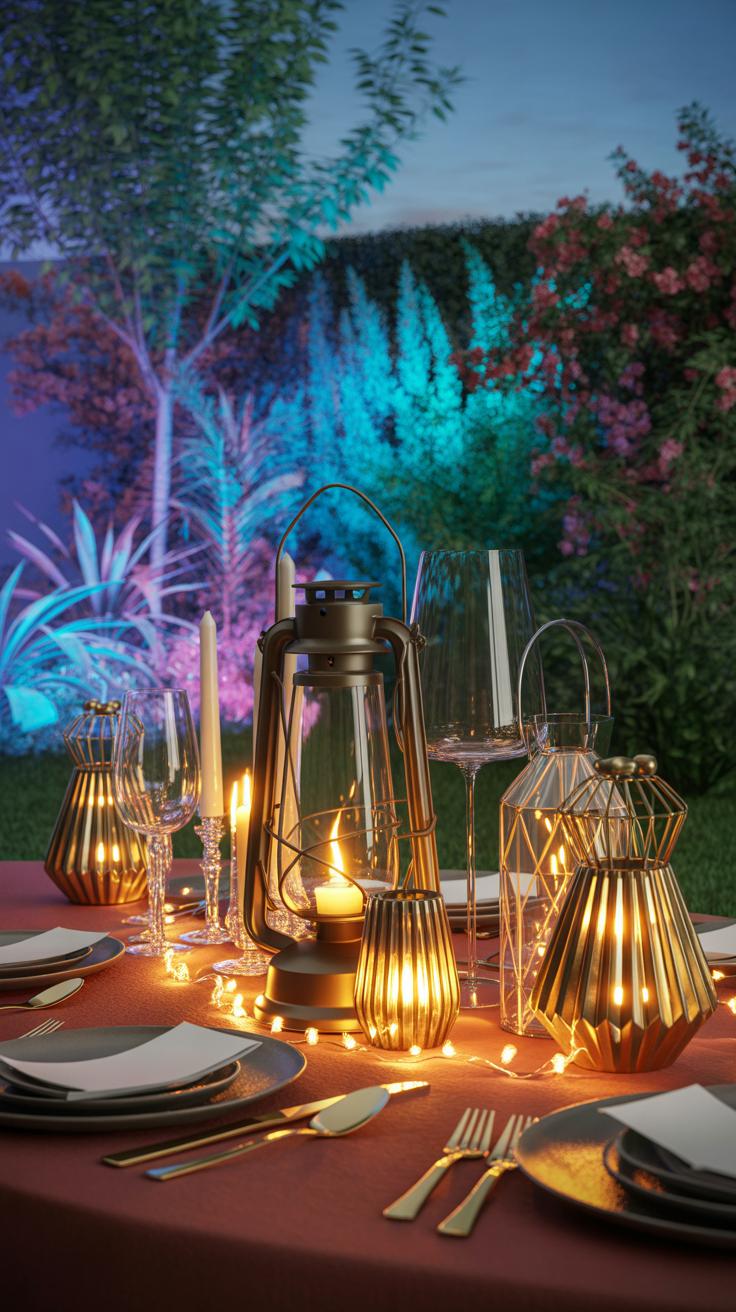
Modern minimalist Lantern Wedding Centerpieces prioritize clean lines and neutral colors. Select lanterns with thin black metal frames and large glass panes. Place a single white pillar candle inside for maximum visual impact without clutter. Use a matte finish on all hardware to avoid unwanted reflections. Keep the surrounding table clear of extra decor. This focus on negative space creates a sharp and professional look.
Glamorous black-tie Lantern Centerpiece designs use high-contrast materials and reflective surfaces. Use metallic finishes like polished gold or chrome to elevate the Wood Lantern Centerpiece Diy structure. Surround the base with lush white hydrangeas or orchids to hide the structural edges. Place the lanterns on mirrored trays to flip the light and increase the brightness. This setup provides a formal atmosphere suitable for upscale ballroom venues.
Frequently Asked Questions

What are the best types of lanterns to use for a beginner project?
If you are new to crafting, start with glass-paneled metal or wooden lanterns. These styles are incredibly versatile and serve as a stable base for any diy wedding lantern centerpiece. Look for lanterns with hinged doors, as they make it much easier to arrange interior elements like candles or fairy lights without needing specialized tools or advanced assembly skills.
How do I assemble a professional-looking diy wedding lantern centerpiece?
To achieve a professional look, start by placing a focal point, such as a pillar candle or a cluster of flowers, inside the lantern. Then, wrap high-quality silk greenery or eucalyptus around the exterior base to soften the edges. Incorporating different textures and ensuring your diy wedding lantern centerpiece has varying heights will create a sophisticated, layered appearance that looks expensive and high-end on your reception tables.
Can I create beautiful lantern centerpieces on a tight budget?
Absolutely! You can save money by repurposing vintage lanterns found at thrift stores or purchasing simple black lanterns in bulk. Instead of expensive fresh floral arrangements, use affordable LED tea lights and seasonal fillers like pinecones, dried moss, or even sand and seashells. Focus on adding a personalized ribbon or a hand-painted table number to make your budget-friendly creation feel unique and intentional.