Why Wedding Menu Card Ideas Are Worth The Effort On A Tight Budget
The Role Menu Cards Play In Your Overall Table Presentation
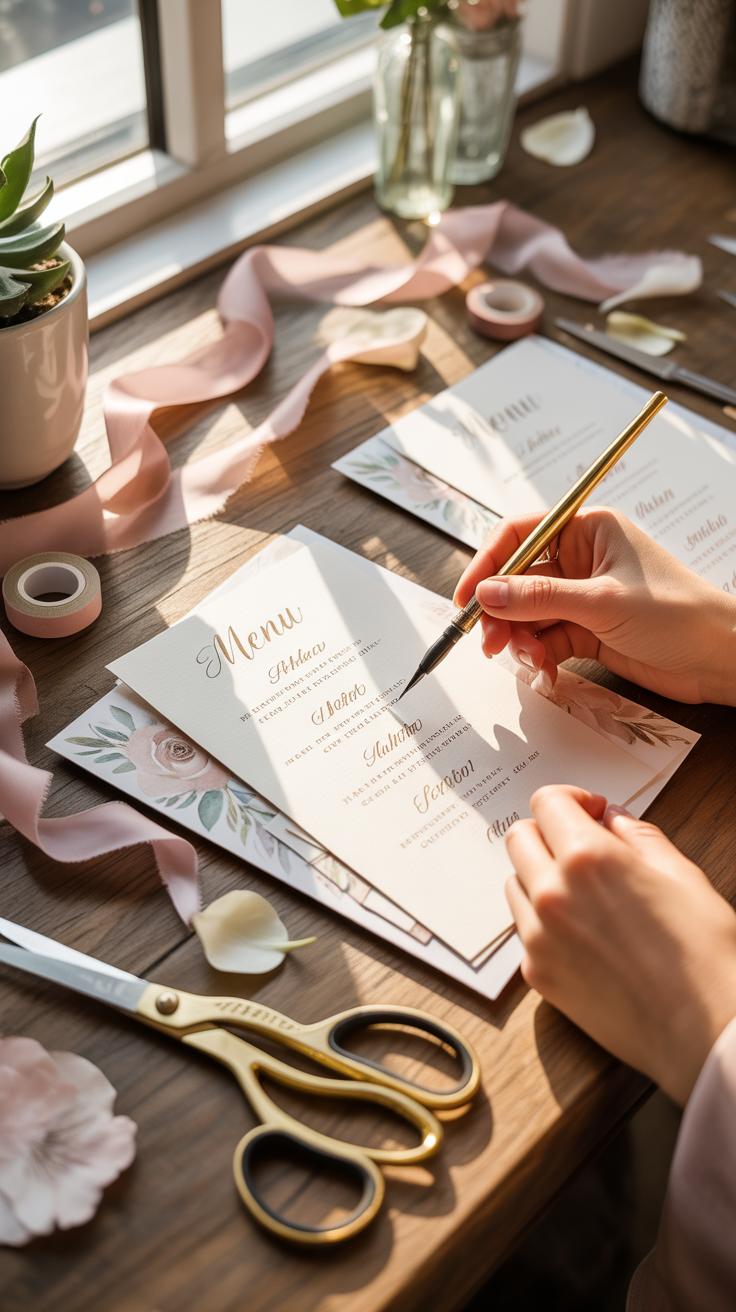
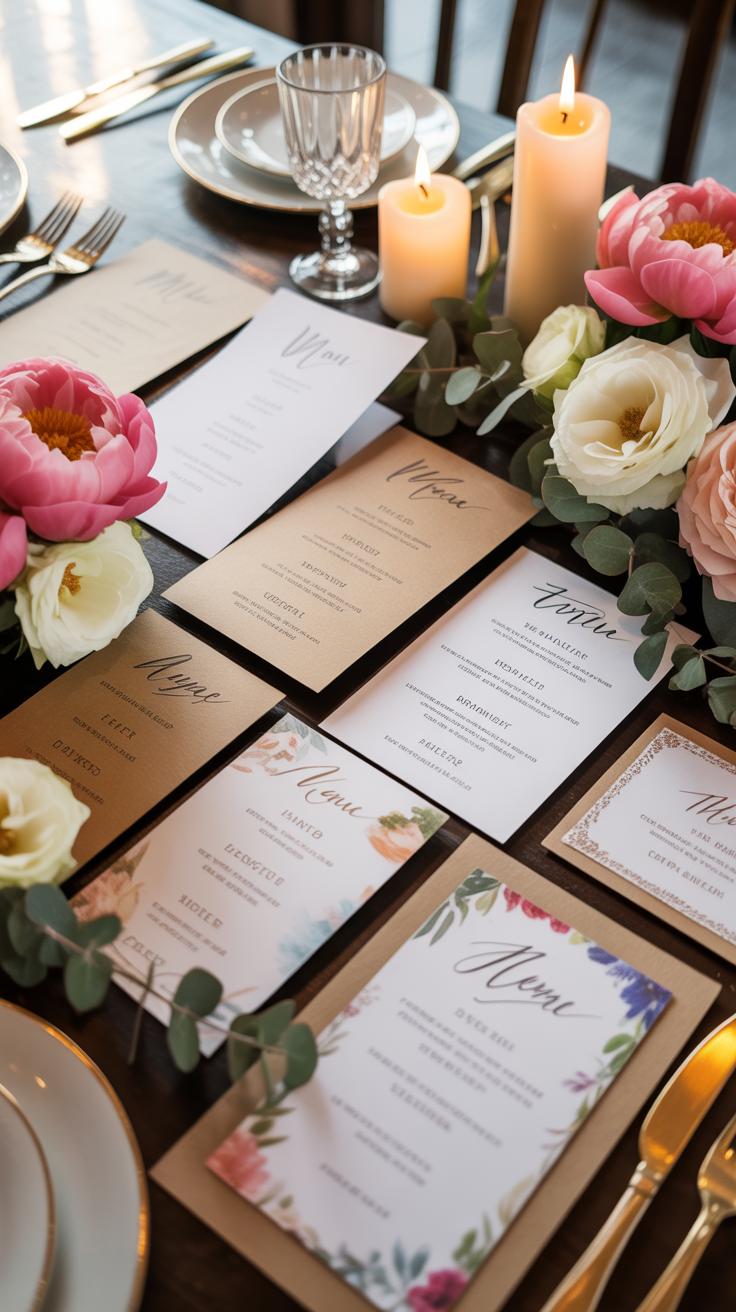
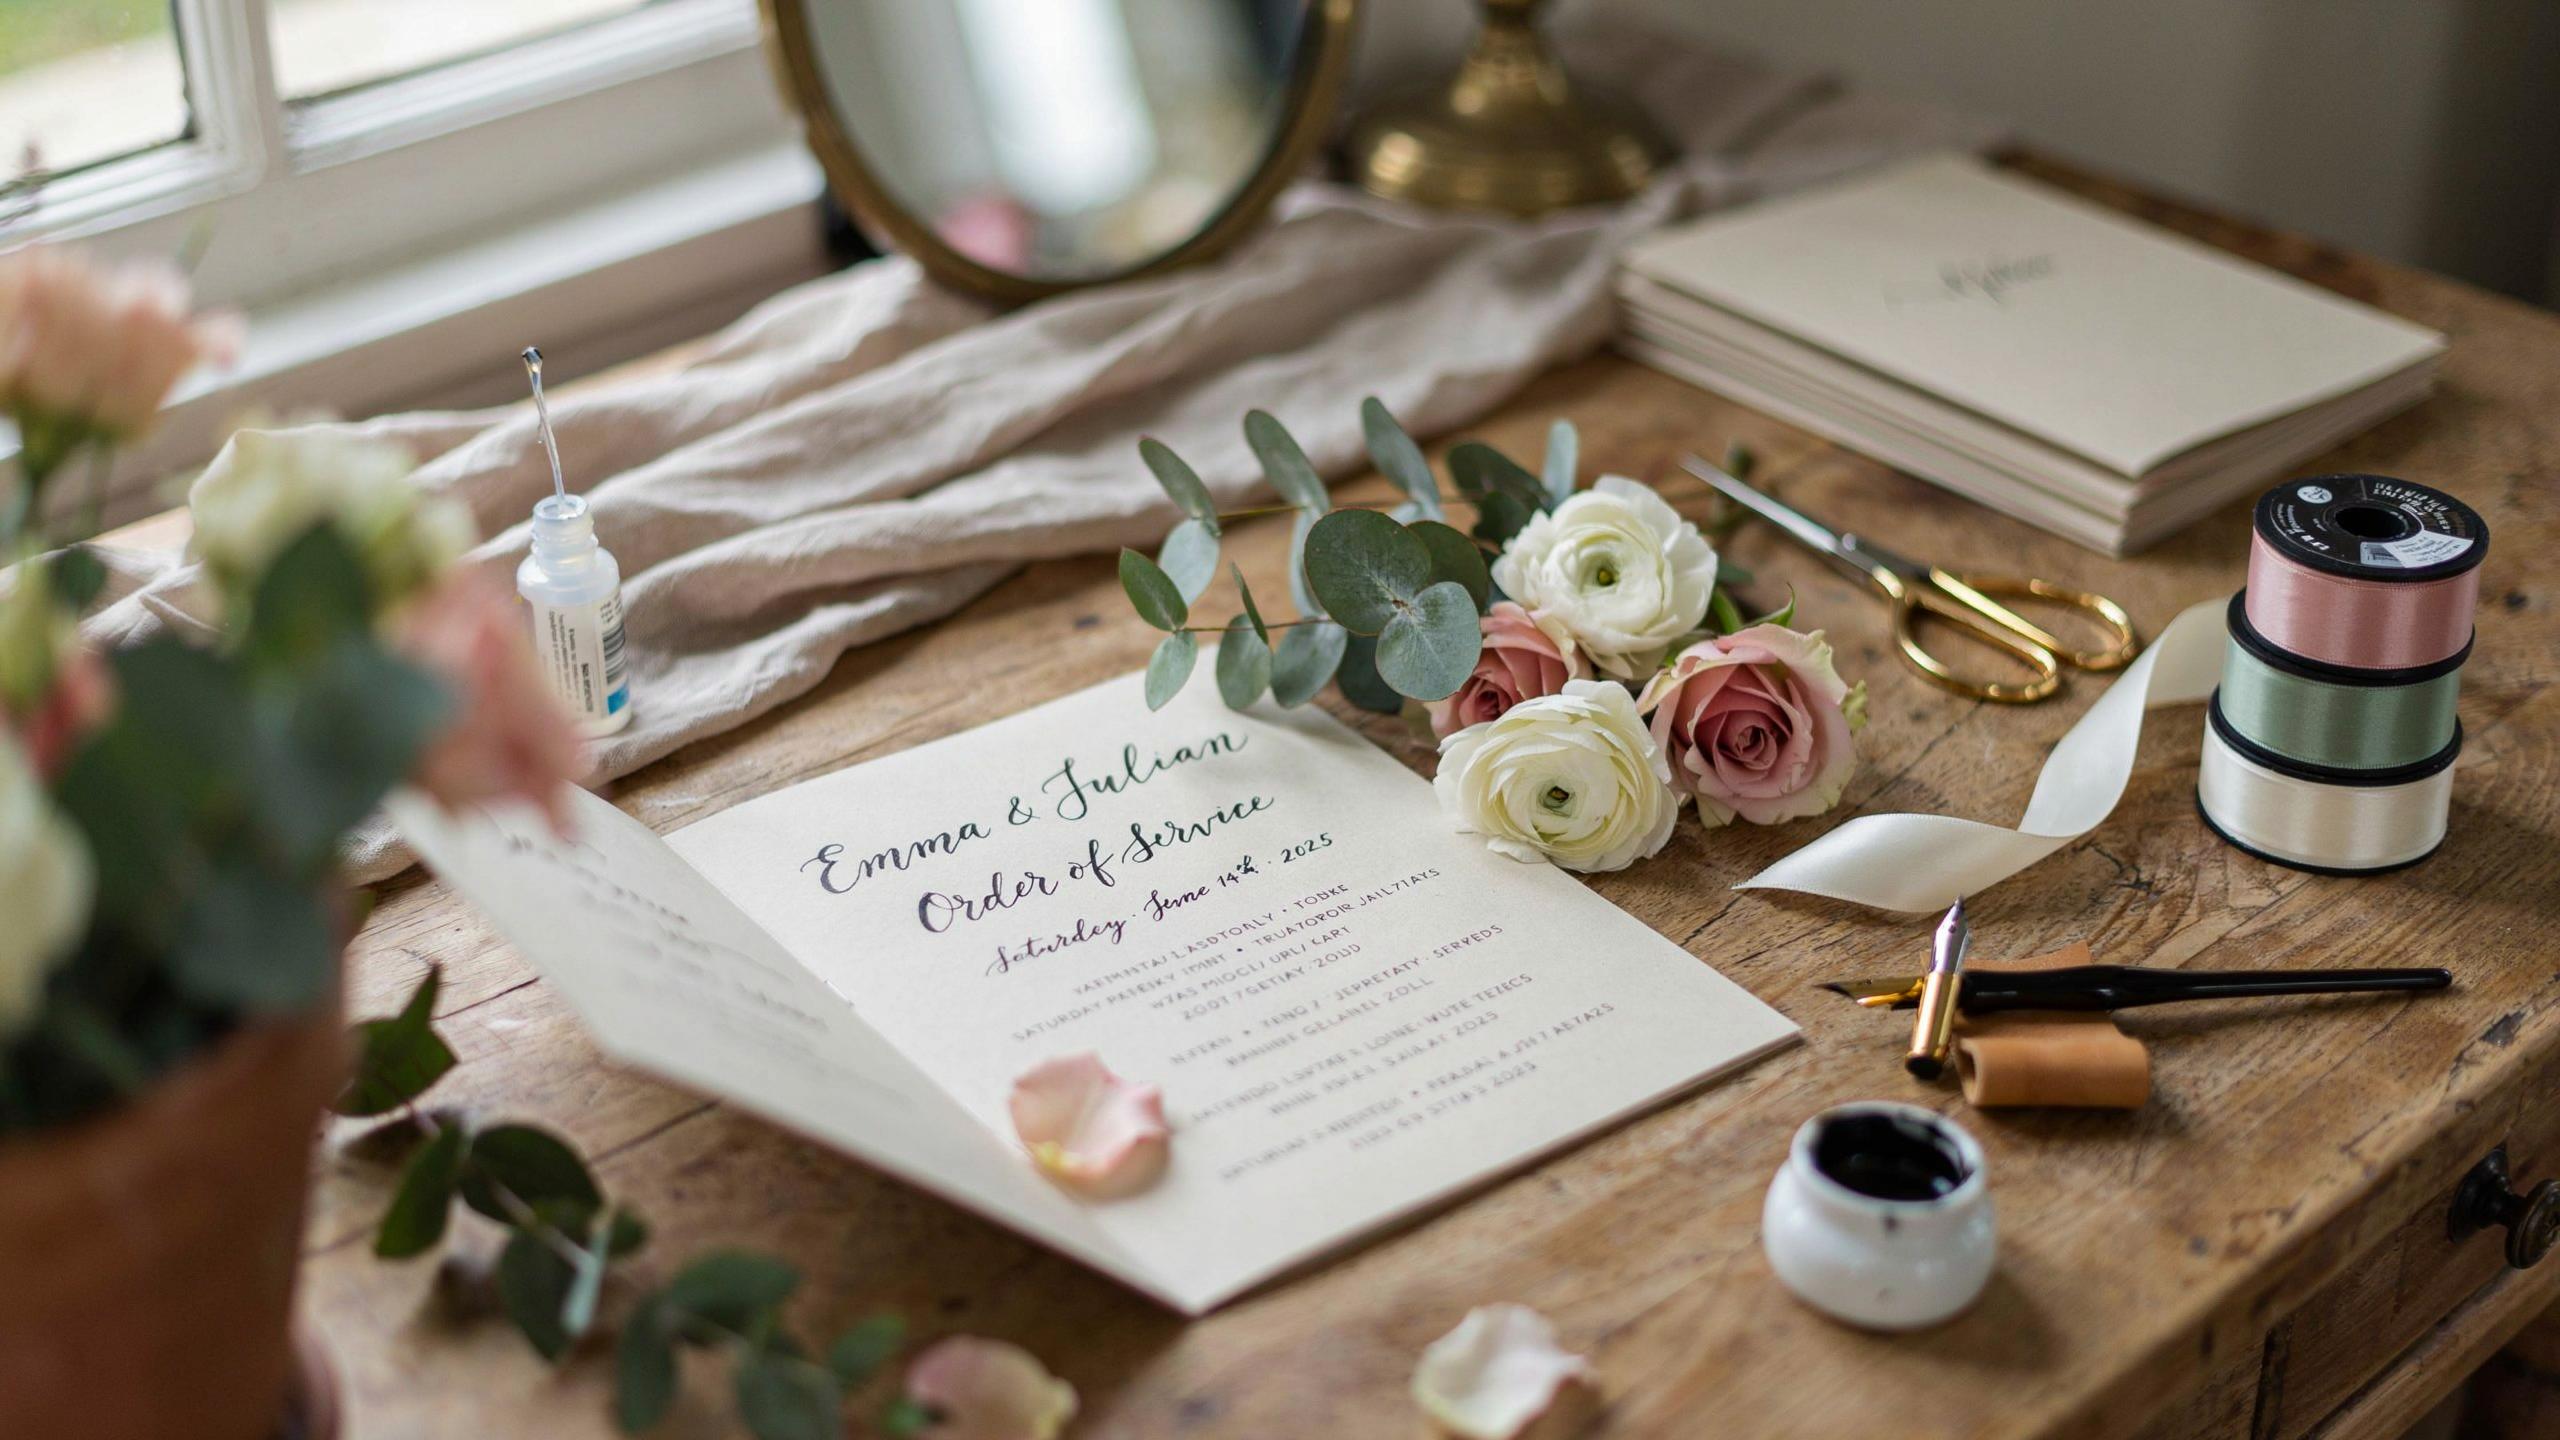
Diy wedding menu cards serve as a functional anchor for your table landscape. They provide structural height and visual weight to each place setting. Without them, tables often look flat and unfinished. High-quality paper stock and clean typography define the boundaries of the guest space. You use these cards to bridge the gap between expensive centerpieces and basic rental linens.
Strategic placement of menu cards eliminates the need for excess decor. These cards communicate the meal sequence clearly to every guest. You reduce confusion at buffet lines or during plated service. This organization creates a disciplined flow for the evening. Professional layouts use white space to maintain a clean look. You save money by letting the paper do the heavy lifting.
How A Small Detail Like A Menu Card Creates A Big Impression On Guests
Guests notice tactile details. A physical menu card signals that you planned the event with precision. This small piece of stationery acts as a roadmap for the dining experience. It addresses dietary concerns before the food arrives. Providing this information builds trust between the host and the attendee. Clear communication is a hallmark of a well-executed event strategy.
Consistent design across your wedding menu cards reinforces your wedding theme. You do not need expensive materials to look professional. Standard cardstock and a home printer produce excellent results if you follow minimalist design principles. Guests value the effort of a personalized touch. This detail transforms a standard meal into a curated event. Focus on legibility and clean lines to maximize the visual impact.
Understanding The Basics Of DIY Wedding Menu Cards Before You Start
What Information Should Be Included On A Wedding Menu Card
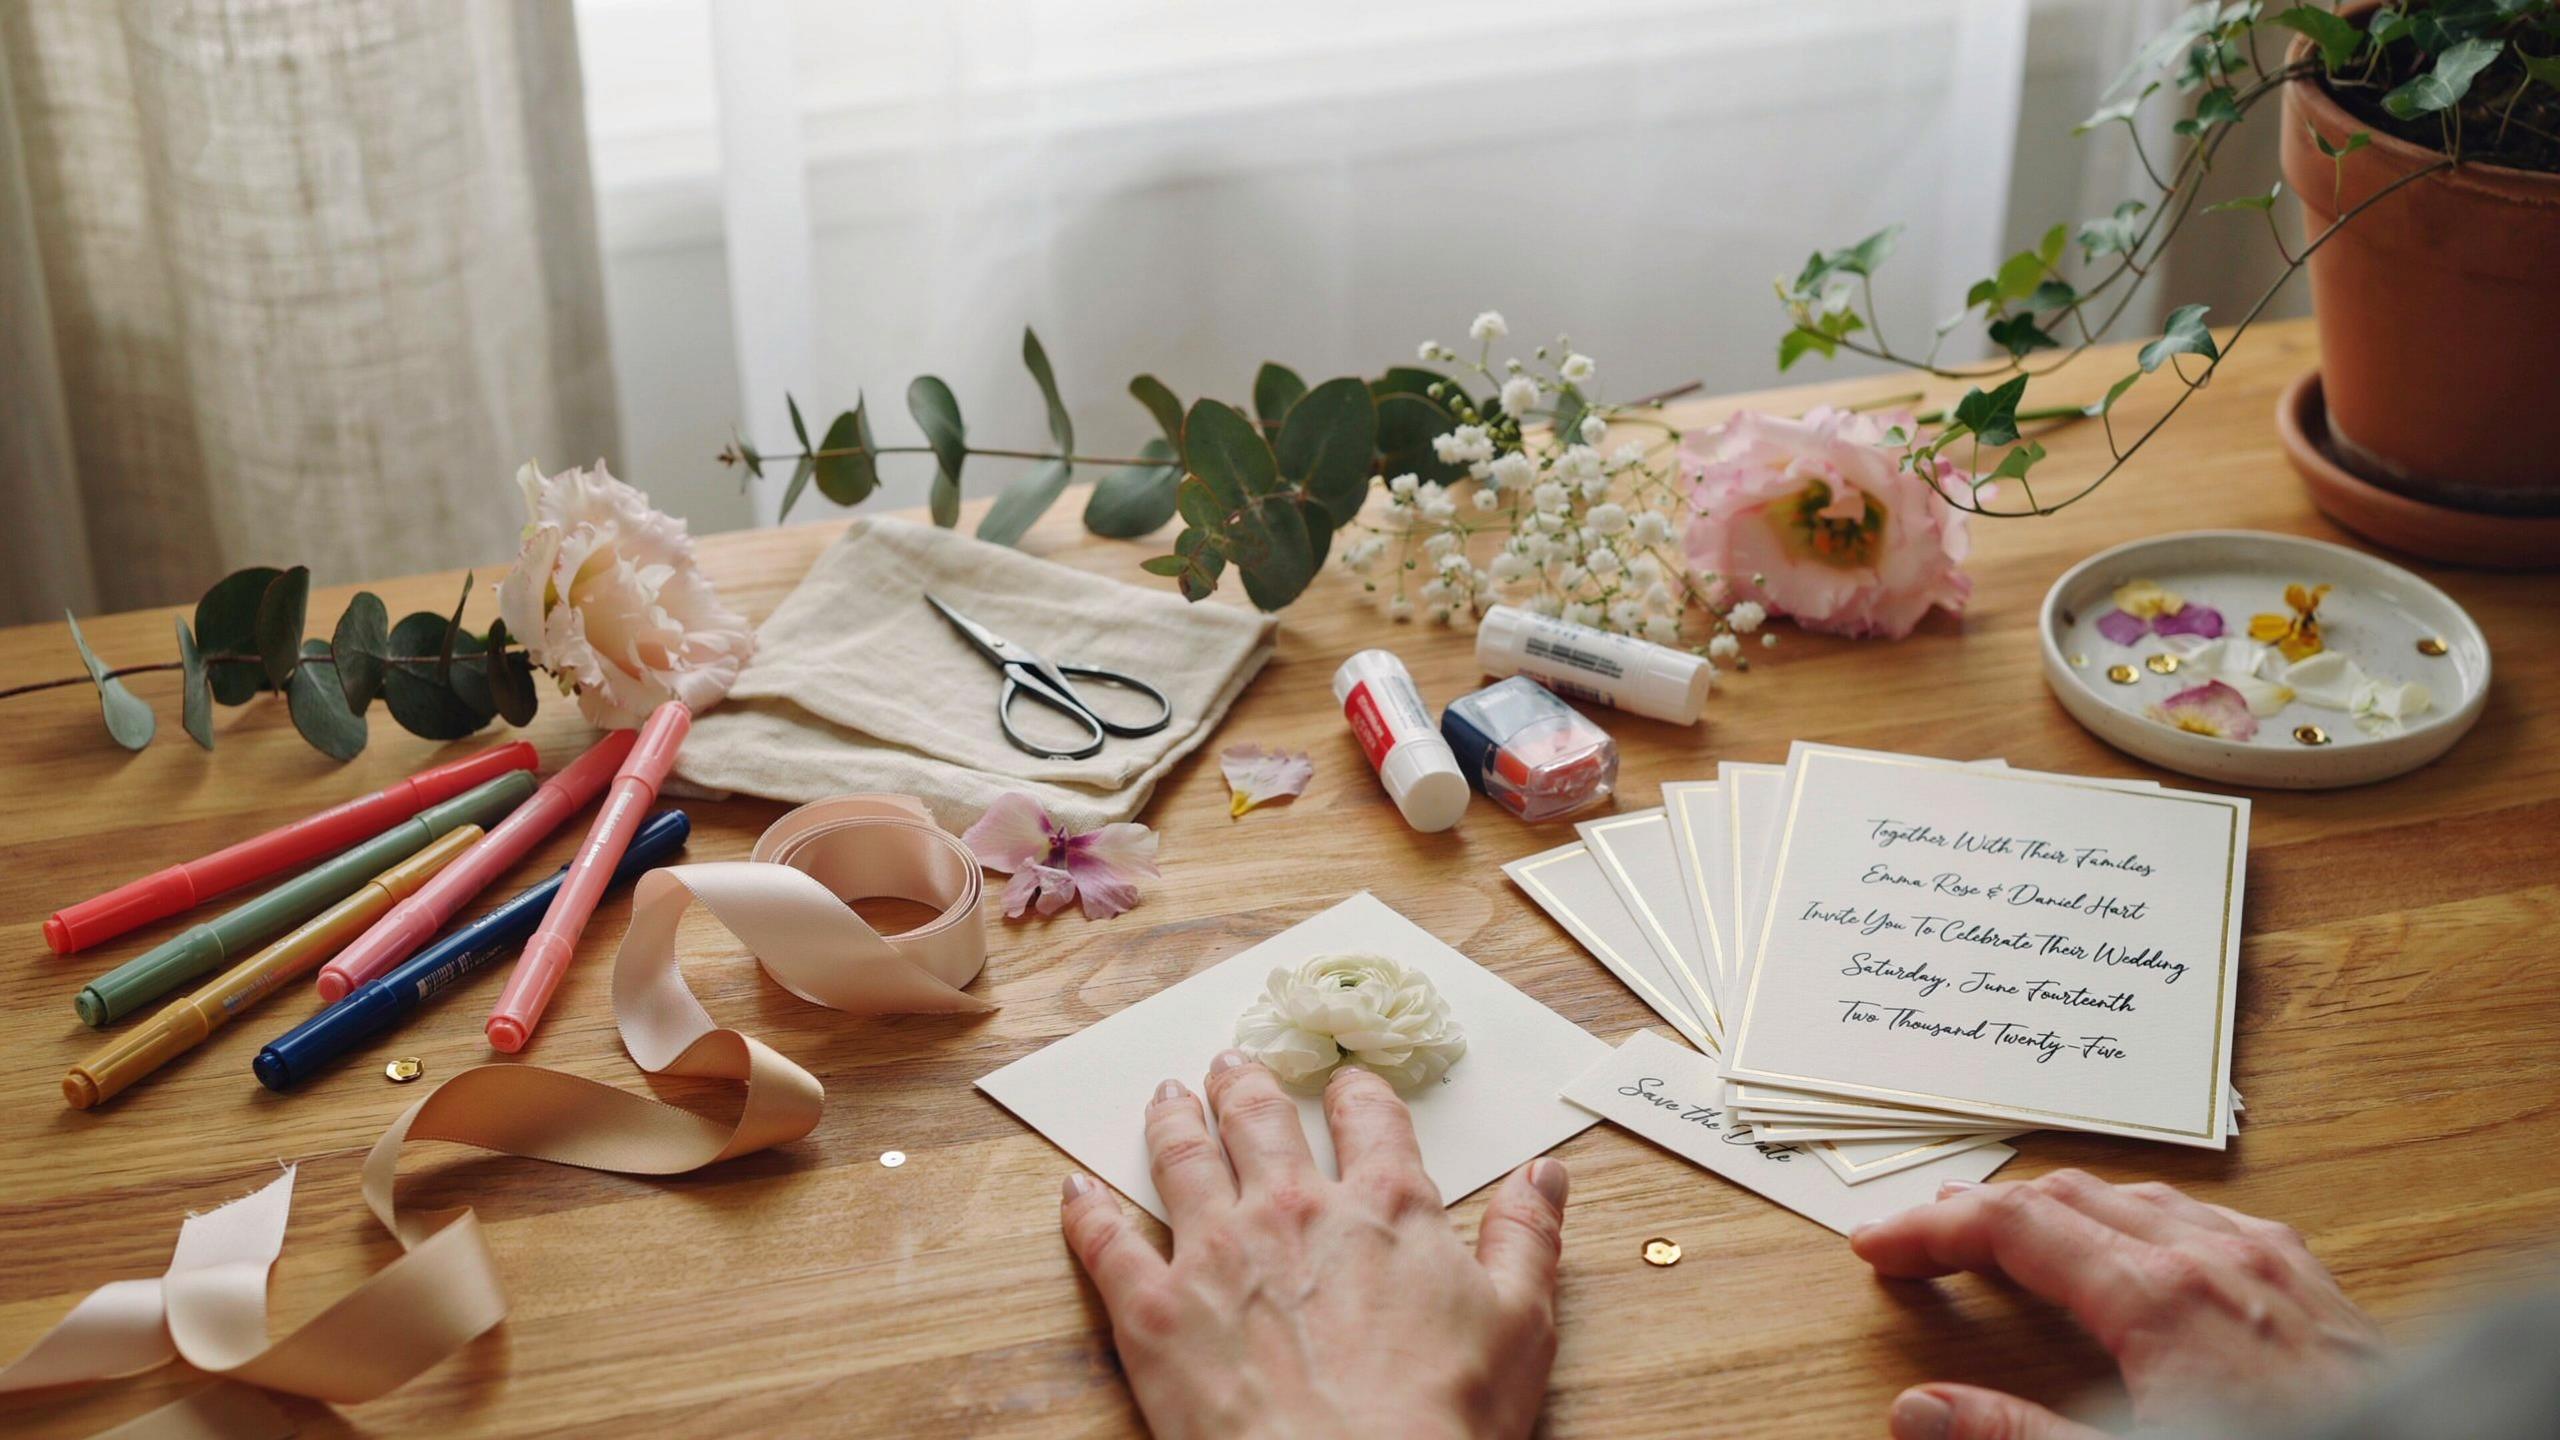
Clear communication prevents guest confusion and logistical delays. Every card must state the course name followed by a focused description of the primary dish. List the main protein, key vegetable components, and any signature sauces clearly. If you offer multiple choices, present them in order of service. Always note dietary indicators like vegan or gluten-free options to ensure safety and comfort for all diners.
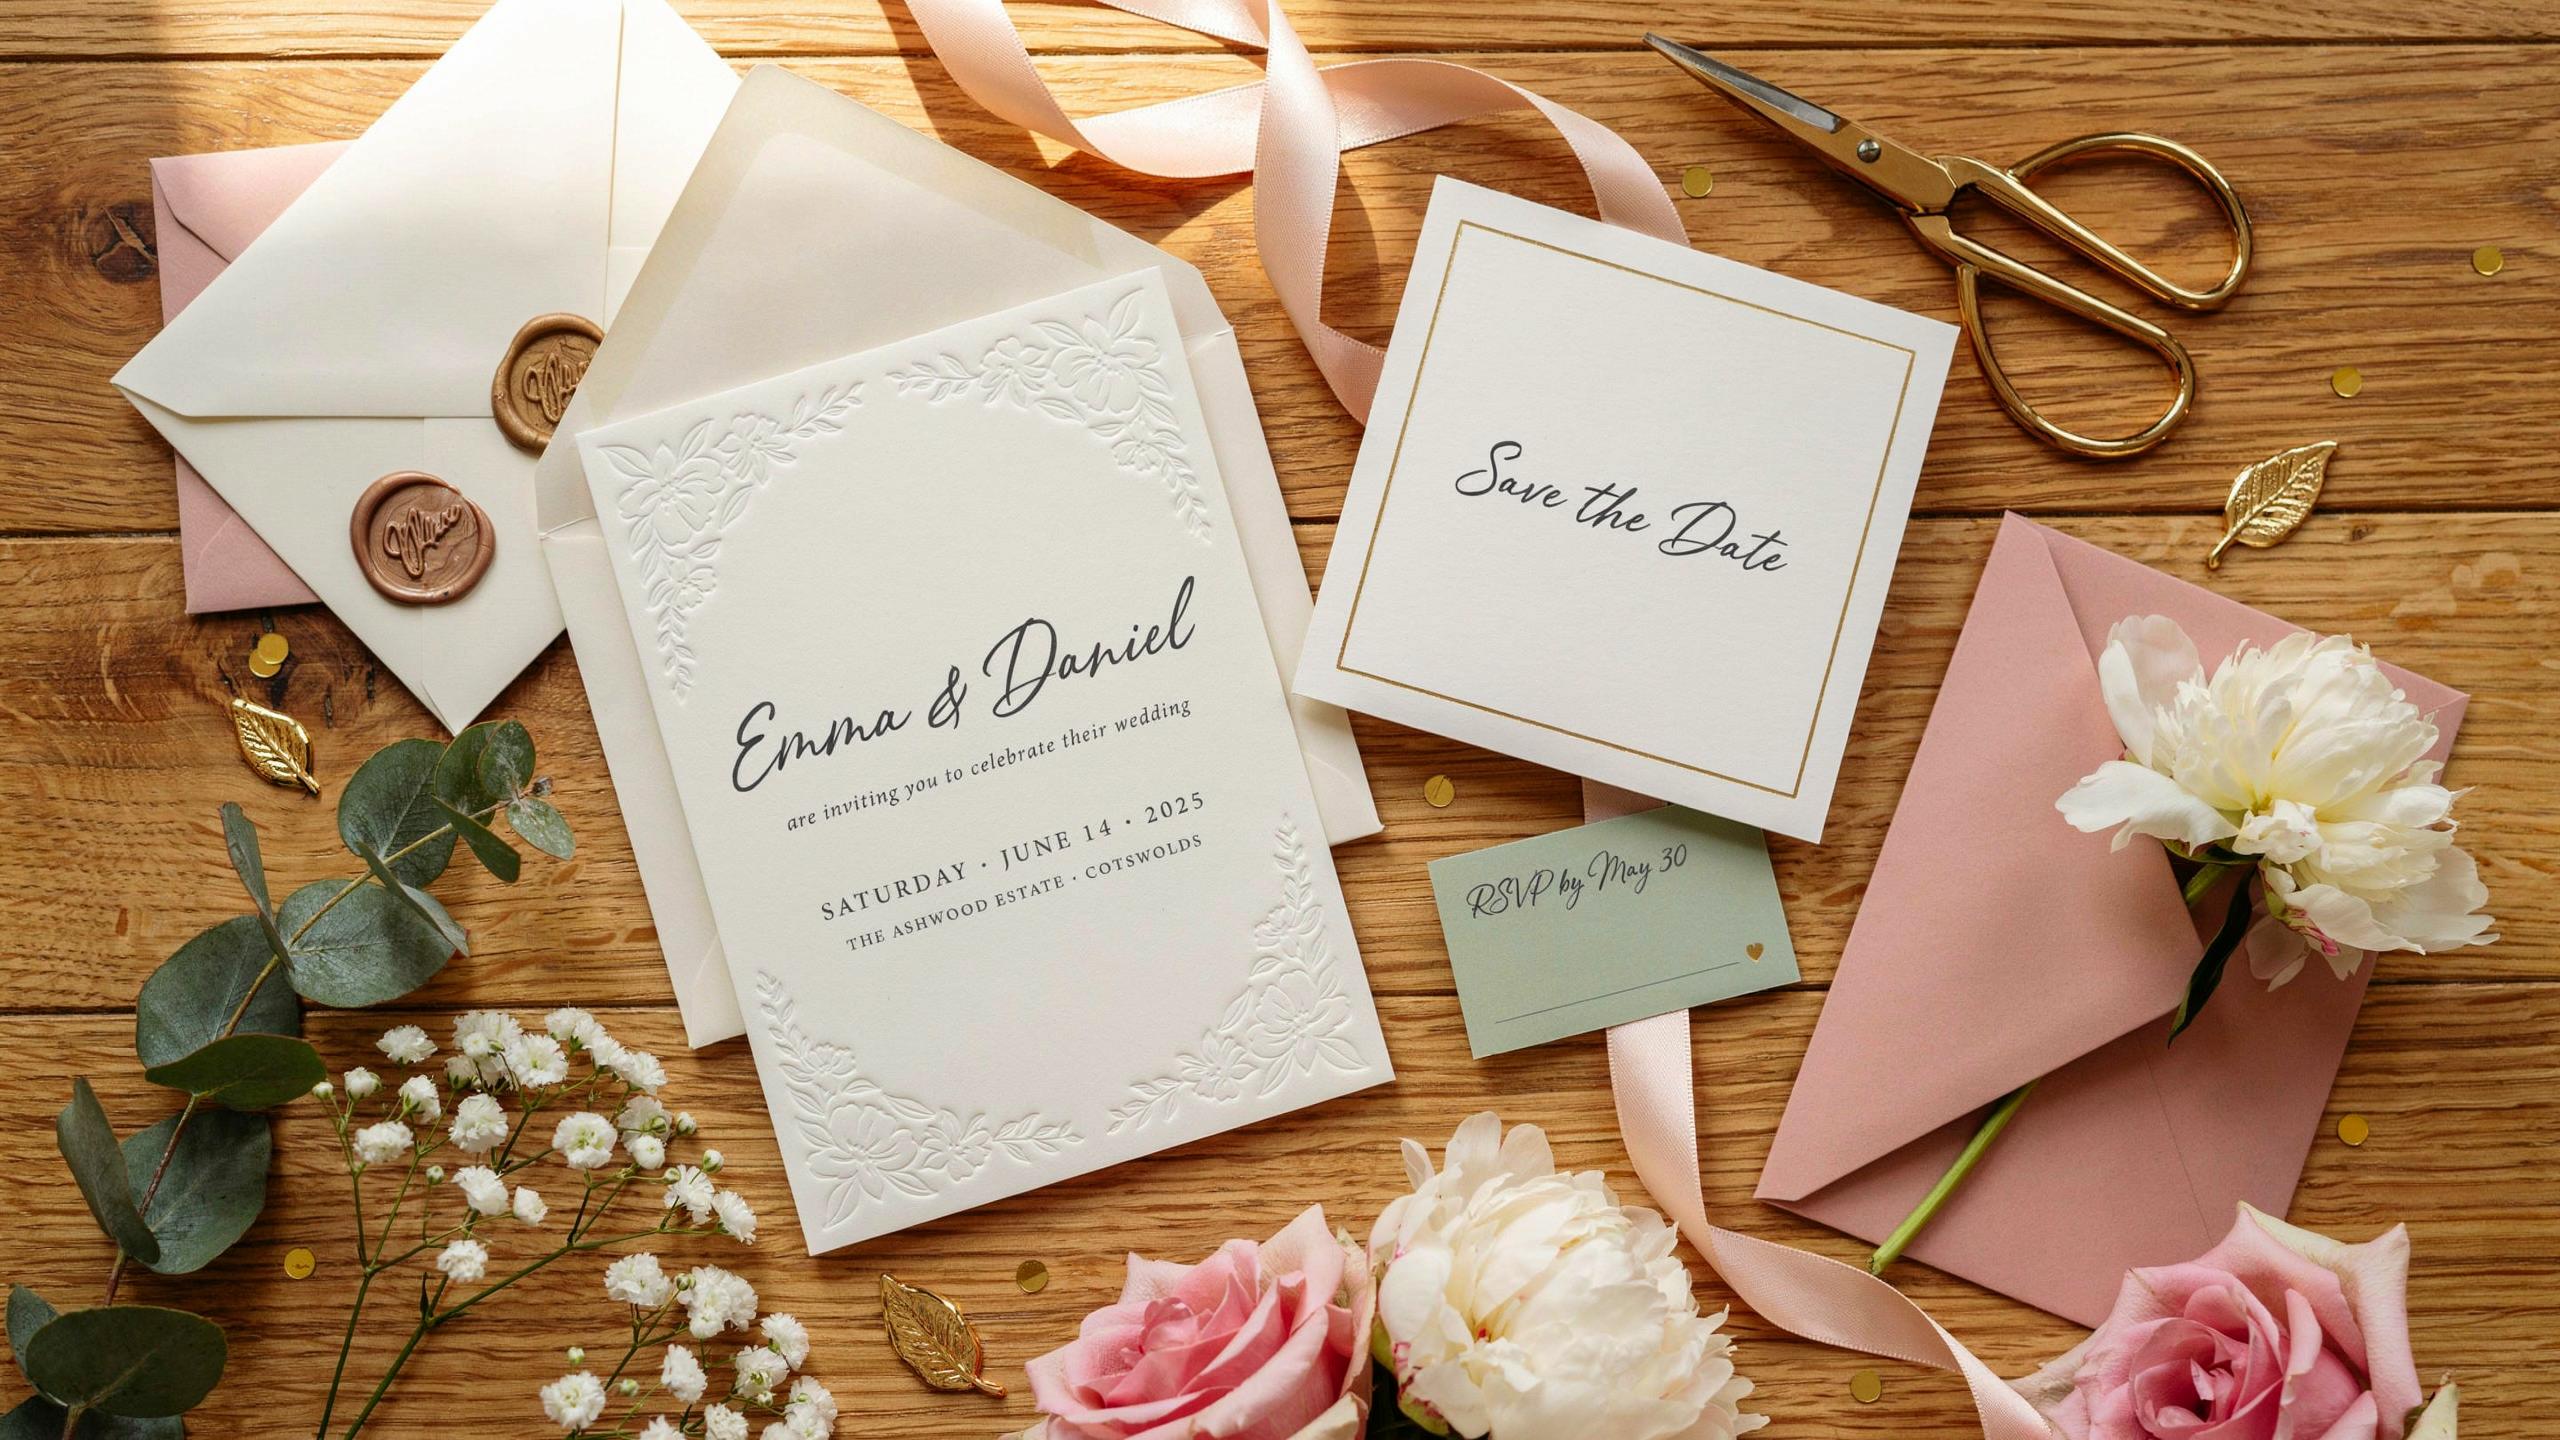
Strategic information placement improves the dining experience. Include the names of the couple and the wedding date at the top for archival value. If the meal is buffet style, list the service order to manage expectations. For plated meals, keep descriptions brief to maintain a clean layout. Use legible fonts for ingredient lists. This ensures guests with allergies can identify safe foods without asking busy staff for help.
Simple joys are often the most profound, and a table set with heart matters far more than one set with gold.
— Leo Tolstoy
Standard Sizing And Format Options For Printed Or Handmade Menu Cards
Standard sizing ensures your designs fit common table settings. The most frequent dimension for individual cards is 4 inches by 9 inches. This slim profile fits perfectly inside a folded napkin or directly onto a charger plate. Standard 5 by 7 inch cards also work well for a traditional look. Choosing these common sizes reduces paper waste and allows for easy printing on home equipment or through local shops.
Format choice dictates the material costs and production time. Single flat cards are the most cost-effective and fastest to produce. Bifold or trifold orientations offer more surface area for complex menus but require precise scoring and folding. Using heavy cardstock between 80 and 110 pounds ensures the menu feels high quality and stays flat. Consider the finish as matte surfaces reduce glare while glossy finishes can make colors pop.
Budget Friendly Materials To Use When Making DIY Wedding Menu Ideas Come To Life
Affordable Paper Stocks And Card Options Available At Craft Stores
Standard craft stores offer high quality paper at low prices. You must choose the right weight for your printer. Heavy cardstock feels expensive but can jam home machines. Stick to 80lb or 100lb cover stock for the best results. Buying in bulk packs reduces the cost per unit. Neutral colors like cream or white keep printing costs low while maintaining a professional look.
- Vellum Paper: This translucent material adds a layered look to your menus. Place it over a solid card to create depth. It works well with minimalist designs and serif fonts. Ensure your ink dries completely to avoid smearing on the slick surface.
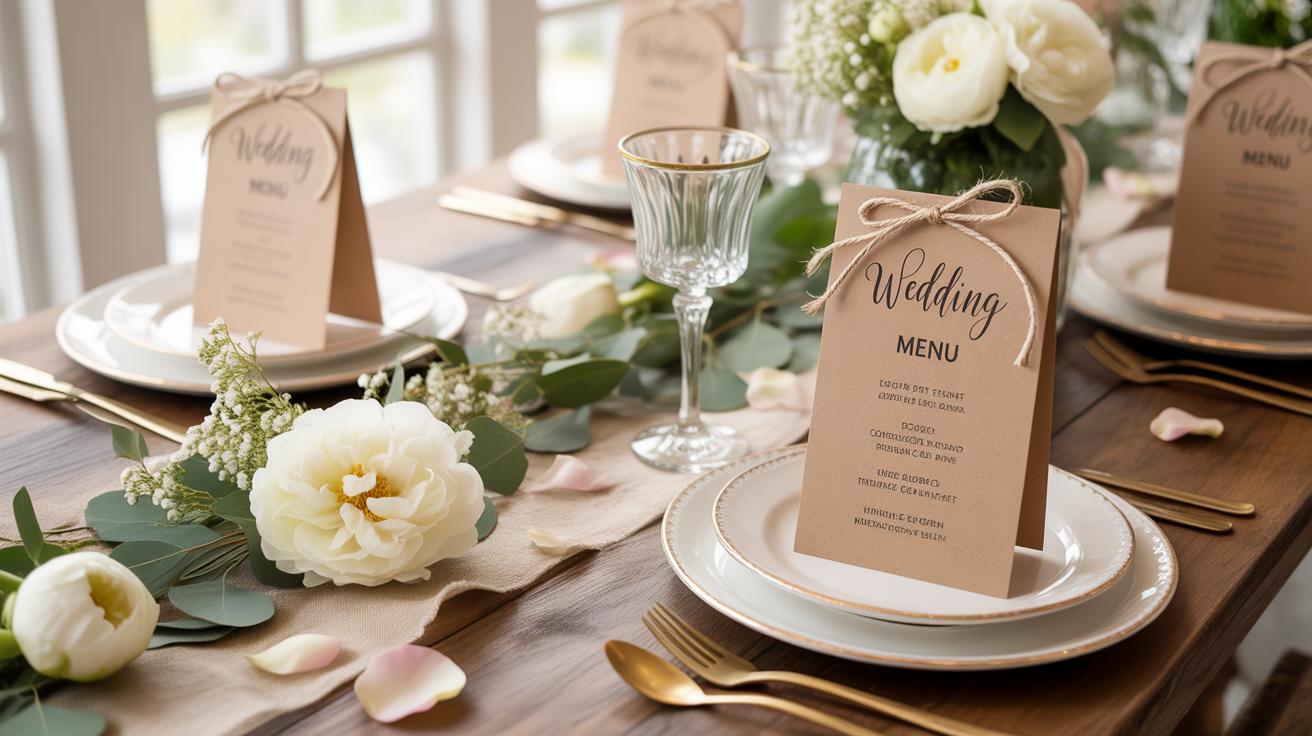
- Kraft Paper: Use this for a rustic or industrial aesthetic. It is thick and durable. This paper is very cheap and hides small printing errors well. Use black ink for the highest contrast and readability against the brown background.
- Linen Textured Cardstock: This paper has a subtle crosshatch pattern that mimics fabric. It provides a high end feel without the custom price tag. Standard inkjet printers handle this texture well. It is a top choice for traditional and formal wedding settings.
- Recycled Cardstock: This option appeals to eco conscious couples. It often has small flecks of fiber that add visual interest. It is a sturdy material that stands up well on plates. Most craft stores stock this in various earthy tones.
- Matte Photo Paper: This paper holds ink exceptionally well for crisp lines. Use it if your menu includes colorful graphics or photos. It prevents bleeding and ensures your text remains sharp. This is a practical choice for detailed or small font designs.
Testing your paper is a critical step. Buy single sheets before committing to a full pack. Check how the ink absorbs into the fibers. Some textured papers feather the ink and ruin the design. Use a paper trimmer for straight edges. Hand cutting with scissors looks sloppy. Sharp blades ensure clean lines that mimic professional print shops. This saves money and maintains high standards.
Free And Low Cost Digital Tools For Designing Your Menu Cards At Home
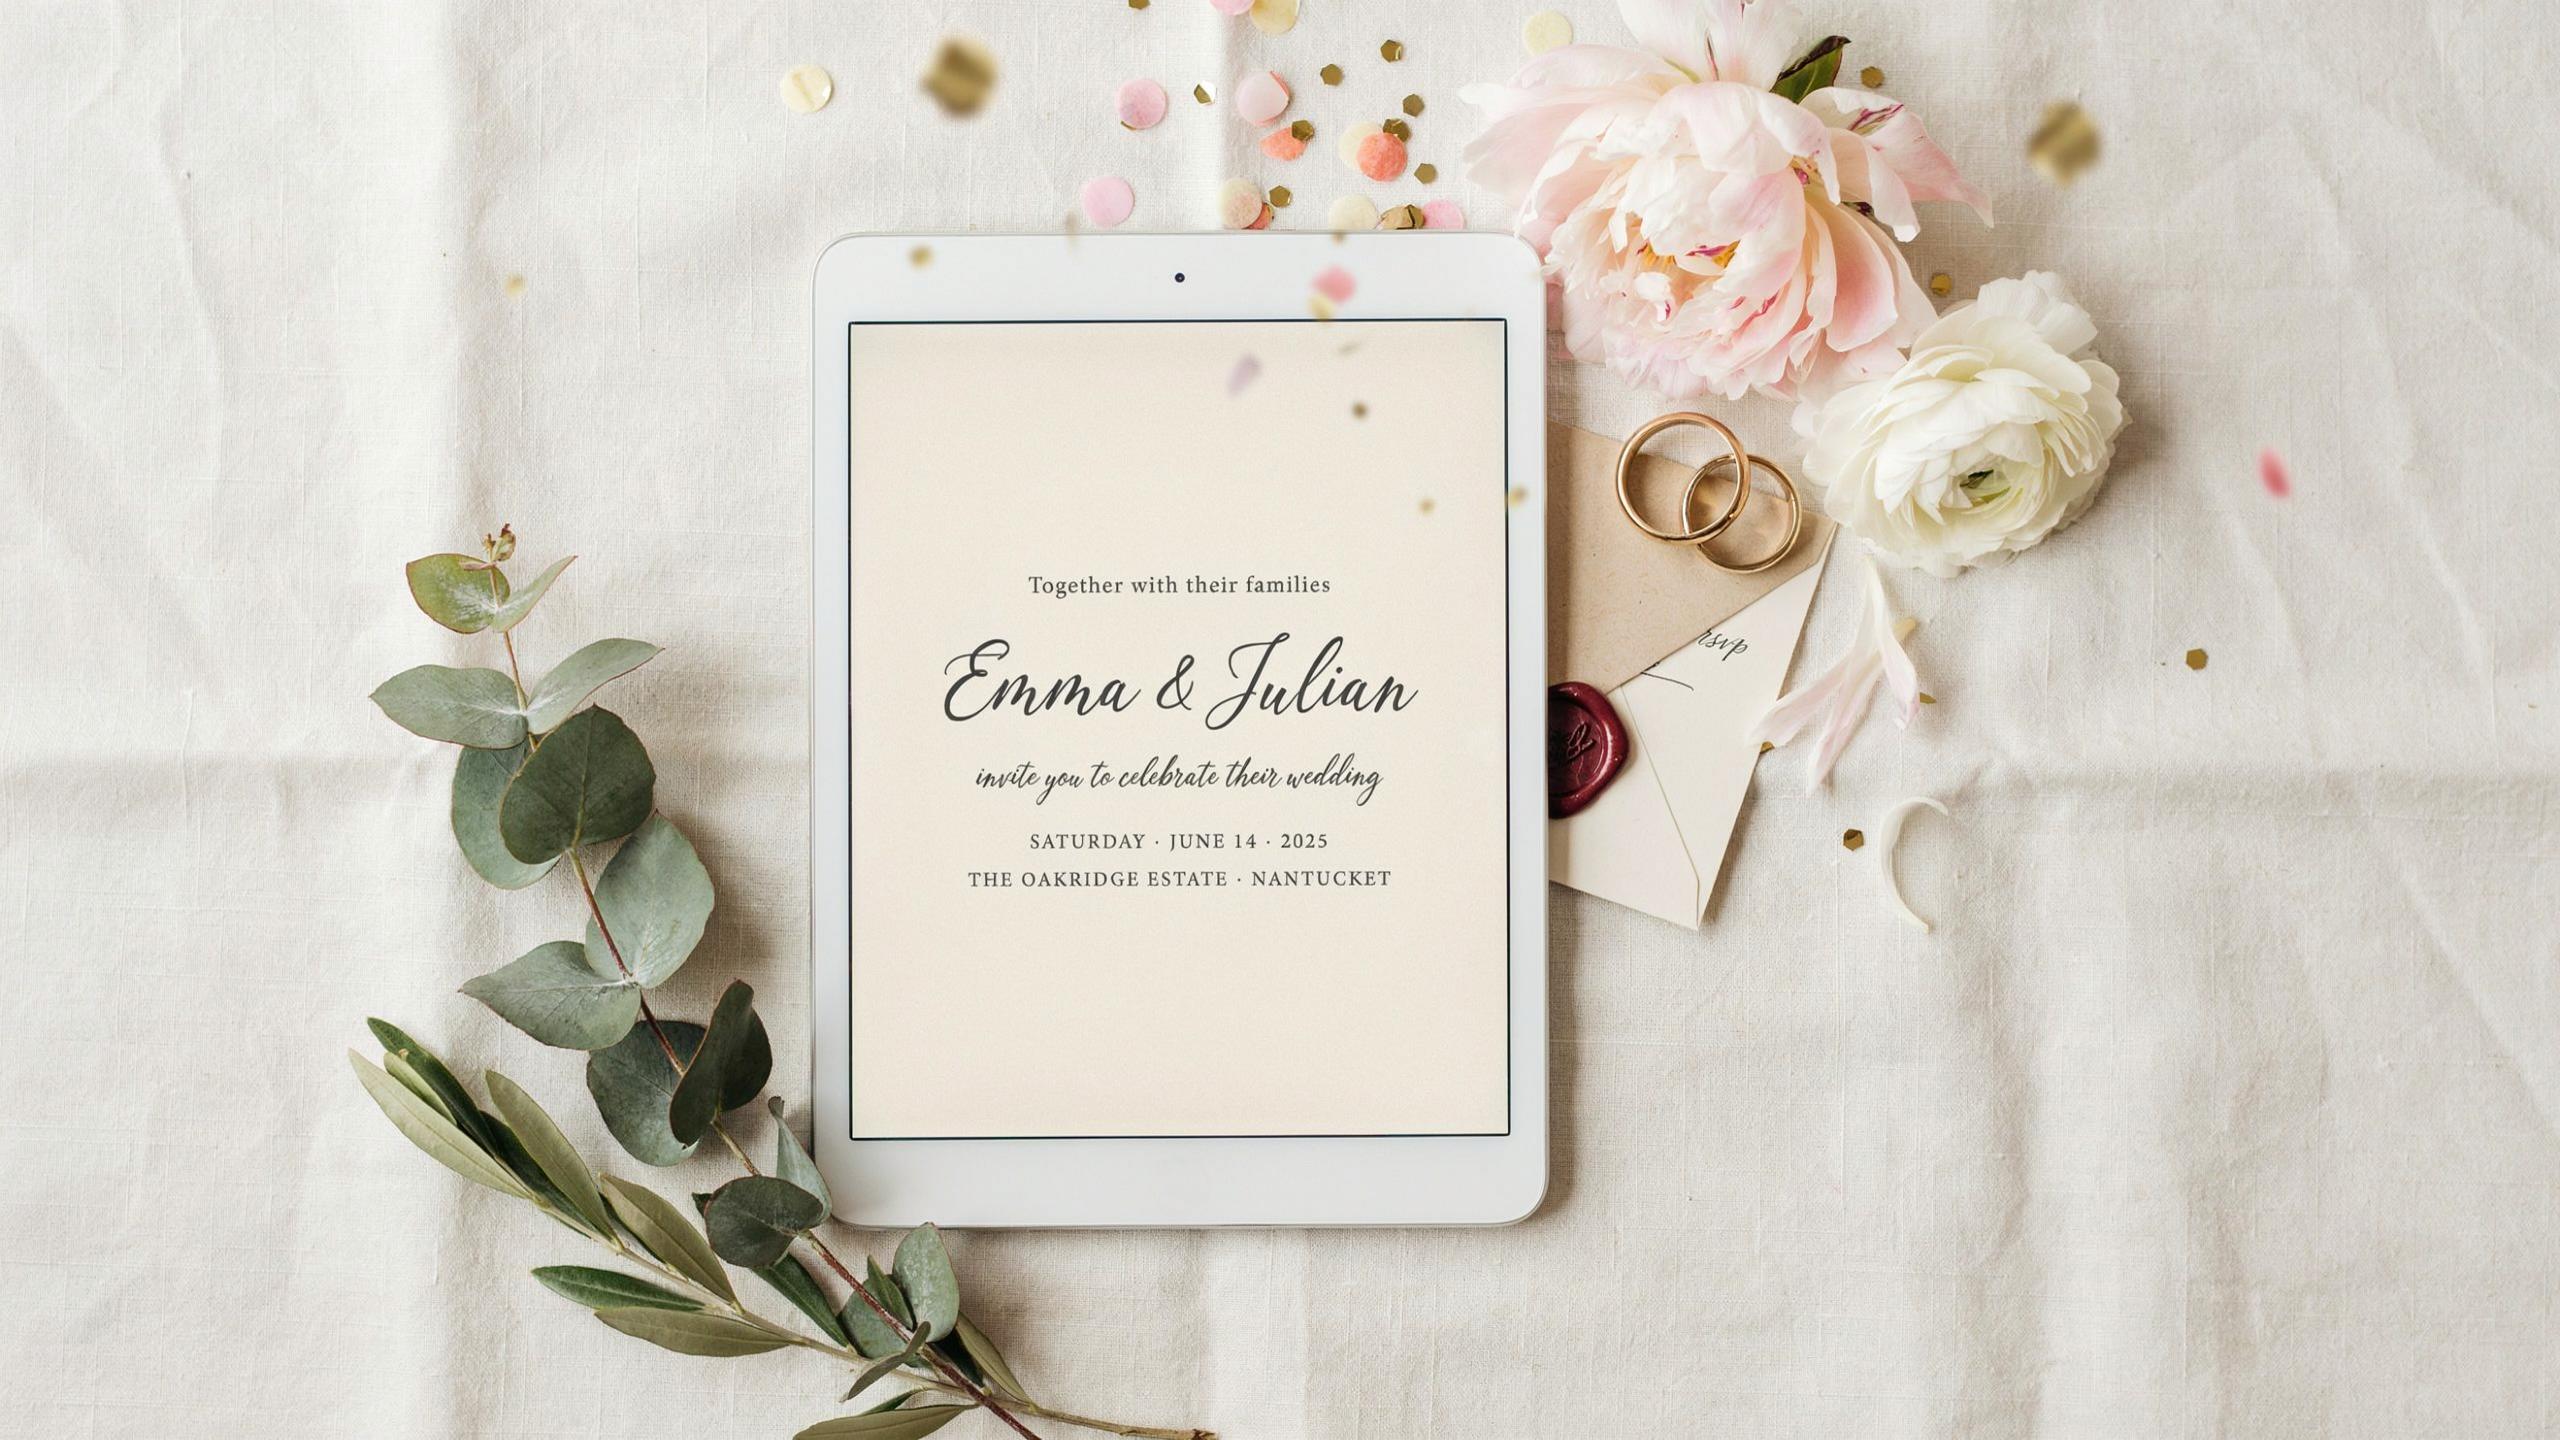
Digital design tools eliminate the need for expensive graphic designers. Web based platforms offer pre made templates that fit standard menu sizes. You can change fonts and colors to match your wedding theme. These tools often provide free versions with enough features for basic layouts. Always export your final file as a high resolution PDF. This ensures the best print quality on home equipment.
Professional layout software is available through monthly subscriptions. Use these if you need advanced typography control. Many companies offer a free trial period. Complete your design within this window to avoid costs. Focus on grid systems to align your text. Proper spacing makes a menu easy to read. Keep your design simple to avoid clutter. Good design relies on balance and clear hierarchy.
Popular Wedding Menu Designs That Work For Any Style Or Theme
Minimalist And Modern Menu Card Designs For Clean Aesthetic Tables
Modern minimalism focuses on negative space and clear hierarchy. Tactical designers use high-contrast color palettes like jet black ink on stark white cardstock. You must prioritize typography over decorative graphics. Choose sans-serif fonts to maintain a Swiss Design influence. This approach works best for formal seated dinners where the table setting is busy. A clean card balances the visual load for your guests.
Standard dimensions for these cards are 4 by 9 inches. This slim profile fits perfectly inside a folded napkin or directly onto a charger plate. Use a heavy paper weight of at least 100lb to ensure the card feels substantial. Avoid glossy finishes as they create glare under reception lighting. Matte cardstock provides a professional look that is easy for guests to read in dim environments.
Rustic And Botanical Wedding Menu Design Ideas Using Natural Elements
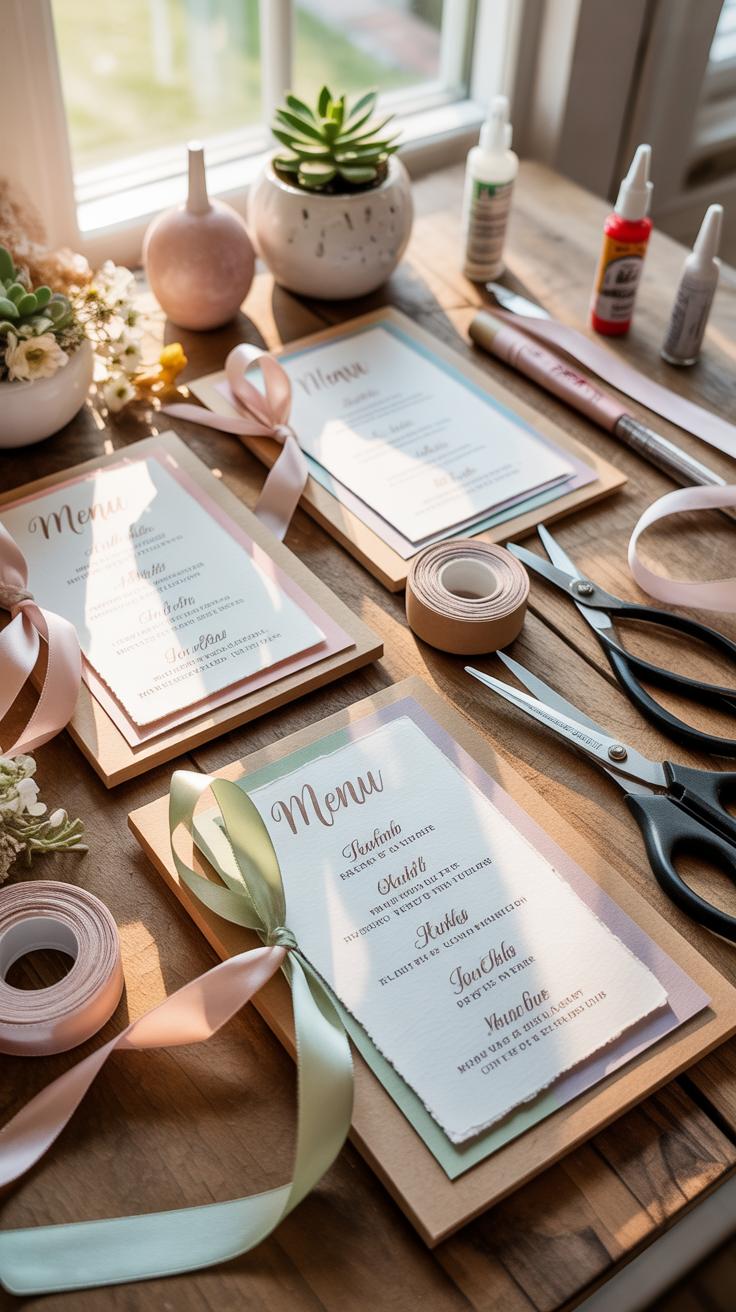
Rustic designs utilize raw textures and organic shapes to create a grounded feel. Use kraft paper or recycled cardstock to achieve an earthy brown tone. This style often incorporates sketch-style botanical illustrations like eucalyptus or fern sprigs. These elements frame the text without cluttering the layout. Use serif fonts to suggest a classic or traditional heritage. This design suits outdoor or barn venues.
Incorporate physical attachments to enhance the tactile experience. Secure a sprig of dried lavender or rosemary to the card with twine or a mini clothespin. This adds a sensory layer through scent and texture. You can also use deckled edges to mimic handmade paper from the pre-industrial era. Ensure the ink color remains dark enough to pass the legibility test against the textured brown background of the paper.
How To Combine A Menu And Place Card Wedding Setting Into One
What A Combined Menu And Place Card Is And Why Couples Choose It
A combined menu and place card merges two distinct wedding stationery items into a single piece of paper. The design displays the food courses while prominently featuring the name of the specific guest. This strategy eliminates the need for separate small name cards on the table. It reduces visual clutter at each seat. You save money on paper and printing costs by consolidating these two requirements.

Couples choose this format to streamline the table setting. It ensures every guest has a clear prompt for their assigned seat while simultaneously providing the dining schedule. This approach works well for plated meals where servers need to identify specific guest selections or dietary restrictions. It simplifies the setup process for venue staff. You handle fewer individual pieces during the assembly of your table decor.
Layout Tips For Designing A Dual Purpose Card That Stays Readable And Elegant
Effective layout for dual-purpose cards requires a strict hierarchy of information. Place the guest name at the very top or in the center using a larger or bolder font. Use a clean serif or sans-serif typeface for the food descriptions to ensure high legibility. Maintain at least a quarter-inch of white space around the edges. This prevents the design from looking cramped or disorganized on the plate.
Choose a vertical 4×9 inch DL format or a standard 5×7 inch card to maximize vertical space. Align the text to the center to create a formal and balanced appearance. Use high-contrast colors like black ink on white or cream cardstock. Avoid light-colored scripts for the menu details as they are difficult to read in low reception lighting. Clear organization allows guests to find their names and read the meal options quickly.
Creative Ways To Display Menu Cards For Wedding Tables
Folded Tent Cards, Framed Prints, And Scroll Styles For Table Display

Folded tent cards stand on their own without extra support. Use heavy cardstock to prevent sagging or collapsing during the event. This design allows for double sided printing to save space. Place one card between two guests to reduce printing costs by half. This method keeps tables clean and organized. It works best on flat surfaces where wind is not a factor for the guests.
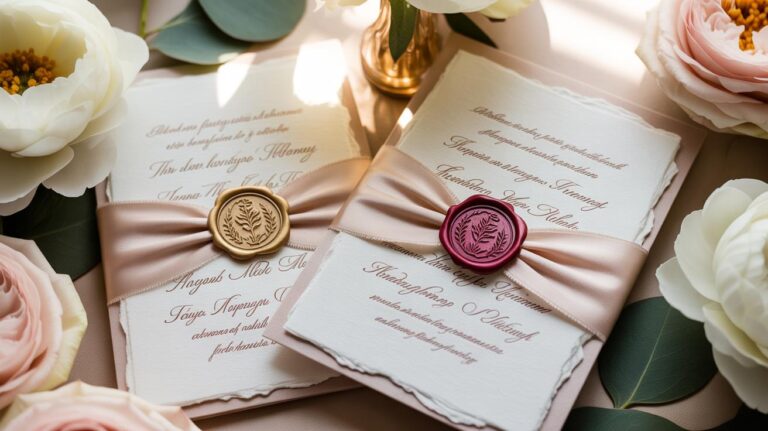
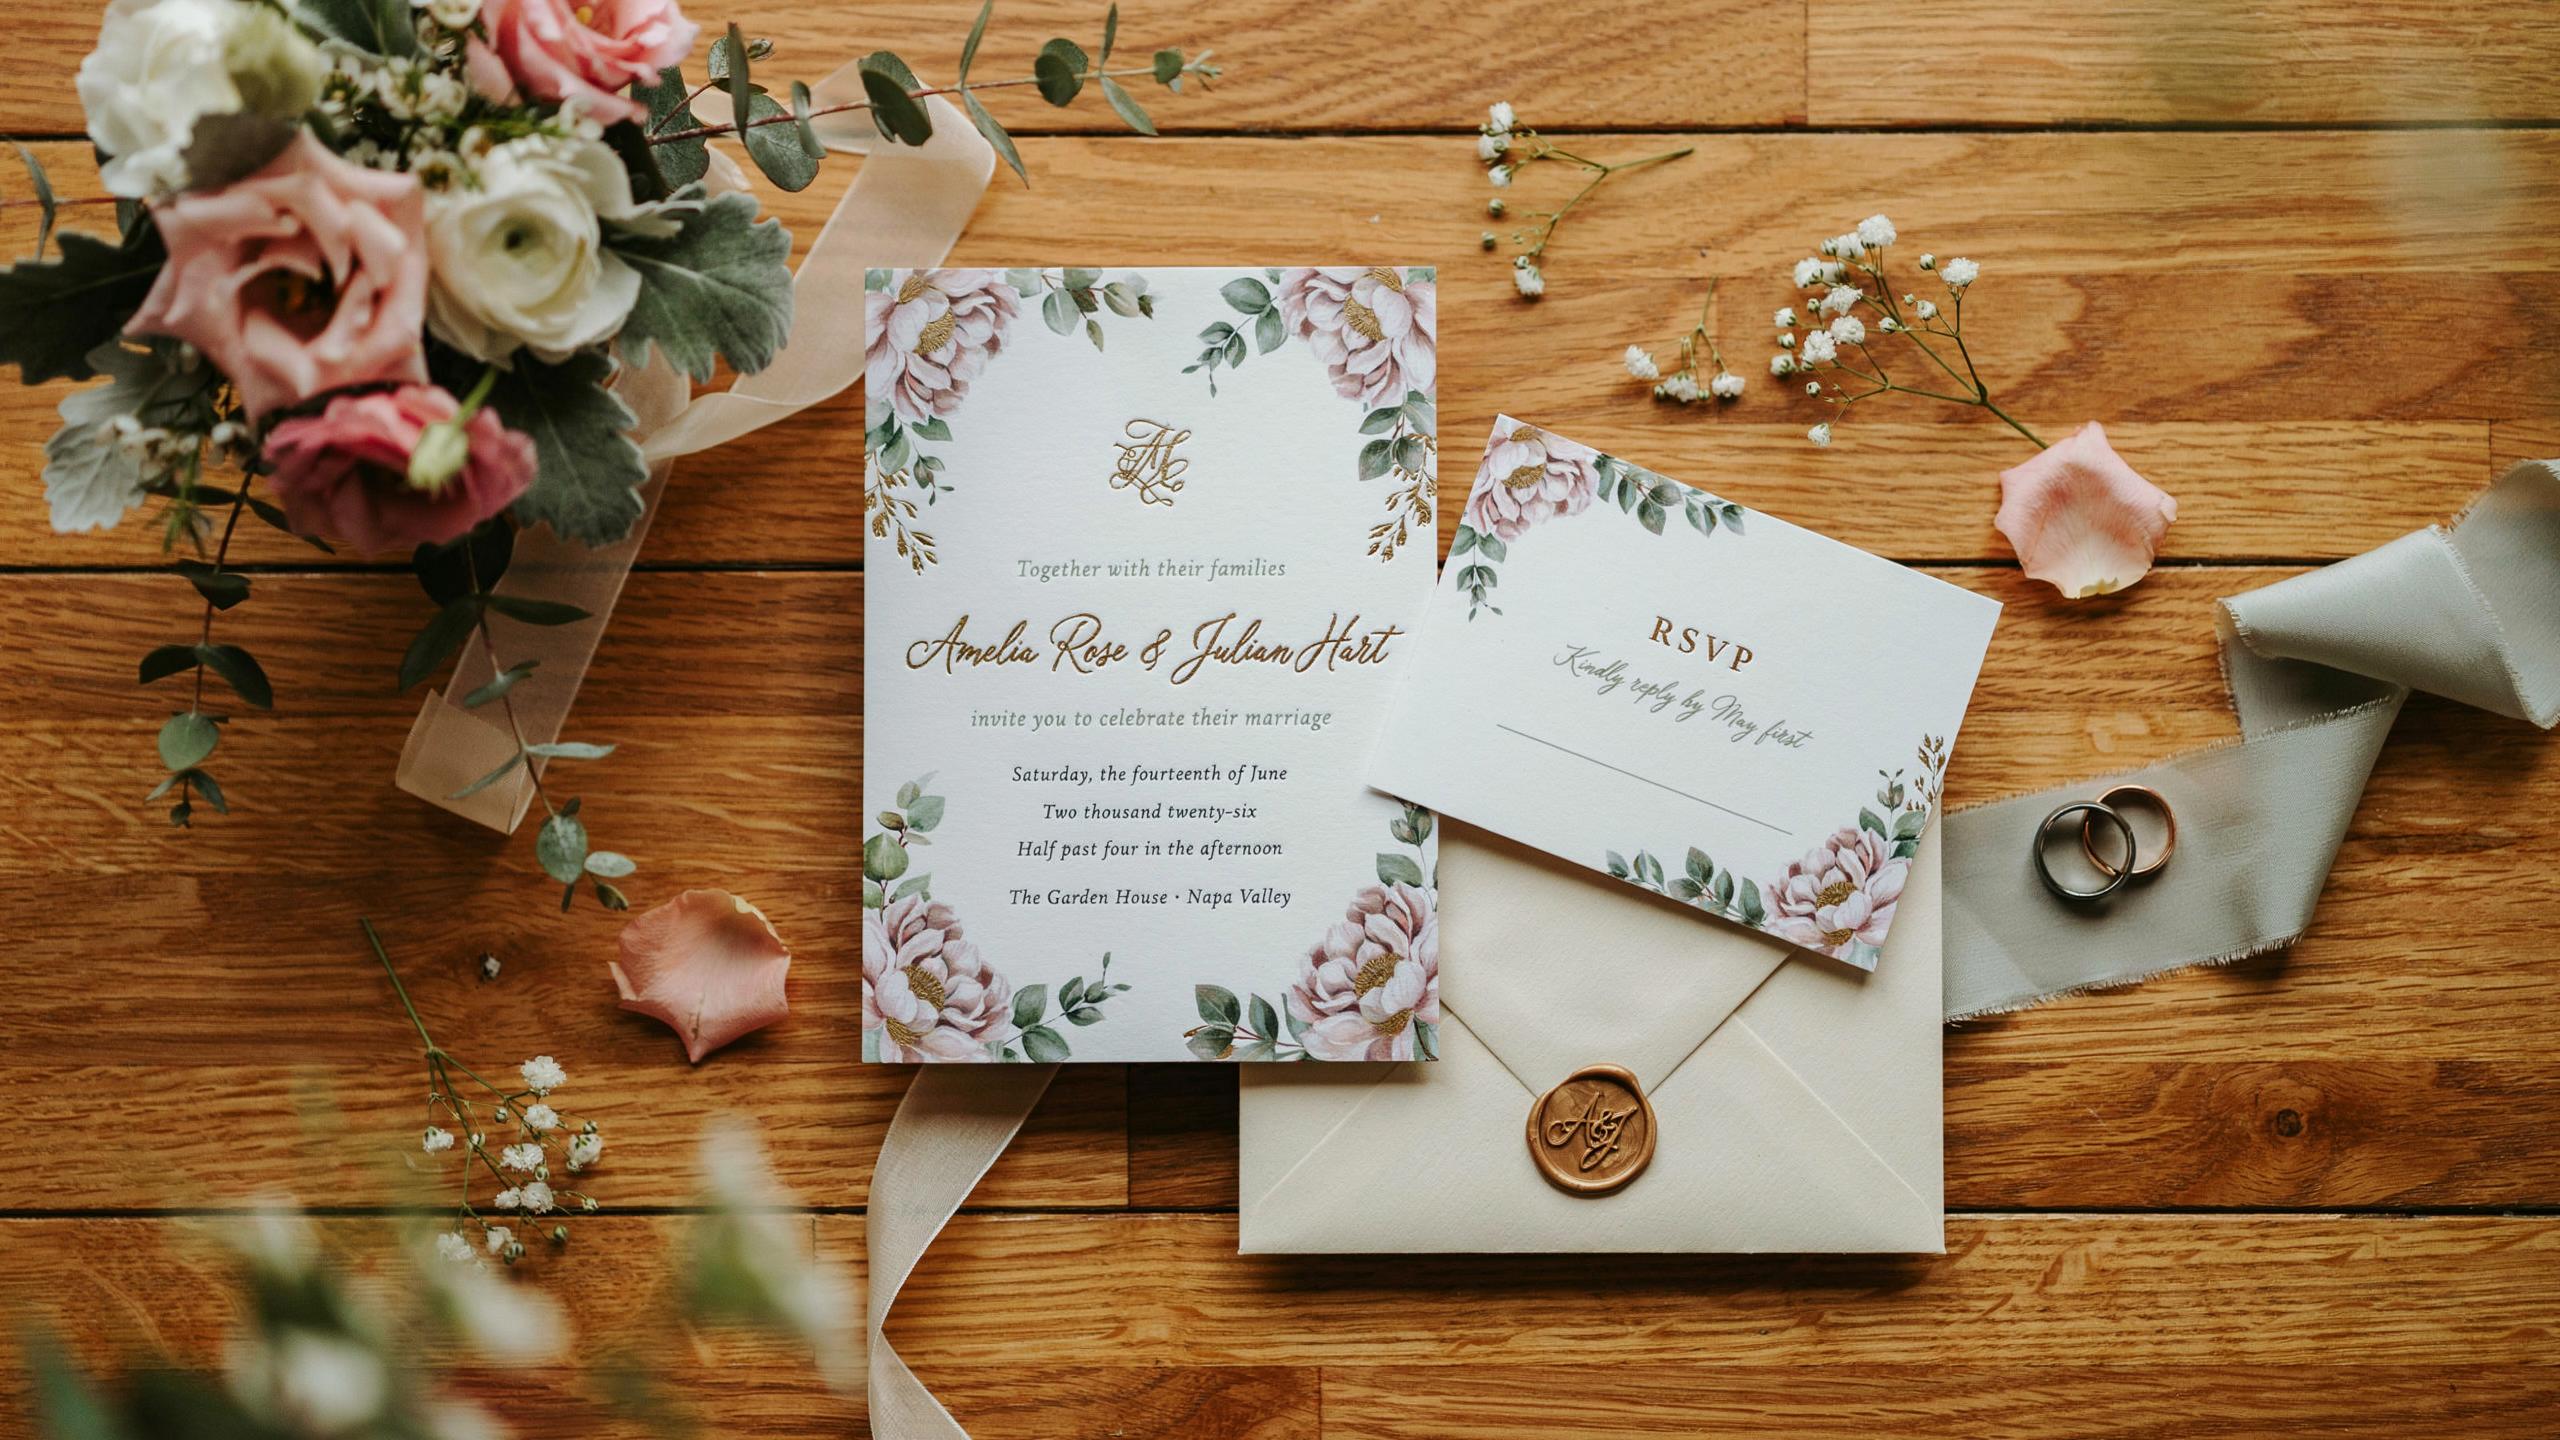
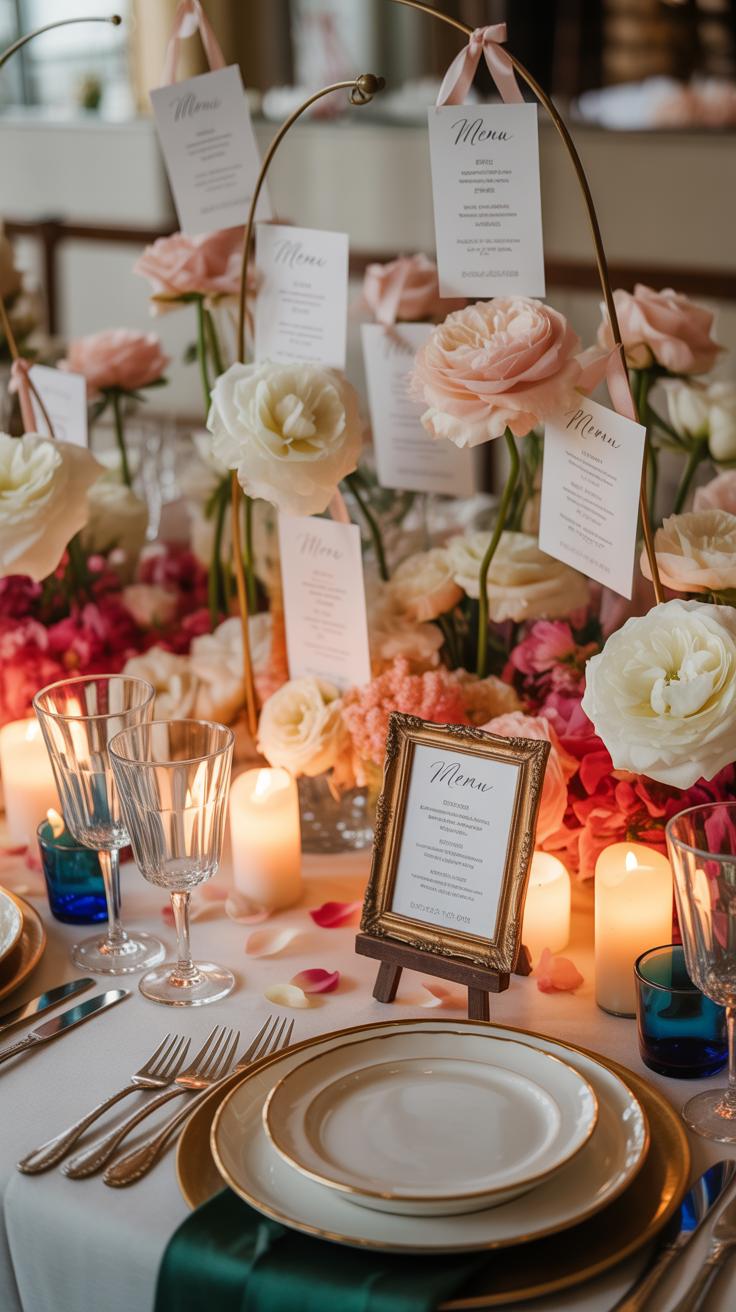
Framed prints and scroll styles offer high durability and clear visibility. Frames protect paper from food spills and liquid damage. You can find inexpensive frames at thrift stores or bulk retailers. Scroll styles use high quality vellum or parchment for a classic look. Secure the ends with wax seals or ribbon to maintain the shape. These options provide a structured aesthetic that guides the eye toward the meal details.
Using Natural Props Like Clothespins, Twine, And Florals To Hold Menu Cards
Natural props provide functional stability for menu cards. Wooden clothespins offer a reliable grip for lightweight paper. Clip the card directly to a napkin or a wine glass rim. This keeps the menu in the direct line of sight for every guest. Twine secures cards to bread rolls or cutlery bundles. Use natural jute or cotton string to ensure the materials do not slip during service.
Fresh florals and greenery act as organic weights for your stationery. Slide the menu card into a slit cut into a thick succulent or a sprig of rosemary. This technique anchors the paper against drafts in outdoor settings. Choose sturdy plants that do not wilt quickly under indoor lights. This strategy combines decor with information. It eliminates the need for plastic stands or expensive metal card holders.
Printing Tips For DIY Menu Cards For Wedding Receptions At Home
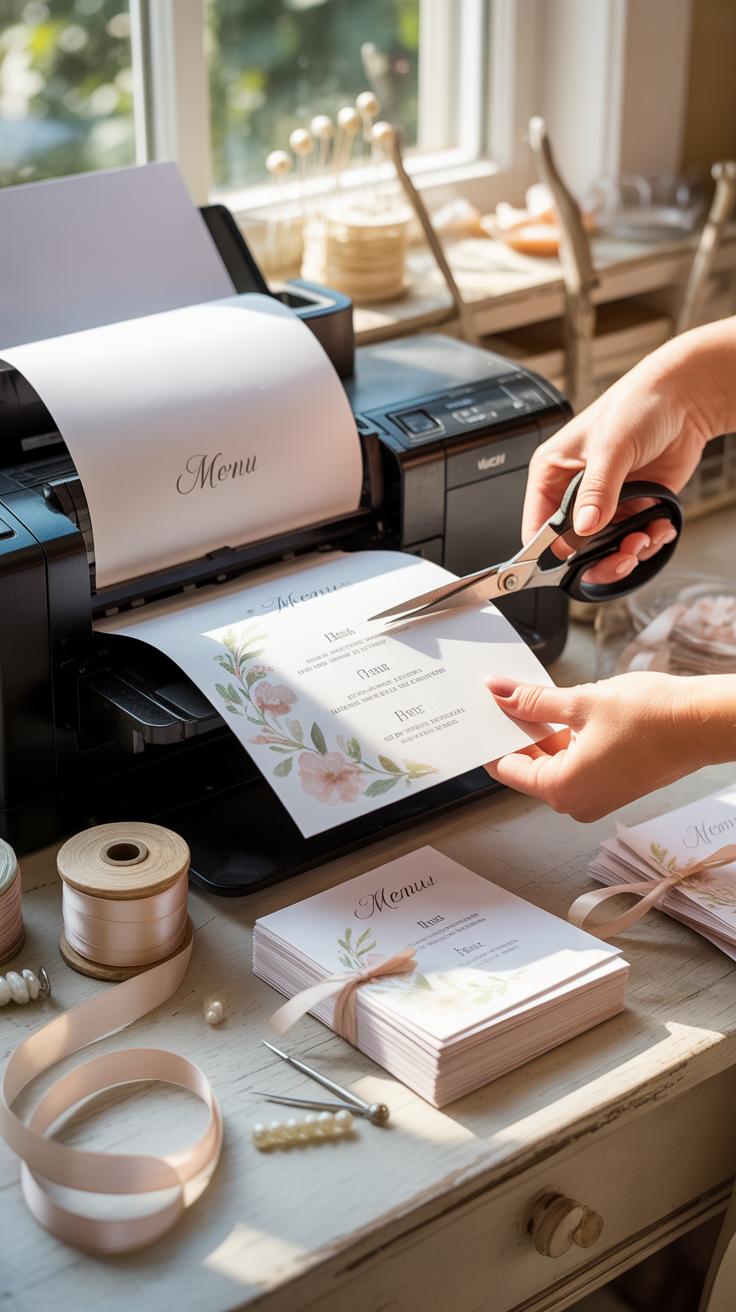
How To Get Professional Looking Results From A Standard Home Printer
Standard home inkjet and laser printers can produce high quality results if you manage the settings correctly. Most wedding menu designs fail because users do not adjust for paper thickness or ink saturation. You must select the Heavyweight or Cardstock setting in your print dialog box. This adjustment slows the feed rollers and prevents paper jams while ensuring the ink stays crisp on the page.
- Vellum Overlays: Print your text on translucent vellum paper and layer it over a heavier colored cardstock. This technique mimics high end invitation suites. Secure the layers with a single metal eyelet or a minimalist gold paper clip for a structural look.
- Manual Feed Tray: Use the rear manual feed slot rather than the main bottom tray for thick cardstock. This provides a straight path for the paper. It reduces the risk of the paper bending or the printer leaving unsightly roller marks on your menus.
- High Resolution Mode: Switch your printer settings from Standard to Best or High Resolution. This increases the dots per inch and ensures fine typography remains legible. It prevents the fuzzy edges often seen on budget DIY wedding menu cards printed at home.
- Pigment Based Ink: Use pigment based ink instead of dye based ink if your printer allows. Pigment ink resists water and smudging much better than dye. This is critical for dinner menus where guests might spill water or wine near the table settings.
- Corner Rounder: Purchase a manual corner rounder tool to finish your printed cards. Trimming the sharp 90-degree corners into soft curves instantly makes a home-printed card look like it was professionally die-cut. It is a cheap way to add a custom design touch.
Test your design on plain paper first to check the margins and alignment. Home printers often have a non-printable area near the bottom edge. Once the layout is perfect, load your final cardstock one sheet at a time to maintain precision. Consistent feeding is the only way to ensure your text stays centered across a batch of one hundred cards.
When It Makes Sense To Use An Online Print On Demand Service Instead
Choose a professional print service when your design requires full-bleed color or specialized finishes like foil stamping. Home printers cannot print to the very edge of the paper and struggle with metallic inks. If your menu features a dark background with light text, a professional press will provide more even coverage. You will save money on expensive ink cartridges by outsourcing high-volume, high-ink jobs.
Outsourcing is also smarter if you use extra-thick cardstock over 110-pound weight. Most home printers will jam or fail to pull through paper this heavy. Professional shops use industrial cutters to ensure every menu is the exact same size. This level of uniformity is difficult to achieve with a hand-held paper trimmer at home. Use a service if you lack the time for manual assembly.

Font Color And Typography Choices That Elevate Wedding Menu Design Ideas
How To Choose Fonts That Are Both Decorative And Easy To Read On A Menu Card
Contrast is the foundation of legible menu design. Pair a serif or sans-serif font for body text with a script font for headers. Script fonts mimic calligraphy but often fail in small sizes. Use them only for titles like First Course or Main. Ensure the body text uses at least a ten-point font size. This helps guests read the descriptions in dim reception lighting.
Hierarchy directs the eye to the most important information first. Bold the names of dishes to separate them from the ingredient lists. Use wide letter spacing for all-caps subheaders to improve clarity. Avoid overly decorative fonts with thin lines that disappear during the printing process. Standard serif fonts like Garamond or Baskerville provide a classic look while maintaining high readability for your guests.
Matching Your Menu Card Color Palette To Your Overall Wedding Theme
Color sets the tone and anchors the menu to your tablescape. Use a neutral base like white, cream, or gray for the cardstock. Apply your primary wedding color to the headers or borders only. Dark ink on light paper offers the best visibility. If you choose dark paper, use metallic foils or white ink. This ensures the text does not blend into the background.
Complementary colors create a cohesive look across your venue. Digital printing allows for exact color matching using hex codes from your invitations. Avoid using more than three colors on a single card to prevent visual clutter. Monochrome palettes use different shades of one color to create depth without clashing. Consistent color use links your menu cards to your floral arrangements and table linens.
How Wedding Menu Cards Place Settings Tie The Whole Table Together
Positioning Your Menu Card Within A Full Place Setting For Visual Balance
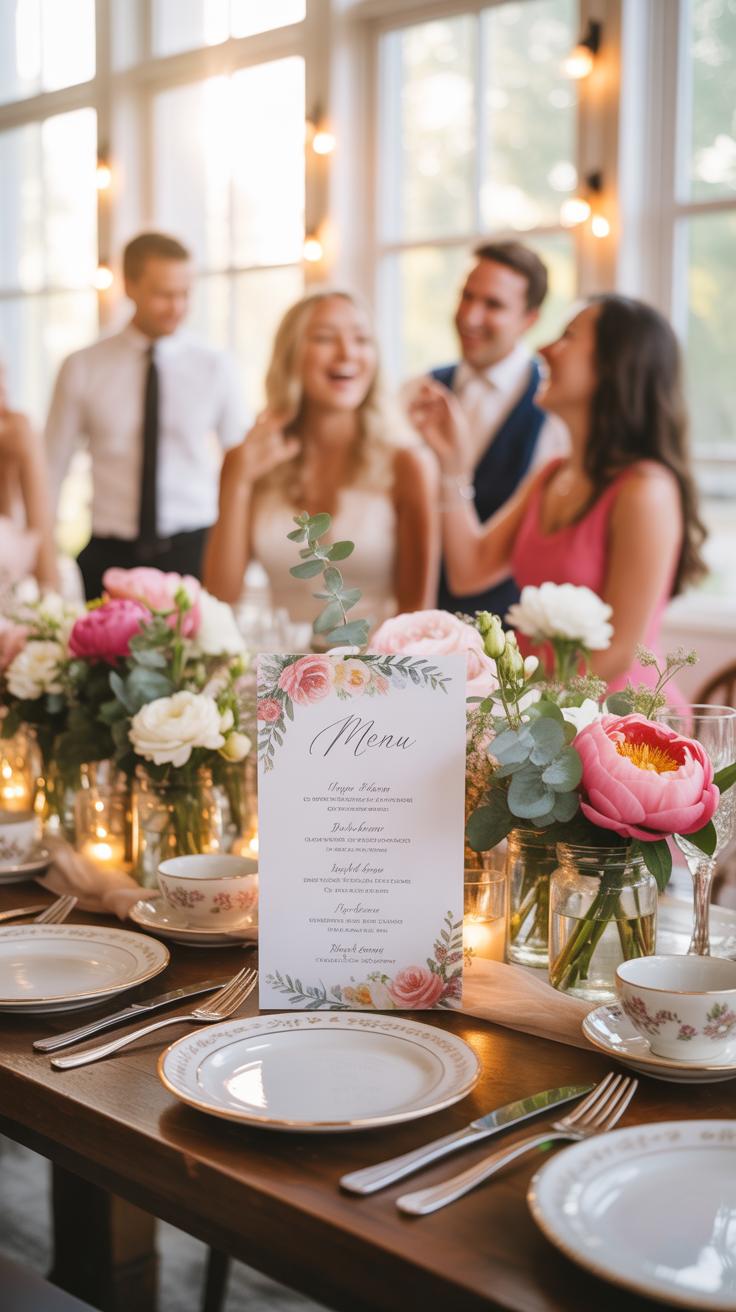
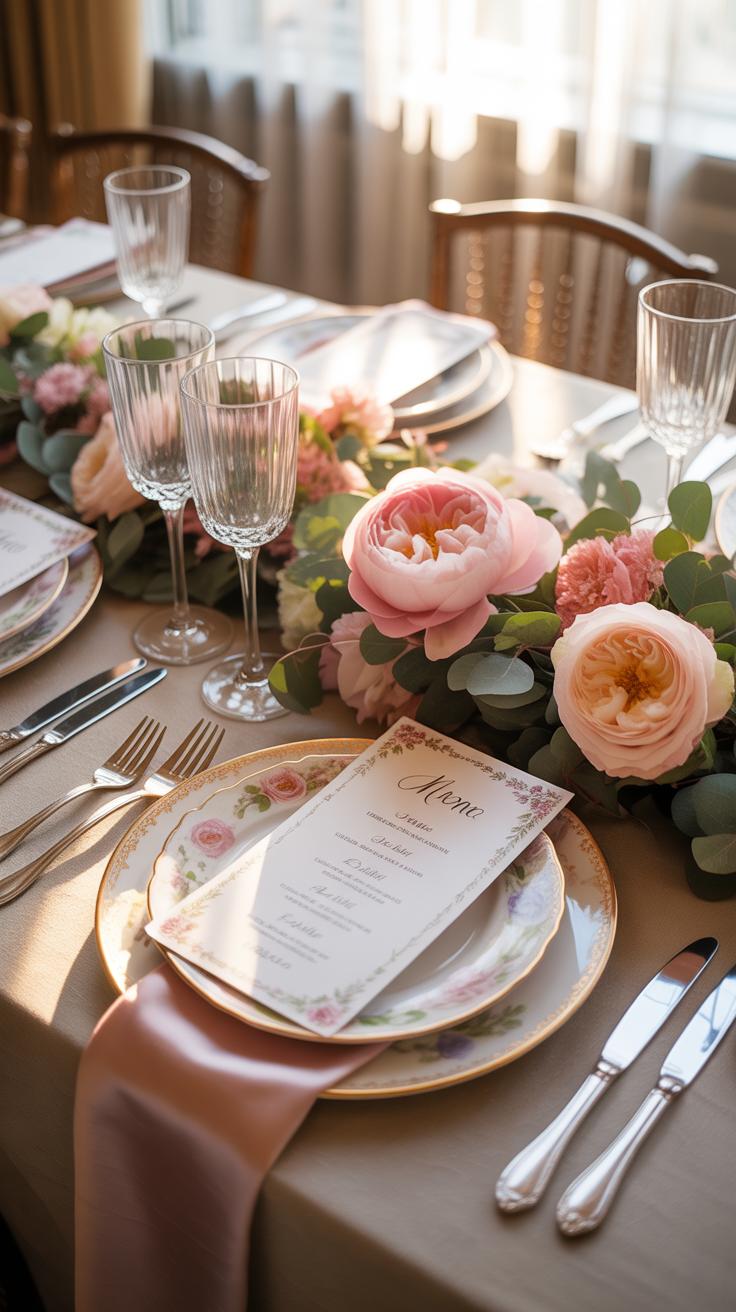
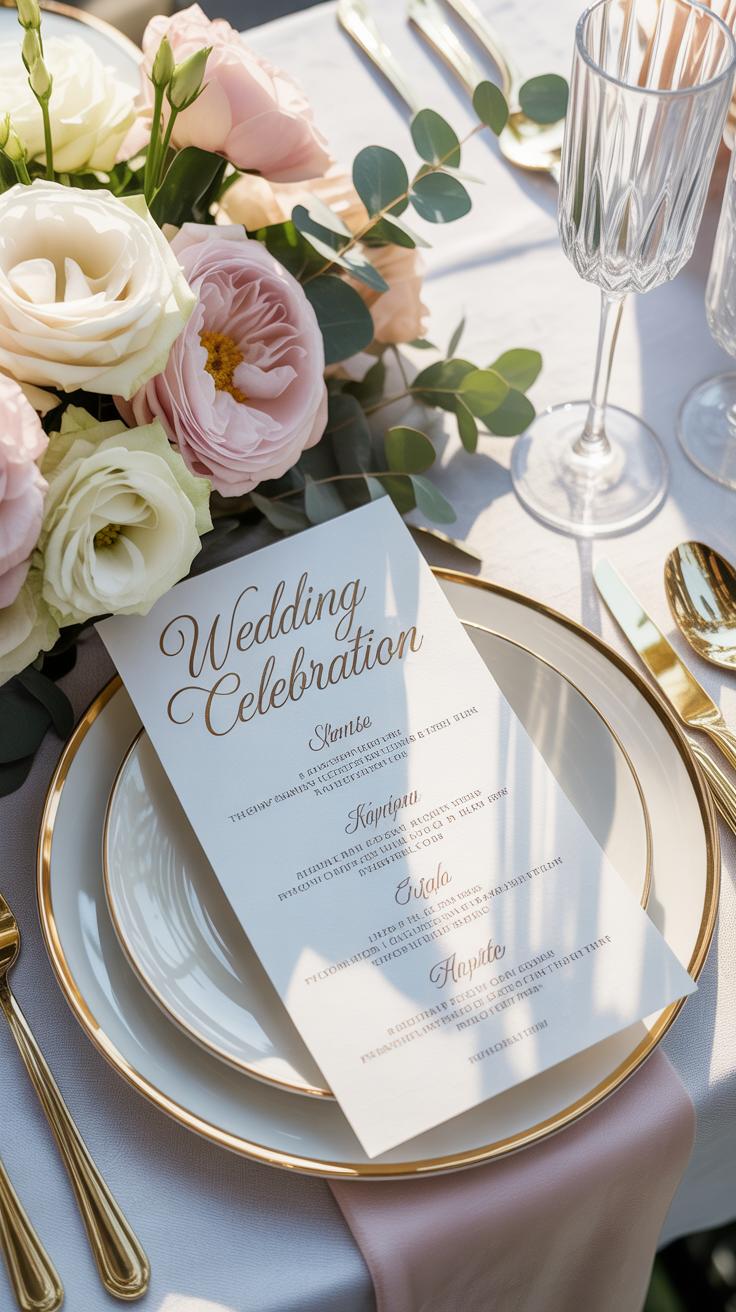
Center your diy wedding menu cards directly on the charger plate or the folded napkin. This creates a vertical focal point that draws the eye. Proper alignment prevents the table from looking cluttered or disorganized. Place the card between the forks and knives to anchor the setting. Use heavy cardstock to ensure the paper lies flat and resists curling under indoor lighting.
Scale the menu card to fit the plate diameter. A standard five by seven inch card works best for traditional round settings. If you use a rectangular plate or a long table runner, try a slim four by nine inch tall menu. This shape mimics the lines of the cutlery. Vertical placement adds height to the flat surface. It makes the arrangement look intentional and professional.
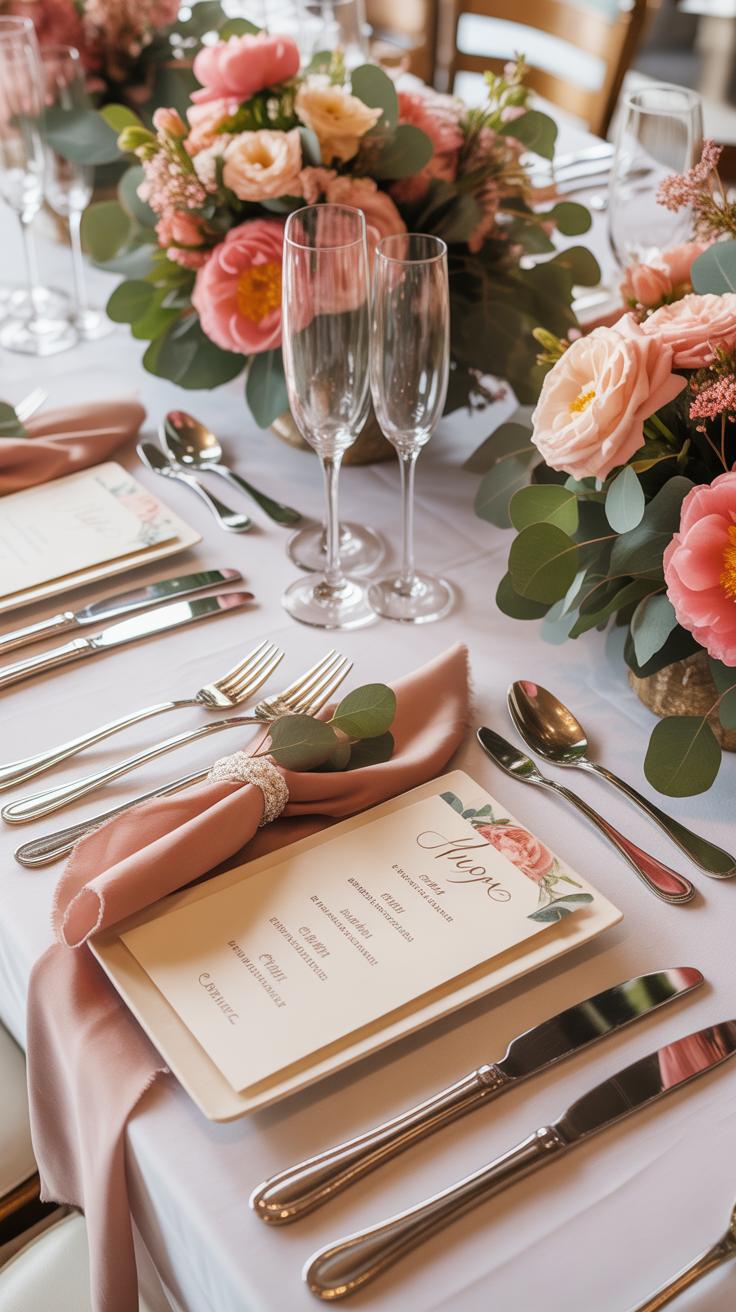
Coordinating Menu Cards With Napkins Cutlery And Centerpieces Cohesively
Match the paper texture of your diy wedding menu cards to your linen choice. A linen-finish paper complements cloth napkins. A smooth matte cardstock pairs well with modern polished cutlery. Ensure the ink color matches the strongest tone in your floral centerpieces. This creates a visual bridge between the guest seating and the table decor. Consistency in materials makes cheap DIY projects look expensive.
Select a font that mirrors the style of your table hardware. Use serif fonts for traditional formal silver settings. Choose clean sans-serif fonts for matte black or gold modern cutlery. Place the menu tucked into a napkin pocket to save space on crowded tables. This tactic protects the card from spills. It also forces the guest to interact with the menu immediately upon sitting down.
Real Budget Breakdown What It Actually Costs To DIY Menus For Your Wedding

Estimating Your Total Cost Per Card Based On Quantity And Material Choices
The cost of diy wedding menu cards depends on paper weight and printing methods. Standard 80lb cardstock costs roughly twenty cents per sheet at bulk retailers. High-end 120lb cotton paper increases that price to nearly one dollar per unit. Professional ink usage adds fifteen to thirty cents per card. You must calculate these variables early to avoid overspending on luxury paper that your home printer cannot handle.
Volume impacts your total investment through economies of scale. Buying paper in packs of one hundred reduces your per-page cost significantly compared to small hobby store packs. Specialized finishes like vellum or recycled Kraft paper stay affordable if you cut the sheets yourself. Home printing remains the most tactical choice for budgets under two hundred dollars. Expect to spend between forty cents and two dollars per finished menu card.
Where To Save And Where To Spend When Budgeting For Wedding Menu Cards
Save money by using standard rectangular dimensions. Unusual shapes like circles or arches require expensive die-cutting tools or hours of manual labor. Digital templates offer professional wedding menu designs for a low flat fee. Avoid multi-layered cards that require extra adhesive or ribbons. These additions drive up the price and increase assembly time. Stick to single-layer cards to keep your material costs and shipping weight low.
Spend your budget on high-quality ink cartridges specifically designed for your printer model. Cheap third-party ink often smears on glossy or textured surfaces. A heavy paper weight creates a premium feel that compensates for a simple design. Use a professional paper cutter instead of scissors to ensure straight lines. Sharp edges make menus for wedding settings look expensive regardless of the actual cost. Focus your money on tools that ensure a clean finish.
Frequently Asked Questions

What are the essential elements to include on a wedding menu card?
At a minimum, your menu should list the courses in order, from appetizers and salads to the main entree and dessert. Be sure to include brief descriptions of each dish, especially for plated meals. If you are creating diy wedding menu cards, it is also a thoughtful touch to highlight common allergens or provide symbols for vegetarian, vegan, and gluten-free options so every guest feels comfortable dining.
How can I easily create professional-looking menu cards at home?
The best way to make diy wedding menu cards that look high-end is to use online design templates like Canva or Etsy. Once your design is ready, choose a high-quality cardstock—at least 80lb or 100lb weight—to give them a sturdy, premium feel. You can elevate the look further by using a paper trimmer for crisp edges or adding a simple wax seal or sprig of greenery for an elegant finish.
What are some low-cost alternatives to printing individual menu cards for every guest?
If your budget is tight, you do not need a card for every person. Instead, consider printing just two or three cards per table and displaying them in stylish frames or small wooden blocks. Another affordable option is to use a large chalkboard or an acrylic sign at the entrance of the reception. This reduces paper costs significantly while still serving as a beautiful piece of decor for your celebration.