Why Wedding Invitation Ideas DIY Are Worth Every Minute Of Your Time
The Personal Touch That Store Bought Invitations Simply Cannot Replicate
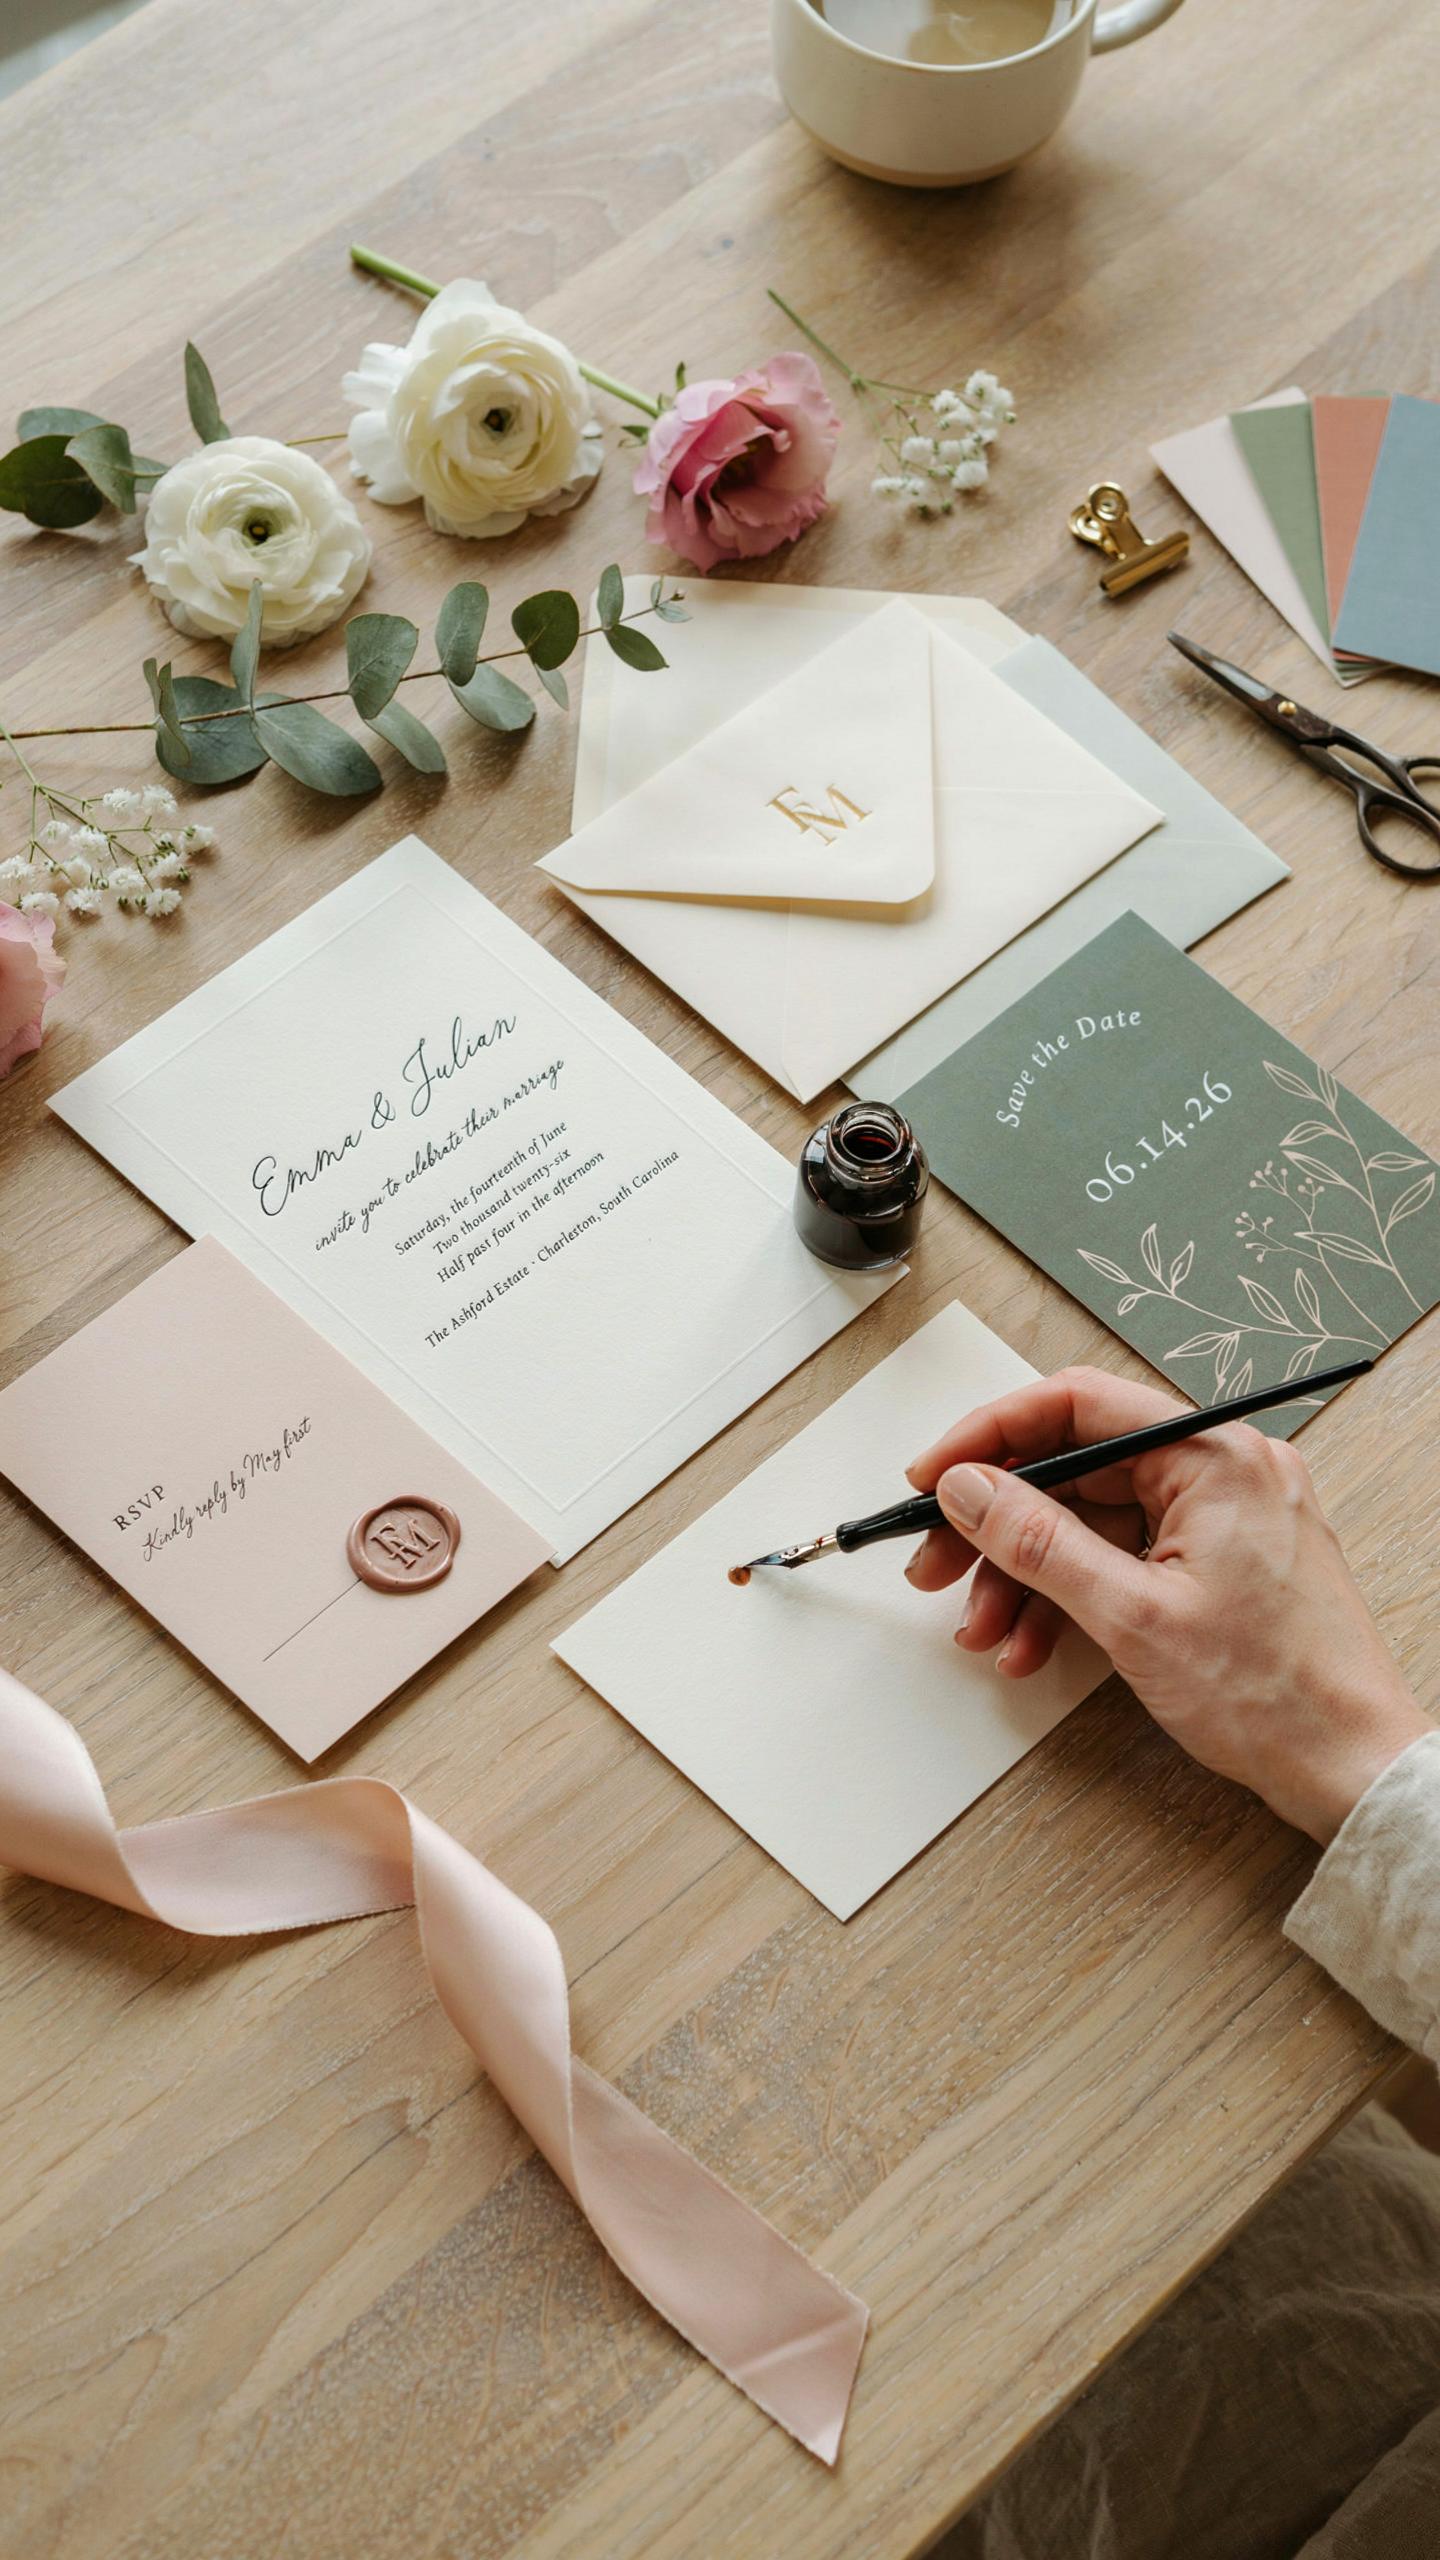
Mass produced wedding stationary often lacks character and fails to reflect the specific wedding mood of the couple. By choosing to create a diy wedding invite, you gain total control over the raw materials and design elements. You can select specific paper weights or textures like vellum or handmade cotton rag. This tactical flexibility ensures your cards represent your bond better than any template ever could.
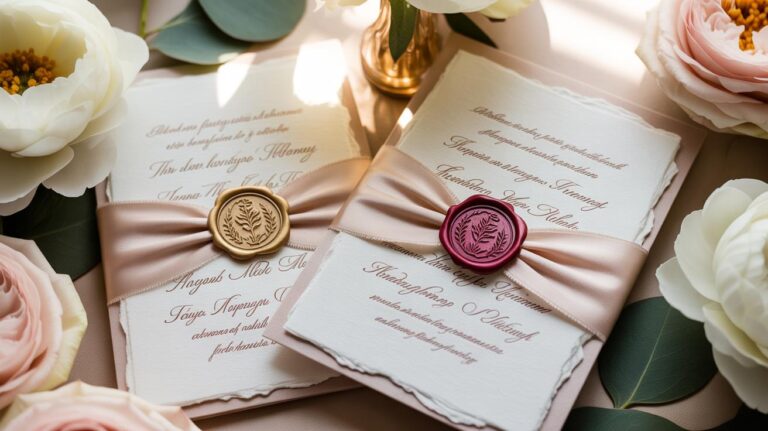
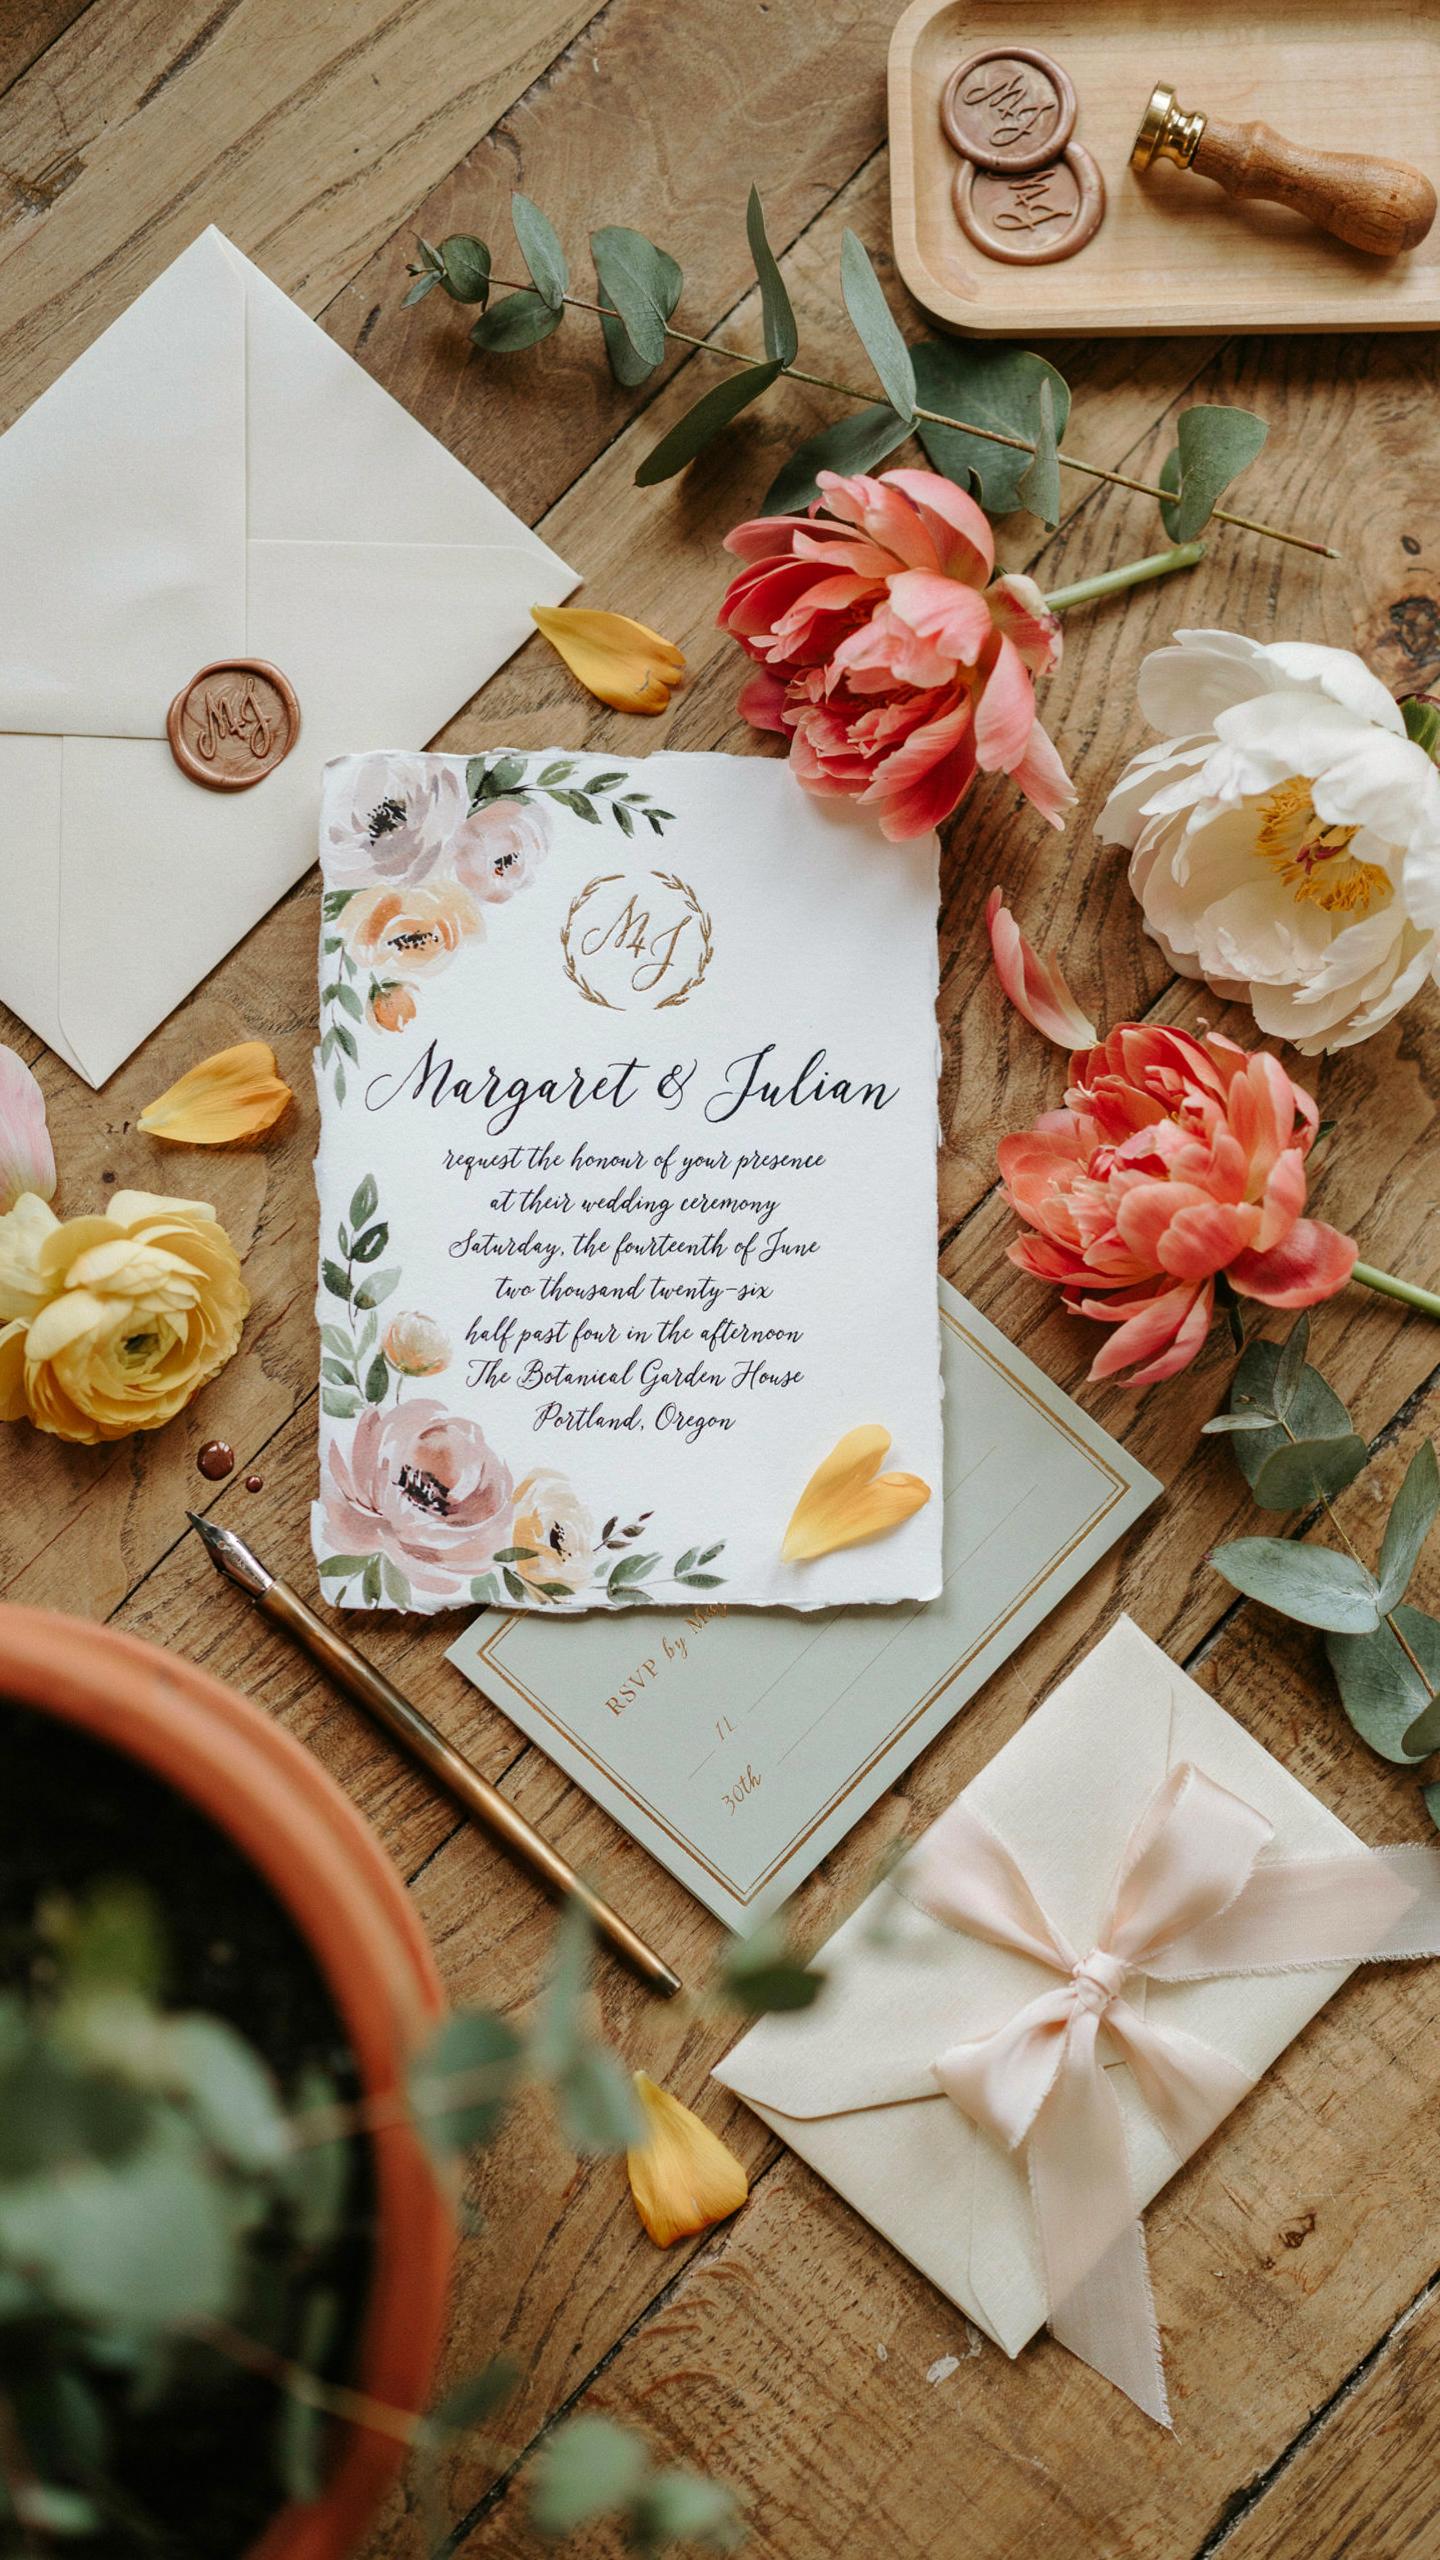
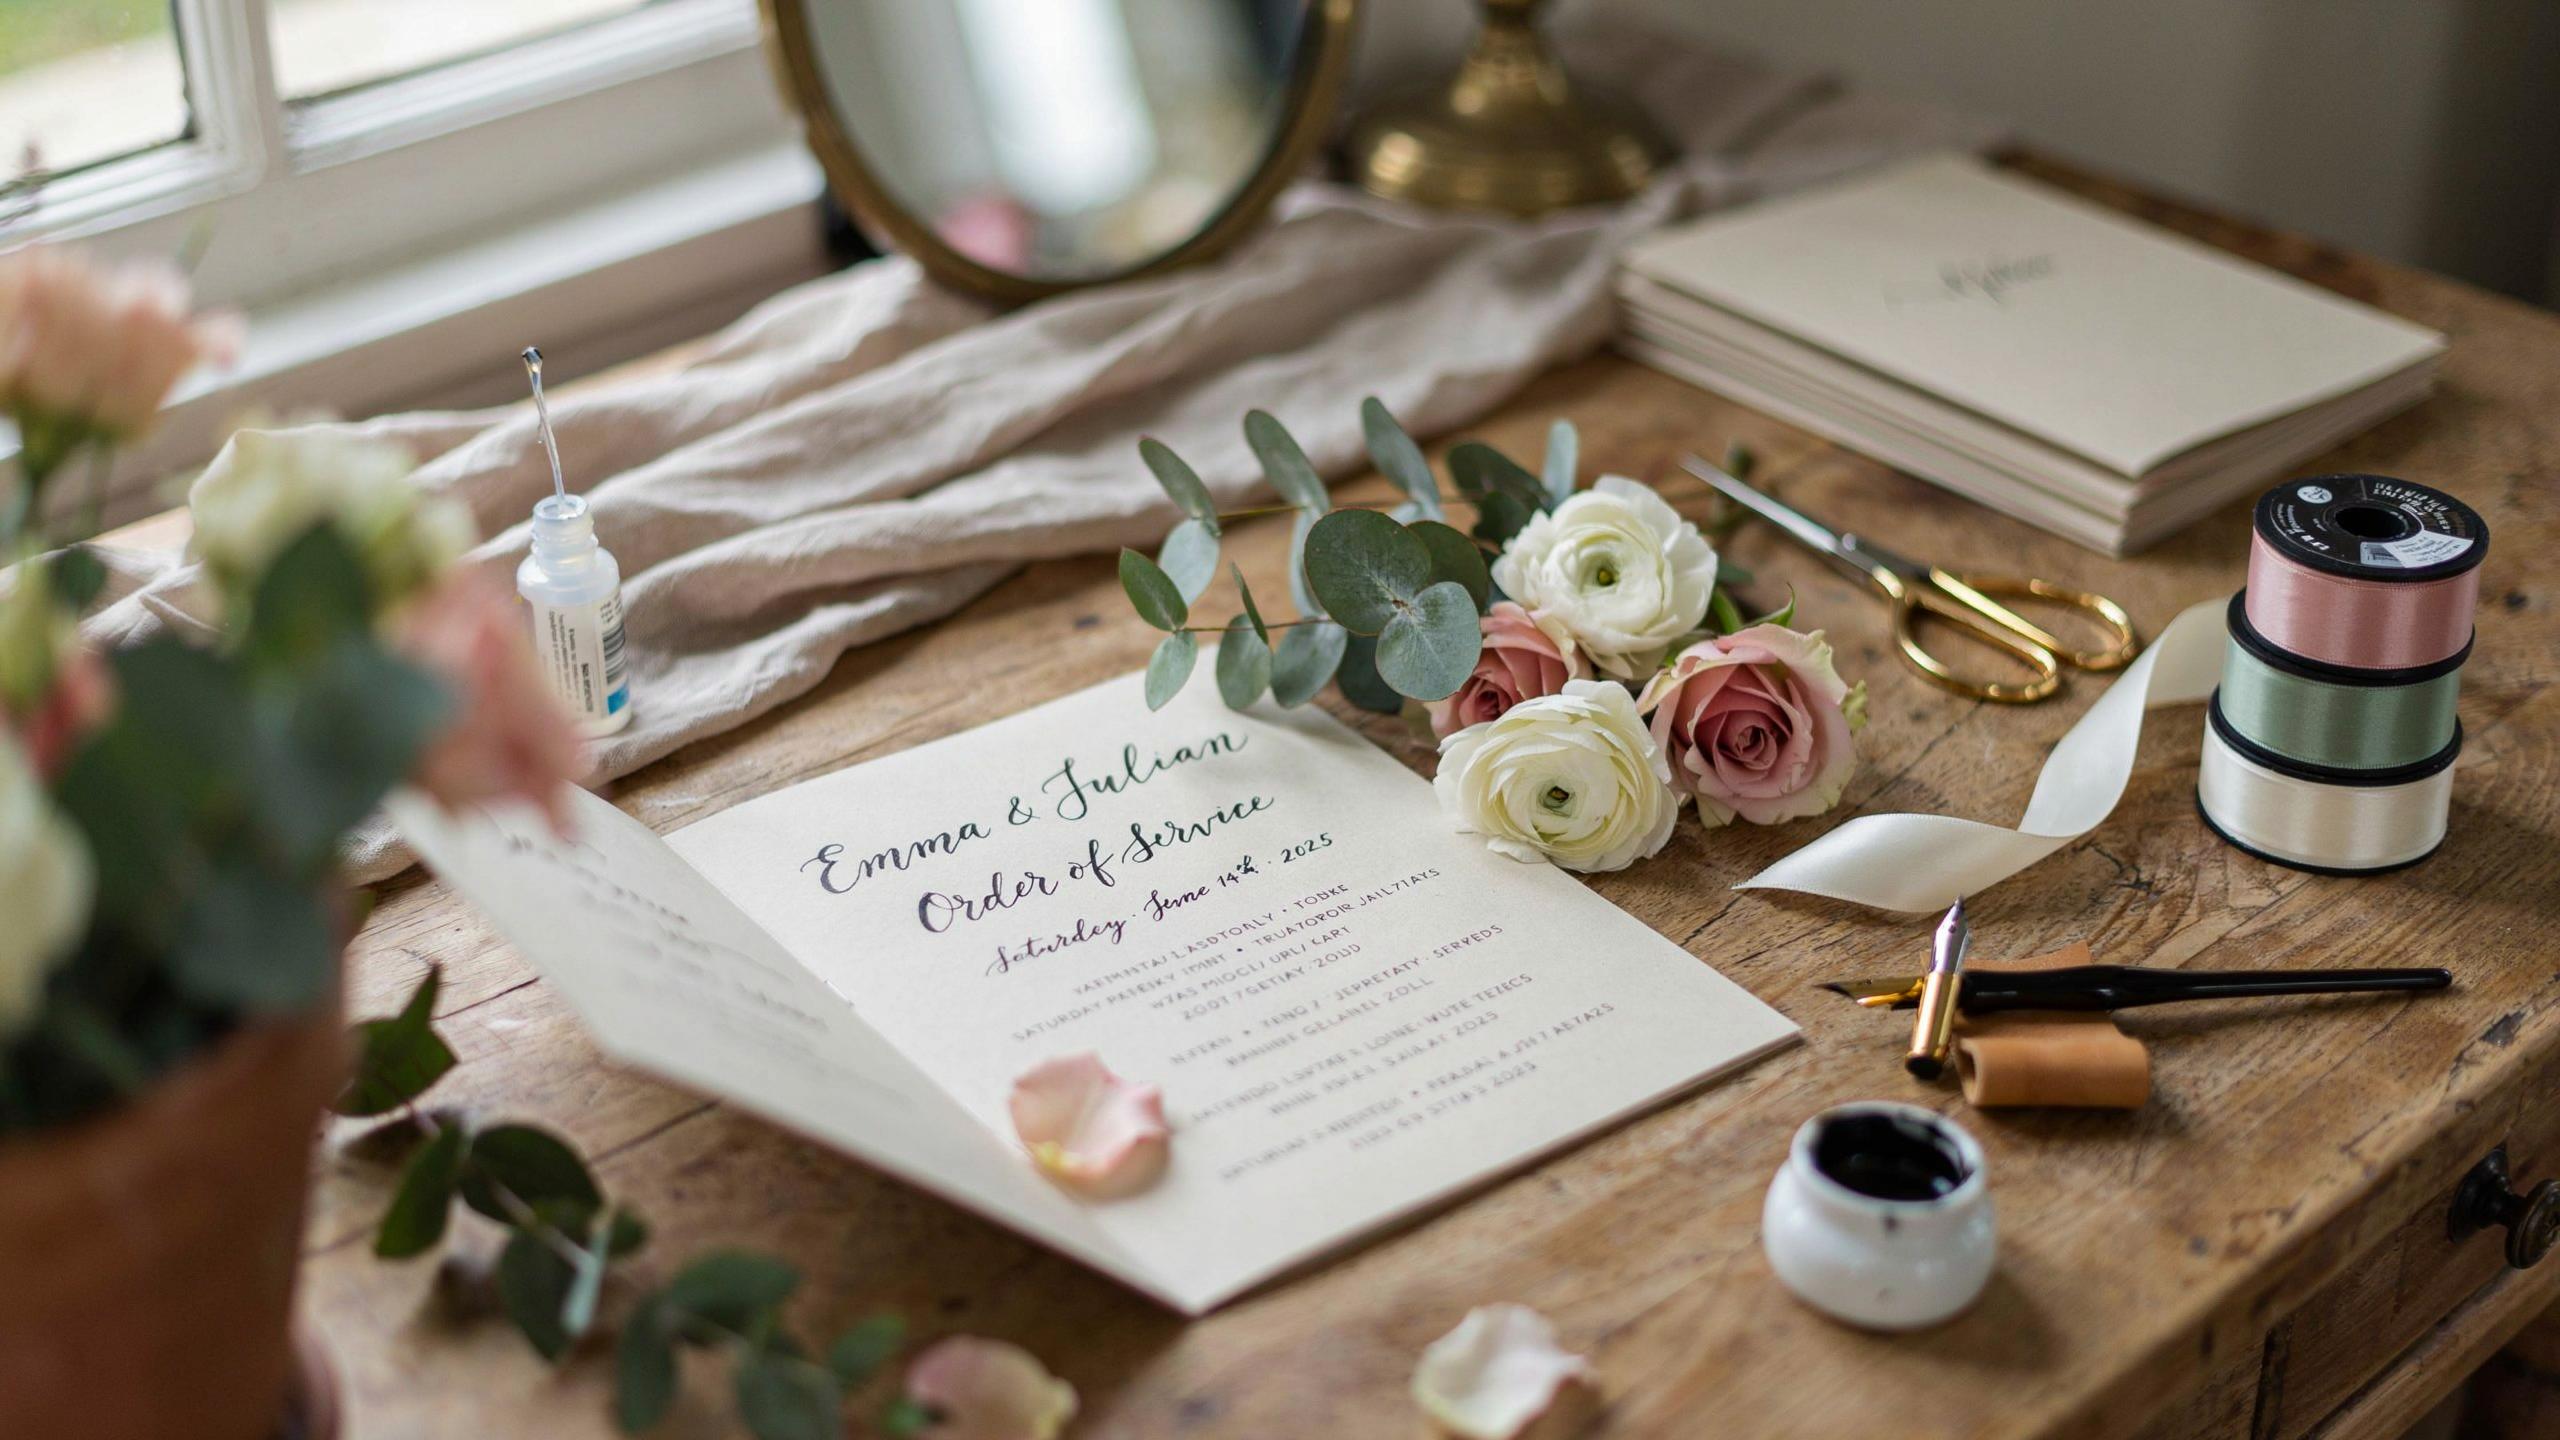
Executing ideas for wedding invitations at home allows for the inclusion of custom elements like wax seals or hand drawn maps. These details signal to guests that you prioritize quality and effort. When you master easy wedding invitations, you bridge the gap between high design and personal connection. You create a physical artifact that guests will likely keep long after the ceremony ends.
How Much Money Can You Realistically Save With DIY Wedding Invitations
Professional printing services charge high markups for basic labor and materials. Managing wedding invites diy projects allows you to bypass these corporate premiums by sourcing paper and ink directly from wholesalers. You can produce high quality save the date diy cards for a fraction of the retail cost. Most of your budget will go toward premium paper stocks rather than expensive middleman fees and markups.
Significant savings also occur when you assemble your own wedding invitations envelope sets. Pre-lined or custom envelopes carry heavy price tags at boutique shops but cost very little to make yourself. Using wedding invitation ideas diy strategies helps you reallocate hundreds of dollars toward other wedding costs. You get a luxury look without the luxury price tag by performing the assembly and design work at home.
Planning Your Wedding Stationary Suite From Start To Finish
Understanding What Pieces Make Up A Complete Wedding Stationery Suite
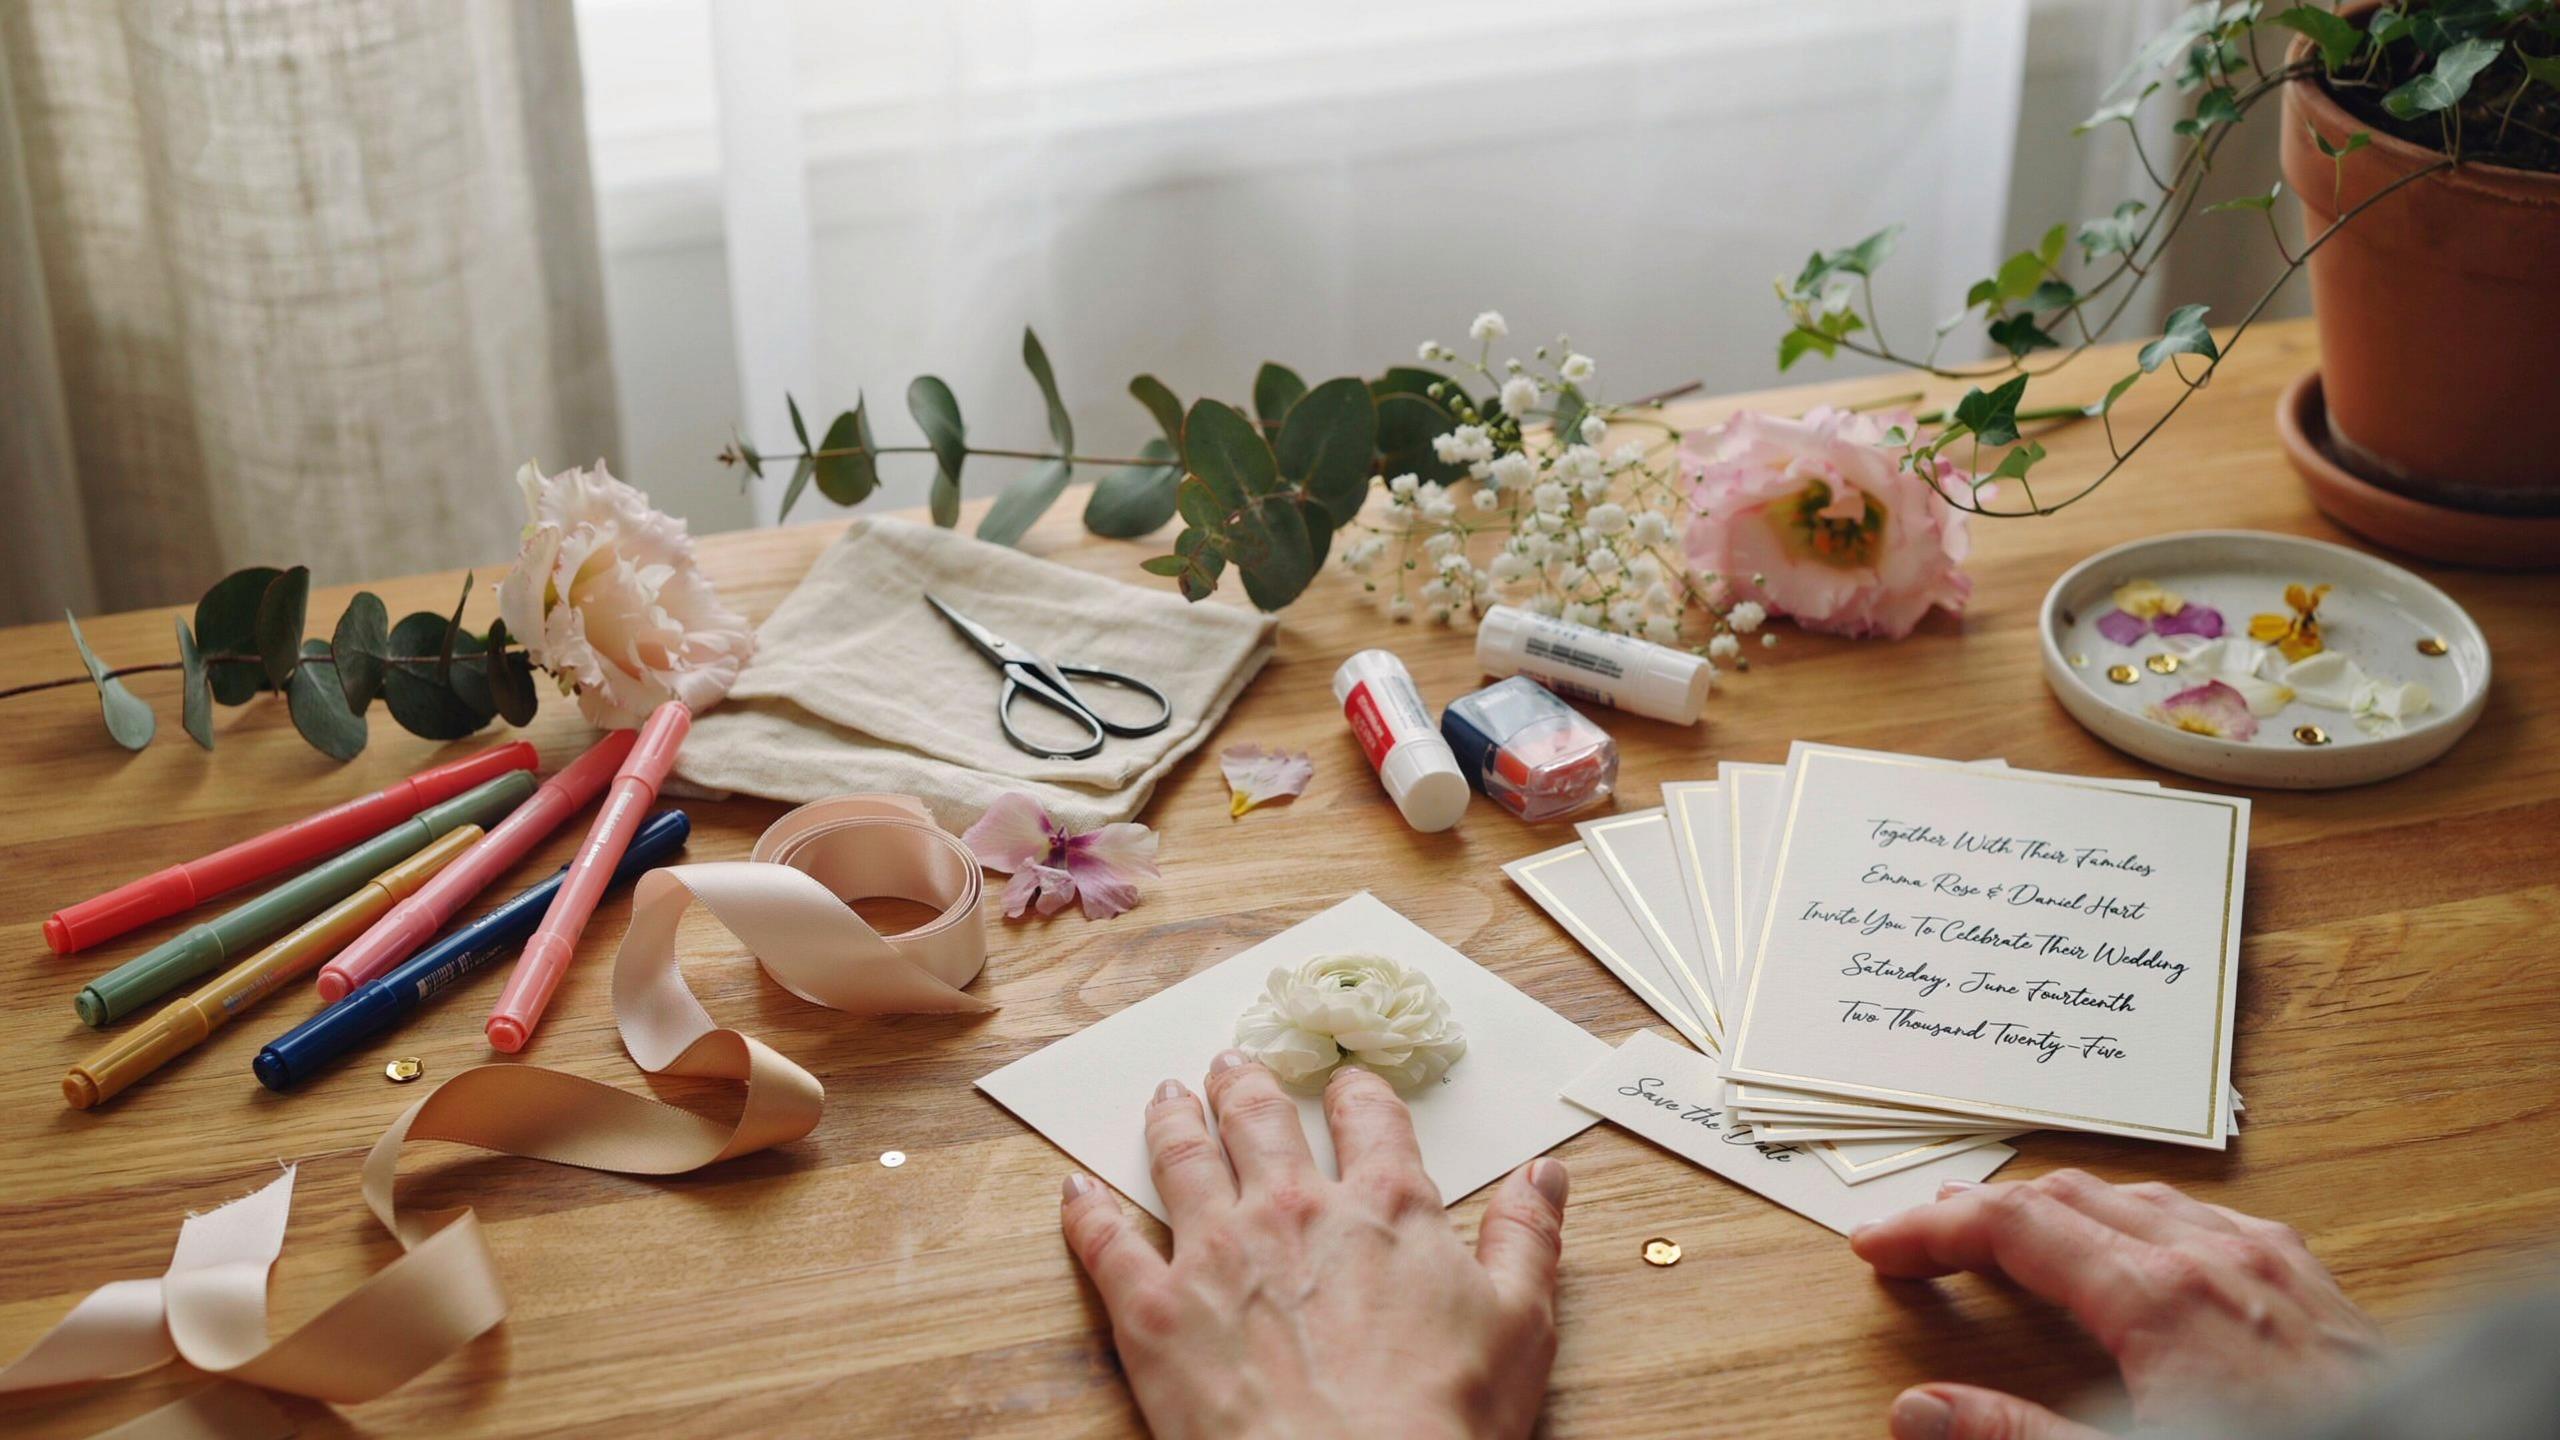
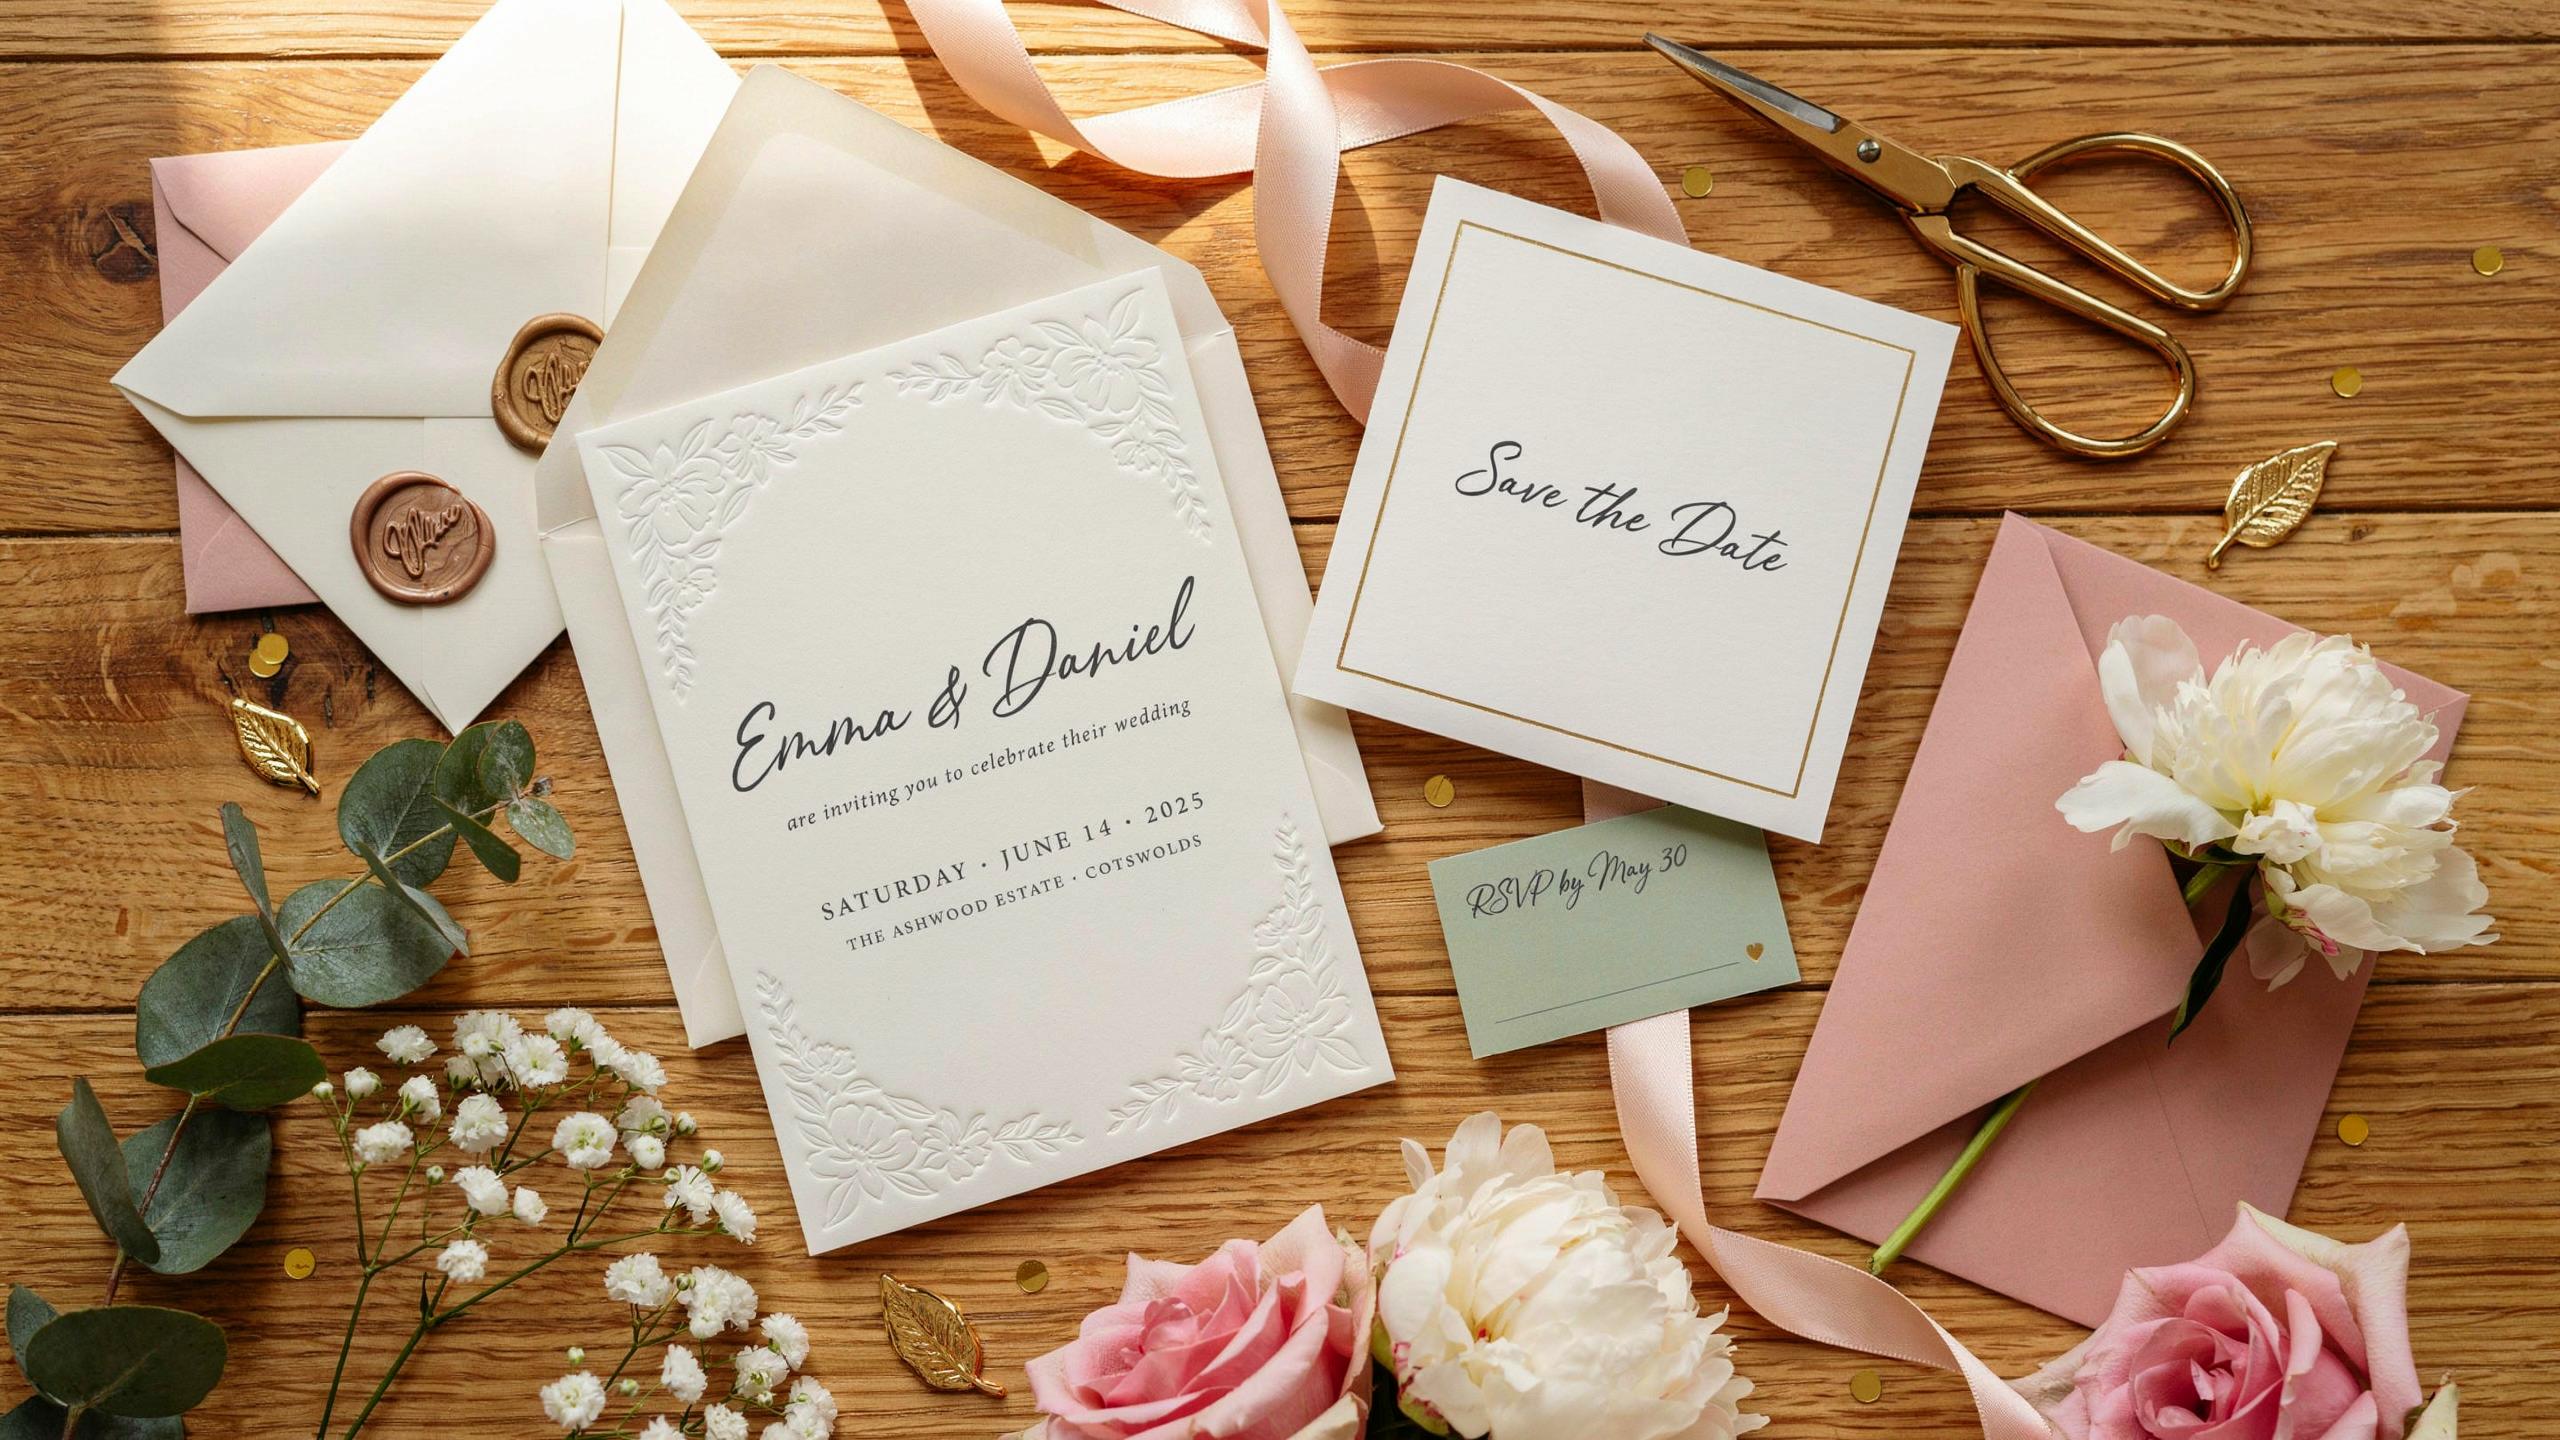
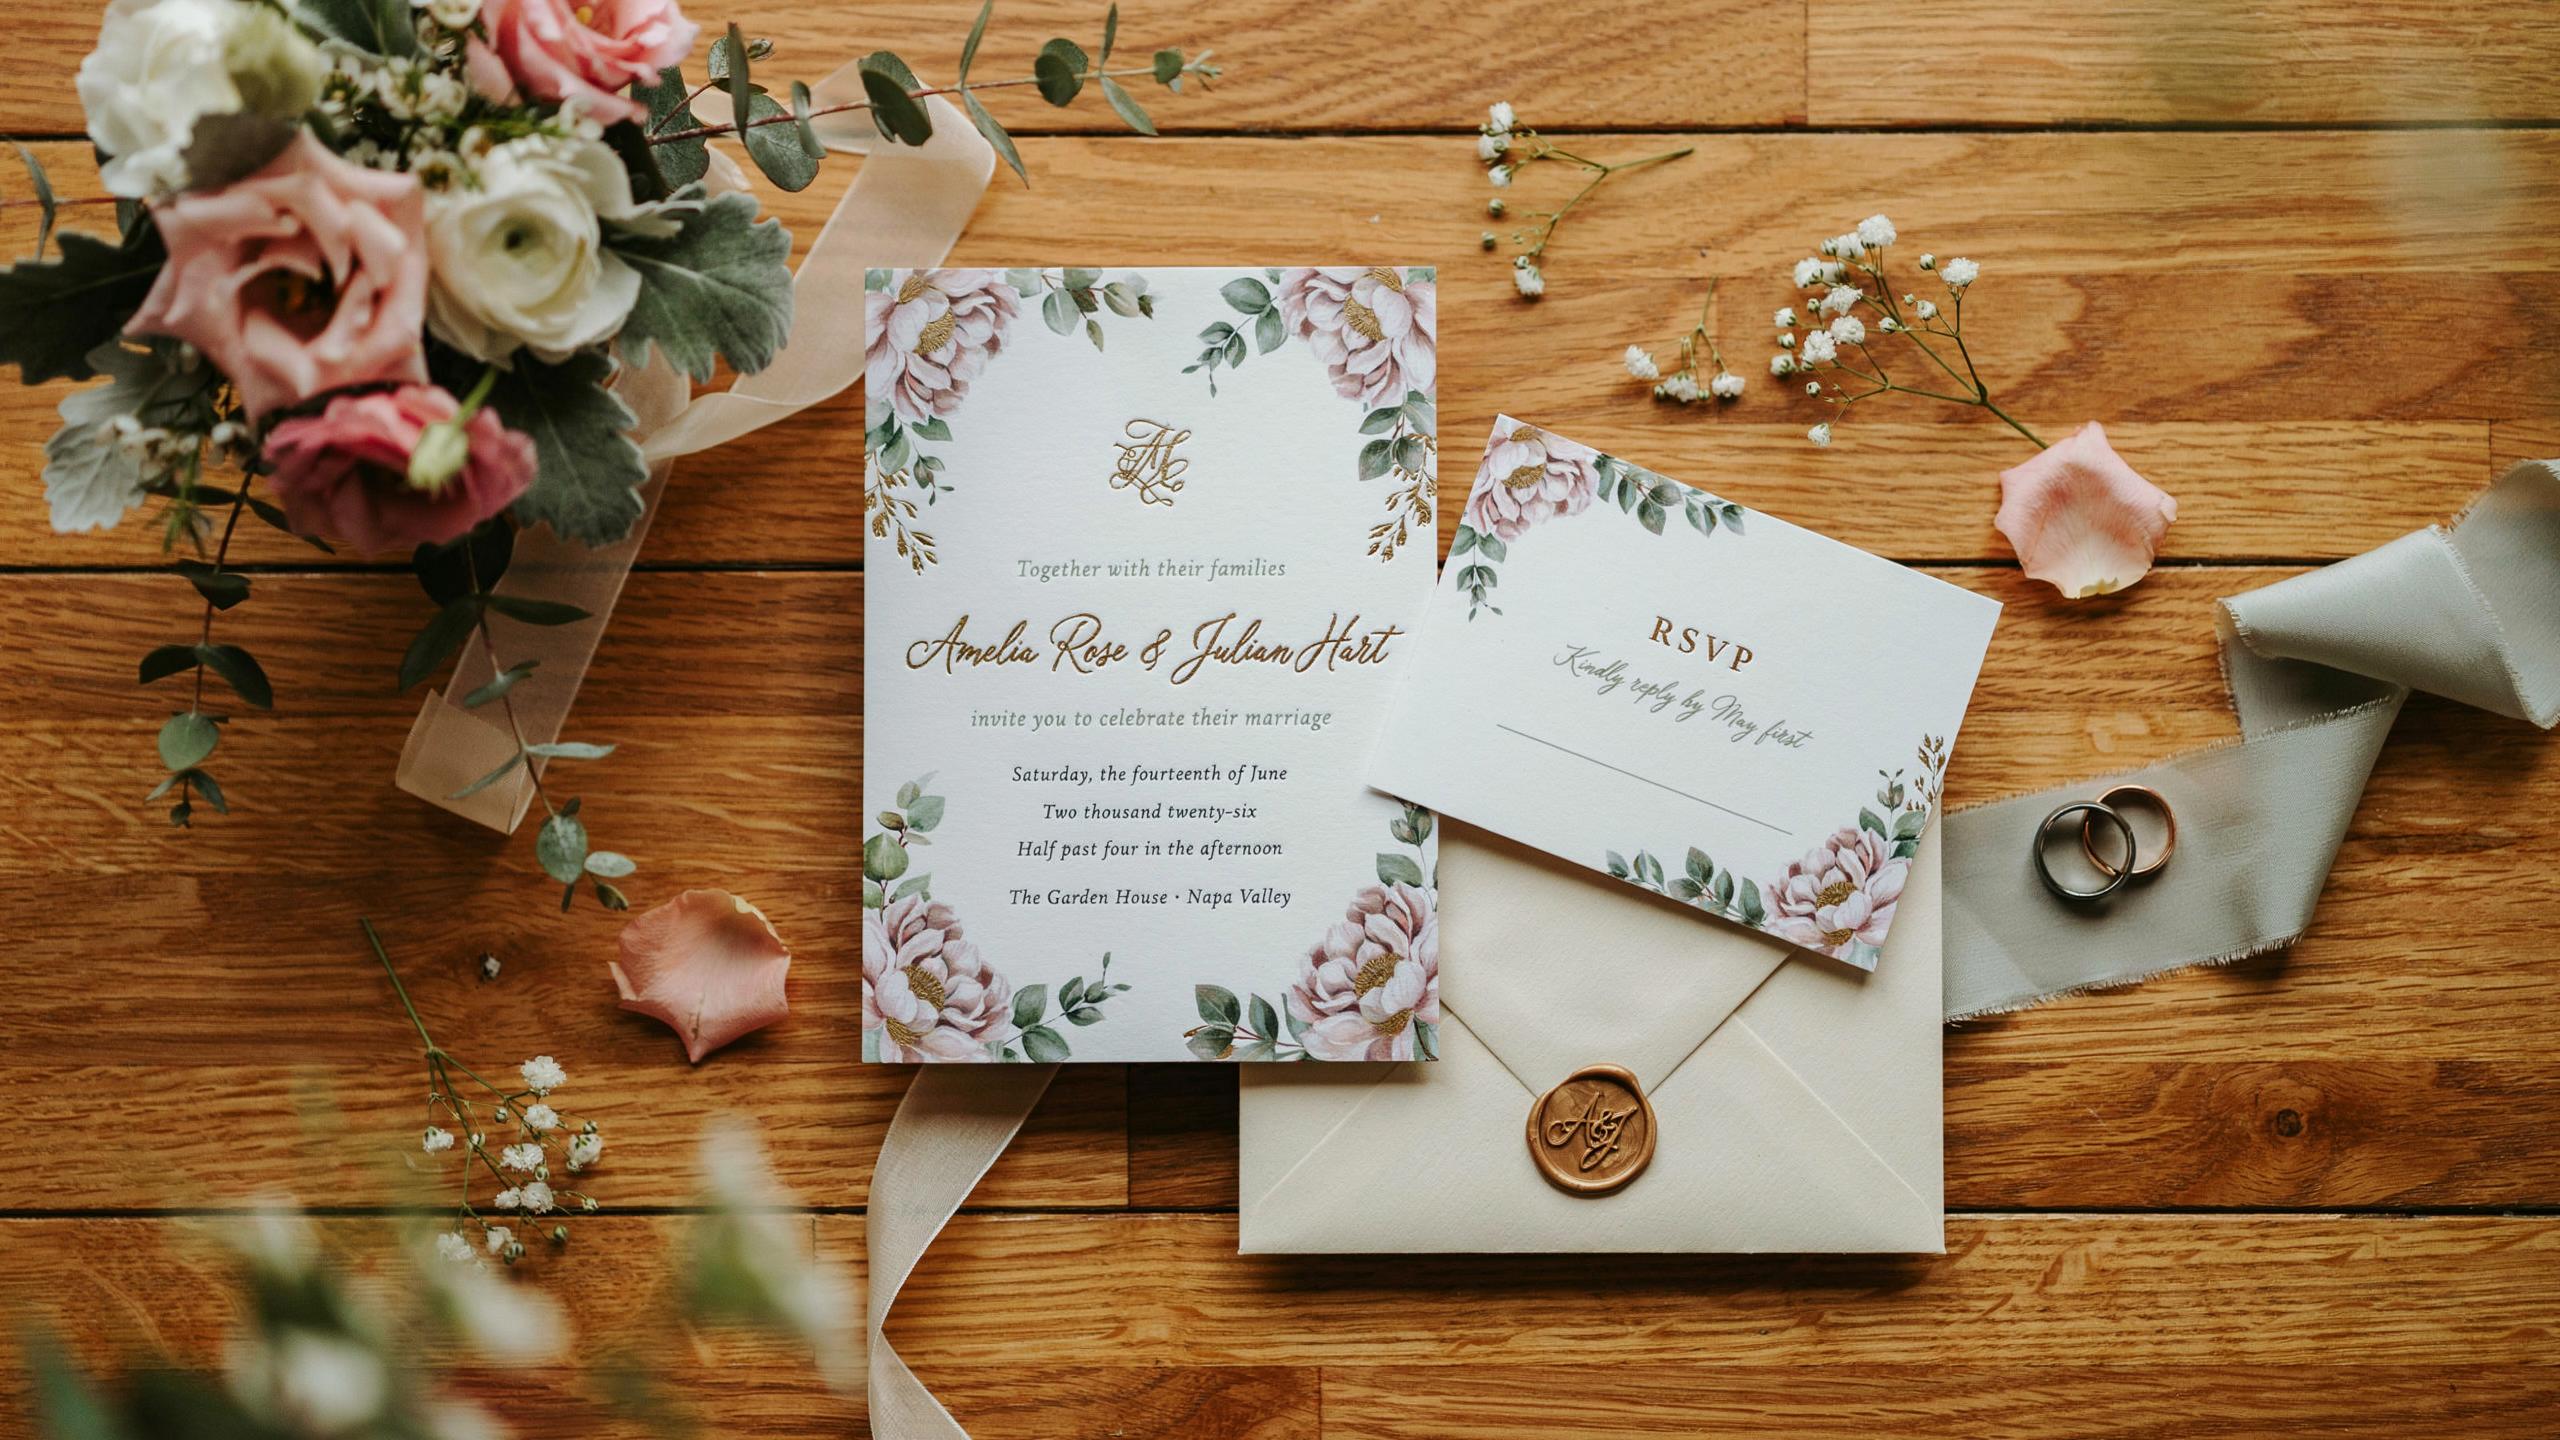
A professional wedding stationary suite requires more than just a single card. You must coordinate the Save The Date Diy and the main invitation to establish a consistent look. Every suite includes the invitation, response card, and detail sheet. These items convey essential logistics and set the Wedding Mood for your event. Use standardized paper sizes to ensure all pieces fit together firmly.
Tactical planning for Ideas For Wedding Invitations starts with the Wedding Invitations Envelope size. This outer layer dictates the maximum dimensions for all internal components. Most DIY Wedding Invite projects utilize A7 envelopes for the main card and A2 for response cards. You must account for weight when selecting paper. Heavy cardstock ensures durability during transit. Proper assembly prevents damage and maintains a high quality appearance.
How To Set A Realistic Timeline For Designing And Printing Your Invitations
Time management is the most critical factor for successful Wedding Invites Diy projects. Start your design phase six to eight months before the ceremony. This window allows for paper sourcing and digital proofing. If you want Easy Wedding Invitations, stick to standard templates. Complex Wedding Invitation Ideas Diy often require multiple weeks for troubleshooting printer settings or ink drying times. Do not rush the production.
Finalize your guest list before you order any materials. Print your invitations at least four months ahead of the wedding date. This buffer compensates for production errors or shipping delays. Mailing must occur six to eight weeks before the event. If you are hosting a destination wedding, send your DIY Wedding Invitations earlier. Proper scheduling ensures you have time to focus on other wedding logistics without added stress.
Essential Materials And Tools For Easy Wedding Invitations At Home
The Core Supplies You Need Before You Start Crafting Your Invitations
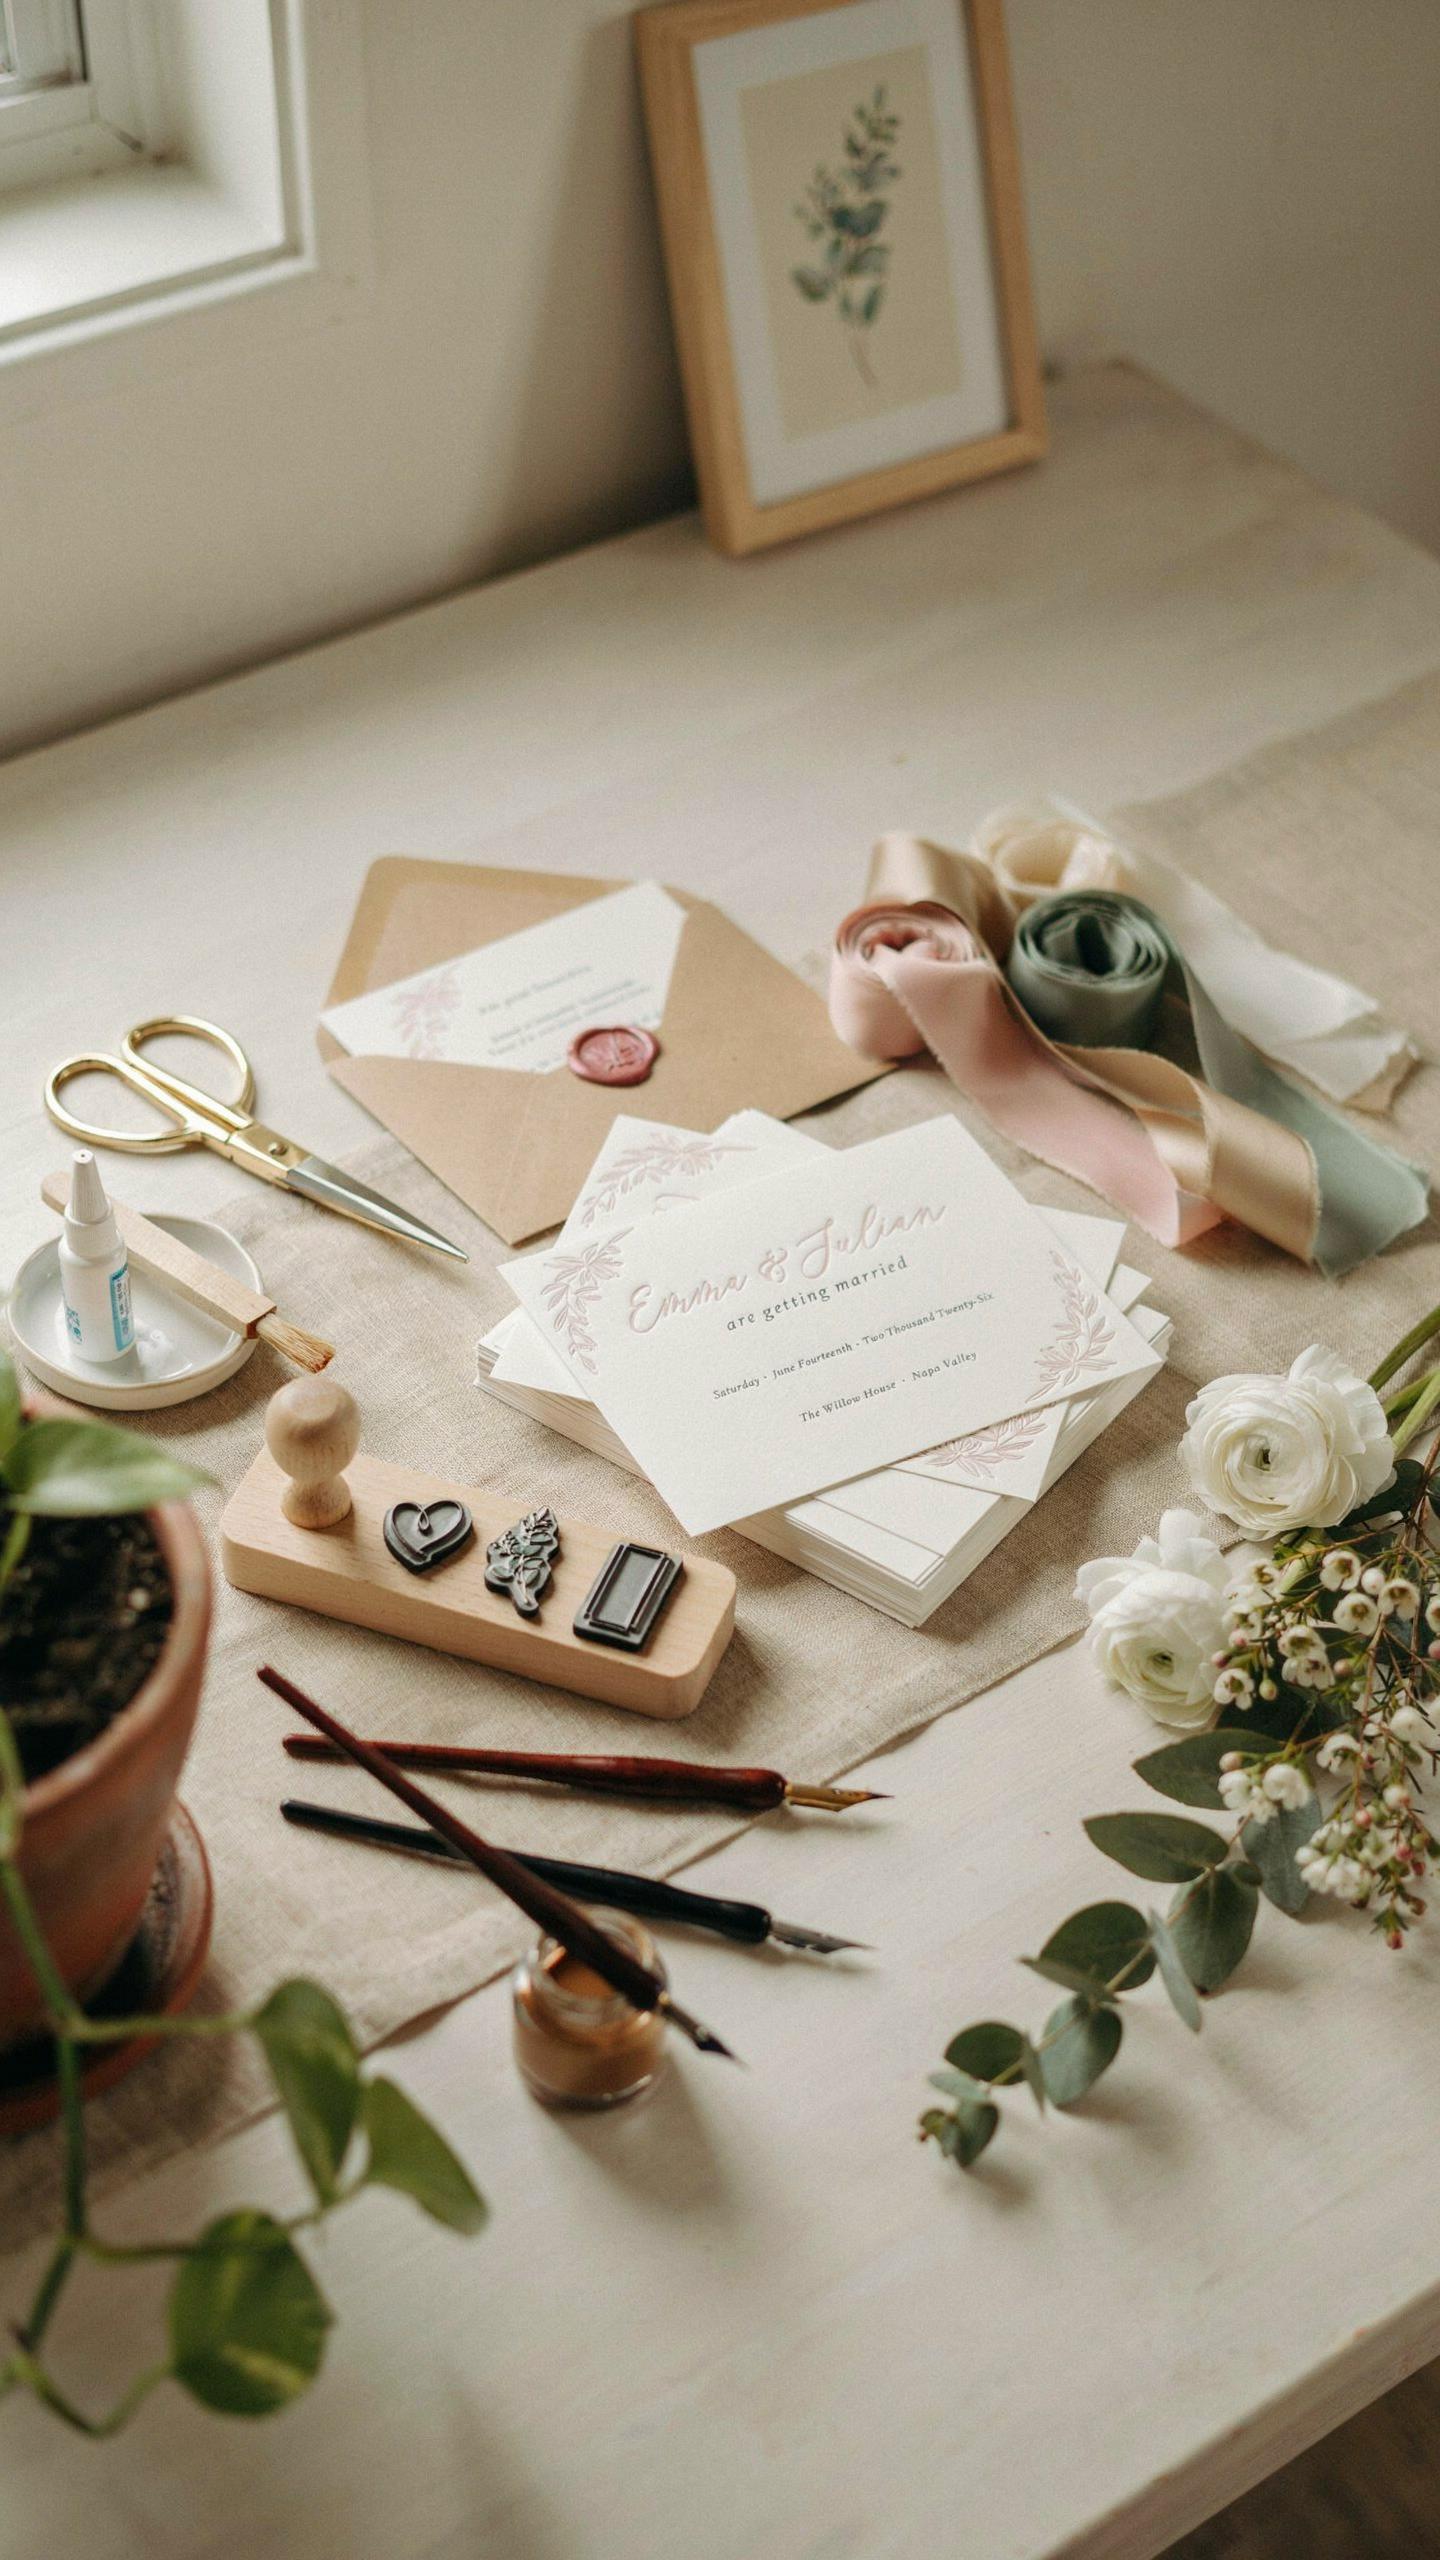
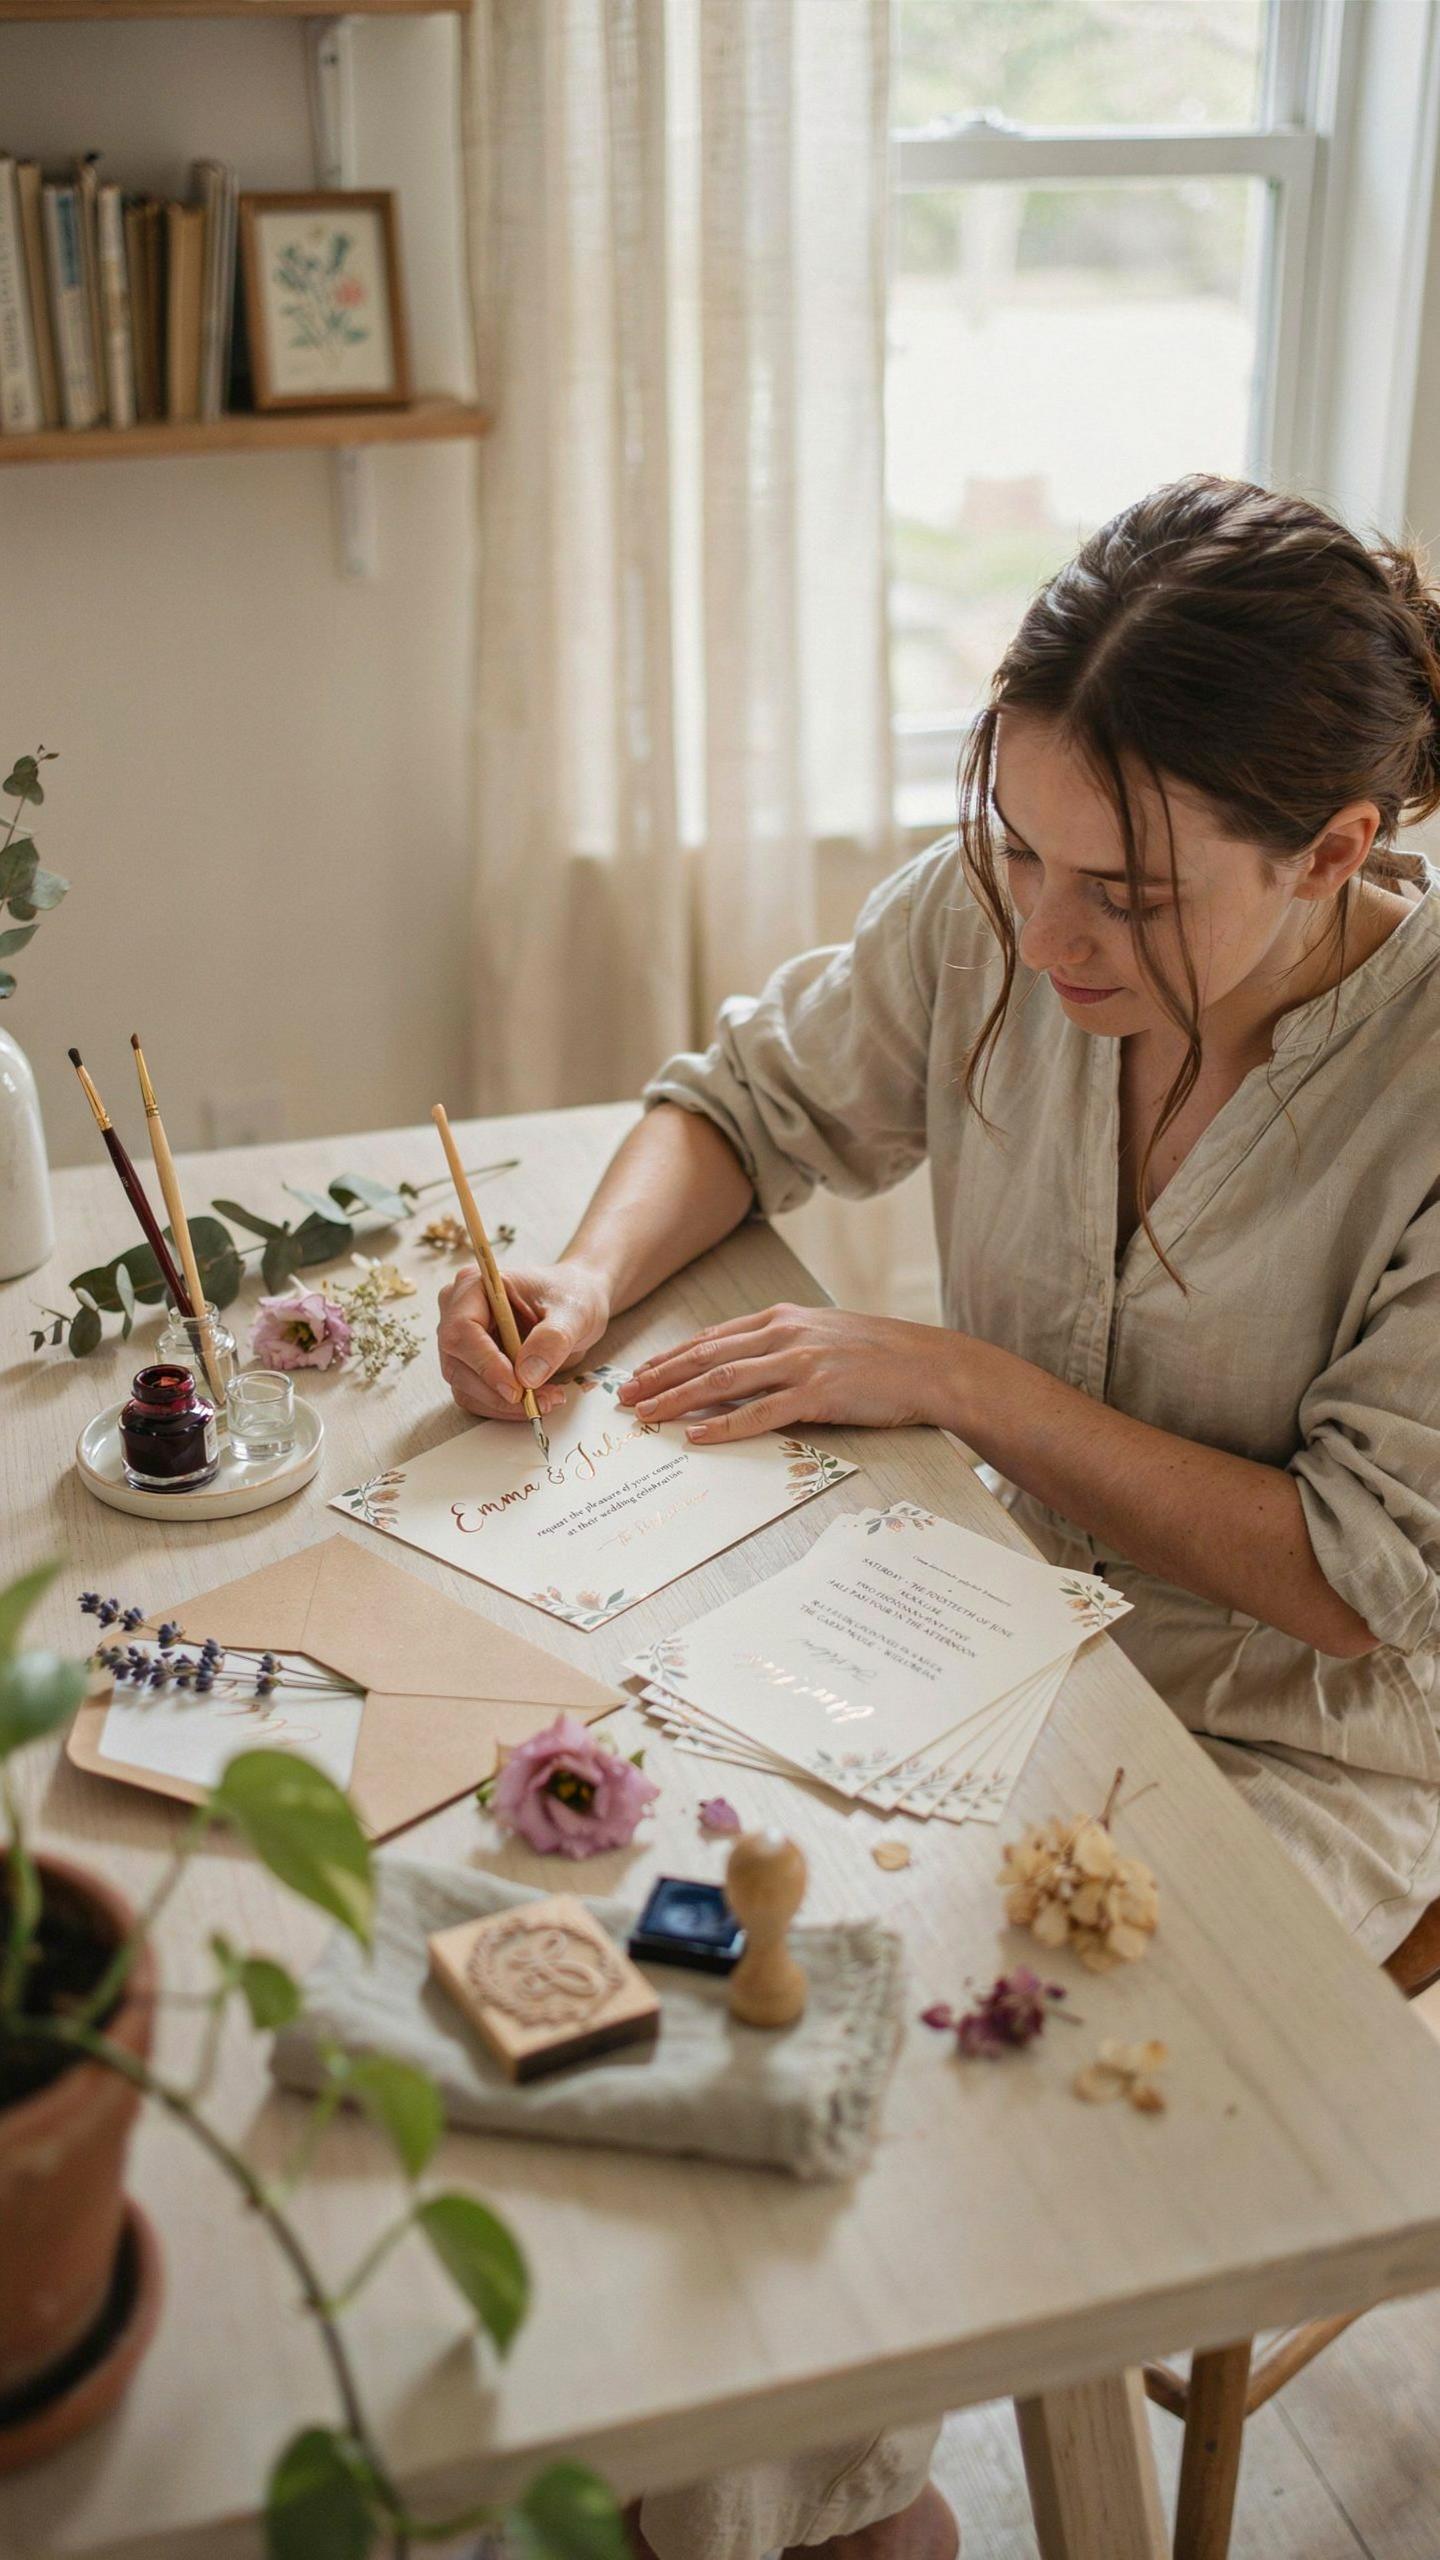
Success with diy wedding invitations depends on having the right hardware before you begin. You cannot produce professional results without precise cutting tools and high-quality adhesives. Gathering these items early ensures a consistent wedding mood across all pieces. A standard home setup requires a sharp paper trimmer to avoid jagged edges that ruin your diy wedding invite and make it look amateur.
- Paper Trimmer: A guillotine or rotary blade is essential for straight lines. Scissors leave uneven edges that scream craft project rather than elegant wedding stationary. Precise cuts are the difference between a high-end look and a messy result.
- Bone Folder: This plastic or bone tool creates crisp scores for folded cards. It prevents the paper fibers from cracking when you bend them. Use it to ensure every save the date diy piece lays flat and professional.
- Adhesive Runner: Avoid liquid glue which causes paper warping and wrinkles. A dry tape runner provides a permanent bond for layers without messy cleanup. This tool is vital for assembling multi-layered ideas for wedding invitations.
- Corner Rounder: This punch adds a soft finish to sharp card corners for a custom look. It is a simple way to elevate easy wedding invitations without spending extra money. Small details like rounded edges separate basic cards from premium designs.
- High-Resolution Printer: An inkjet or laser printer must handle heavy cardstock without jamming. Check your printer specifications to confirm it can pull thick paper through the rollers. Quality ink prevents fading on your wedding invites diy project over time.
Organizing your workspace prevents errors during the high-volume production of your wedding invitations envelope sets. You need a clean, flat surface and plenty of light to spot ink smudges or alignment issues. Maintain a backup supply of blades and ink to avoid mid-project delays. Having these wedding invitation ideas diy tools ready will streamline the assembly process and reduce physical waste during the build.
Choosing The Right Paper Stock And Card Weight For A Professional Finish
The weight and texture of your paper define the tactile quality of your wedding stationary. Most professional cards use cardstock between 80lb and 110lb cover weight. Using thin printer paper makes your wedding invites diy efforts look cheap and flimsy. Heavy stock requires a printer with a straight paper path to prevent curling or jamming during the feed process.
Standard sizes like A7 or A5 dominate most ideas for wedding invitations because they fit common envelopes perfectly. Choose a matte finish for a modern look or a shimmer finish for a traditional feel. Ensure your save the date diy paper matches the main suite to maintain brand consistency. Always test a sample sheet before buying in bulk to confirm the ink dries clearly on the surface.
Creative Ideas For Wedding Invitations That Reflect Your Unique Style
Popular Design Themes From Rustic Botanical To Modern Minimalist
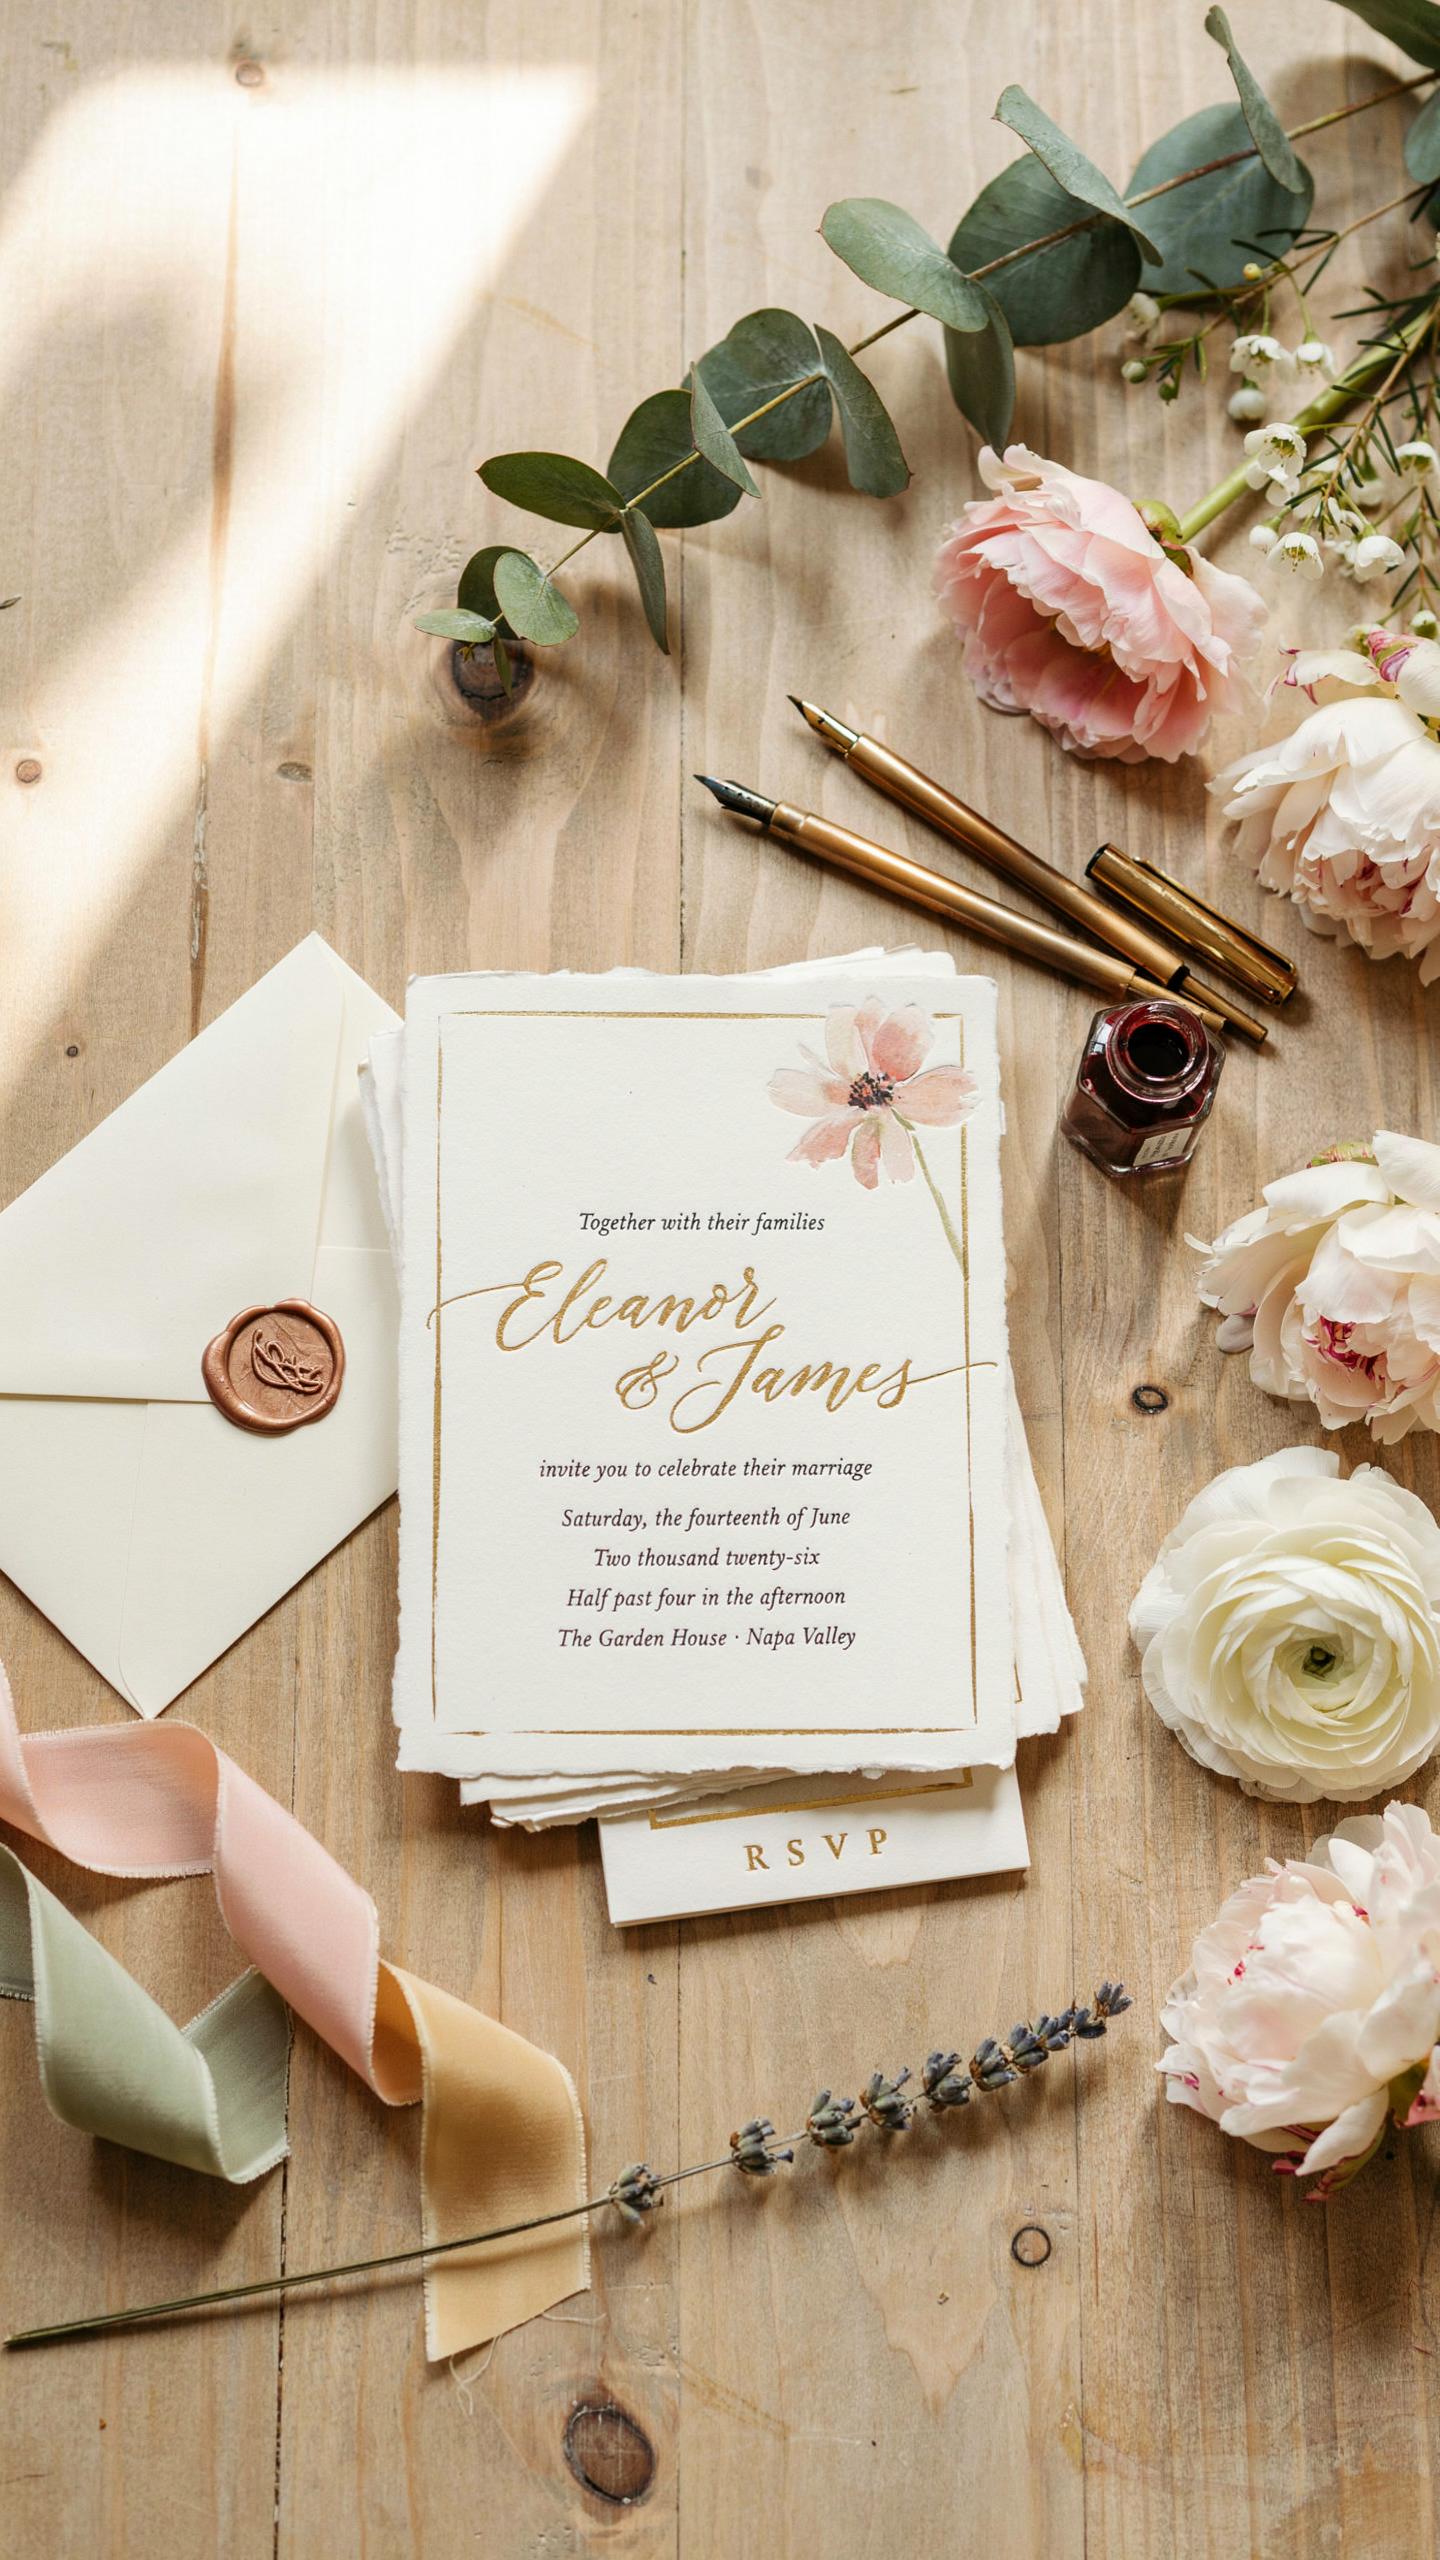
Design themes dictate your entire wedding mood early in the process. Rustic botanical styles rely on heavy kraft paper and leaf illustrations to signal a relaxed event. You can achieve this look with easy wedding invitations using sketches of eucalyptus or ferns. Modern minimalist designs use vast white space and bold sans-serif fonts. These styles focus on clean lines and omit unnecessary decoration for a high-end feel.
Select ideas for wedding invitations that match your venue architecture. Historical settings benefit from classic serif typography and traditional layouts. High-contrast colors like black and white fit urban industrial spaces. If you prefer a romantic diy wedding invite, use soft watercolor washes and thin script fonts. Consistent themes ensure your wedding stationary looks cohesive. Every choice must reinforce the specific atmosphere you want guests to experience.
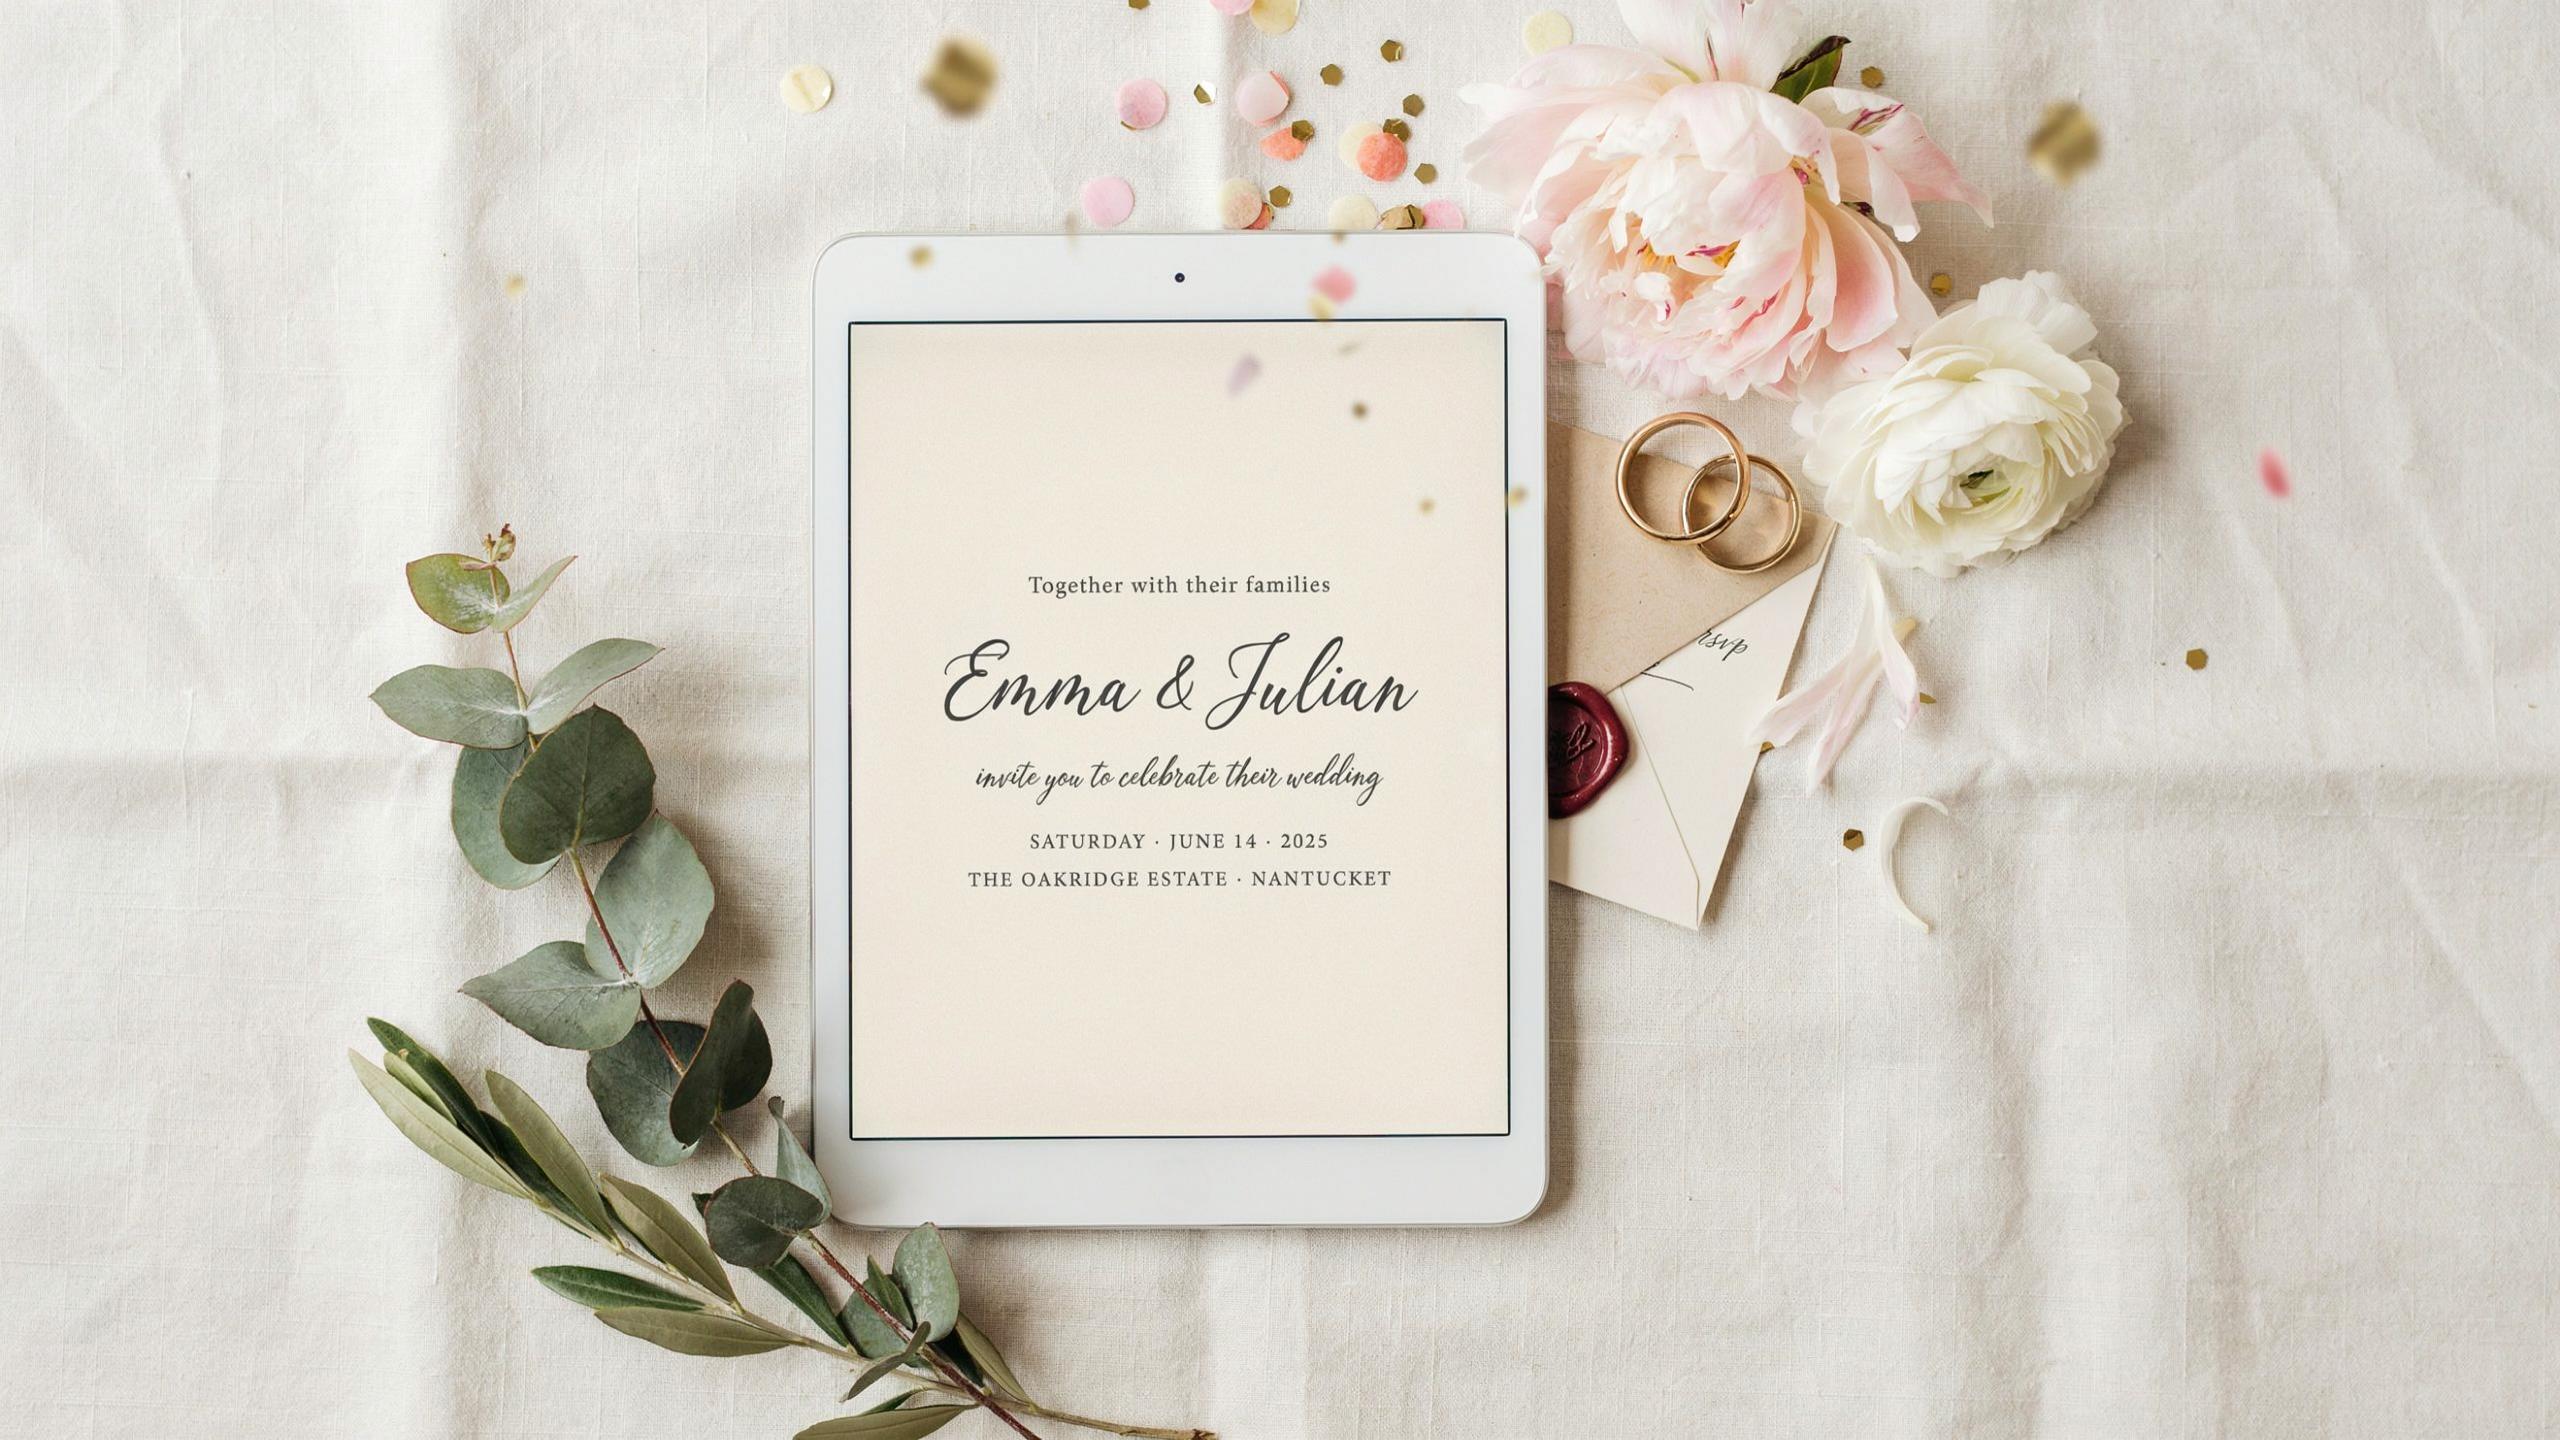
How To Use Free And Affordable Design Tools Like Canva To Create Stunning Layouts
Canva provides professional layouts for a diy wedding invitations project without expensive software costs. Start with a blank canvas or a template to maintain proper margins. Use a save the date diy project to test your layout skills before moving to the main invite. Ensure all text is at least ten points for readability. Align your design elements to a grid to maintain a disciplined and professional appearance.
Export your wedding invites diy files as high-resolution PDF print documents. This format preserves image quality and ensures color accuracy during the printing process. When finishing your suite, choose a wedding invitations envelope that matches your primary paper weight. Correct sizing prevents the inserts from shifting or bending during transit. Digital tools allow you to experiment with wedding invitation ideas diy before committing to an expensive paper order.
Setting The Right Wedding Mood Through Your Invitation Design
How Color Palettes And Typography Communicate Your Weddings Atmosphere
Color choice dictates the sensory response of your guests immediately. Secondary colors from the historical Bauhaus movement prioritize bold contrast and geometric clarity. Choosing high-contrast black and white creates a formal tone. Soft pastels signal a relaxed event. Use these wedding invitation ideas diy to establish expectations. Neutral tones suggest a modern minimalist wedding mood. Your palette must remain consistent across your wedding stationary to ensure a professional look.
Typography acts as the voice of your text. Serif fonts like Times New Roman or Garamond provide a sense of tradition and authority. Sans-serif fonts like Helvetica offer a clean and contemporary feel. Script fonts imply elegance but can reduce readability if overused. Successful ideas for wedding invitations balance a decorative header with a legible body font. Match font weights to your color depth to keep the layout balanced.
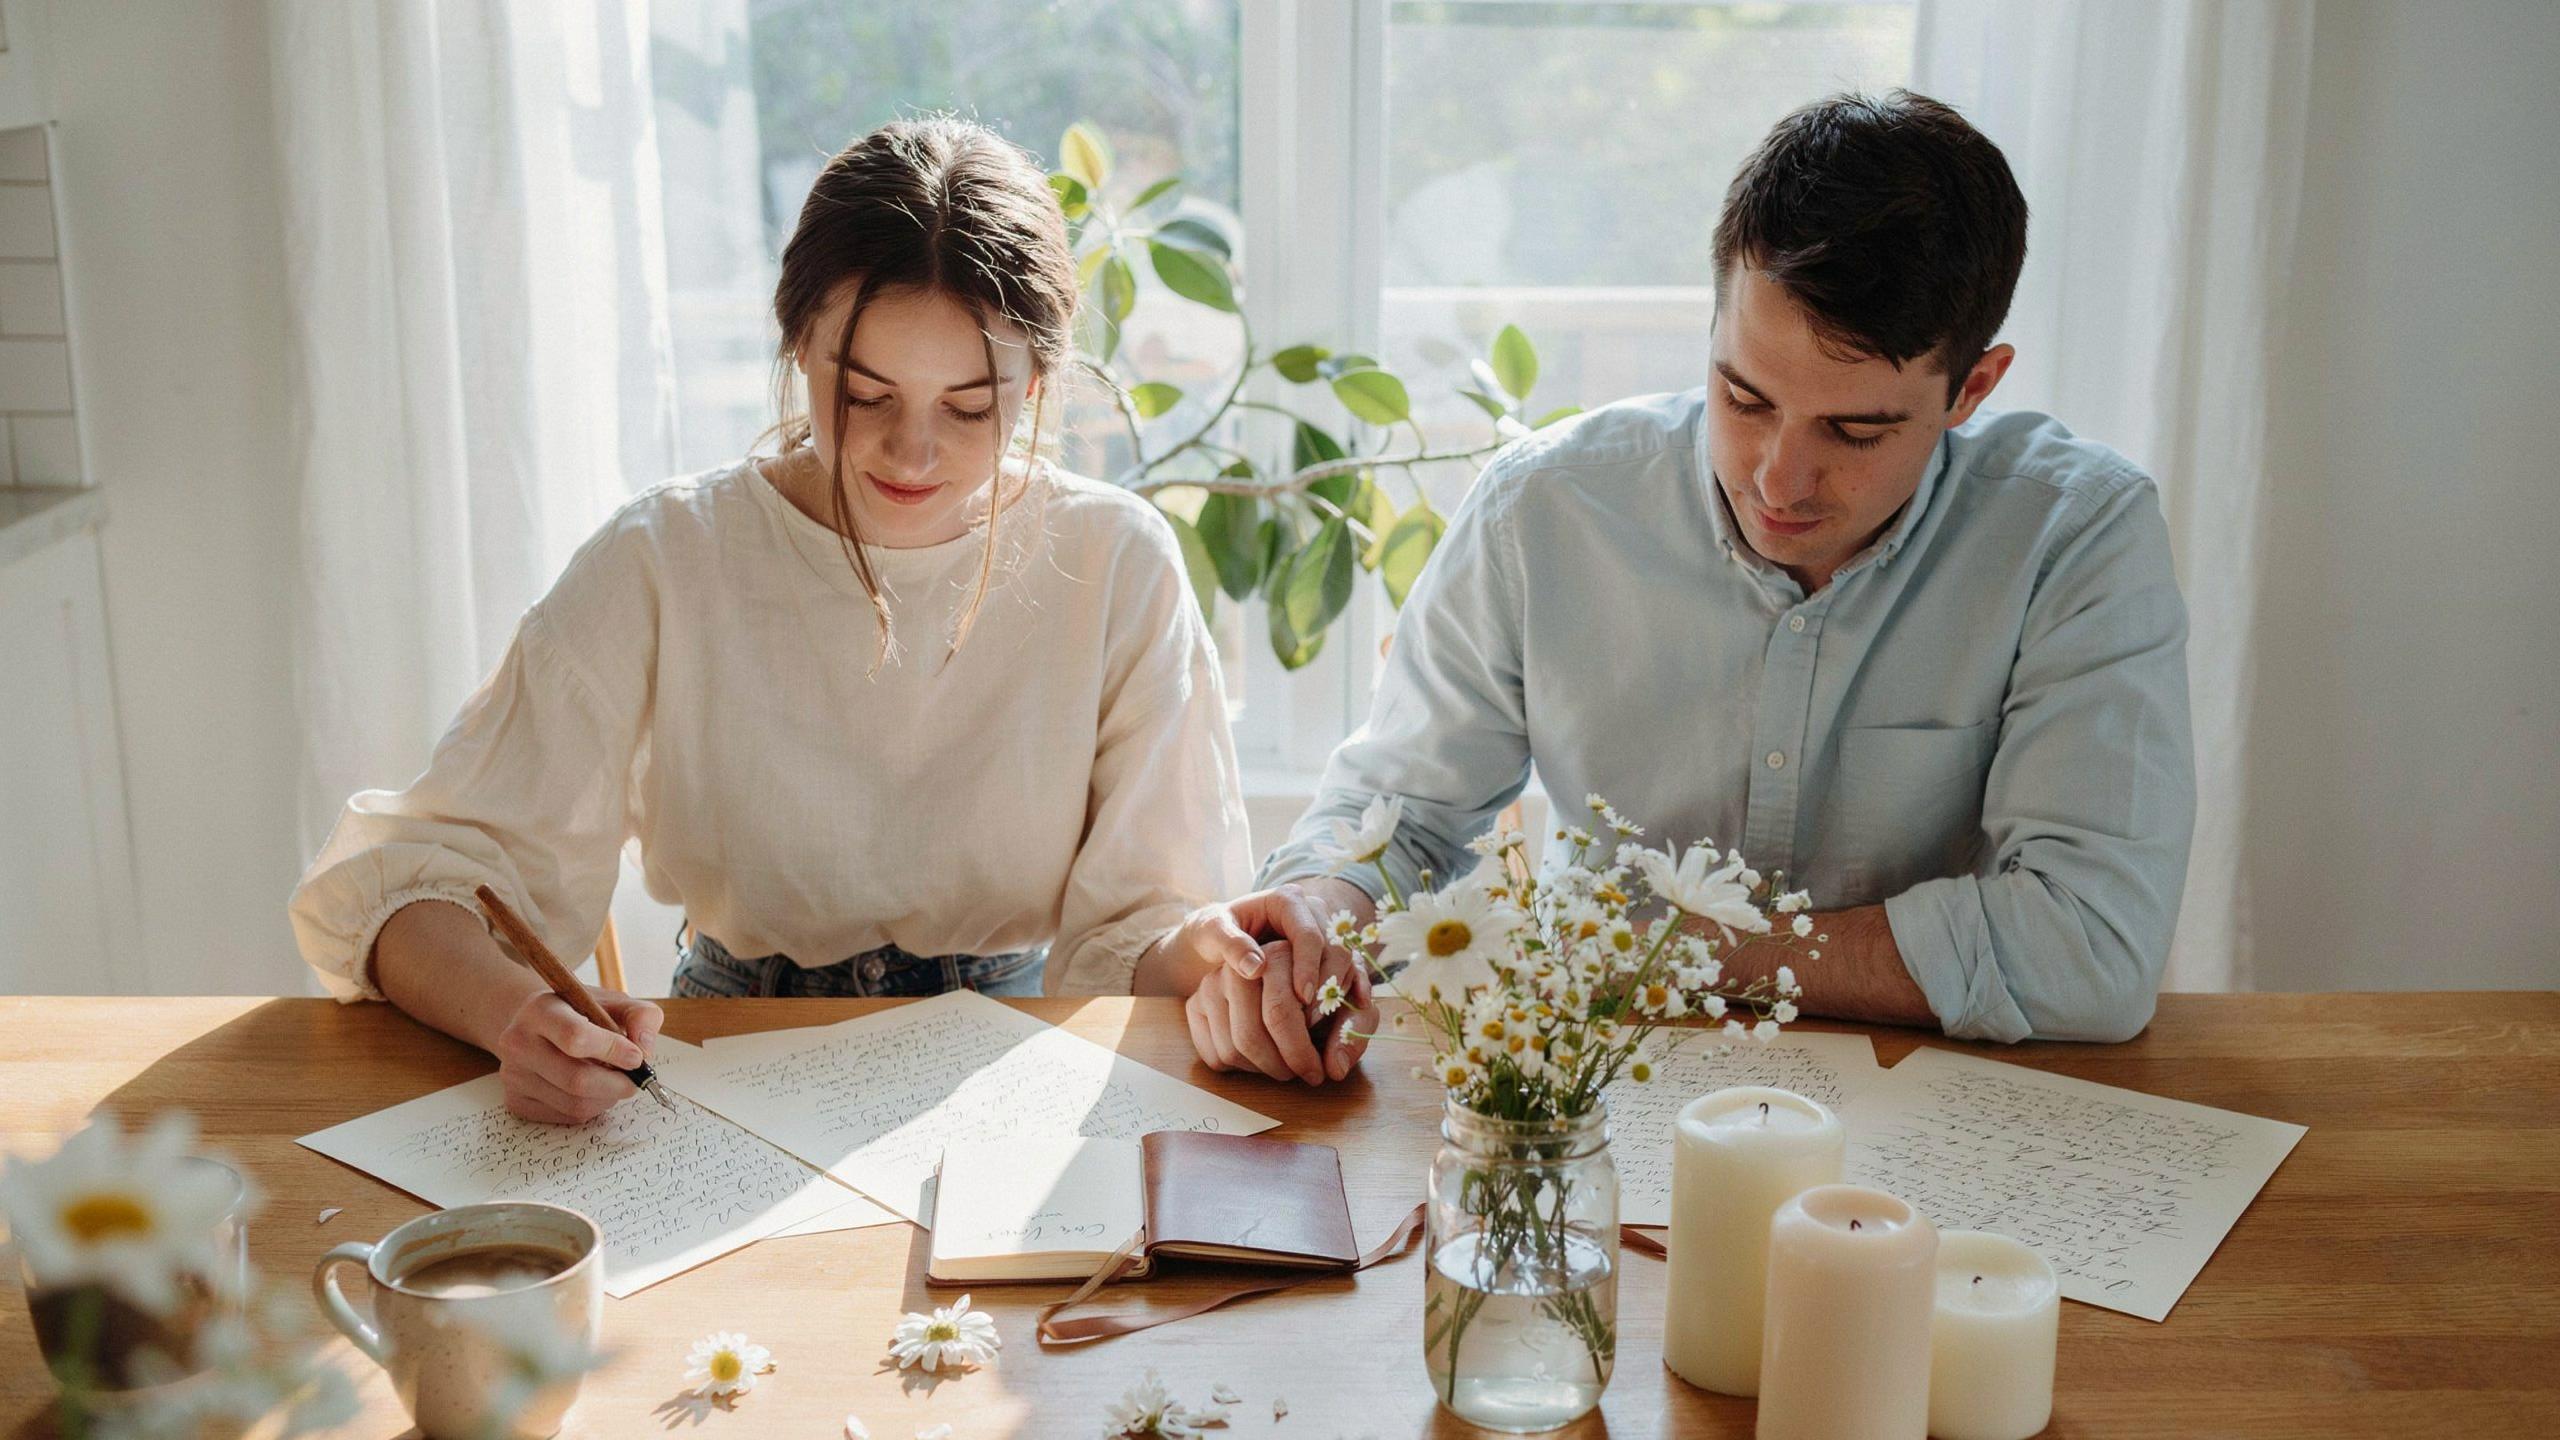
Putting your own hand to the paper makes each invitation a beautiful keepsake of the love you are celebrating. The simple act of creating something yourself weaves your own story into every guest’s heart.
— Martha Stewart
Matching Your Invitation Aesthetic To Your Venue And Overall Wedding Theme

Your venue should dictate your material choices. A rural barn setting requires tactile elements like Kraft paper or twine. A high-end ballroom demands smooth cardstock and metallic foils. You can create a diy wedding invite that mirrors these architectural cues. Use heavy paper weights for formal settings. Lighter weights work for casual beach events. This alignment ensures your easy wedding invitations do not clash with the physical site.
Functionality must follow form for every save the date diy and follow-up piece. Use a wedding invitations envelope that fits the thickness of your paper stock to prevent tearing. Strategic wedding invites diy use textures like vellum or linen to add physical depth without excessive cost. Research the victorian era for layered paper techniques or mid-century modern for clean lines. Match your design movements to your specific venue history for total cohesion.
Step By Step Guide To Printing And Assembling Your DIY Wedding Invite
Home Printing Vs. Local Print Shop: Which Option Gives You The Best Result
Home printing offers total control over your Wedding Invites Diy timeline. Use an inkjet printer for heavy watercolor cardstock to avoid cracking. Laser printers work better for crisp text on smooth paper. You must test your printer’s max paper weight before buying supplies. Making an Easy Wedding Invitations set at home requires patience and extra ink cartridges because high quality settings consume fluid fast.
Local print shops handle heavy stocks and specialized finishes better than home units. They offer professional Wedding Stationary results without the risk of paper jams. Use them for your Save The Date Diy cards if you want consistent color across hundreds of copies. Shops provide precise cutting services for your Diy Wedding Invite which saves hours of manual labor. Professional equipment ensures every Wedding Invitations Envelope looks uniform.
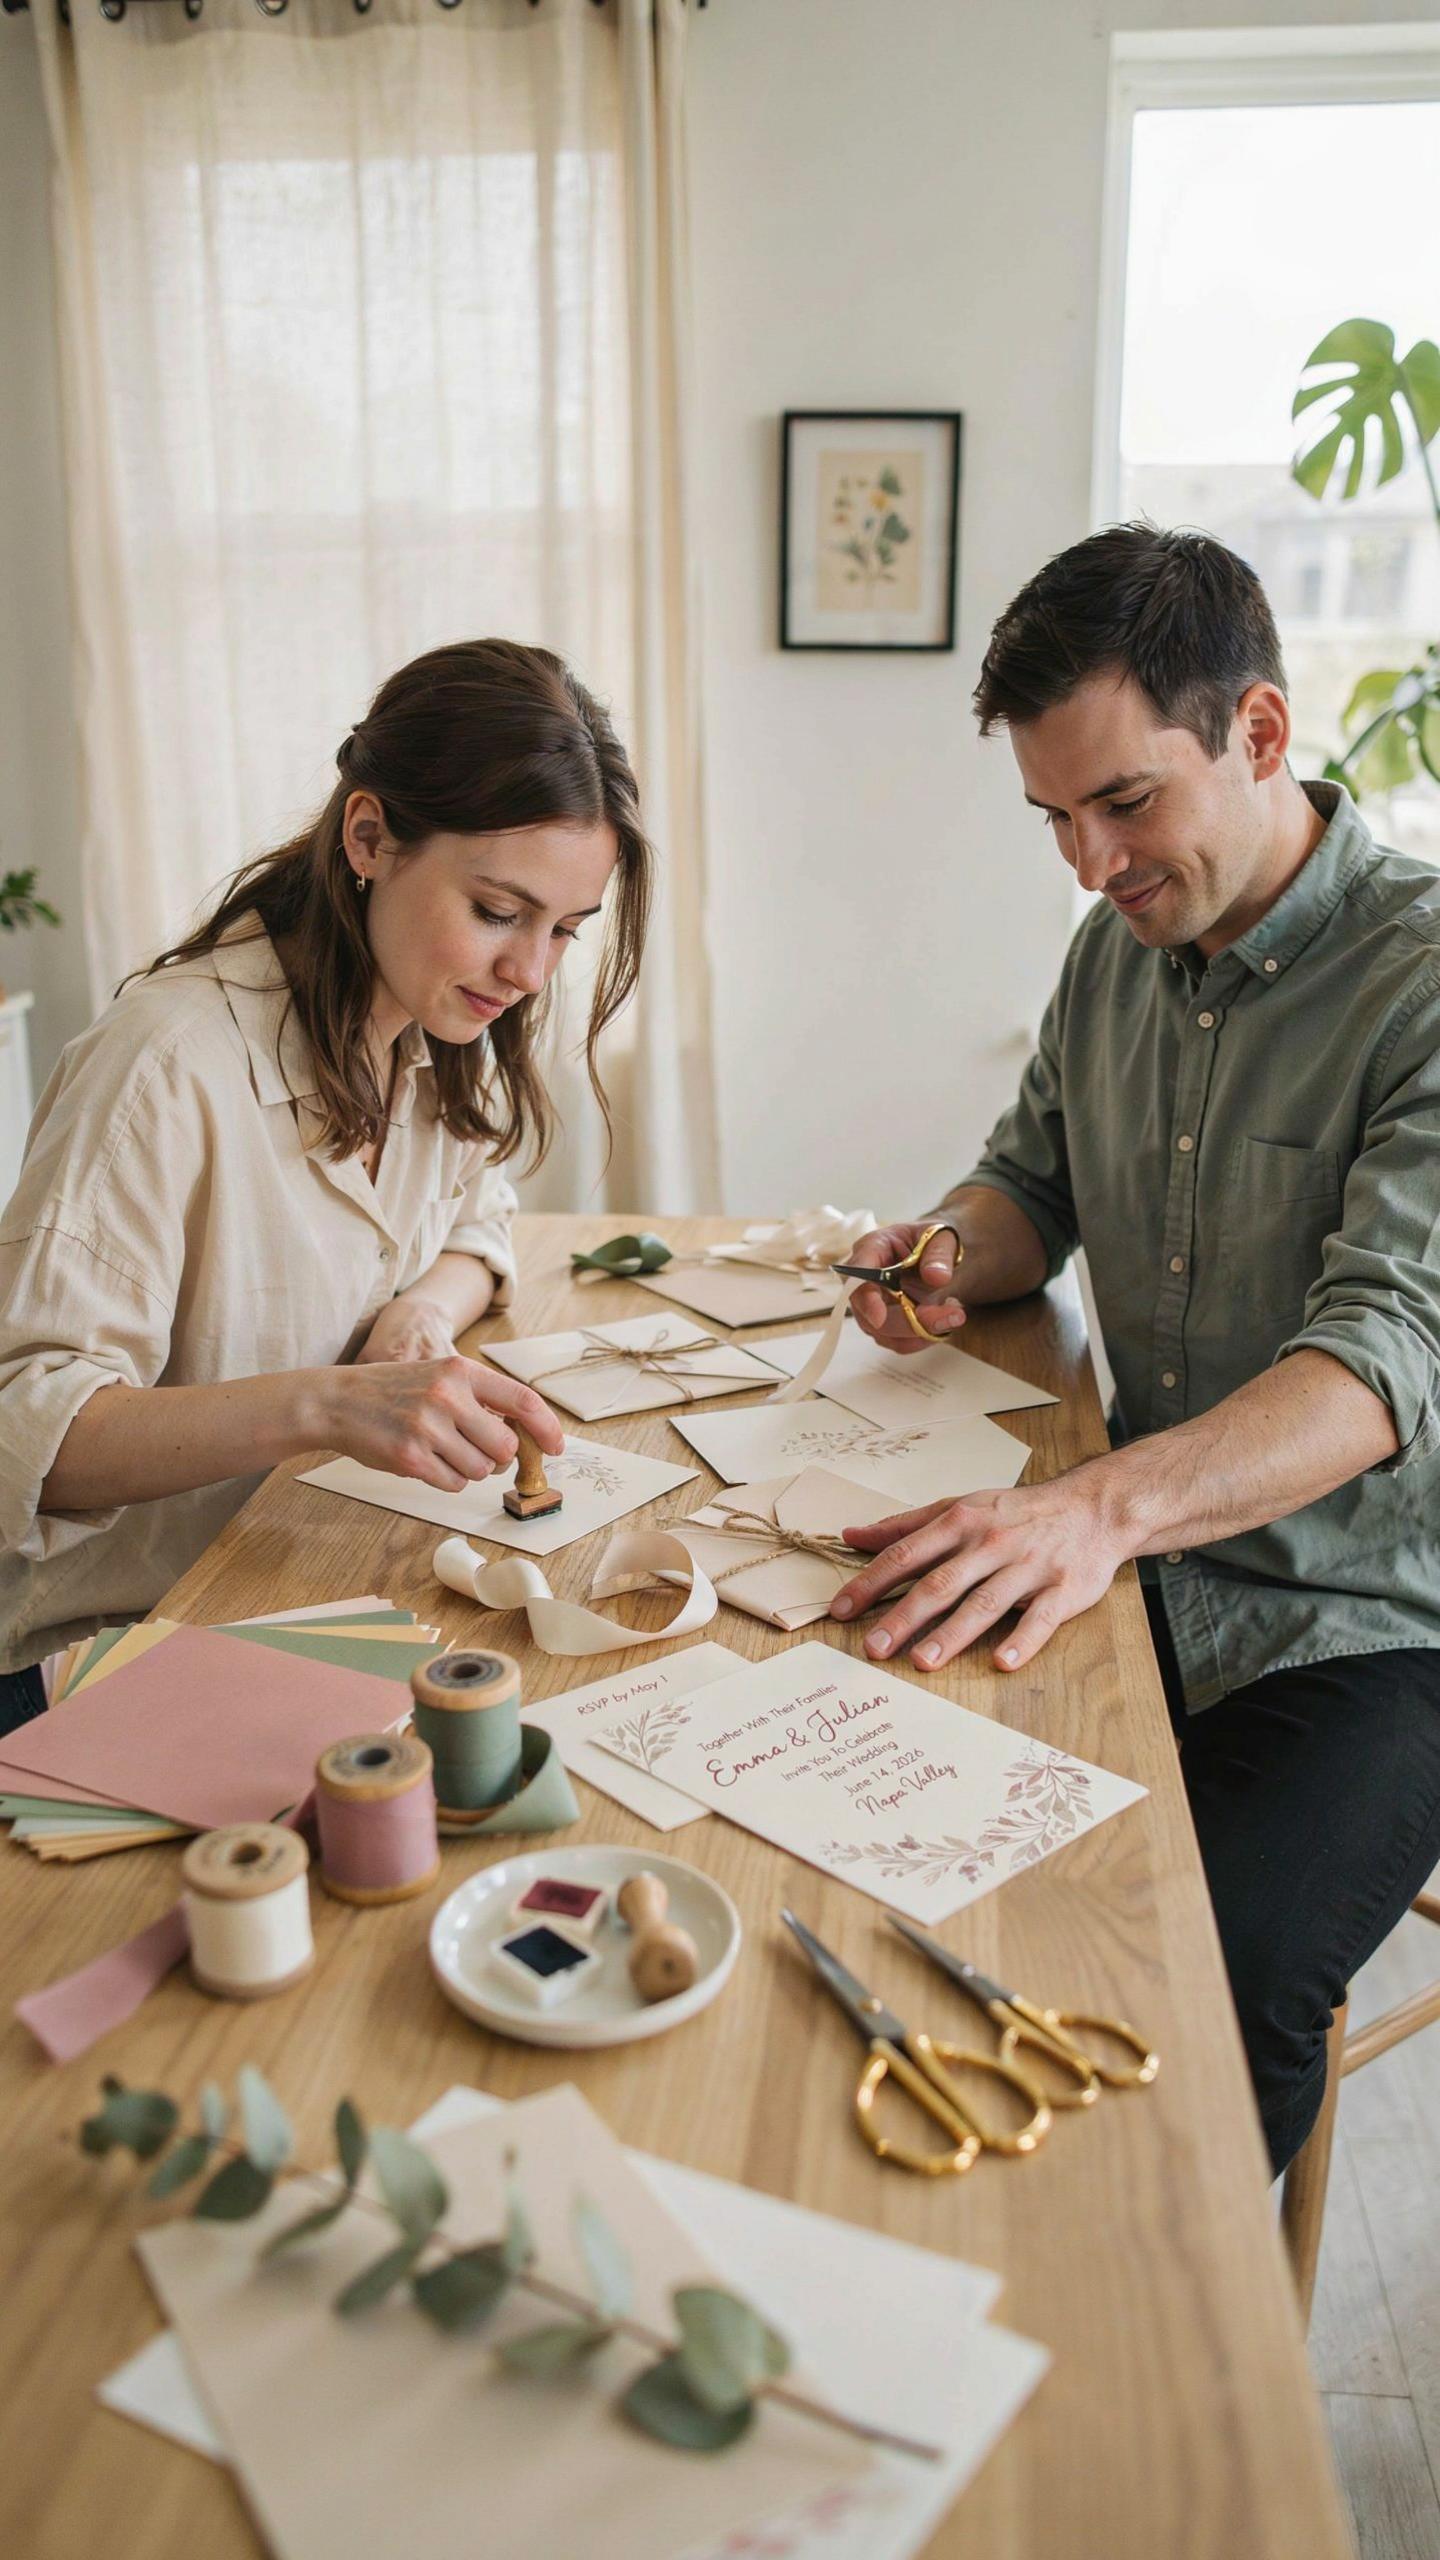
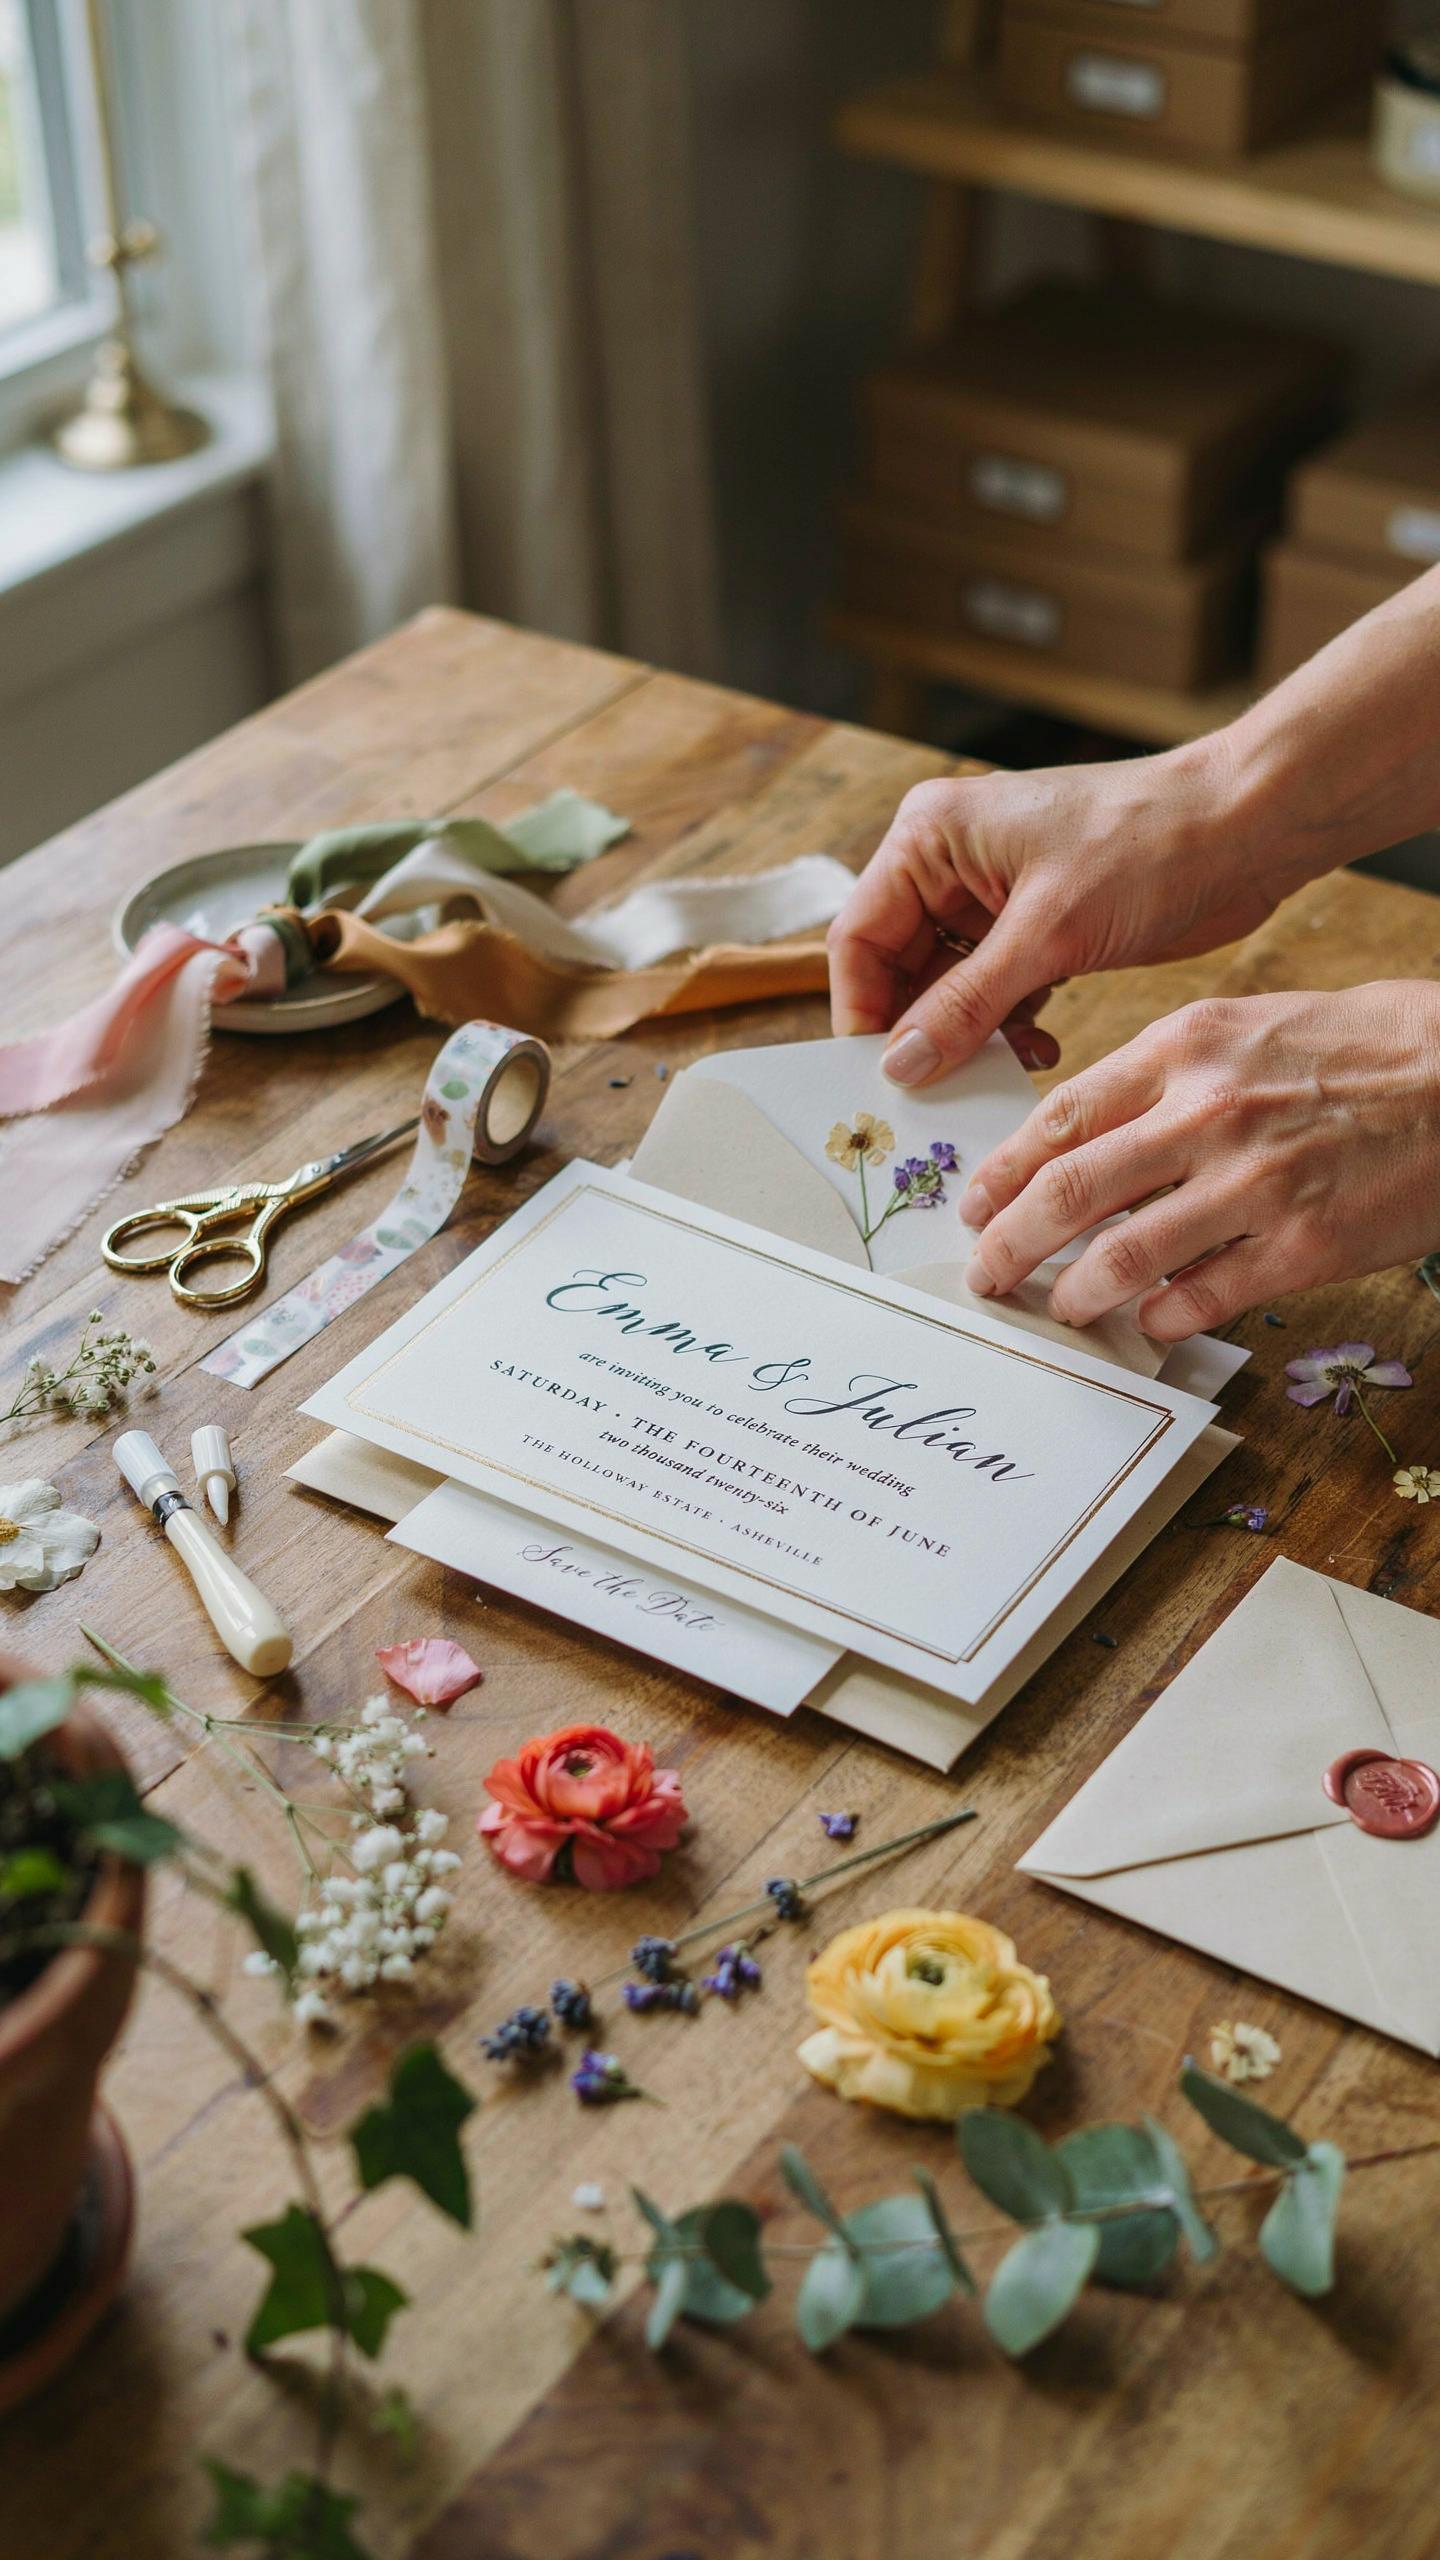
How To Assemble Layered Invitation Sets With Ribbon, Twine, Or Wax Seals
Layering adds depth and sets the Wedding Mood for your guests. Start with a heavy base card and apply thin double-sided adhesive. Center your printed layer carefully before pressing down. This method works well for many Wedding Invitation Ideas Diy projects. Use a bone folder to create crisp creases. Consistent alignment is the key to professional Ideas For Wedding Invitations when working with multiple paper types.
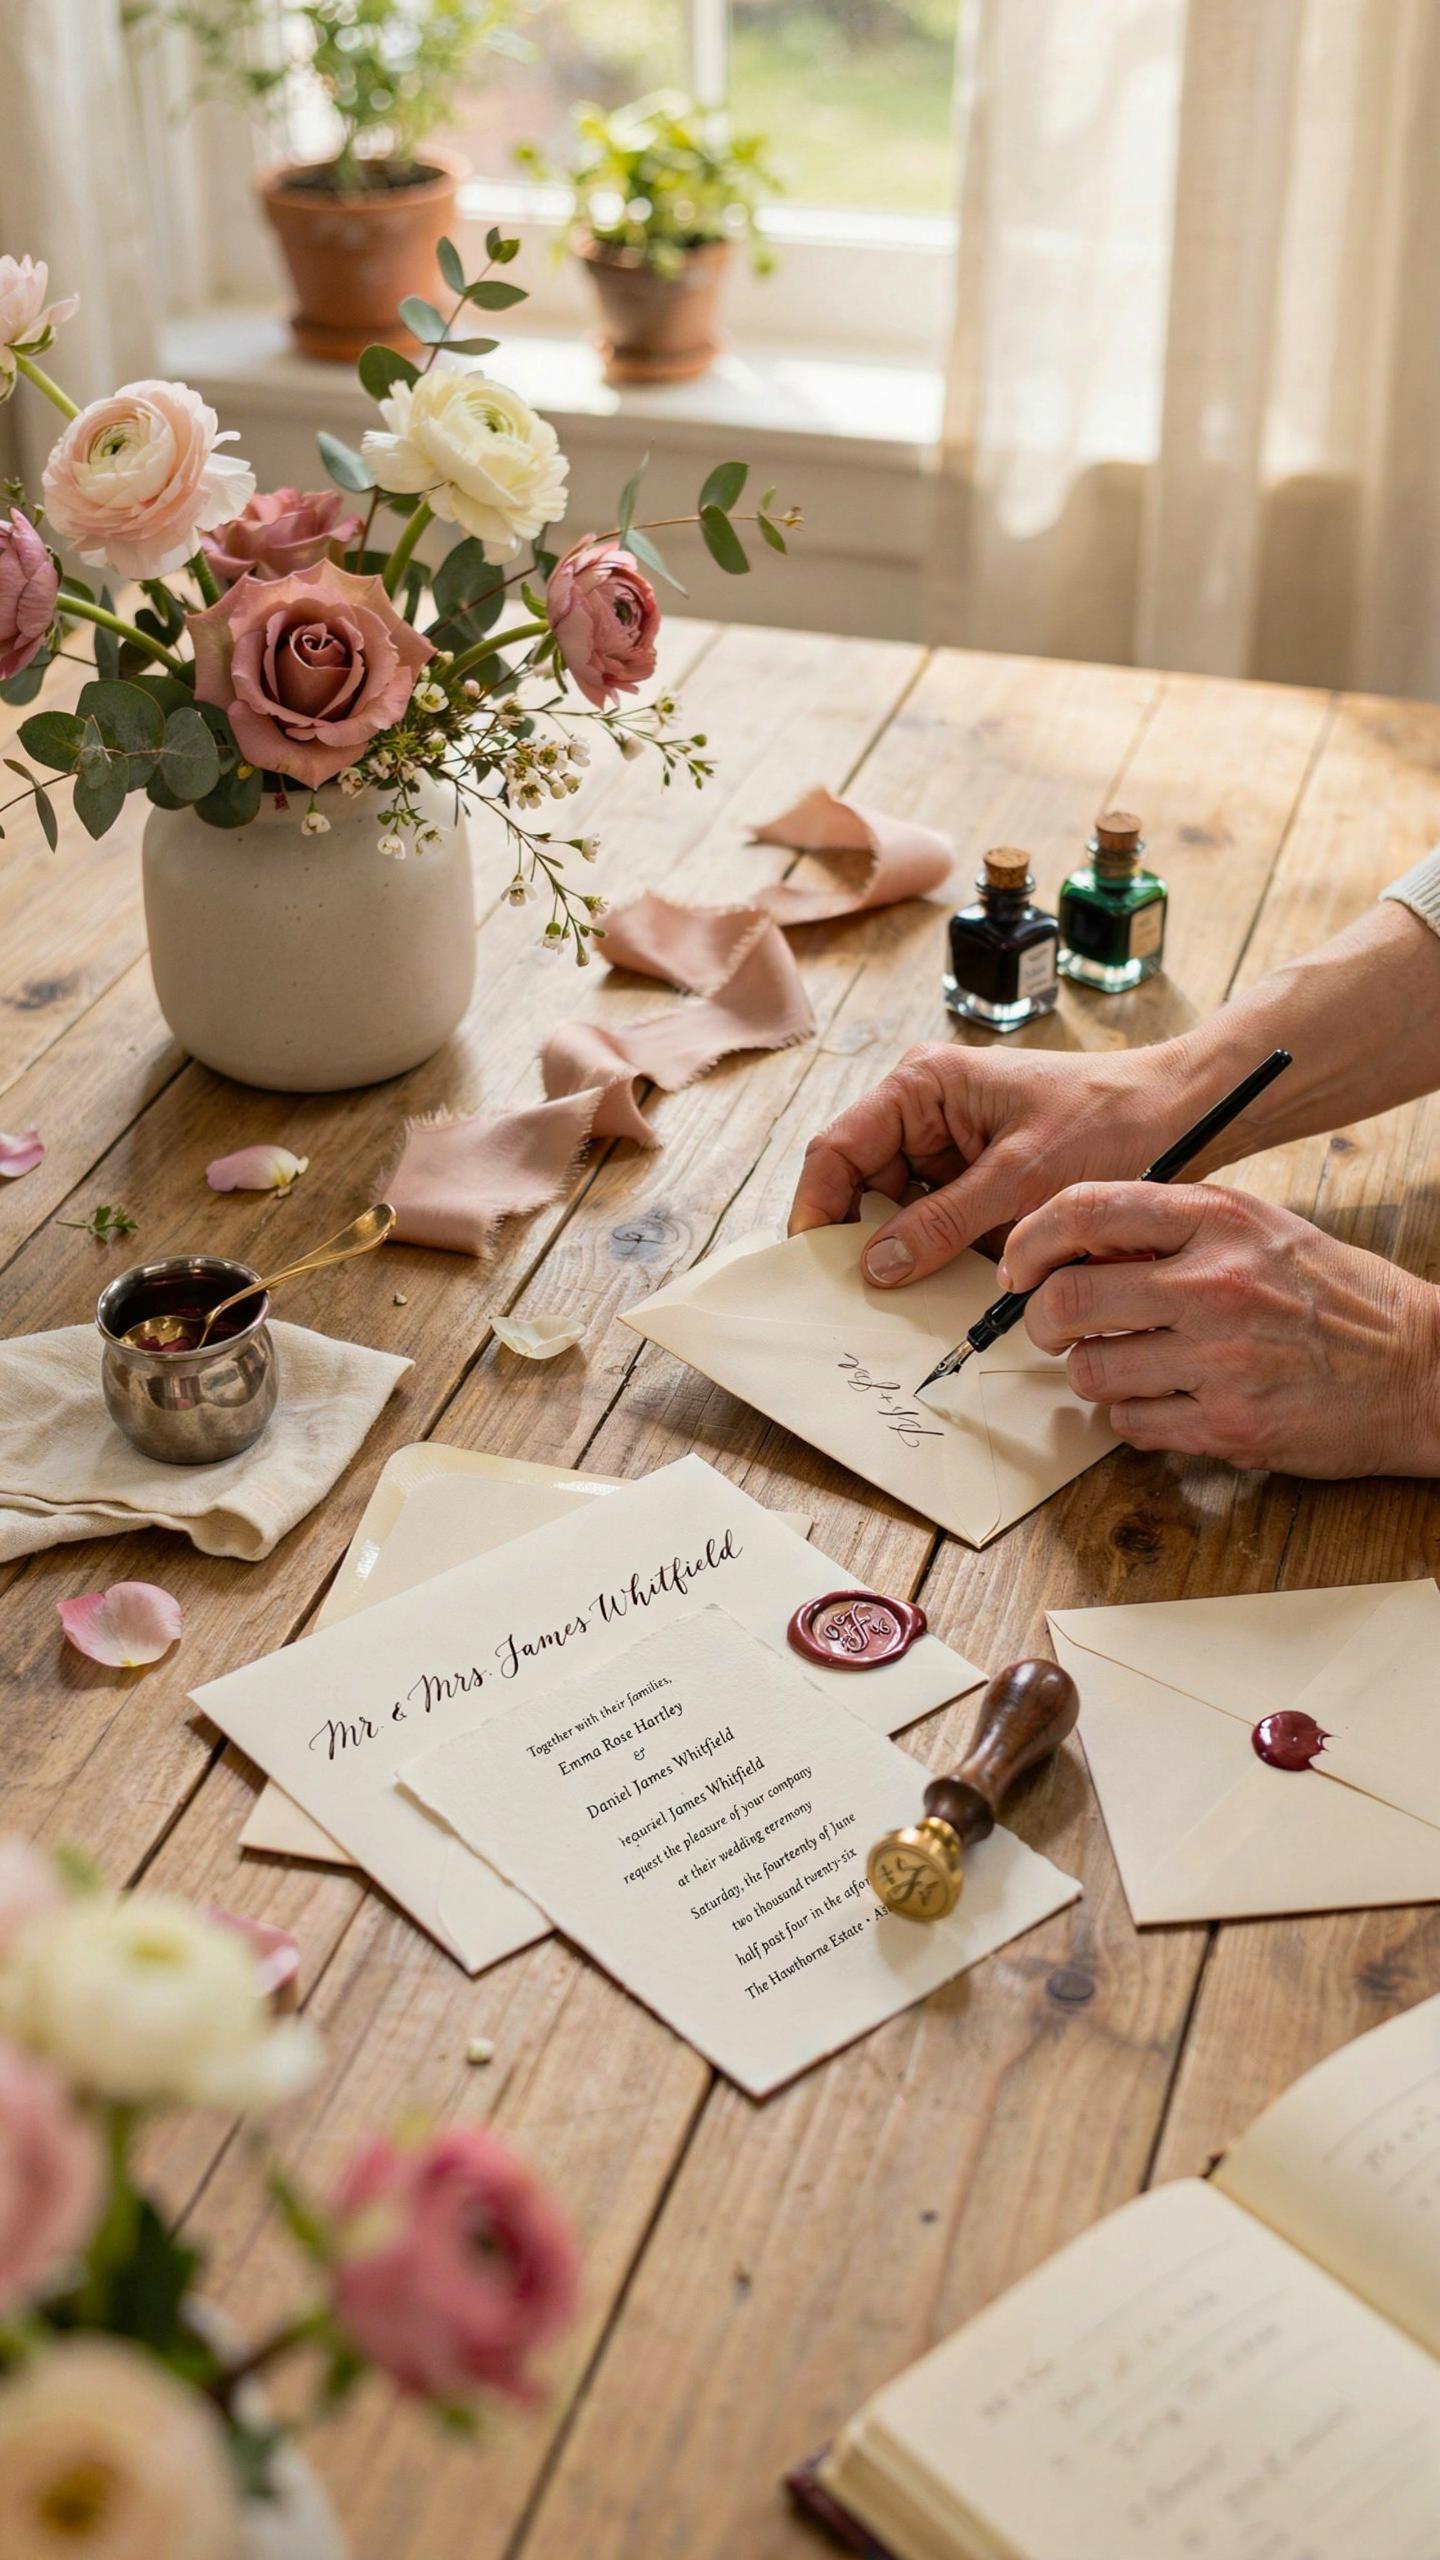
Finishing touches like wax seals and twine require a steady hand. Apply wax directly to the Wedding Invitations Envelope or use pre-made stickers to save time. Tie twine in a simple knot to secure the suite. Ensure the belly band is snug but allows the inserts to slide out easily. These tactile elements elevate a Diy Wedding Invite from a simple paper sheet to an experience for your guests.
How To Make Your Save The Date DIY Cards To Kick Off The Celebration
When To Send Save The Dates And How They Differ From Formal Invitations
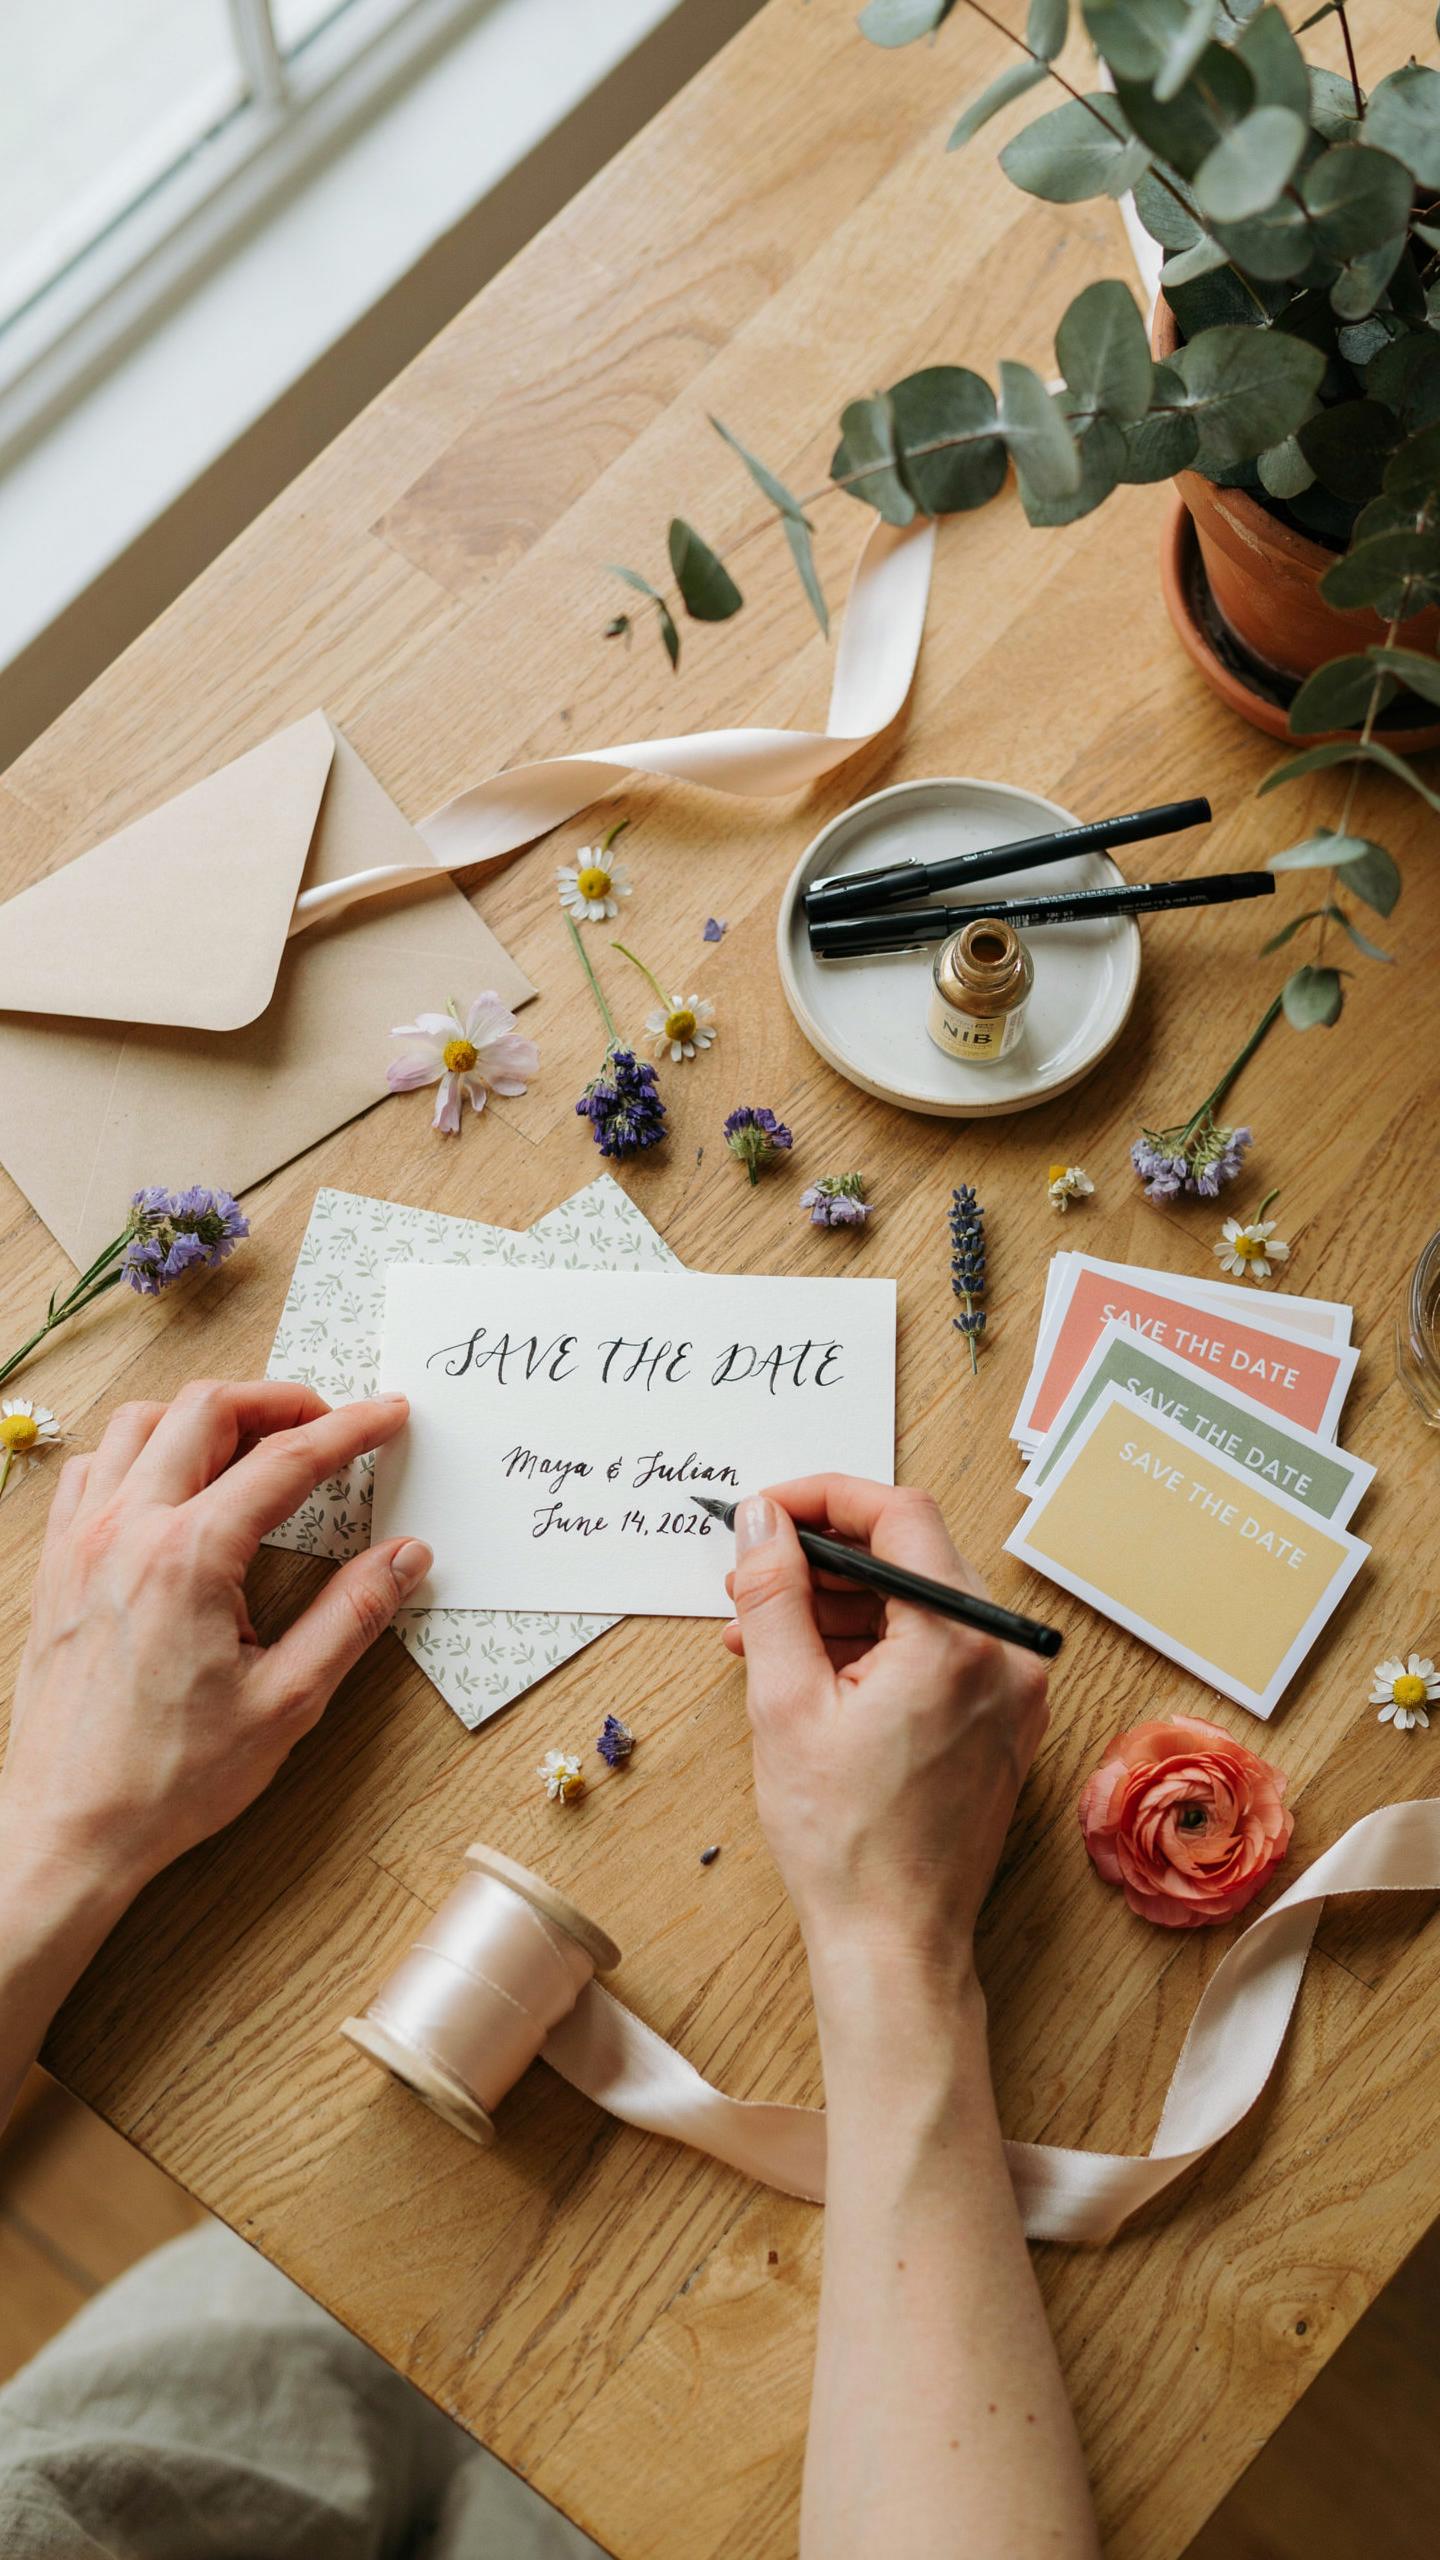
Send your save the date diy cards six to eight months before the wedding. This timeline allows guests to book travel and clear their schedules. These cards are preliminary and lack specific details like the venue address or meal options. Formal wedding stationary follows later with full logistical data. Your initial notice focuses solely on the date and the general city location to facilitate early planning.

A diy wedding invite requires more production time than these early notices. Save the dates establish the wedding mood early in the process. They serve as a tactical alert while the official دعوت comprises the legal and ceremonial specifics. Do not confuse the two documents. Clear communication prevents guest confusion and ensures higher attendance rates. Use a simple wedding invitations envelope to protect these cards during transit through the mail.
Simple And Charming DIY Save The Date Ideas That Match Your Invitation Suite
Focus on easy wedding invitations methods to maintain consistency across your set. Use a single heavy cardstock for these notifications. Print your names and the date in a clean typeface. This minimalist approach provides ideas for wedding invitations that look professional without high costs. Match your paper color to your future wedding invites diy to create a cohesive visual brand for your entire event long before it happens.
Successful diy wedding invitations rely on repetitive design elements. Use the same digital font or rubber stamp for both the save the date and the final package. Modern wedding invitation ideas diy often include a single photo or a simple line drawing. Keep the layout uncluttered to ensure the date remains the primary focus. This strategy reduces production errors and keeps your budget low while maintaining a high standard of design.
Addressing And Preparing Your Wedding Invitations Envelope The Right Way
Traditional Etiquette For Addressing Inner And Outer Wedding Envelopes

Formal Wedding Stationary historically uses a dual-envelope system to protect the invitation from grease and dirt during transit. The outer Wedding Invitations Envelope carries the full delivery address and return details in the top left corner. You must write out all titles and street names in full. This ensures proper delivery and maintains the formal tone required for your Diy Wedding Invite before the guest opens it.
The inner envelope excludes the mailing address and lists only the specific names of invited guests. This eliminates confusion regarding children or plus ones. Placing this smaller envelope inside the outer one preserves the Wedding Mood and keeps the main card pristine. Follow this method for Easy Wedding Invitations that look professional. Always use black or dark blue ink to ensure postal scanners can read your Diy Wedding Invitations correctly.
Creative Envelope Finishing Touches Including Calligraphy, Liners, And Custom Stamps
Modern Ideas For Wedding Invitations focus on tactile details that elevate the presentation. You can transform basic Wedding Invites Diy by adding structural elements. Using heavy paper for liners or specialized ink creates a premium feel without professional labor costs. These upgrades work equally well for your initial Save The Date Diy and your formal suite. High-quality materials change the guest experience immediately upon arrival.
- Custom Wax Seals: Use flexible wax and a metal stamp to seal the outer flap. This historical method adds weight and a physical barrier that protects the contents. Choose colors that match your specific Wedding Invitation Ideas Diy for a cohesive aesthetic.
- Envelope Liners: Insert a patterned or metallic paper inside the envelope. This adds a structural layer and prevents the invitation from being visible through thin paper. It is a cost-effective way to enhance the overall weight of your mailer.
- Rubber Stamps: Order a custom stamp for your return address. This saves time during assembly and ensures a consistent look across all pieces. It provides a clean, stamped finish that looks more intentional than standard handwriting or cheap labels.
- Calligraphy Pens: Use felt-tip or dip pens with archival ink for addressing. High-quality ink resists smudging when wet. This technique makes your handwritten addresses look like professional scripts. It is a vital tool for any successful Diy Wedding Invitations project.
- Vintage Postage: Source unused stamps from the mid-twentieth century that match your color palette. You must ensure the total cent value meets current postal rates. Mixing multiple stamps creates a curated look that stands out in a standard mailbox.
Strategic finishing touches define the first impression of your event. Applying these techniques to your Wedding Invitations Envelope ensures your mail survives the sorting process while looking elegant. Do not skip the weighing process at the post office before finishing all your envelopes. Extra liners or wax seals often require additional postage. Proper planning prevents your invitations from being returned for insufficient funds or damage.
Top Tips For Sending Your Wedding Invites DIY Without Costly Mistakes
How To Proofread Your Invitations Thoroughly Before Printing A Full Batch
Proofreading is the most critical step in creating wedding stationary. You must verify every date, time, and address multiple times. Digital screens often hide errors that appear obvious on paper. Print a single physical proof sample at home before committing to a commercial run. This allows you to check for color accuracy, ink bleeding, and font legibility while finalizing your wedding invites diy project ideas.
Enlist a third party who is not familiar with your wedding mood to review the text. They will catch typos that your brain automatically corrects. Ensure the day of the week matches the calendar date precisely. Mistakes in your diy wedding invite will lead to expensive reprints and wasted materials. Check that your wedding invitation ideas diy match the tone and clarity required for a formal or casual event.
Postage, Mailing Timelines, And RSVP Deadlines Every Couple Should Know
Weigh a fully assembled wedding invitations envelope at the post office before buying stamps. Many easy wedding invitations exceed the standard one ounce weight limit or require extra postage for square shapes and rigid liners. Mail your invitations six to eight weeks before the ceremony to ensure arrival. If you previously sent a save the date diy, you have more flexibility, but deadlines remain firm for logistical planning.
Set your RSVP deadline four weeks before the wedding date. This gives you time to track down late responses and finalize your headcount with the caterer. For ideas for wedding invitations that include multiple inserts, ensure each piece fits securely without snagging. Use a moistener pen instead of licking envelopes to maintain hygiene and seal strength. Consistent planning prevents late mailings that confuse guests and disrupt your schedule.
Frequently Asked Questions

Is it difficult for a beginner to make their own wedding invitations?
Not at all! Creating diy wedding invitations is a rewarding project for beginners, especially with modern design tools like Canva or pre-made invitation templates. You don’t need professional graphic design skills to achieve a high-end look. By starting with a simple layout and focusing on quality cardstock and elegant typography, you can produce professional-looking stationery that beautifully reflects your personal style without any prior crafting experience.
What essential tools do I need to print wedding invitations at home?
To successfully print diy wedding invitations, you will need a high-quality inkjet or laser printer that can handle heavy cardstock weights. Essential tools include a sharp paper trimmer for clean edges, a bone folder for crisp creases on folded cards, and double-sided adhesive for layered designs. Using a dedicated paper cutter rather than scissors ensures your finished suite looks polished and uniform across every single piece you send out.
Can making my own invitations actually save money on the wedding budget?
Absolutely. Crafting your own stationery is a fantastic way to cut costs, as professional printing and design fees can be quite high. By purchasing materials in bulk and handling the assembly yourself, you can significantly reduce your per-suite price. This approach allows you to allocate those savings toward other wedding priorities while still delivering a thoughtful, handmade touch that your guests will truly appreciate when they open their mail.