The Faux Luxury Protocol: DIY Wedding Backdrop That Deceives The Eye
Material Selection That Reads Expensive
You want people to think you spent money you didn’t spend. That’s the real transaction here. The mechanism is simple: luxury reads as density and uniformity. A sparse backdrop with visible gaps signals budget. A dense one signals restraint and intentionality, regardless of actual cost.
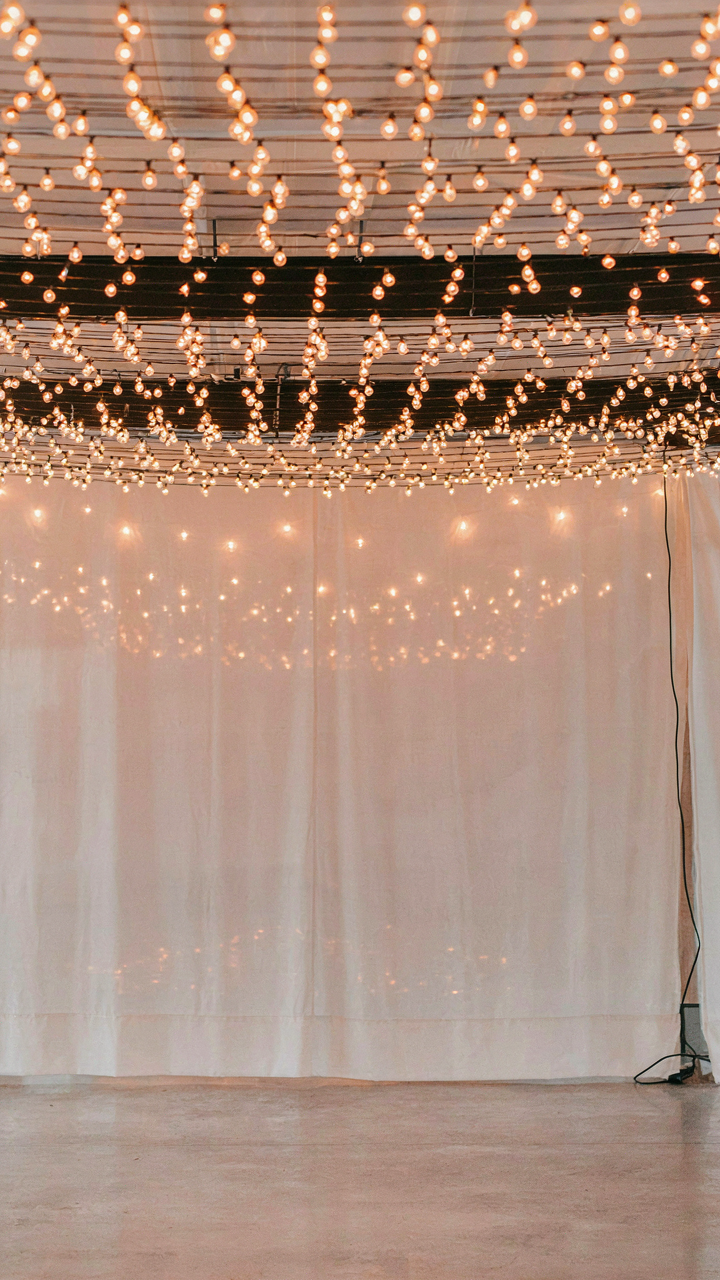
Warm white Edison bulbs matter less than the frame holding them. Cheap metal conduit painted matte black creates visual weight. Wooden frames stained dark brown absorb light rather than reflect it, which your eye interprets as material substance. Sheer fabric—voile or lightweight muslin—stretched taut behind the bulbs creates the illusion of a solid surface without the price tag of actual panels. The fabric does the work. The bulbs just punctuate it.
Depth Through Inverse Lighting Logic
Lighting placement works like military depth of field strategy: you’re creating layers of visual hierarchy that force the viewer’s eye to move through space. Most DIY setups put all bulbs at the same distance. This flattens the backdrop. The real move is asymmetry.
Place 40 percent of your bulbs close to the fabric surface. Place 60 percent 12 to 18 inches behind it. This creates shadow variance and makes the backdrop appear three-dimensional rather than printed. Use warm white (2700K) for foreground bulbs and slightly cooler (3000K) for back layers. The eye perceives temperature shift as depth. Mount the back layer at an angle rather than parallel to the surface. This breaks the grid and kills the amateur look entirely.
String Lights Wedding Backdrop: Beyond The Basic Strand
Create Depth Through Layering
You want people to think you hired a professional designer. That’s the real reason you care about this section. Here’s the mechanism: depth is a physics principle—objects appear more important when they occupy multiple planes in space. String lights strung at one distance from your wall read flat. Multiple depths read intentional.

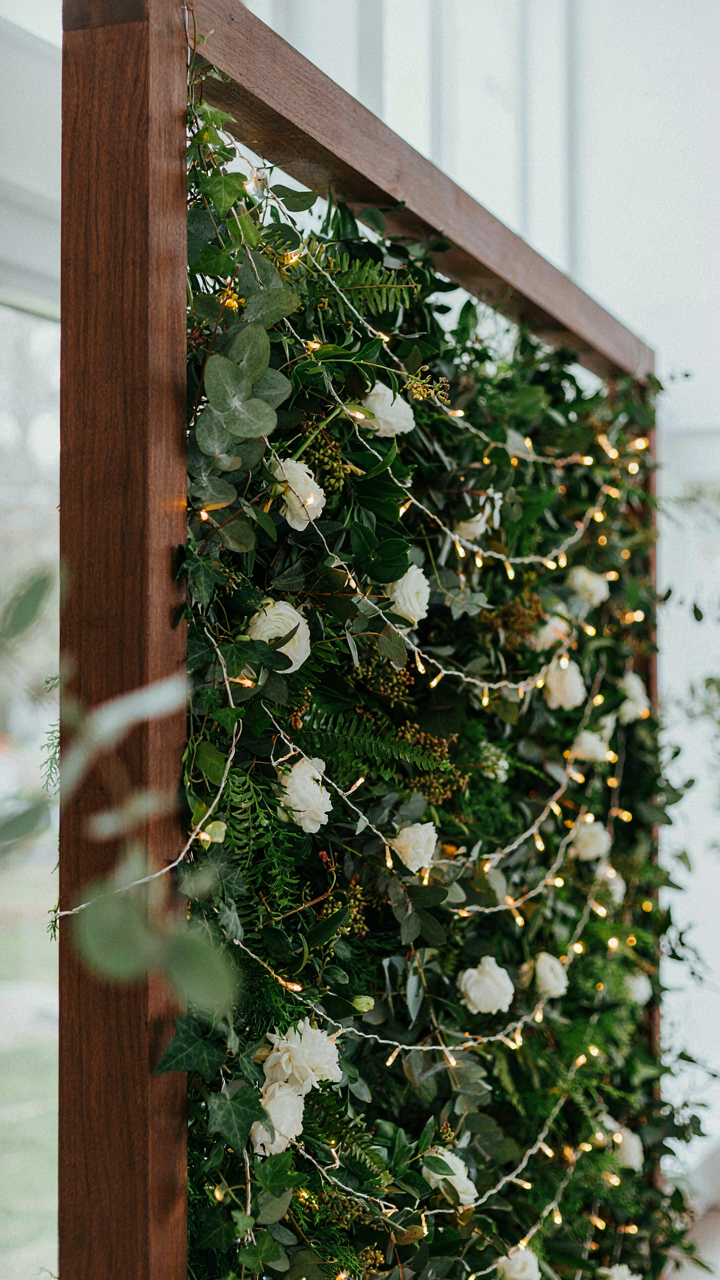
Hang your primary strand 12 to 18 inches from the backdrop surface. Then add a secondary strand 6 to 8 inches in front of it, or a third strand 2 to 3 feet behind. Vary the tightness of each line—some straight, some with gentle sag. This creates shadow variation and makes the backdrop absorb light differently depending on camera angle. The foreground strand catches direct flash. The background strand glows softer. People perceive this as expensive.
Mix Materials And Contrast Textures
Most people stop at lights and fabric. That’s incomplete thinking. Fabric alone reads like a school dance. You need opposing elements to make any single element matter more.
Drape sheer white or cream fabric behind your lights, then layer dried branches, potted plants, or even geometric wooden frames in front of the strand. The botanical elements break up the grid pattern of the lights and create silhouettes. If you use plants, position them so light passes around them, not through them. Unexpected elements anchor attention. This combination costs less than elaborate floral work but signals more thought than a single strand ever could. Mount the fabric to a PVC frame or fishing line so you control how it hangs and where the plants sit relative to the lights.
The “Scarcity & Abundance” Principle In Wedding Decor Ideas On A Budget
Where Your Money Actually Moves
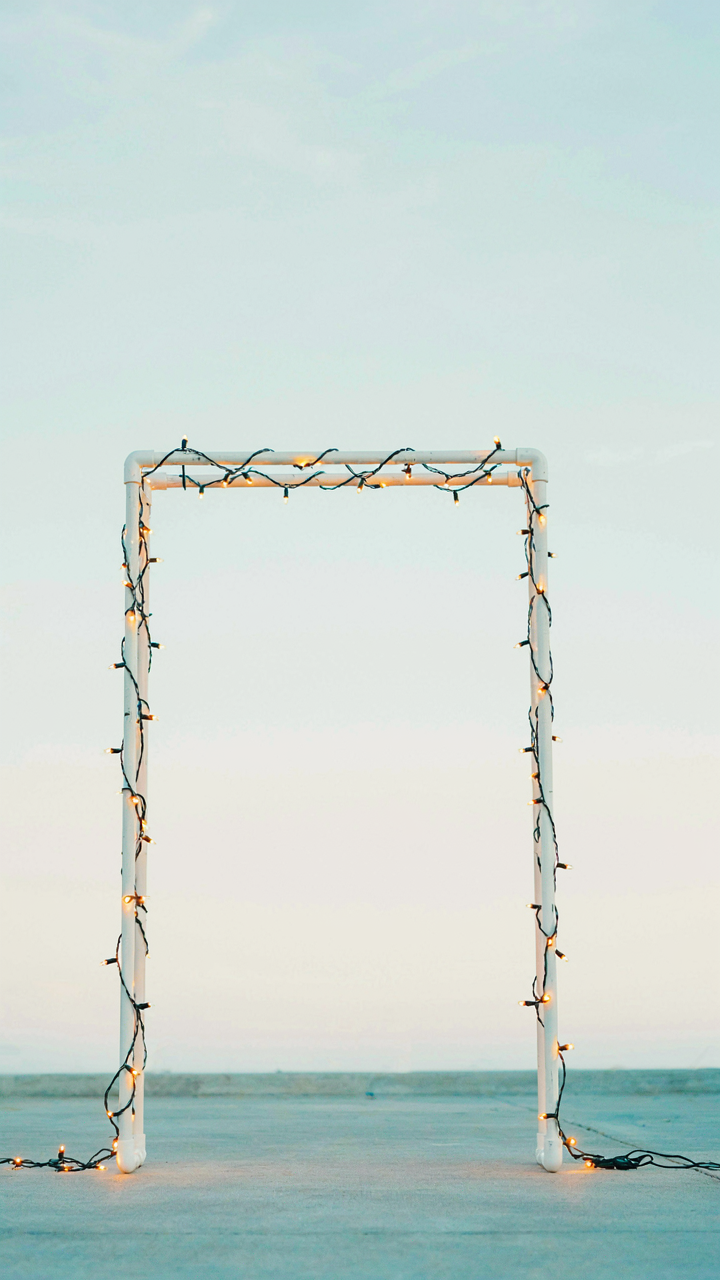
You want permission to spend less and feel smart about it. Here’s the mechanism: economics separates fixed costs from variable costs. With string light backdrops, your fixed cost is the structure—frame, poles, or rigging. Your variable costs are the lights themselves. Most couples reverse-engineer this backwards, buying cheap lights and improvising support, which fails under weight or wind. Invest in one solid frame or mounting system. Skimp on everything else after that point.

The structure you choose determines what breaks first. A quality PVC frame costs 80 to 150 dollars and lasts through multiple events. Weak joints and connections fail within one use. Once your fixed infrastructure is solid, you control the entire variable layer. You swap light strings, change backdrop material, or adjust depth without touching the frame again. This is leverage. Build it once, deploy it endlessly.
Materials That Deliver Density Without The Price Tag
These sources exist because demand for wedding decor outpaces demand for equivalent industrial or commercial stock.
- Bulk LED string lights from lighting suppliers: Commercial-grade bulbs cost 40 to 60 percent less per unit than retail wedding sites. Suppliers sell by the spool or case, not the strand.
- Tulle and muslin from fabric wholesalers: Wedding venues and rental companies buy here first. Prices drop significantly above 10-yard minimums. Quality matches retail at a third of the markup.
- PVC pipe and connectors from plumbing distributors: One-inch schedule 40 PVC runs cheaper than branded display systems. Connectors are standardized and interchangeable across suppliers.
- Sheer curtain panels from hospitality supply houses: Hotels replace bulk linens regularly. Wholesalers sell overstock at 20 to 40 percent below retail fabric stores.
- Carabiners and rigging hardware from climbing or industrial suppliers: Wedding-specific rigging kits mark up standard hardware 200 to 400 percent. Climbing suppliers ship the identical product for actual cost.
The mechanism is simple: wedding industry markup is structural, not based on material difference. You bypass it by buying from industries with different margins. A LED string light is a LED string light whether it ships in a wedding box or a commercial carton. Order from the source that sells volume, not sentiment.
Indoor Wedding Backdrop: Maximizing Small Spaces
Layering Creates Depth Without Square Footage
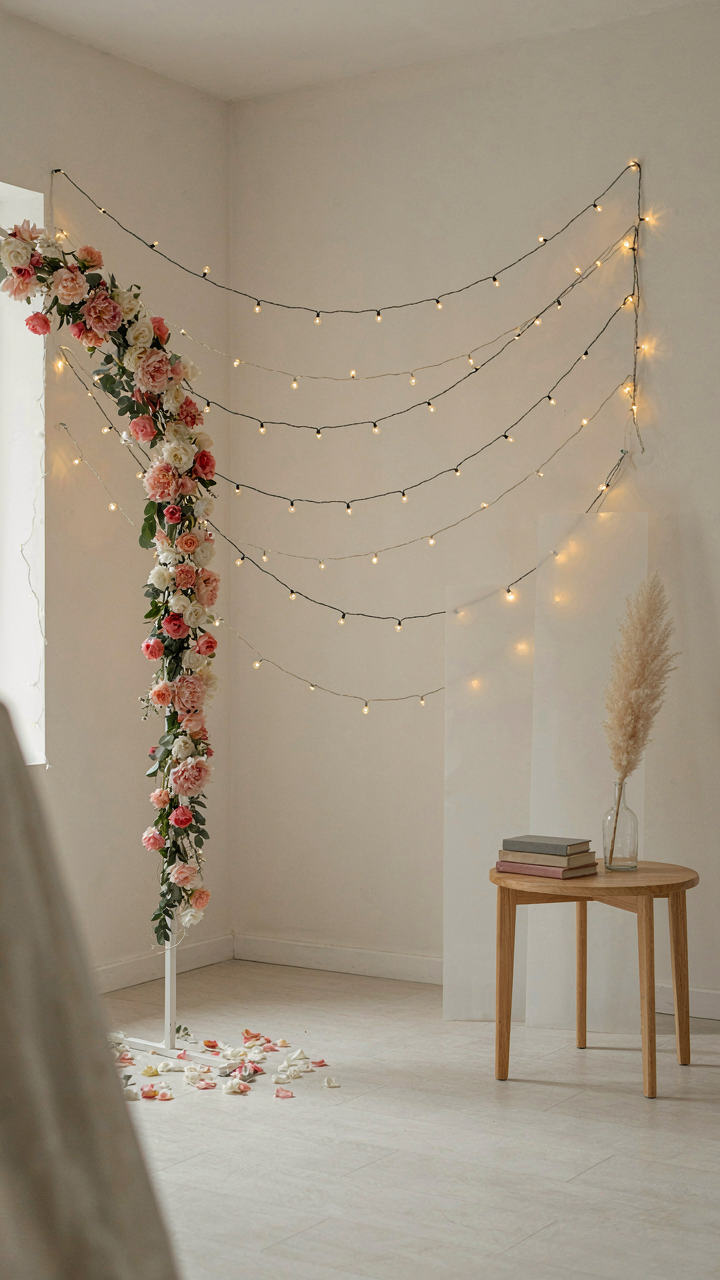
You want the backdrop to feel expensive and intentional because a cramped corner with sad lighting reads as budget constraint, not design choice. The mechanism here is visual depth. String lights don’t fill space horizontally, they fill it vertically and layered. Use multiple planes: hang one string line close to the wall, another 18 to 24 inches forward, and a third even further. This creates foreground, middle ground, and background. The human eye reads layered depth as grandeur. A 4×6 foot corner suddenly feels dimensional.

Spacing matters more than density. Most people pack strings too tight, thinking more lights equal better. The opposite happens: clustered lights flatten the space back into a wall. Leave breathing room between strands. Hang them at different heights within the same plane. Stagger the drops so lights aren’t aligned. This variation tricks perception into seeing volume where you only have a small footprint. The cost stays identical. The visual impact multiplies.
Mirror And Glass Amplify The Light Source
Reflective surfaces operate on the physics principle of luminous intensity redistribution. One string line bouncing off a mirror behind it doubles the perceived light output without adding electricity or hardware. The mechanism is simple: you’re not creating more light, you’re redirecting existing photons. Place a large frameless mirror or sheet of reflective mylar behind your backdrop strings. Position it at a slight angle rather than flat against the wall. This prevents harsh mirror reflections and distributes light diffusely across the space.
Glass and acrylic work differently than mirrors and suit different aesthetics. Clear acrylic sheets behind strings create a soft glow rather than direct reflection. Frosted glass diffuses light evenly. Both cost less than quality mirrors and won’t show fingerprints or installation marks. Attach these reflective layers to a frame you build from PVC or wood, not directly to walls or existing structures. This lets you angle them, move them, and reposition them without damage. Mount everything 2 to 3 inches forward of your reflective surface to prevent shadows and hot spots where the strings themselves block light from reflecting back.
Backyard Wedding Backdrop Ideas: Harnessing Nature’s Canvas
Work With What You Already Own
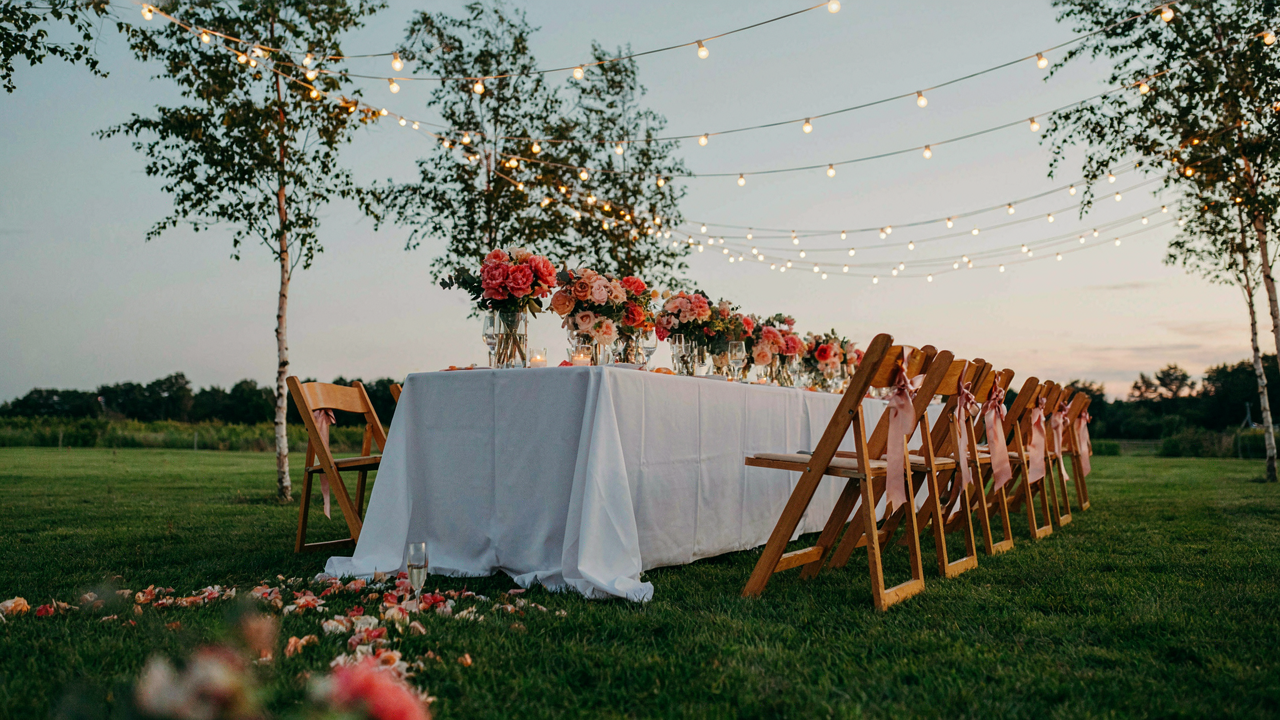
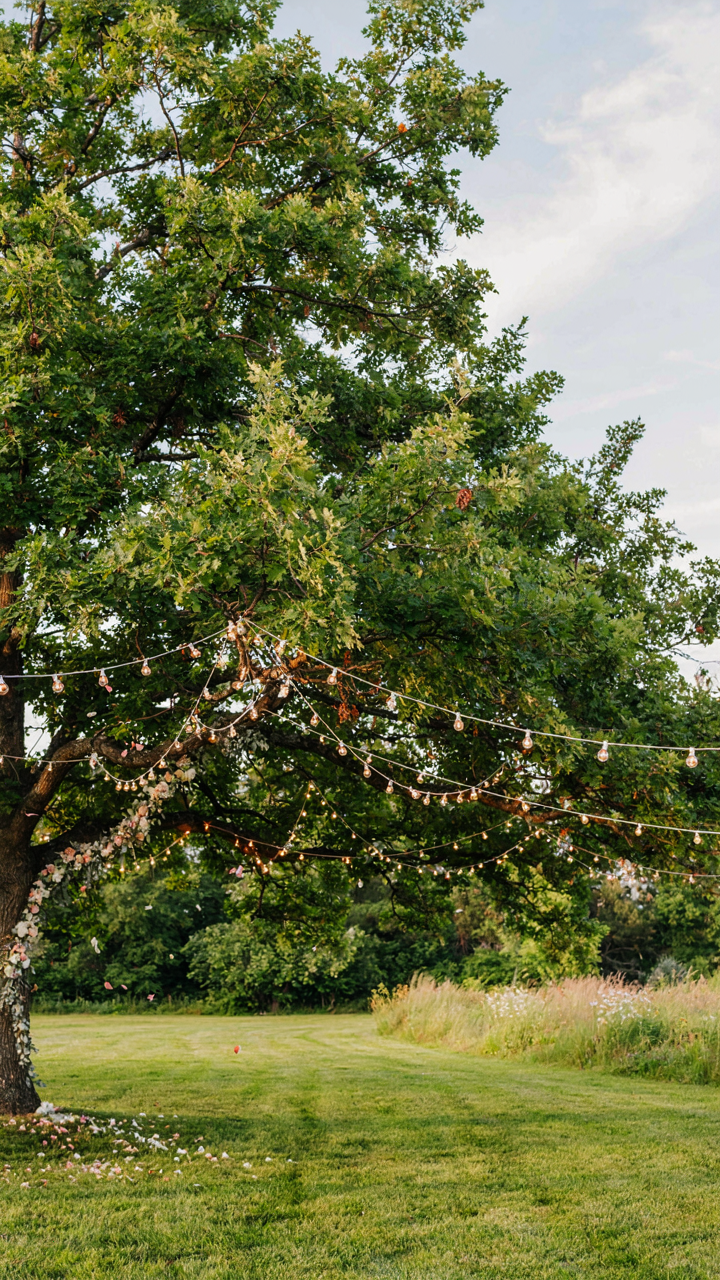
You want this to look intentional, not like you ran out of budget. The real mechanism here is constraint forcing design. Instead of fighting your existing trees, fence line, or garden structure, you anchor lights to what’s already there and let that dictate the pattern. A mature tree becomes the frame. A fence becomes the grid. An existing arbor becomes the skeleton.

Most people try to impose symmetry onto asymmetrical space. Stop. Map your actual landscape first. Measure distances between anchor points. Identify natural focal points like a mature oak or a property line. String lights work with topology, not against it. Your backyard’s real shape is your constraint. Use it.
Seal Connections Before Weather Hits
Weather engineering matters here. The principle from materials science is stress concentration: failure happens at joints, not spans. Your connections are where moisture enters and current finds an exit path. Silicone conformal coating, not waterproof tape, is what protects connections. Tape traps moisture. Coating repels it.
Pre-treat every connection before the wedding day. Coil excess wire near the base of anchor points so water drains downward, never pooling at a splice. Test your rig in actual rain if possible. The difference between lights lasting through the ceremony and a dead zone halfway through is whether you sealed connections as a protocol step, not an afterthought.
Diy Wedding: Tools And Techniques For The Non Craftsman

What You Actually Need To Buy
You’re worried you’ll look cheap if the backdrop falls apart mid ceremony. That’s not the real problem. The real problem is you’ll waste six hours fumbling with the wrong tools because nobody tells you what actually matters. Think of this like load bearing in engineering: you need the right anchor points, not more stuff. Most people buy twice what they need because they confuse “options” with “preparation.”
- Cordless drill with bits: Creates pilot holes in wood posts and walls. Prevents splitting and speeds up bracket installation by 80 percent compared to hand tools.
- Heavy duty command hooks or eye bolts: Holds weight without permanent damage. Command hooks work on smooth surfaces; eye bolts screw into wood studs and posts for true load capacity.
- Tension wire or aircraft cable with crimpers: Allows adjustment without re hanging entire backdrop. Professional grade but cheaper than replacing torn string lights or sagging frameworks.
- Adjustable wrench and socket set: Tightens bolts and frame connections faster than multiple individual tools. One wrench handles most hardware from hardware stores.
- Ladder rated for 250 pounds minimum: Step ladders collapse. Extension ladders distribute weight properly and reach high anchor points without overextending your arms.

The gap between a three hour setup and a twelve hour nightmare isn’t talent. It’s owning the right tools beforehand and testing them in your garage forty eight hours before the event. You don’t learn what doesn’t work on wedding day.
Hanging Without Destroying Your Venue
Anchoring works like tension and compression in architecture: distribute the load across multiple points instead of asking one nail to hold everything. Most DIY backdrops fail because people treat the wall like it’s solid when it’s actually drywall over studs with empty space between. Find the studs with a stud finder or knock test. Attach to wood, not air.
Use tension wire between two fixed points rather than tying string lights directly to posts. This lets you adjust sag without rehang, absorbs vibration from wind or movement, and keeps the lights level as they age. Run the wire from eye bolt to eye bolt at full tension first, then clip string light sections to the wire with small adjustable clamps. Test the entire system under full load in your space before day one. If anything creaks or moves more than half an inch, add another anchor point.
Beyond The Photo Op: Engineering Experience, Not Just Scenery
The Temperature That Shapes Mood
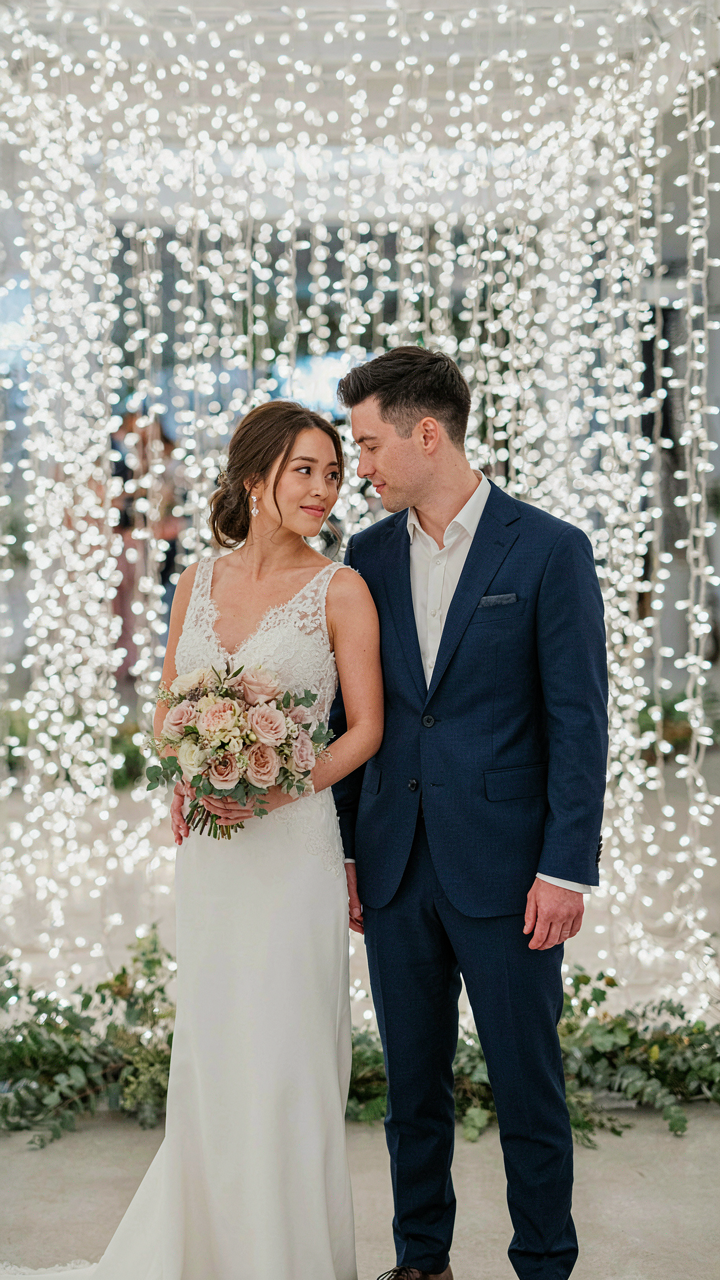
You want the backdrop to make you look good in photos. That’s the real reason you’re here. But here’s the mechanism: light temperature controls how your nervous system responds to a space before your brain registers why. Physics calls this color temperature measured in Kelvin. Your string light backdrop operates the same way—it’s a thermal signal that either relaxes guests or keeps them vigilant.

Warm light (2700K to 3000K) slows perceived time and softens facial features. Cool light (5000K and above) sharpens details but triggers alertness. Most budget string lights default to warm because the filament costs less. This works in your favor. String lights at 2700K create temporal drag—guests linger, conversations extend, the event feels longer and more luxurious than it was. Install your strings at eye level or slightly above to bounce warm light onto faces, not just the ground. Avoid pointing them downward where they cast shadows and flatten features.
Engagement Through Intentional Positioning
Most people treat the backdrop as a static prop. Wrong. The backdrop becomes infrastructure for how guests move through and interact with space. Position strings in a frame rather than a wall. A frame creates a stage threshold—guests self-direct into it, pause, perform for the camera, then exit. This is behavioral architecture, not decoration. The strings become social permission markers.
Create two distinct zones: a dense cluster behind where couples stand for formal photos, and a looser scatter to the sides for candids and mingling. Guests will gravitate toward the dense area first because visual density signals importance. The loose area prevents bottlenecks and keeps movement flowing. String density signals where the action happens. Use this to control foot traffic and photograph quality without speaking a word.
The Post Wedding Playbook: Deconstruction & Repurposing
Breaking Down Without Breaking Things
You care about this section because you don’t want to waste money on a one-time installation. That’s the real motive. Here’s the mechanism: string lights fail during teardown because people rush and ignore load distribution. Apply warehouse logistics thinking to your backdrop. Before you touch anything, photograph the exact configuration from multiple angles. This becomes your reassembly manual. Start at the perimeter anchor points, not the middle. Release tension gradually from one side, moving sequentially. Rushed deconstruction destroys fixtures that could have lasted five more years.

The most common mistake is untangling lights while they’re still hanging. Cut them down first, coil them loosely on the ground, then separate strands methodically. Document where each cord connects before you disconnect anything. Take a video as you work backwards through the setup process. This removes guesswork during storage and future installation. Your time now saves hours of troubleshooting later.
Transforming Fixtures Into Permanent Assets
Most people treat string lights as disposable, which guarantees waste and locks you into buying new stock for your next event. The actual play is repositioning them into permanent home or event space infrastructure. Cafe-style lights work in covered patios, pergolas, or screened porches without modification. Bistro strings transition into year-round patio lighting or garden pathways. Edison bulbs that performed well at your wedding belong in a backyard lounge area where they serve daily, not annually.
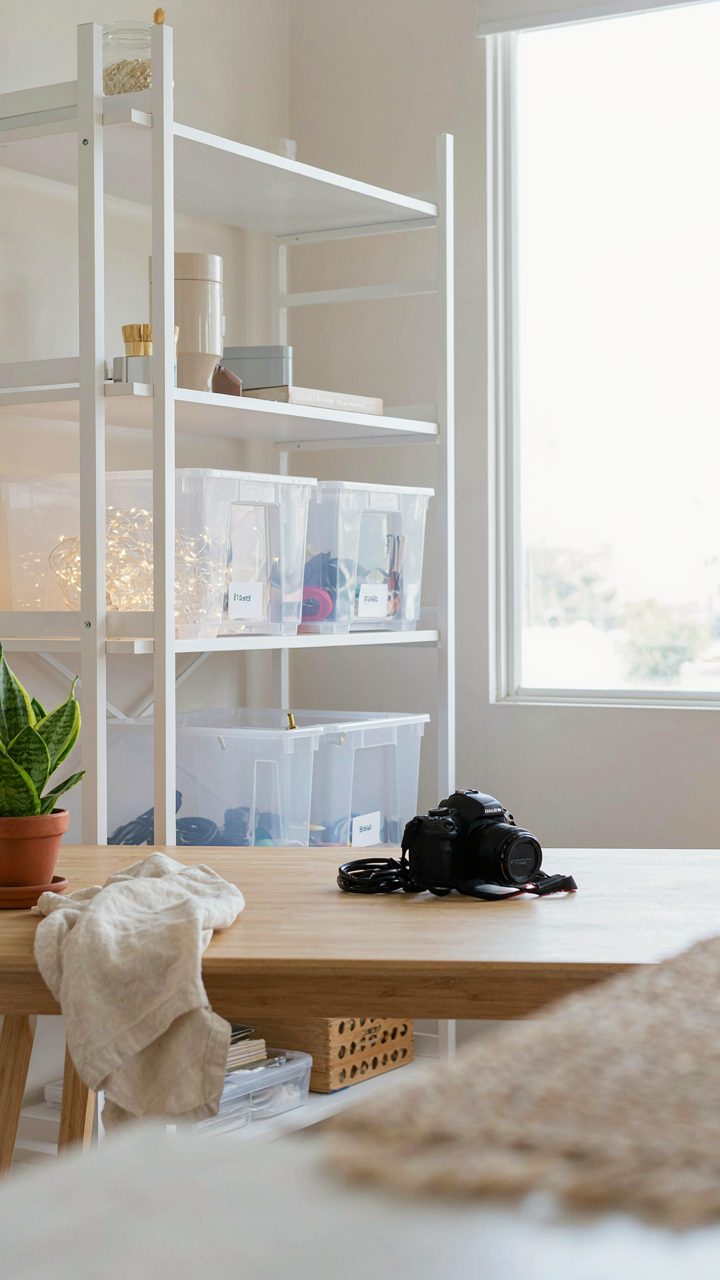
Start an inventory immediately after the event ends. Record bulb type, cord length, fixture spacing, and condition. Store everything in labeled bins with the original boxes if they exist. This data becomes valuable for your next event or when you’re ready to install permanent outdoor lighting. The strings themselves rarely degrade; they get lost in storage or misplaced during moves. Treat them like tools, not trash.
The Real Obstacle Isn’t Your Budget; It’s Your Addiction To Generic Aspiration
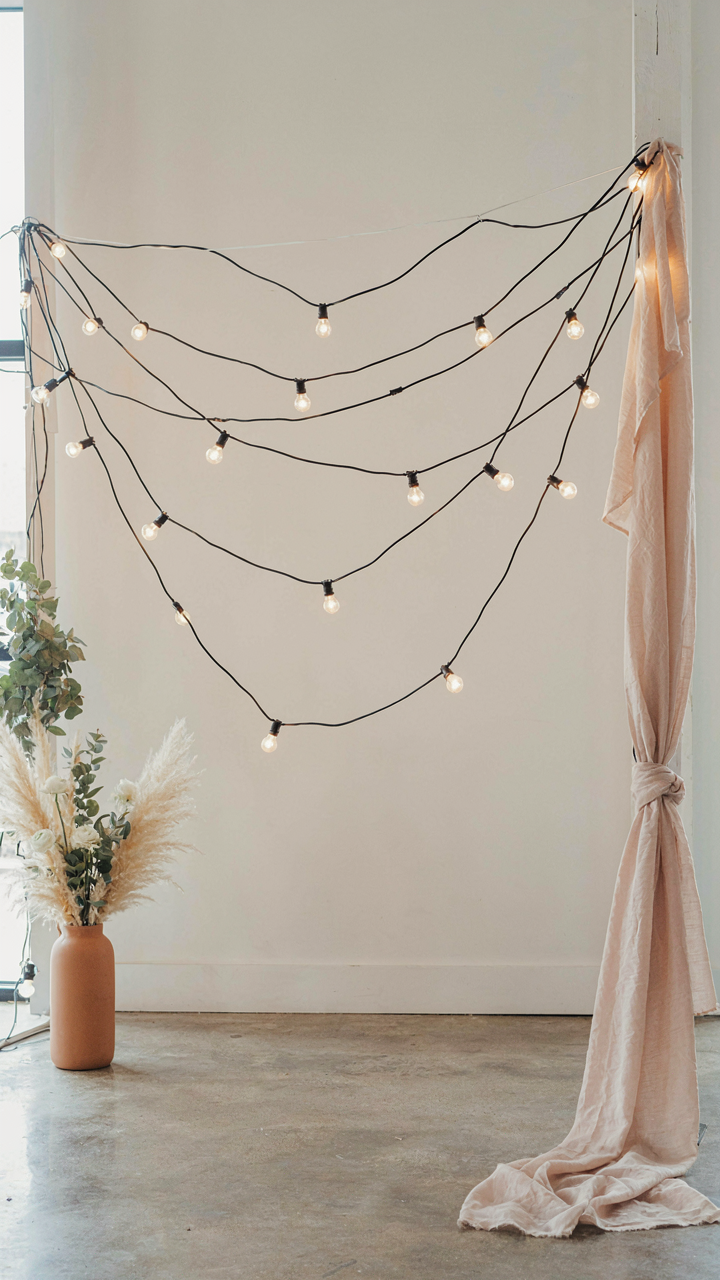
You scroll Instagram and think you need Pinterest-perfect. You don’t. You need asymmetrical, you need weird angles, you need the backup plan to look better than the original. Stop copying weddings that cost five times yours. Find one DIY string light backdrop you actually like, sketch it badly on paper today, and ask yourself what’s different about it. Your constraint isn’t money. It’s the courage to build something that looks like you instead of everyone else. The best backdrops aren’t expensive; they’re honest.