The Illusion Of The Flat Fee: Why Your Initial Quote Is A Myth
What The Quote Actually Covers
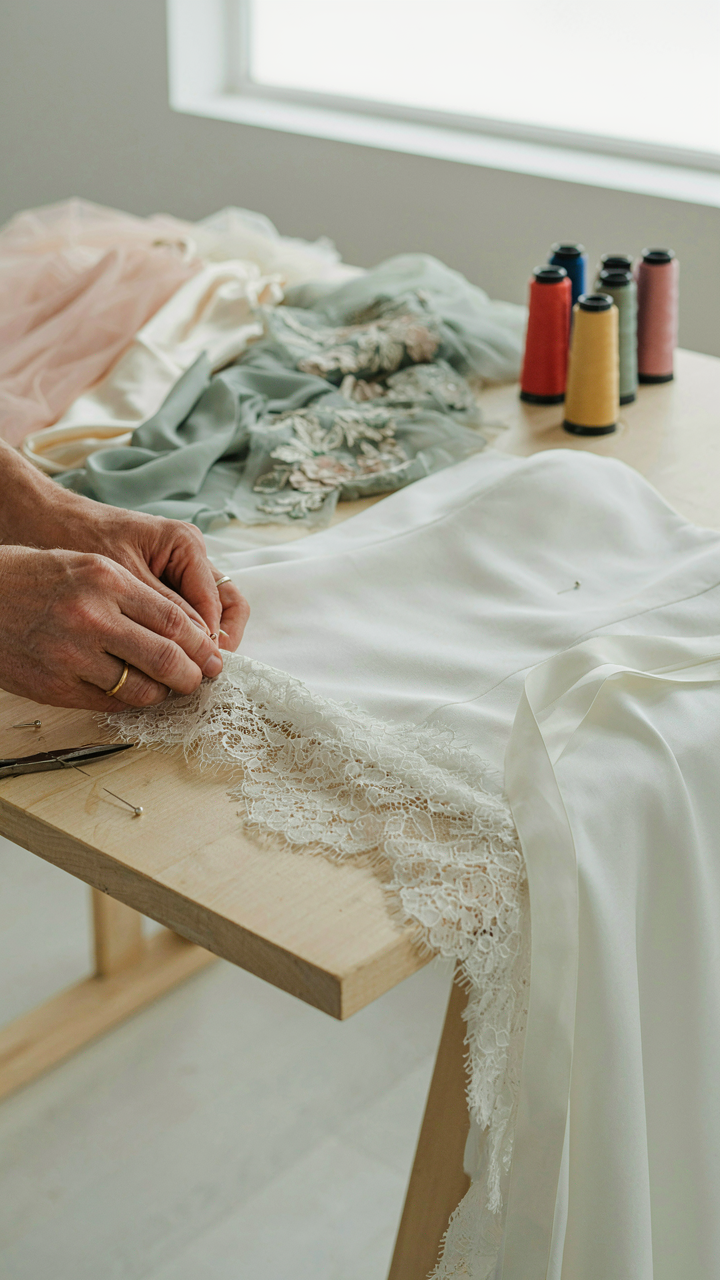
You want certainty because uncertainty feels like wasted money. Here’s the mechanism: alteration shops quote a base price for the most common adjustment on your dress category, then layer on costs as variables emerge. That initial number covers only the primary alteration—usually hem or taking in the bodice. Everything else becomes negotiable or forgotten until you’re at the fitting.
Most quotes exclude multiple categories of work because they’re priced separately. A $150 hem quote doesn’t account for bustle installation, strap adjustment, zipper replacement, or lining repair. The shop bundles the most predictable task and leaves the rest undiscussed. This isn’t deception. It’s how the industry operates. You need to force the conversation beyond the headline number before signing anything.
Fabric Type, Complexity, And The Rush Premium
Economics calls this “variable cost allocation”—and your dress fabric is the primary variable that determines everything else. Delicate fabrics like silk charmeuse, tulle overlays, or beaded work demand different handling, thread weight, and stitch density than structured cotton or polyester blends. A simple hem on heavy satin takes half the skill of a hem on tissue-thin silk. The alteration shop knows this. Your initial quote probably didn’t account for it.
Urgency adds a flat multiplier, not a small percentage increase. Rush fees typically run 25 to 50 percent above standard pricing, sometimes higher. If you need alterations completed in two weeks instead of six, the shop deprioritizes other work and pulls staff to your project. This cost structure is non-negotiable because it’s about labor reallocation, not material expense. Get your dress fitted and quoted within 30 days of purchase. This single protocol step eliminates the urgency premium entirely.
The Alterations Wedding Dress Black Box Protocol
What Actually Happens Inside Alterations
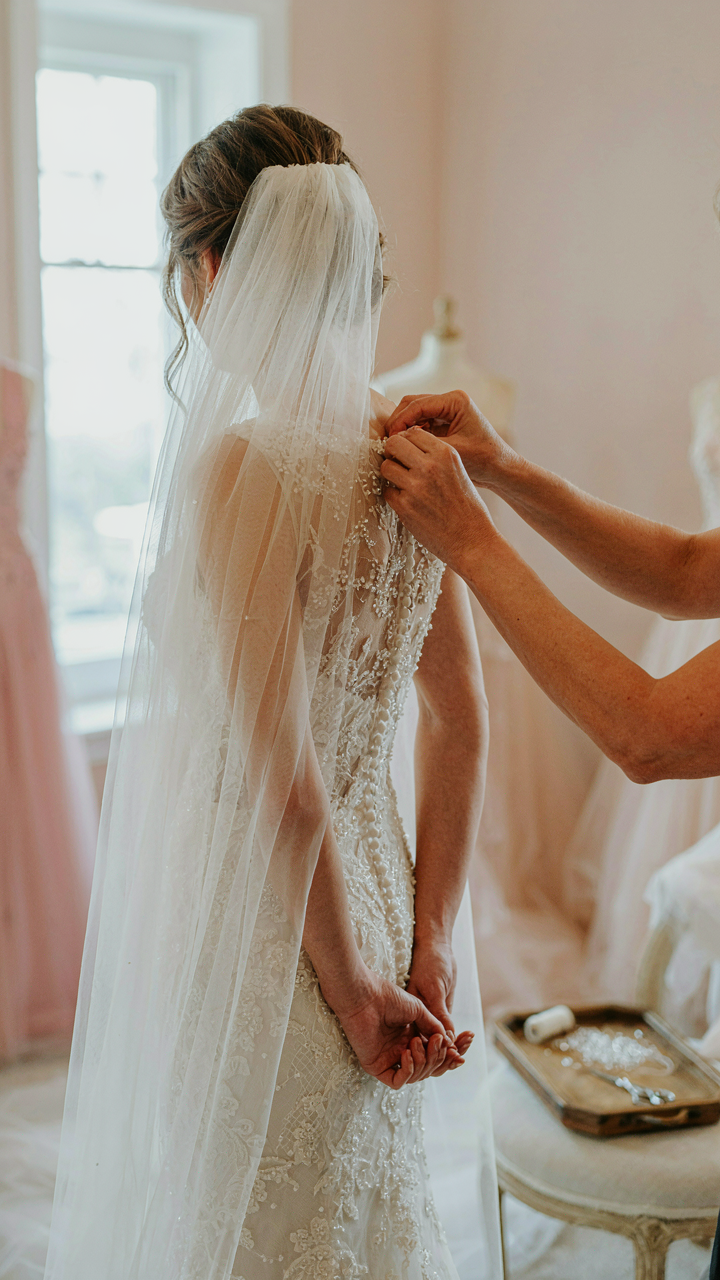
You want to know the exact cost upfront because uncertainty terrifies you more than the actual number. Here’s the mechanism: tailors don’t quote alterations the way contractors quote renovations. They assess the dress physically, identify what the garment will tolerate structurally, then price based on labor hours and material constraints, not a formula. Most dresses have structural limits you can’t see.

The dress fabric dictates what’s possible before cost does. Delicate silks, beaded bodices, and structured linings create invisible boundaries. A tailor removes seams, recuts panels, or adjusts shoulders by hand. Each step requires different skill levels and time investments. The base alteration might cost $80, but the dress’s construction determines whether it costs $80 or $400. This is why “average alterations cost” numbers online are useless.
The Twenty Five Percent Rule
Economics teaches us about buffer zones in systems under uncertainty. Your alterations budget needs one too. Calculate your estimated total alteration cost, then add 25 percent on top as your contingency layer. This isn’t pessimism. This is accounting for what every tailor knows but won’t tell you until the fitting.
Dresses reveal problems during fitting that no initial consultation catches. The hemline sits uneven because the original construction wasn’t level. The bodice pulls because your posture differs from the sample model. Seams need reinforcement after removal. Beading needs hand repair. A tailor can’t predict these until they see the dress on your body. Build 25 percent cushion into your budget now, not after your third fitting.
Beyond “Dress Alterations”: The Real Value Equation
The Hidden Cost Of Your Time
You want to know the real number so you feel in control, but what you’re actually afraid of is wasting months on fittings that go nowhere. Here’s the mechanism: alterations aren’t a one-shot transaction. They’re a series of touch points spread across weeks or months, and each one extracts time from your life.

A typical alteration timeline runs eight to twelve weeks from first fitting to final pickup. Within that window, you schedule the initial consultation, return for measurements, attend the first fitting, make notes on changes, return for a second fitting, possibly a third, then final pickup. Travel time compounds. If your tailor isn’t local, each visit costs an hour minimum. Communication gaps between fittings multiply the returns. Most brides underestimate this math badly.
The Actual Skill Premium
Economics calls this “information asymmetry,” and wedding dress alterations are drowning in it. You can’t tell a master tailor from a competent one until the dress is already altered and mistakes are permanent. A master tailor has handled structured fabrics like silk mikado, delicate lacework, and beading without damage. A competent tailor hasn’t developed the judgment for edge cases.
The price gap between these two tiers is real: master tailors charge 40 to 60 percent more than standard alteration shops. That premium isn’t arbitrary. Master tailors hold liability insurance for expensive mistakes, work slower because they refuse shortcuts on high-stakes garments, and have trained hands over fifteen-plus years. Cheap alterations fail silently until your wedding day. Budget for skill you can verify, not price you can negotiate.
The “Wedding Dress Too Small Alterations” Tax: A Market Reality
What Fabric Actually Lets You Expand
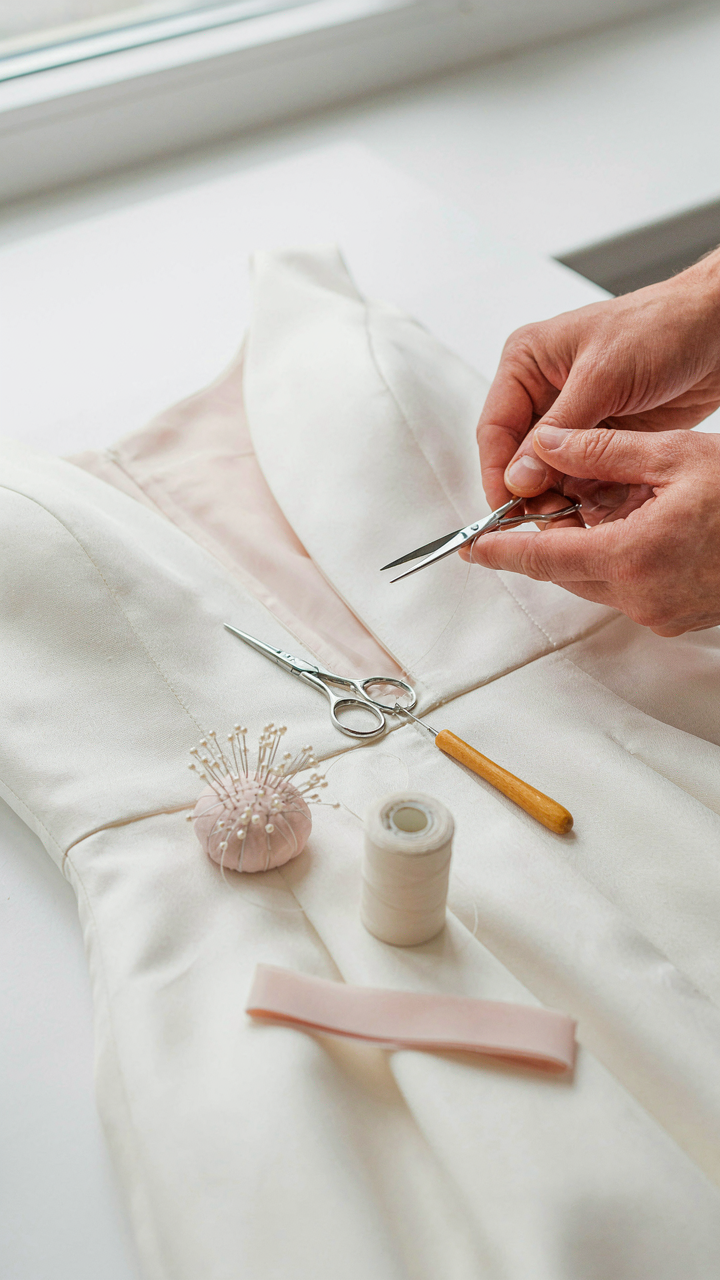
You’re hoping the dress will fit because admitting you need significant alterations means admitting the size was wrong. Here’s the mechanism: fabric has a hard ceiling on expansion, and most bridal fabrics hit that ceiling faster than you think. Think of it like leverage in physics—the thicker and less elastic the material, the less you can move it without structural failure. Silk charmeuse stretches. Heavily beaded lace doesn’t.

The seams themselves are the real constraint. A dressmaker can release a seam maybe half an inch to an inch on each side before the internal structure collapses. Structured fabrics like mikado or dupioni have almost no give. Elastic materials like stretch crepe or jersey offer marginal improvement. The dress designer already calculated how much seam allowance exists—if they used quarter-inch allowances to save fabric cost, you’re blocked. Budget alterators don’t magic up fabric that isn’t there.
When Alterations Stop Being Repairs
The common advice says “just have it taken out.” That’s incomplete because it ignores the cost cliff between minor adjustments and restructuring. A half-inch expansion costs fifty to a hundred dollars. Two inches costs three hundred to six hundred. Beyond two inches, the alterer has to redistribute fabric from non-structural zones, rebuild panels, or add godets—these are reconstructions, not alterations.
Beading and embellishment compound this exponentially. Every bead, crystal, or sequin the original seamstress placed now sits in the wrong location. A heavily detailed bodice can’t simply expand—you’re essentially rebuilding it, paying per hour for handwork. The dress becomes a labor project instead of an adjustment job. Many alterators refuse jobs beyond a certain threshold because the liability exceeds the rate. Budget accordingly: significant expansions demand specialized seamstresses and carry price tags that rival buying a second, properly-fitted dress.
The Opportunity Cost Of Diy Wedding Dress Alterations

Time Versus Money Personal Skill Evaluation
You’re considering DIY alterations because you believe you’ll save money. That’s not the real reason. You want to prove you can do it yourself, and you’re terrified of trusting a stranger with a dress that costs more than your monthly rent. Economics calls this sunk cost bias, and it applies directly here: you’re weighing your actual hourly rate against the seamstress’s rate, but you’re not counting the fact that your time has diminishing value when you’re learning under pressure.

A professional seamstress charges $75 to $200 per hour in most markets. If you earn $25 hourly, the math looks clean on paper. But you’re not working on the dress during paid hours. You’re working at midnight after your job ends, or on weekends when you could be doing something that actually generates income or rests your nervous system. That’s not a savings. That’s you paying yourself in stress and stolen sleep. Calculate your true hourly cost by adding the value of time you’d spend learning the technique, plus every hour of actual alteration work, then multiply by your actual hourly rate or opportunity cost.
Hidden Expenses Tools Materials Errors
Nobody warns you about what actually shows up when you start a dress alteration. You’ll need a seam ripper if you don’t own one ($8 to $15). You’ll need thread that matches the dress fabric, which requires either buying multiple spools or making a trip to a specialty fabric store ($5 to $20 per spool, and you might buy wrong). You’ll need needles sized correctly for the fabric weight ($3 to $8). Pressing equipment matters too: a decent iron and pressing cloth add another $30 to $50 if you lack them.
The real cost arrives when you make a mistake. A single miscalculation on a hemline can require you to redo 15 feet of stitching. A torn seam while unpicking existing stitches forces you to repair and potentially re-hem an entire section. A broken needle inside the fabric layers means hours of extraction work. A professional takes the financial hit. You take the financial hit plus the timeline hit plus the emotional hit. Get a quote from three local seamstresses before you buy any tools.
Pre Purchase Scrutiny: Minimizing Altering Wedding Dress Needs
How Seams Determine Your Alteration Bill
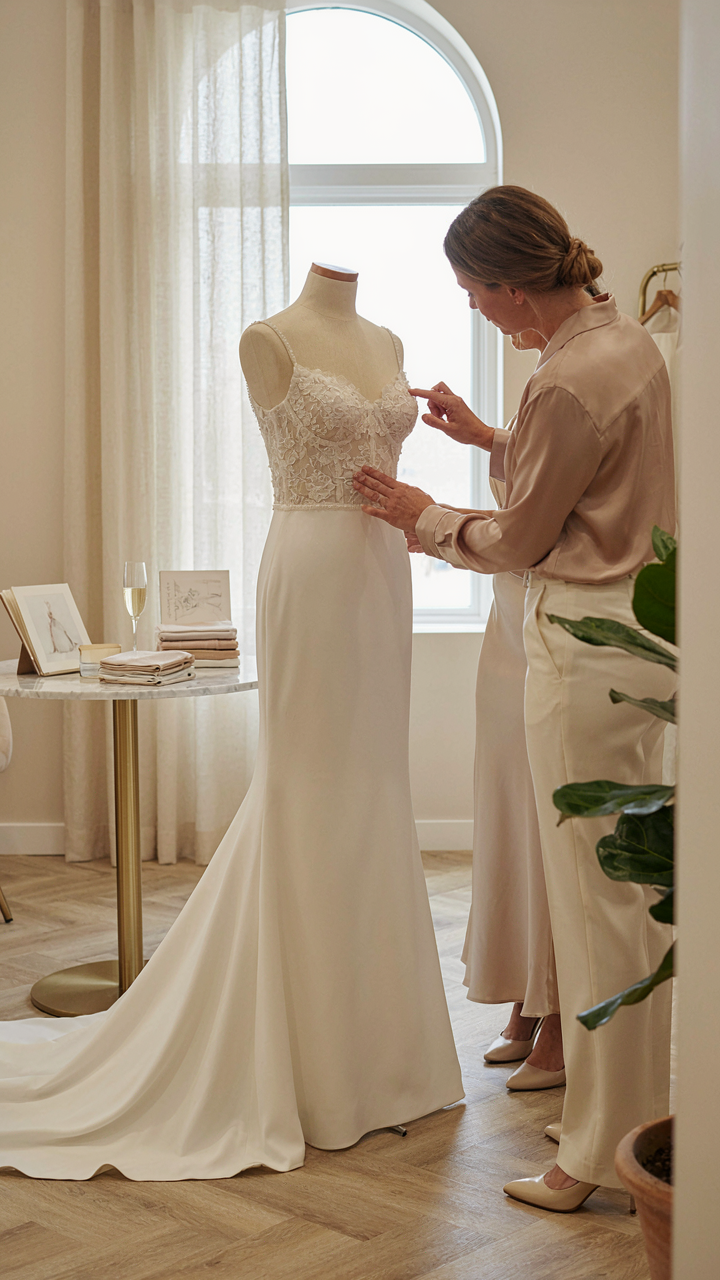
You want to believe the dress you fell in love with won’t require extensive work. That’s fear masquerading as optimism. The real cost driver isn’t the hem or the bust adjustment you expect. It’s the seam structure the designer chose during construction. Think of seams like load-bearing walls in architecture: move one, and you’re restructuring the entire garment’s integrity.

Dresses with narrow seam allowances (the fabric hidden inside the seam itself) limit what a tailor can actually do. Most wedding dresses have half-inch to one-inch allowances. A dress with point-five-inch allowances gives a tailor almost no margin to let out fabric in the bodice or waist. If the designer built that dress tight to begin with, you’re paying for reconstruction, not alteration. Before you buy, ask the bridal consultant or seamstress at the boutique to physically show you the seam allowance on the sample dress.
Buying For Your Frame, Not Your Fantasy
The common advice says buy a size up and alter down. That’s incomplete. Buying drastically oversized dresses actually multiplies alteration costs because taking in structured seams across multiple panels requires resewing the internal architecture. The real mechanism is strategic fit at purchase: buy as close to your actual measurements as possible, then plan minor tweaks.
Order your dress based on your shoulder width and natural waist, not your bust alone. Most bridal sizing charts run large, so your true street size often corresponds to a smaller bridal size. Get professionally measured by someone who understands bridal proportions, not a retail worker with a tape measure. When the dress arrives within one to two inches of your measurements across the key zones, your alteration scope shrinks to hemming, minor seam adjustments, and strap work. That’s the difference between a three-hundred-dollar alteration bill and a thousand-dollar reconstruction.
The Evolutionary Economics Of Wedding Dress Alterations Ideas
What Your Price Actually Communicates
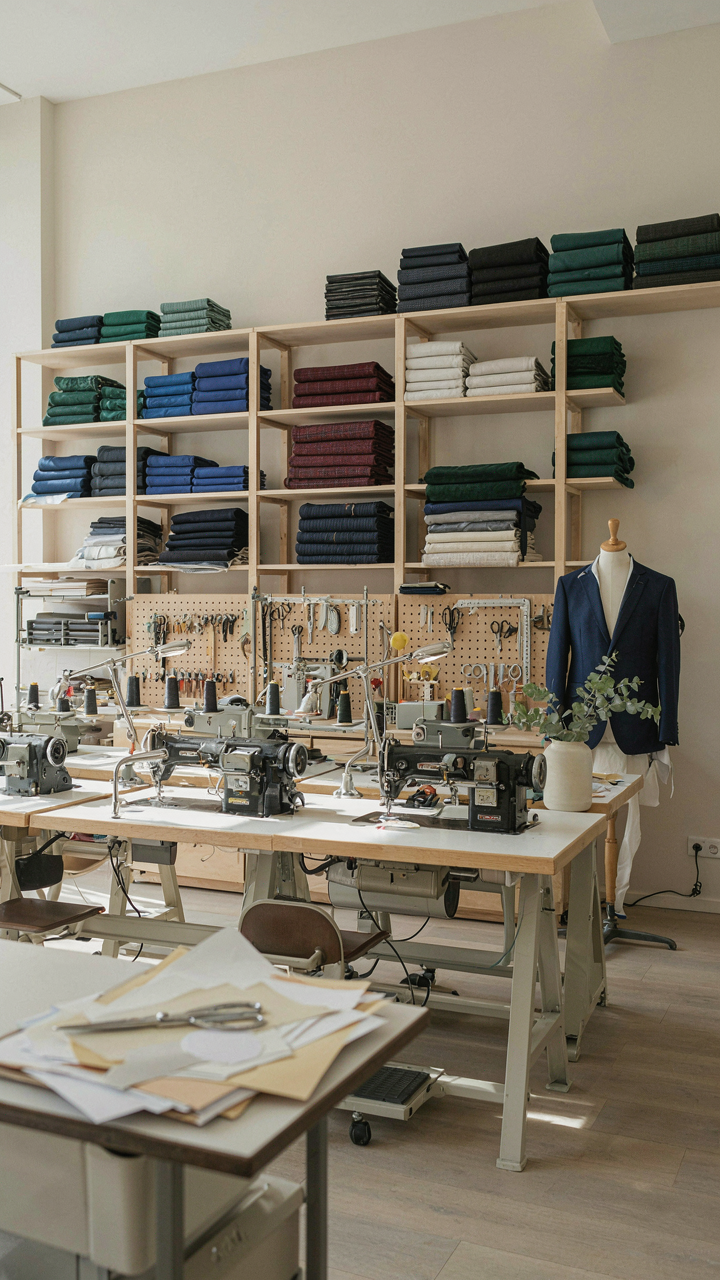
You care about this section because you’re afraid you’ll overpay and look stupid. Here’s what actually happens: pricing functions as a signal in economics, and alteration costs work the same way. A tailor charging $50 for a hem signals different capability than one charging $300. The price tells you something about their market positioning, speed, and the clientele they’ve trained themselves to serve. You’re not paying for the work alone. You’re paying for the filter the tailor has already applied to their business.

Most couples ignore this and hunt for the cheapest option, then get surprised when quality lags. The real mechanism: tailors price based on their own cost structure, local demand, and how they’ve decided to compete. A tailor in a high-rent area near upscale bridal shops prices higher because their overhead is higher and their customers expect faster turnarounds. A tailor in a strip mall across town prices lower because they’re competing on volume, not exclusivity. Neither is wrong. You just need to know which market you’re entering before you commit budget.
Natural Selection Among Tailors
Tailors face selection pressure like any organism in an ecosystem, and only certain adaptations survive in the budget alteration market. A tailor who can’t execute speed-intensive work profitably gets selected out. A tailor who can’t handle volume gets selected out. The ones who remain are specialists in either precision (high price, low volume) or efficiency (lower price, high volume). Your budget determines which type you can access.
The mistake most people make is assuming all tailors can handle all dress types equally well. They can’t. A tailor who specializes in men’s suiting doesn’t adapt well to beading removal or complex bustle work. A tailor optimized for fast turnarounds (4-6 weeks) may rush structural changes. This isn’t laziness. It’s adaptation. The tailor survives by becoming excellent at what fits their business model. Identify which adaptation matches your timeline and budget before booking. Ask specifically about their volume, their turnaround time, and what dress fabrics they’ve worked with most in the past year.
Negotiation Is An Illusion: The Tailor’s Pricing Power
What The Tailor Actually Pays For
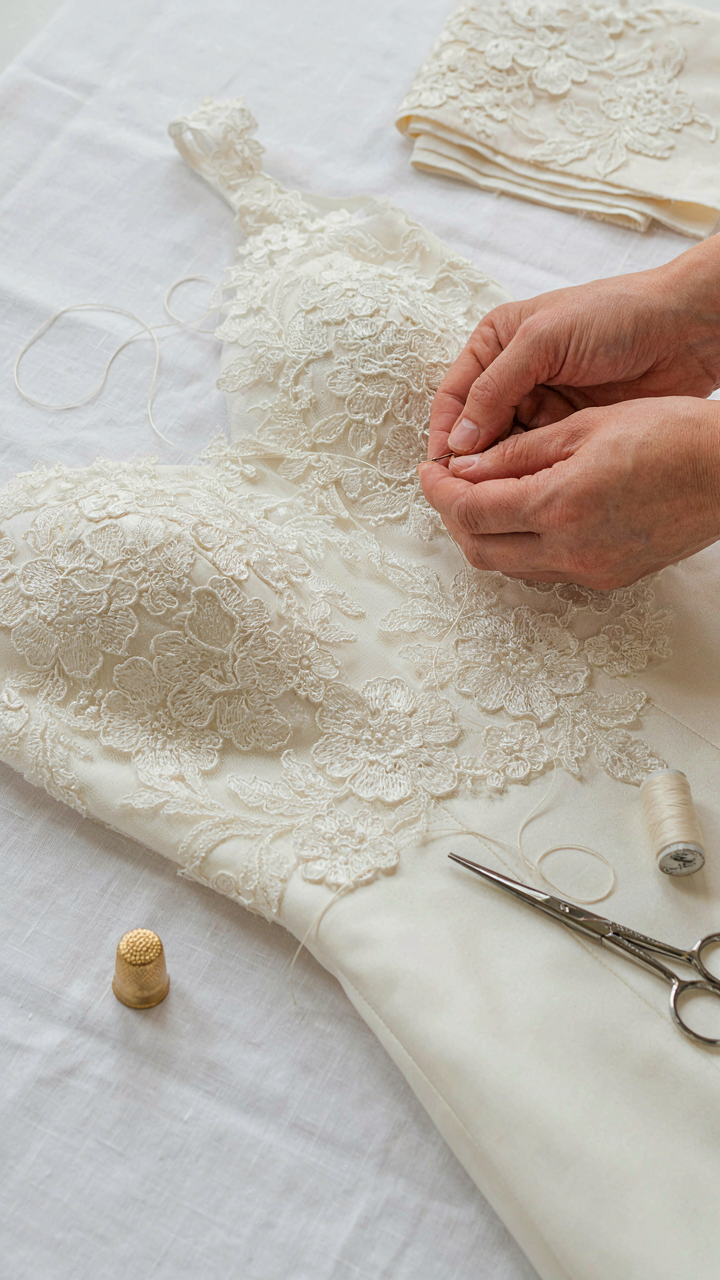
You want to believe negotiation exists here because you want control you don’t have. Here’s what actually determines a tailor’s price: their fixed costs operate like a factory’s overhead in economics. Rent, equipment, insurance, and staff hours stay constant whether they alter one dress or fifty. A bridal tailor carries specialized equipment—pressing stations, industrial machines, climate control for delicate fabrics—that costs thousands annually and doesn’t scale down.

This means a tailor quotes you based on covering their baseline expense first, then adding labor time. If they quote you $400 for a bodice reconstruction, $200 of that covers their daily operational requirement. The remaining $200 is actual work. Cutting the price to $300 doesn’t split the profit evenly. It removes $100 from their operational budget, making that job economically irrational to accept. They won’t negotiate down because negotiation isn’t possible at that level.
When The Discount Is Actually Damage
The common advice says shop around for better prices. That’s incomplete. A tailor offering significantly lower rates than market average is signaling one of two things: they’re desperate for cash flow or they’re cutting corners. Neither serves your dress. Bridal fabrics require specific handling. Silk charmeuse tears under wrong tension. Lace demands hand-finishing that can’t be rushed. A tailor competing on price alone will rush the work or use cheaper techniques that show up six months after the wedding.
When you press for a discount, you’re asking them to compress labor or skip steps, not reduce their profit margin. Bridal alterations aren’t scalable. They can’t do your dress faster without sacrificing quality. Your choice is simple: pay market rate for the work done right, or accept that the “discount” you negotiated translates directly to visible mistakes. Build your alteration budget based on what quality costs in your region, not on what you wish it cost.
The “Altering Wedding Dress DIY” Delusion: Reality Vs. Pinterest
Know Your Actual Limits Before The Needle Touches Fabric
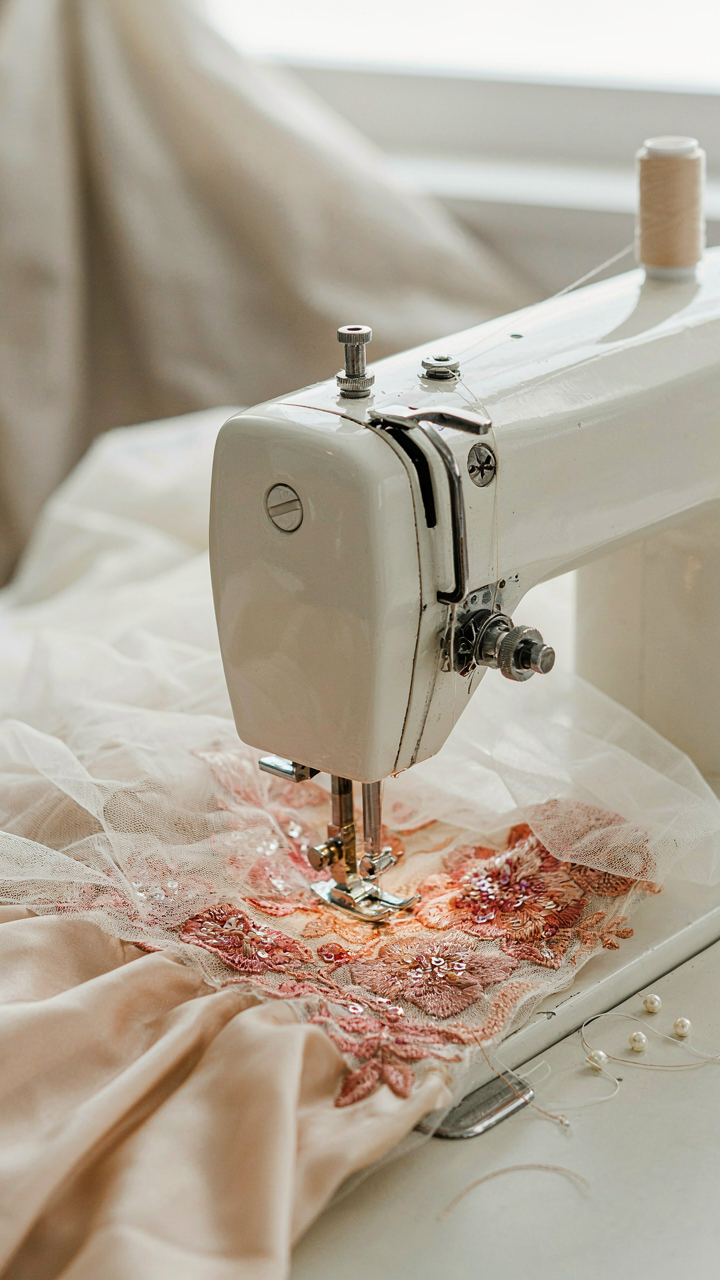
You want to save money. That’s the real reason you’re reading this. The mechanism is simple: you’re underestimating the skill gap between watching a YouTube video and executing alterations on a $500+ garment. Wedding dress fabric isn’t cotton. It’s structured, layered, sometimes beaded. One wrong stitch placement collapses the structure. One pulled thread in silk charmeuse creates a ladder you can’t reverse. The difference between a professional bridal alteration specialist and you is not just experience. It’s the ability to diagnose what went wrong and fix it without destroying the dress.

Your skill level matters less than your risk tolerance. If you’ve never sewn on tulle, don’t start on a wedding dress. If you’ve hand-sewn a button and think that qualifies you, it doesn’t. The honest assessment: if you’re not regularly working with formal fabrics and haven’t completed at least five similar projects, hire this out. The cost of a mistake far exceeds the labor you’d save. Many bridal shops report that DIY alteration attempts require complete reconstruction, which costs double the original alteration.
Hand Stitching Seams And Basic Hem Work
The only alterations that survive amateur execution are those hidden from view and forgiving in material. Hand stitching a hem on non-beaded sections or taking in a seam allowance on structured fabrics requires precision, patience, and the right thread. This is production work, not creative work. The tools and techniques that actually function without disaster:
- Hand needle and thread matching: Use a size 9 or 10 needle with polyester thread that matches the dress exactly. Polyester holds better on formal fabrics than cotton thread. Buy thread from the bridal fabric section, not general craft supplies.
- Ladder stitch for side seams: Works only on unbeaded sections and requires you to open a small portion of the seam, stitch from inside the fold, then close it. One wrong angle and the fold puckers permanently.
- Slip stitching hems: Insert the needle into the dress fabric just above the hem fold, travel horizontally inside the fold for a quarter inch, exit through the hem, then anchor back into the dress. Repeat every quarter inch for invisible stitches.
- Tulle hem folding: Use a French seam or blind hem on tulle only if you’re comfortable with multiple layers. Tulle frays and catches on thread, making this the highest-skill amateur task on a wedding dress.
- Steam pressing after work: Never use a regular iron on wedding dress fabric. Use a steamer with a pressing cloth between the steamer and dress to avoid shine and heat damage on delicate materials.
These techniques work only if you execute them at a professional pace and with professional materials. Speed creates mistakes. Rushing the needle work creates visible puckering. If you can’t dedicate 4-6 hours to a single seam without stopping, don’t attempt it. The cost difference between professional alteration and repair after a failed DIY attempt is usually $200 to $800. Most professionals charge $40 to $100 per hour. The math is obvious if you’re honest about how long this actually takes.
The “Wedding Dress” As A System: Integrating Alterations
Dress, Undergarments, And Shoes As One Budget
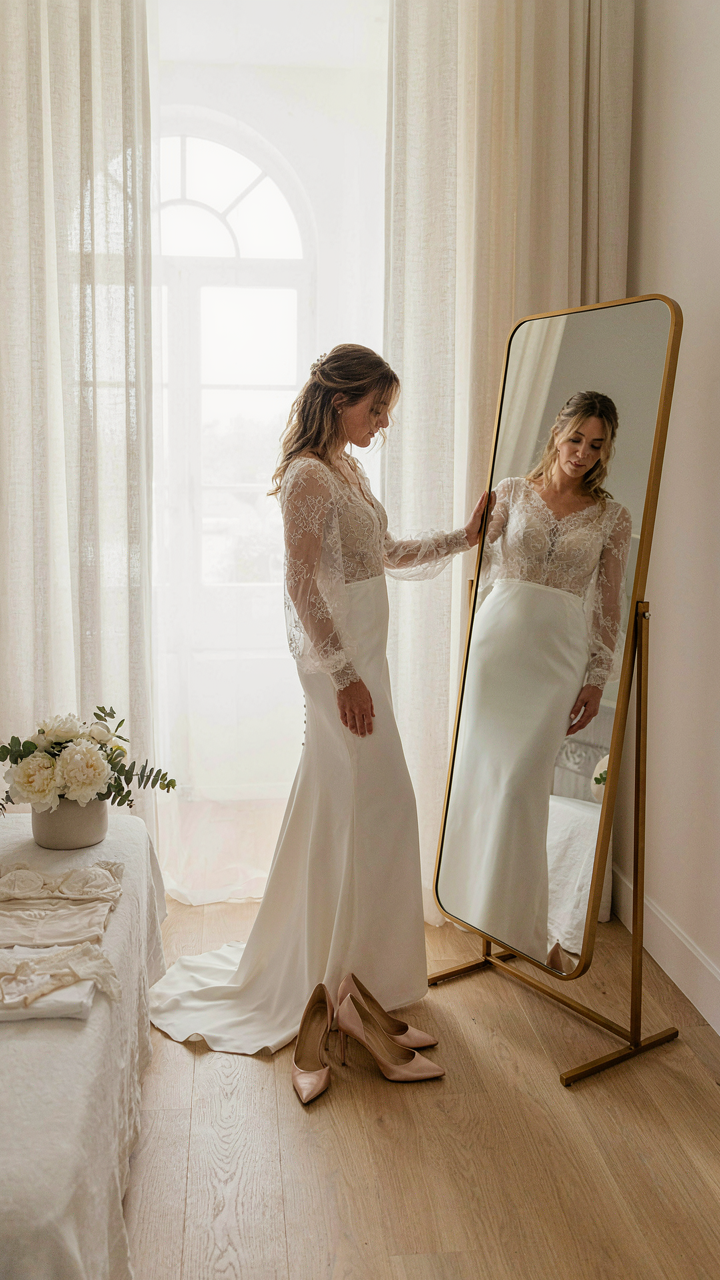
You want to know the real reason you’re reading this: you’re terrified of dropping money on alterations only to discover the dress still doesn’t fit because your undergarments were wrong the entire time. That’s the mechanism most people miss. The dress isn’t a standalone object. It’s a system with three load-bearing components, and altering one without accounting for the others wastes money on invisible problems.
Undergarments change how fabric drapes. Shoes change your posture, which changes how seams sit on your shoulders and hips. A seamstress can take in a waist by two inches, but if your spanx shifts during the ceremony, the dress moves with it. Budget separately for the undergarment layer, then the shoes, then bring all three to fittings together. This costs more upfront but eliminates the cascade of re-alterations that kill your budget.
Timing Protects Your Money From Expediting Costs
Rush fees aren’t a penalty for poor planning. They’re a tax on desperation, and most alterations shops charge 50 to 100 percent markup for work completed in under two weeks. The common advice says “book your alterations six weeks before the wedding.” That’s incomplete. You need to book the consultation eight to twelve weeks out, and you need your dress in hand before that, which means purchasing or receiving it three to four months before the wedding.
The mechanism is simple: seamstresses schedule based on capacity, not urgency. If you arrive twelve weeks out with availability, you pay standard rates on a normal timeline. If you arrive four weeks out, you enter the compressed schedule where every alteration house charges premium prices or declines the work entirely. Lock in your alteration slot immediately after your dress purchase, even if fittings don’t begin for two months. The deposit holds the timeline and protects you from exponential costs.
The Real Obstacle Isn’t The Cost Of Alterations, But Your Aversion To Uncomfortable Truths About Value
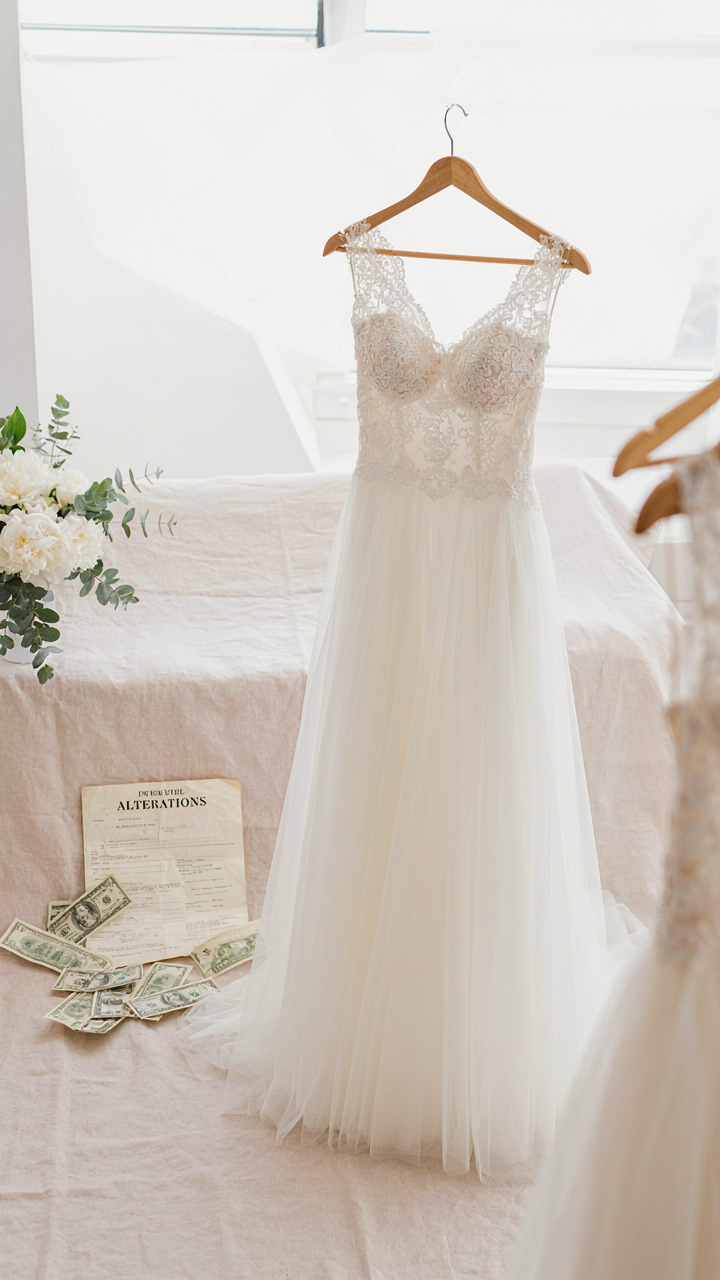
You’re not broke because alterations cost money. You’re broke because you refuse to assign a real number to the dress before you buy it. Stop shopping emotionally and start reverse-engineering your budget from the alterations invoice backward. Call three tailors today, get actual quotes, and add them to your dress budget before you step into a boutique. The couples who regret their dress decisions didn’t miscalculate the alteration costs, they miscalculated what they were actually willing to spend.