The Generic Trap Of Wedding Cake Stands
Why Mass Produced Stands Fall Short
You want to look like you didn’t cheap out, but you also don’t want to spend three hundred dollars on a decorative platform. That tension is real, and mass-produced stands exploit it by offering the illusion of quality at a midpoint price. They’re manufactured to appeal to the broadest possible customer, which means they optimize for appearance in product photos, not actual performance under load or longevity after the event.
Store-bought stands cut corners on materials and engineering. A typical retail cake stand uses thin metal tubing, hollow bases, and finishes that scratch easily. The feet don’t grip properly on uneven surfaces, the height is fixed when you might need flexibility, and the aesthetic is aggressively neutral because it needs to match every color scheme simultaneously. Build your own, and you control material density, weight distribution, and whether the thing actually holds a five-tier cake without wobbling.
The Hidden Cost Of Convenience
Economics teaches us about transaction costs, and a wedding cake stand carries one most people ignore: the cost of settling. When you buy off the shelf, you accept whatever wobble, height, or finish the manufacturer decided was acceptable. You pay the retail markup without gaining any of the benefits retail supposedly provides, like warranty support or replacement parts you’ll never use.
The real expense isn’t the sixty dollars you hand over. It’s the mental overhead of knowing your stand is underbuilt for your specific cake, the anxiety during setup, and the visual compromise in your photos because the stand doesn’t match your actual vision. DIY eliminates this by forcing you to make one deliberate choice: material, dimensions, and load capacity that fit your cake exactly. You spend the same money or less and gain control over every variable that matters.
Deconstructing The Diy Cake Stand Mentality

Why You Actually Want To Build This
You’re drawn to DIY cake stands because you want proof that you didn’t outsource your wedding to a vendor catalog. The real mechanism at work here is identity signaling masquerading as budget consciousness. You need to know the difference or you’ll build something that screams “I tried” instead of “I chose this.”
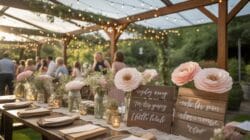
A homemade cake stand carries weight precisely because it requires decision-making. You can’t hide behind “the florist suggested it.” You picked materials, proportions, and placement. That intentionality reads. The gap between a purchased stand and your constructed one isn’t the price difference—it’s the visible evidence of your taste embedded in the object itself.
Trend Velocity Versus Your Actual Vision
Pinterest doesn’t show you what works. It shows you what moved fast. The algorithm rewards novelty over function, which means most trending cake stand designs prioritize visual shock over structural sense. You’ll see mismatched vintage books stacked as a base because it photographs well, not because it holds a three-tier cake without tilting.
The mechanism from marketing applies here: novelty creates urgency. A tiered stand wrapped in copper wire feels current because you saw it three times last week. But current expires. Your wedding lives in photos forever. Build for clarity of design, not currency of trend. Choose materials and heights based on how your cake actually looks on the structure, then add one intentional detail that reflects your specific aesthetic—not the algorithm’s.
The Minimalist’s Diy Wedding Cake Table Protocol

What Actually Matters Visually
You want people to think you spent more than you did. That’s the real reason you’re reading this. The mechanism at work here is constraint design: minimalism forces you to eliminate every element that doesn’t justify its presence, which paradoxically makes what remains feel intentional and expensive. Minimalist cake stands work because they follow the same logic as luxury product design. You remove the noise, and the structure itself becomes the statement.

The Bauhaus movement understood this in the 1920s. They stripped decoration entirely and let material quality and proportion do the work. A diy wedding cake stand built on these principles doesn’t need carved details or gilded edges. A clean base, proper height, and one material executed well reads as deliberate restraint, not budget compromise. This is the opposite of what most people attempt: they add elements to hide the handmade nature. That fails. Subtraction succeeds.
Structure First, Everything Else Second
In mechanical engineering, load capacity determines form. A cake stand must support weight without tipping, so the base footprint and center of gravity control everything else. Most diy builders ignore this and design backward from aesthetics. They pick a look, build it, then realize it wobbles. Start with the physics instead. A wider base than the cake requires, a lower center of gravity, and a pedestal or support that can’t flex under load. Only after those constraints are satisfied do you choose materials or finish.
The most common failure is underestimating how much a tiered cake actually weighs. A two-tier cake with frosting and filling easily exceeds twenty pounds. Your stand must handle that without any deflection in the supporting column or any tipping motion if someone bumps the table. This is why wooden dowels work better than hollow tubes and why a welded metal frame works better than bolted connections that can loosen. Functional stability creates the aesthetic of confidence. Everything else is decoration applied after the structure proves it won’t fail.
Leveraging Found Object Economics For Diy Cake Stands

When Constraints Force Real Solutions
You want to look resourceful without admitting you’re broke. That’s the real math here. But here’s what actually matters: evolutionary biology shows that resource scarcity breeds creativity because your brain has no choice but to solve the problem with what exists. Constraint removes the paralysis of infinite options. You stop scrolling Pinterest and start looking at your garage. The mechanism is friction. Limited resources force specificity. Specificity beats generic every time.
Most wedding planning advice tells you to “get creative” and leaves you hanging. That’s useless. Real creativity emerges when you accept that your constraints are features, not bugs. A cake stand isn’t expensive because it’s complex. It’s expensive because someone else’s markup sits on top of production costs. When you work backward from materials you already own or can source for under fifteen dollars, you skip that entire extraction layer. You’re not being thrifty. You’re being efficient.
Real Objects That Work As Stands
Forget the phrase “repurposed materials.” That’s marketing language for old stuff. What you’re actually doing is identifying objects with the structural properties a cake stand requires: a stable base, a flat elevated surface, and enough clearance underneath to slide a server under the cake.
- Wooden crates stacked and secured: Two or three vintage wooden crates bolted or screwed together create height and visual interest. The open sides allow guests to see the structure, which reads as intentional design rather than makeshift. Costs five to twenty dollars depending on condition.
- Metal plant stands inverted with plywood top: An upside-down tiered plant stand gains a secured plywood circle on top. The metal legs provide the stand’s skeleton. You control the finish by staining or painting the wood. Commonly found at thrift stores for under ten dollars.
- Cake pedestal made from stacked terracotta pots: Three or four terracotta pots of decreasing size stacked upside-down and sealed with food-safe adhesive create a classical pedestal shape. The natural clay color works with most aesthetics. Materials run three to eight dollars total.
- Wooden ladder shelf repurposed horizontally: A small wooden ladder laid flat and supported at proper height becomes a tiered stand for a two or three-tier cake. The rungs hold smaller cakes or decorative elements. Ladder sources include yard sales and estate auctions.
- Glass table base with secured wooden top: An ornamental glass table base becomes a stand by attaching a sealed wood round on top with brackets. Glass adds visual lightness. Used bases appear regularly on marketplace sites for under fifteen dollars.
The difference between these working versus failing comes down to one thing: stability under load and food safety contact. Any surface touching the cake needs sealing or food-grade treatment. Any joint needs reinforcement that doesn’t rely on friction alone. Your construction method matters more than your material choice. Bolt it, screw it, or use food-safe epoxy. Never glue a cake stand with regular adhesive.
Crafting Wooden Cake Stands Diy Rustic Wood: The Authentic Approach
Where To Find Real Reclaimed Wood
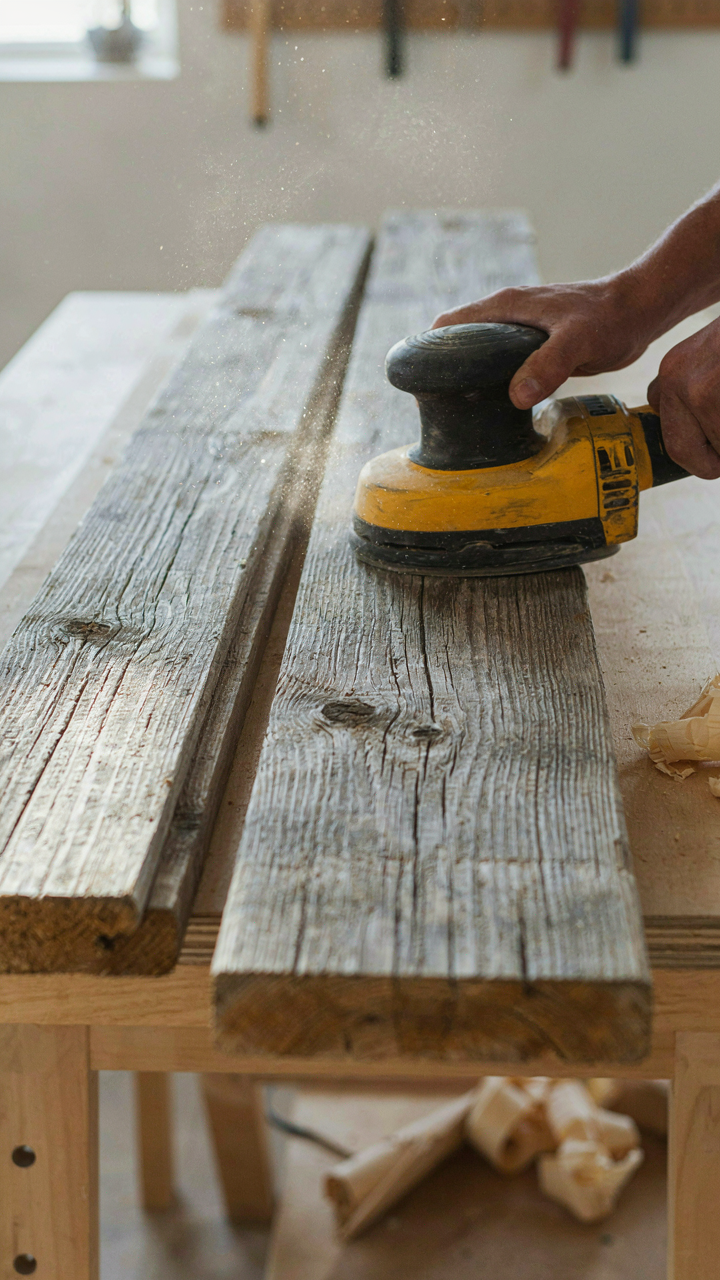
You want reclaimed wood because it signals you didn’t just buy something off Amazon. The mechanism is simple: old wood has patina and marks that new wood can’t fake, and your guests will feel the difference even if they can’t name it. Salvage yards, architectural salvage shops, and demolition sites stock legitimate material. Local contractors demolishing older homes often sell or give away wood for cheap. Craigslist and Facebook Marketplace list rough barn wood and old flooring regularly.

Quality reclaimed wood carries real constraints. It costs more than new lumber. It arrives with nails, metal, and unpredictable grain patterns. You can’t order it in uniform dimensions or guarantee consistency across pieces. This friction is exactly what makes it look intentional instead of mass-produced. Inspect for structural soundness before committing. Split wood, severe rot, or deep insect damage creates liability, not character.
Sanding And Sealing Without Overthinking It
Most DIY advice here is wrong. People talk about “bringing out the grain” and “natural beauty” when the real job is preventing food contamination and structural failure. You sand to remove loose material and splinters. You seal to protect wood from moisture and cake fluids. That’s it. Start with 120-grit sandpaper on a power sander. Work perpendicular to the grain first, then parallel. Sand until the surface is smooth and dust stops accumulating.
Sealing reclaimed wood matters more than staining. Food-grade polyurethane or beeswax both work. Polyurethane dries faster and holds up better to liquid exposure. Apply thin coats. Two coats of polyurethane beats one thick coat every time because thick coats bubble and peel. Let each coat cure fully before adding the next. Your cake stand survives the event when the wood resists moisture penetration at the seal stage, not at the assembly stage.
The Unconventional Diy Cake Stand Dollar Store Challenge

Mixing Materials Nobody Combines
You want people to think you spent more than you did. That’s the real driver here. The mechanism is contrast: your brain registers visual density and material variety as signals of investment and intentionality. Nobody builds a cake stand from a single material anymore because it reads as incomplete.
Start by pairing materials that share no visual language. Ceramic pedestals from the dollar store work well when paired with reclaimed wood bases or concrete poured into simple molds. Metal cake servers stacked and bolted together create industrial stands when combined with glossy painted plywood. The point isn’t matching—it’s creating deliberate friction that makes the stand look considered rather than assembled. Dollar store materials become invisible when they sit alone. They become intentional when they sit next to something that shouldn’t logically sit next to them.
Design That Hides What It Costs
The common advice says paint over cheap materials. That’s incomplete. Better strategy: use the material’s actual properties instead of hiding them.
A polystyrene foam block from the dollar store has weight and shape already built in. Sand it down, seal it, and use it as a structural base under a butcher block top. The foam isn’t pretending to be marble—it’s doing load distribution work that expensive materials do anyway. Metal brackets from hardware stores become load-bearing architecture when you make them visible rather than concealing them. The structural integrity is real. The cost is low because you’re not paying for finish work you don’t need. Layer transparent acrylic sheets with fabric or wallpaper between them, bolt them together, and you’ve built a display platform that reads as precision engineering. Each layer serves a purpose. None of it hides.
How To Make Wooden Cake Stands That Last
Joinery Techniques For Stability
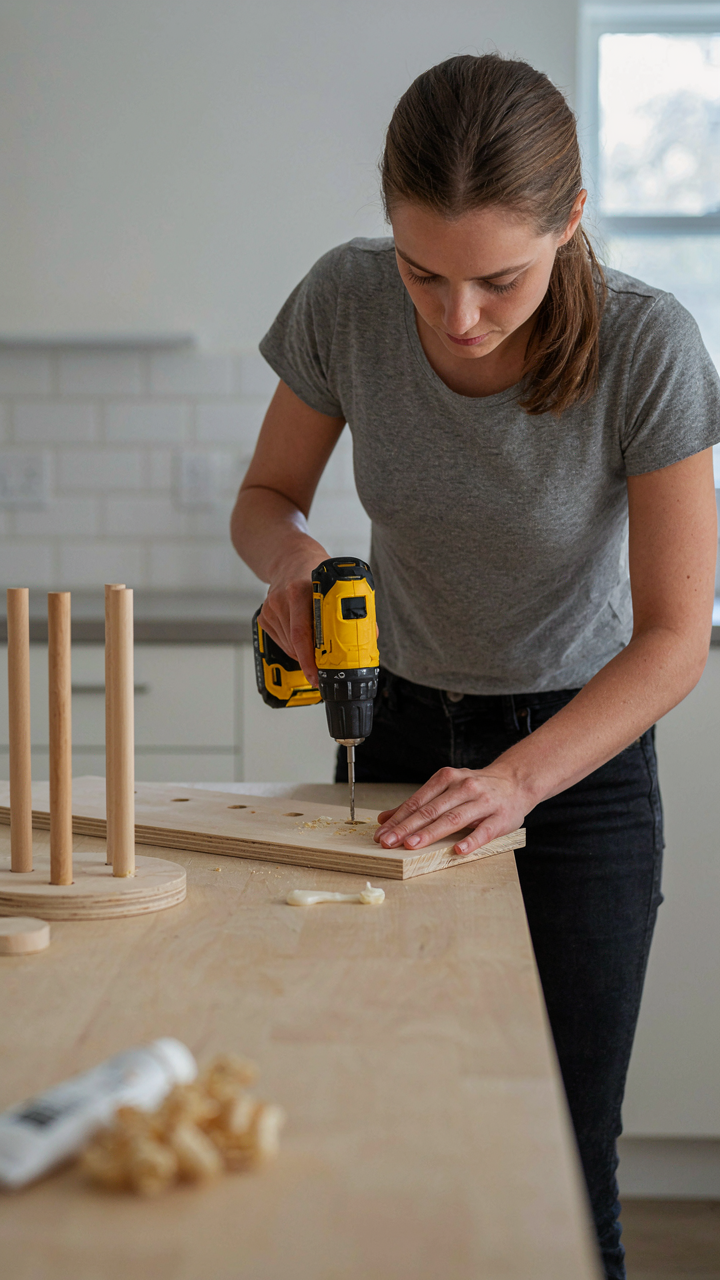
You want this to not collapse mid-reception because you’re terrified of looking incompetent in front of people who paid to attend. Here’s the mechanism: a wooden cake stand fails when joinery can’t distribute load across joints. Butt joints fail. Mortise and tenon joints hold because they increase surface area and create mechanical lock, not just glue reliance. The base must support vertical force pushing down and lateral force from cutting. Design the legs at an angle outward, not straight vertical. This creates a tripod or four-point base that resists tip-over when someone leans on the cake.

Pocket hole joinery works for speed but only if you reinforce connection points. Drill pocket holes into the underside where the base meets the legs, then drive screws at an angle through the base into leg end grain. Add a apron board around the perimeter of the top platform—this ties the legs together and prevents racking (lateral twisting). The apron creates redundancy. If one joint loosens, the others still hold. Test stability before the wedding by pressing down hard on each corner of the platform. The stand should not flex or wobble.
Protective Coating And Reuse
Every finish serves one purpose: stop moisture from wood, stop staining from cake, stop your stand from becoming trash after one use. Food-grade polyurethane varnish is the real answer here, not lacquer and not oil. Polyurethane creates a plastic barrier between wood and whatever contacts it. Two coats minimum. Sand between coats with 220-grit paper to break the sheen and help adhesion.
- Water-Based Polyurethane: Dries fast, low odor, non-yellowing. Apply thin coats and sand lightly between applications. Ideal if you need the stand ready in days.
- Oil-Based Polyurethane: Stronger barrier, more durable long-term. Takes longer to cure. Yellow tint develops over years. Use if the stand will live in storage between events.
- Wipe-On Polyurethane: Easier application than brush application. Requires more coats to build protection. Good for first-time finishers who worry about brush marks.
- Sanding Sealer First: Seals wood grain before varnish. Prevents blotchy absorption. Use on softwoods like pine. Skip on hardwoods like oak.
- Edge Banding: Seal all exposed wood edges with extra coats. Edges absorb moisture faster than face grain. Edges fail first if neglected.
After the wedding, clean the stand immediately with a damp cloth and mild soap. Do not soak it. Dry it completely. Store it flat in a dry space. A single protective coat every two years extends life indefinitely. The stand resets the moment you protect the wood from moisture and time.
The Myth Of The Perfect Diy Cake Stand Wood

Flaws Are Not Your Enemy
You’re worried people will judge your stand as cheap or amateur. That fear is the real problem here. The mechanism at work is visibility bias: we notice flaws in our own work because we built it, but guests notice function and presence first. A slightly warped board that holds a three-tier cake matters less than a pristine board that buckles under weight.
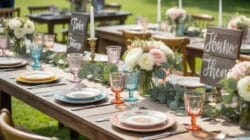
Wood moves. It expands and contracts with humidity and temperature. This is material science, not failure. Accepting this reality upfront kills the perfectionism spiral that stops most people from building anything. Your stand doesn’t need museum-quality finishing. It needs to exist and perform its job without collapsing.
Impact Over Invisible Refinement
Most advice tells you to sand for hours, apply multiple stain coats, and obsess over grain visibility. That’s the wrong lever. Cake stands live in one room for one day. The actual variables that matter are structural integrity, visual weight relative to the cake, and height proportion. None of those require flawless wood surfaces.
A stand with visible knots, slightly uneven stain, or minor surface scratches reads as handmade and intentional at a wedding. A stand with perfect finish but crooked legs reads as broken. Spend your effort on geometry and stability, not on chasing microscopic imperfections. Build the stand, test its load capacity, adjust the height if needed, and move forward.
The Real Obstacle Isn’t Your Budget; It’s Your Willingness To Settle For Uninspired, Off-the-shelf Mediocrity
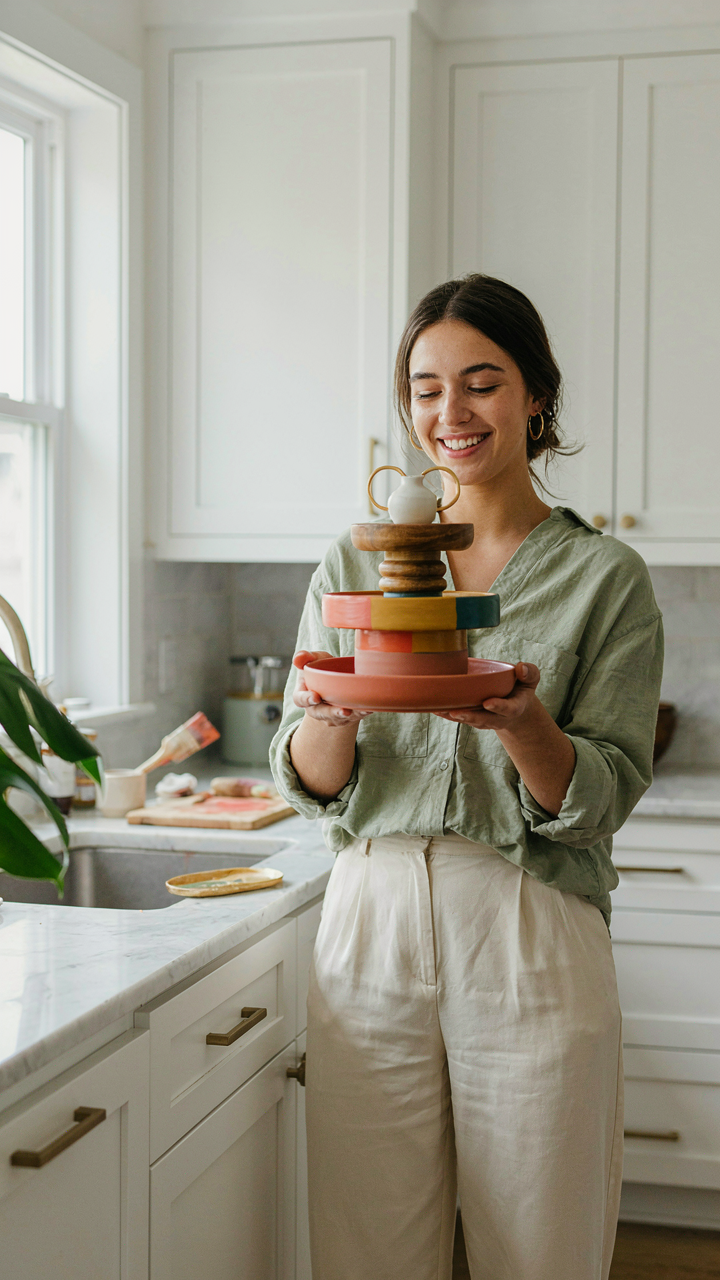
Most people blame money when they settle for garbage. They don’t. They blame effort. A DIY wedding cake stand costs less and means infinitely more because you built it. Your guests notice. Your partner notices. You notice. The shift happens the moment you stop asking “can I afford this” and start asking “can I make this better.” Pick one material today—wood, metal, or acrylic—and sketch a design that actually reflects who you are. Stop waiting for permission to create something that matters.