The Unseen Cost Of Budget Wedding Drapery: Why DIY Isn’t Cheaper
What You’re Actually Paying For
You want to believe DIY costs less because admitting it doesn’t means you wasted time on a false economy. Here’s what happens: fabric pricing operates on volume discounts you don’t qualify for. Retailers buy at wholesale. You buy at retail. A ten-yard bolt of muslin costs $8 per yard at bulk. You pay $12. Then you need hardware—pipe and drape systems run $40 to $80 per upright when bought individually, but rentals cost $15 per piece because they move volume. You’re not saving money. You’re overpaying for the privilege of assembly.
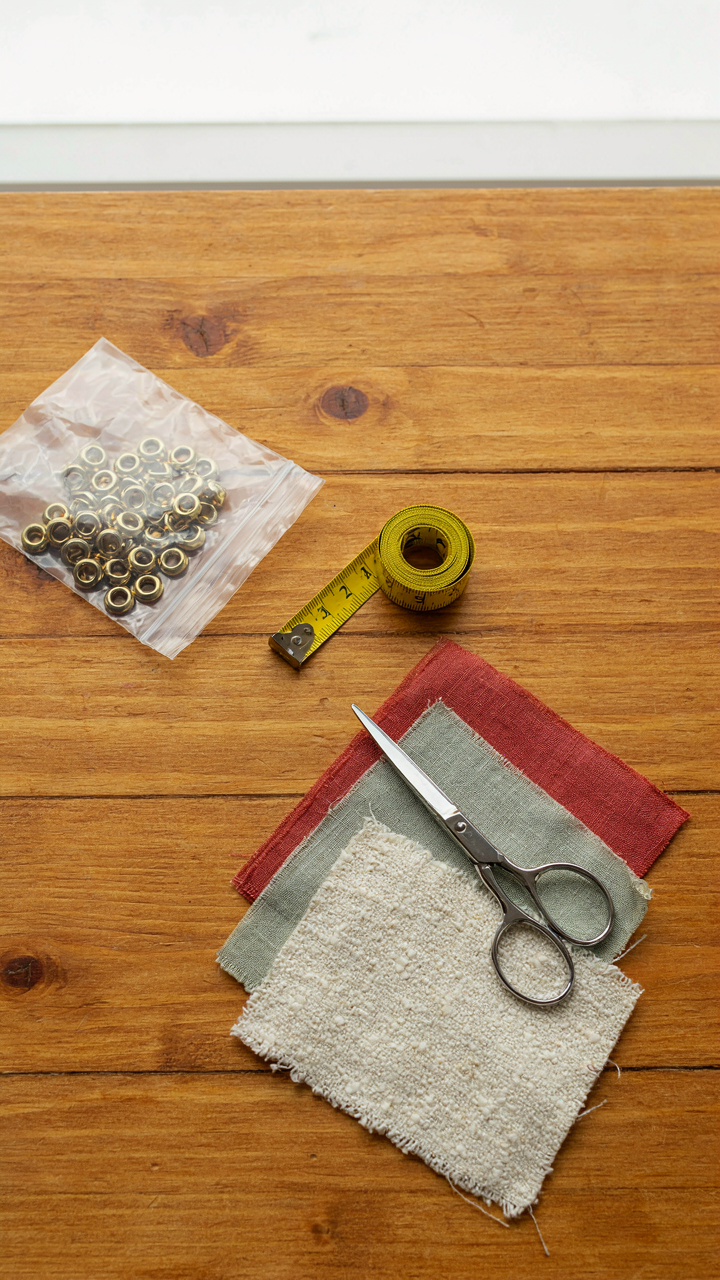
The real drain isn’t fabric cost. It’s the hidden line items. Grommets, clips, clamps, and stands add up fast. Fabric weights and tension tools you’ll use once. Transportation of materials to the venue. The hardware store runs stacked across two days because you forgot something the first trip. You’re trading cash for a different currency: your time and gas. Most people calculate DIY savings without itemizing every single purchase, which is why they feel like they won. They didn’t track it.
The Real Economics Of Doing It Yourself
Marriage ceremonies attract the same economics principle that governs inventory management: you accumulate what you don’t dispose of. You buy twelve yards of fabric. You use nine. That leftover three yards sits in a closet for years because it’s not enough for another project and too much to throw away. Most DIY backdrop builders end up with dead inventory they never counted as part of the cost. Rental companies eliminate this friction by handling storage and reuse across dozens of events. You absorb the storage cost yourself.
The non-monetary value shifts when you account for execution risk. A rented backdrop arrives installed. A DIY backdrop arrives as a coordination problem on your wedding day. If the pipes don’t align, if the fabric tears during setup, if the grommets fail under tension, you become the problem-solver while your photographer waits. Rentals transfer that risk to someone who handles it weekly. The real savings in DIY come only if you operate it as a repeatable system—like a photography side business or event planning. For one wedding, you’re paying for a prototype you’ll never use again.
Fabric Fundamentals: Beyond Sheer Vs. Opaque For Wedding Draping

How Light Actually Moves Through Fabric
You want to know which fabric will look good in photos because your guests will judge you based on Instagram. Here’s what matters: light behaves like a projectile in physics. When it hits your backdrop, it either passes through, bounces back, or dies inside the weave. Sheer fabrics transmit light, opaque ones reflect it, and semi-sheers do both. The thread count and fiber density determine the outcome.

Silk and linen handle light differently than cotton or polyester. Silk scatters light across the surface, creating soft shadows and depth. Linen absorbs some light while reflecting the rest, producing matte texture. Polyester tends toward brightness and uniformity. Cotton falls between them depending on weave tightness. When you hang fabric, you’re not just choosing aesthetics, you’re engineering how light behaves at your wedding. Test your fabric under the actual venue lighting before committing. Drape a sample in direct sun, then in shade, then under indoor lights. Watch how shadows pool and how edges read.
The Weight Reality Check For Diy Draping
Forget the advice that heavier fabric always drapes better. That’s incomplete. Heavy fabric hangs straight, yes, but it demands more support infrastructure, costs more to ship, and becomes a nightmare to transport and hang in real time. The real mechanism is weight distribution across your support system.
Lightweight linen and cotton voile wrinkle easily but pack small and mount fast. Mid-weight cotton or linen blends hold their shape without excessive hardware. Silk charmeuse weighs almost nothing but tangles. Polyester crepe maintains structure and resists creasing, making it the practical choice for repeated use. Choose based on your support structure, not on some universal rule. If you’re using pipe and clamp rigging, go heavier. If you’re working with a simple frame, lighter fabric prevents torque failure. The fabric weight must match your hanging system, or the whole thing fails during setup.
The “Scarcity Principle” Of Design: Less Is More For DIY Wedding Backdrop

Stripping Away The Noise
You want people to look at your backdrop and think you spent money you didn’t spend. That’s the real game. The mechanism is scarcity from economics: when attention competes for multiple focal points, none wins. Your brain processes a cluttered backdrop the same way it processes a crowded room—it checks out. Remove everything that doesn’t serve the shot. One fabric color. One texture variation. One lighting direction. That’s the constraint that forces guests to actually see what you built.

Most DIY backdrop advice dumps a dozen techniques on you at once: layering fabrics, adding props, mixing textures, hanging florals. This produces visual noise, not impact. The real move is subtraction. Start with one piece of quality fabric stretched tight. Test it. Only add the next element if the first element feels incomplete on camera. Most don’t. You’ll find your backdrop works harder when it does less.
The Dominant Element Framework
In visual hierarchy, one element must command attention or they all compete equally. Pick that element now: the fabric itself, the draping shape, or the lighting angle. Not three. One. If fabric is your dominant element, choose a single color with presence—deep jewel tones photograph better than pastels because they absorb light rather than scatter it, creating visual weight. If draping shape dominates, use flat, clean fabric that doesn’t distract. If lighting dominates, go neutral on fabric and let shadow and highlight carry the composition.
The mistake is treating all three as equal priority. Backgrounds work because they recede. Your backdrop recedes when it communicates one idea clearly. Control the color temperature of your light to match your fabric’s undertone, not fight it. Use one draping technique repeated, not five techniques mixed. Consistency creates the illusion of intentionality. When guests see the photos, they won’t know why the backdrop works—they’ll only know it doesn’t fight for attention with the couple.
Structure Over Style: The Engineering Of Your Wedding Drapery System
Weight Distribution Wins Every Time
You want this to look effortless. That’s why you’re reading this section instead of hiring a professional. But fabric hanging from air is not effortless—it’s physics, and physics doesn’t care about your vision. Borrow a term from structural engineering: load path. Your fabric’s load path is the invisible route tension takes from the top anchor point down through the material and back up to the opposite anchor. Miss the load path, the system fails mid-ceremony.

Fabric weight varies dramatically by type. Muslin at 150 gsm weighs roughly 150 grams per square meter. Velvet runs 300 to 600 gsm. A 10-foot by 20-foot muslin panel weighs around 50 pounds. A comparable velvet panel hits 100 to 120 pounds. Your anchoring system must account for the actual weight you’re hanging, not the weight you assume. Calculate total fabric yardage, check the gsm rating, and know the number before you buy pipe or tension cables.
Rigid Frame Over Flexible Rigging
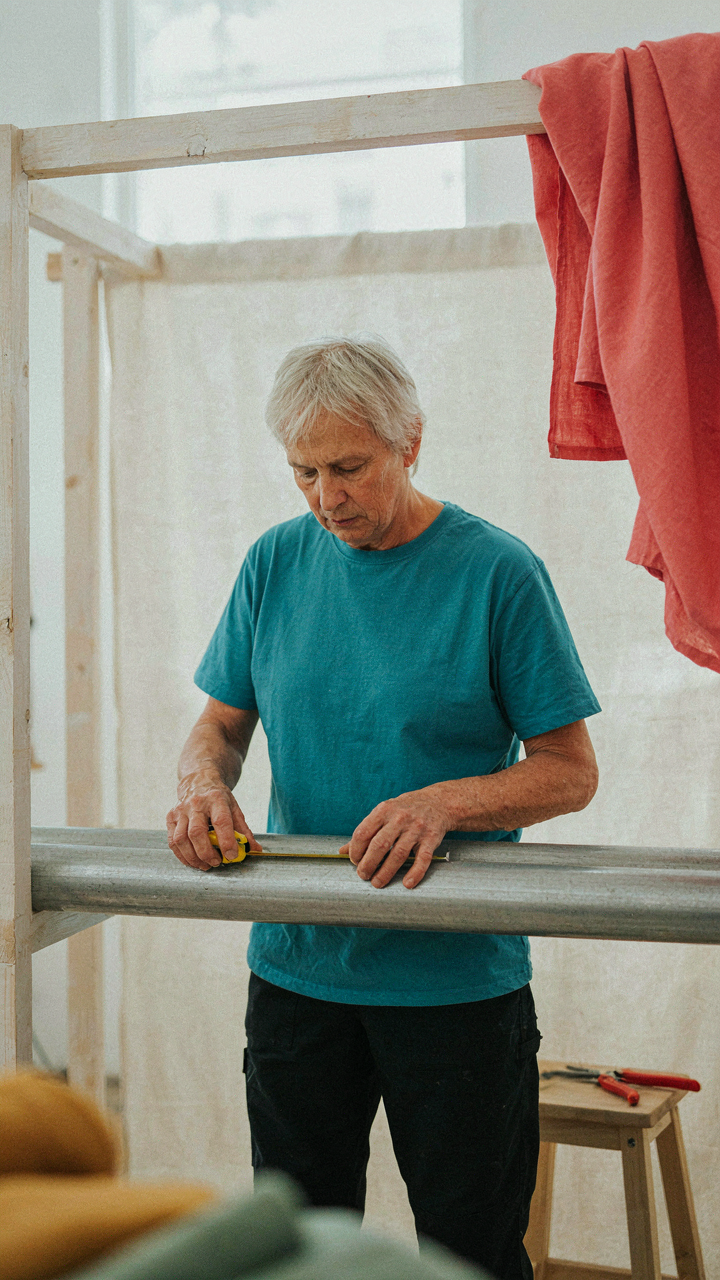
Most wedding backdrop advice says “hang it from rope and trust it.” That’s incomplete and dangerous. A rigid frame—whether welded steel, aluminum pipe, or heavy timber—absorbs tension evenly and doesn’t sag, shift, or bounce when someone brushes against the fabric. Flexible rigging systems (rope, cable, chains alone) require constant tension adjustment and fail under uneven load. A frame is passive. It holds position.
Build or rent a frame rated for at least double the weight of your heaviest fabric panel. PVC pipe fails under sustained load outdoors or in heat. Steel schedule 40 pipe or aluminum tube holds weight predictably. Bolt the frame to the ground with concrete footings or sandbags—never rely on frame weight alone. The frame must not move. When your photographer leans a reflector against the backdrop, the frame absorbs that force without deflection.
The “Pareto Principle” Of Tools: 20% For 80% Of Your Wedding Draping Backdrop
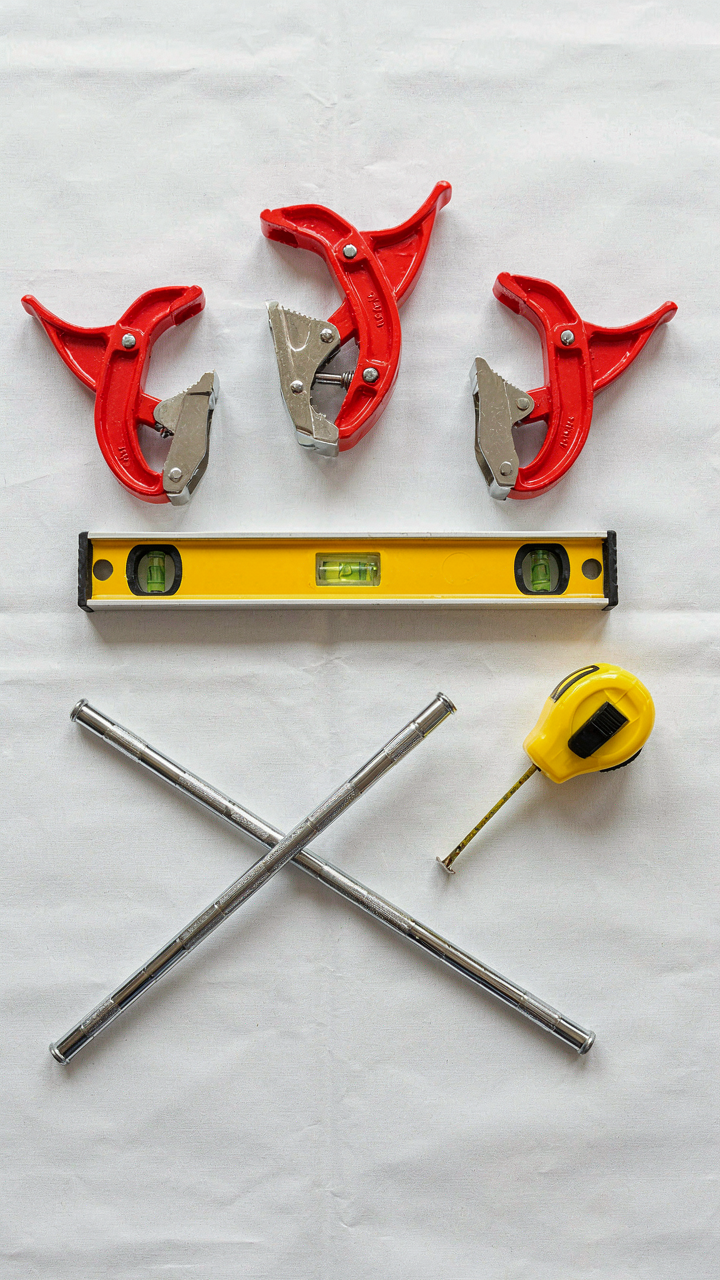
Essential Tools That Actually Work
You want to feel prepared because unpreparedness means visible failure on camera. The mechanism is simple: most people buy tools for scenarios that never happen, then lack the one thing they actually need. Professionals in construction and event staging know this—they call it “task-specific redundancy.” Your backdrop needs exactly three categories of tools to function. Everything else is insurance against anxiety, not against real problems.
- Tension rods or aluminum poles: These hold fabric taught without puncturing walls or causing damage. They’re reusable across events and adjust to fit most doorways and support structures without modification.
- Heavy duty clips or clamps: C-clamps, gaff tape, or fabric clips secure fabric to poles or existing structures. Buy at least eight per backdrop to account for uneven tension and sagging points.
- A level: Crooked backdrops read as sloppy in photos. A two-foot level catches major misalignment before you position your camera or guests.
- Step ladder: Reaching the top of your backdrop without it forces you to stretch fabric by hand, which creates wrinkles and uneven folds that show in images.
- Measuring tape: Miscalculation on fabric length wastes time and money. Measure your actual space, not the space you think you have.

You do not need a steamer, specialized backdrop stands, or professional lighting kits to execute a fabric backdrop. You need the five above, practiced hands, and forty-five minutes. The clip or clamp is non-negotiable because it’s what stops fabric from drooping mid-event.
Dual Purpose Items Save Money And Setup Time
Stop thinking about tools as single-use objects. Economics calls this “asset utilization”—maximizing what each tool does beyond its original purpose. Your tension rod becomes a towel rack next month. Your step ladder becomes storage. Gaff tape secures fabric and fixes wardrobe malfunctions. This isn’t cutting corners. This is engineering efficiency into your wedding day.
The heavy duty clips you buy for fabric work equally well on backdrop tubing, extension cords, or decoration lines. Keep them in a labeled bag after the wedding. A measuring tape doubles as a straightedge for checking pole alignment. Your level confirms the poles are parallel before you attach fabric. Professionals reuse the same toolkit across dozens of events because they’ve removed the assumption that each tool exists for one moment. Your backdrop setup takes ninety minutes if you’re buying new equipment for each step. It takes forty-five if your tools stack functions.
Lighting As Sculptor: Shaping Your DIY Photo Backdrop With Light

How Light Reveals Fabric Structure
You want your backdrop to look expensive because expensive backdrops use light strategically, and you’re terrified yours will look like bedsheet material under fluorescent overhead fixtures. Light is a sculpting tool in photography, not decoration. It’s borrowed from cinematography, where gaffers treat illumination as a primary actor, not a supporting player. Fabric has dimension only when light rakes across it at an angle. Flat, perpendicular light erases texture entirely and makes expensive materials photograph like cheap synthetic.

The mechanism works through directional intensity. Position your key light forty-five degrees to the side and slightly above the backdrop, not straight on. This creates shadow gradients that reveal weave patterns, folds, and depth. Silk catches light differently than cotton; linen reads as structured; velvet absorbs and reflects selectively. None of this visual data exists under even, frontal illumination. You’re not adding light, you’re controlling where light lands and doesn’t land.
The Truth About Flat Lighting
Most wedding photographers and DIY guides recommend even, diffused lighting because it’s easy to execute and forgives mistakes. This is tactically wrong for fabric. Even light removes the visual information that separates a five-dollar tablecloth from a fifty-dollar backdrop. You need contrast to establish dimension. Completely flat lighting makes fabric appear two-dimensional, which destroys the illusion of depth that photographs demand.
The fix requires purposeful shadow. Position a single primary light source at forty-five degrees horizontally and thirty to forty degrees vertically from your backdrop plane. Let shadows naturally fall across fabric rather than fighting them with fill light. If you must soften shadows, use a reflector positioned opposite your key light at a distance that creates gentle gradients, not erasure. The shadows are the texture. Without them, you’re shooting a blank wall.
The “Iteration Cycle” Method For Perfect Fabric Draping

Test Small Sections First
You’re afraid of committing fabric to the full backdrop and discovering mid-event that it bunches like garbage. Here’s the mechanism: draping behaves differently at scale. A two-foot test swag won’t predict how ten feet of the same fabric moves. Start with a single fabric panel pinned to a small frame or temporary structure, using the exact height and width proportions you plan for the real thing. Measure the pin points, note the sag, record the fabric behavior.

This isn’t practice. It’s data collection. When you know exactly how much fabric you need to cover vertical distance without gathering or stretching, you eliminate the guesswork on the full backdrop. Pin the test section three different ways if necessary. Document which method holds the drape you want. The goal is replicable results, not perfect aesthetics on the first try.
The Full Backdrop Is Not Your Testing Ground
Every wedding photographer has a story about fabric that looked right in person but photographed flat, or shifted during the ceremony because the pins weren’t deep enough. Don’t be that person. The common advice says to “just build it and adjust,” but that burns time and risks visible wrinkles in photos taken during the most expensive moments of your day.
Conduct your iteration cycle on a separate frame or corner section before moving fabric to the main structure. Use the same fabric, same pins, same lighting conditions if possible. Once you know the exact pin depth, spacing, and fold pattern that works, execute that pattern once on the full backdrop. No second chances mid-event. Document your final pin placements with photos. If you need to rebuild the backdrop later, you have the exact blueprint.
Beyond Pinterest: Cultivating Originality In Your Draping Wedding

Stop Copying What Works
You want your backdrop to look effortless and unique because you’re terrified it won’t. The mechanism is simple: Pinterest shows you what already succeeded, which means thousands of other weddings already executed it. You’re not finding inspiration. You’re finding proof of concept for mediocrity. The problem isn’t that these images are bad. It’s that they’ve been optimized into templates. Scrolling through them trains your eye to accept consensus instead of building it.

Real originality in backdrop design comes from constraint, not abundance. Limit your reference sources to three specific images maximum, then stop looking. Force yourself to answer one question only: what makes your wedding’s story different from the couples in those photos? Your answer doesn’t need to be profound. It just needs to be yours. The fabric, the scale, the mounting point, the lighting angle—one of these shifts based on your actual venue and vision, not trend cycles.
Translating Vision Into Physical Drape
Most people confess they have a feeling about what they want, not a blueprint. That feeling is useless without translation. Borrow from architecture’s concept of parti—a single governing idea that drives all decisions. Your parti for the backdrop should be one sentence: “dramatic height with soft folds” or “geometric precision with natural fiber” or “asymmetrical coverage that frames the couple.” Everything else follows from that one decision. Fabric choice, support structure, hanging method, and final styling all become mechanics serving that single idea instead of happening by accident.
Write your parti down. Tape it to your workspace. Now, every time you select a fabric weight, test its drape against that statement. Every time you decide how many panels to use, ask if that serves your parti or contradicts it. The backdrop fails when decisions stack without alignment. You end up with formal draping next to casual folds, or lightweight voile paired with rigid frame work. Test your actual fabric in your actual venue under your actual lighting before finalizing any structure. Drape behaves differently in sunlight than it does indoors, and polyester reads differently than linen at distance.
The “Antifragile” Diy Drapery: Designing For Imperfection
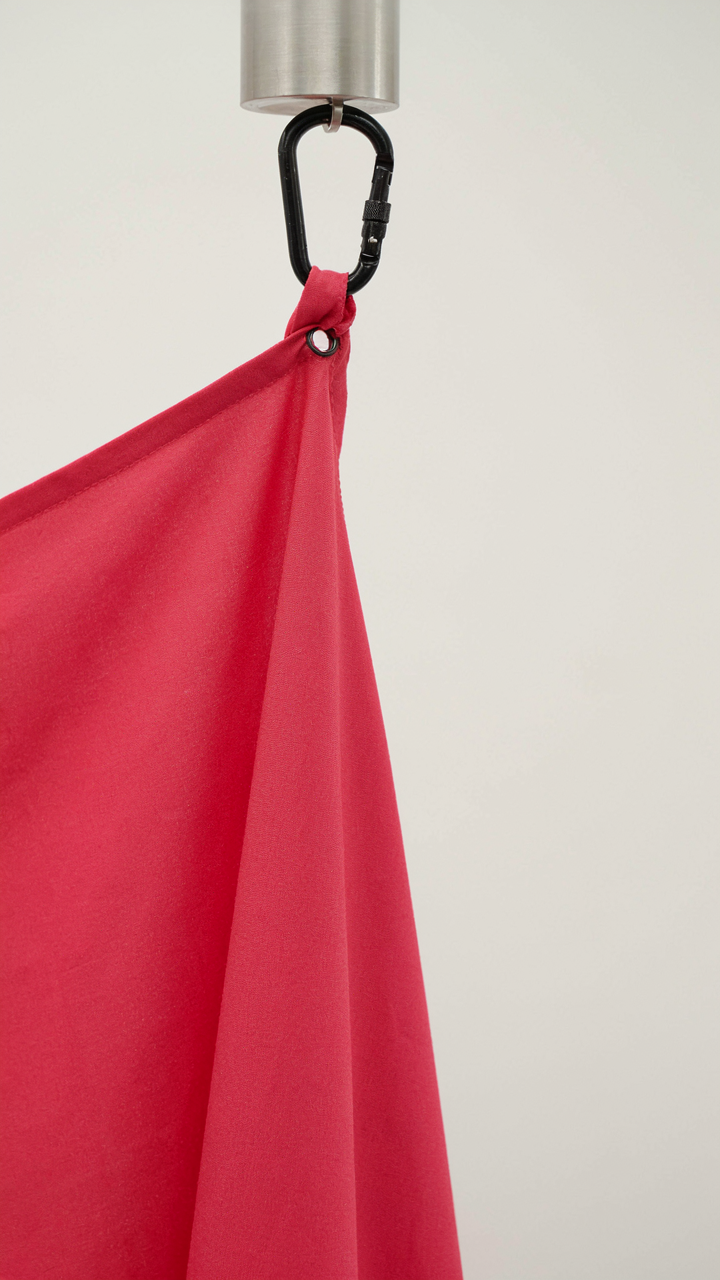
The Wrinkle You Don’t Hide
You want your backdrop to look flawless because imperfection signals you didn’t care enough to get it right. That’s the real fear. But here’s the mechanism: wrinkles, uneven folds, and slight color variations actually work in your favor on camera. Fabric that hangs too perfectly reads flat and plastic. The eye needs texture to trust depth.

Borrowed from physics, antifragility means a system improves when exposed to stressors. Your fabric backdrop gains visual dimension through minor imperfections rather than despite them. Wrinkles catch light. Uneven draping creates shadow and contrast. A completely smooth, tension-stretched backdrop photographs as a flat wall. The tension you’re fighting against is the real problem, not the solution.
Built In Slack For The Unexpected
Common advice says to measure twice, cut once, and secure everything tight. That approach leaves zero margin when the wind hits, the mounting point shifts, or you need to adjust the height by six inches at showtime. Real antifragility means you overshoot your measurements and build slack into the system intentionally.
For fabric backdrops, this means ordering 10 to 15 percent more material than your calculated dimensions. Mount hardware at points that allow vertical or horizontal adjustment without removing fasteners. Use clips or carabiners instead of permanent ties. When something shifts—and it will—you don’t rebuild. You adjust. The system gets stronger by flexing, not by being rigid.
Deconstruction For The Future: Efficient Teardown And Storage Of Diy Drapes
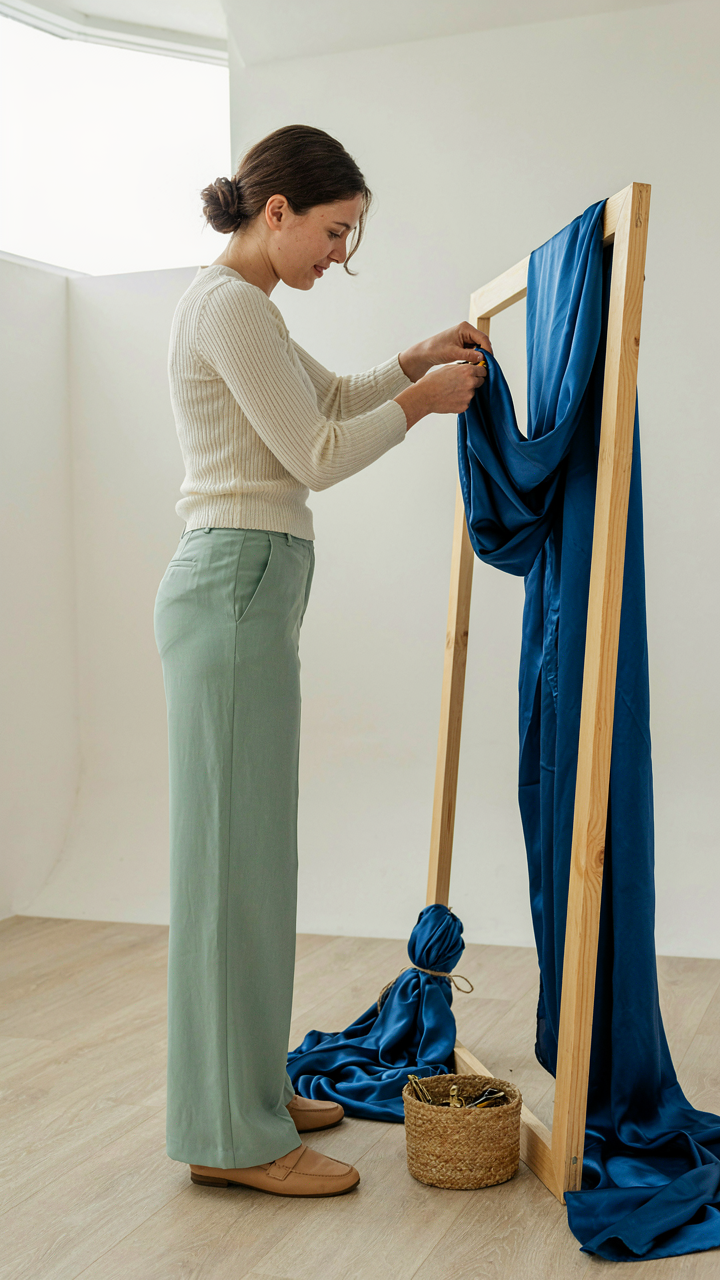
Taking Down Without Tangling Everything
You want to believe the fabric will fold itself neatly and your setup will break down like a well-oiled machine. The real mechanism at work here is entropy: fabric wants to knot, wrinkles set in fast, and rushed teardowns create damage that tanks resale value. Start removal while the fabric is still hung and calm. Unclip or untie from top to bottom, gathering material into loose bundles as you go. Never yank or pull sideways. Work methodically or you’ve wasted the entire project.
The difference between pros and amateurs shows in teardown discipline. Pros remove one section at a time, lay it flat immediately on a clean surface, and fold it while warm. Amateurs bunch everything up, leave it crumpled for days, then wonder why creases won’t press out. If your backdrop used clips or pins, remove those first and store them in a labeled bag taped to the fabric bundle. This one step eliminates the hunt later. Vacuum the storage area before packing anything away.
Storing Fabric For Round Two
Smart storage determines whether you resell this backdrop for 60 percent of purchase cost or watch it deteriorate into a donation. Use cotton storage bags or acid-free tissue, never plastic, because plastic traps moisture and breeds mildew on natural fabrics. Fold the fabric into thirds lengthwise, then roll it loosely around a PVC pipe or pool noodle instead of creasing it into compressed squares. This distributes weight evenly and prevents permanent fold lines.
Store bundles horizontally on shelves in a climate-controlled space, never in damp basements or hot attics. Temperature swings and humidity damage fibers and encourage wrinkles that become permanent. Label each bundle with fabric type, color, dimensions, and the date you last used it. This metadata matters when someone messages asking for specifics or when six months pass and you forget what you actually have. Photograph the rolled fabric from multiple angles and keep those images with a spreadsheet tracking inventory, condition, and resale price.
The Real Obstacle Isn’t The Fabric; It’s Your Fear Of Imperfection

Every couple who skips the DIY fabric wedding backdrop does it for the same reason: they imagine failure before they try. You think the wrinkles will look cheap. You think the frame will collapse. You think guests will judge you. Here’s what actually happens. You build it. It looks intentional. People remember the moment, not the imperfections. Stop waiting for permission to do this yourself. Buy your fabric today. The only wedding backdrop that fails is the one you never make.