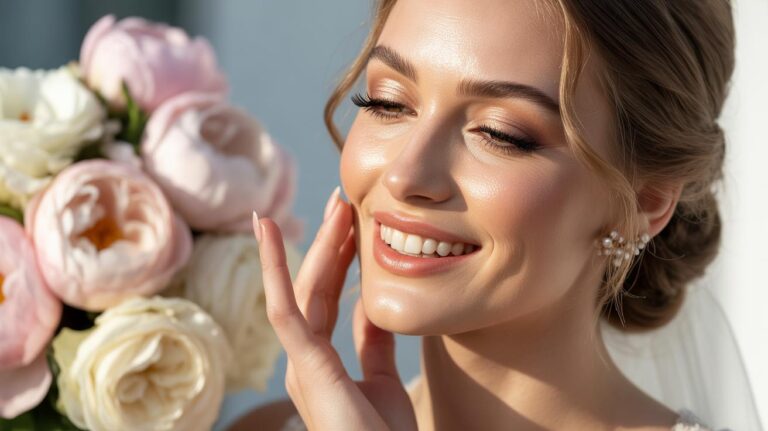
Deciding On A Spray Tan Vs Self Tanner What Every Budget Bride Should Know
Understanding The Core Differences Between Professional Spray Tans And At Home Self Tanners
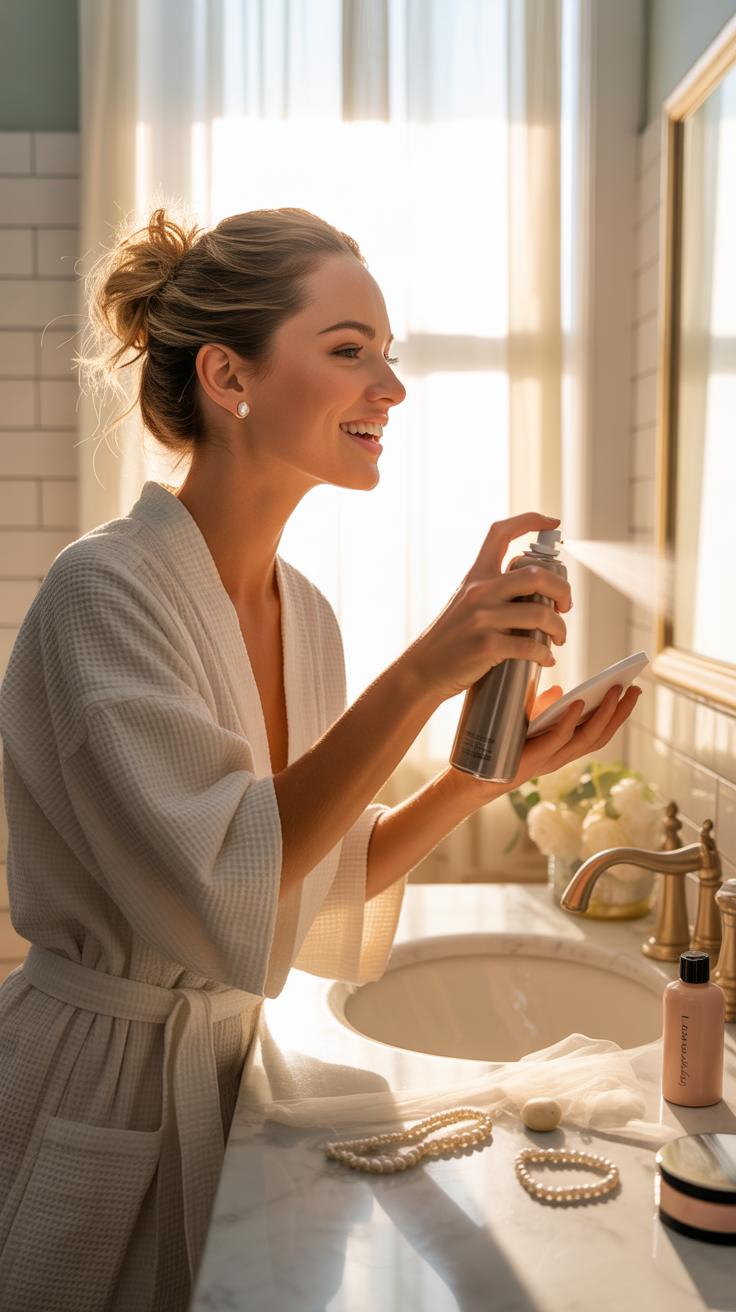
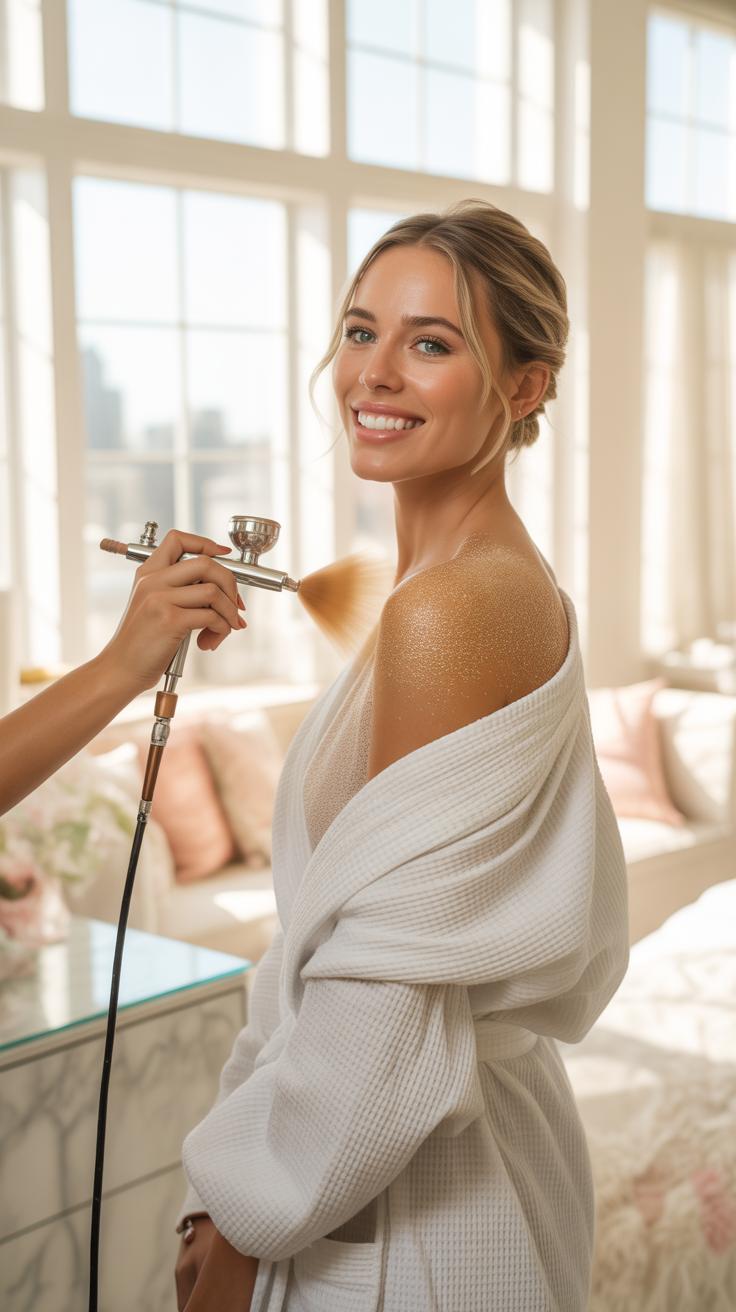
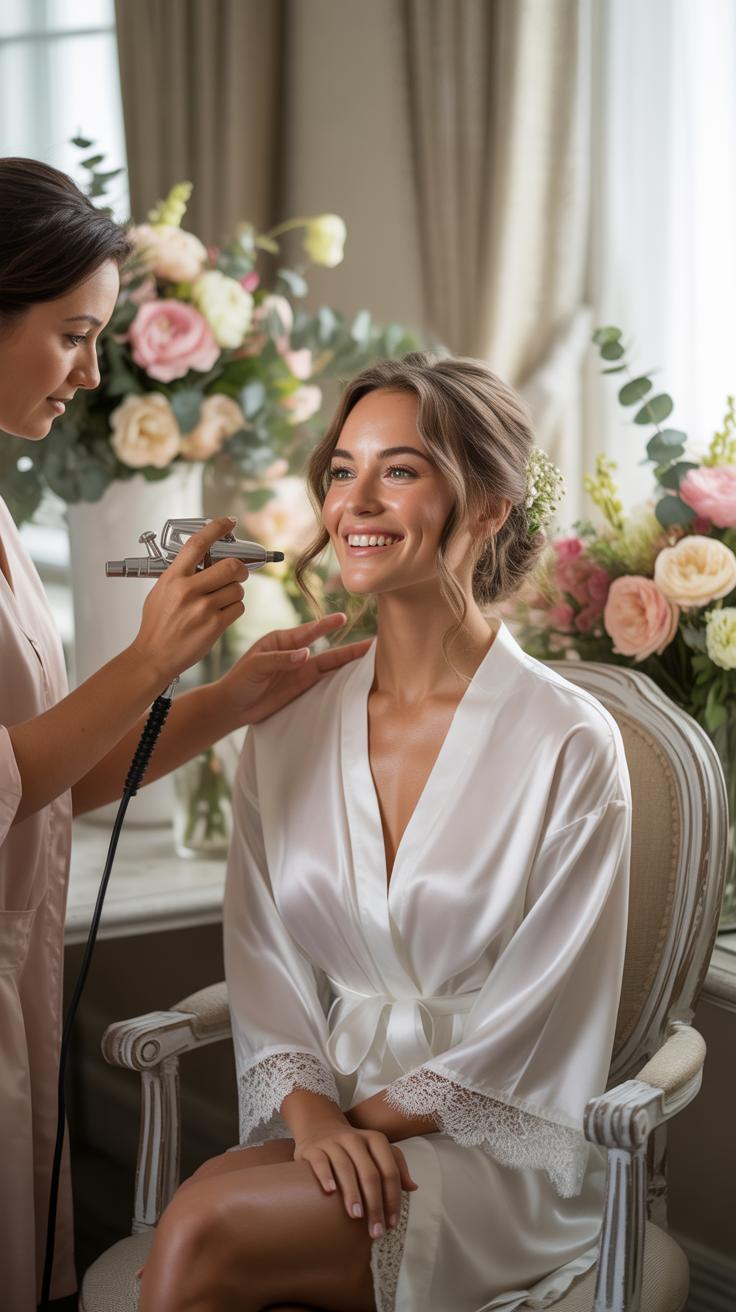
Professional spray tans use a machine to mist dihydroxyacetone over your skin. A technician controls the pressure and depth to ensure even coverage in hard to reach spots. This method offers the highest precision for a wedding. It eliminates the risk of streaks on your back or ankles. You pay for the expertise of the artist and the high grade equipment they use.
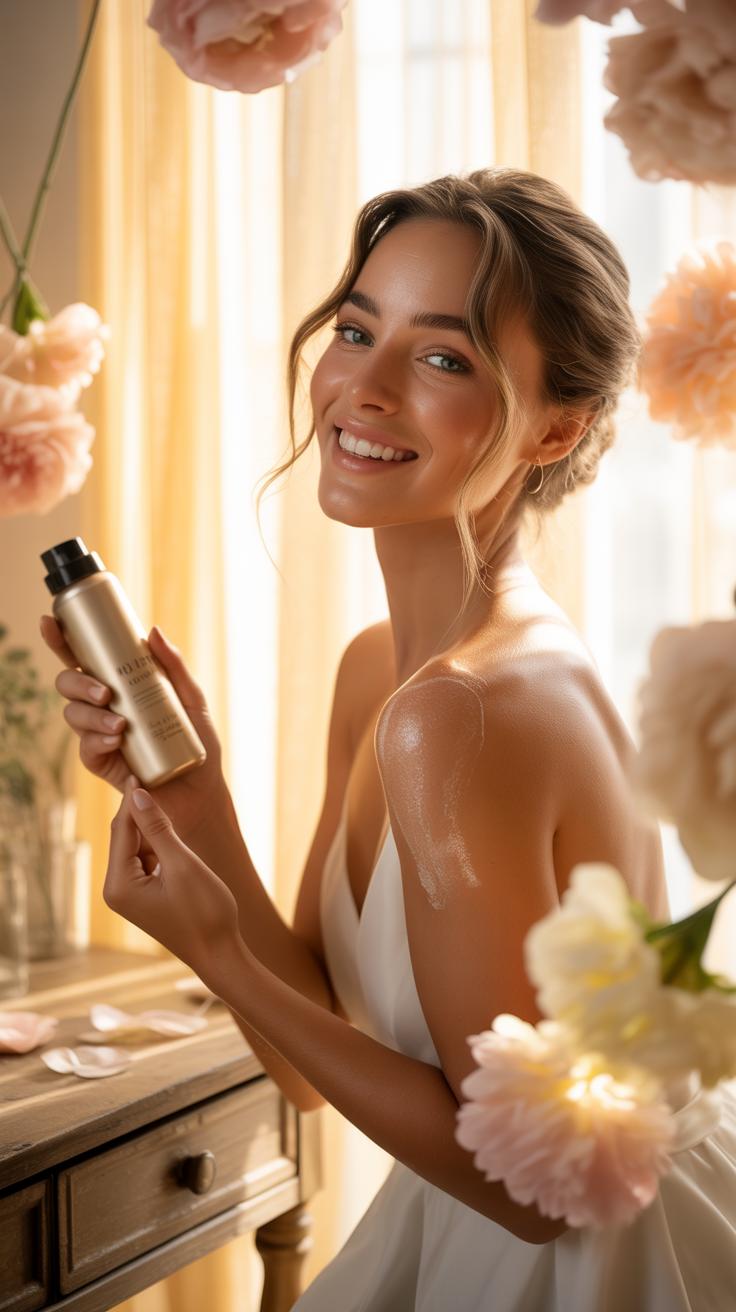
At-home self-tanner comes in mousses, drops, or lotions. You apply these products yourself using a tanning mitt. This method requires significant manual dexterity and patience. It is the most affordable way to get color. However, you lack the fine mist application of a professional gun. Formulations have improved but still carry a higher risk of user error during the application.
How To Weigh Cost Vs. Results When Planning Your Bridal Tan
Cost is the main driver for many brides choosing at-home products. A high quality bottle of mousse costs less than one professional session. You get multiple applications from a single container. This allows you to practice several times before the wedding day. It is a smart move for those on a tight budget. You save money but spend more time on preparation.
Results depend on your skill level and skin prep. A professional spray tan provides a flawless finish in twenty minutes. It is a low stress option for the week of the wedding. Self-tanning requires you to reach every area perfectly. Mistake correction is difficult once the color develops. Weigh the price of a pro tan against the cost of your time and potential stress.
The Budget BrideS Guide To Bridal Spray Tan Options
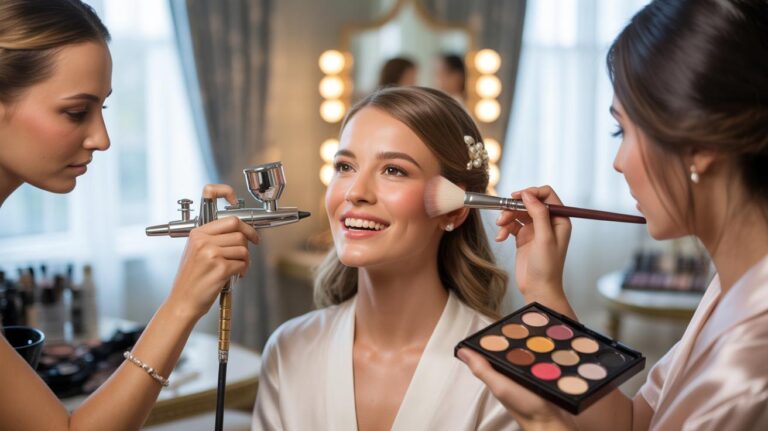
What To Expect From A Professional Bridal Spray Tan Appointment
Professional spray tanning utilizes a technician to apply a dihydroxyacetone solution via a high volume low pressure system. This process ensures even coverage in areas that are hard to reach. A standard session lasts about twenty minutes. You will stand in a ventilated booth while the artist applies the mist. The technician adjust the spray intensity based on your skin tone and wedding dress color.
Preparation is mandatory for a successful result. You must exfoliate and shave twenty four hours before the appointment. Do not apply lotion or deodorant on the day of the service. These products create a barrier that causes streaks. After the application you must wear loose dark clothing to prevent smudging. The color develops over eight to twelve hours before you can rinse off the bronzer.
How To Find Affordable Spray Tan Services Without Sacrificing Quality
High prices do not always guarantee the best results for your wedding day. Look for mobile technicians who work from home or travel to clients. These pros often have lower overhead costs than high end spas. You can find skilled artists by checking local portfolios on social media. Focus on photos showing hands and feet. These areas reveal the technical skill level of the tanning artist.
Save money by booking a group package with your bridal party. Most salons offer significant discounts for three or more people. Seek out new artists at established studios who need to build their portfolios. They often provide introductory rates for a bridal spray tan. Always schedule a trial run at least three weeks before the wedding. This test ensures the solution reacts well with your specific skin chemistry.
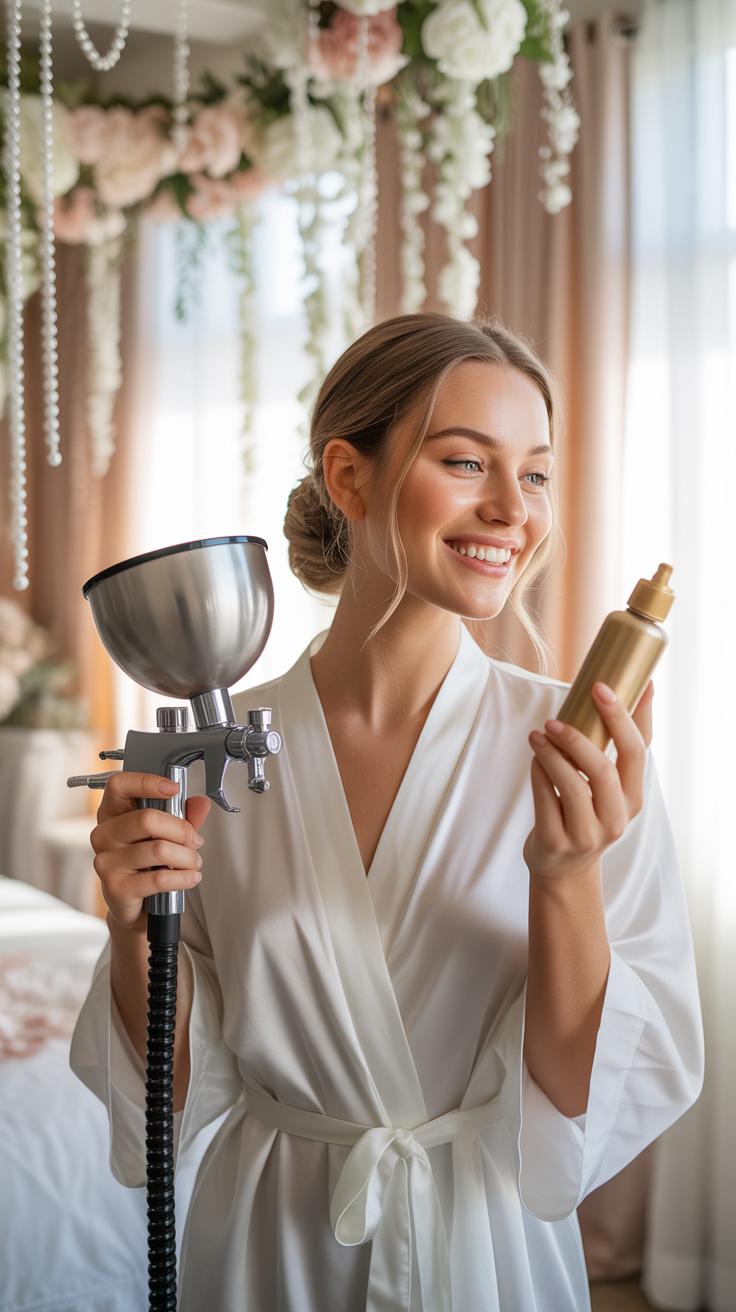
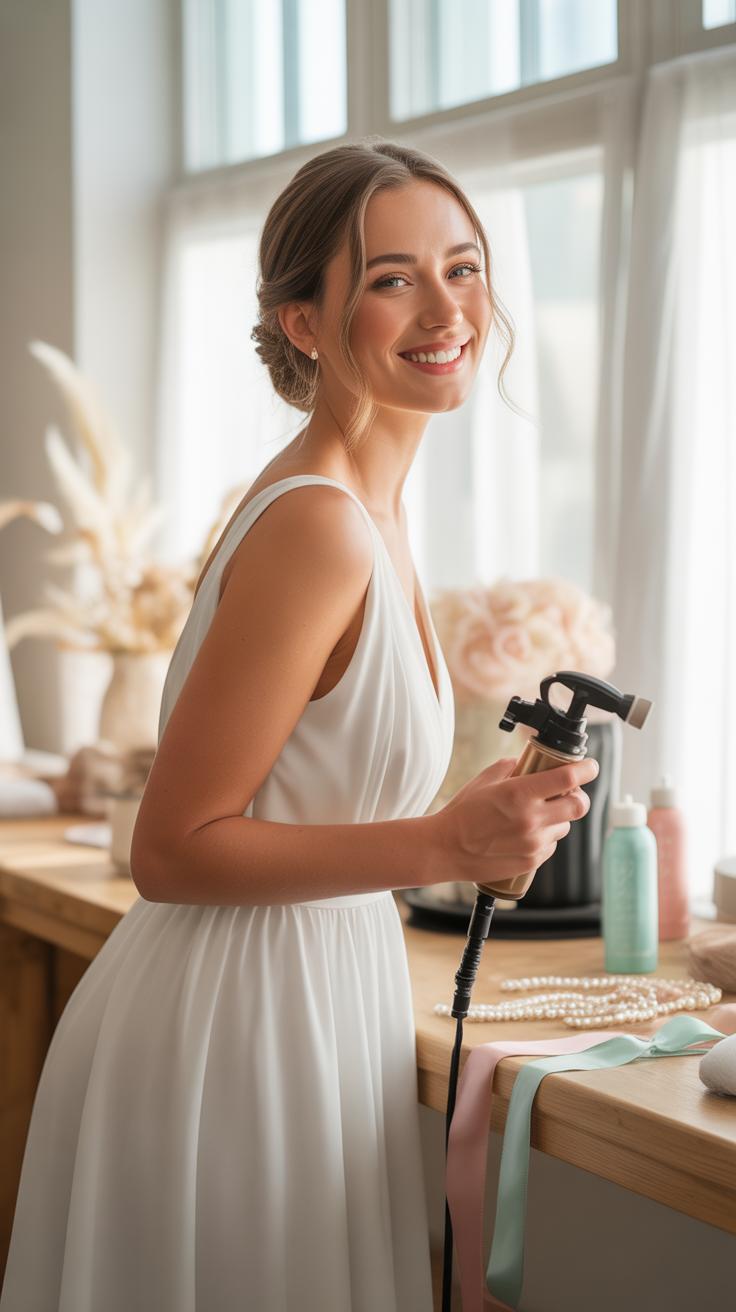
Home Spray Tan Kits A Money Saving Alternative For The Budget Bride
What To Look For When Choosing A Home Spray Tan Kit
Professional home spray tan kits must include a high-quality HVLP motor. High Volume Low Pressure technology ensures the solution atomizes into a fine mist. Cheaper aerosol cans often cause spotting and uneven layers. Look for a kit with an adjustable spray nozzle. This allows you to control the flow of the DHA solution. Precise control prevents the common orange streaks found in low-grade bridal tanning products.
Check the DHA percentage before you buy any kit. Brides with fair skin need lower concentrations around eight percent. Darker skin tones can handle twelve percent or higher. Verify that the kit includes a pop-up tent and a long hose. The tent contains overspray and protects your bathroom surfaces. The hose length dictates your range of motion. You need full reach to cover every angle of your body.
Step By Step: How To Apply A Home Spray Tan For An Even, Streak Free Finish
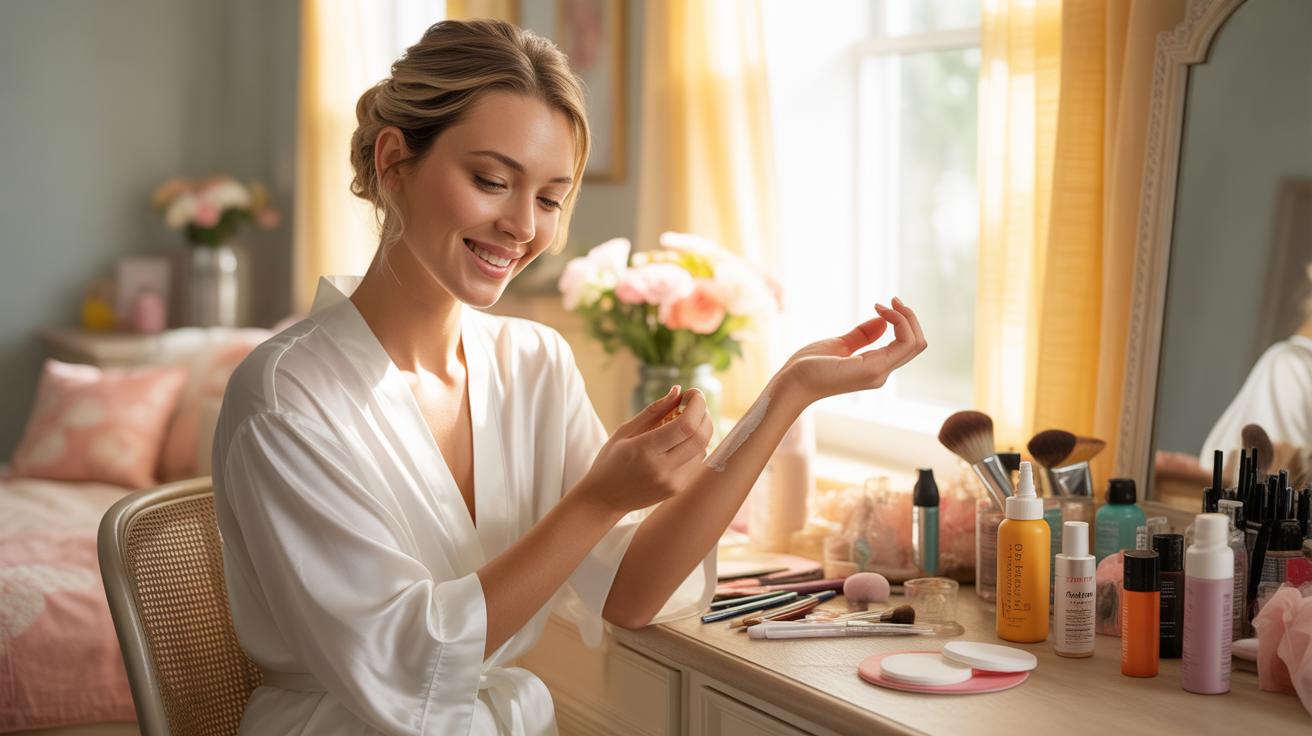
Preparation determines the final quality of your wedding spray tan. Shave and exfoliate exactly twenty-four hours before you start. This delay allows your pores to close and prevents dark spots. Apply a barrier cream to your palms, elbows, and knees. These dry areas absorb more solution and turn darker than the rest of your skin. Clean skin must be free of deodorant and perfume.
- Vertical Pass Technique: Hold the spray gun six inches from your skin. Move the applicator in steady vertical lines from top to bottom. Overlap each pass by fifty percent to ensure total coverage.
- Joint Positions: Bend your knees and elbows during application. Taut skin allows the mist to reach inside natural creases. Keeping joints straight creates white lines that ruin the professional look of your bridal tan.
- Hand And Foot Blending: Spray your hands and feet last with the remaining mist in the air. Do not apply a direct blast to these areas. Use a blending brush to smooth the edges around your wrists and ankles.
- Drying Phase: Stand still for ten minutes after the application finishes. Use a hair dryer on a cool setting to speed up the process. Do not put on tight clothes until the skin feels completely dry to the touch.
- Development Time: Let the tan develop for eight hours before showering. Do not use soap during the first rinse. Use lukewarm water to remove the cosmetic bronzer guide. This reveals the actual tan beneath the surface dye.
Precision matters during the first rinse. Avoid scrubbing the skin with a washcloth. Pat your body dry with a soft towel. Apply a daily moisturizer to lock in the color immediately. This step prevents the tan from cracking or fading prematurely. Consistent hydration keeps the glow looking natural for your wedding day. Follow these tactical steps to achieve a salon-quality finish without the high price tag.
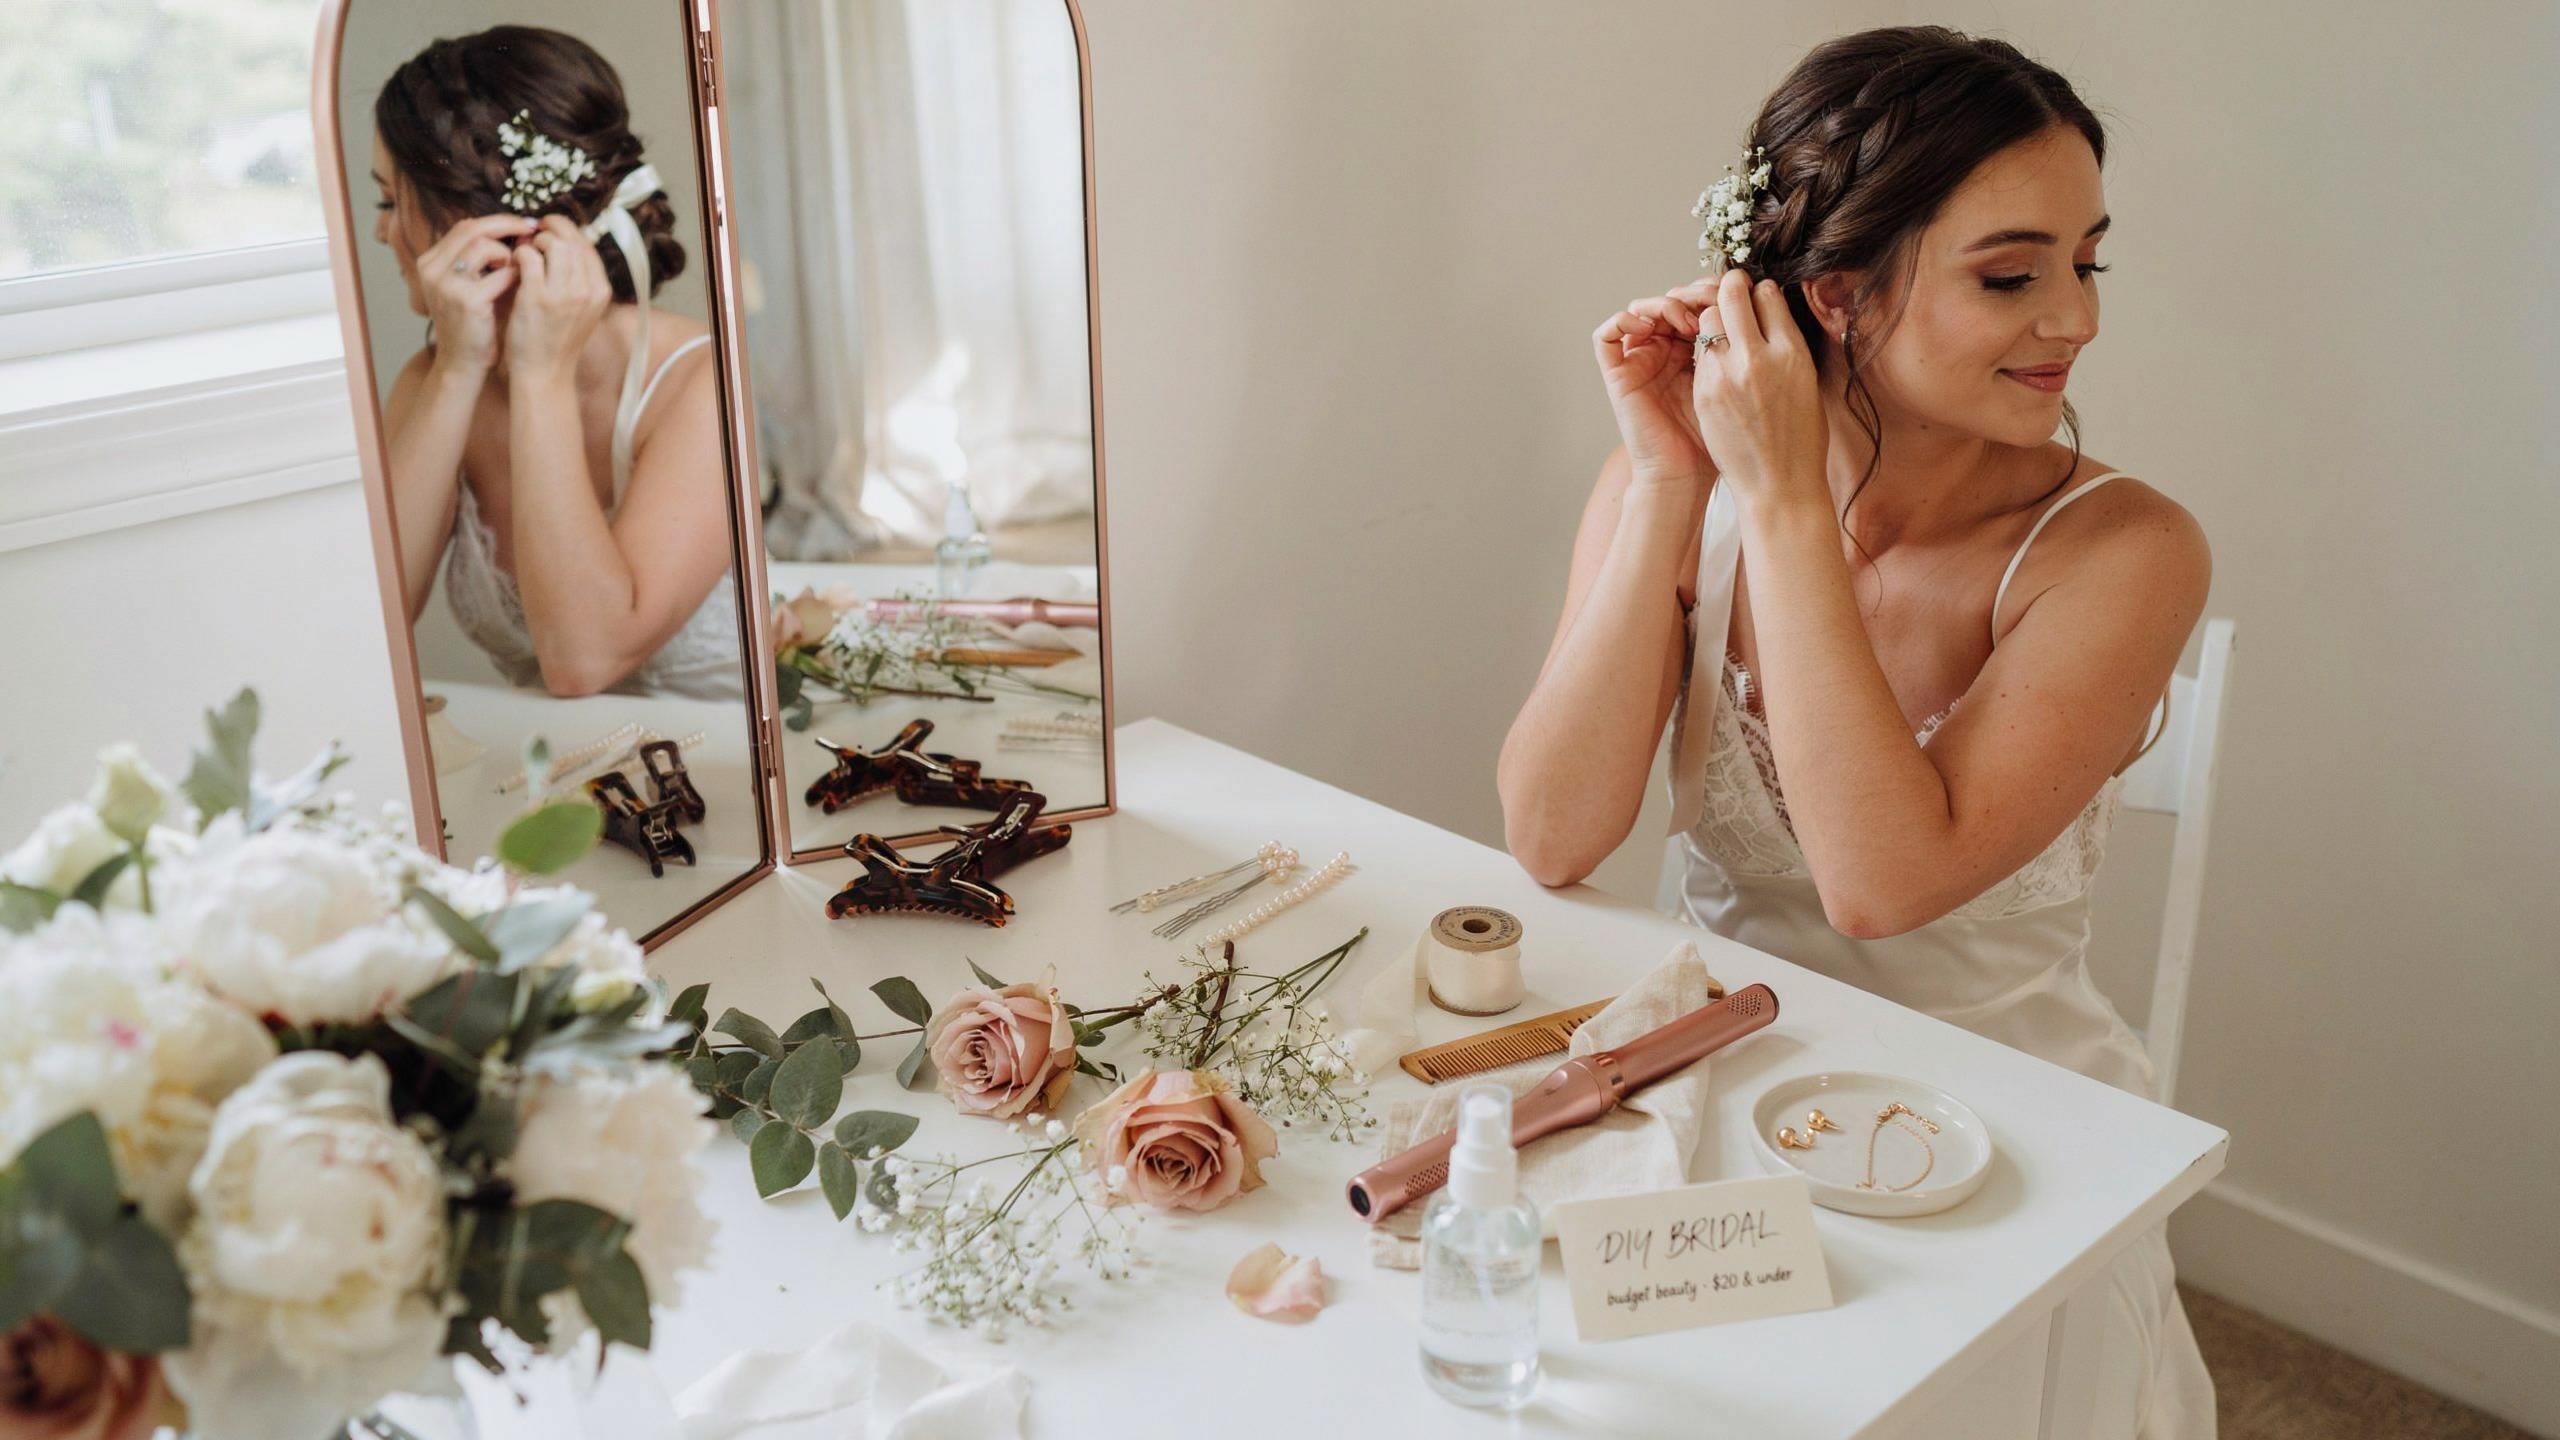
Essential Tanning Tips For Brides Skin Prep That Makes All The Difference
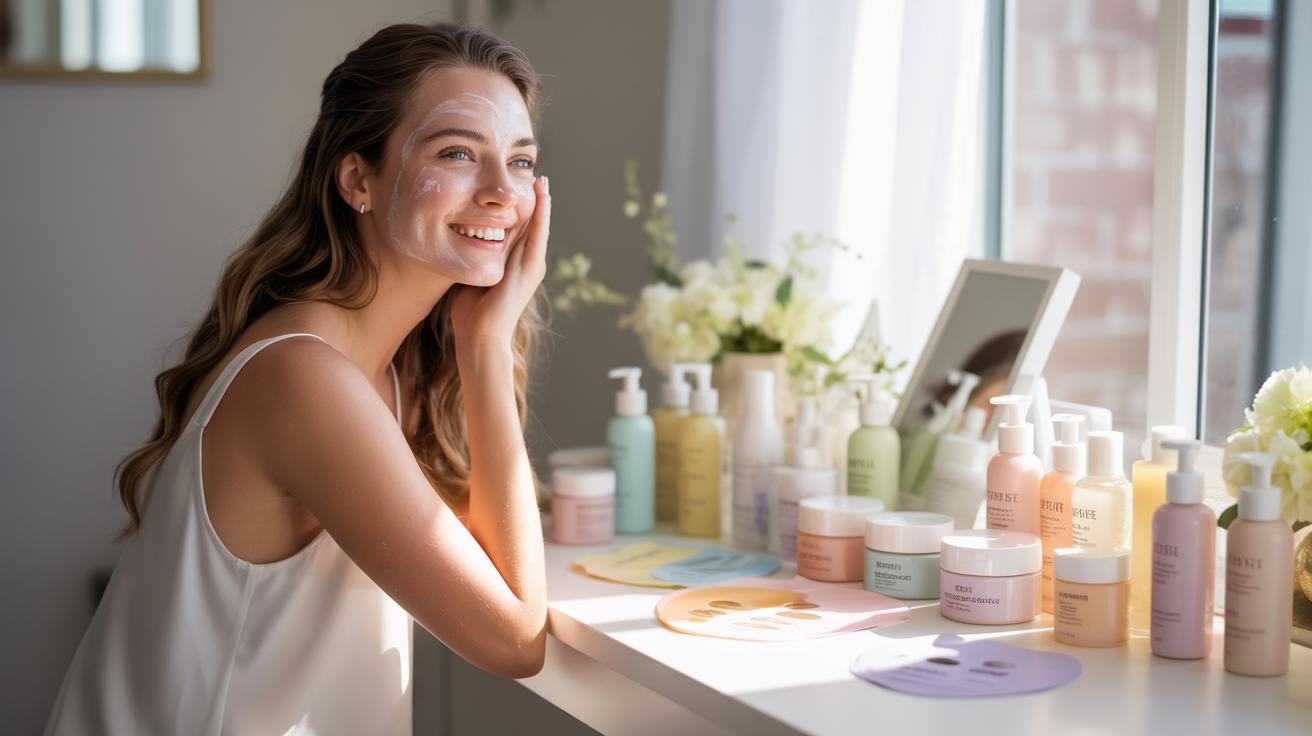
Why Exfoliation And Moisturizing Are Non Negotiable Before Any Tan Application
Self tan products contain dihydroxyacetone which reacts with dead skin cells. If you do not exfoliate you will get an uneven finish. Dead skin buildup causes dark patches and streaks that look amateur. Use a physical scrub or mitt twenty four hours before your application. This creates a smooth canvas for the DHA to bond with healthy skin cells for even color.
Hydration determines how long your bridal glow lasts. Dry skin absorbs too much product and turns orange or patchy. You must moisturize daily for a week leading up to your tan. Stop using heavy oils on the actual day of application. Oils create a barrier that blocks the tan from developing. Proper prep ensures the tan fades naturally without looking like scales.
Which Body Areas Need Extra Prep Attention Before Your Bridal Tan
Focus on the driest parts of your body like elbows and knees. These areas possess thicker skin and absorb more pigment than flatter surfaces. Apply a light water based lotion to these spots right before tanning. This acts as a buffer to prevent over absorption. If you skip this step your joints will look much darker than your limbs in photos.
Check your hands and feet for dry patches. These areas show mistakes first because the skin is thin and moves often. Avoid getting excess product on your knuckles and heels. Blend the tan carefully at your wrists and ankles to avoid harsh lines. Clear prep on these specific zones prevents the telltale signs of a fake tan. High movement areas require thin layers.
Wedding Spray Tan Timing When To Tan Before Your Big Day
The Ideal Timeline For Getting A Spray Tan Before Your Wedding Day
Schedule your professional session or home application exactly two days before the ceremony. This forty-eight hour window allows the guide color to wash off completely. It also gives the DHA time to fully develop and settle into the skin. If you tan the day before, you risk bronzer transfer onto your white dress. If you tan three days early, the color may begin to fade.
Prepare your skin carefully during the forty-eight hours leading up to the appointment. Exfoliate and shave one day before the tan. Do not apply lotion or deodorant on the day of the application. This ensures the tan adheres to clean skin without streaking. After the appointment, wait eight to twelve hours before showering. Use tepid water and avoid harsh soaps to preserve the initial color payoff.
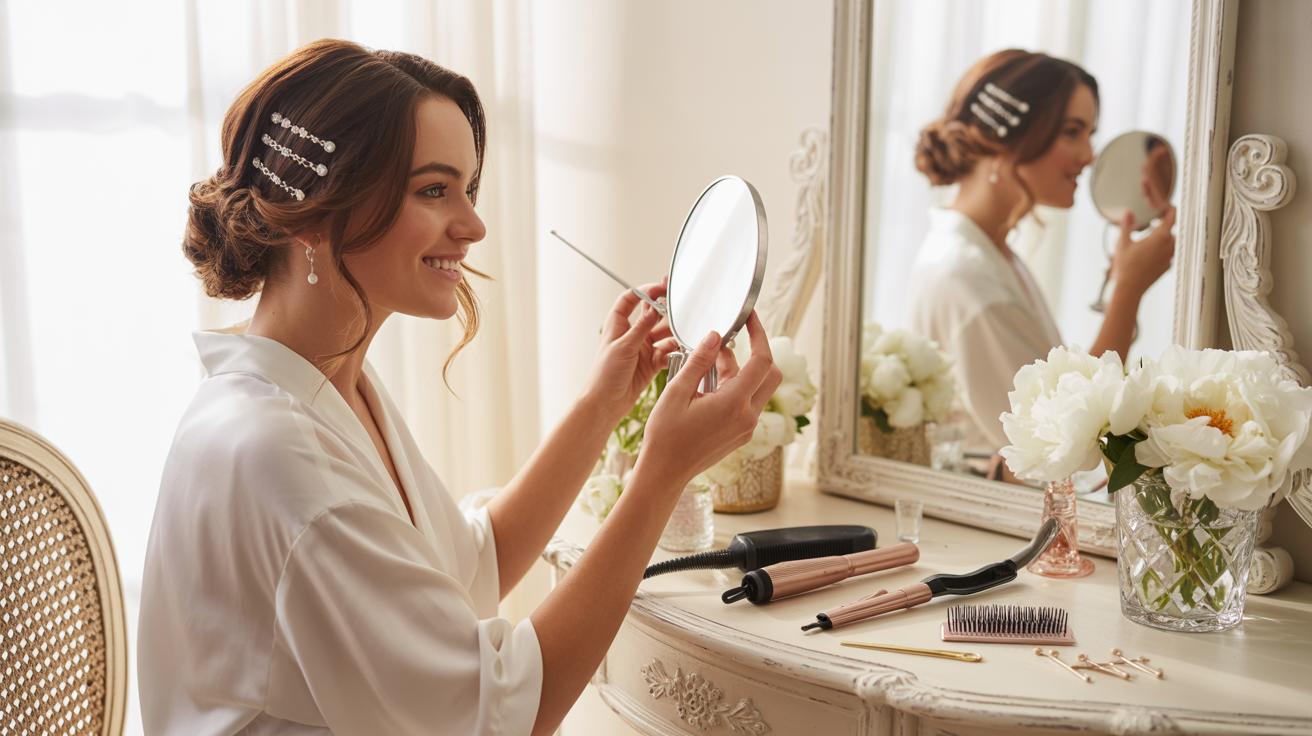
Why You Should Always Do A Trial Run Tan Before The Wedding
Perform a trial run at least four weeks before the wedding date. This test reveals how the specific formula reacts with your skin chemistry. Some solutions pull orange or green depending on your pH levels. A trial run gives you time to adjust the shade or switch brands if the result is poor. Never try a new product for the first time during your wedding week.
Use the trial run to test your tan against your dress color and wedding makeup. Take photos in natural and artificial light to check for patchiness. This process identifies dry areas like elbows or knees that require extra moisture. If the tan fades unevenly, you can modify your exfoliation routine. A successful trial eliminates stress and guarantees a predictable result for the actual wedding event.
How To Finish Spray Tan Results Making Your Glow Last Longer
Post Tan Care Habits That Extend The Life Of Your Bridal Glow
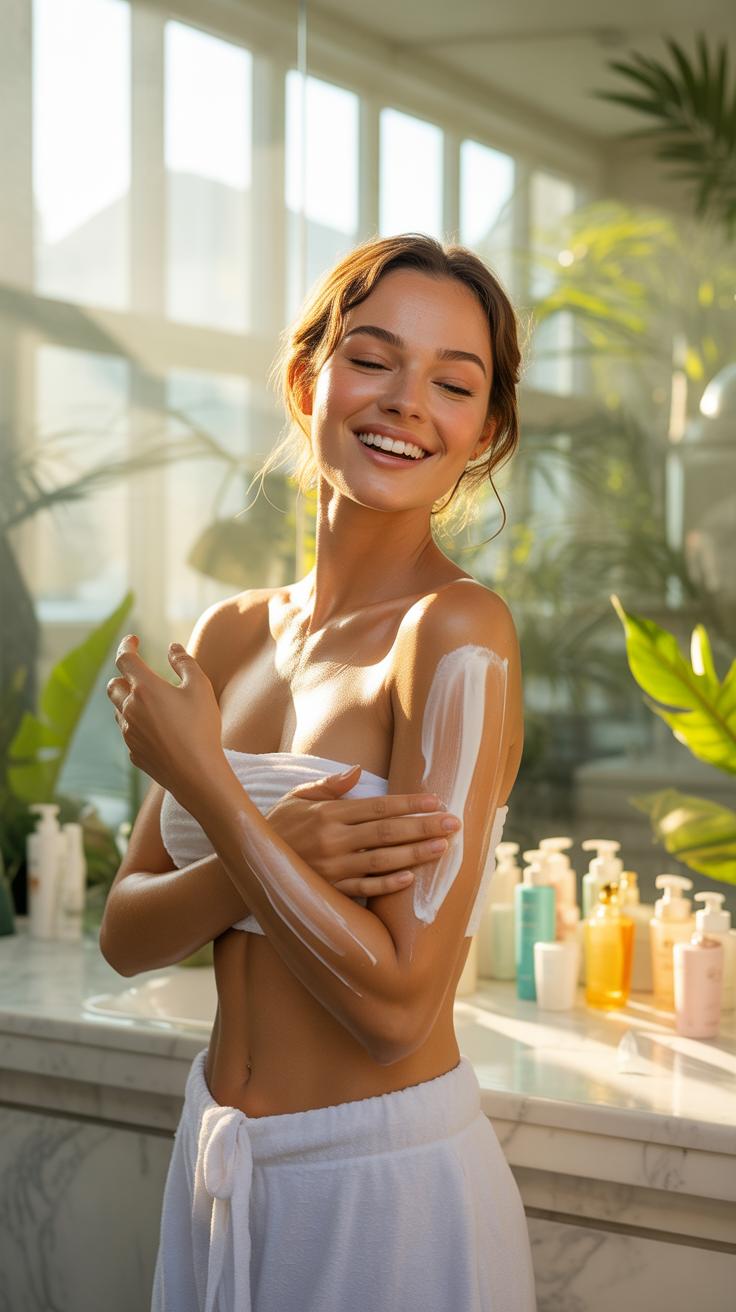
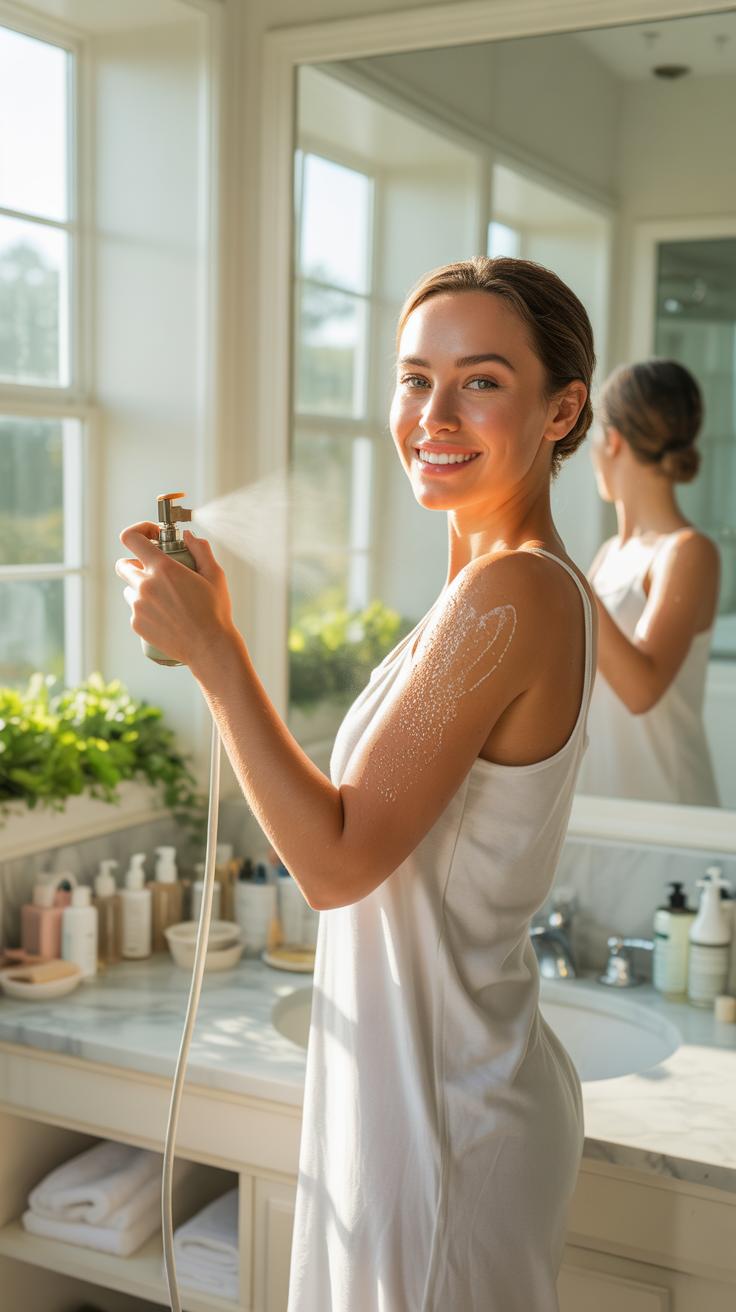
Hydration is the primary factor in tan longevity. Apply an oil-free moisturizer twice daily starting immediately after your first post-tan shower. Skin cells naturally shed every seven to ten days. Keeping these cells saturated prevents them from flaking off prematurely. Use lotions containing shea butter or glycerin. Avoid products with mineral oil as they dissolve the tanning bond on the skin surface.
Maintaining your bridal glow requires cool water temperatures. Hot water strips the skin of natural oils and accelerates the exfoliation process. Use a sulfate-free body wash and apply it only with your hands. Physical tools like washcloths or loofahs create friction that removes the DHA color. Pat your skin dry with a soft towel after every shower. Rubbing the skin will cause immediate and uneven fading.
Common Mistakes That Cause A Spray Tan To Fade Prematurely
Chlorine and saltwater act as bleaching agents on a fresh tan. Swimming in a pool or the ocean will strip your color within minutes. If you must swim, apply a waterproof sunscreen to create a physical barrier. Long soaking sessions in a bathtub also soften the skin too much. This makes the tan susceptible to rubbing off on clothing. Stick to short, lukewarm showers until your wedding day.
Excessive sweating and tight clothing pose a high risk to your tan. Friction from sports bras or leggings rubs the pigment off the skin before it fully sets. High-intensity workouts cause sweat to pool in joints like elbows and knees. This leads to streaking and patchy areas that are difficult to fix. Wear loose garments made of breathable cotton. Avoid any activity that causes heavy perspiration for forty-eight hours.
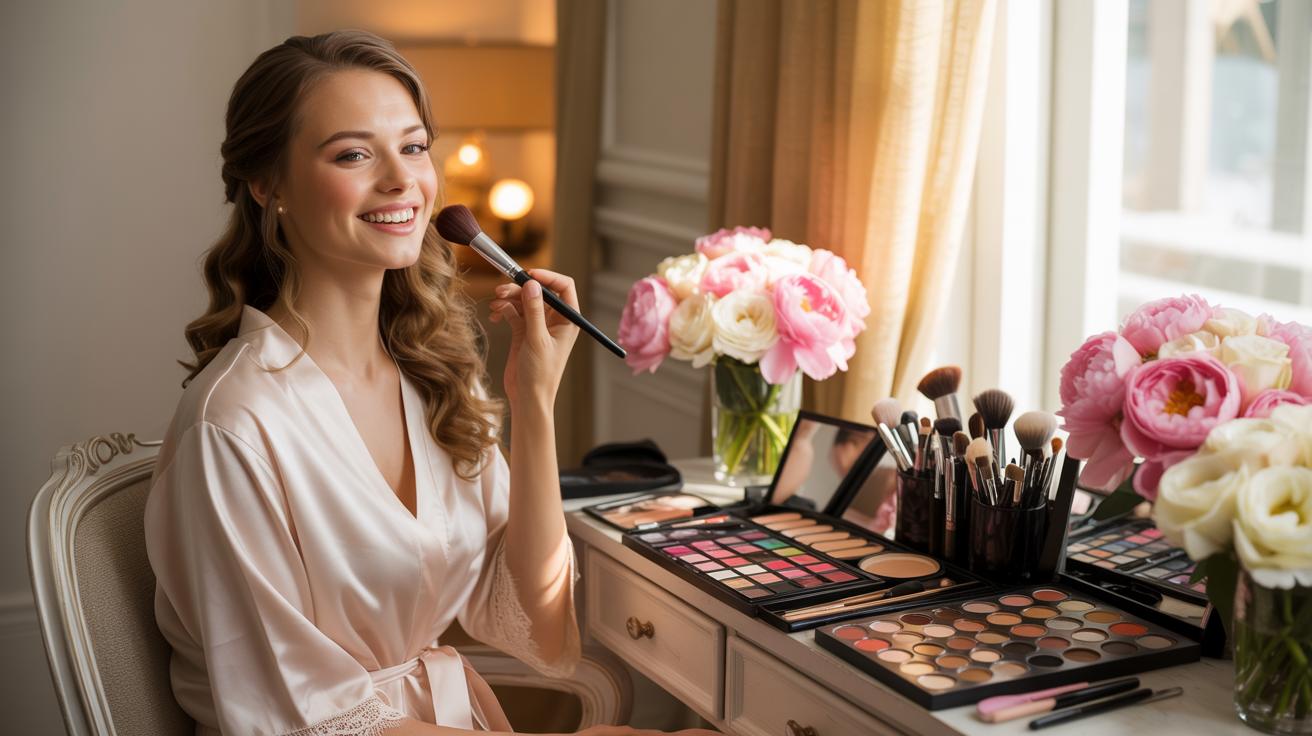
Smart Tanning Tips For Choosing The Right Shade For Your Skin Tone
How To Match Your Self Tan Depth To Your Natural Skin Tone And Wedding Dress Color
Your natural skin undertone dictates your ideal self-tan shade. Select a green-based formula to neutralize pink or red undertones in fair skin. Choose violet-based bronzers to balance yellow or olive tones. Avoid deep shades if you have a pale base. A tan that is too dark looks orange and unnatural. Aim for two shades darker than your natural skin for the most realistic bridal glow.
Bright white wedding dresses reflect light and make your tan look darker than it actually is. Off-white and cream fabrics are more forgiving and blend better with warm skin tones. Always test your tan while wearing a white shirt. This helps you see how the color interacts with the fabric. Do your final application two days before the wedding. This allows the guide color to wash off completely.
Real luxury is not about what you spend, but how beautifully you carry your confidence down the aisle. A sun-kissed glow is a bride’s best accessory, and looking like a million dollars doesn’t have to cost it.
— Estée Lauder
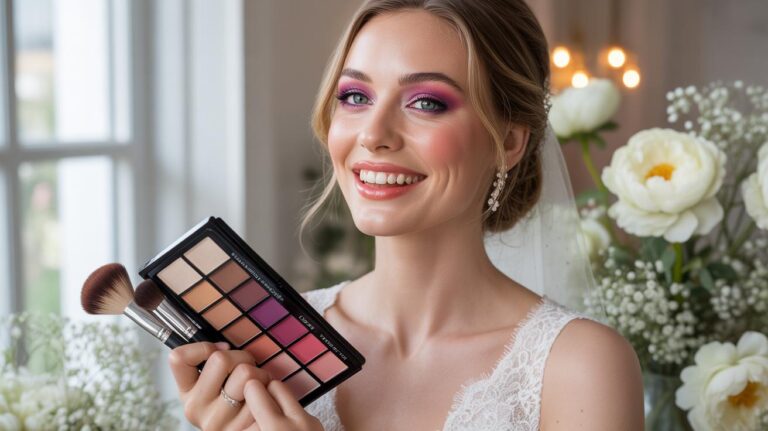
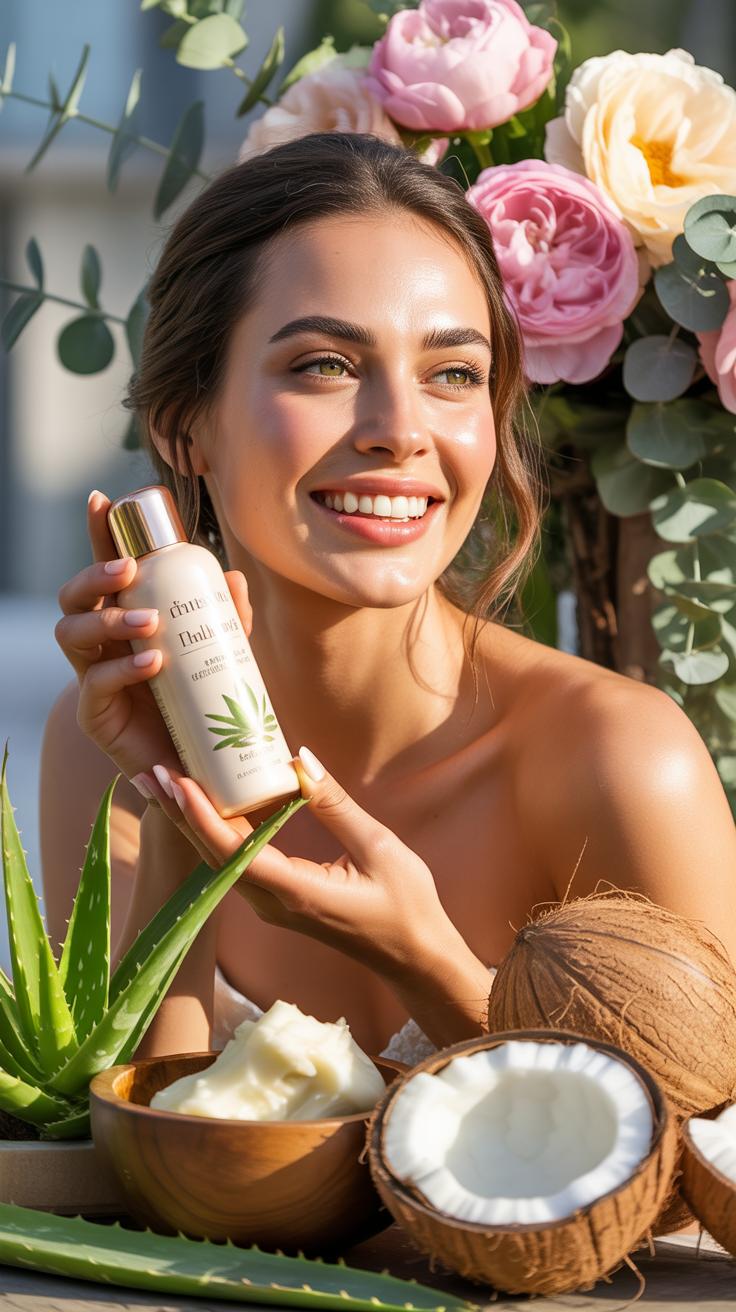
Budget Friendly Self Tanning Products Organized By Skin Tone And Formula Type
Select products based on your specific skin requirements and application experience. Beginners should use mousses with color guards to see where the product lands. Gradual lotions work best for fair skin because they build color slowly without streaks. Experienced users can utilize drops or clear waters to avoid transfer onto white sheets. High-quality drugstore options provide professional results when you follow proper preparation steps.
- Bondi Sands Self Tanning Foam: This green-based mousse works well for fair to medium skin tones. It counteracts pink undertones to provide a natural brown finish. The formula is affordable and widely available in most local drugstores.
- St. Tropez Gradual Tan Classic: This lotion is ideal for brides who fear looking too dark. It builds color over several days to allow for total control. It hydrates the skin while providing a subtle and streak-free glow.
- L’Oreal Paris Sublime Bronze Water Mousse: This clear formula prevents bronzer from staining your clothes or bedding. It is a lightweight option for those with oily skin. The product develops fully into a medium bronze shade within eight hours.
- Jergens Natural Glow Daily Moisturizer: This is the most cost-effective option for a wedding tan. It functions as a daily lotion that slowly darkens the skin. Use this for at least one week to achieve a consistent and light color.
- Isle of Paradise Self-Tanning Drops: These drops allow you to customize your tan depth by mixing them with your favorite moisturizer. Choose the peach bottle for light tones or the green bottle for medium skin. This prevents color from appearing too heavy.
Dry skin absorbs more pigment and creates dark patches. Apply a fragrance-free moisturizer to your elbows, knees, and ankles before tanning. This creates a barrier that keeps the color light in those areas. Use a tanning mitt for every application. Mitts ensure the product spreads evenly and keep your palms clean. Consistent application is the only way to achieve a professional look on a budget.
Spray Tanning Techniques You Can Master At Home For A Flawless Look
How To Use A Tanning Mitt And Blending Brush To Avoid Streaks And Patches
Precision application requires two specific tools. Apply tanning mousse or lotion directly to a high-quality velvet mitt. Sweep the mitt over large muscle groups using long and overlapping strokes. This circular motion ensures the product penetrates the skin evenly. Avoid using bare hands because palms absorb pigment instantly. Consistent pressure prevents the dark spots and streaks that ruin a bridal look.
A dense synthetic blending brush manages the high-risk areas. Use the brush to buff small amounts of product onto wrists, ankles, and knuckles. These areas have thinner skin and more folds which trap excess DHA pigment. Lightly dusting these spots ensures a seamless transition from the limbs to the joints. This professional technique prevents the tell-tale orange buildup common with amateur wedding tanning attempts.
Tackling Hard To Reach Areas Like The Back And The Back Of The Legs
The back requires a specialized approach for a total bridal glow. Use a long-handled applicator or a back tanning band. These tools allow you to apply even pressure across the shoulder blades without straining. Position yourself between two mirrors to track your progress in real time. Start from the top and work downward to ensure full coverage across the entire surface of your posterior.
Legs require tactical positioning to avoid patchiness behind the knees. Stand with one leg elevated on a stool to pull the skin taut. This prevents the tanning product from pooling in the natural creases of the skin. Use the mitt in upward motions from the ankle to the thigh. Check the backs of your calves in the mirror to confirm the edges blend into your side profile perfectly.
What Brides Who Tried Spray Tan For Prom Can Teach Us About Wedding Day Tanning
Lessons Learned From Spray Tan For Prom That Translate Directly To Bridal Prep
Most brides first experience a formal spray tan during high school. Prom photos reveal technical errors like orange hands or dark elbows. These mistakes happen because users ignore skin preparation. You must exfoliate twenty-four hours before application to remove dead skin cells. This creates a flat surface for the tanning solution. Applying tan to dry skin always results in uneven patches and streaking.
Teenage tanning mistakes often involve poor color selection for the specific event lighting. Prom venues and wedding halls use different bulb temperatures that change how tan looks on skin. Cheap products with high levels of DHA react poorly under flash photography. Professionals recommend testing the formula well in advance of the ceremony. Use a clear barrier cream on your knuckles and heels to prevent concentrated product buildup.
How A Prom Style Trial Tan Can Help You Dial In Your Bridal Look For Less
A trial tan functions as a strategy session for your wedding day glow. Use this test run to monitor the color fade over five days. Note exactly when the tan looks most natural on your skin tone. Most brides find that the second day after application provides the best results for photos. This timeline ensures the bronzer guide color is fully washed away before you wear white.
Budget brides save money by identifying the correct shade during the trial phase. Switching products right before the wedding is a high risk move that ends in expensive color correction. Document your application process and the specific product used. Wear your trial tan while trying on white clothing to check the contrast properly. This data allows you to replicate the exact look for the wedding at a low cost.
Tanning Ingredients And Formula Facts Every Budget Bride Should Understand
What Is DHA And How Does It Interact With Your Skin To Create A Natural Looking Tan
Dihydroxyacetone or DHA serves as the active ingredient in almost every self tan before wedding product. This colorless sugar reacts chemically with amino acids in the dead layer of your skin surface. Scientists call this the Maillard reaction. It is the same process that browns food during cooking. This reaction creates melanoidins which change your skin color temporarily without requiring harmful ultraviolet ray exposure.
The concentration of DHA determines the final depth of your bridal spray tan. Low percentages create a subtle glow while high concentrations produce a deep bronze. The color develops over six to ten hours after application. It does not involve the deeper layers of your skin or your natural melanin. Because it only affects the surface cells the tan fades as your skin naturally exfoliates.
Ingredients To Avoid In Budget Self Tanners To Protect Your Skin Before The Wedding
Cheap tanning formulas often contain high amounts of denatured alcohol to speed up drying times. This ingredient strips moisture from your skin. Dry skin leads to patchy fading and an uneven wedding spray tan. Avoid products that list alcohol near the top of the ingredient label. Look for hydrating bases like aloe vera or glycerin instead. These ingredients keep the skin supple and help the color last.
Synthetic fragrances and parabens frequently cause skin irritation or allergic reactions in many brides. You do not want a rash or hives days before your ceremony. Check labels for hidden scents that might trigger sensitivity. Mineral oils can also be problematic because they clog pores and interfere with the DHA absorption process. Stick to non-comedogenic formulas to ensure your skin remains clear and radiant for the big day.
Frequently Asked Questions

How far in advance should I apply my self tan before the big day?
For the best results, you should apply your self tan before wedding festivities begin, ideally two days prior to the ceremony. This timeline allows the color to fully develop and gives you time to rinse off the initial guide color. A two-day buffer also ensures the tan settles into a natural glow that won’t rub off on your white dress, keeping you looking flawless and photo-ready.
What is the best way to prep my skin for a DIY wedding tan?
Preparation is the secret to a professional look on a budget. Start by exfoliating your entire body twenty-four hours before you plan to apply your self tan before wedding events. Focus on rough areas like elbows and knees. Use a moisturizing primer or lightweight lotion on dry patches to prevent the tan from clinging unevenly, ensuring a smooth, streak-free application that looks like you spent hundreds at a salon.
Can I achieve a high-quality bridal glow using affordable drugstore products?
Absolutely! You don’t need an expensive professional spray tan to look stunning. Many affordable drugstore mousses and lotions offer sophisticated formulas that rival luxury brands. The key is in the application technique rather than the price tag. By using a high-quality velvet mitt and taking your time to blend thoroughly, you can achieve a sophisticated, sun-kissed bridal radiance while saving your wedding budget for other important honeymoon expenses.