What Makes A Bridal Updo Special Easy Hair Updos For Your Big Day
The Difference Between Everyday Updos And Bridal Updos
Bridal hair requires structural integrity and longevity. A standard gym bun or office twist relies on basic tension. Wedding hair uses specific foundations to survive movement and humidity. You must prep the hair with grit and texture. This creates a base for pins to grab. Without this prep, the weight of the hair pulls the style down over time.
Strategic volume also separates bridal looks from daily styles. Everyday hair sits flat against the scalp. Bridal updos use techniques like backcombing and padding to create a balanced profile. This ensures the style remains visible from every camera angle. You also build the style to support heavy accessories or veils. Routine styles cannot withstand that extra physical weight or pressure.
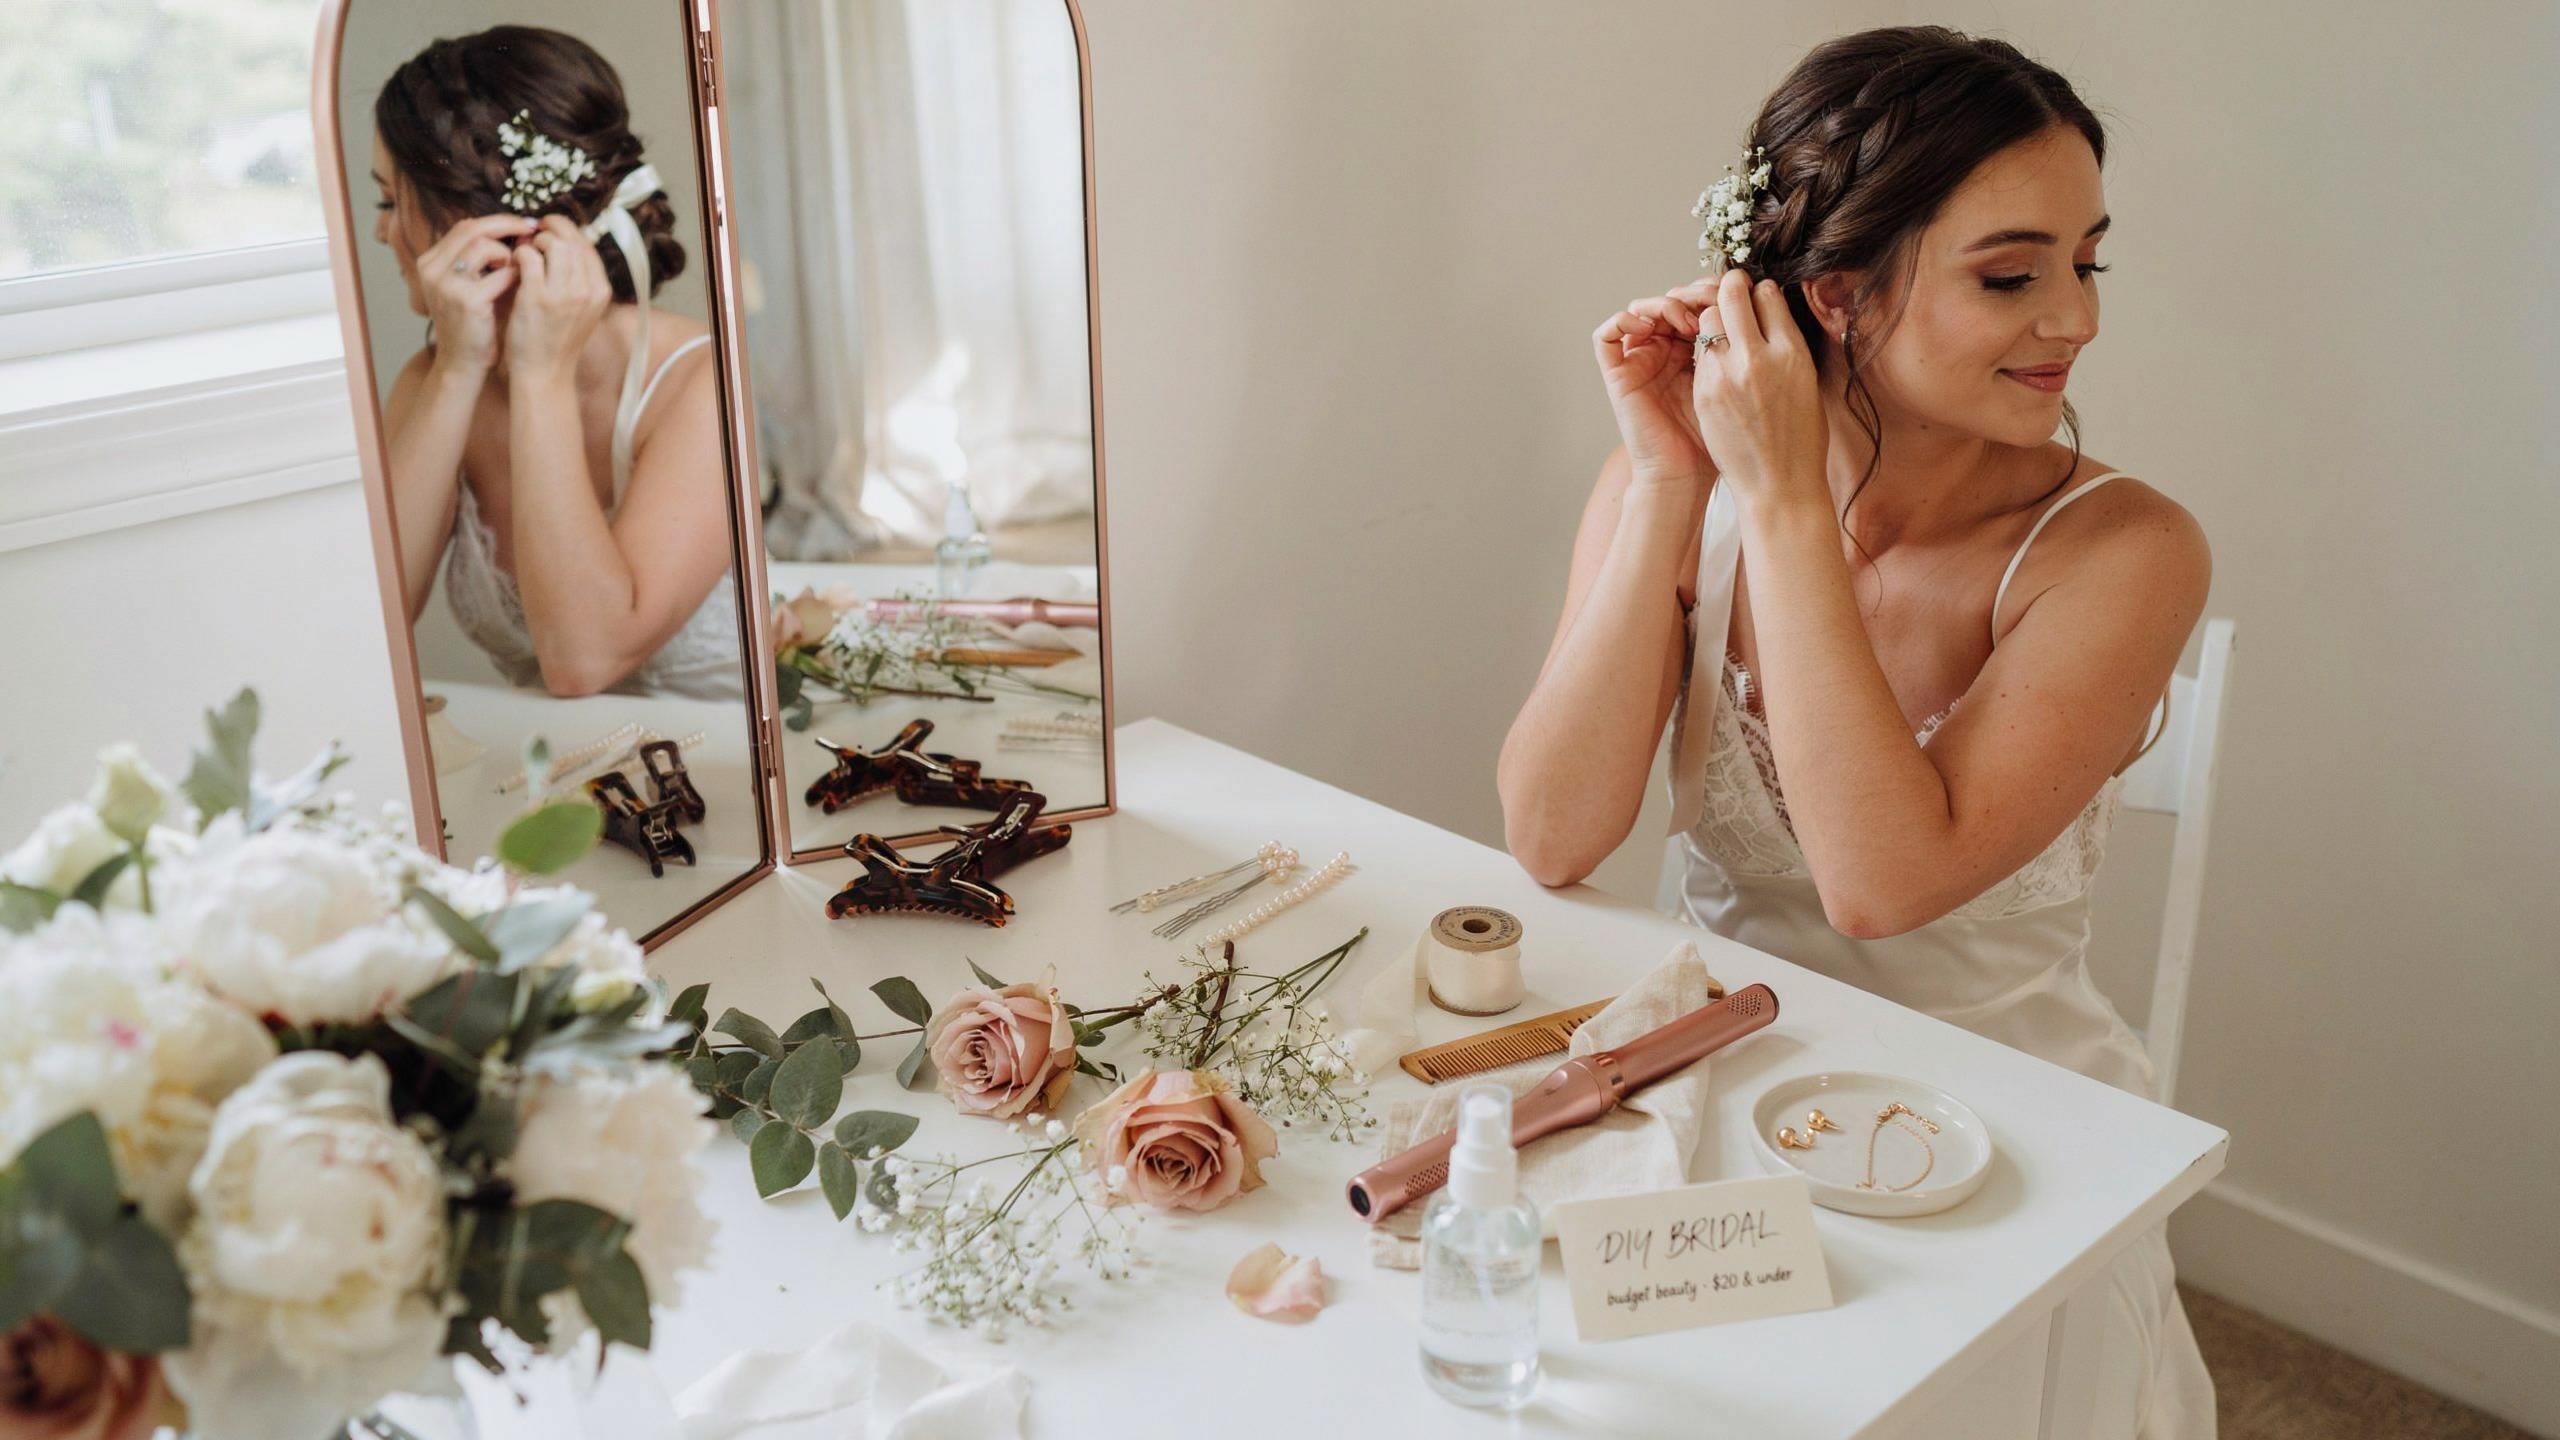
Why DIY Bridal Updos Are More Achievable Than You Think
Modern styling tools bridge the gap between amateur and professional results. High quality ceramic irons and industrial strength setting sprays allow for precise control. You no longer need complex finger waves or intricate braiding skills. Many current trends focus on soft textures and organic shapes. These styles hide minor mistakes better than sleek or rigid traditional updos from previous decades.
Video technology provides step by step visual confirmation of your progress. You can pause and repeat specific movements until your muscle memory takes over. Practicing the mechanics weeks before the event removes the stress of the unknown. Success comes from repetition and using the right products for your hair type. If you master the foundation, the final aesthetic layer becomes simple to execute.
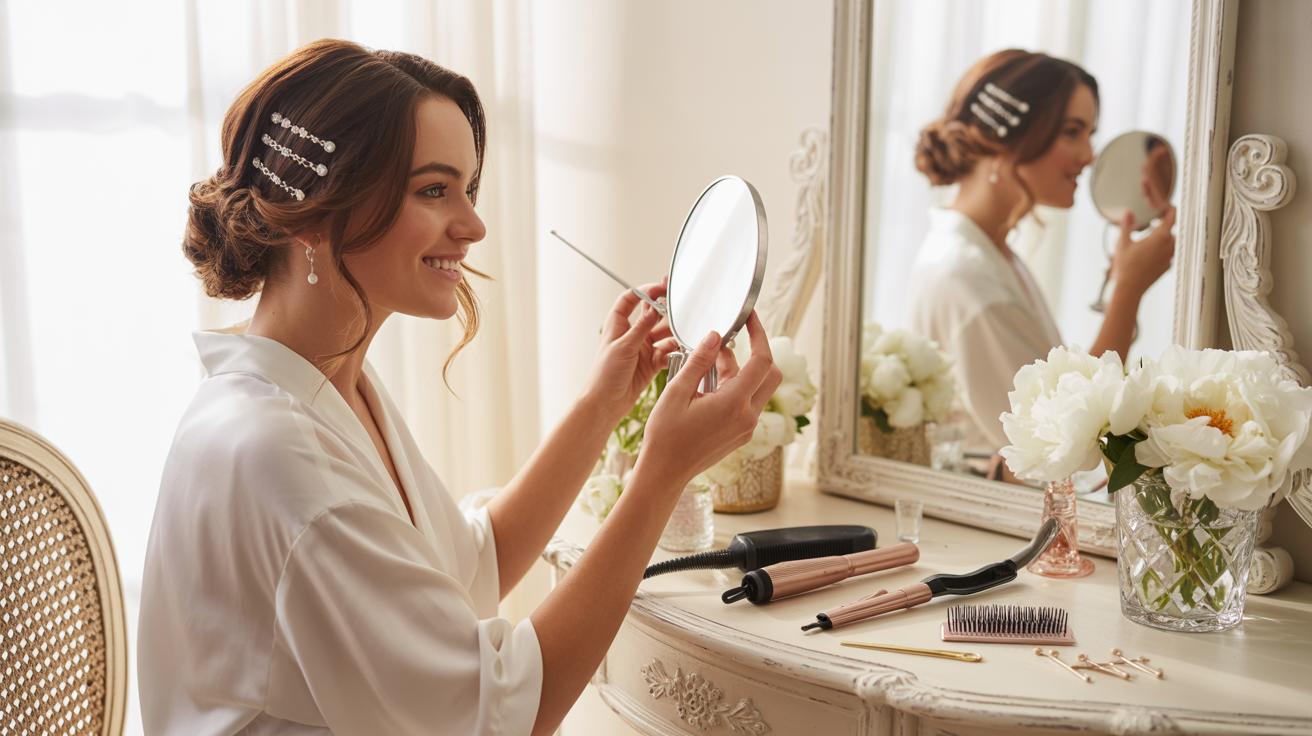
Essential Tools And Supplies For How To Hairstyles Step By Step Success
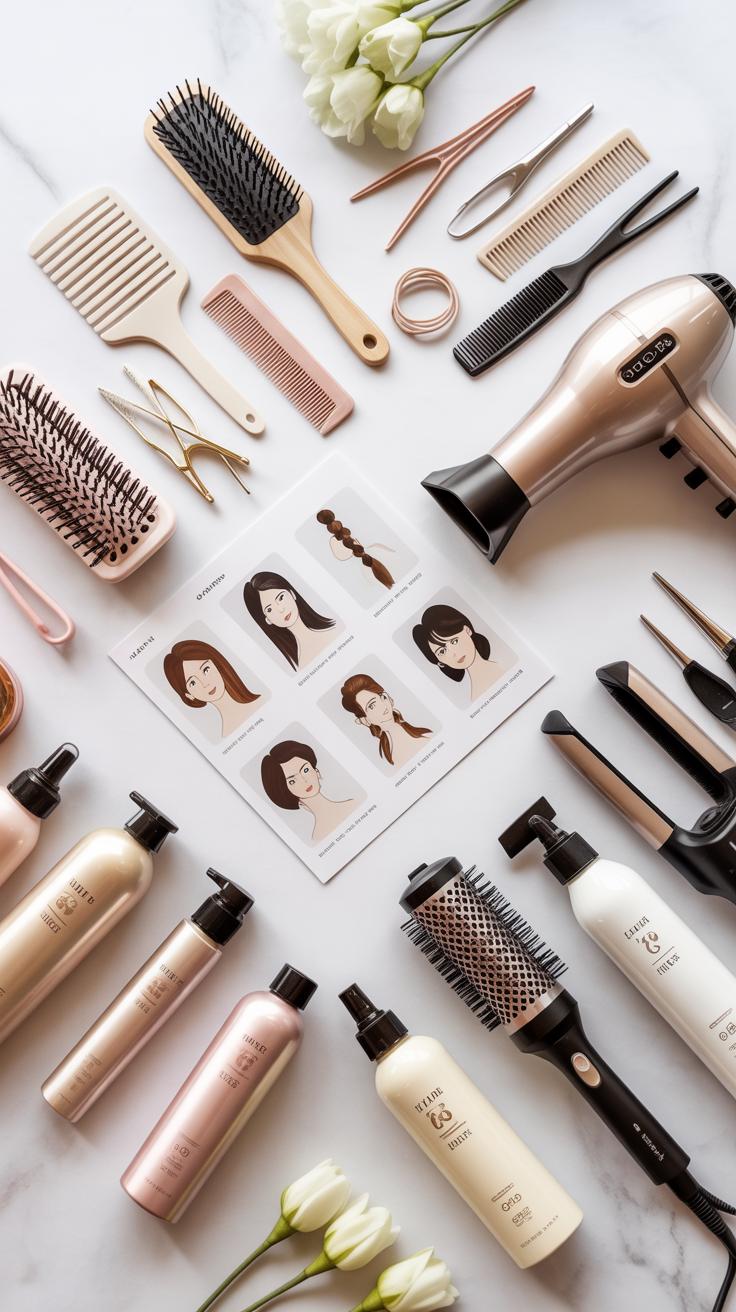
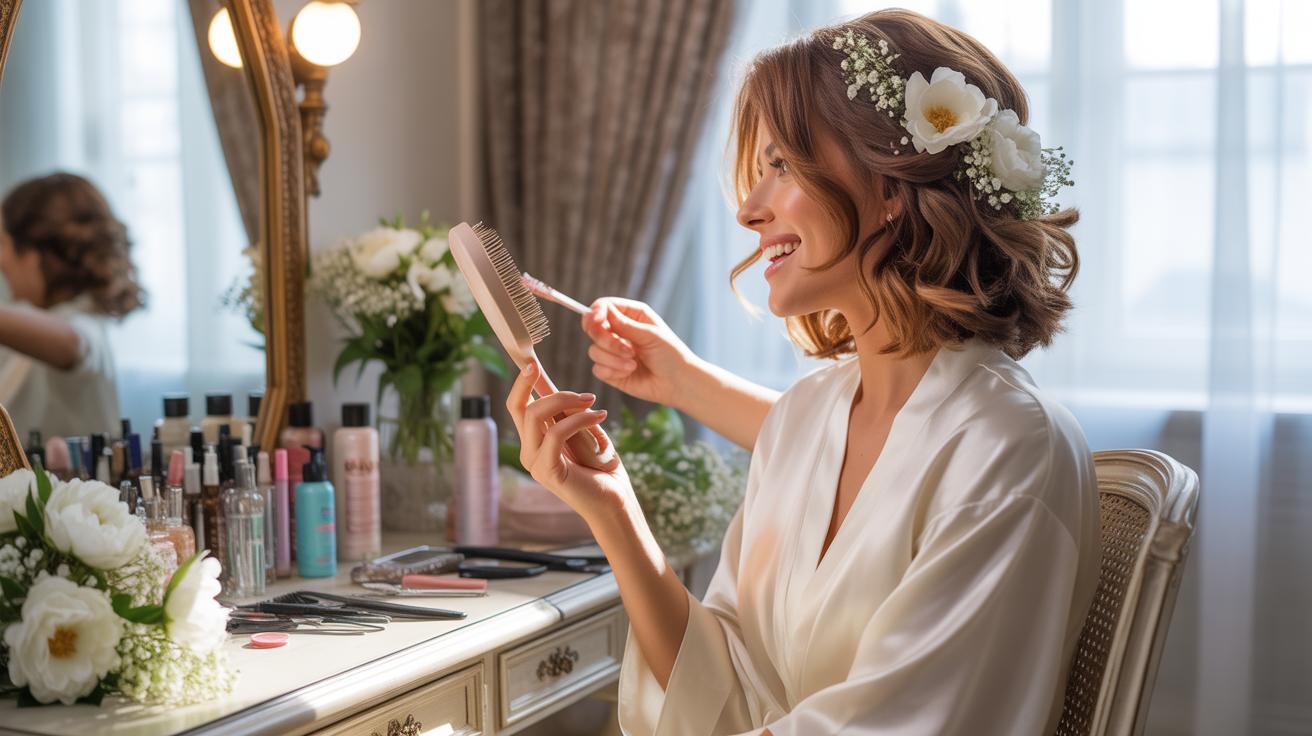
Must Have Hair Tools Every DIY Bride Should Own Before The Wedding Day
Executing a professional bridal updo tutorial diy requires high-quality mechanical tools and grip supplies. You cannot rely on standard drugstore elastics or flimsy pins to hold a heavy romantic style for twelve hours. Professional tools provide the tension and heat control necessary for structural integrity. Gather these items weeks before the wedding to practice your technique and ensure your hair responds well to the specific materials.
- Professional Grade Bobby Pins: Use heavy-duty steel pins with a matte finish for better grip. High-quality pins maintain their shape after one use and provide the tension needed to secure thick hair sections without slipping during the ceremony.
- Tail Comb with Fine Teeth: This tool is essential for precise sectioning and creating clean parts. The narrow metal tail allows you to lift specific layers for volume or tuck stray hairs into the base of your low bun.
- Variable Heat Curling Iron: A one-inch ceramic barrel provides the most versatile base for updos. Adjustable heat settings prevent hair damage while allowing you to set firm curls that act as the structural foundation for your pinned style.
- Clear Elastic Bands: Small polyurethane bands offer a discreet way to secure the base of ponytails or braids. Use clear bands to ensure the mechanics of your hairstyle remain invisible even if the outer layers shift during movement.
- Boar Bristle Teasing Brush: Natural bristles create soft volume and smooth the top layer of hair. This brush helps you backcomb the Crown area to provide an anchor point for pins without causing the breakage associated with plastic combs.
Quality styling products must complement your hardware to prevent frizz and maintain shape. A dry texture spray adds the necessary grit for fine hair to hold a pin. Finishing hairspray locks the final shape against wind and humidity. Test these products during your trial runs to confirm they do not leave a white residue or make the hair too stiff to manipulate into intricate shapes.
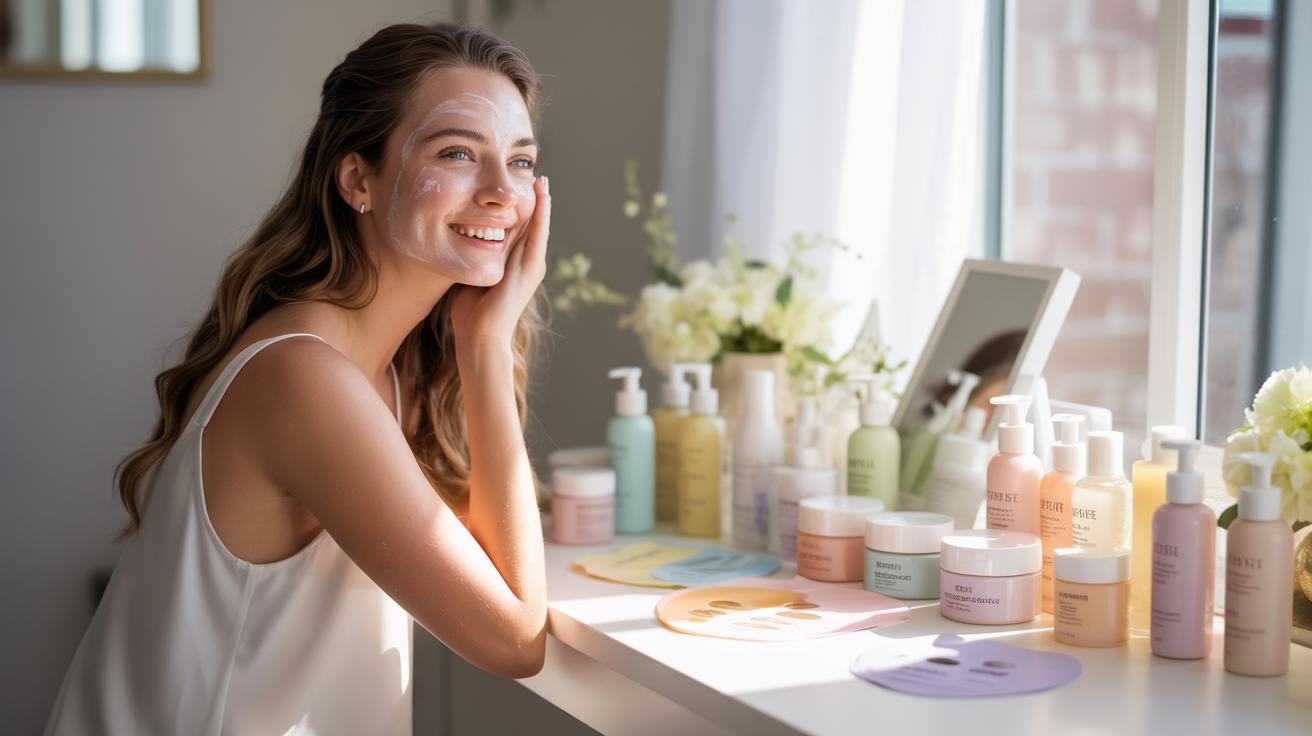
How To Prep Your Hair The Night Before For A Long Lasting Updo
Successful updo construction starts twenty-four hours before the event. Freshly washed hair is too smooth and slippery to hold complex twists or heavy buns. Wash your hair the night before using a clarifying shampoo to remove oil and product buildup. Avoid heavy conditioners or silicone-based treatments on the mid-lengths and ends. This creates a clean but textured canvas that provides better friction for bobby pins.
Apply a lightweight volumizing mousse to damp hair before blow-drying. Dry the hair completely to ensure no moisture remains in the cortex. Moisture trapped inside the hair shaft will cause the style to fall flat once you move into a humid environment. Use a round brush to pull the hair away from the scalp for natural lift. This preparation ensures the hair has the memory and strength to stay pinned all day.
Classic Romantic Chignon A Fancy Up Do Hairstyles Tutorial For Brides
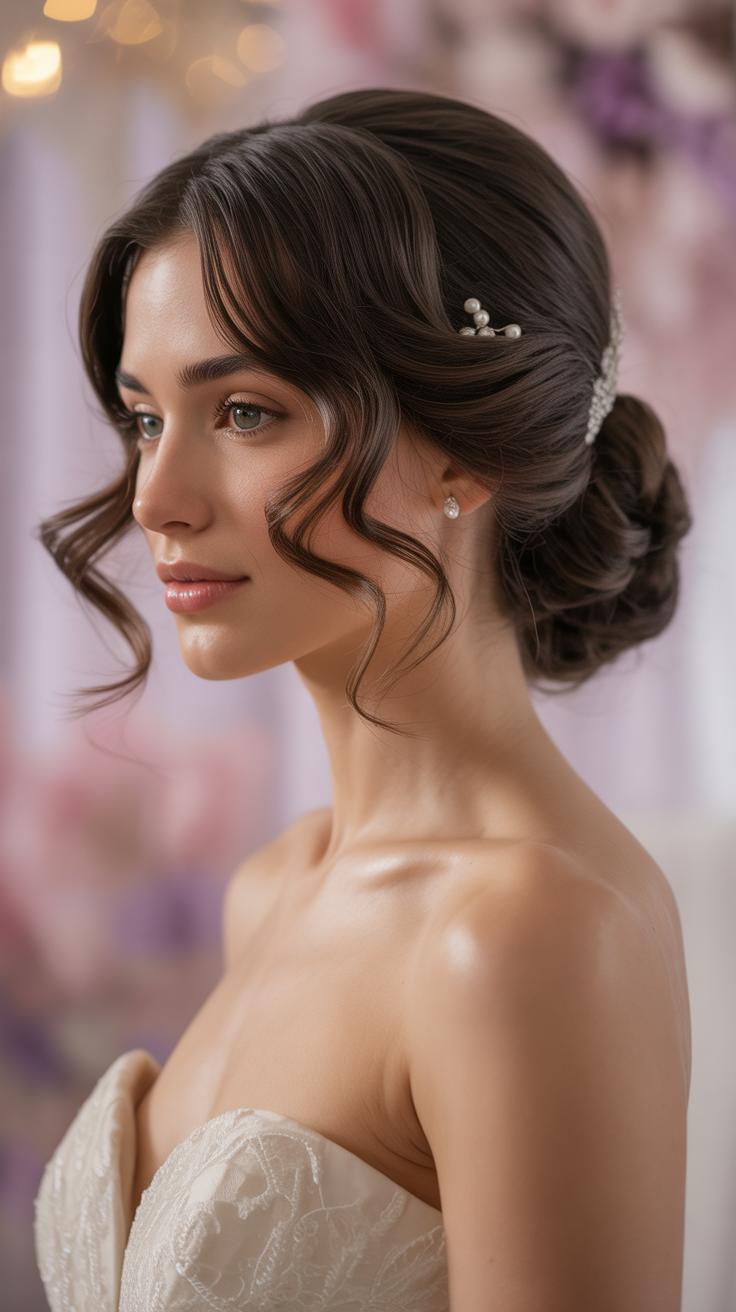
Step By Step Guide To Creating A Smooth And Elegant Bridal Chignon
Start by prepping clean hair with a dry texture spray to add grip. Comb the hair back into a low ponytail at the nape of your neck and secure it with a clear elastic band. Create a small gap above the elastic and flip the ponytail through the opening to form a topsy tail base. This foundation provides the necessary structural support for the bun.
Brush the remaining hair to remove tangles and roll it upward toward the base of the ponytail. Secure the weight of the hair using large U-shaped pins rather than standard bobby pins for better tension. Mist the final shape with a firm hold hairspray to prevent flyaways. A smooth finish depends on consistent tension and high quality styling products during each phase of the build.
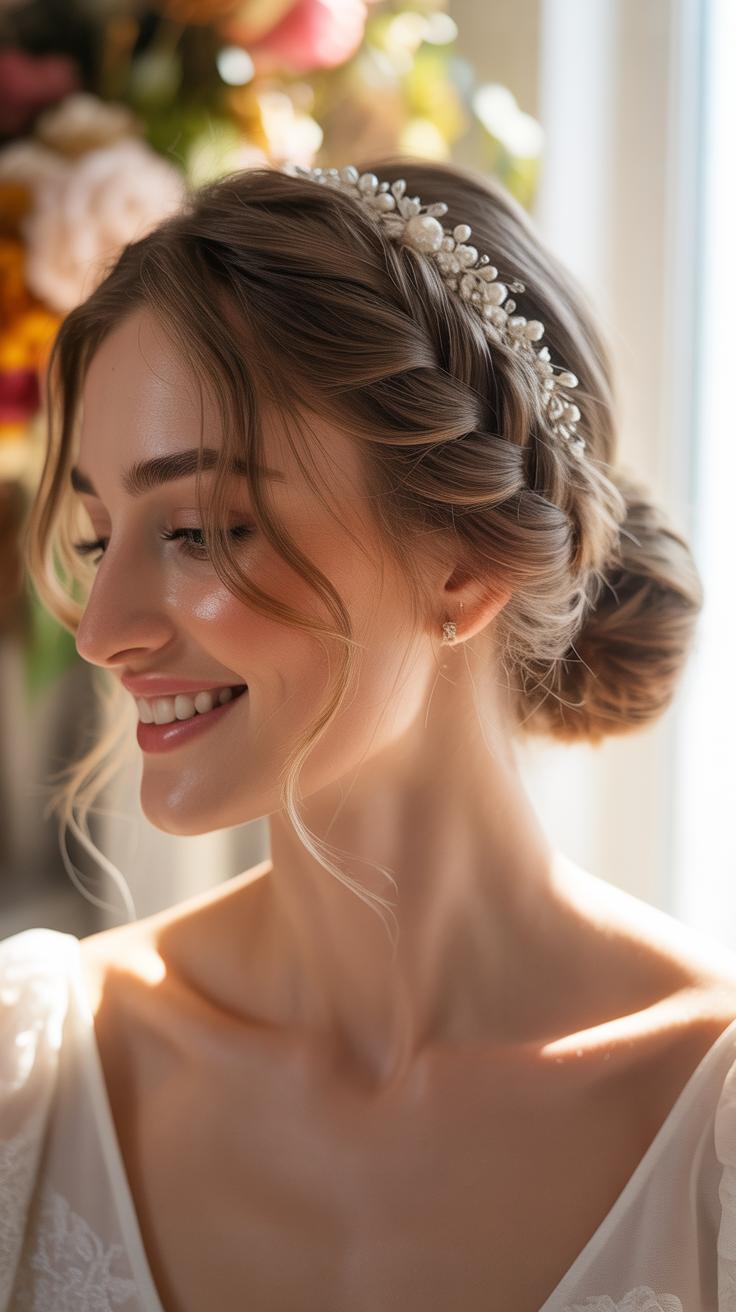
How To Personalize Your Chignon With Pins Pearls And Floral Accents
Strategic placement of accessories enhances the visual balance of a chignon. Insert pearl pins directly into the center of the twist to mimic classic mid-century bridal styles. If using fresh flowers, trim the stems to two inches and wrap them in floral tape to prevent slipping. Position these accents on the side of the bun to create a focal point that complements your wedding dress neckline.
Secure metal hair combs at a forty-five degree angle against the scalp for maximum stability. This technique prevents the weight of the jewelry from pulling on the hair throughout the day. Select accents that provide contrast against your hair color for better visibility in photographs. Avoid over-accessorizing as too much weight can cause the structural integrity of the low bun to fail during movement.
Effortless Boho Updo Hairstyles Tutorial For The Free Spirited Bride
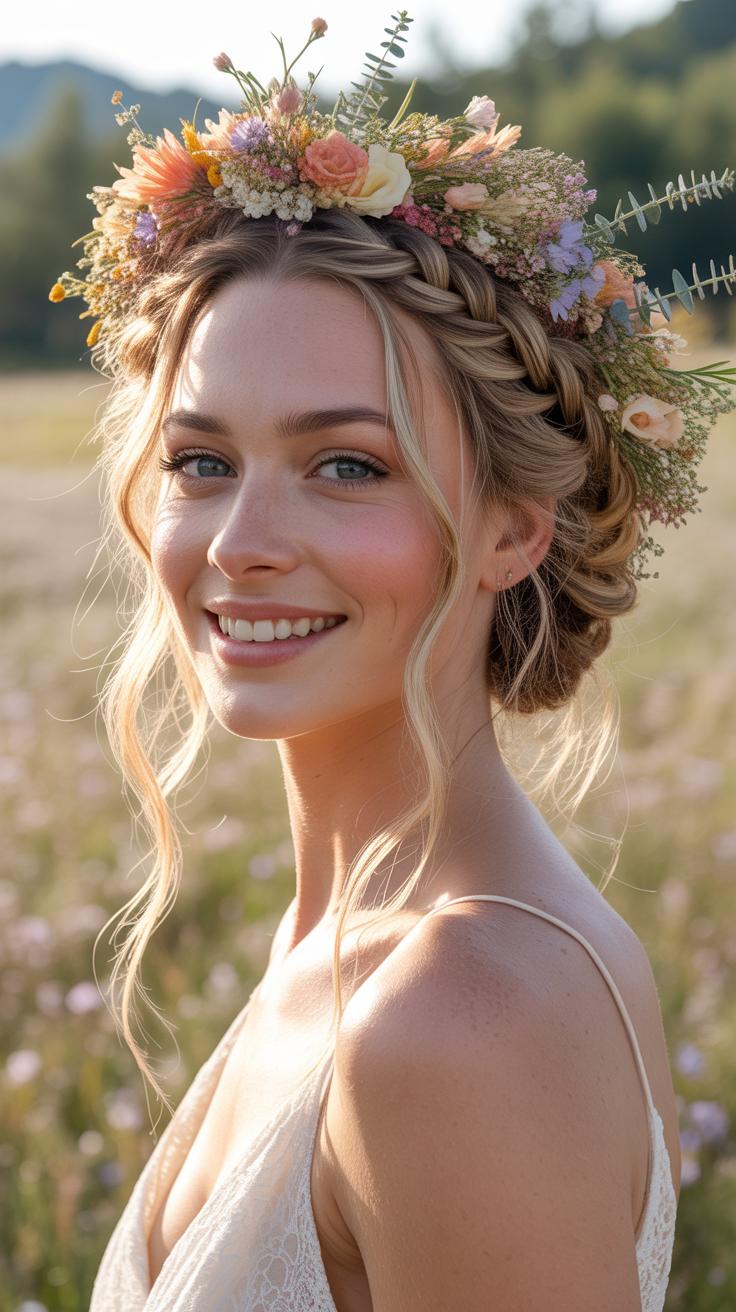
Creating A Loose And Romantic Bohemian Updo With Braided Accents
Boho style relies on texture rather than tightness. Start by applying a dry texture spray to add grip to the hair strands. Create a loose three-strand braid on each side of the head near the temples. Pull the edges of the braids apart to create volume. This technique makes the hair look thicker. Secure the rest of the hair into a low ponytail at the nape.
Wrap the ponytail into a messy bun using large pins. Cross the two side braids over the top of the bun. Tuck the ends under the bun and pin them firmly. Leave several face-framing pieces out to maintain a relaxed look. Do not overthink the placement. Perfection is not the goal here. The style should look soft and organic to match the bohemian aesthetic.
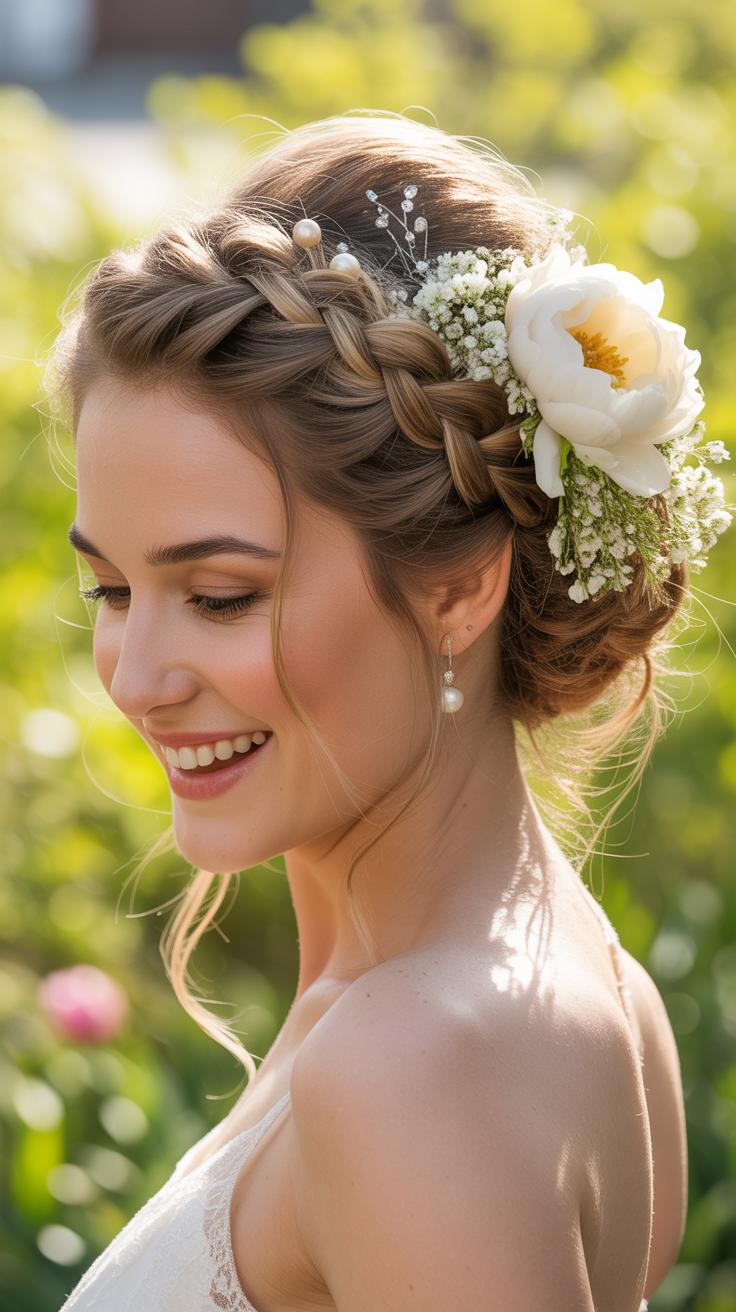
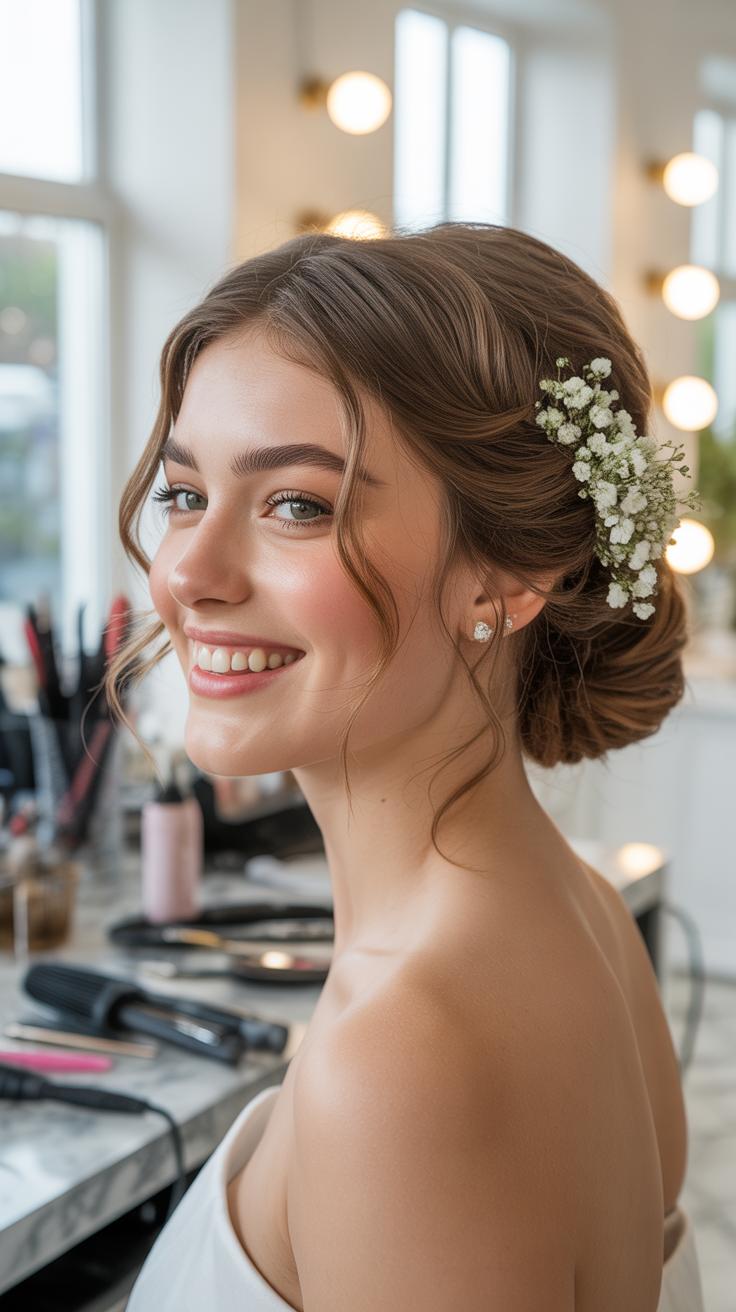
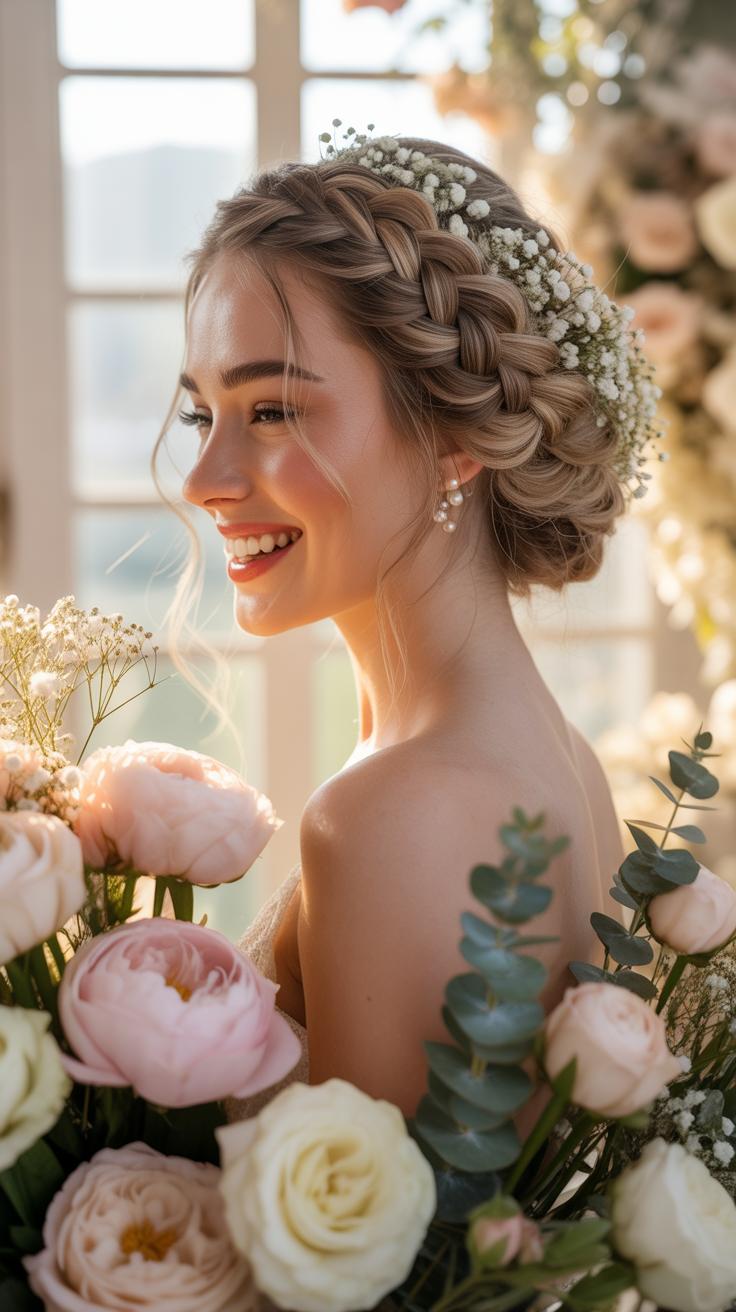
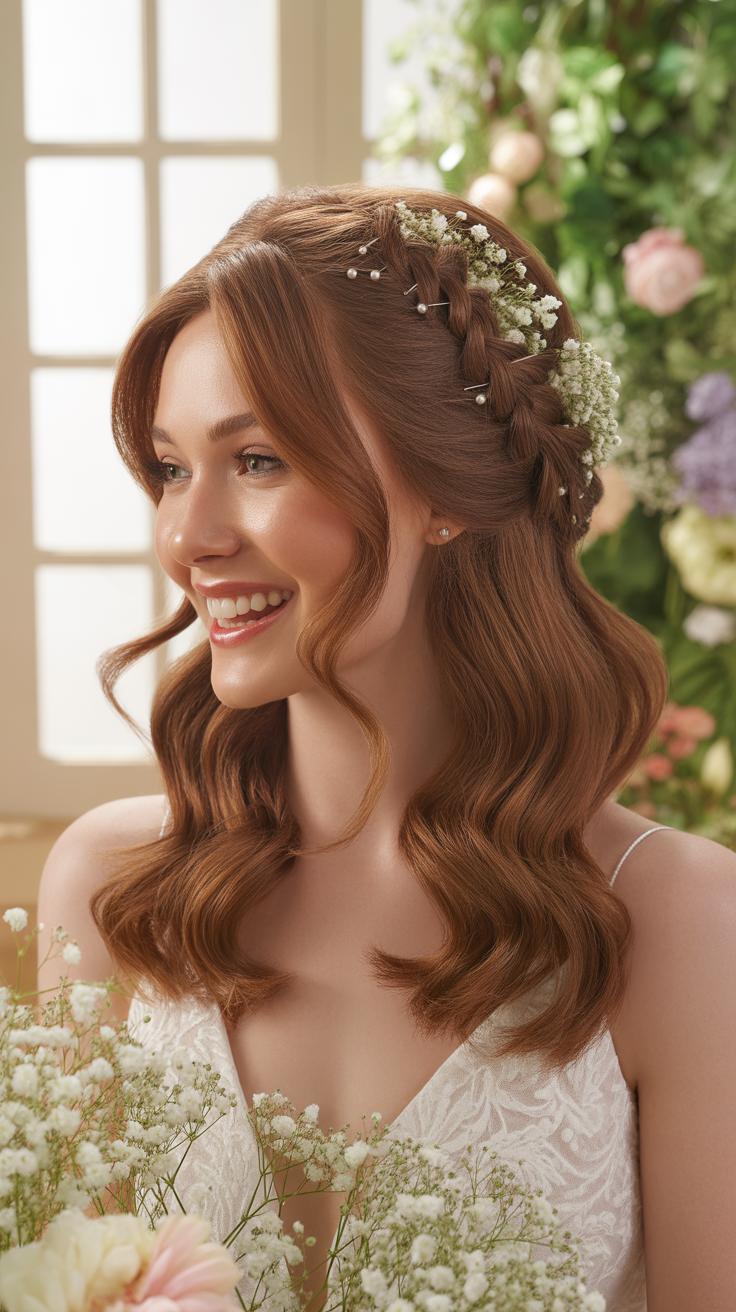
How To Incorporate Wildflowers And Greenery Into Your Boho Bridal Updo
Adding natural elements requires proper preparation to prevent wilting. Choose hardy plants like eucalyptus, waxflowers, or baby breath. These species survive for hours without a water source. Cut the stems to two inches in length. Use thin floral wire to create a small hook at the base of each stem. This allows the plant to anchor securely into the hair or the bun.
Insert the stems into the crevices of the braids and the bun. Follow the natural curve of the hairstyle for a balanced look. Use small bobby pins to lock the floral wire in place. Avoid using heavy hairspray directly on the live petals as the alcohol causes browning. Place the greenery last to ensure the plants stay fresh and vibrant throughout the entire wedding event.
Elegant Low Bun Hairstyles For Brides A Timeless Hair Up Style
How To Achieve A Polished Low Bun That Stays Secure All Day
Clean hair is too slippery for a lasting bridal updo tutorial diy. Start with day-old hair or apply dry shampoo to create grip. Use a boar bristle brush to smooth the hair into a low ponytail at the nape. Secure it tightly with a bungee elastic rather than a standard hair tie. This prevents the base from sagging throughout the day.
Proper pinning determines the longevity of the style. Insert large U-pins vertically into the bun and then flip them inward toward the scalp. This technique hooks the hair against the base elastic. Finish with a firm hold hairspray to block humidity. Focus on the underside of the bun where weight causes most failures. Secure any flyaways with a fine tooth comb and light wax.
Styling Variations: Twisted, Braided, And Knotted Low Bun Looks For Brides
A twisted low bun offers a modern look with minimal effort. Divide the ponytail into two sections and wrap them around each other before pinning. This creates a rope-like texture that reflects light better than a flat bun. For a boho updo hairstyles tutorial feel, pull small pieces loose around the face. This softens the silhouette while keeping the main structure intact and firm.
Braided variations provide maximum security for outdoor weddings. A three-strand braid rolled into a coil creates a sturdy foundation that resists wind. Knotted styles involve tying sections of hair like a ribbon for a contemporary finish. These techniques work well for fancy up do hairstyles because they add visual complexity. Always anchor the center of the knot with a heavy duty bobby pin for stability.
Easy Prom Hair Updo Tutorial Low Buns Adapted For Bridal Elegance
Why Low Bun Techniques From Prom Tutorials Translate Beautifully To Bridal Looks
Prom hair tutorials focus on speed and durability. These designs center on the nape of the neck for stability. Low buns stay secure during hours of movement and dancing. This structural foundation is exactly what a bride needs for a long wedding day. You get a reliable base that supports a heavy veil without pulling on the scalp or losing its shape.
Simplicity is the biggest advantage of these tutorials. High end bridal looks often look complex but rely on basic twisting and pinning. A prom low bun uses clear anchor points and simple hair ties. These methods work well for DIY brides because they require minimal tooling. You can master the mechanics quickly. A solid prom base provides the necessary volume for a high stakes bridal style.
Elevating A Simple Low Bun With Bridal Worthy Details And Accessories
Transitioning from a prom look to a bridal look requires better finish and hardware. Use professional grade hairpins instead of standard bobby pins. Matte pins match hair color and provide better grip. Apply a dry texture spray before you start. This adds grit to the hair strands. Grit ensures the bun does not slip. It gives the hair a sophisticated and polished aesthetic suitable for a wedding.
Add bridal accessories to hide the mechanics of the bun. Place a decorative comb or fresh flowers at the top of the knot. This masks any visible hair ties or pins. Use a clear gloss spray for a final touch. High shine makes the hair look healthy and intentional. This step separates a casual prom style from a formal bridal updo. Focus on clean edges and smooth transitions between sections.
How To Updo Hairstyles With Braids Romantic Plaited Styles For Brides
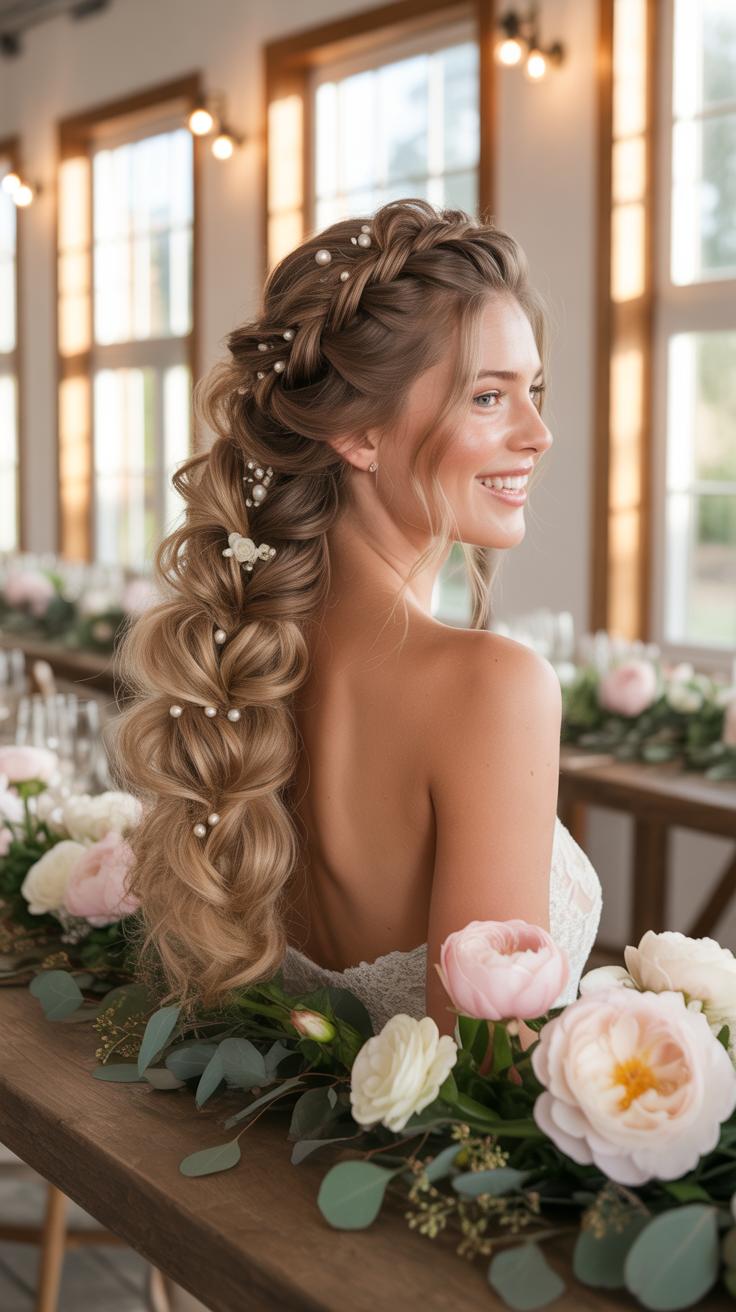
French And Dutch Braid Updos That Look Intricate But Are Easy To DIY
French and Dutch braids provide the structural foundation for secure bridal hair. A French braid crosses strands over the center to lie flat against the scalp. The Dutch braid crosses strands under the center to create a raised 3D effect. Both techniques lock hair in place better than standard twists. Use these braids to control shorter layers and prevent mid day sagging.
Execution requires clean sections and consistent tension. Start at the hairline and add small pieces of hair as you move toward the nape. Once you reach the ends secure the braid with a clear elastic. For a romantic look pull gently on the outer edges of the braid. This pancaking technique adds volume without using extensions. Pin the loose tail into a low tuck.
Combining Braids With A Bun Or Twist For A Multi Dimensional Bridal Style
Combining plaits with a bun increases the visual depth of the hairstyle. This method works well for DIY brides because it hides messy pinning. You can braid the side sections and feed them into a pre-formed bun at the back. This creates a professional look that withstands movement. The braid acts as a decorative border while the bun provides the necessary weight and balance.
Stability depends on your anchoring points. Use heavy duty bobby pins that match your hair color. Insert pins through the braid and into the base of the bun to lock the structure. If your hair is fine use a texturizing powder before you start braiding. This adds grip and prevents the style from sliding. Finish with a firm hold spray to seal the cuticle and block moisture.
Guest Hair Inspiration Updo Ideas That Work For Bridesmaids And Wedding Guests
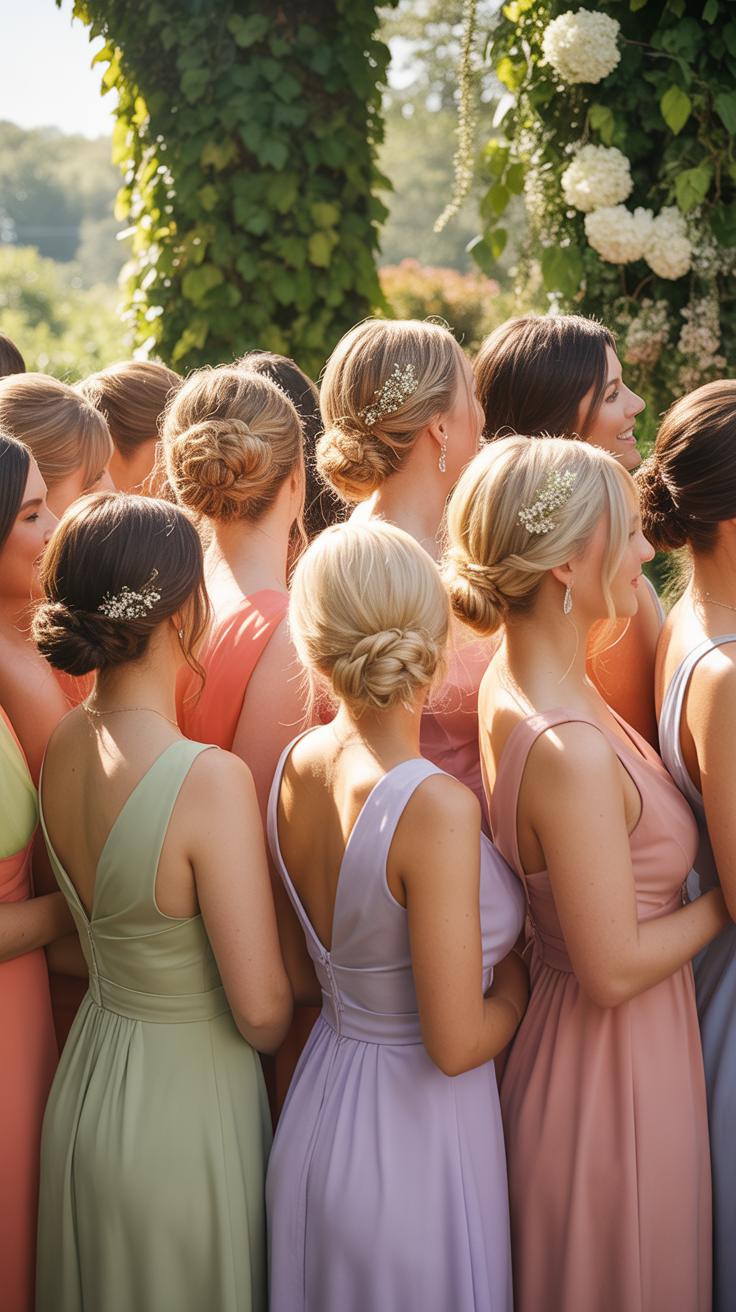
Coordinating Updo Styles Between The Bride And Bridal Party Without Being Matchy
Establishing a cohesive look requires shared texture rather than identical shapes. If the bride chooses a structured chignon, the bridal party should opt for cleaner lines. For a boho bride, bridesmaids can use loose waves or braids. This strategy ensures the group looks unified in photos. It prevents anyone from clashing with the wedding theme. Professional stylists use this method to create visual hierarchy.
Vary the placement of the bulk to avoid a uniform line of heads. The bride often wears her hair higher or more centered for focus. Bridesmaids can wear low buns or side-swept styles to differentiate. Use consistent hair accessories like pearls or gold pins to tie everyone together. This tactical approach respects individual hair lengths and textures. It ensures the bride remains the clear focal point of the event.
Quick And Elegant DIY Updo Options For Wedding Guests Of All Hair Types
Wedding guests need efficient styles that last through the reception. A bridal updo tutorial diy often focuses on secure foundations like the topsy-tail or the classic three-strand braid. These techniques work for straight, wavy, or curly hair. Speed is essential when preparing at home. Use dry shampoo or texture spray first. This adds grip to the hair and prevents pins from slipping out late at night.
- The Twisted Low Bun: Section hair into two parts and tie them in a basic knot at the nape. Wrap the remaining ends around the center and pin them securely. This style works on medium to long hair and takes less than five minutes to finish.
- The Braided Crown Halo: Create two side braids and wrap them over the top of the head. Pin the ends underneath the opposite braid to hide the elastics. It keeps hair off the face and stays secure during dancing and humid outdoor ceremonies.
- The Topsy Tail Chignon: Pull hair into a low ponytail and flip it through a gap above the elastic. Roll the tail upward into the pocket created by the flip and pin it. This creates a professional look without needing advanced braiding or curling skills.
- The Sleek French Twist: Gather hair to one side and use bobby pins to create a vertical base. Roll the hair back over the pins and secure the seam with U-shaped pins. This classic choice works best for formal black-tie weddings and smooth hair textures.
- The Bubble Ponytail Updo: Create a high ponytail and add elastics every two inches down the length. Tug at each section to create volume and then pin the entire structure into a cluster. This modern style adds height and works well for guests with very thick hair.
Finalize each look with a firm-hold hairspray to combat environmental factors like wind or humidity. Focus your pins at the base of the style to ensure weight distribution. Avoid using too many products on the ends of the hair to prevent stickiness. A well-executed DIY updo depends on the tension of the initial ponytail or braid. Tight foundations lead to styles that remain intact for the entire wedding day.
Half Up Half Down Bridal Styles Hair Up Styles That Blend The Best Of Both Worlds
How To Create A Romantic Half Up Twist That Complements Your Veil
Begin by prepping the hair with a medium-hold hairspray. Take two small sections of hair from the temple area. Cross the right section over the left toward the back of the head. Secure this junction with two bobby pins in an X shape. This foundation supports the weight of a heavy veil. Ensure the pins stay hidden under the top layer of hair.
Twist the remaining loose side strands around the central anchor point. Tuck the ends under the twist and pin them vertically. This creates a secure shelf for the veil comb. Insert the comb directly above the pins for maximum stability. This technique prevents the veil from pulling on the scalp. It keeps the style intact throughout the ceremony and photos.
Your hair is a beautiful playground, and creating your own bridal look adds a touch of hand-woven magic to your love story. Whether it is a simple braid or a soft bun, the most romantic styles are the ones you shape with your own heart and hands.
— Bernadette Banner
Adding Volume And Texture To Half Up Bridal Styles For A Fuller Look
Apply a dry texturizing spray to the roots and mid-lengths. Use a small teasing brush to lift the crown section. Backcomb the underside of the hair gently to create a steady base. This creates height without looking messy or dated. Smooth the top layer over the teased section using a boar bristle brush. This ensures the surface looks clean and polished.
Use a one-inch curling iron to add waves to the bottom half of the hair. Alternate the direction of the curls to prevent them from grouping together. This adds visual density and movement to the look. Mist the curls with a flexible hold spray to maintain the shape. A full look requires this balance of root lift and wavy body. It makes the hair appear thicker on camera.
Pro Tips For Making Your DIY Bridal Updo Last From Ceremony To Reception
How To Use Bobby Pins, Hair Nets, And Finishing Spray To Lock In Your Style
Mechanical security is the foundation of a lasting updo. Insert bobby pins with the wavy side facing the scalp to grip the hair effectively. Cross two pins in an X shape to create a permanent anchor point for heavy sections. Do not open the pins with your teeth because it weakens the metal tension. Use professional grade pins that match your hair color to hide the structural mechanics.
Fine hair requires industrial reinforcement to stay in place. Wrap a hair net that matches your hair shade over buns or rolls to stop flyaways before they start. This technique mimics professional salon finishes and prevents the style from sagging. Apply a high hold finishing spray from twelve inches away to avoid wet spots. Layer the spray lightly during every step of the styling process for maximum hold.
Building A Bridal Hair Emergency Kit For Touch Ups Throughout The Day
Movement and humidity will threaten your style during the event. Pack a small kit with extra bobby pins and a travel size hairspray for immediate fixes. Include a tail comb to tuck loose strands back into the base of the updo. Clear elastic bands are essential for repairing broken sections without restarting the style. Keep these items in a dedicated bag held by a trusted person.
Environmental factors like wind or sweat require specific tools for management. Adding a small bottle of dry shampoo to your kit helps absorb oil and adds texture if the style flattens. Use a fringe comb or a clean toothbrush with hairspray to smooth down baby hairs near the hairline. Constant friction from dancing requires frequent checks in a mirror. Use these tools to maintain the sleek look until the night ends.
Frequently Asked Questions

Can beginners really achieve a professional-looking wedding hairstyle at home?
Absolutely! While some styles look complex, many romantic looks are built on simple techniques like twisting and braiding. The secret to a successful bridal updo tutorial DIY project is starting with the right foundation. By using texturizing spray and practicing well in advance, even a novice can create a soft, ethereal look. Focus on “undone” styles, as they are much more forgiving for beginners than sleek, structured buns.
What are the essential steps to ensure a DIY updo stays secure all day?
Preparation is key for longevity. Always start with day-old hair or apply dry shampoo to provide grip. When following a bridal updo tutorial DIY, secure your base with a sturdy elastic before pinning. Use professional-grade bobby pins by crisscrossing them to lock the hair in place. Finally, finish with a high-hold, flexible hairspray to prevent flyaways while maintaining that romantic, touchable movement necessary for your special day.
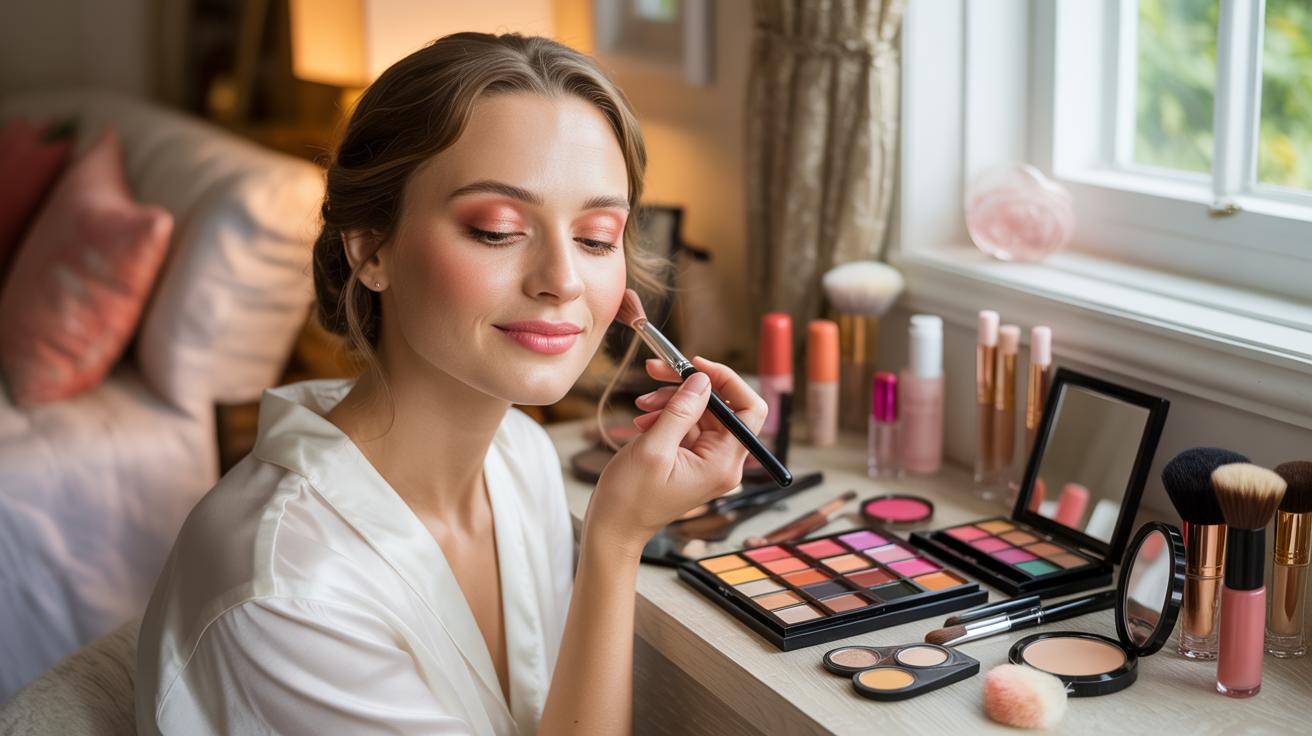
Do I need expensive salon tools to create a romantic bridal updo?
Not at all. You can achieve stunning results using affordable tools you likely already own. A basic curling wand, a fine-tooth comb for teasing, and plenty of bobby pins are the primary essentials. Instead of pricey salon accessories, you can find budget-friendly floral pins or pearl clips online to elevate the look. Creating an elegant hairstyle is more about the technique and patience than the price tag of your equipment.