Why DIY Wedding Place Cards Are Worth Making Yourself
The Personal Touch That Store Bought Cards Simply Cannot Offer
Standard commercial place cards lack character and style. They often use generic fonts and thin paper stock. When you handle the production yourself, you control the texture and weight of the material. Use high-quality cotton rag paper or textured cardstock to elevate the table setting immediately. Guests notice the difference between a mass-produced item and a hand-crafted piece of stationery.
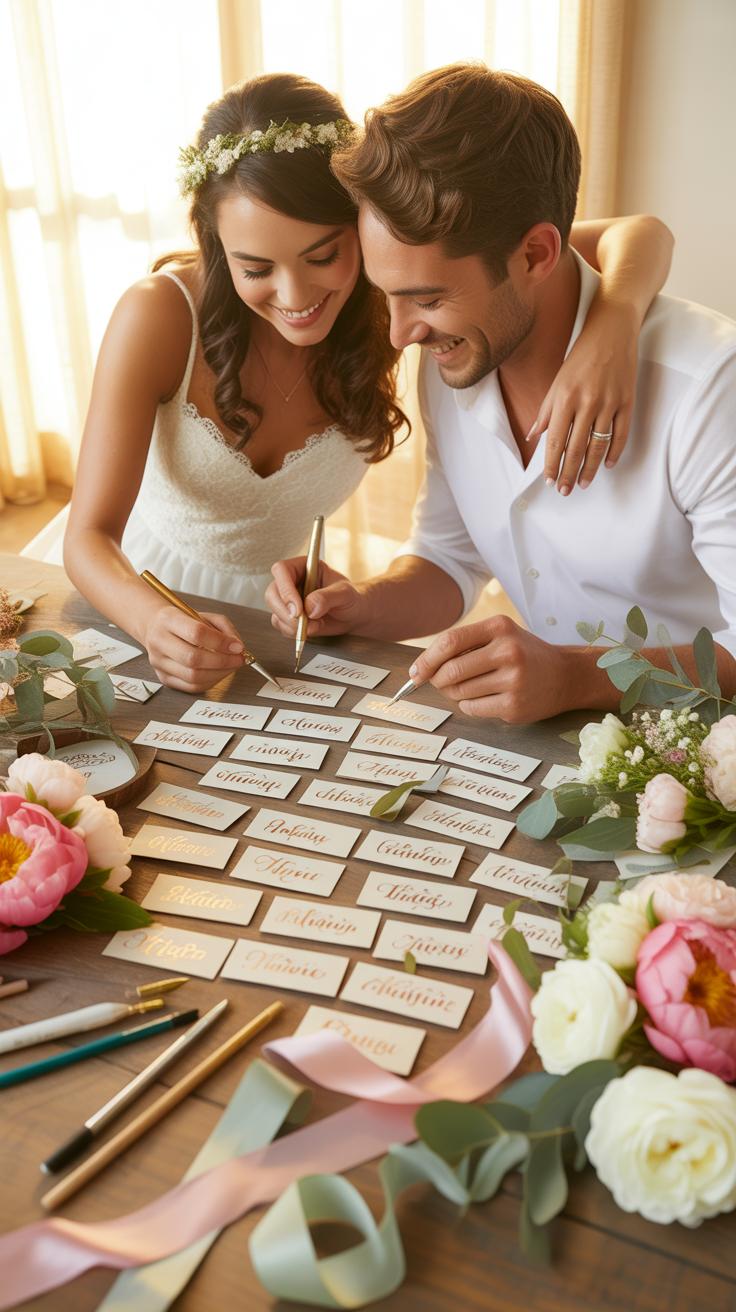
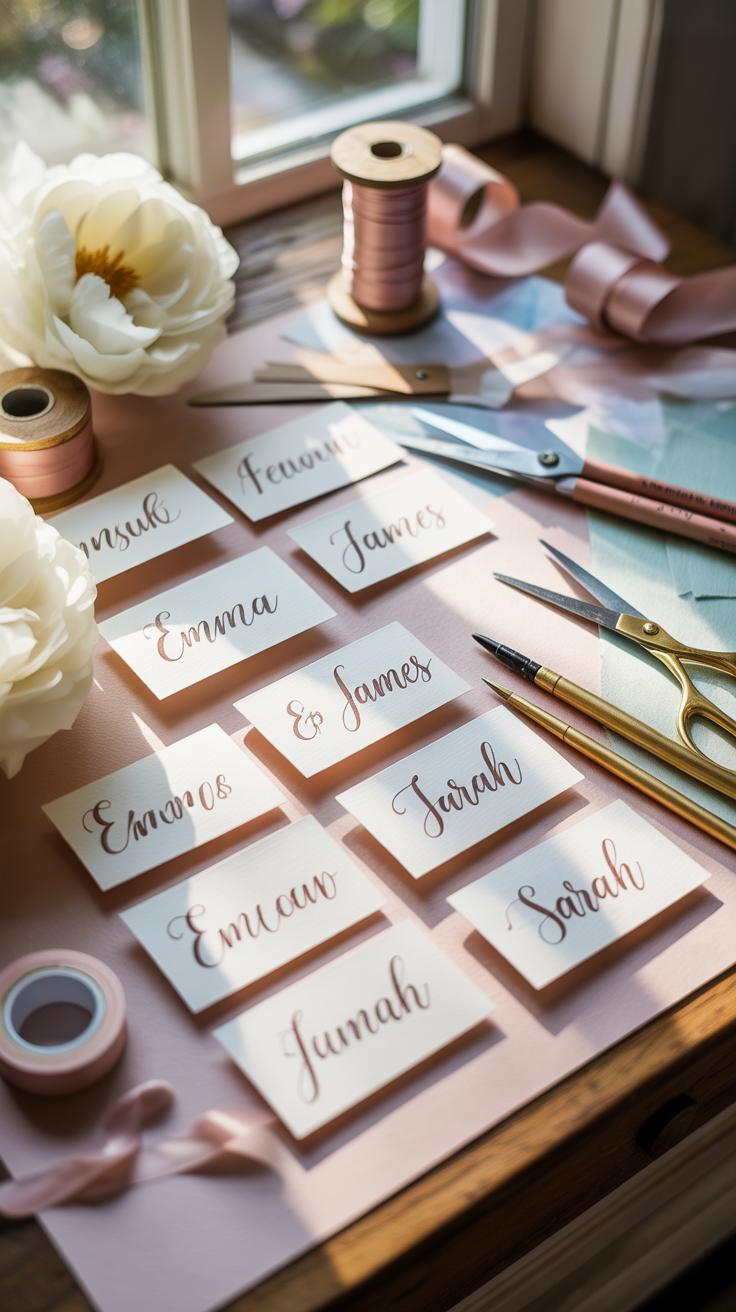
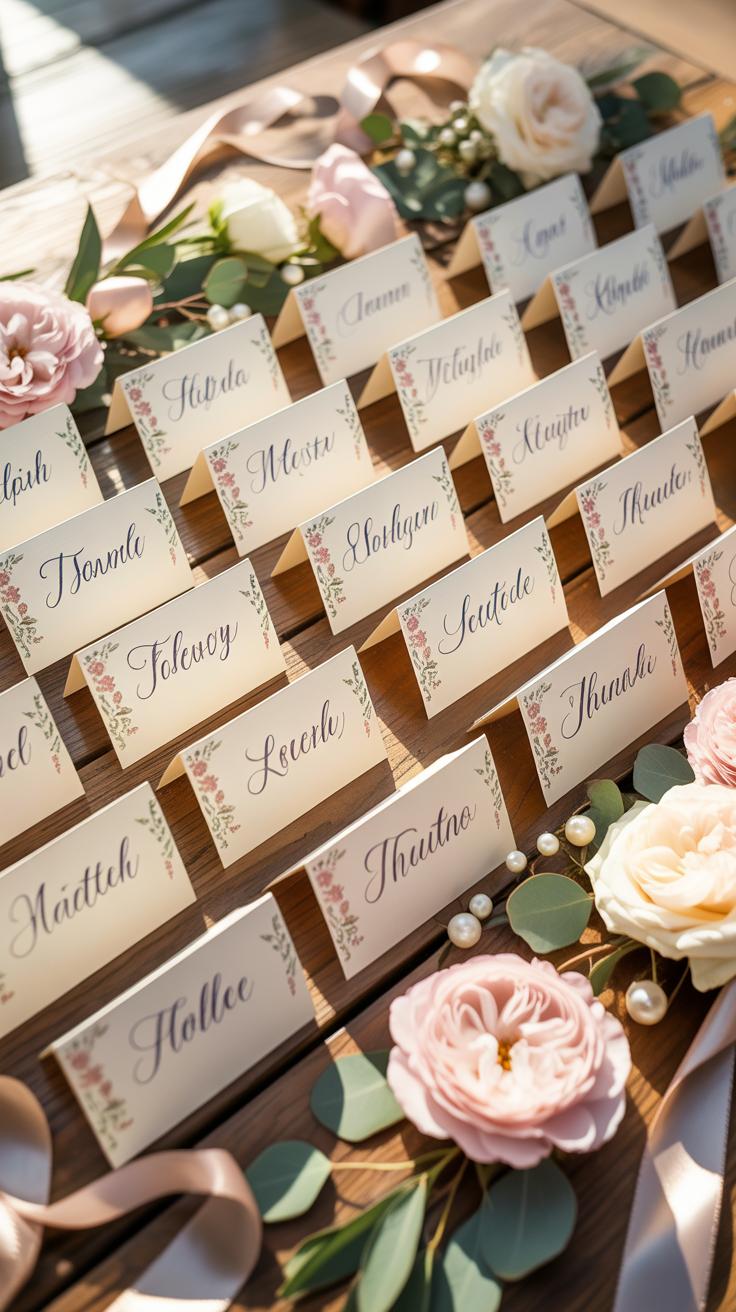
Handwriting names in calligraphy or block lettering creates a direct connection with your guests. This minor detail shows you prioritized their presence. You can integrate specific colors that match your floral arrangements or linens. Store-bought options limit you to a few basic shades. DIY methods allow for precise matching with the overall design theme of the wedding reception.
How Much Money You Can Realistically Save Going The DIY Route
Professional stationers charge high fees for labor and markup. You often pay three to five dollars per card for custom work. By purchasing bulk materials like heavyweight cardstock and ink, you reduce the cost to pennies per unit. This strategy frees up hundreds of dollars in your stationery budget. You can redirect these funds to higher-impact areas like food or photography.
Traditional printing services also require high minimum orders and shipping fees. DIY production eliminates these extra costs. You only pay for the exact amount of material you need. Most homeowners already own a printer or basic cutting tools. Using assets you already have reduces your total investment. This tactical move ensures you get a custom look without paying a premium for a brand name.
Choosing The Right Paper Name Cards For Your Wedding Aesthetic
Understanding Paper Weight, Finish, And Texture For Wedding Cards
Paper weight dictates the durability of your name cards. Standard printer paper is too thin and will curl under humidity. Professionals use cardstock measured in gsm or pounds. Select at least 80lb or 216gsm cardstock for standalone tent cards. Heavier 110lb stock works best for flat cards inserted into holders. This prevents the paper from flopping or leaning when guest traffic moves around the tables.
Texture and finish impact legibility and ink absorption. Matte paper provides a clean surface for calligraphy and home inkjet printing. Glossy finishes often smear with standard pens and require specific permanent markers. Felt or linen textures offer a premium tactile feel but can cause ink feathering if the pen tip is too wet. Match your paper finish to your printing method to avoid wasted materials and ruined designs.
There is no beauty quite like the one we create with our own hands to welcome those we love. Every handwritten name is a small celebration of the hearts gathered around the table.
— Martha Stewart
Best Affordable Paper Stock Options Available At Craft And Print Stores
Vellum and kraft paper offer high visual impact at low price points. Kraft paper provides a sturdy base for rustic or industrial themes. Buy it in bulk rolls or pre-cut sheets to save on labor costs. Vellum serves as a translucent overlay that adds a modern layer to standard cardstock. Use a high-quality laser printer for vellum to ensure the toner bonds properly to the slick surface.
Standard white or cream cardstock remains the most cost-effective choice for bulk production. Buy value packs at big-box craft stores during sales cycles. Neutral tones allow for high-contrast printing which makes names easier to read in dim reception lighting. Avoid specialty glitter or metallic papers if you are on a tight budget. These require expensive specialized inks and often jam consumer-grade printers during the production process.
Creative DIY Placecard Holders That Elevate Your Table Decor
Natural And Rustic Holder Ideas Using Stones Wood And Greenery
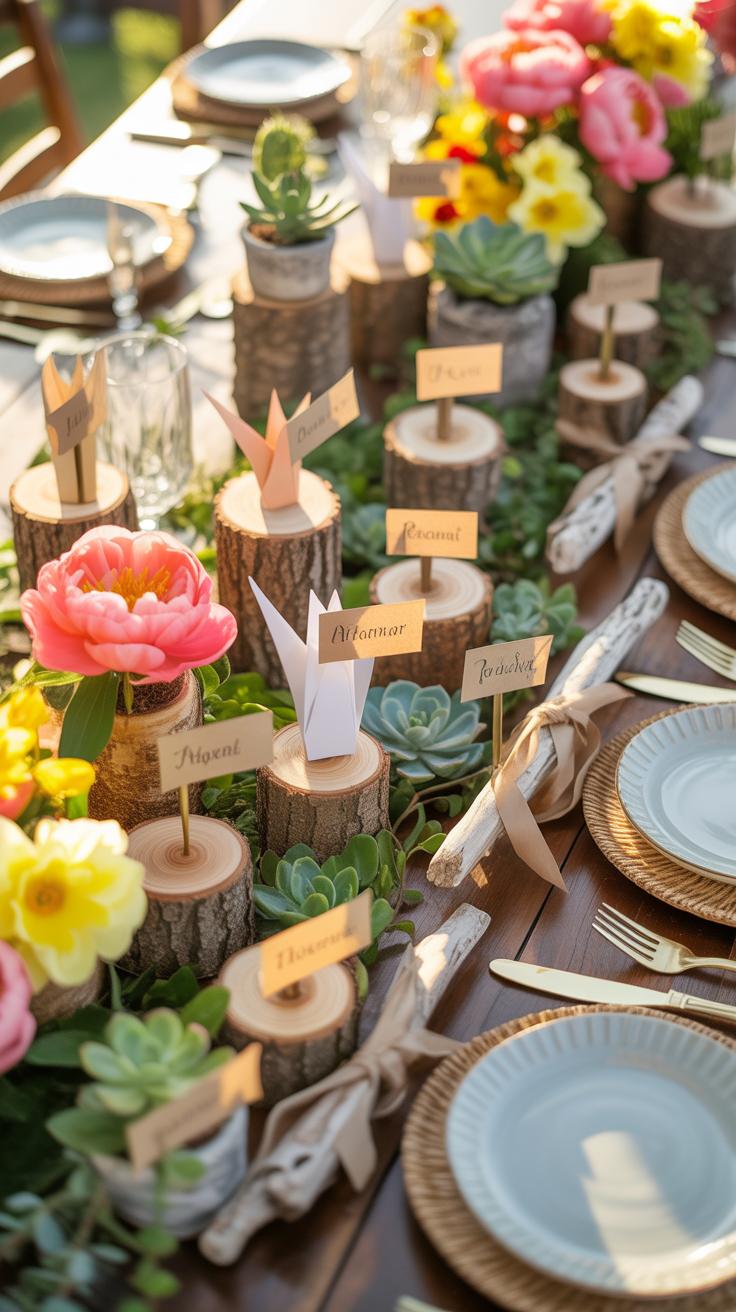
Natural materials provide structural integrity for diy wedding place cards without high costs. Select smooth river stones or slate pieces to serve as heavy bases. Use a white paint pen to write names directly on the surface. This method eliminates the need for paper inserts entirely. For a taller profile, use small wood branches. Cut them into two inch segments and saw a shallow groove across the top.
The grooved wood method creates diy table place cards that stay upright in outdoor settings. Choose fallen branches from oak or birch trees for distinct bark textures. If using greenery, rosemary sprigs work best because they resist wilting. Tie the paper card to the stem using thin twine. This approach integrates organic elements into the place settings name cards while maintaining a clean and professional look for the guests.
Repurposed Everyday Items That Make Surprisingly Elegant Card Holders
Standard household objects offer a tactical advantage for diy placecard holders. Use heavy gauge wire or copper tubing to bend minimalist shapes. A simple spiral base can grip paper name cards securely. Metal materials add a modern industrial feel to the table. Another option involves using vintage skeleton keys. Attach a tag with a small piece of ribbon. This creates creative name place cards that double as functional keepsakes.
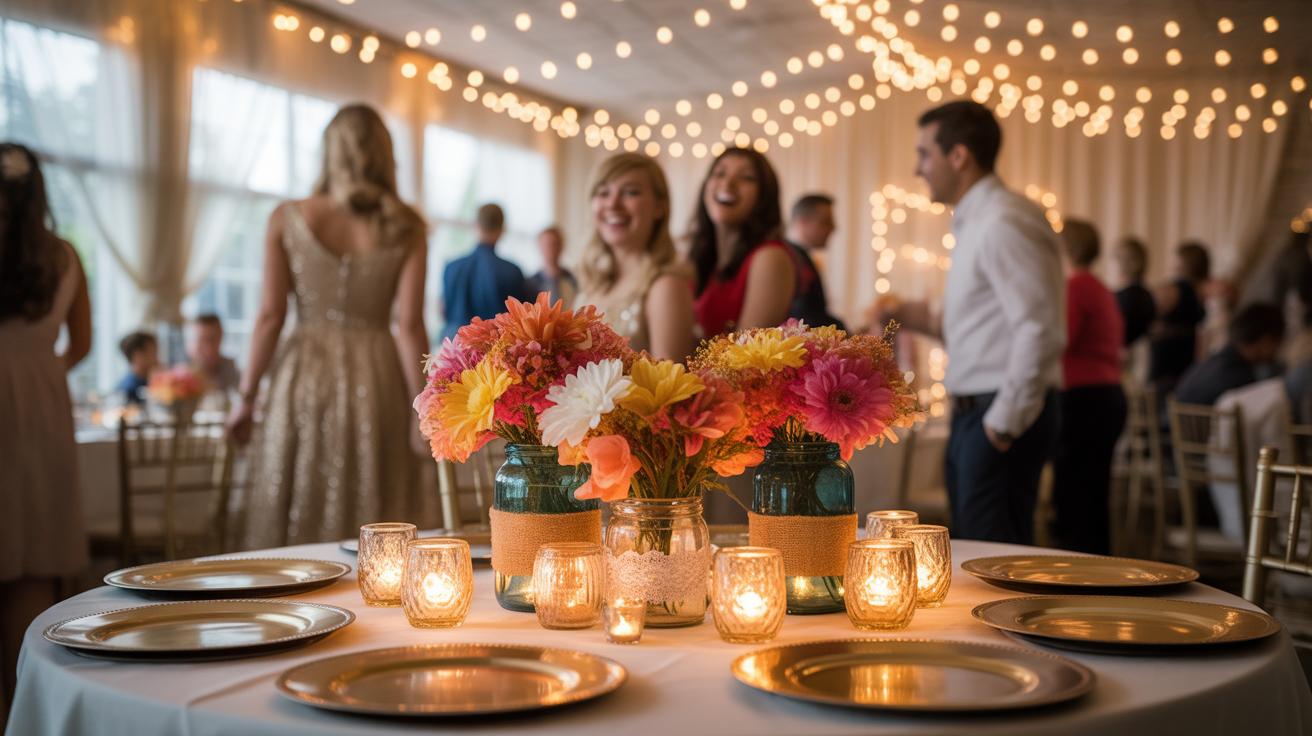
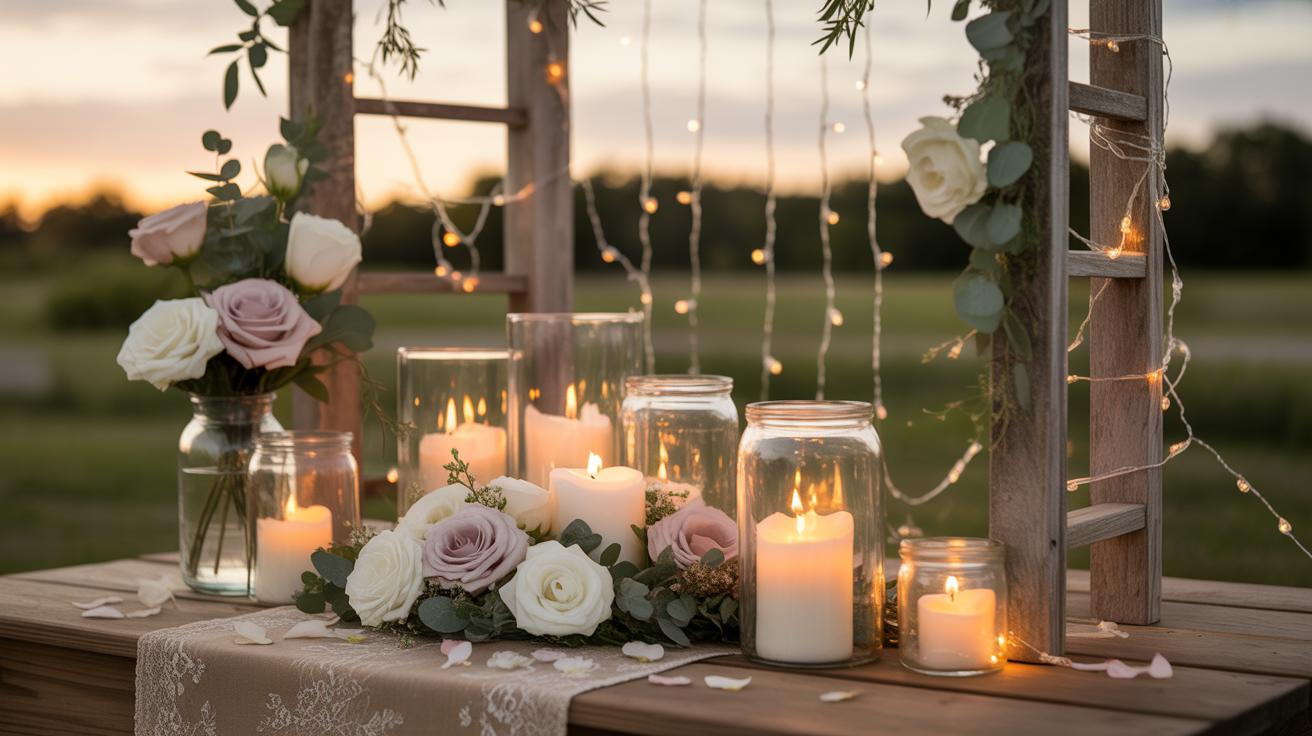
Glass bottles and jars serve as reliable place markers wedding tools. Fill small corked vials with dried petals or colored sand to weigh them down. Insert the name card into a slot carved into the cork top. This technique keeps easy wedding place cards visible at eye level. For a uniform aesthetic, use geometric brass clips. These items repurpose office supplies into high end diy table name cards with minimal labor or expensive tools.
Top Wedding Place Card Ideas DIY Couples Are Using Right Now
Trend Inspired Designs From Minimalist To Whimsical And Boho Styles
Modern minimalist designs rely on high contrast and negative space. Use heavy cardstock in white or ivory with black serif fonts. This style focuses on legibility and clean lines without extra decor. Geometric shapes like hexagons or circles provide a contemporary edge. Professional printers or home inkjet printers work best for this look. Avoid thin paper to ensure the cards stand upright on their own.
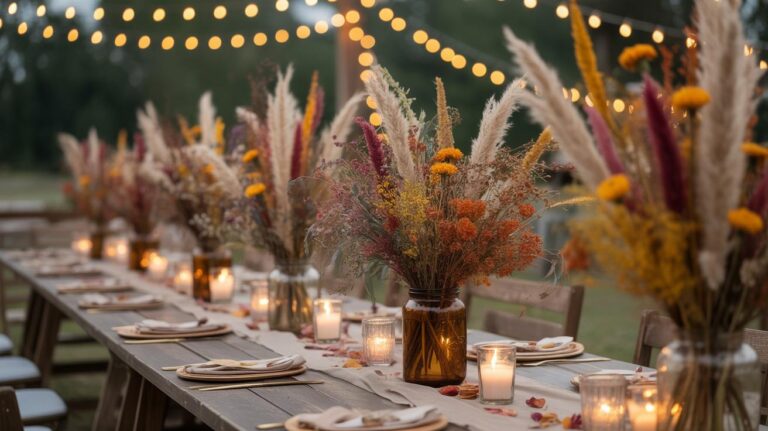
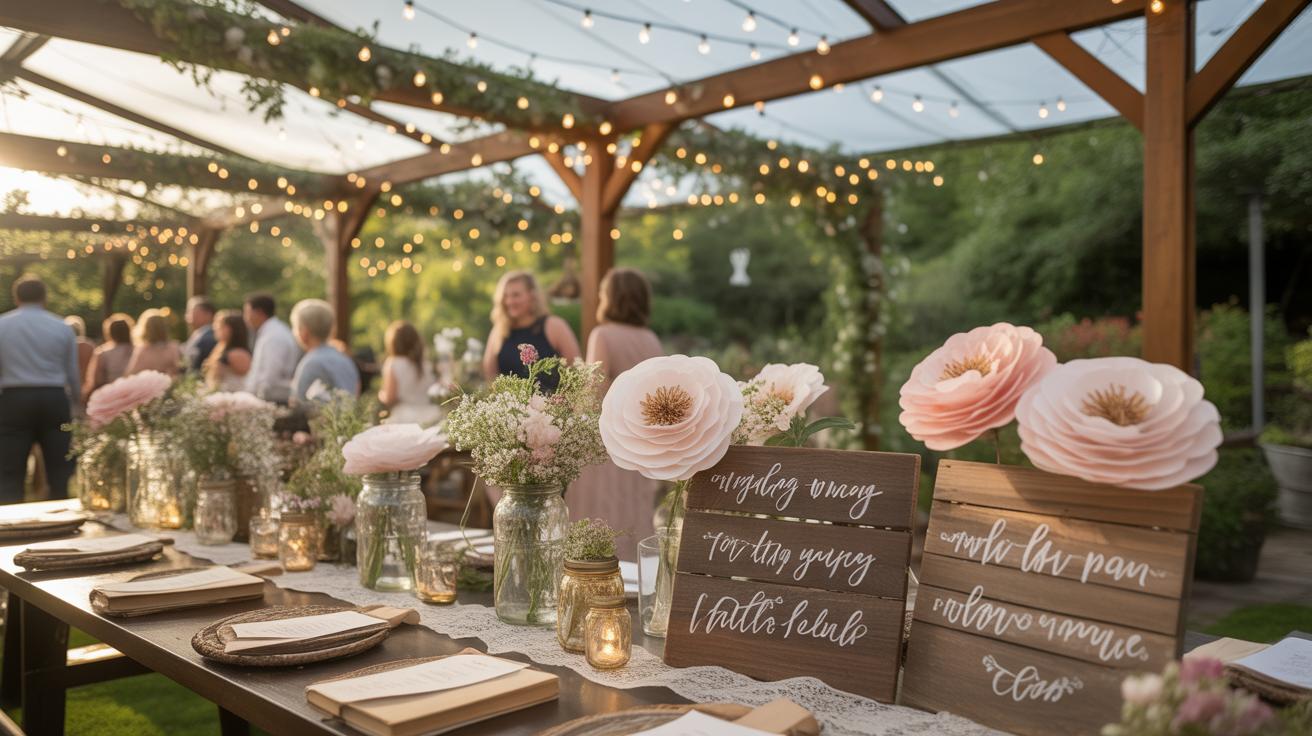
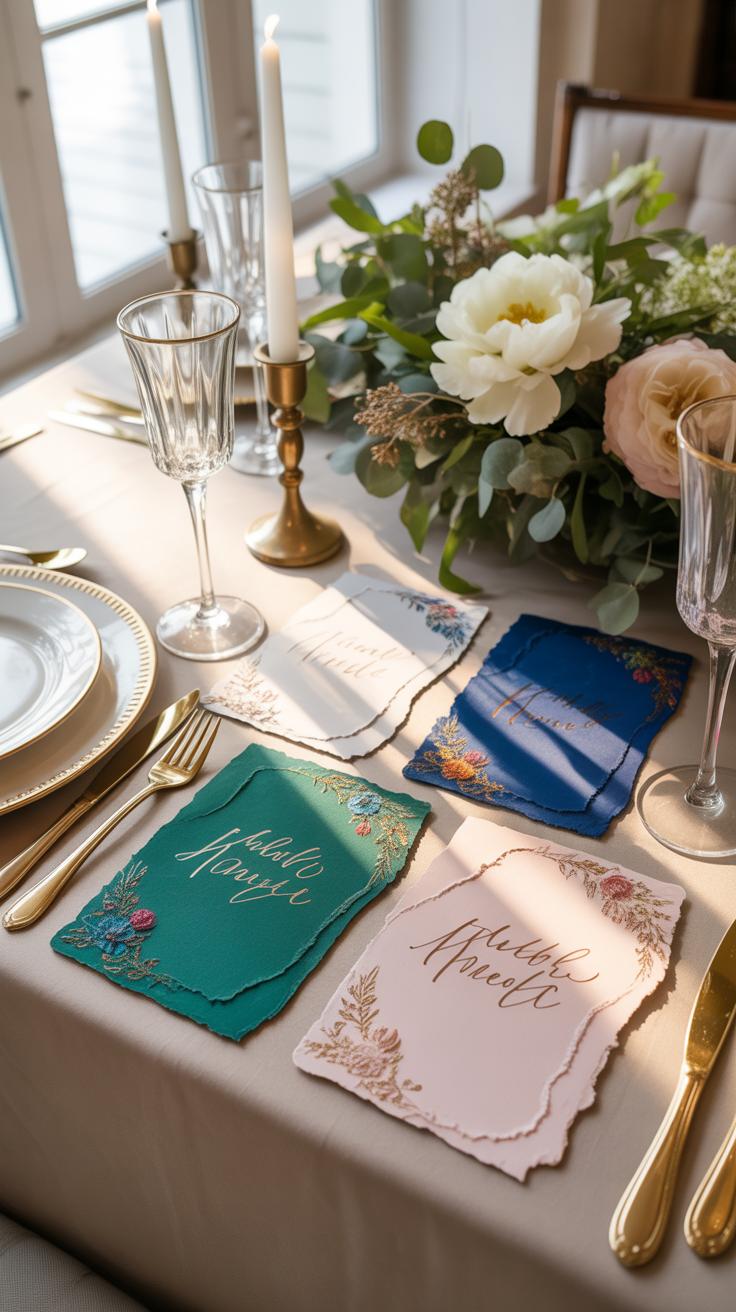
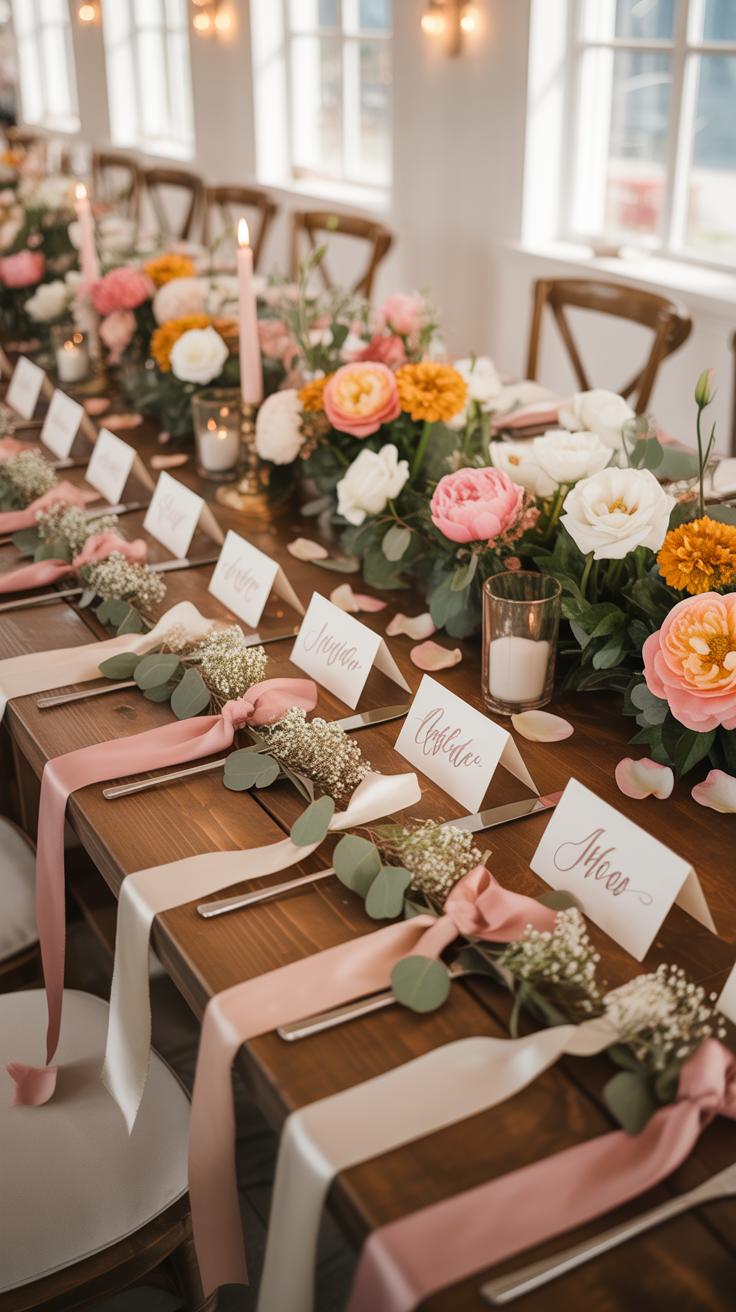
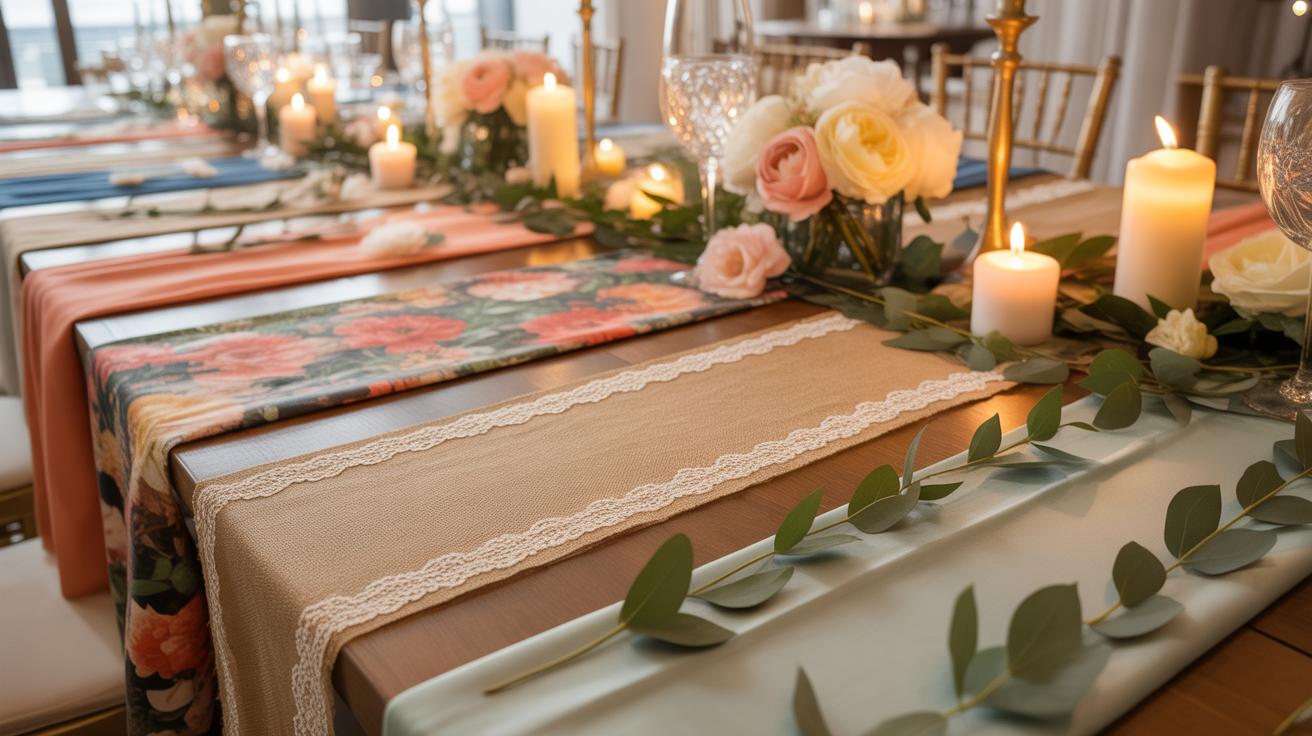
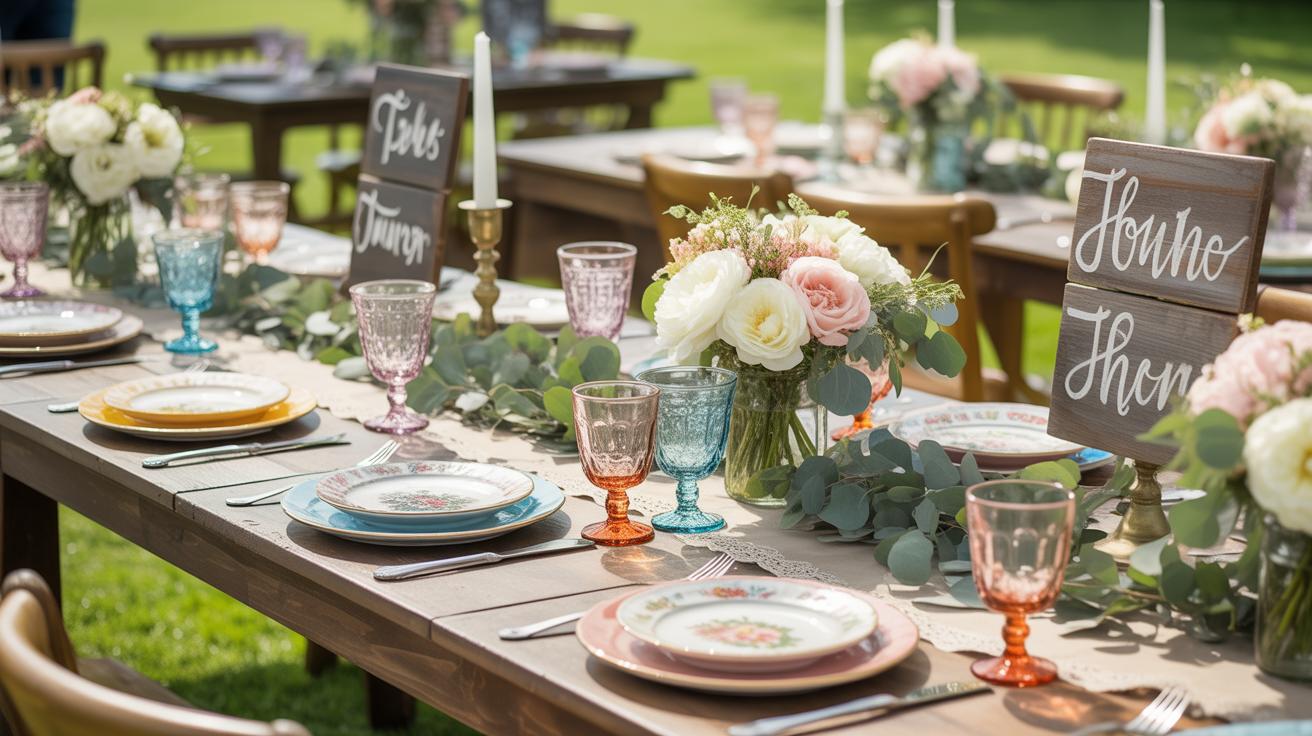
Boho and whimsical styles prioritize organic textures and raw materials. Couples currently use deckle edge paper or hand torn cotton rag for a soft finish. Soft earth tones like terracotta or sage green dominate this palette. Use wax seals or dried flower sprigs to add physical depth to the card. These techniques create a handcrafted feel that matches outdoor or garden settings. Keep the layout simple to balance the heavy textures.
How To Match Your Place Card Design To Your Overall Wedding Theme
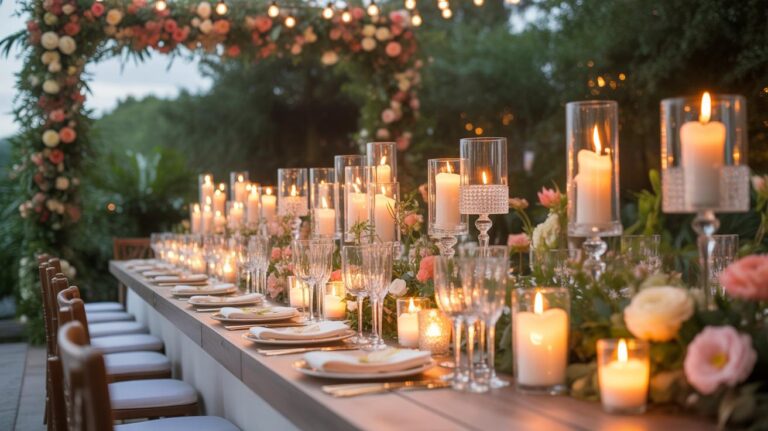
The place card must serve as a functional extension of your wedding stationery suite. Analyze your primary color palette and font choices from your invitations first. Use the same paper weight and ink color to maintain visual consistency across the tablescape. If your event is formal, use traditional tented cards. For casual events, flat cards leaning against glassware or tucked into napkins are more appropriate for the setting.
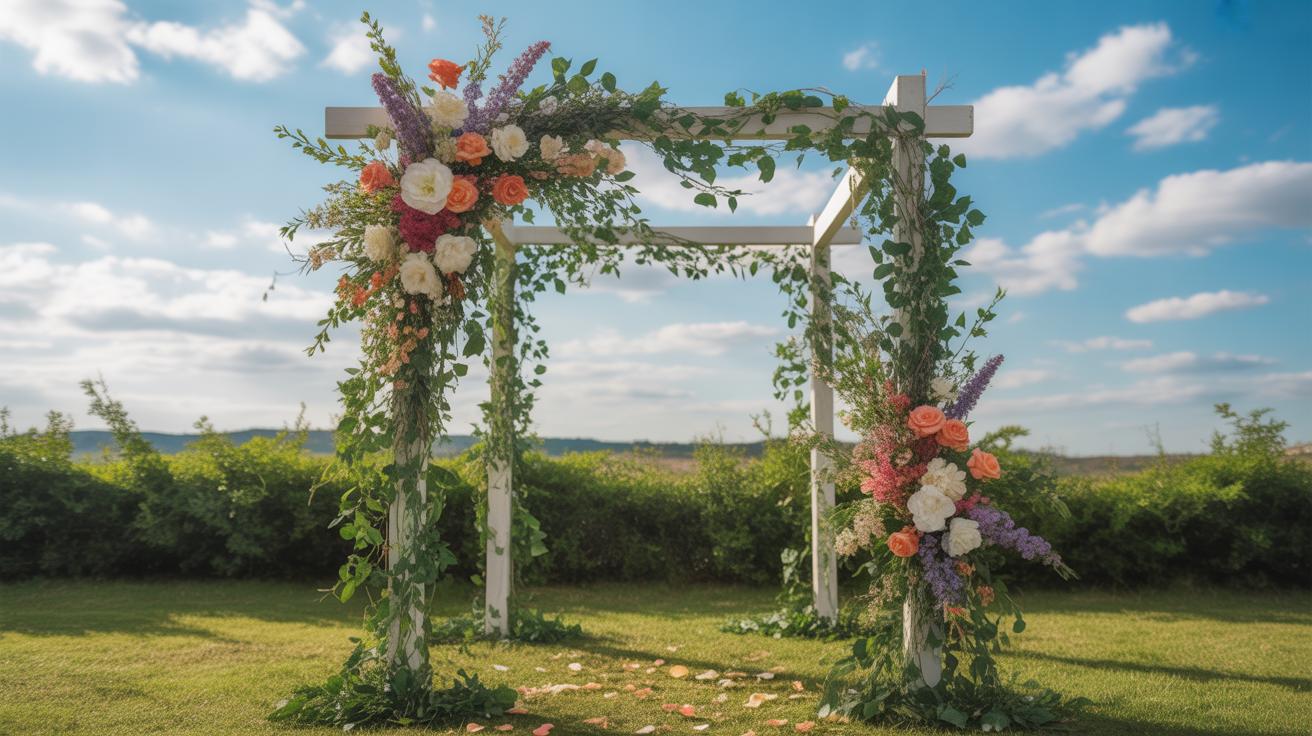
Materials must align with the venue environment to ensure the design makes sense. Use acrylic or vellum for modern industrial spaces to reflect light and keep the table looking open. Use wood or slate for rustic barn weddings to ground the decor in natural elements. Do not mix competing design languages like industrial metal with delicate floral lace. Choosing one dominant material ensures the diy wedding place cards look professional and intentional.
Easy Wedding Place Cards You Can Make In An Afternoon
Essential Supplies And Materials You Need To Get Started Today
Standardize your toolkit to ensure speed and precision across hundreds of units. High volume projects require consistency to avoid waste. High quality cardstock serves as the foundation for any professional look. Select a weight between 80lb and 110lb to ensure the cards stand upright without sagging. Specialized cutting tools provide cleaner edges than standard household scissors. Proper planning prevents mid project supply runs.
- Heavyweight Cardstock: Select 80lb to 110lb cover stock for structural integrity. Lighter paper will wilt in humid reception environments. Choose acid free options to prevent yellowing if you prepare cards months in advance.
- Paper Trimmer: Use a rotary or guillotine style trimmer for straight edges. This tool handles multiple sheets at once to save time. Sharp blades prevent the paper fibers from fraying during the cutting process.
- Bone Folder: This specialized plastic or bone tool creates crisp and professional creases. It compresses paper fibers without damaging the surface. Using your fingernails often leaves inconsistent marks and oils on the cardstock.
- Metal Ruler: A non slip metal ruler provides a steady guide for measuring and scoring. Plastic rulers can nick or chip when used with cutting blades. This ensures every card is the exact same size for a uniform look.
- Pigment Ink Pens: Technical pens with archival ink prevent smearing and fading. Standard ballpoint pens can bleed into the paper grain. Choose a nib size that balances legibility with the decorative style of your lettering.
Organize your workspace before you begin the assembly line process. Total efficiency depends on having every tool within reach. Batch your tasks by performing all cutting first and all scoring second. This rhythm reduces errors and keeps the output uniform. Clean hands are mandatory because paper absorbs oils and smudges easily. Prepare a prototype to verify dimensions before you cut your entire paper stock.
Simple Folded Tent Card Techniques That Look Professionally Finished
The tent card remains the standard for banquet seating due to its stability and visibility. Start with a rectangle measuring four inches by three and a half inches. Score the center precisely at the one and three quarter inch mark. This creates a finished card that stands two inches tall. Centered vertical alignment ensures guests can read their names from a distance.
Precision scoring differentiates amateur work from professional results. Always score the paper on the side that will become the outside of the fold. This allows the paper fibers to stretch without cracking or tearing. Use a template to mark your text placement consistently on every card. Minimalist designs rely on clean lines and negative space rather than excessive decoration. Symmetry is the most important factor for success.
DIY Table Place Cards Lettering Printing And Finishing Techniques

Hand Lettering Vs. Printed Fonts: Which Option Works Best For You
Hand lettering offers a custom look but requires significant time. Use a brush pen or a fine-tip marker for calligraphy styles. Consistency is the main challenge with this method. You must maintain the same slant and pressure across every card. Beginners should use light pencil guidelines to keep names straight. Erase these marks only after the ink dries completely to avoid Smudges.
Digital printing saves time and ensures uniformity across hundreds of cards. Choose sans-serif fonts for a modern look or serif fonts for classic styles. Use thick cardstock above 80lb weight to prevent paper jams or curling. Ensure your printer settings match the paper weight for crisp ink delivery. Home inkjet printers work well for matte paper. Use laser printers for glossy finishes to prevent ink smears.
Finishing Touches Like Gold Foiling, Wax Seals, And Dried Florals
Gold foiling adds a high-end metal finish to paper. You can use heat-reactive foil with a laminator for precise results. This process requires a laser printer because the foil only sticks to dry toner. Apply pressure and heat to bond the metallic layer to the printed text. This technique creates a luxury look at a low cost. It works best on smooth, non-textured cardstock.
Wax seals provide a tactile element inspired by historical mail. Melt wax beads in a spoon over a small flame then pour it onto the card corner. Press a metal stamp into the liquid and wait ten seconds for it to harden. You can also embed small dried florals into the wet wax for texture. Use lavender or baby’s breath for a low profile. This helps the cards stay flat during transport.
Creative Name Place Cards And Unique Place Markers For Your Wedding
Non Paper Alternatives Including Acrylic Tags, Leaves, And Seashells
Acrylic tags offer a modern aesthetic based on minimalist design principles. You can buy bulk sheets or pre-cut shapes from industrial suppliers. Use oil-based paint pens for lettering because they resist smudging better than water-based ink. These markers work well for outdoor events where wind or humidity might damage standard cardstock. They provide a clear, professional look that fits modern industrial or gallery wedding themes.
Natural elements like dried leaves or flat seashells serve as durable organic markers. Select sturdy foliage like magnolia or eucalyptus to prevent cracking. Write directly on the surface with metallic permanent markers for high contrast. These materials cost almost nothing if you source them locally. This approach connects your table setting to the environment. It removes the need for expensive printing services while maintaining a high-end visual impact.
Pro Tips For Making Every Guest Feel Seen With A Thoughtful Place Marker
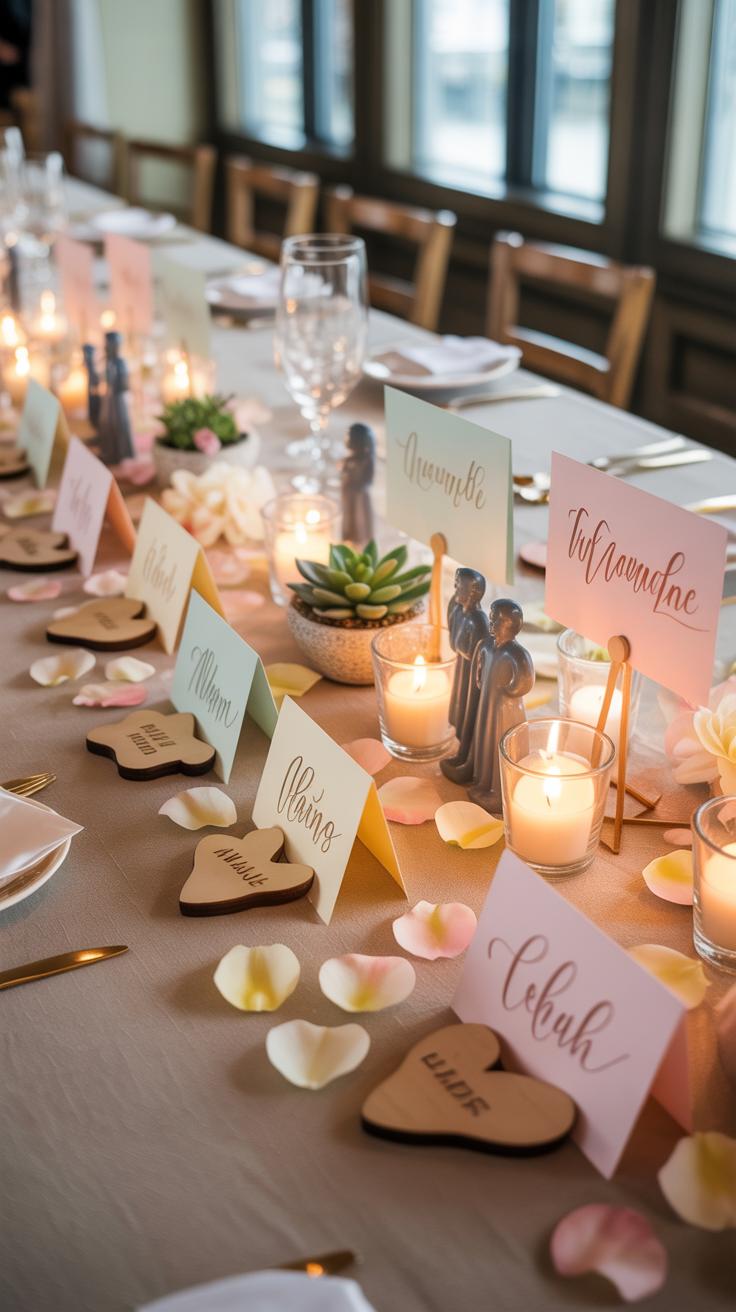
Personalization increases guest engagement and simplifies the seating process. A clear name marker prevents confusion and makes guests feel welcome immediately. Use consistent font sizes to ensure every name is legible from a standing position. Strategic placement on the napkin or above the plate creates a focal point. Focus on high-contrast colors to help older guests navigate the room without difficulty.
- Legibility Standards: Use dark ink on light surfaces or white ink on dark materials. Ensure the font size is at least twenty-four point for visibility. Test your handwriting or printing from three feet away to confirm guests can read their names quickly.
- Uniform Alignment: Place every marker in the exact same spot at every setting. Consistency creates a professional visual line across the table. Use a ruler or a template during setup to guarantee every name card sits at the same angle and distance.
- Weight and Stability: Ensure every marker stays in place despite wind or movement. If using light materials, secure them with a small piece of removable adhesive or a heavy object. This prevents the names from blowing away or falling into food during the dinner service.
- Alphabetical Organization: Sort all completed markers alphabetically by last name before arriving at the venue. This prevents logistical delays during the setup phase. Handing a pre-sorted box to your coordinator ensures the tables are ready on time without unnecessary searching through piles.
- Phonetic Accuracy: Check every name against your final RSVP list for spelling errors. Nothing ruins a personalized gesture faster than a misspelled name. Confirm preferred nicknames or formal titles with your guests before you begin the final production of your name markers.
Tactical planning reduces stress on the wedding day. Prepare five percent more blank markers than you think you need. This allows for last-minute guest changes or ink mistakes during setup. Keep a matching pen on hand to create new cards instantly. These small steps ensure the seating plan remains flexible. Clear communication through name markers keeps the event moving and ensures every guest finds their place.
Organizing DIY Table Name Cards For A Seamless Wedding Day Setup
How To Plan, Proof, And Print All Your Place Settings Name Cards In Batches
Successful batch production starts with a finalized spreadsheet. Your data must include correct spellings and assigned table numbers. Export your guest list into a CSV file for mail merge. Use professional design software or basic word processors to link data fields to your template. This automation prevents manual typing errors. It ensures every card maintains a consistent font size and alignment.
Print your cards in groups rather than individually. Use heavy cardstock between eighty and one hundred ten pounds. This weight ensures stability in your holders. Cut your paper using a rotary trimmer for straight edges. Hand scissors produce uneven lines that look cheap. Complete your printing two weeks before the event. This window allows time for ink drying and manual assembly without unnecessary pressure.
Last Minute Guest List Changes And How To Handle Card Edits Gracefully
Last minute changes are inevitable in event planning. Guests cancel or bring unexpected plus ones forty eight hours before the ceremony. Prepare for this by keeping extra cardstock and your printer ready. Do not hand write changes on printed cards. It breaks the visual consistency of your table. Maintain a digital template that allows for single card reprints. This keeps the aesthetic uniform across all tables.
Create a small kit for the wedding day venue setup. Include five to ten blank cards and a high quality calligraphy pen. Use these only for morning of emergencies that you cannot print. Designate one person to manage the seating chart updates. This prevents duplicate cards or missing names at the reception entrance. Having a clear system for edits saves time and reduces stress during the final setup hours.
Frequently Asked Questions

What exactly are wedding place cards and do I really need them?
Wedding place cards are small slips of paper or decorative items that indicate the specific seat assigned to each guest at a reception table. While they aren’t mandatory for casual buffets, they are essential for formal sit-down meals to ensure guests find their spots efficiently. Creating your own diy wedding place cards is a wonderful way to add a personalized, intimate touch to your tablescape while keeping your reception organized.
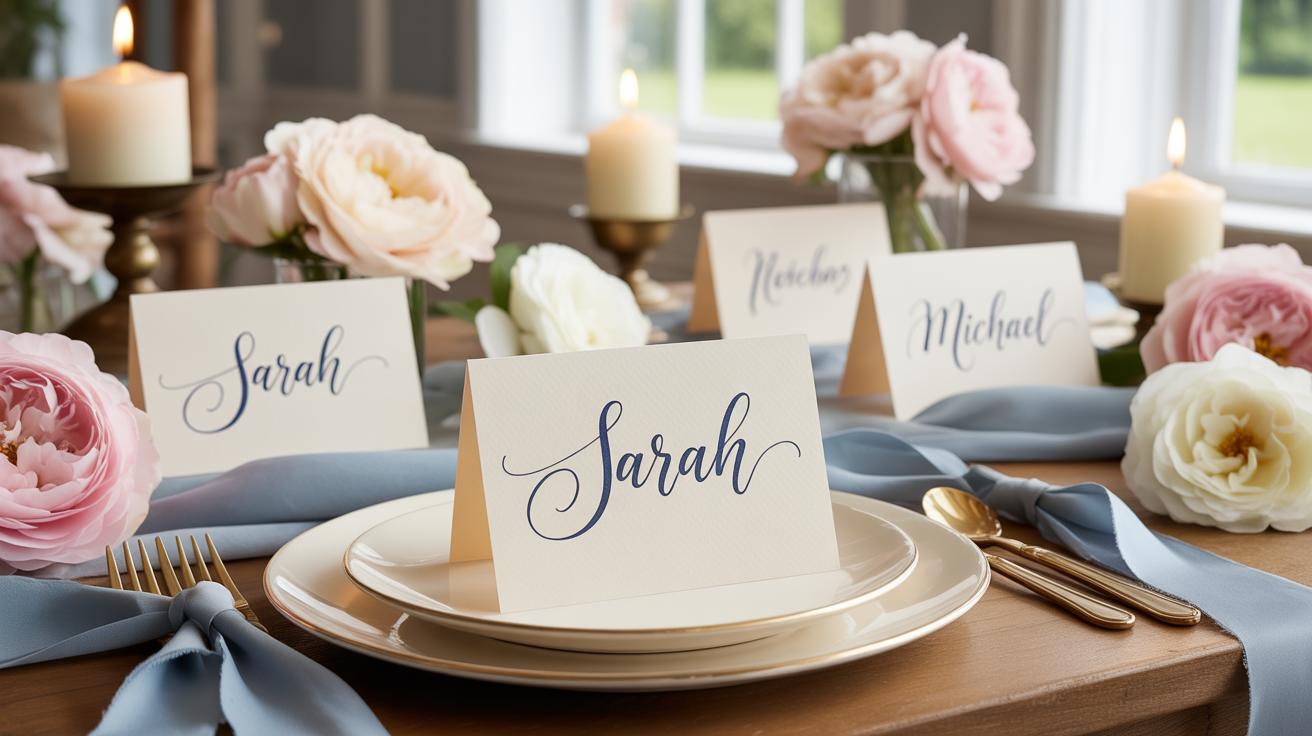
How can I make professional looking DIY wedding place cards if I don’t have good handwriting?
If your calligraphy skills aren’t perfect, don’t worry! You can easily create beautiful diy wedding place cards by using free online design templates and your home printer. Simply choose a stylish font that matches your theme, print the names onto high-quality cardstock, and use a paper trimmer for clean, crisp edges. For an elevated look, consider using a gold paint pen to add small decorative dots or a border by hand.
What are some of the most affordable materials for making place cards on a tight budget?
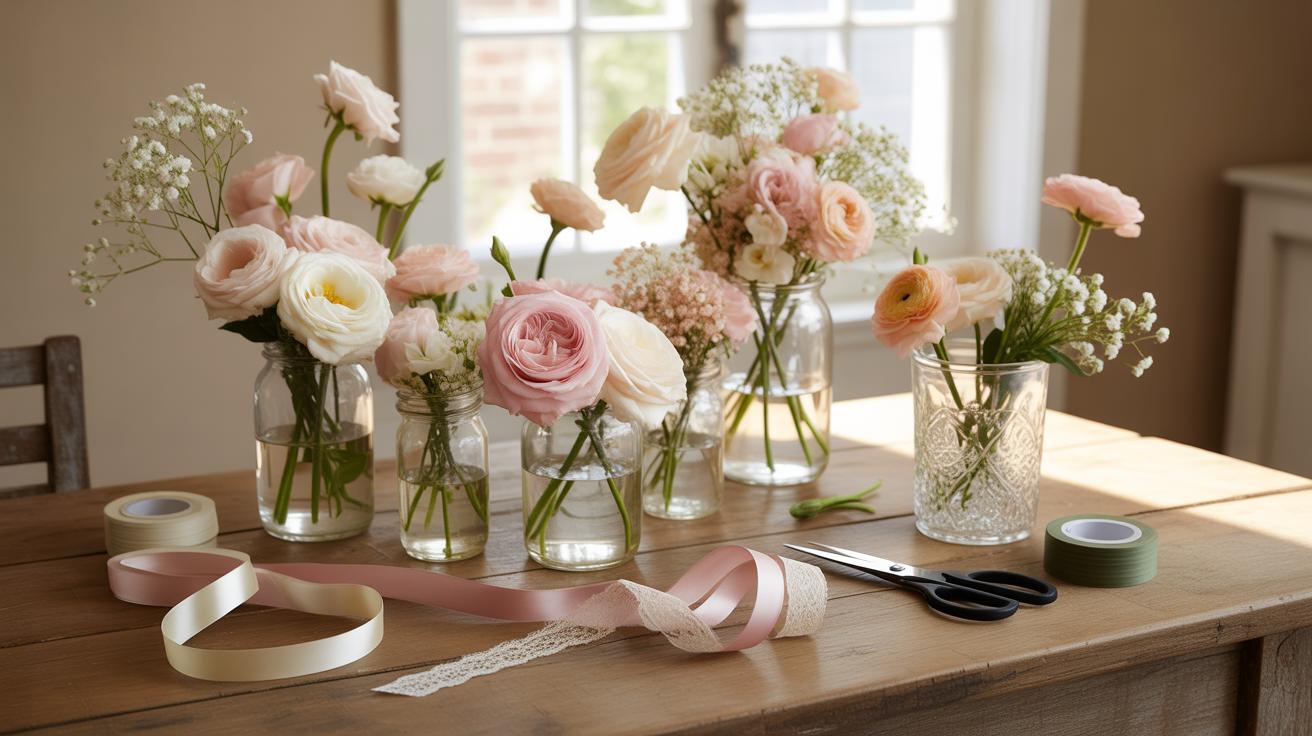
To save money, look toward nature or everyday household items. Smooth river stones, dried fallen leaves, or even small sprigs of rosemary make stunning, low-cost alternatives to expensive stationery. You can also buy a single large sheet of watercolor paper and hand-cut it into rectangles for a high-end, artisanal feel. These budget-friendly materials ensure your tables look sophisticated and intentional without requiring a massive investment in professional printing services.