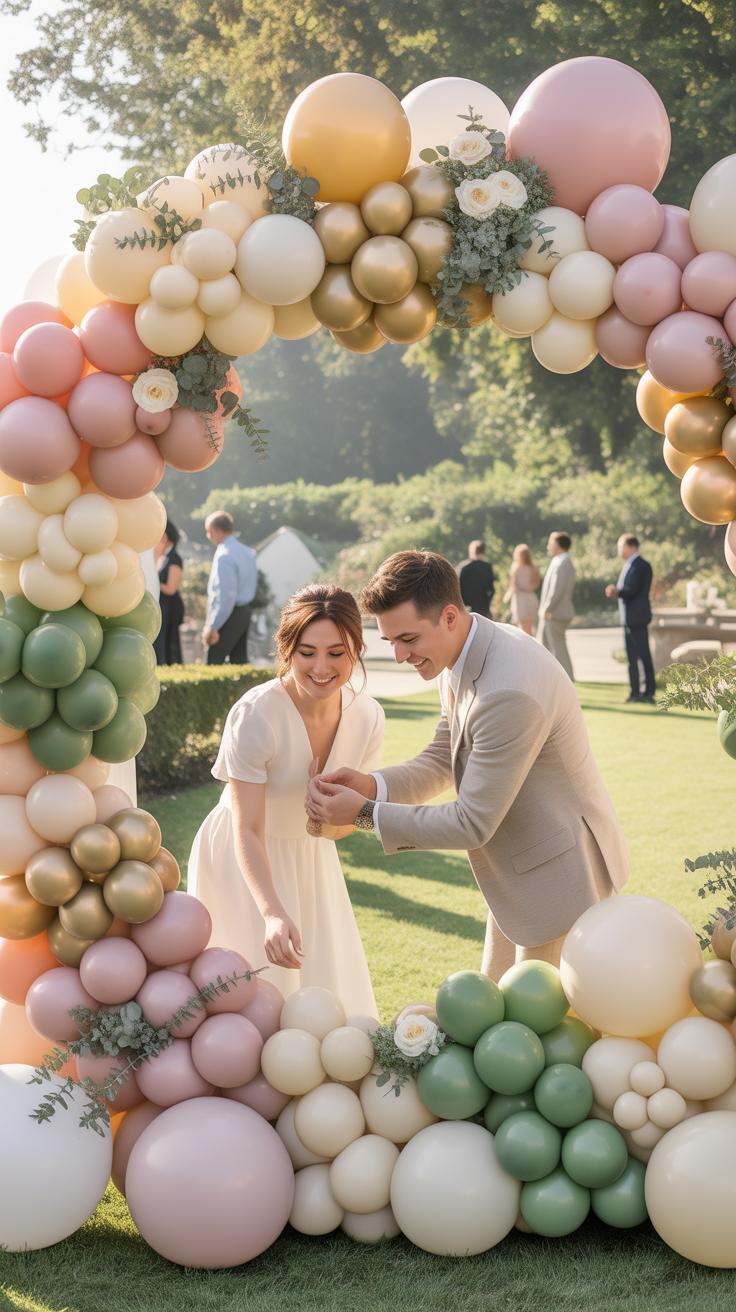
Why A DIY Balloon Garland Diy Is A Perfect Wedding Decoration Choice

The Rise Of Balloon Garlands In Modern Wedding DéCor
Modern weddings now favor organic shapes over rigid traditional structures. The shift toward a DIY balloon garland diy reflects a broader movement in event design toward customization and texture. These installations provide high visual impact without the heavy weight of wooden backdrops. Planners use them to define entryways or frame the couple during vows. Knowing how to make balloon arrangements allows for a Deco ballon aesthetic that matches any color palette.
Organic styling involves using varying sizes to create natural flow and movement. Unlike the stiff arches of the 1990s, today’s designs use balloon clusters to mimic clouds or floral vines. Learning how to set up balloon arch displays gives you an architectural tool for empty venue spaces. This trend gained traction through social media and remains a top choice for diy balloon decorations. It creates a professional look using simple air filled latex.
Cost Savings And Creative Freedom Compared To Hiring A Professional
Professional installers charge high fees for labor, transport, and overhead. Choosing a balloon arch diy approach reduces your budget to just the cost of materials. You stop paying for the brand name and start investing in the actual quality of the latex. This shift allows you to buy premium double stuffed balloons that professionals use. Mastering balloon decorations diy tutorials ensures you keep more money for catering or your honeymoon.
Doing it yourself grants total control over the final design and timeline. You do not have to negotiate with a vendor about specific shades or placement. Following baby shower balloon arch techniques translates perfectly to wedding scales. You decide exactly where the focal points sit in the room. Executing a balloon garland diy project on your own schedule eliminates the stress of waiting for a delivery truck on your wedding morning.
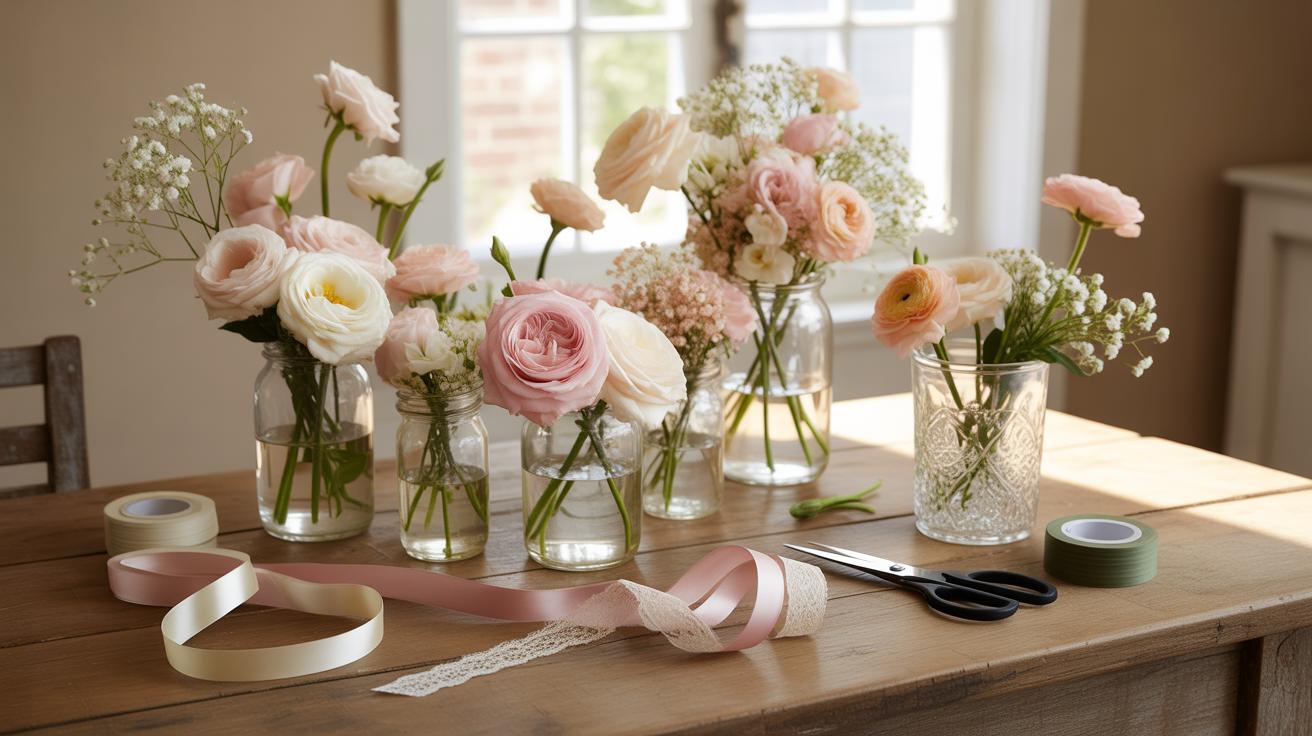
Essential Supplies For Your DIY Balloon Decorations
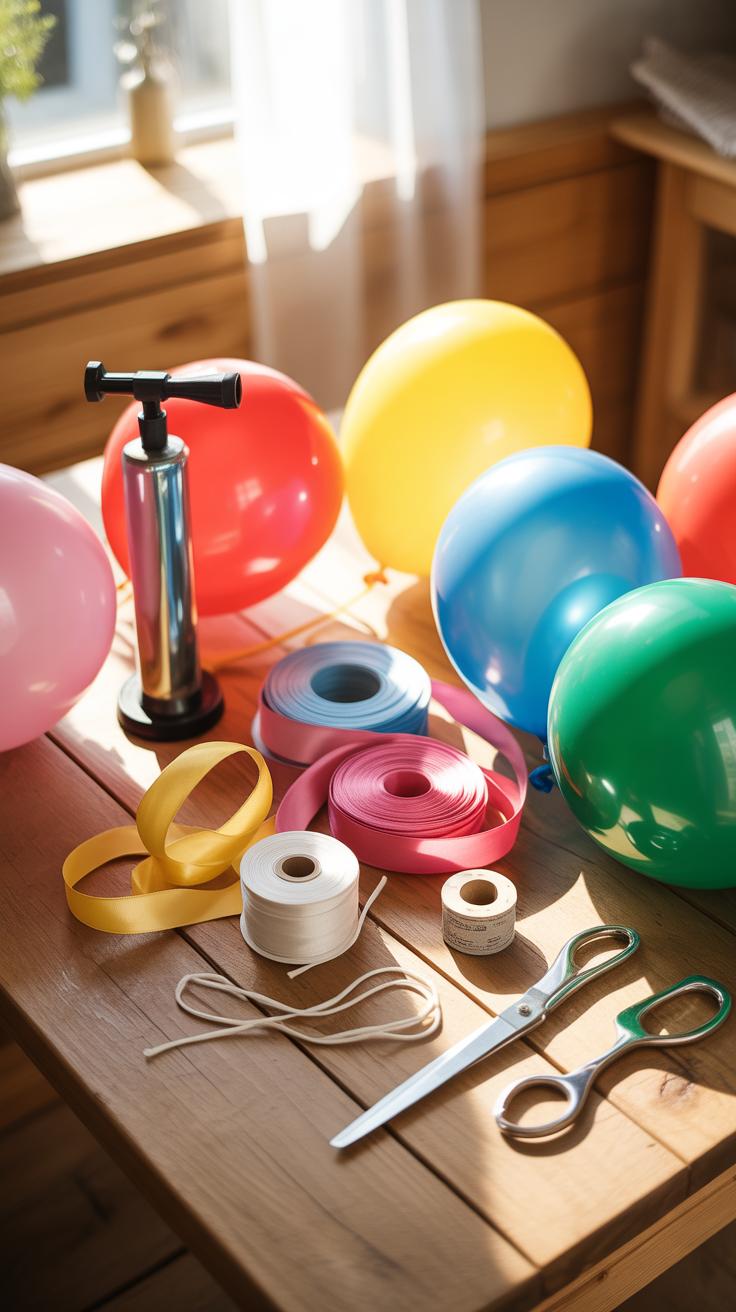
The Core Materials You Need Before You Start
Success in any balloon garland diy project depends on having the right hardware. Professionals do not blow up hundreds of balloons by mouth. You need a dedicated workspace and high quality tools to ensure the structure holds for the duration of the wedding. Proper preparation prevents the organic clusters from sagging or popping during your event setup.
- Electric Balloon Pump: Hand pumps are too slow for large scale diy balloon decorations. A dual nozzle electric inflator allows you to fill two balloons at once. This tool maintains consistent pressure and saves hours of physical labor during the construction phase of your garland.
- Balloon Decorating Strip: This plastic tape features pre-cut holes that secure the balloon knots. It serves as the primary skeleton for your how to set up balloon arch plan. The strip allows for even spacing and provides a sturdy anchor point for attaching the finished garland to walls or frames.
- High Quality Latex Balloons: Cheap balloons pop easily and oxidize into a dull matte texture quickly. Choose professional grade latex for your balloon arch diy to ensure durability. Thicker latex holds air longer and resists temperature changes which is critical for outdoor wedding venues or long receptions.
- Adhesive Glue Dots: These small sticky tabs are essential for filling gaps in your deco ballon design. Use them to attach smaller five inch balloons to the larger structure. This technique hides the plastic strip and creates the dense professional look seen in high end wedding editorials.
- Fishing Line or Low Profile Wire: Clear monofilament is the best way to hang your baby shower balloon arch or wedding garland. It is nearly invisible and extremely strong. Use it to create tension points that lift the garland into curved or organic shapes without using bulky visible ropes.
Organizing these materials before you start ensures a smooth assembly process. Understanding how to make balloon structures requires a focus on structural integrity. Use command hooks or heavy duty gaffer tape to secure your anchor points to the venue walls. Once you master these basic supplies you can move on to the more advanced techniques of layering and color blocking.
Choosing The Right Balloon Sizes, Finishes, And Colors For A Wedding
Wedding aesthetics require a specific mix of balloon sizes to look sophisticated. A standard balloon decorations diy tutorials approach uses three main sizes: five inch, eleven inch, and seventeen inch. Mixing these sizes creates the organic look that distinguishes a high end deco ballon from a basic grocery store kit. Large balloons provide the main mass while small ones hide the mechanics.
Color selection must align with the wedding palette to avoid looking like a child’s party. Use double stuffing techniques to create custom muted tones like champagne or dusty rose. This involves placing one balloon inside another to change the light transparency. Mastering balloon clusters in matte, chrome, or pearl finishes will elevate the final appearance. Avoid mixing too many textures to maintain a sharp and clean visual layout.
Planning Your Design Color Palettes Shapes And Deco Ballon Inspiration
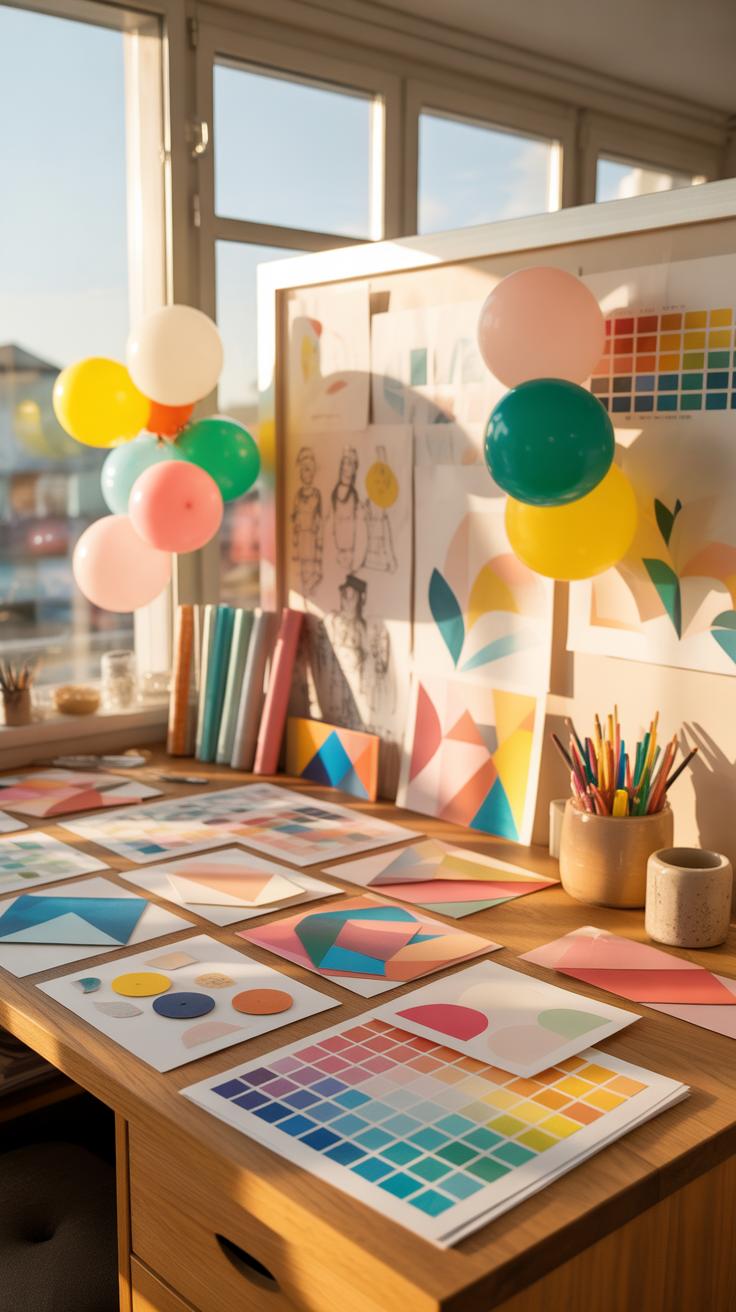
How To Match Your Balloon Garland To Your Wedding Theme And Color Palette
Your wedding theme dictates the color palette and texture of your diy balloon decorations. To achieve a professional deco ballon look, select three to four coordinating colors. Use one anchor color, one secondary shade, and one metallic or textured accent. Study balloon decorations diy tutorials to understand how matte, chrome, and pearl finishes interact under event lighting. This technical approach ensures the garland complements your venue instead of clashing with the formal setting.
Select colors that reflect the season and the mood of your ceremony. Researching a baby shower balloon arch can provide insight into soft pastels, but weddings require more sophisticated tonal shifts. Use double-stuffing techniques to create custom colors that match specific fabric swatches. This method involves layering one balloon inside another to change the opacity and hue. Precision in color matching is the foundation of a high-quality balloon garland diy project that looks expensive.
Sketching A Layout And Estimating How Many Balloons You Will Need
Mapping your design is essential before you purchase materials for a balloon arch diy. Measure the installation area to determine the linear footage of the garland. Most professional balloon clusters require approximately sixteen to twenty balloons per foot for a full appearance. Sketch the flow of the installation on paper. Identify where the garland will attach to walls or frames to ensure you understand how to set up balloon arch structures safely.
Calculate your inventory by breaking down the total count into specific sizes. Use a mix of five-inch, eleven-inch, and seventeen-inch balloons to create visual depth and organic shapes. Learning how to make balloon structures requires accounting for at least ten percent breakage during inflation. Buying in bulk reduces costs and ensures color consistency across all batches. Proper estimation prevents mid-project delays and ensures your balloon garland diy spans the entire planned architectural space.
How To Make Balloon Clusters The Building Blocks Of Your Garland

Step By Step: Inflating And Tying Balloons To The Right Size
Precision defines a successful diy wedding balloon garland. Use an electric pump to speed up the process. Stop inflating before the balloon reaches a pear shape. A round balloon indicates structural integrity and visual appeal. This step is the foundation of How To Make Balloon shapes that look professional rather than amateur. Overfilled balloons pop easily and ruin the clean lines of your final display.
Manual tying creates a secure seal for each unit. After inflating two balloons, cross their necks and tie them into a tight knot. This creates a pair, or a duplet. Repeat this process until you have several pairs ready for assembly. Consistent sizing across these pairs ensures your Balloon Garland Diy project remains balanced. Uniformity prevents gaps and allows for a more stable structure during the final installation phase.
How To Twist And Group Balloon Clusters For A Full, Professional Look
Transforming pairs into Balloon Clusters requires a simple twisting technique. Take two duplets and cross them at the knots. Twist one balloon from the first pair around a balloon from the second pair. This locking motion creates a quad. Quads are the standard units used in Balloon Decorations Diy Tutorials. They provide the necessary bulk for a Deco Ballon style that stands out at any high-end or casual event.
Mastering this grouping method is essential for a sturdy Baby Shower Balloon Arch or wedding display. Stacking these quads allows you to understand How To Set Up Balloon Arch foundations that do not sag. Mix different sizes of quads to add depth and texture. This tactical approach to Diy Balloon Decorations ensures your work stays together throughout the entire wedding. Compact clusters hide the underlying support frame or line from the viewer.
Balloon Decorations Diy Tutorials Assembling Your Garland Step By Step

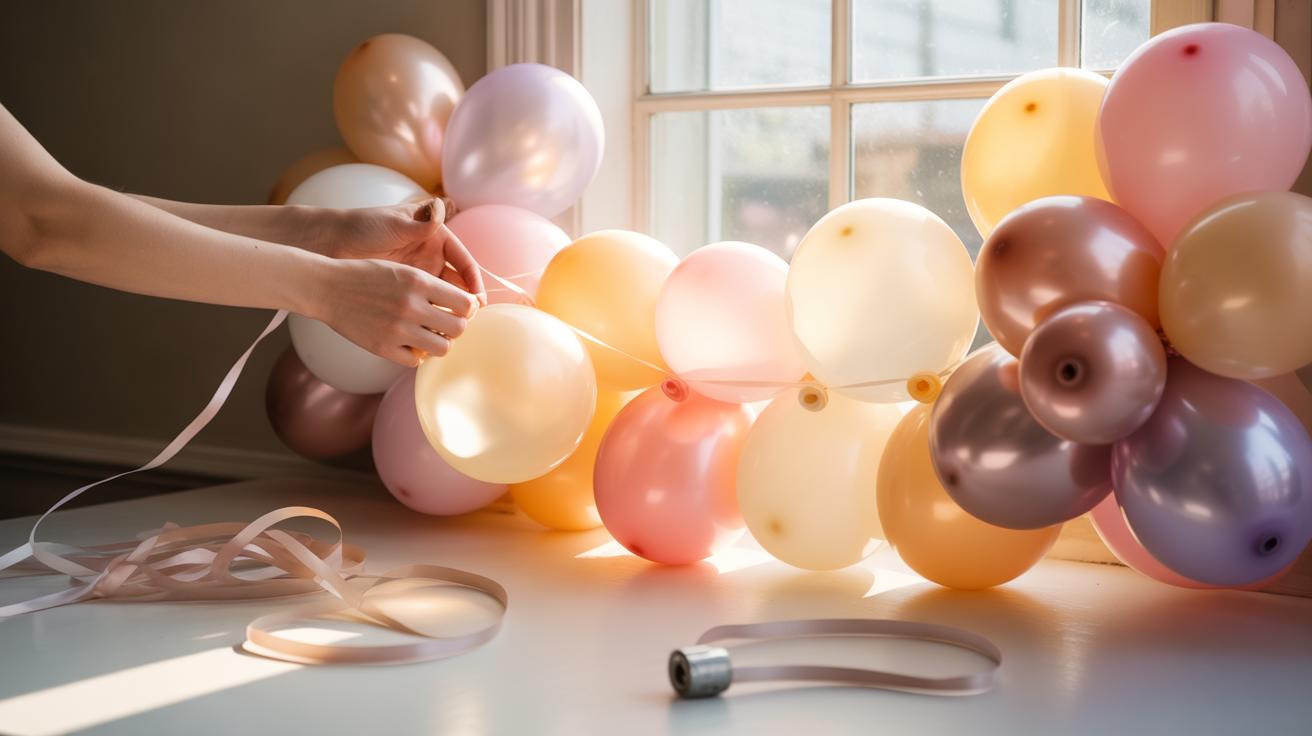
Threading Balloons Onto A Decorating Strip Or Fishing Line
Begin your Balloon Garland Diy by preparing your primary structure. Use a plastic decorating strip for speed or high-test fishing line for a floating look. Insert the tied knots of your largest balloons through the holes in the strip. Alternate sides as you work to create a balanced weight distribution. This foundational phase ensures your diy wedding balloon garland remains structurally sound during the entire event.
Secure the line to a fixed point to maintain tension while you work. If you choose the fishing line method, use a needle to pierce the balloon tails safely. This specific deco ballon technique creates a tighter cluster than plastic strips allow. Keep your spacing consistent to avoid visible gaps early on. Proper execution here simplifies the later stages of how to set up balloon arch displays effectively.
Filling Gaps And Adding Texture With Varied Balloon Sizes And Accent Balloons
Once the base is secure, focus on adding depth using Balloon Clusters. Use low-temperature glue dots or high-quality floral wire to attach smaller five-inch balloons into the empty spaces. These smaller units hide the structural spine and create a high-end look. This is a critical step in any Balloon Arch Diy project. It transforms a basic string of latex into a professional-grade installation for guests.
Layering different shapes and finishes provides the necessary visual contrast for a Baby Shower Balloon Arch or wedding display. Integrate foil accents or greenery to break up the round shapes. This part of how to make balloon art requires a keen eye for density. Apply diy balloon decorations in various sizes to mimic natural organic flow. Mastery of these balloon decorations diy tutorials ensures your final result looks intentional and expensive.
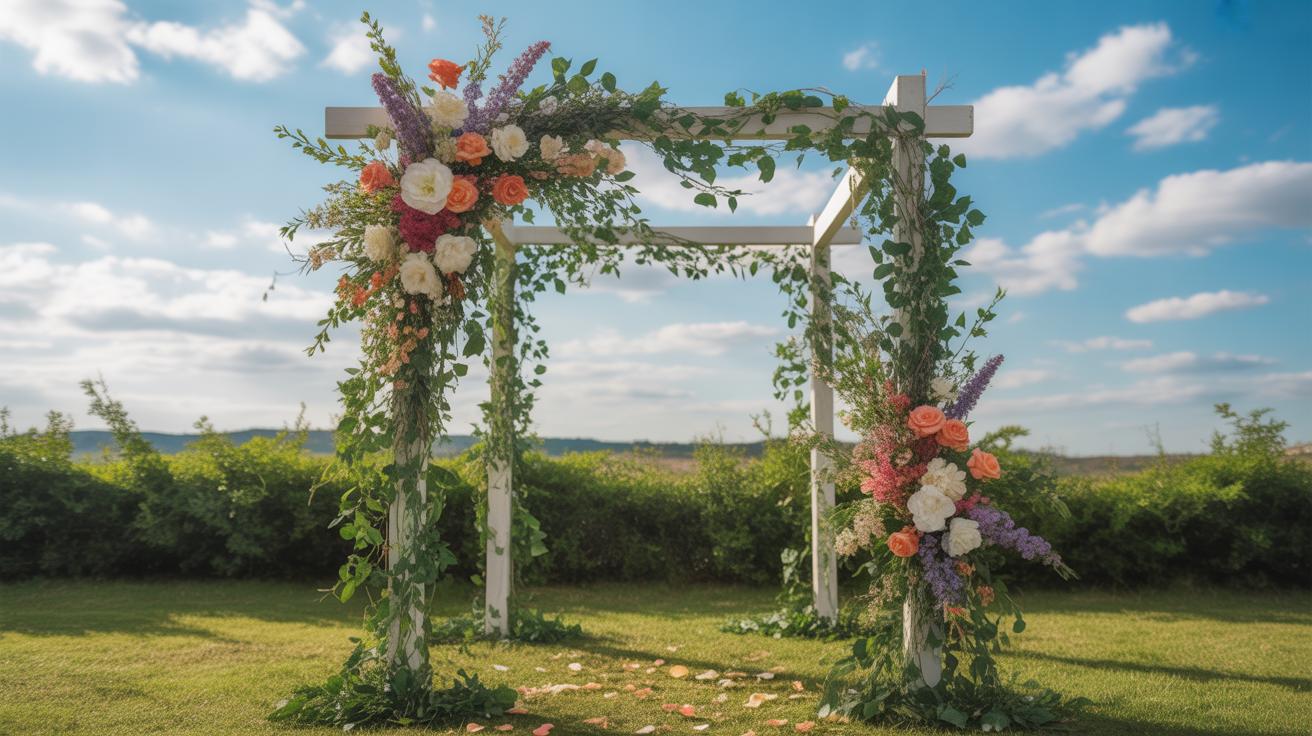
How To Set Up A Balloon Arch For Your Wedding Ceremony Or Reception
Choosing The Right Frame Or Support Structure For Your Venue
Your choice of skeleton determines the structural integrity of your balloon arch diy project. Indoor venues usually allow for lightweight carbon fiber or plastic poles. These kits break down easily for transport. Outdoor weddings require weighted steel bases or heavy PVC piping to combat wind resistance. Solid frames ensure your how to make balloon structure does not collapse during the ceremony or block high-traffic walkways in the reception hall.
Stability is the priority when managing a large balloon garland diy installation. If you use a circular frame, ensure the locking pins are fully engaged. For organic shapes, you may not need a full frame at all. Instead, use a rigid conduit or aluminum wire for custom diy balloon decorations. Proper framing allows you to build density without sagging. This tactical approach ensures professional deco ballon results that remain upright for the full event duration.
Love is like a beautiful garland; it is built one small breath at a time, woven together with patience and care. To create something by hand for your wedding is to put your heart into the very air of your celebration.
— Martha Stewart
Securing And Hanging Your Garland Safely Without Damaging The Venue
Mounting your balloon decorations diy tutorials requires specific hardware to protect venue walls and ceilings. Professional installers use command hooks or heavy-duty magnets on dropped ceiling grids. Check your venue contract for restrictions on tape or nails before you begin. A how to set up balloon arch plan must account for weight distribution. Secure the main anchor points first to prevent the entire line from slipping or falling.
Weight your base using sandbags or water bricks for any floor-standing balloon clusters. If you are hanging a baby shower balloon arch style piece over a doorway, use monofilament fishing line. This clear line offers high tensile strength and remains invisible to guests. Double-knot every connection point to tension wires accurately. Success depends on firm attachment points that handle the natural expansion of air inside the latex over several hours of the wedding.
Pro Tips For A Flawless Balloon Arch Diy That Lasts All Day

How Temperature Humidity And Sunlight Affect Balloon Longevity
Environmental factors dictate the lifespan of a balloon garland diy project. High heat expands the air molecules inside latex, causing thin walls to pop. Direct sunlight triggers a chemical reaction called oxidation. This process turns clear or shiny surfaces into a dull, velvet texture. Humidity creates moisture on the latex surface. This weight can pull down delicate diy balloon decorations or cause clusters to sag before the event ends.
Managing these variables is critical when you learn how to make balloon structures for outdoor venues. Cold air causes the helium or oxygen inside to contract. This makes your deco ballon look deflated and wrinkled. Professional decorators always pre-stretch materials and inflate to eighty percent capacity. This technique provides a buffer against expansion. Tactical planning ensures your baby shower balloon arch maintains its structural integrity despite fluctuating local weather conditions.
Top Tips To Keep Your Garland Looking Fresh From Ceremony To Reception
Preparation determines the success of a balloon arch diy setup. You must use professional grade latex rather than retail party store kits. High quality materials resist popping and hold air longer. Start your assembly twenty four hours early in a climate controlled room. This allows you to identify and replace any defective units before transport. Proper sealing techniques during the balloon decorations diy tutorials phase prevent slow leaks.
- Use Hi-Float Coating: This liquid plastic sealant creates a barrier inside the balloon. It prevents air molecules from escaping through the porous latex. It can double or triple the float time for your structures.
- Avoid Over-Inflation: Fill each unit until it looks round rather than pear-shaped. Over-inflated cells have high surface tension. This makes them vulnerable to popping from minor temperature shifts or sharp edges during the installation.
- Apply Balloon Shine: Use a silicone-based spray to prevent oxidation. This coating keeps your deco ballon looking glossy and new. It blocks the oxygen from turning the latex matte when used in outdoor settings.
- Low-Temperature Transport: Keep the vehicle cool while moving your balloon clusters to the venue. Heat exposure in a parked car will expand the air rapidly. This leads to early failure before you even start the setup.
- Secure Anchor Points: Use heavy weights or structural rigging to fight wind resistance. Even a small breeze can tear a flimsy baby shower balloon arch apart. Double-knot your fishing line or balloon tape for maximum security.
Execution requires speed and precision when learning how to set up balloon arch displays. Always carry a repair kit containing extra latex, glue dots, and a manual pump. This allows you to fix gaps instantly if a single unit fails during the transition to the reception. Following consistent balloon decorations diy tutorials ensures every knot is tight. Strategic placement away from air conditioning vents or direct heaters prevents rapid air contraction or expansion.
Adapting Your DIY Wedding Balloon Garland Technique For A Baby Shower Balloon Arch

How The Same Skills Transfer Beautifully To Baby Shower Celebrations
Mastering a diy wedding balloon garland provides the exact technical foundation needed for a baby shower balloon arch. You use the same high quality latex balloons and dual action pumps. The structural integrity depends on the same fishing line or plastic strip methods. Whether you are building for a wedding or a nursery theme, the physics of weight distribution and attachment points remain identical.
Execution of balloon clusters is the core skill for both events. You learn how to make balloon quads by tying pairs together and twisting them into a stable base. This technique ensures your balloon garland diy project stays tight and does not gaps. Understanding how to set up balloon arch stands allows you to create entryways or photo backdrops for any celebration regardless of the specific event title.
Adjusting Colors, Scale, And Accent Pieces For A Baby Shower Setting
Moving from weddings to baby showers requires a shift in color theory and scale. While weddings often use neutral tones, baby showers utilize pastels or bold gender reveal palettes. In deco ballon design, you must adjust your balloon decorations diy tutorials to include thematic elements. This means integrating smaller five inch balloons into the gaps to create a soft, bubbly texture that fits a youth centered event.
Scale dictates how you manage the diy balloon decorations within a residential space. Baby showers often occur in homes rather than large banquet halls. You must scale down the overall volume while increasing the density of the clusters. Incorporate foil letters or animal shapes to distinguish the theme. Proper planning ensures the finished arrangement looks professional and intentional rather than just a repurposed wedding decoration.
Frequently Asked Questions

Is it difficult for a beginner to create a professional-looking balloon garland?
Not at all! Creating a stunning diy wedding balloon garland is surprisingly approachable for beginners if you use a plastic balloon strip or fishing line. The secret to a high-end look lies in using varying balloon sizes and clusters rather than perfect symmetry. By following a simple pattern and taking your time to fill in the gaps with smaller balloons, you can achieve a sophisticated, boutique-style aesthetic without any prior experience.
How far in advance can I assemble my balloon garland before the wedding?
You can typically assemble your diy wedding balloon garland 24 to 48 hours before the big day. To ensure the display stays vibrant and full, store it in a cool, dark place away from direct sunlight, which can cause balloons to oxidize or pop. High-quality latex balloons filled with air (not helium) hold their shape remarkably well, allowing you to check this task off your wedding to-do list early.
Can I create a high-end wedding balloon display on a very tight budget?
Absolutely. One of the best benefits of a balloon installation is the massive visual impact for a relatively low cost. To save money, purchase high-quality latex balloons in bulk and use an electric pump to save time. By focusing on a monochromatic color palette or adding affordable greenery from your garden, you can create a luxurious, custom atmosphere that looks far more expensive than the actual materials cost.