Why DIY Wedding Signs Are A Smart Choice For Your Dream Wedding Decorations
The Cost Savings Of Making Your Own Wedding Signs Vs. Buying Pre Made
Professional vendors charge high markups for Wedding Signage due to labor and overhead. You pay for their studio space and specialized equipment. Buying raw materials like plywood, acrylic, or foam board reduces your total spend. This strategy allows you to allocate more funds toward high impact items like catering. You gain direct control over your budget by sourcing materials from local hardware stores or craft suppliers.
Successful diy wedding signs eliminate shipping fees and rush order premiums. Pre made options often use cheap substrates but carry luxury price tags. By building your own Wedding Welcome Signs, you bypass the middleman. You can create a professional look using stencils and paint pens for a fraction of the retail cost. Smart planning ensures your Dream Wedding Decorations look expensive without the heavy financial burden.
How Personalized Signage Adds Meaning And Character To Your Big Day
Custom signage allows you to maintain a consistent Wedding Mood throughout the venue. Unlike mass produced items, handmade signs reflect your specific style and history. You can choose fonts and colors that match your Forest Theme Wedding or modern aesthetic perfectly. This level of detail creates a cohesive experience for guests. Custom pieces serve as functional tools that also act as Cute Diy Wedding Decorations for the event space.
Placing a unique sign at the Wedding Entrance sets the tone immediately. You can tailor the messaging on your Signing Table to speak directly to your family and friends. This personal touch makes the environment feel intentional and intimate. Use diy wedding inspo to guide your design choices while staying true to your vision. Authentic signage transforms a generic rental hall into a curated space that tells your story effectively.
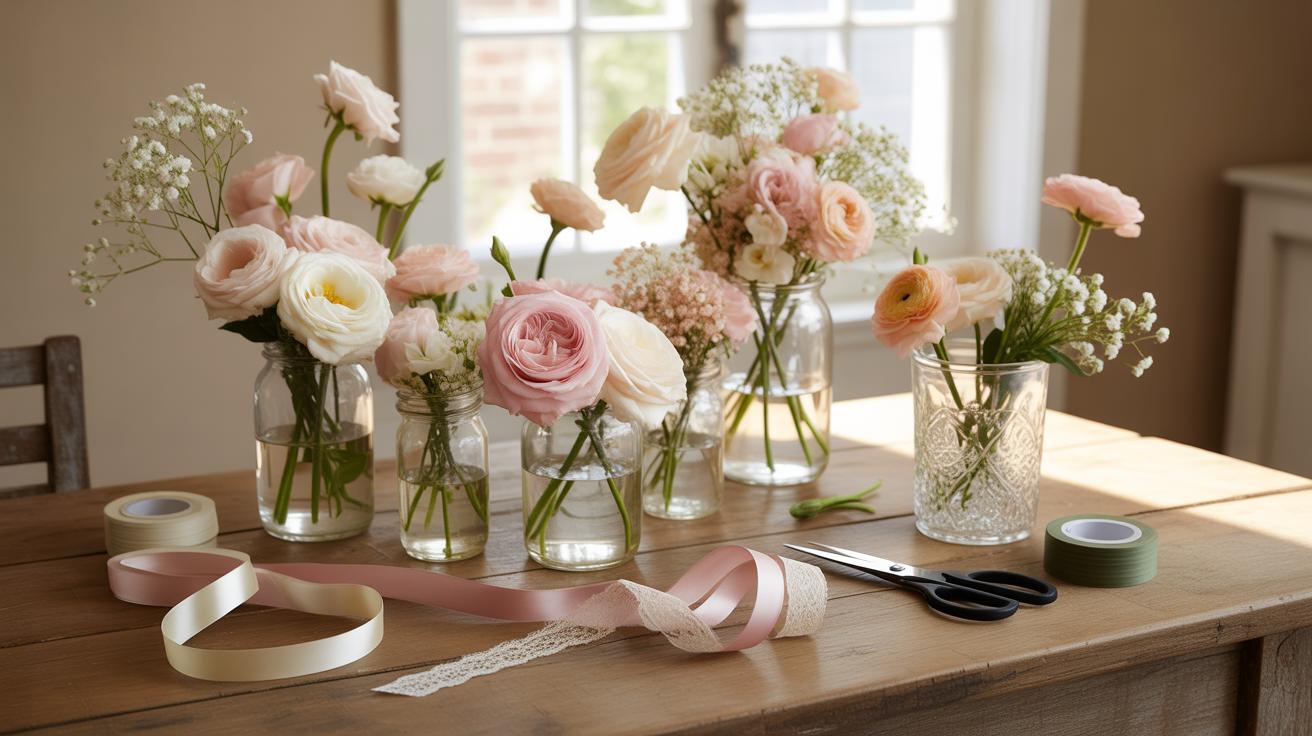
Essential Materials For DIY Wedding Signs A DIY Wedding Inspo Starter Guide

Budget Friendly Sign Bases: Wood, Chalkboard, Acrylic, And Foam Board
Select your base material based on the wedding mood you want to establish. Wood planks and plywood sheets offer a rugged texture for a forest theme wedding. Plywood is cheap and takes stain well for a professional look. Chalkboards allow for easy corrections and reuse. Acrylic sheets provide a clean glass look without the breakable risk or high cost associated with real glass.
Foam board serves as the most affordable option for a wedding entrance or wedding welcome signs. It is lightweight and easy to transport to any venue. For high end wedding signage, rigid PVC boards offer more durability than foam. Match your material to the environment. Wind requires heavy wood or weighted frames. Indoor settings like a signing table can use lighter acrylic or cardstock options.
Must Have Tools And Supplies To Get Started On Your Wedding Signs
You need specific tools to execute professional diy wedding signs at home without high costs. Quality markers and adhesives determine the final durability of your dream wedding decorations. Use permanent solutions for outdoor displays to prevent smudging from moisture or touch. Proper preparation ensures your cute diy wedding decorations last through the entire event without peeling or fading under bright lights.
- Paint Pens: Use oil based markers for permanent designs on acrylic or wood surfaces. They resist water better than water based versions. These pens provide the precision needed for intricate hand lettering on any wedding welcome signs you create for the venue.
- Transfer Paper: Use graphite or carbon paper to trace printed designs directly onto your base material. This technique eliminates freehand errors and ensures consistent fonts across all wedding signage. It is the most reliable way to achieve professional results on a budget.
- Wood Stain or Acrylic Paint: Apply a base coat to treat raw wood or foam board before lettering. Stains enhance the natural grain for a forest theme wedding aesthetic. Flat acrylic paint provides a high contrast background that makes your text easier for guests to read.
- Painter’s Tape: Secure your stencils and create crisp borders with low tack blue tape. This tool prevents paint bleed and keeps your layout aligned. It is essential for mapping out the spacing on a large wedding entrance display or a small signing table.
- Sandpaper: Smooth out rough edges on timber or plywood bases to prevent splinters and snagged fabric. A clean surface allows markers to glide without skipping. Proper sanding is the difference between amateur crafts and polished diy wedding inspo that looks like a custom order.
Organize your workspace before starting the assembly process to avoid wasted materials. Clean every surface with rubbing alcohol to remove oils and dust before applying paint or vinyl. Pressure sensitive adhesives require a firm rub to bond correctly to the substrate. Following these steps ensures your wedding mood remains consistent across every piece of signage from the ceremony to the reception.
Choosing The Right Fonts And Layouts To Match Your Wedding Mood
How To Select Lettering Styles That Complement Your Wedding Theme
Typography dictates the Wedding Mood immediately. For a Forest Theme Wedding, choose organic serif fonts or hand-drawn scripts that mimic natural curves. If you want a modern look, use clean sans-serif typefaces to ensure readability from a distance. High contrast between the text color and background material is vital. Busy fonts distract guests. Keep your labels functional so people move quickly through the venue.
Consistency across all Wedding Signage prevents visual clutter. Use no more than two font families for your diy wedding signs. Pair a decorative script with a simple block font to balance style and utility. This strategy works well for a Signing Table where space is limited. Clear lettering helps guests understand instructions without asking staff. Match your font weight to the scale of your Wedding Entrance for maximum impact.
Real luxury is not about what you spend, but the love and hand-painted memories you stitch into every detail of your day.
— Martha Stewart
Using Free Design Tools Like Canva To Plan Your Sign Layouts Before Painting
Digital tools like Canva provide precision for your diy wedding signs project. Use these platforms to test spacing before applying paint to expensive wood or acrylic. Search for diy wedding inspo templates to find established proportions. This step prevents common errors like off-center text or cramped margins. You can upload photos of your materials to see how different colors look against the grain or surface.
Layout software allows you to scale Wedding Welcome Signs to exact physical dimensions. Print your digital design at full size to create a stencil. This method ensures cute diy wedding decorations look professional rather than amateur. Proper alignment is the difference between high-end Dream Wedding Decorations and a messy project. Use the grid lines in the tool to center every line of text. Save your files to maintain a cohesive look throughout.
How To Create Cute DIY Wedding Decorations That Double As Signage

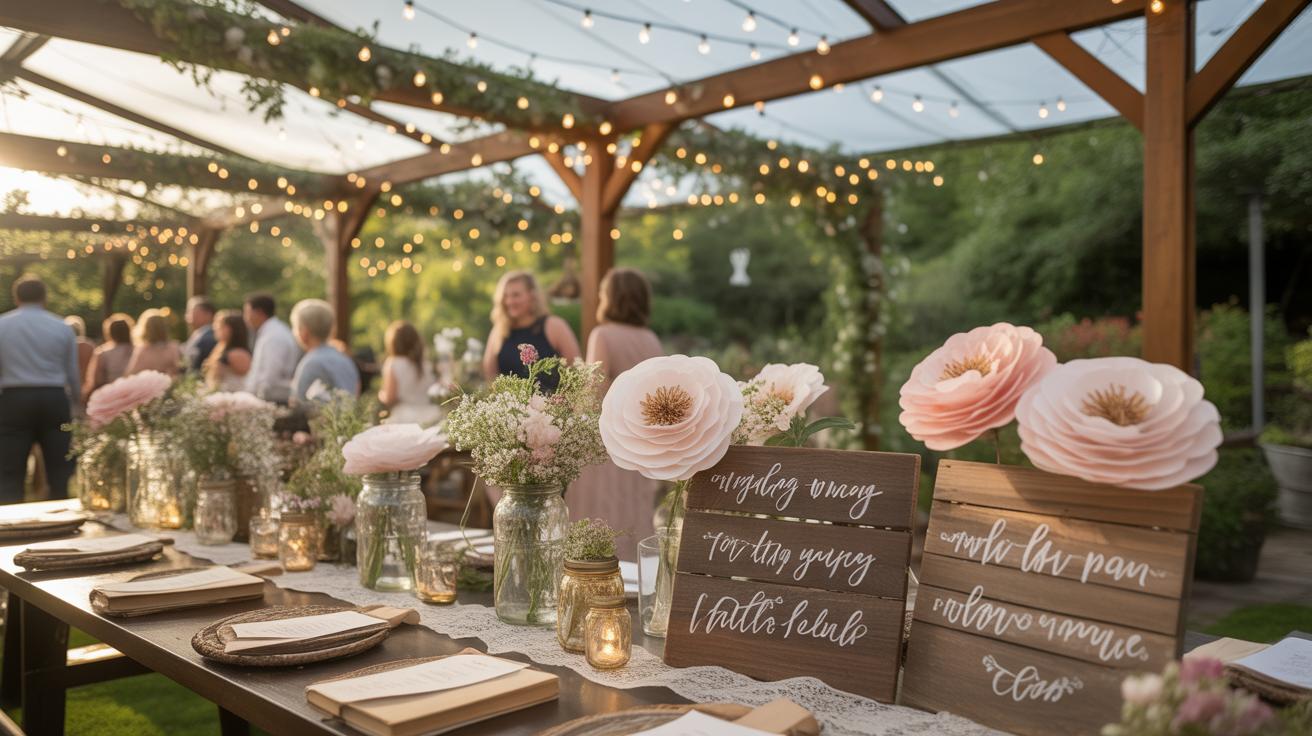
Combining Florals, Greenery, And Ribbon With Your Signs For A Cohesive Look
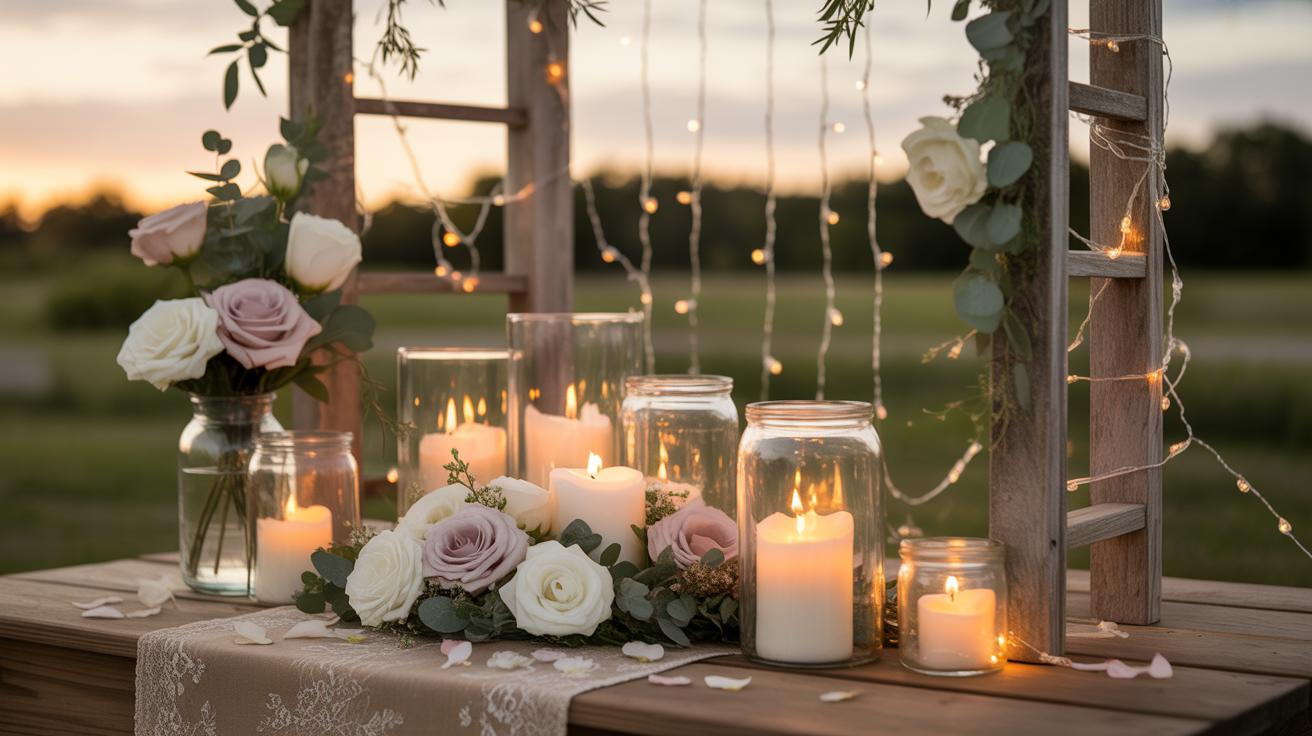
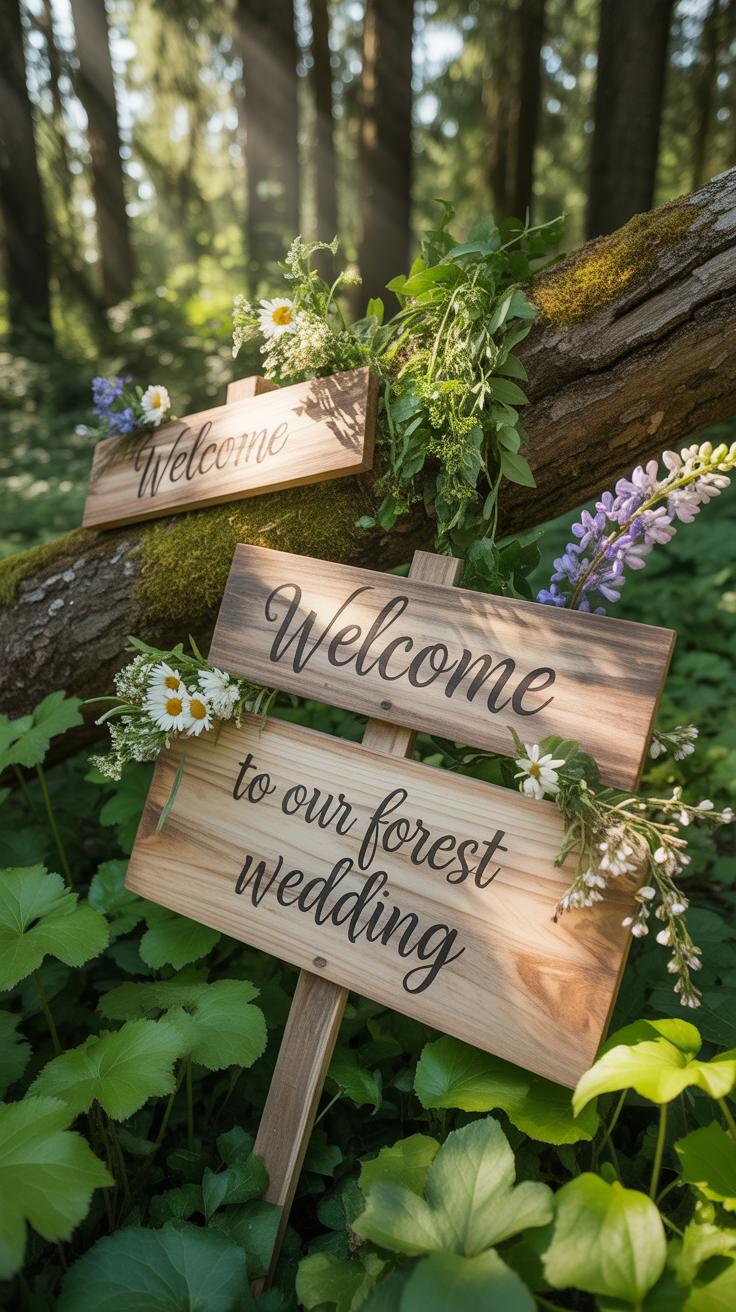
Attach greenery directly to your Wedding Welcome Signs using floral wire or adhesive clips. This technique grounds the Wedding Signage in the physical space of the venue. For a Forest Theme Wedding, use native ferns or eucalyptus to match the surrounding environment. This approach ensures your Wedding Entrance looks intentional rather than cluttered. Strategic use of natural elements transforms a basic board into a focal point.
Secure long satin or velvet ribbons to the corners of your frames to enhance the Wedding Mood. Use colors that match your overall palette to maintain visual unity. These accents soften the hard edges of wood or acrylic materials. Ribbons also help draw attention to specific Dream Wedding Decorations without requiring a large budget. Focus on high-quality textiles to ensure your Cute Diy Wedding Decorations look professional and polished.
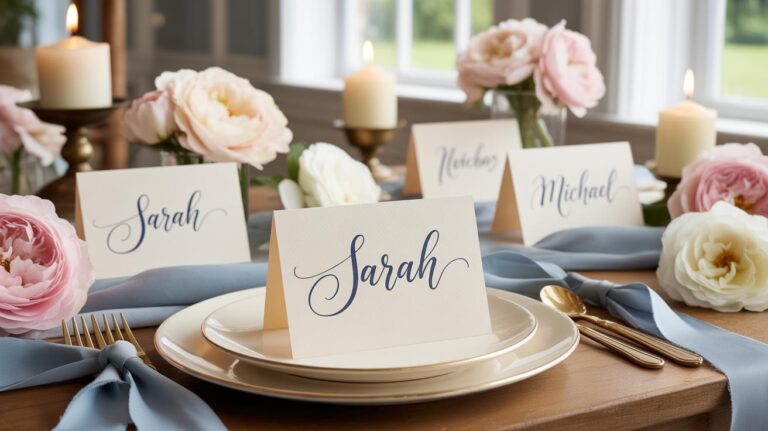
Small Decorative Signs For Tables, Bars, And Seating Areas That Guests Will Love
Place small instructional signs at the Signing Table to direct guest traffic efficiently. Use clear typography and high-contrast materials to ensure everyone can read the instructions quickly. These functional pieces serve as Diy Wedding Inspo for guests who value organization. Small signs reduce confusion at high-traffic areas like the bar or gift station. Keep the messaging brief and the design consistent with your larger display pieces.
Coordinate smaller table signs with your primary Wedding Welcome Signs to create a unified aesthetic. Consistent fonts and materials tell guests where to go without verbal guidance. Well-placed signage keeps the event moving and prevents bottlenecks at the entrance. Use heavy bases for outdoor signs to prevent them from tipping over in the wind. Effective signage combines utility with style to improve the overall guest experience at your ceremony.
Designing A Show Stopping DIY Wedding Entrance Sign On A Budget
Sizing And Placement Tips For Making Your Entrance Sign A Focal Point
Select a location for your Wedding Entrance that guarantees immediate visibility. Clear sightlines prevent guests from missing vital directions. A standard 24 by 36 inch board provides the best scale for outdoor environments. Place the display approximately thirty feet from the arrival point. This spacing allows the Wedding Signage to set the Wedding Mood without causing a physical bottleneck for guests.
Sturdy placement ensures your Dream Wedding Decorations remain upright against wind. Use a weighted easel or ground stakes for stability. Height matters for readability. Elevate the center of the text to fifty inches above the ground. This matches the average human eye level. Proper positioning turns a basic board into high quality Wedding Welcome Signs that guide people toward the Signing Table area.
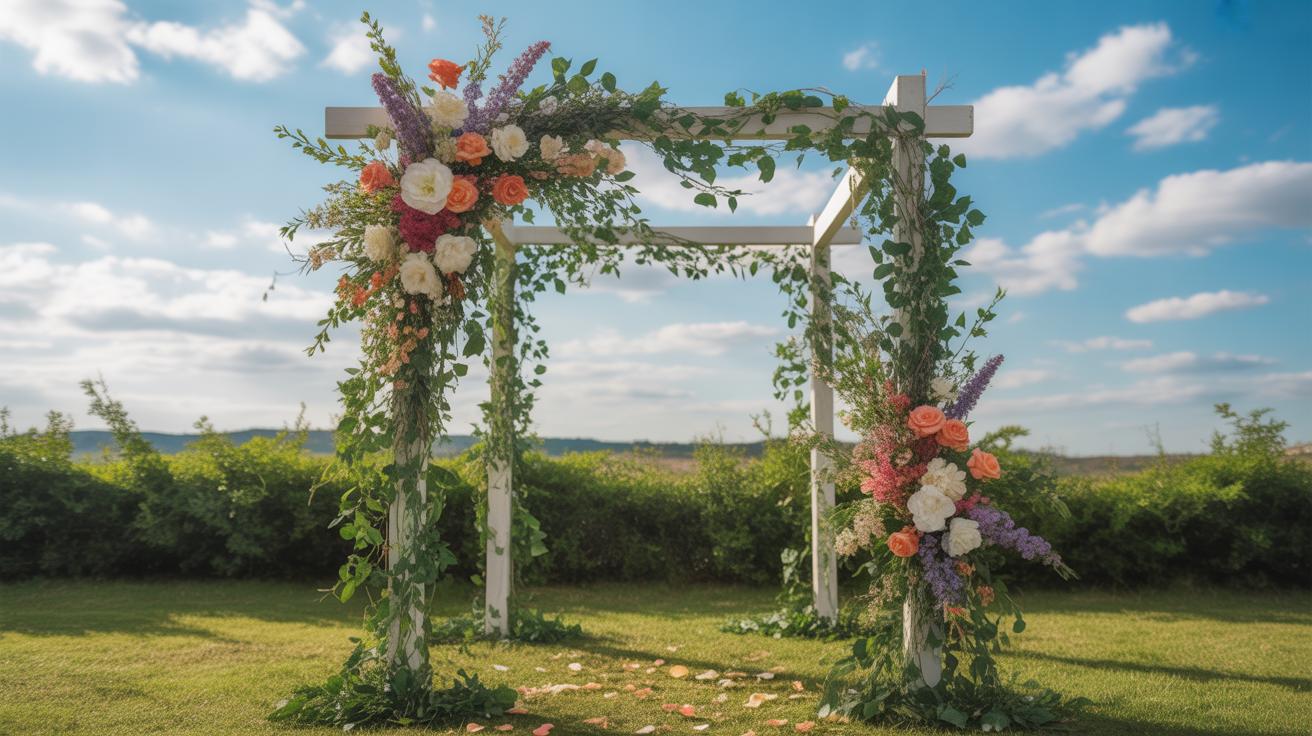
Step By Step Guide To Painting A Rustic Wooden Arch Or Easel Entrance Sign
Sand the wood surface thoroughly to remove splinters and ensure paint adhesion. Use sixty grit sandpaper for rough lumber and finish with one hundred twenty grit. Apply a base coat of outdoor grade acrylic paint. This material resists moisture better than standard craft paint. Use a matte finish to prevent camera glare. This stage creates a durable foundation for your Forest Theme Wedding aesthetic.
Trace your lettering using a graphite transfer method or a digital projector. This technique ensures professional results for your Cute Diy Wedding Decorations. Fill the outlines with a paint pen for maximum control. Avoid using traditional brushes for fine text details. These tools offer the precision required for high quality Diy Wedding Inspo projects. Allow twenty four hours for the paint to cure before moving the sign.
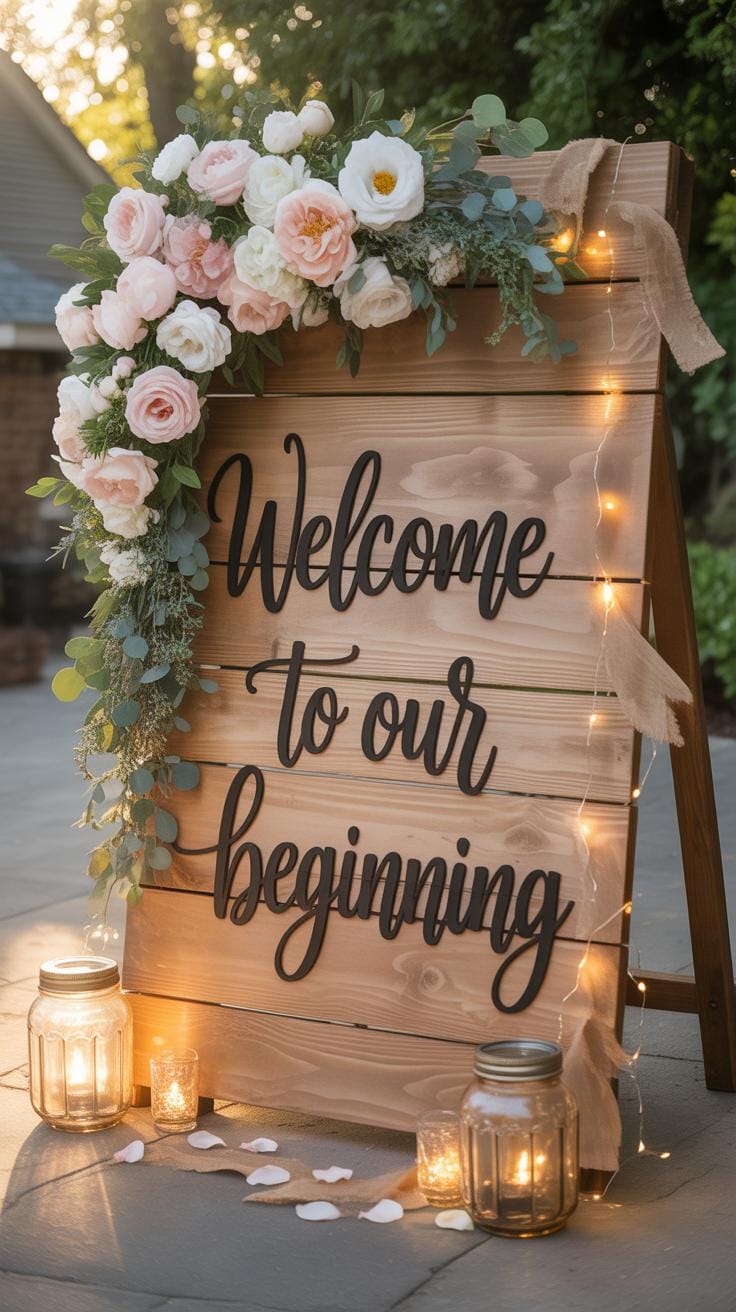
Creating The Perfect DIY Wedding Welcome Signs Your Guests Will Remember
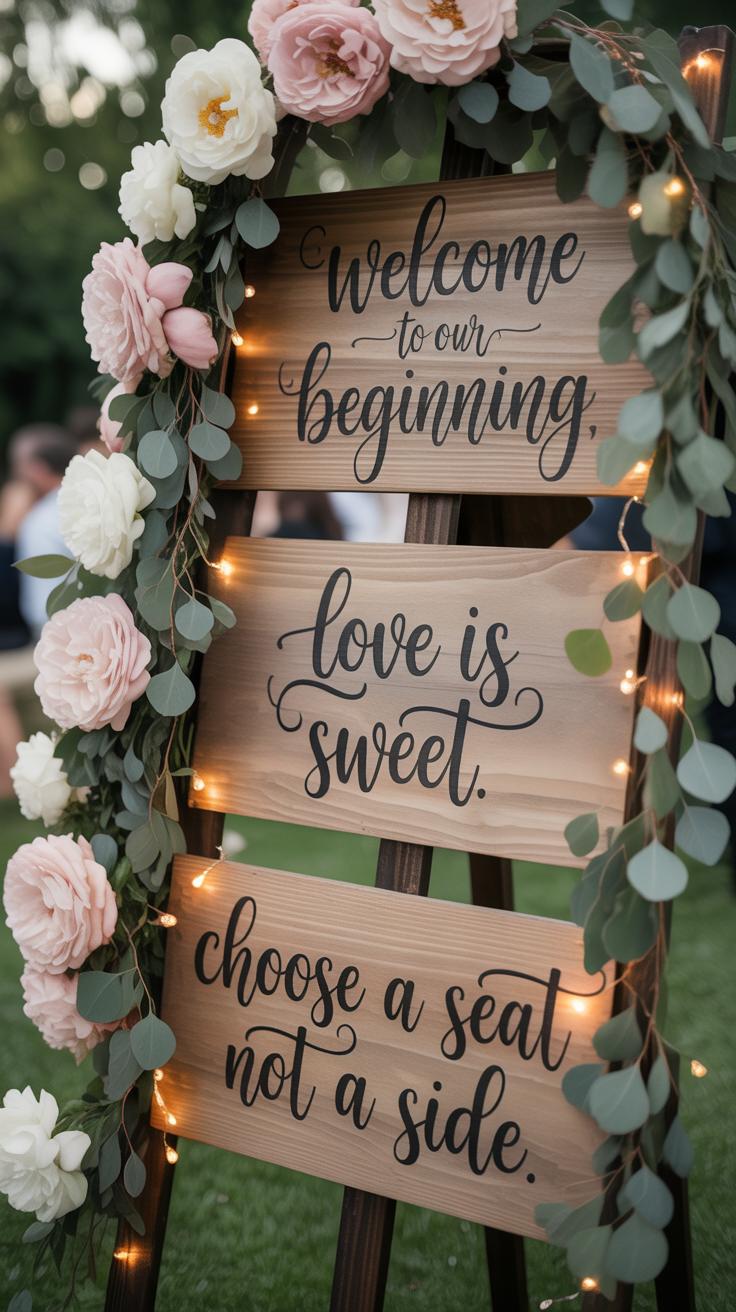
What To Write On A Wedding Welcome Sign: Wording Ideas And Inspiration

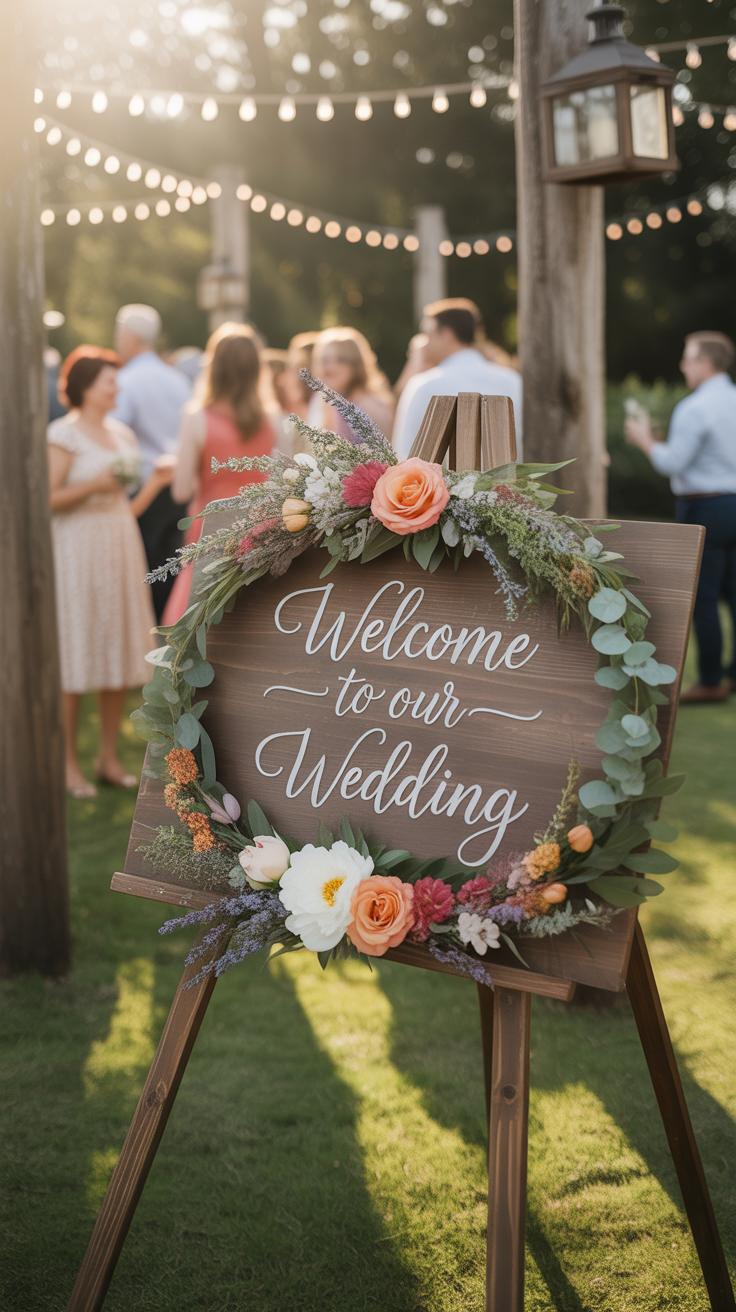
Clarity dictates the success of a Wedding Entrance. You must provide the names of the couple and the date for verification. This reinforces the Wedding Mood immediately upon arrival. Most Wedding Signage uses a standard hierarchy where the primary greeting is the largest text. Avoid clutter by omitting venue addresses or long quotes. Direct instructions help guests navigate toward the ceremony or the Signing Table without confusion.
Standard wording follows a functional pattern to fit your Diy Wedding Inspo. Use the phrase Welcome to the Wedding of followed by your names. For a Forest Theme Wedding, keep the language brief to let the environment speak. Modern Cute Diy Wedding Decorations often include a social media hashtag at the bottom. Effective Wedding Welcome Signs serve as a logistical anchor that moves people quickly from their cars to their seats.
Best Materials And Display Methods For An Eye Catching Welcome Sign
Select materials based on the environment and durability requirements. Wood boards offer stability for a Forest Theme Wedding and resist wind better than foam core. Acrylic sheets provide a clean aesthetic for Dream Wedding Decorations but require high contrast ink for legibility. Glass and mirrors are popular for Wedding Welcome Signs but create glare in direct sunlight. Choose a substrate that supports your chosen adhesive vinyl or hand painted lettering.
Support your Wedding Signage with heavy duty hardware to prevent accidents. Floor easels provide the most common display method for any Wedding Entrance. Use sandbags to weigh down the base if the event is outdoors. For a cohesive look, match the easel material to the rest of your Cute Diy Wedding Decorations. Proper height ensures guests can read the information from twenty feet away while walking toward the main event area.
A Complete Guide To DIY Wedding Signage For Every Part Of Your Venue
Mapping Out All The Sign Types You Need: Ceremony, Cocktail Hour, And Reception
Strategic planning prevents budget waste. You must identify every location where guests need direction or information. Start at the Wedding Entrance to set the tone immediately. Move through the venue to the Signing Table and bar areas. Proper Wedding Signage ensures a smooth flow of people. This prevents confusion during transitions between the ceremony and the reception phases of your event.
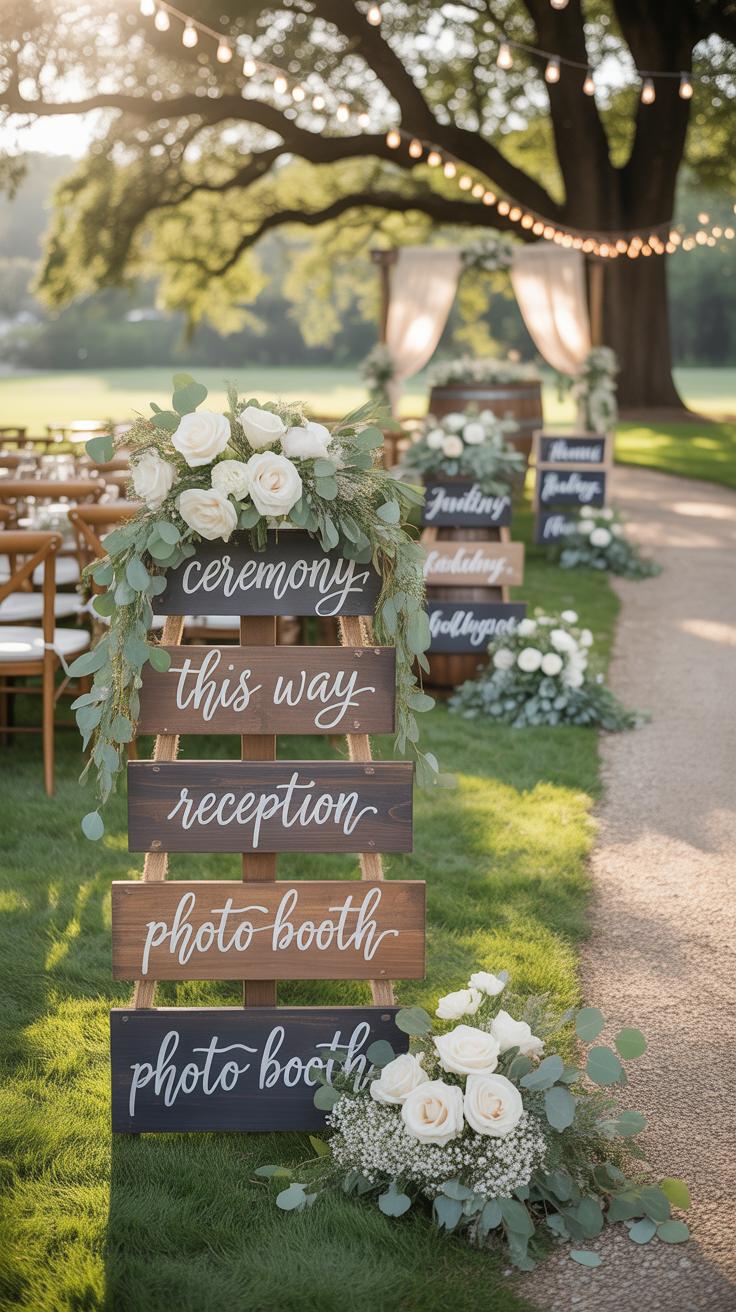
- Wedding Welcome Signs: Place these at the primary entry point. They confirm the location and time for arriving guests. A sturdy easel ensures stability against wind or foot traffic.
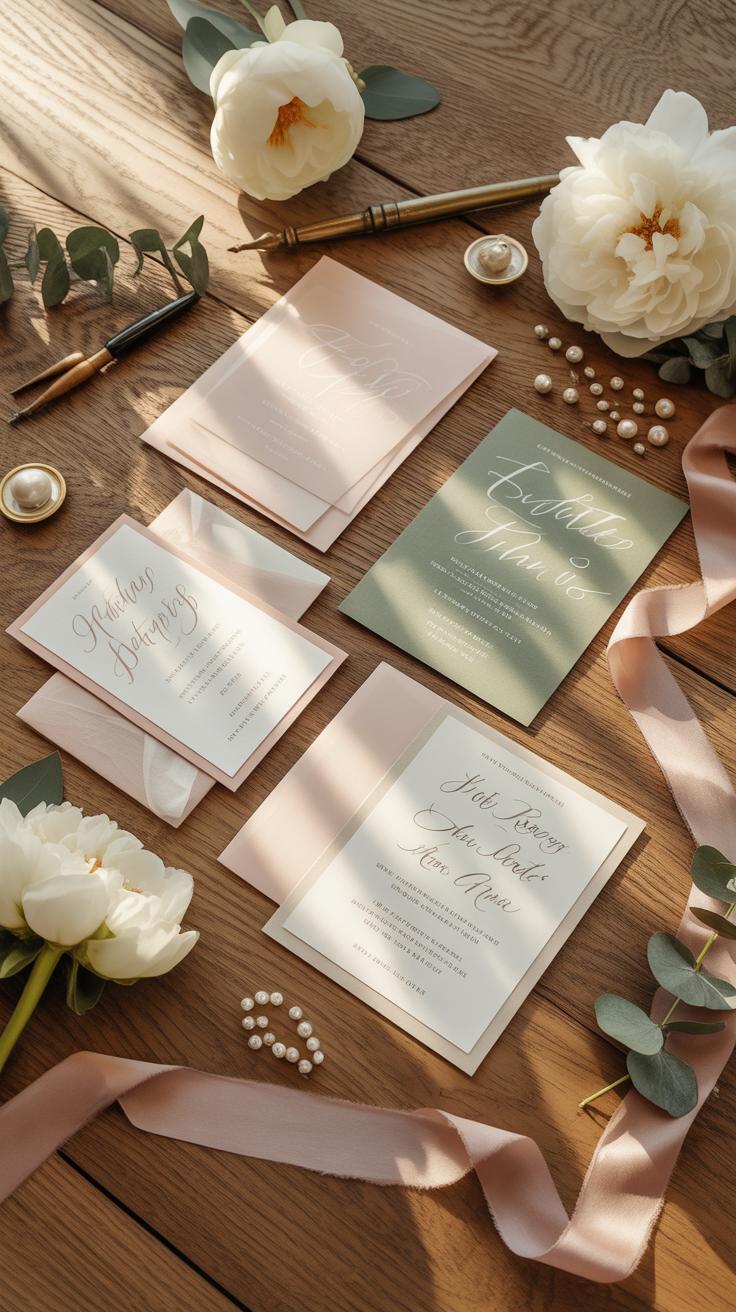
- Ceremony Programs: Use a single large board instead of individual paper sheets. This reduces litter and printing costs. List the wedding party and the order of events clearly for everyone to see.
- Directional Arrows: Essential for large venues or a Forest Theme Wedding. Point guests toward restrooms, the bar, and the dance floor. Use high-contrast lettering to ensure readability in low-light environments.
- Bar and Menu Boards: List specific drink options and food allergens here. Standing signs help move lines faster by allowing guests to choose before reaching the front. Use durable materials that resist liquid spills.
- Seating Charts: Display these at the entrance of the reception space. Organize names alphabetically rather than by table number. This allows guests to find their assigned seats in seconds rather than minutes.
Organizing your diy wedding signs by zone keeps your production schedule tight. Focus on the most visible items first to maximize impact. Do not skip the small details like social media tags or gift table instructions. These practical elements contribute to the overall Wedding Mood without requiring a large financial investment. Consistent planning ensures you hit every logistical requirement for your specific floor plan.
How To Keep A Consistent Visual Style Across All Your Venue Signage
Consistency requires strict adherence to a specific color palette and typography set. Use the same two or three fonts across all boards. Mixing too many styles creates visual clutter and looks unprofessional. Select a base material like wood, acrylic, or foam board and stick with it. This uniformity transforms individual Diy Wedding Inspo ideas into a cohesive professional display for your venue.
Achieving a specific look like Cute Diy Wedding Decorations depends on repeating key graphic elements. Use the same leaf motif or border style on every piece. This repetition anchors the design and reinforces your theme. High-quality Dream Wedding Decorations rely on these subtle repetitions rather than expensive materials. Limit your accents to maintain a clean aesthetic that complements the surroundings without overwhelming the space or the guests.
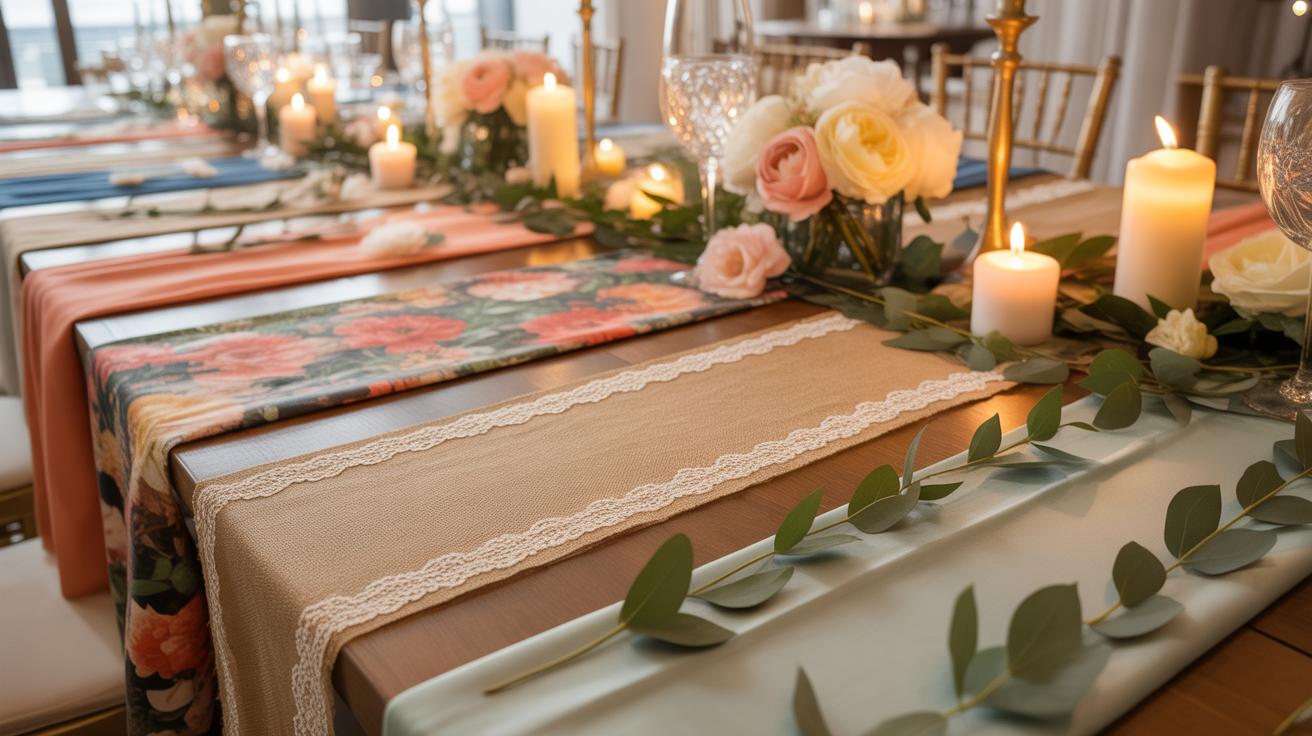
How To Set Up A Beautiful DIY Signing Table That Wows Your Guests
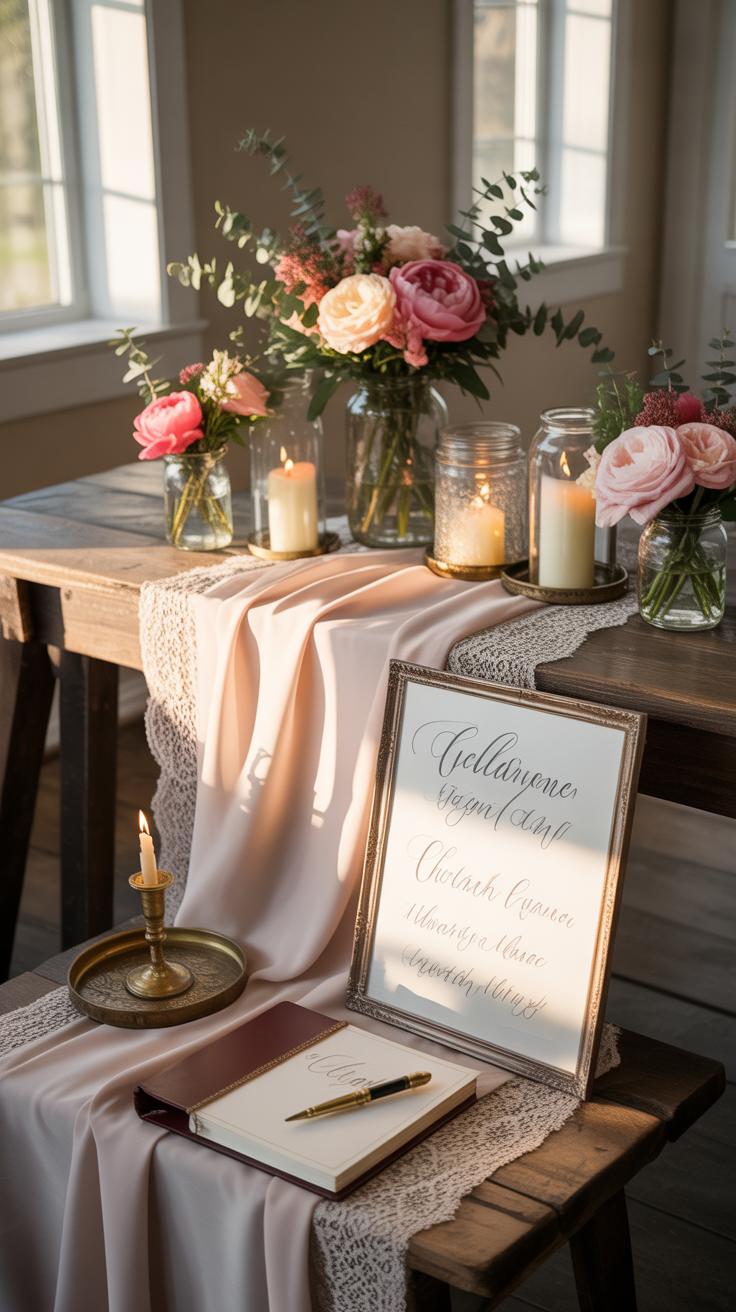
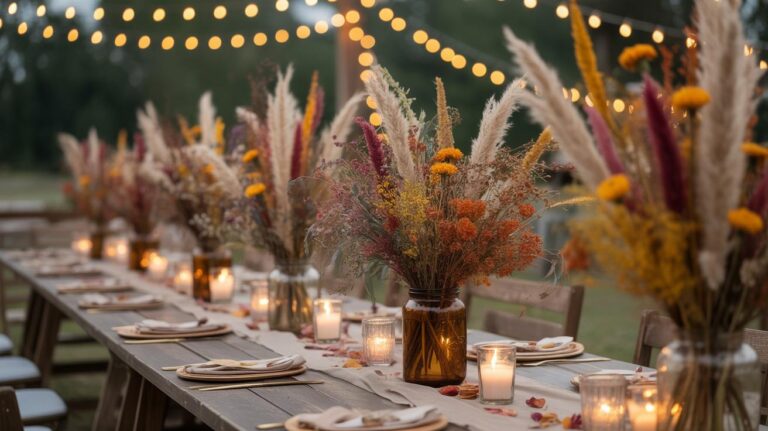
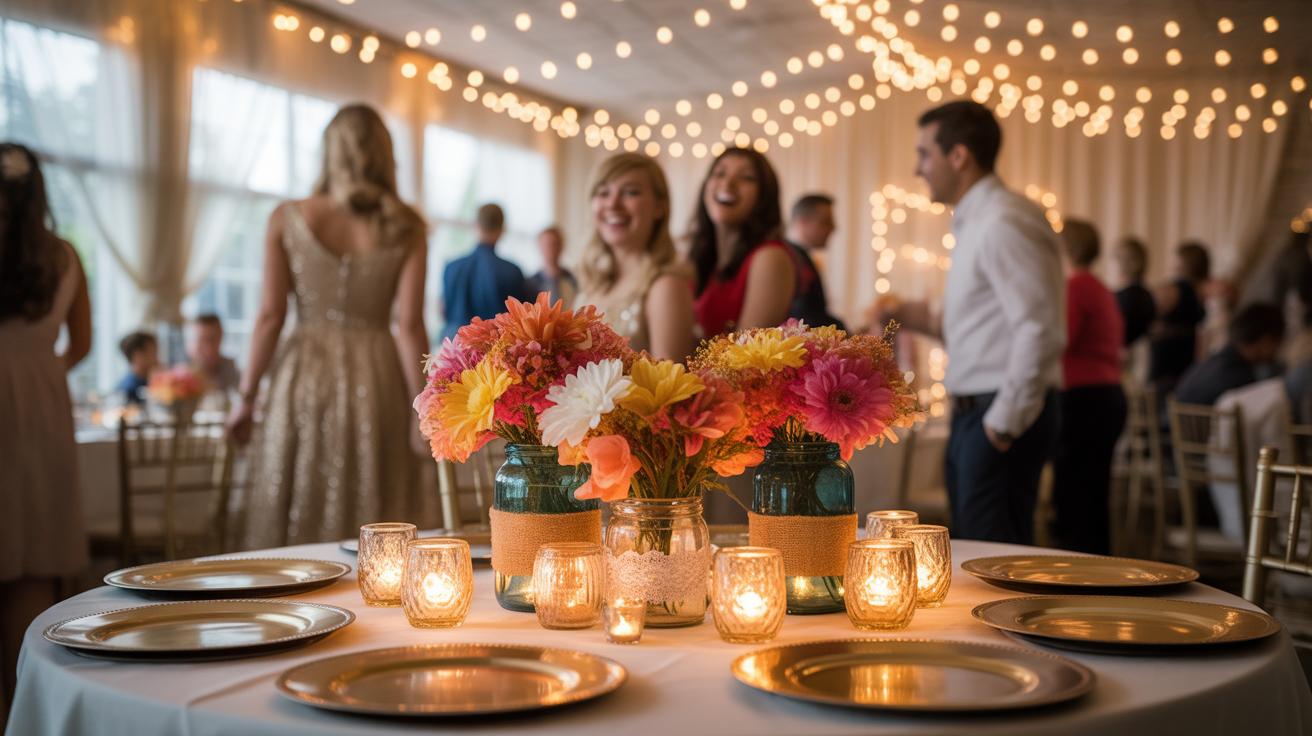
Styling Your Signing Table With Complementary Decor, Florals, And Stationery
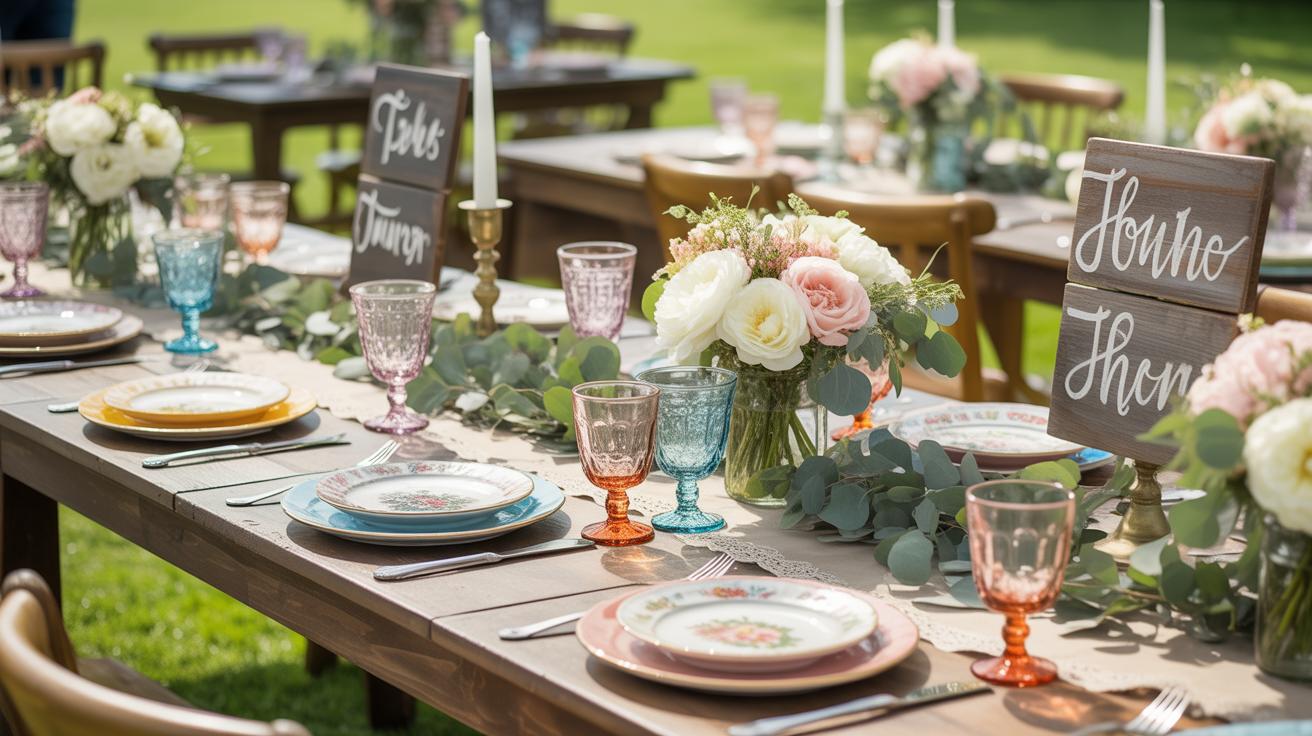
Position your Signing Table in a high traffic area with clear lighting. Use a simple linen runner to ground the space without cluttering it. Integrate Dream Wedding Decorations like small bud vases or dried greenery to match a Forest Theme Wedding. Ensure your Wedding Signage is legible and placed at eye level. This prevents guest confusion and keeps the flow of the event moving during the transition to the reception.
Consistency is key for your Wedding Mood. Match the font on your signing table instructions to your Wedding Welcome Signs and Wedding Entrance decor. Use weighted cardstock for stationery to prevent curling in outdoor settings. Incorporate Cute Diy Wedding Decorations such as a small tray for pens. This tactical approach ensures the table remains organized. High quality Diy Wedding Inspo often showcases minimal setups that prioritize function over heavy ornamentation.
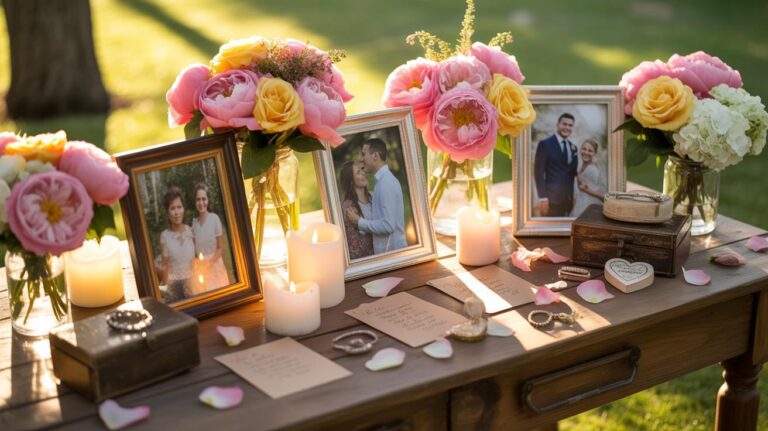
DIY Guest Book Alternatives And Custom Signing Table Sign Ideas To Personalize The Moment
Functional diy wedding signs direct guests on how to interact with your guest book alternative. Use a small acrylic or wooden plaque as your primary sign. If you choose a non traditional guest book like a puzzle or an instant photo station, provide clear written steps. This ensures every guest participates correctly. Clear instructions reduce the need for bridal party members to stand by and manage the table.
Personalization increases the impact of your Forest Theme Wedding. Create a sign that explains why the specific guest book matters to you. Use DIY Wedding Inspo techniques like vinyl lettering or paint markers on recycled glass. This adds a custom layer to your Wedding Entrance style. Simple displays like a Signed Polaroid Wall or a Typewriter Station serve as both Wedding Signage and entertainment. Keep the layout clean to maintain a professional look.
DIY Wedding Signs For A Forest Theme Wedding Rustic Natural And Budget Friendly
Using Natural Materials Like Bark, Slate, And Driftwood For Woodland Inspired Signs
Utilize raw materials found in nature to reduce costs for your Forest Theme Wedding. Use fallen birch bark for small directional markers or place cards. This material allows for easy writing with oil-based paint markers. Slate provides a durable surface for a Wedding Entrance display. Clean the stone surface thoroughly before applying chalk or acrylic paint to ensure the pigment sticks without peeling.
Driftwood serves as a sturdy base for Wedding Signage located outdoors. Sand the surface to create a flat area for lettering. Use wood glue to attach multiple pieces together for a larger Wedding Welcome Signs display. These materials match the Wedding Mood by utilizing textures found on-site. Securing these heavy items requires stable ground stakes to prevent tipping. This approach provides Cute Diy Wedding Decorations without high retail prices.
Incorporating Earthy Tones, Botanical Illustrations, And Greenery Into Your Sign Design
Select a color palette of deep greens, browns, and muted greys to maintain the forest aesthetic. Use matte acrylic paints rather than glossy finishes to avoid light glares during outdoor photos. Botanical illustrations of ferns or pine branches add visual interest to a Signing Table display. Use stencils or carbon paper to transfer these designs onto wood surfaces. This helps create professional Dream Wedding Decorations on a budget.
Incorporate live greenery to frame your Wedding Signage. Attach eucalyptus or moss using a staple gun or floral wire to the edges of the boards. This provides texture and depth to your Diy Wedding Inspo projects. Ensure the greenery receives water or use hardy varieties that resist wilting in heat. Consistent styling across all boards maintains a cohesive Wedding Mood. Professional results come from using clear typography against high-contrast natural backgrounds.
Top Budget Tips And Mistakes To Avoid When Making DIY Wedding Signs
Where To Source Affordable Materials: Dollar Stores, Thrift Shops, And Online Marketplaces
Stop paying retail prices for your Wedding Signage project. Thrift stores provide cheap wood frames and mirrors for a classic Wedding Entrance look. Sand down old boards to create raw surfaces for a Forest Theme Wedding aesthetic. Dollar stores sell foam boards and acrylic sheets that serve as excellent bases for Wedding Welcome Signs. Online marketplaces offer leftover vinyl and paints from other crafters.
Check local liquidation warehouses for bulk hardware and adhesives. These sources provide the backbone for Cute Diy Wedding Decorations without the high price tag. Look for discarded shipping pallets to build a Signing Table display at zero cost. Consistency in material choice helps maintain a cohesive Wedding Mood throughout the venue. Use these hunting strategies to find high quality Diy Wedding Inspo materials on a limited budget.
Common DIY Sign Mistakes That Can Cost You Time And Money — And How To Avoid Them
Poor planning ruins many Dream Wedding Decorations projects instantly. Most beginners fail to test their ink or paint on a scrap piece first. Incompatible chemicals cause smearing or bubbling on your Wedding Welcome Signs. Avoid using permanent markers on porous wood without a sealant. Measure your font size to ensure guests can read the Wedding Signage from ten feet away. Tight spacing looks cluttered and unprofessional.
Timing is the second major failure point for DIY wedding signs. Do not start your Wedding Entrance boards the night before the event. Paint requires proper curing time to avoid sticking during transport. Secure your heavy boards on sturdy easels to prevent them from falling. Use weight bags for outdoor events to maintain the proper Wedding Mood during wind. Strategic preparation saves money by eliminating the need for expensive last minute replacements.
Frequently Asked Questions

What are the simplest materials for a beginner to use when making wedding signs?
If you are just starting out, foam board and acrylic sheets are excellent, user-friendly choices. Both materials provide a smooth surface for paint markers or vinyl decals. Creating beautiful diy wedding signs doesn’t require professional machinery; you can achieve a sophisticated look using basic stencils or freehand calligraphy. Start with a clear plan and a steady hand to produce elegant decor that looks professional without the high price tag.
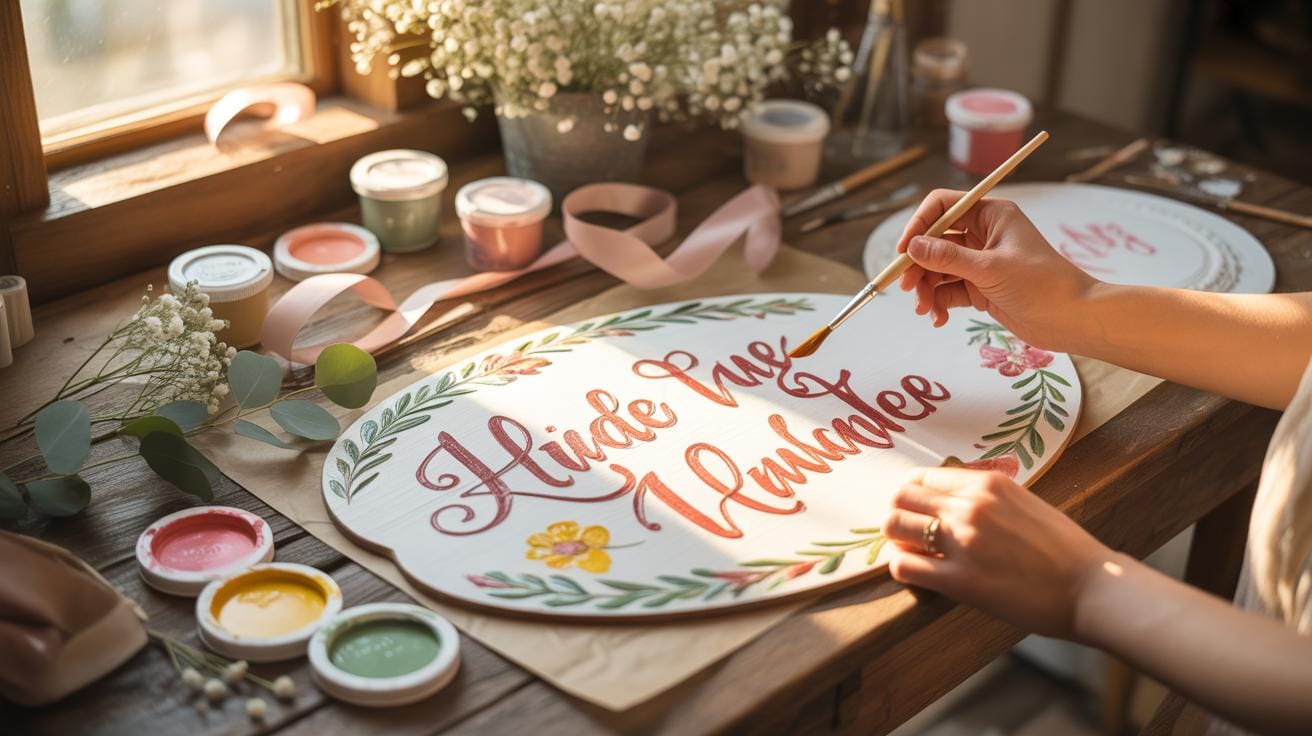
How do I transfer professional lettering onto my signs without a cutting machine?
You can easily achieve professional results using the pencil transfer method. Simply print your design on regular paper, shade the back with a pencil, tape it to your sign, and trace the outlines. This leaves a faint guide for you to fill in with paint pens. This technique is a game-changer for diy wedding signs, allowing you to replicate intricate fonts and custom graphics perfectly onto wood, glass, or chalkboard surfaces.
Where can I find affordable wood or frames for my signage projects?
To keep costs down, look beyond dedicated craft stores. Thrift shops, estate sales, and even your own garage are goldmines for old frames and reclaimed wood. You can also visit local hardware stores to find inexpensive plywood scraps that they may offer for a discount. Repurposing these items is the most sustainable way to create unique decor, ensuring your personalized signage fits within a tight budget while still looking absolutely stunning.