Why Brides Are Choosing A DIY Floral Crown Wedding Over Veils
The Rise Of Floral Crowns As A Bridal Hair Accessory
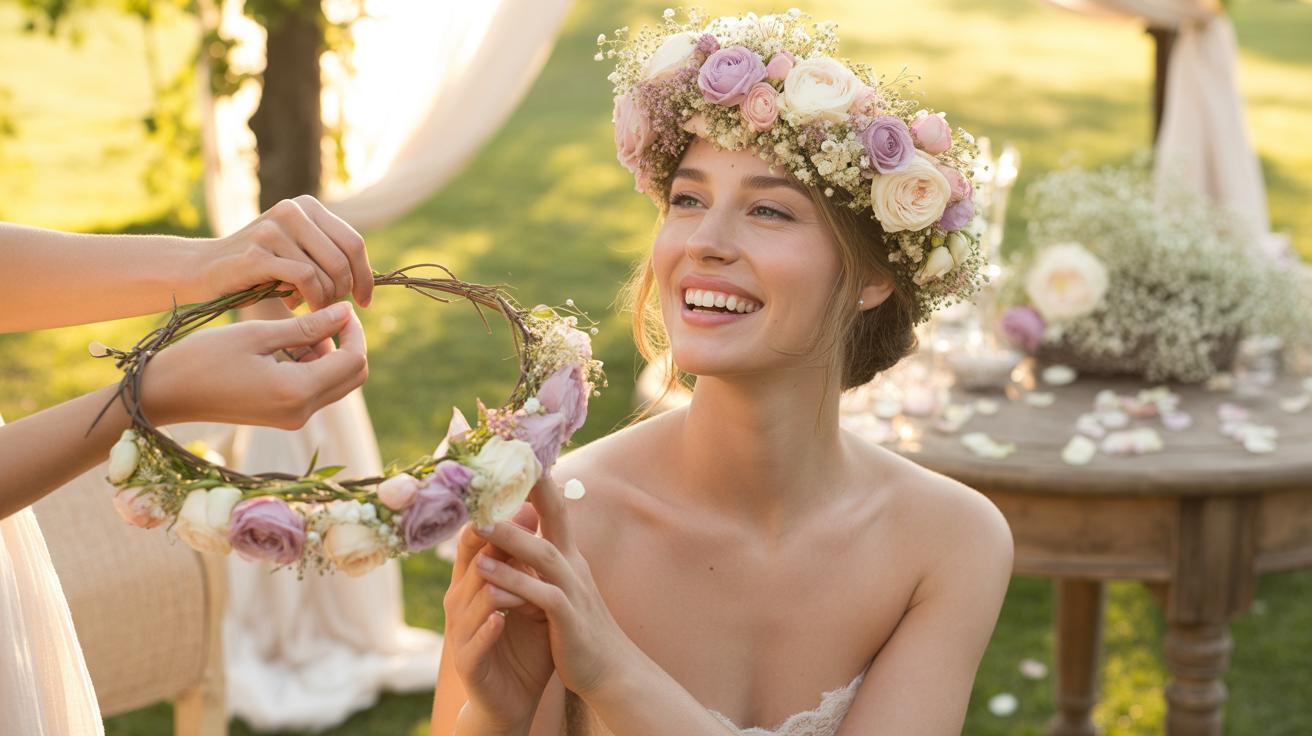
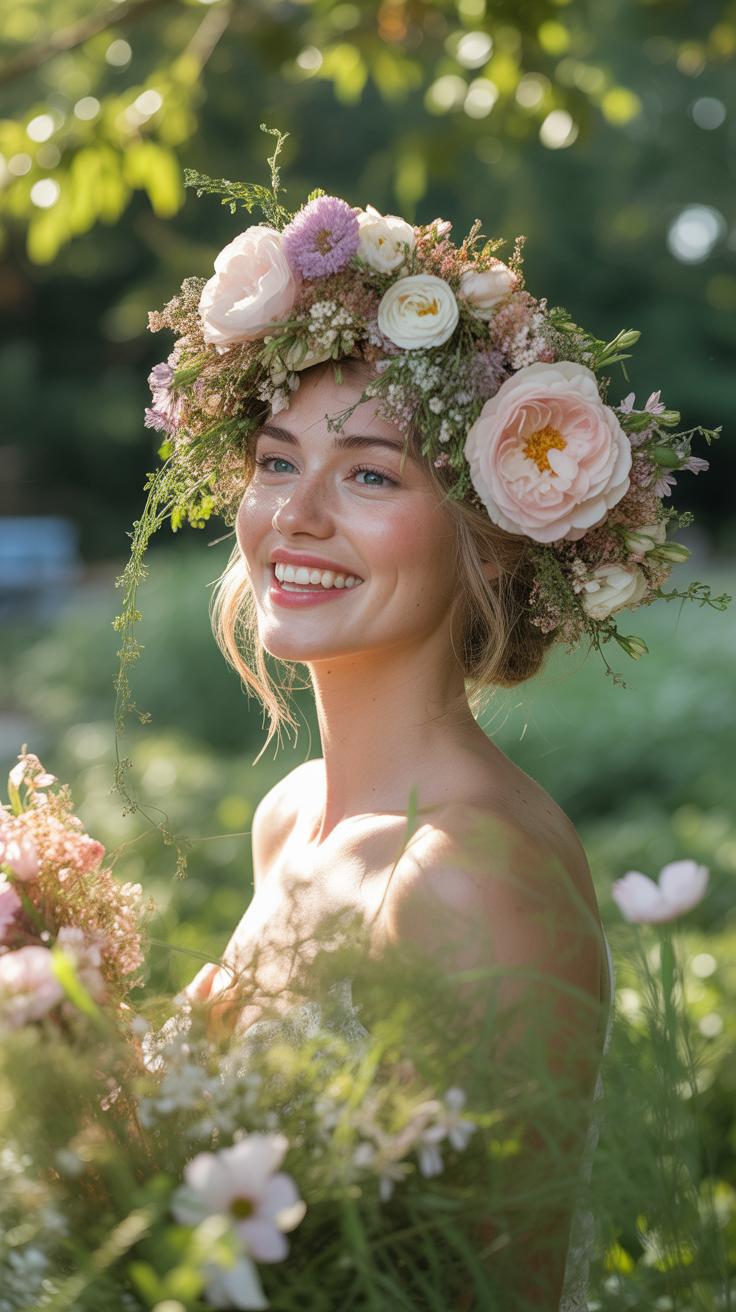
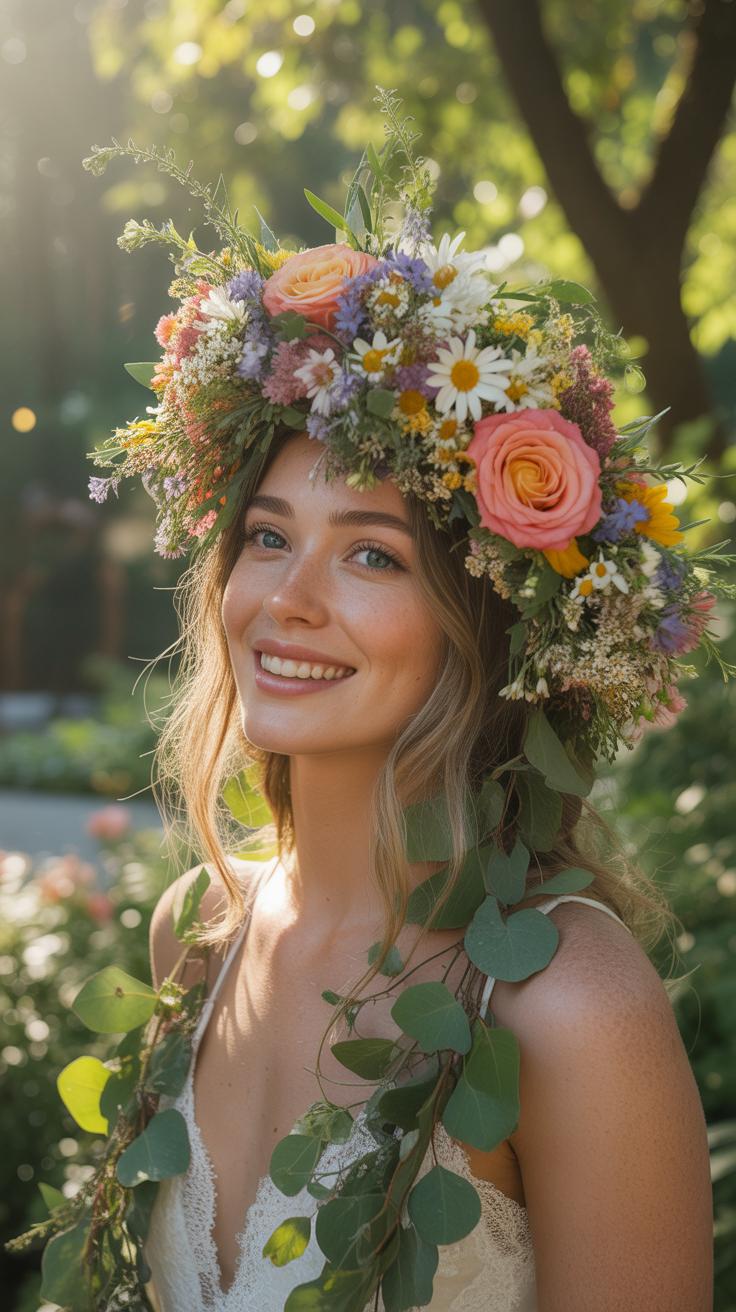
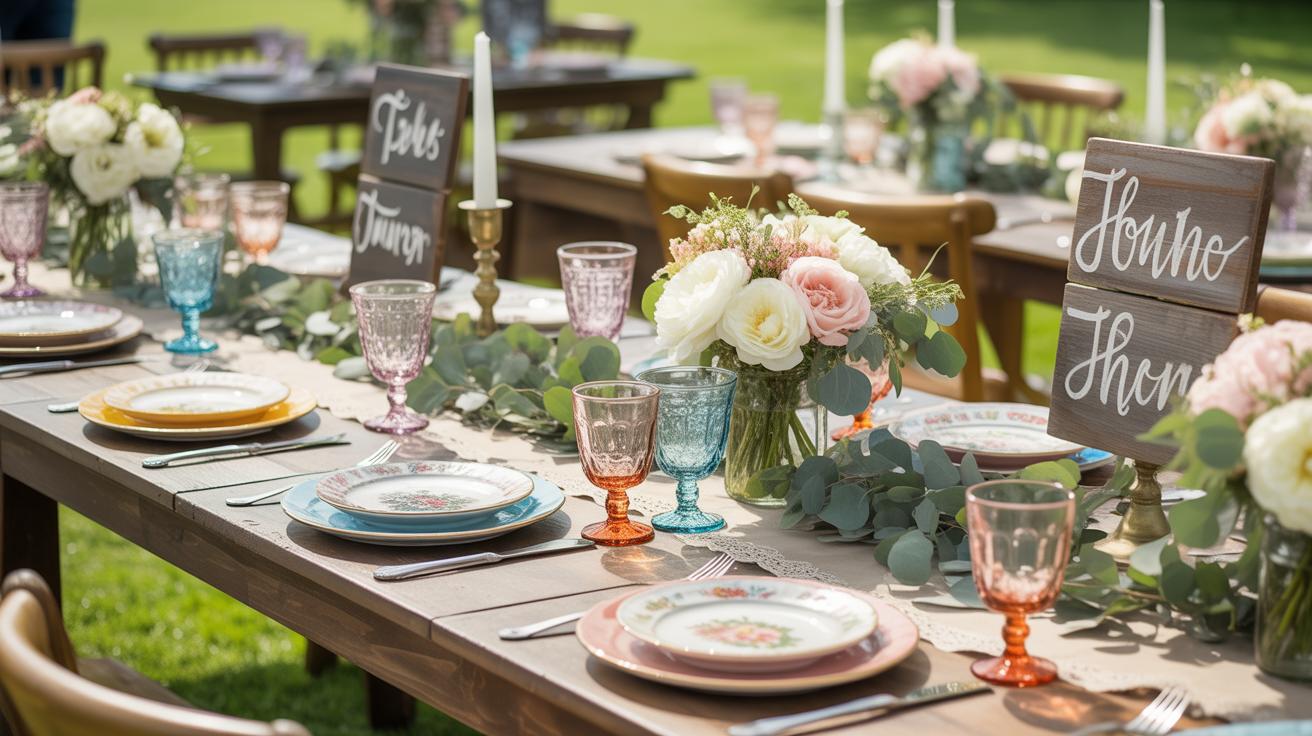
Floral crowns are replacing traditional veils in modern weddings. This shift follows the broad adoption of bohemian and rustic design themes. Brides want to move away from formal structures like heavy lace and metal tiaras. Natural flowers offer a lightweight alternative that stays comfortable for the entire day. This trend draws direct inspiration from Classical Greek and Victorian eras where greenery symbolized celebration.
The popularity of these headpieces grows because they work with many hairstyles. Veils often hide intricate braids or natural textures. A floral crown highlights the hair while adding color and shape. Modern materials like florist wire and floral tape make these accessories more durable than historical versions. Brides now use these tools to create professional looks that last from the ceremony through the late night reception.
How A Handmade Crown Adds A Personal Touch To Your Wedding Day
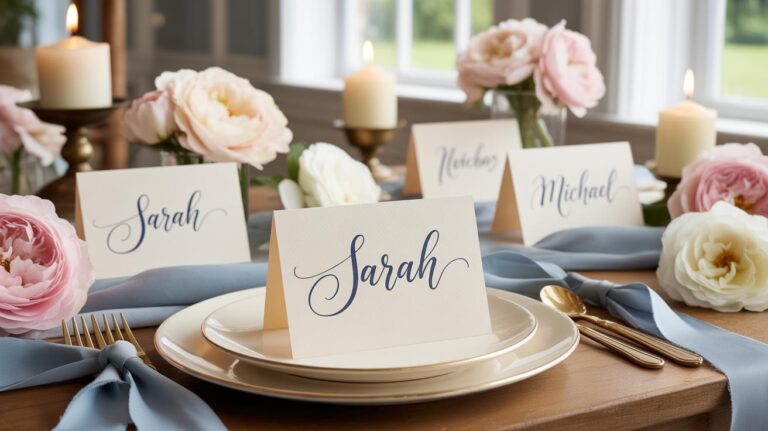
Building a crown allows for complete control over the wedding color palette. Pre-made accessories rarely match the specific tones of a fresh bouquet. By choosing a diy floral crown wedding, the bride ensures every flower variety aligns with her theme. She can select specific blooms like spray roses or baby’s breath to match her bridal party. This level of customization is not possible with mass-produced wedding store veils.
Making a crown also creates a connection to the event. Most brides feel a sense of pride when wearing something they crafted by hand. This process lets the bride control the weight and fit of the headpiece. Unlike standard veils that can pull or slip, a custom crown fits the exact circumference of the head. It provides a secure and comfortable fit that meets the practical needs of a busy wedding day.
How To Make A Flower Crown Everything You Need Before You Begin
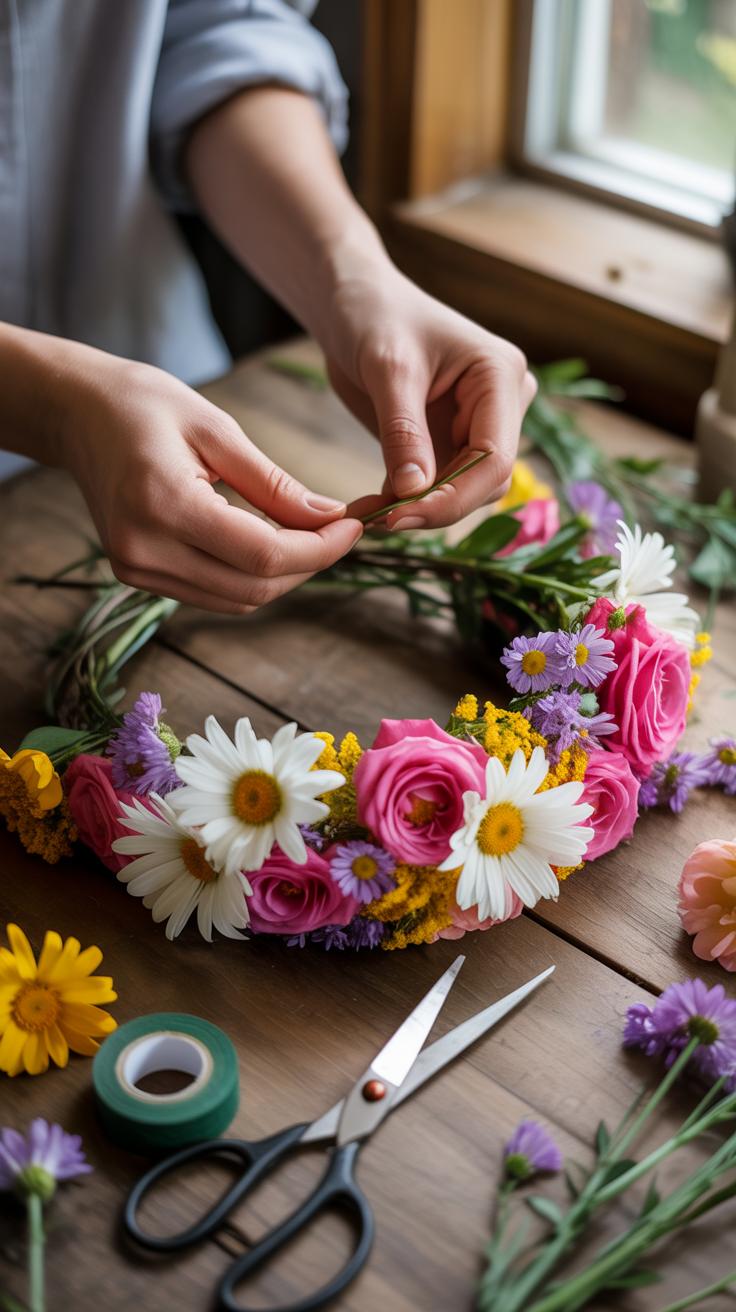
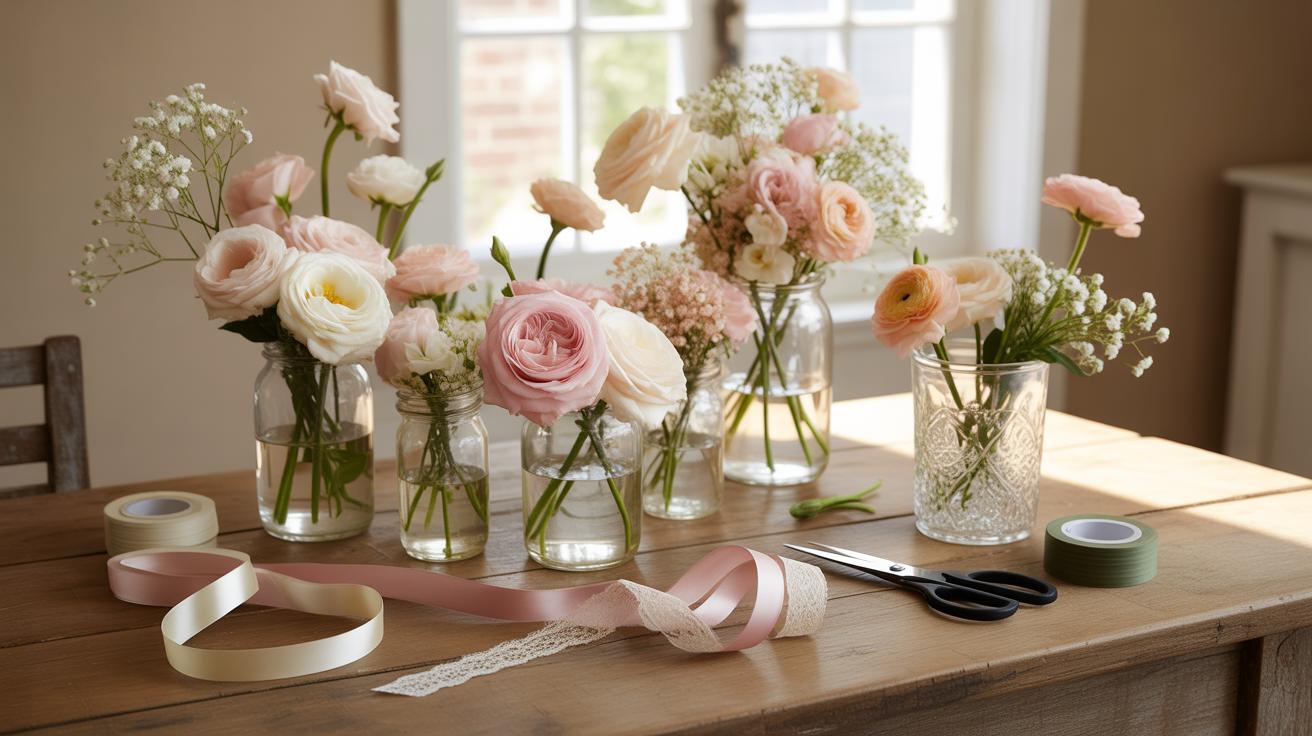
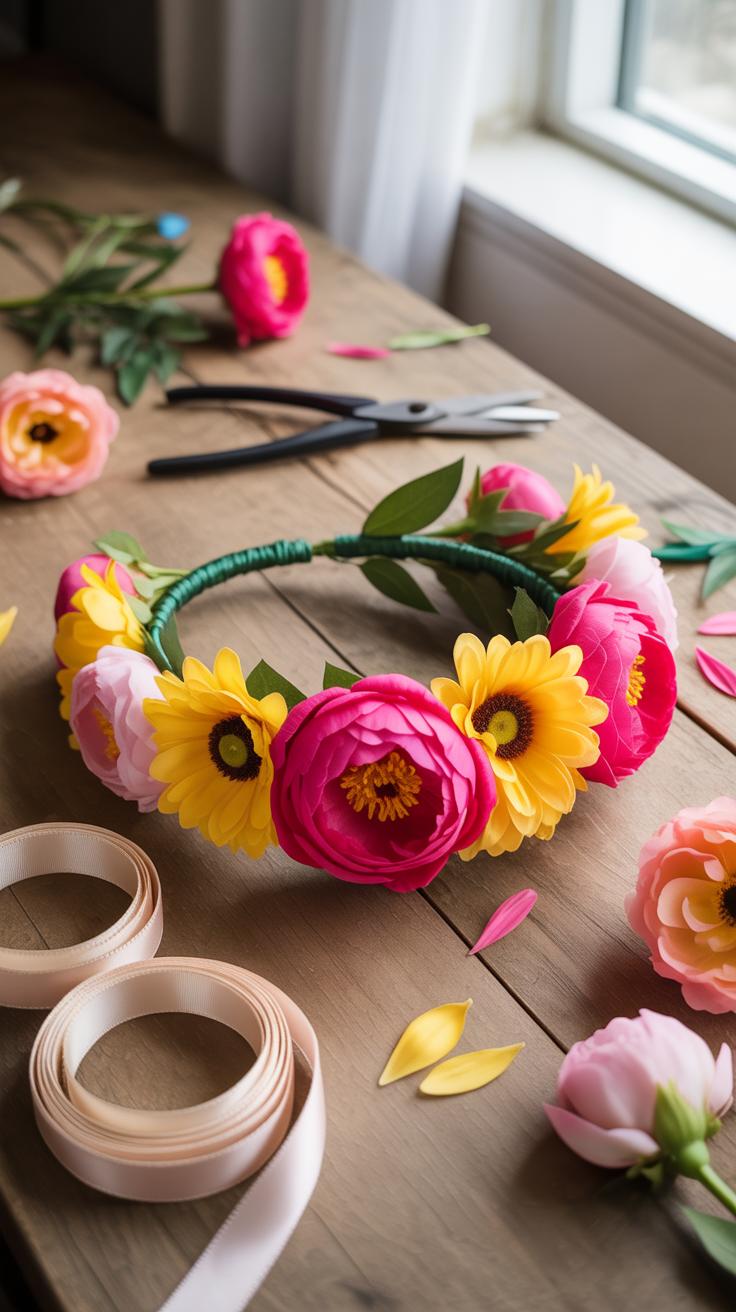
Essential Tools And Supplies For Your Floral Crown Project
Preparation dictates the quality of your finished crown. You must gather professional-grade materials before cutting any stems. Using the wrong tools leads to crushed flower tissues and weak structural integrity. High-quality shears and specific tapes keep the crown light and durable. Organizing your workspace now prevents delays once you begin handling delicate, perishable organic matter or synthetic components.
- Floral Tape: This wax-coated paper tape becomes sticky when stretched. It seals moisture in stems and binds them to the wire frame tightly. Use green for fresh stems or brown for woodier aesthetics.
- Wire Cutters: Do not use kitchen scissors to cut floral wire. Dedicated cutters provide a clean snip without dulling blades. This ensures your wire ends are blunt and do not poke the wearer during the event.
- Floral Shears: Use sharp bypass pruners for fresh flowers to avoid crushing the water-conducting vessels. Clean cuts allow flowers to stay hydrated longer. Sharp blades are essential for maintaining the life of your botanical materials.
- Paddle Wire: This thin wire comes on a spool and secures individual blooms to the main frame. It provides the necessary tension to hold heavy flower heads in place. Proper tension prevents the crown from shifting or falling apart.
- Stem Strippers: These tools remove thorns and excess foliage quickly without damaging the main stem. Removing extra leaves reduces bulk and weight on the crown. It creates a professional finish and makes the binding process much faster.
Select your flowers based on their lifespan and stem strength. Hardier blooms like spray roses or ranunculus last longer without water than delicate hydrangeas. If using silk flowers, focus on high-quality fabrics that mimic real textures. Ensure all greenery is clean and dry before you start. Proper supply management ensures the final product looks professional and stays secure on your head.
Handcrafting your own crown allows you to weave the very essence of your soul into every blossom you wear. There is a sweet, lingering magic in creating something beautiful with your own two hands for the day your new life begins.
— Martha Stewart
Choosing The Right Wire Gauge And Base For A Secure Fit
The foundation of your crown requires a heavy-gauge wire to maintain its circular shape. Use 18 or 20-gauge paper-covered wire for the main hoop. This thickness provides enough rigidity to support the weight of the flowers without sagging. If the wire is too thin, the crown will collapse under the weight of the water-heavy blooms. A sturdy base ensures the crown sits level.
Measure your head circumference where you intend to wear the crown. Add two inches to this measurement for overlapping ends or creating loops for a ribbon closure. Form the wire into a circle and wrap it with floral tape to create a non-slip surface. This step prevents the metal from sliding against your hair. A secure base is the most critical factor for comfort throughout the wedding day.
Best Flowers To Use When Making A Flower Crown For A Wedding
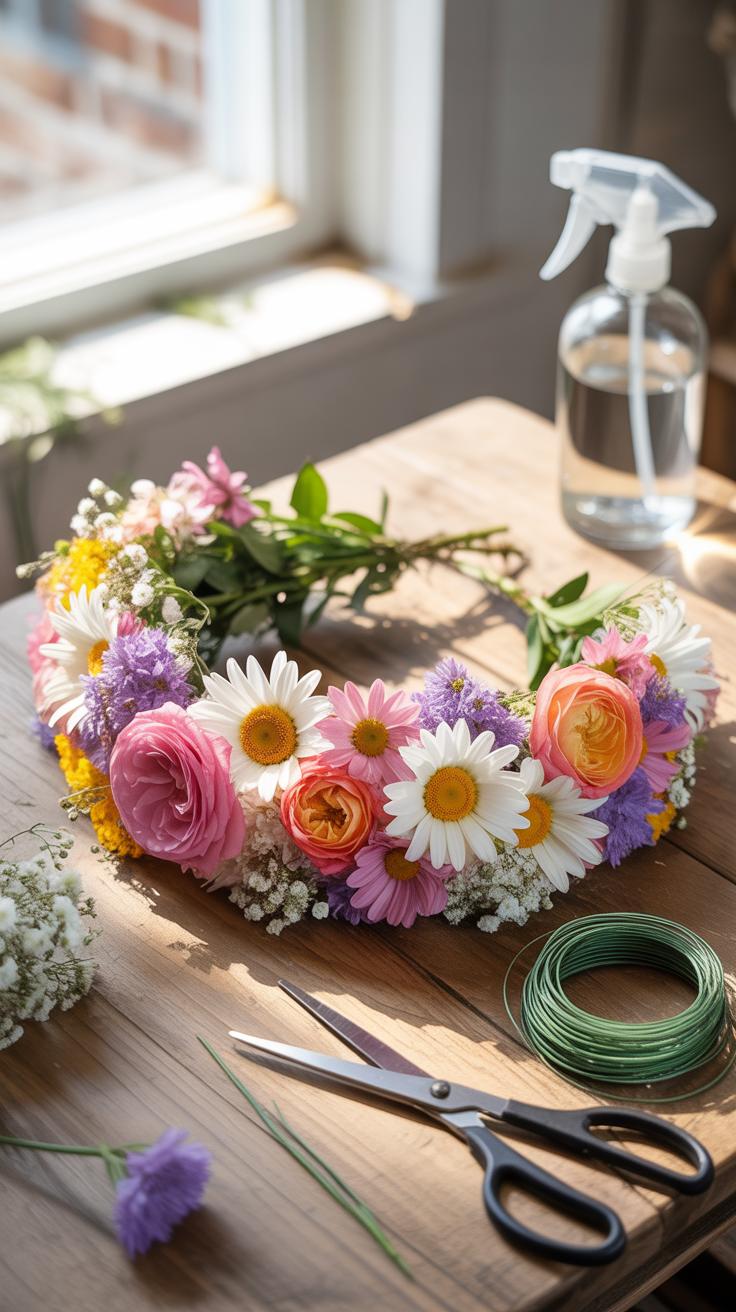
Fresh Flowers That Hold Up Well In A Bridal Crown Setting
Professional florists select focal blooms based on hydration needs and stem strength. Spray roses and ranunculus are top choices because they have woody or thick stems. These flowers do not wilt quickly when removed from a water source. You must wire each stem to provide structural support. This technique keeps the heavy flower heads upright throughout the entire wedding ceremony and reception.
Greens provide the necessary foundation for a durable crown. Eucalyptus and ruscus stay green for days without water. They create a strong base for your wire frame. Avoid soft stems like tulips or hydrangea because they collapse within an hour of exposure. Stick to hardy varieties that tolerate heat and handling. This ensures your crown looks fresh in photos from the morning until the night ends.
Seasonal Bloom Pairings That Complement Wedding Color Palettes
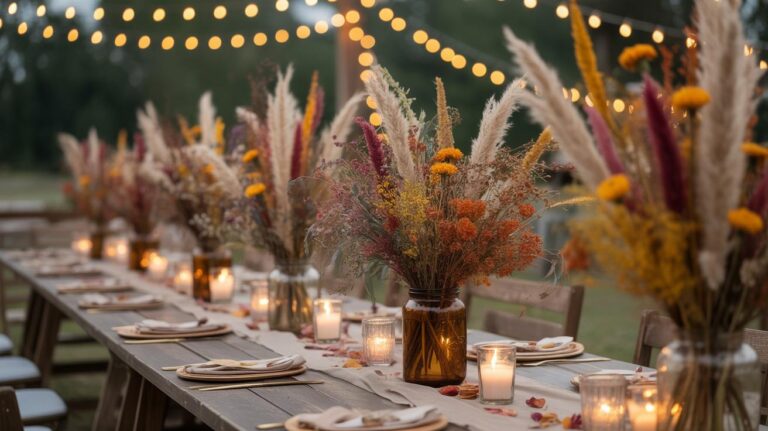
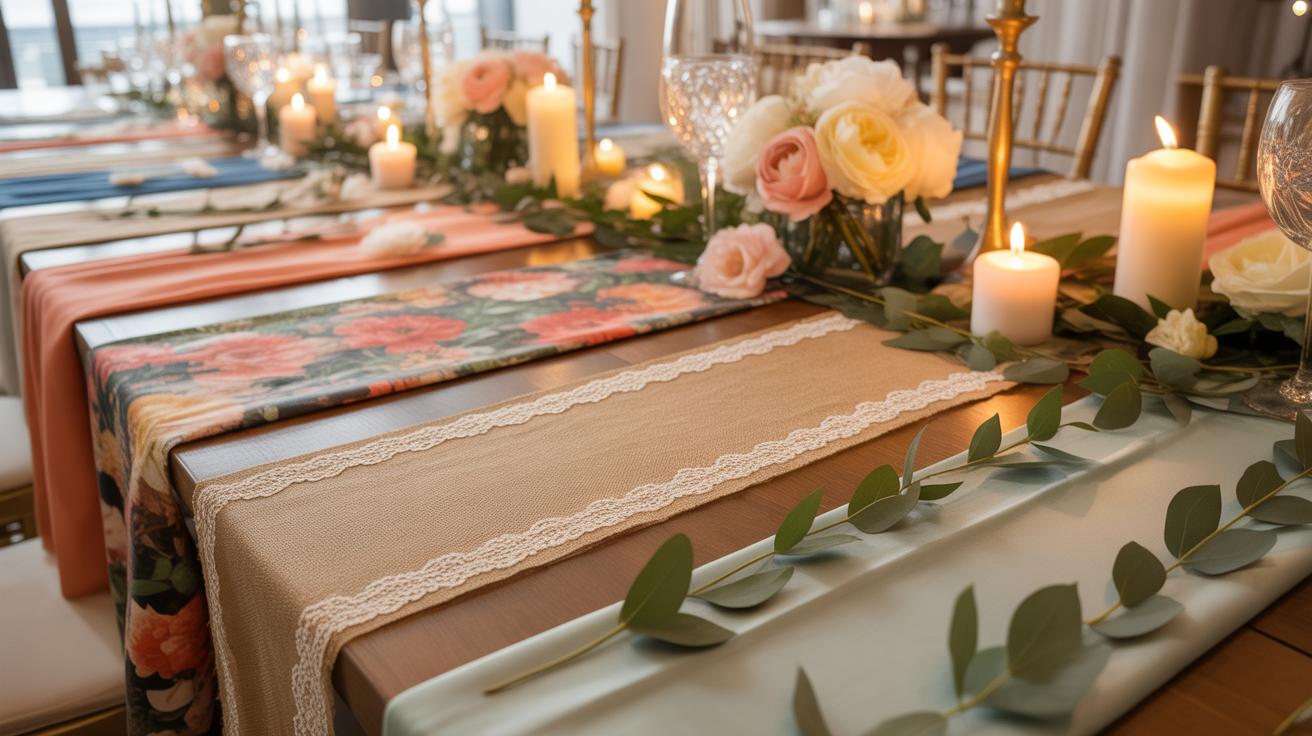
Aligning floral choices with the season ensures better quality and lower costs. Spring weddings benefit from pairing white anemones with light green foliage for a clean look. Summer palettes often feature bold hues using zinnias and waxflowers. These combinations resist high temperatures and direct sunlight. Use seasonal availability to secure the strongest specimens for your crown. Freshly cut local flowers always outperform imported varieties.
Winter crowns require textures that handle cold air and low humidity. Combine deep red berries with dark evergreens to match a classic winter palette. This pairing creates a striking visual contrast against a white bridal gown. Autumn designs work best with dried elements mixed with fresh mums or dahlias. Always match the floral weight to your choice of ribbon or wire. Balanced weight prevents the crown from slipping during the wedding walk.
How To Make Flower Crown A Step By Step Wiring And Assembly Guide
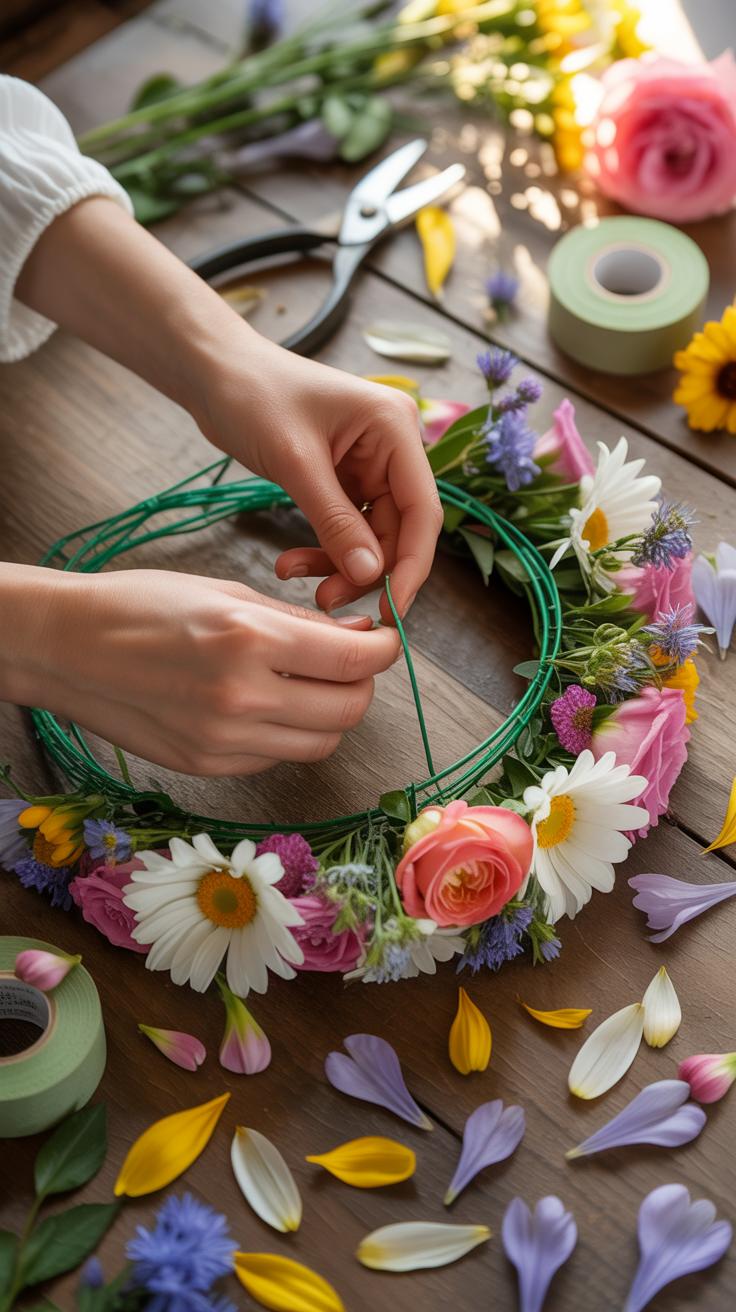
How To Measure, Shape, And Secure Your Crown Base To Your Head
Measure your head circumference where you want the crown to sit. Use thick 12 or 14 gauge aluminum or paper-covered wire for the base. Cut the wire two inches longer than your measurement to allow for a secure closure. Shape the wire into a circle by smoothing out any kinks. A rigid base prevents the crown from sagging under the weight of the flowers.
Create a hook and loop closure at the wire ends. Bend one end back an inch to form a tight loop. Bend the other end into a sharp hook. This allows you to adjust the fit later if your hairstyle adds bulk. Wrap the entire wire base in green floral tape. Stretch the tape as you wrap to release the adhesive. This provides a high-friction surface for the flowers.
Wiring Individual Blooms And Greenery Stems For Long Lasting Hold
Flower crowns require reinforced stems to prevent wilting and breakage. Standard floral stems are too weak to support the weight of a full arrangement. Use the pierce method for thick-headed flowers like roses or ranunculus. Slide a 22-gauge wire through the calyx and fold it down. This creates a fake stem that you can manipulate easily. Proper wiring ensures every component stays in place.
- The Pierce Method: Insert a wire horizontally through the thick base of the flower head. Bend both wire ends down parallel to the natural stem. Wrap the wire and stem together with floral tape to create a sturdy, flexible unit.
- The Hook Method: Use this for flowers with flat centers like daisies. Push the wire up through the stem and the flower center. Bend the top into a small hook and pull it back down into the heart of the bloom.
- The Wrap Method: Ideal for small clusters or delicate greenery. Place the wire alongside the stem and wrap it tightly with floral tape. This adds length and strength to short clippings without damaging the soft plant tissue or the leaves.
- The Hairpin Method: Best for multi-petaled flowers or foliage. Push the wire through the lower section of the bloom from front to back. Fold it over like a hairpin and secure it with tape. This prevents the flower from spinning on the base.
- Taping Technique: Pull floral tape tight until it becomes tacky. Wrap it at a diagonal angle starting from the base of the flower head down the wire. Friction and tension are the only things that activate the wax adhesive on the tape.
Tape each wired stem from the base of the bud to the end of the wire. Ensure no sharp metal edges are exposed. These wired units act as your building blocks. Group small sprigs of greenery together before wiring to save time during assembly. Professional florists use these methods to ensure crowns survive the heat of a wedding day. Organized stems make the final assembly faster and more precise.
Diy Floral Crown Inspiration Styles And Themes For Every Bride
Boho Garden Romantic And Minimalist Crown Design Ideas
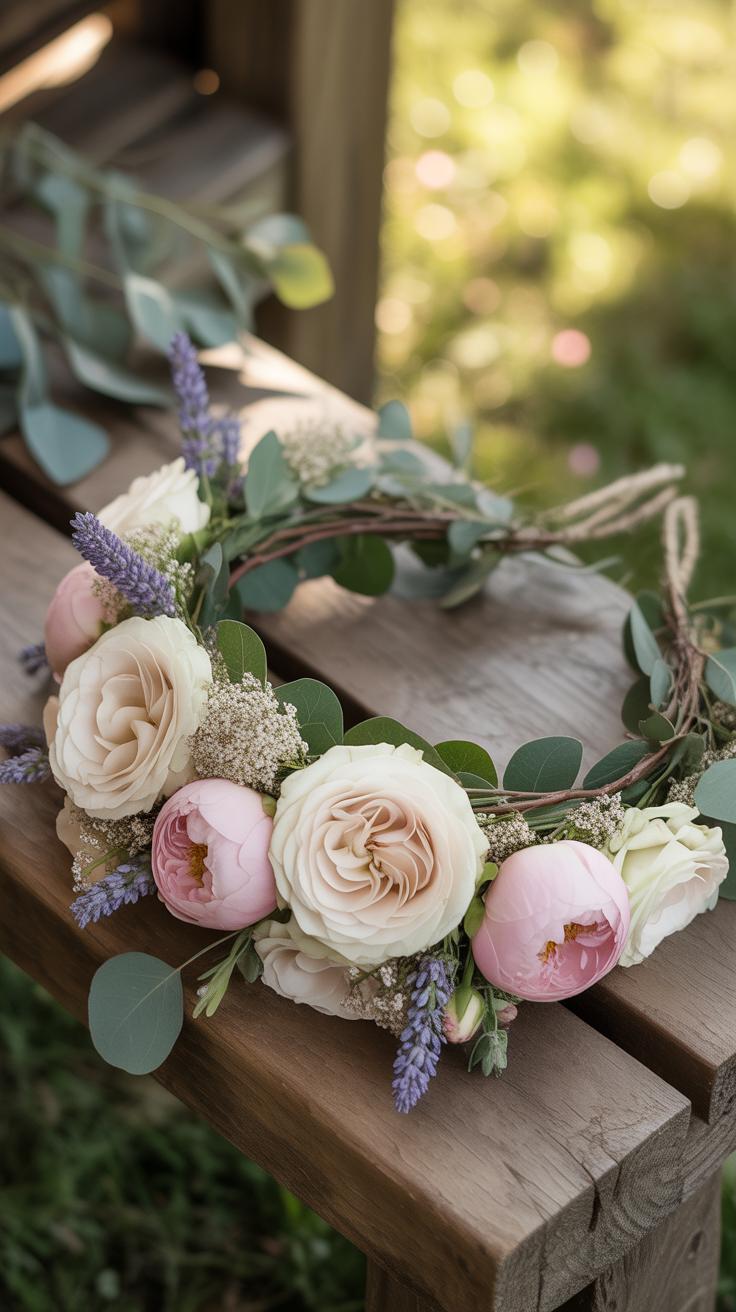
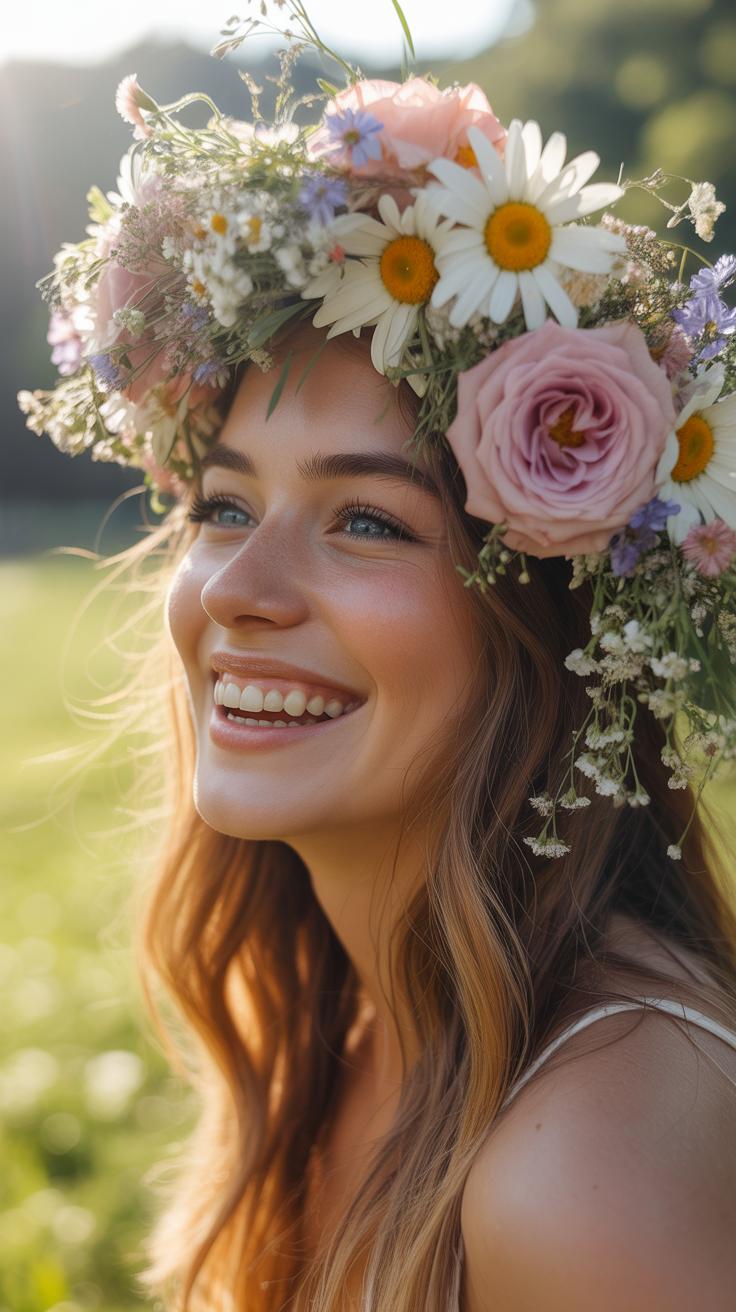
Boho crowns focus on texture and volume. Use wild greenery like eucalyptus or ferns as your base. Incorporate large focal blooms like peonies or ranunculus. This style values asymmetry and organic movement. Garden romantic designs utilize soft colors and traditional flowers. Choose English roses and baby’s breath for a timeless look. These crowns usually wrap the entire head and feature delicate ribbon closures at the back.
Minimalist crowns prioritize simplicity and structure. Use a thin wire frame with one single statement flower off-center. Alternatively, construct the crown entirely from greenery like olive branches or ruscus. This design suits brides who want a subtle accent rather than a heavy headpiece. Use high-quality silk flowers if you choose fake materials for a lasting form. Stick to a monochromatic palette to maintain a clean and modern appearance.
How To Match Your Floral Crown Style To Your Wedding Aesthetic
Match your crown weight to your dress fabric. Heavy crowns with large dahlias work best with structured gowns. Light crowns go with lace or chiffon fabrics. Consider the neckline of your wedding dress. High necklines require thinner crowns to avoid a cluttered look. Deep necklines allow for bolder floral arrangements. Align your flower choices with your bouquet to ensure visual consistency throughout the ceremony and photos.
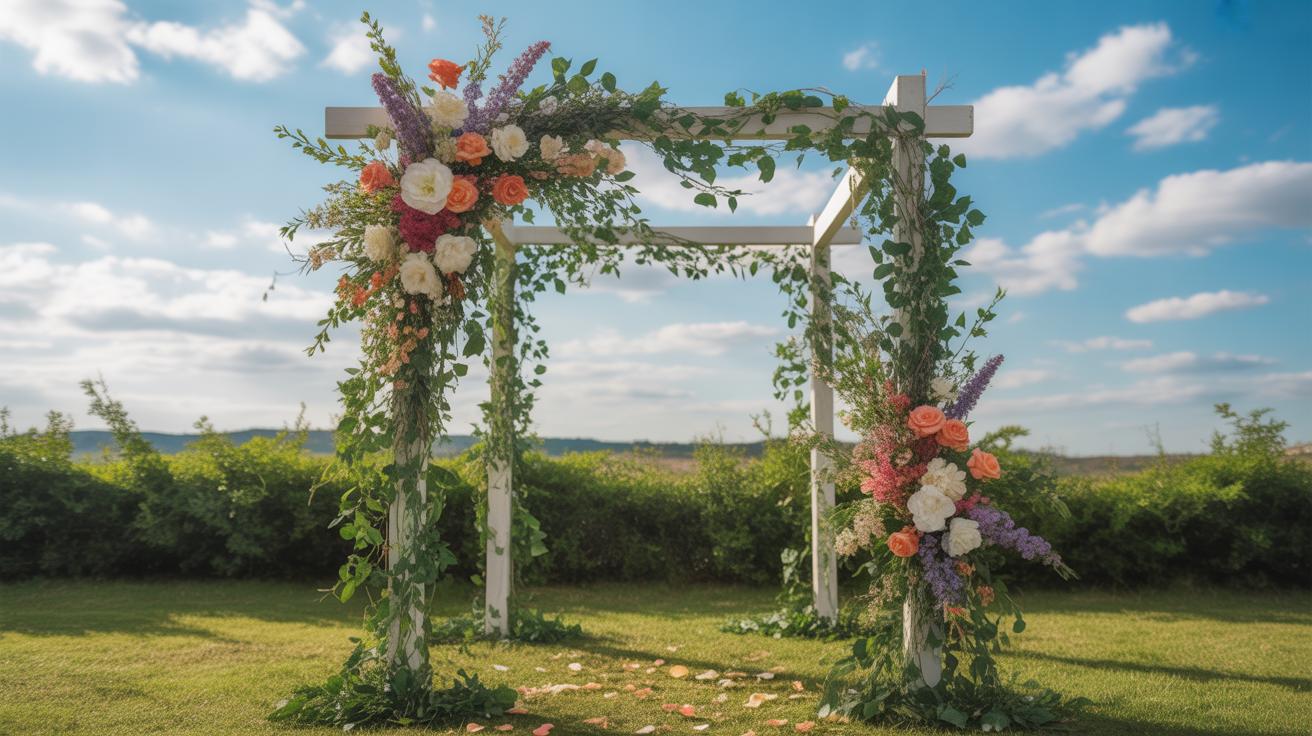
Evaluate your venue before selecting materials. Outdoor forest settings suit earthy tones and woodier stems. Formal ballroom weddings require polished flowers with symmetrical placements. If using silk flowers, ensure the color matches your bridal accessories exactly. Synthetic materials offer better durability in extreme heat or wind. Always balance the scale of the crown with your hairstyle. Low buns need back-heavy crowns, while loose hair supports full circles.
Easy Flower Crown Techniques For Beginners With No Floral Experience
Simplified Binding Methods That Work Even Without Floristry Skills
Standard florists use complex wiring techniques that require years of practice. For a diy floral crown wedding project, you should use the overlapping stem method instead. This technique relies on floral tape to secure stems directly to a thick wire base. You start by prepping small bundles of greens and blooms. Wrap each bundle tightly with tape before attaching it to the main frame to ensure stability.
Lay each bundle so it covers the tape and stems of the previous piece. This creates a continuous flow of texture and hides the mechanics of the crown. Use waterproof floral tape because it gains grip when you stretch it. Firm tension is necessary to prevent the flowers from shifting during the wedding. This method works for both fresh stems and diy flower crown fake flowers.
Common Beginner Mistakes And How To Easily Avoid Them
Many beginners make the crown base too large or too small. Measure your head with a string and add two inches for the wire overlap to ensure a proper fit. Another error is using heavy flowers like large roses without enough support. These blooms flip forward and ruin the crown shape. Select lightweight focal flowers or use thin wire to pin heavy heads against the frame.
Failing to hydrate fresh flowers is a critical mistake that leads to wilting before the ceremony starts. You must store finished crowns in a sealed bag in the refrigerator. If you use diy flower crown fake flowers, check for plastic glares in photos. High quality silk flowers look more realistic and do not require water. Always trim stem ends at an angle to prevent bulky lumps under the tape.
Diy Flower Crown Fake Flowers A Budget Friendly Alternative For Brides
Why High Quality Silk And Faux Flowers Are A Smart Bridal Choice
Faux flowers eliminate the risk of wilting during summer outdoor ceremonies. High-quality silk or real-touch latex blooms stay vibrant for the entire event. You can assemble these crowns weeks before the wedding. This removes the stress of last-minute floral construction. Unlike fresh stems, artificial flowers can survive rough handling and transport. They provide a precise and predictable result for your bridal aesthetic.
Budget management is the primary driver for choosing artificial components. Real flowers require professional refrigeration and expensive overnight shipping. Faux stems cost less and allow you to reuse the crown for future events or keepsakes. You also avoid seasonal price spikes. You can source specific flower types like peonies out of season. This flexibility ensures you maintain your design vision without overspending on rare imports.
How To Make Fake Flowers Look Realistic And Elegant In A Crown
Start by selecting flowers with matte finishes rather than shiny plastic surfaces. Examine the petal edges for fraying or visible glue. Realism depends on color variation within the bloom. Avoid solid, flat colors that look artificial. Choose stems with internal wire for better positioning. Remove excess plastic leaves that look cheap. Use high-quality florist tape to secure the stems to a wire frame.
Layering is the key to a professional look. Place larger focal flowers first then fill gaps with smaller textures. Mix different shades of the same color to mimic nature. Do not make the crown too symmetrical. Natural growth is slightly irregular. Use a wire cutter to trim stems to a uniform length. This prevents bulk and discomfort on the head. Finish by misting the crown with a light floral scent.
Make A Flower Crown Last Care Preservation And Day Of Tips
How To Keep Fresh Flowers Hydrated And Vibrant Before The Ceremony
Temperature control determines the lifespan of your floral crown. Finish the assembly and immediately mist the blooms with water. Place the crown inside a large sealed plastic bag to create a humid environment. Store the bag in a standard refrigerator away from ripening fruit. Fruits like apples emit ethylene gas which causes petals to wilt and drop prematurely.
Timing remains the most critical factor for freshness. High water content flowers like ranunculus hold up better than delicate hydrangeas. Construct the crown no more than twenty four hours before the event. If the wedding occurs outdoors in high heat, keep the piece in the cooler until the last possible moment. Professional floral sealants can also lock moisture into the petals upon application.
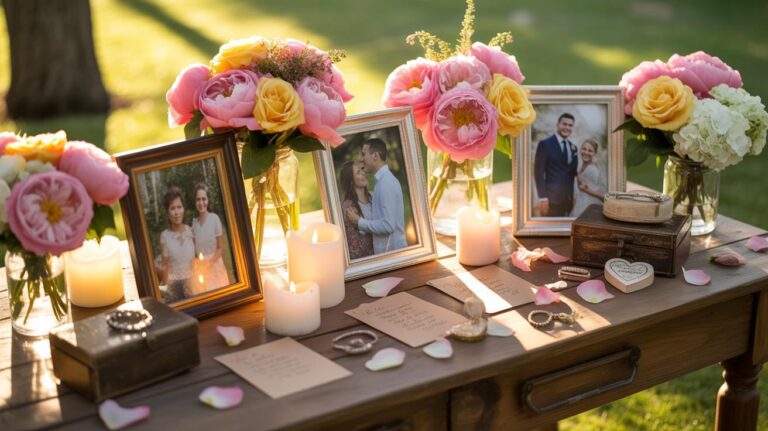
Preserving Your Bridal Flower Crown As A Keepsake After The Wedding
Silica gel provides the most effective method for preserving the shape and color of the crown. Submerge the entire piece in a container of silica desiccant immediately after the reception ends. This chemical process removes moisture faster than air drying. Fast drying prevents the growth of mold or rot. Leave the crown in the sealed container for approximately one week for total preservation.
Professional freeze drying offers another durable option for long term storage. This technique requires specialized equipment to remove water while the plant cells remain frozen. It prevents the shrinking and browning common with traditional air hanging methods. Once the crown is dry, display it in a glass shadow box to protect it from dust and humidity. Avoid direct sunlight to prevent the colors from fading over the years.
Make Flower Crown Gifting Creating Matching Crowns For Bridesmaids
How To Scale Your Crown Design For A Coordinated Bridal Party Look
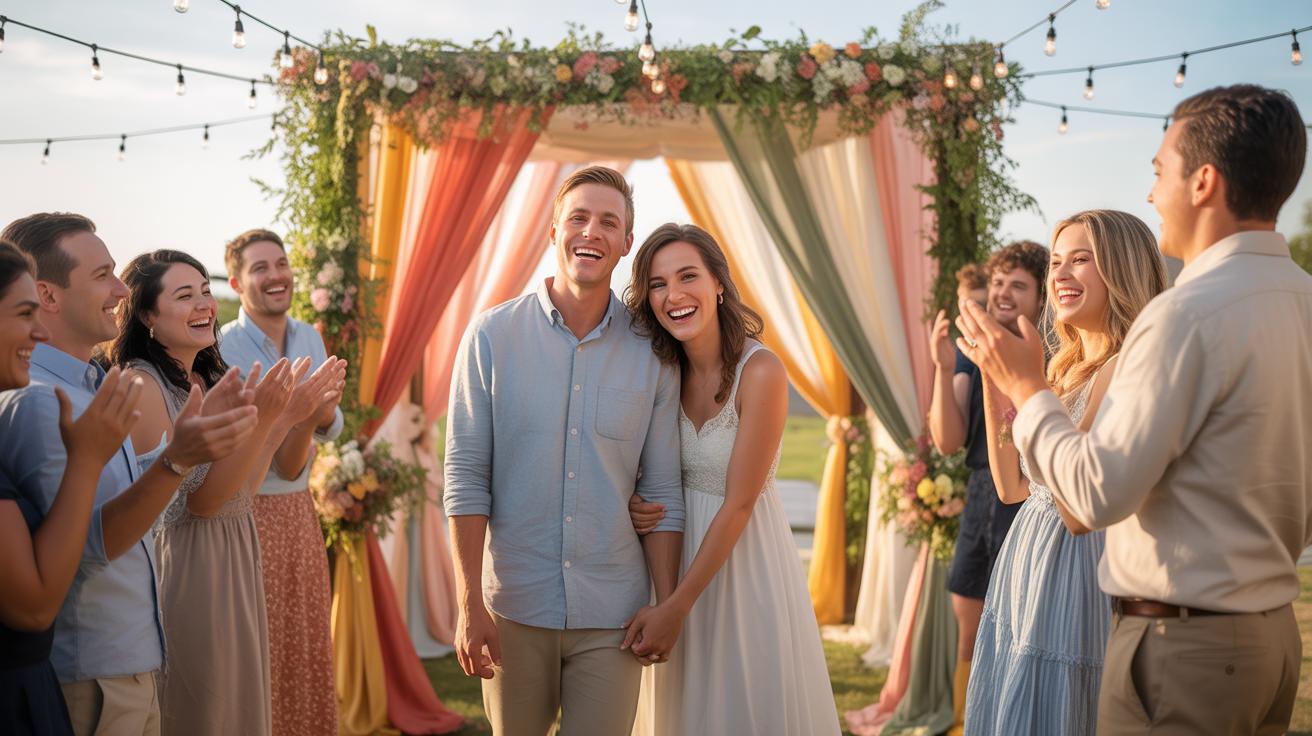
Design coherence requires a strict color palette and standard base construction. Start by selecting one primary bloom from the bridal crown to feature in every bridesmaid piece. Use slightly smaller focal flowers for the bridal party to maintain visual hierarchy. A consistent greenery base ensures the group looks unified in photos. Measure each head individually to ensure the wire frames fit securely during the ceremony.
Uniformity depends on using the same floral tape and wire gauge for every crown. Follow a specific pattern for placing fillers and accents to avoid random variations. If the bride uses large roses, give bridesmaids smaller spray roses in the same hue. This creates a tiered aesthetic that honors the bride while keeping the party stylish. Stick to three main botanical elements for a clean and professional appearance.
Budget Planning And Time Management Tips For Making Multiple Crowns
Bulk purchasing reduces the cost per crown significantly. Buy your floral wire, tape, and shears in contractor packs from wholesale suppliers. Order flowers by the bunch or case rather than by the stem to lower the price point. If you use fake flowers, look for high quality silk options during seasonal sales. Selecting hardy greens like eucalyptus or ruscus saves money because they last longer without water.
Time management is the biggest hurdle when making multiple crowns. You must assemble all wire frames at least forty eight hours before the wedding. Complete the floral attachment for fresh crowns no more than twenty four hours before the event. Store finished crowns in airtight containers in a cool refrigerator to prevent wilting. This assembly line approach maximizes efficiency and ensures every bridesmaid receives a fresh and durable accessory.
Frequently Asked Questions

Can a beginner really make their own wedding hair accessories?
Absolutely! Crafting a diy floral crown wedding project is much simpler than it looks, even for those without floral experience. By starting with sturdy greenery and using flexible floral wire, you can create a professional-looking piece in about an hour. We recommend practicing with inexpensive grocery store bundles a few weeks before the big day to build your confidence and refine your personal design style.
How do I keep the flowers fresh throughout the wedding day?
To ensure your diy floral crown wedding stays vibrant, choose hardy blooms like ranunculus, spray roses, or waxflowers. Once assembled, lightly mist the crown with water or a floral finishing spray. Store it in a sealed plastic bag or airtight container in the refrigerator until the ceremony begins. This prevents wilting and keeps the petals looking crisp and dew-fresh from your first look until the final dance.
Is making a flower crown cheaper than buying one from a florist?
Making your own headpiece is incredibly budget-friendly, often costing a fraction of a professional florist’s price. You can save money by sourcing seasonal blooms from local farmers’ markets or even foraging greenery from your own garden. Investing in basic supplies like floral tape and wire allows you to create high-end, bespoke bridal looks for under twenty dollars, making it a perfect solution for the cost-conscious bride.