The Illusion Of Effortless Elegance: Why Most DIY Flower Walls Fail
What Actually Goes Wrong
You want it to look like the florist spent weeks on it, not like you assembled it in your garage. Here’s what kills most DIY flower walls: people treat them like decoration instead of engineering. They bunch flowers too dense, use weak adhesive, skip the frame entirely, or cram incompatible flower types together. The result always reads as low effort because the structure collapses under its own weight—literally and visually. Sparse gaps appear. Flowers wilt unevenly. The whole thing sags by hour three of the event.
The real mechanism is this: a flower wall is load-bearing. You’re stacking fresh organic material with water weight onto a frame, then expecting it to hold for six to twelve hours under heat and humidity. Most people ignore the physics of compression and adhesion, then blame the flowers. The flowers aren’t the problem. The wall failed because no one calculated how much weight the backing material could support or how adhesive behaves when flower stems weep water into it. Start with your frame and weight capacity before you buy a single stem.
Structure Determines Everything Else
Floral design borrowed from architecture’s principle of load distribution: force gets concentrated at failure points when support is uneven. Your flower wall frame is where this happens. Cheap foam backing or thin plywood deflects under weight. Wire frames without cross-bracing collapse from lateral pressure. The common advice says “just use a sturdy PVC frame and floral foam.” That’s incomplete. You need to know that floral foam only provides grip for about forty-eight hours before saturation degrades the cell structure holding stems in place. After that window, flowers move. The wall shifts. Gaps appear where you glued everything.
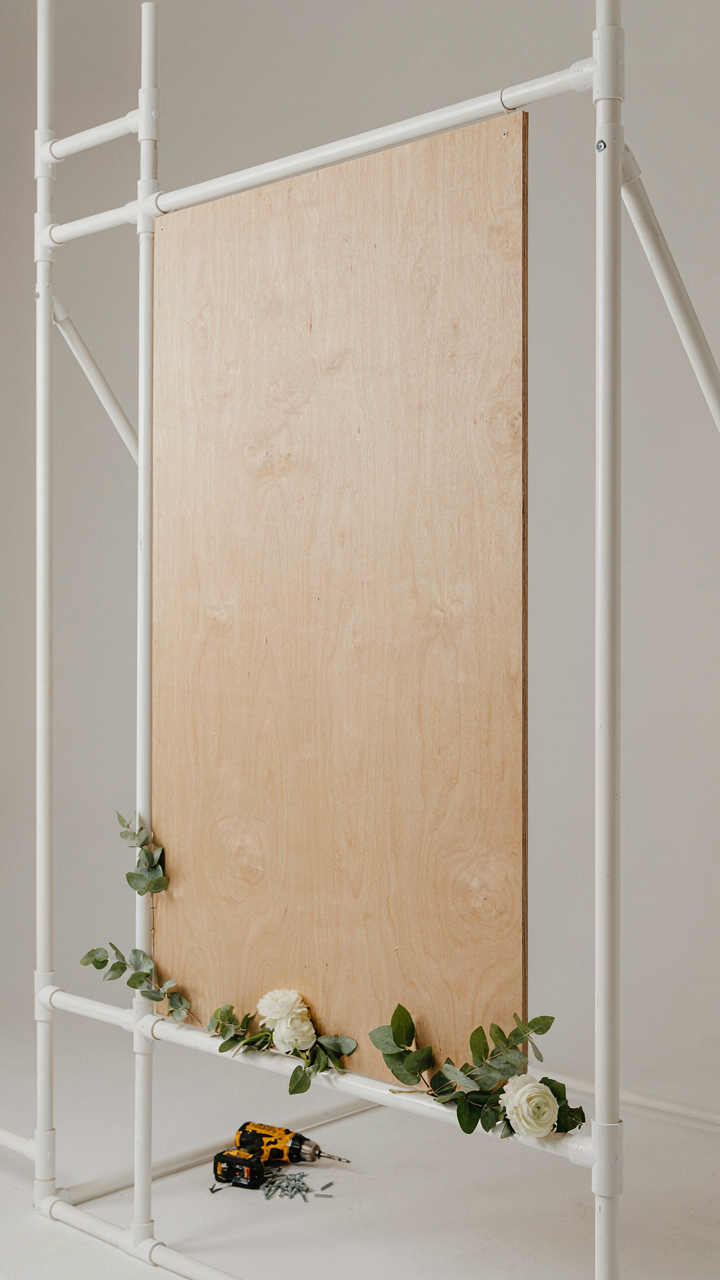
The right approach uses a hybrid system: a rigid frame that supports weight independently, then uses the floral foam as positioning tool, not structural load. Use half-inch plywood backing mounted to a PVC or wood frame with proper diagonal bracing. Attach the foam with screws through the backing, not just adhesive. Stabilize the entire assembly with guy lines or stands that anchor it at three points minimum. This isn’t overthinking. This is the difference between a wall that stays intact and one that becomes a liability during the ceremony. Build the structure first. Arrange flowers second.
The Scarcity Protocol: Sourcing Petals That Don’t Break The Bank
Bulk Buying Vs. The Foraging Trap
You want to feel resourceful without actually doing the work. That’s the real tension here. Economics calls this the supplier concentration problem: you either depend on one bulk source or you fragment across many. With flowers, most people choose bulk because it feels efficient. It isn’t. You pay distributor markup, order minimums, and wastage from over-ordering. Florists solve this by knowing exact petal counts per bloom and ordering precisely. You don’t have that data yet, which means bulk buys leave you with dead flowers and buyer’s remorse.
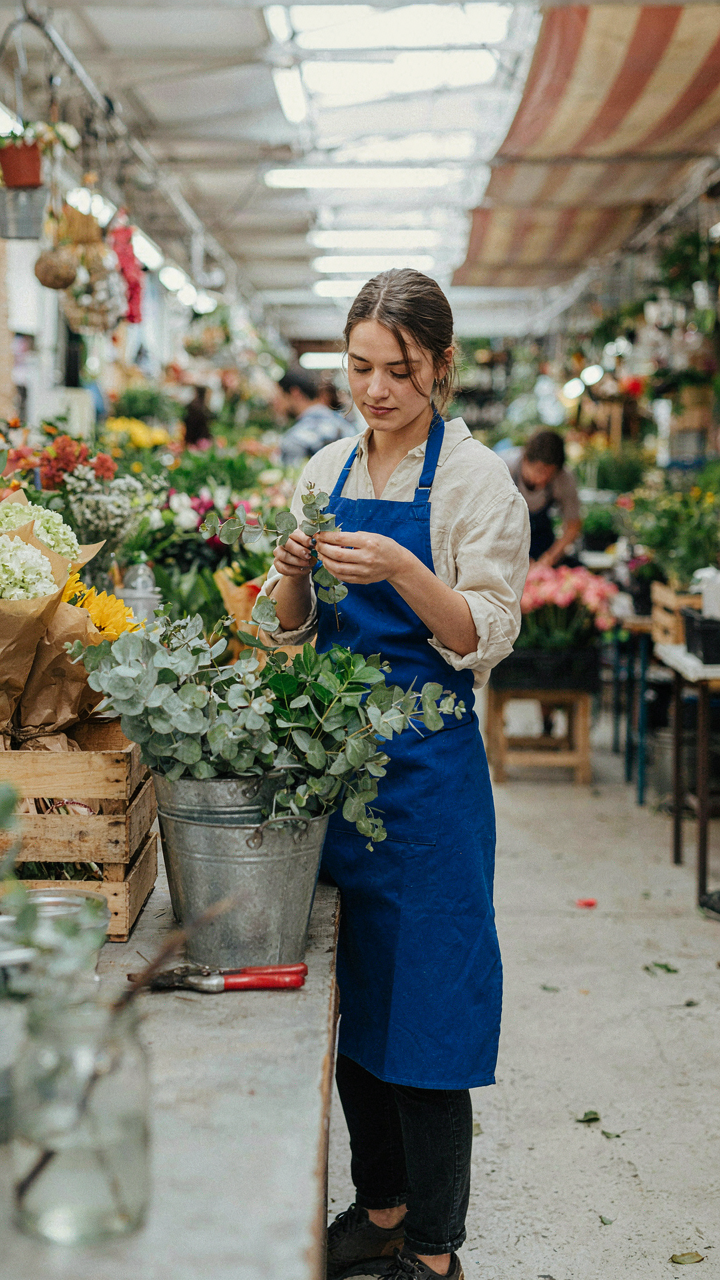
The real mechanism is volume efficiency paired with actual usage. Buy from wholesale markets directly when they exist in your region, not online wholesalers with shipping fees. Order three to five days before your event. Call ahead and ask what’s in stock rather than ordering blind. Local wholesale flower markets move volume daily, which means fresher product and lower prices than aggregators. You pay less because you eliminate middlemen and shipping. This works because you’re timing your purchase to their natural turnover, not fighting against their inventory cycles.
Seasonal Blooms: The Actual Leverage Point
Every month has dominant, cheap flowers because supply exceeds demand. Most wedding planning advice ignores seasonality entirely, then wonders why budgets explode. Roses in February cost triple what they cost in June. Peonies peak in late spring and early summer in most climates. Sunflowers and zinnias hit their stride mid-summer through early fall. Chrysanthemums and dahlias are abundant and affordable in fall. Timing your wedding date around flower availability, not the other way around, is the single highest-leverage decision you make.
Research what blooms are in season during your target months by checking your local agricultural extension office or asking florists directly. They’ll tell you instantly. Build your wall design around these flowers first, then fill gaps with greenery or filler that stores well and costs almost nothing. Eucalyptus, Italian ruscus, and salal hold color and structure for days without water. This approach cuts your flower budget by forty to sixty percent because you’re working with supply instead of against it. Order your bulk flowers no earlier than three days before your event, and specify “harvest date” when you call.
Foundation First: The Unseen Engineering Of Your Diy Flower Wall Backdrop
Choose Your Frame Before You Choose Flowers
You want this to look effortless, which is exactly why it will collapse if you cheap out on the structure. The frame is the load-bearing skeleton. Everything else hangs on it—literally. Most people reverse-engineer this: they buy flowers first, then frantically search for something to stick them on. Wrong sequence. Your frame carries weight, wind load, and the visual responsibility of holding three hundred stems upright for six hours.
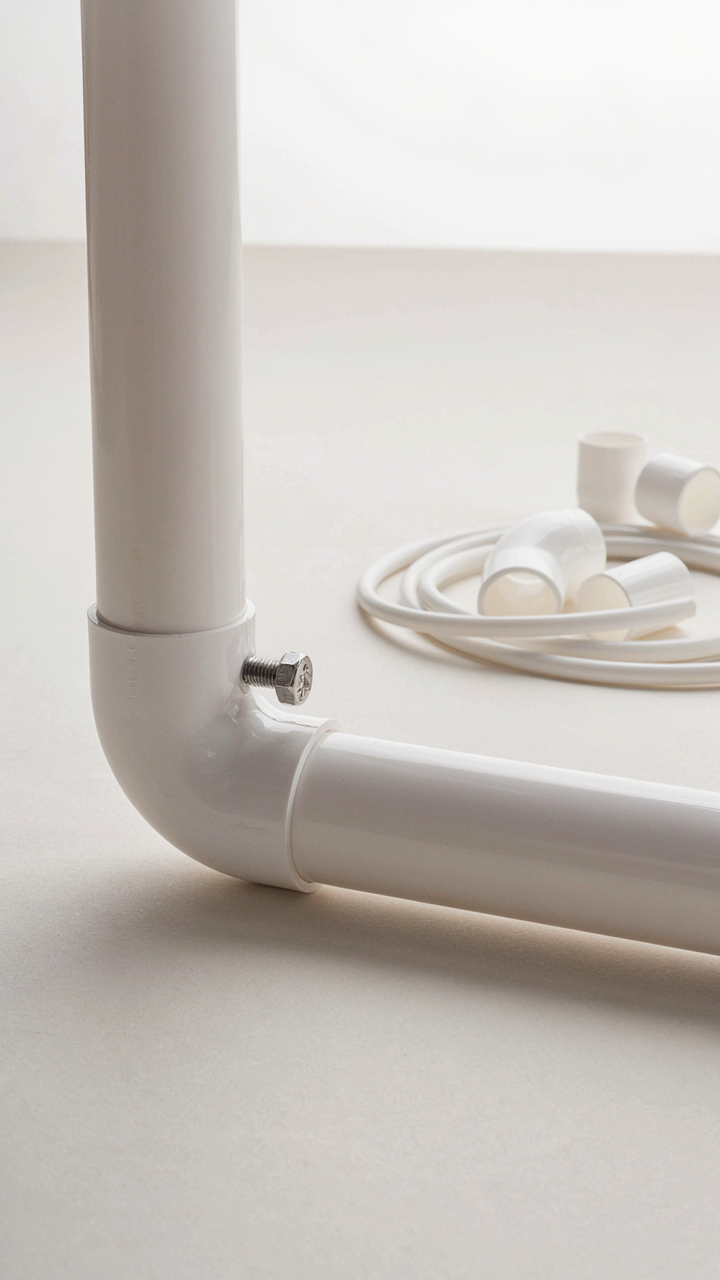
- PVC Pipe Grid: Two-inch diameter PVC creates a lightweight but rigid square or rectangular frame. Secure joints with corner brackets bolted, not glued, so you can disassemble without waste. Cost runs fifteen to forty dollars depending on size.
- Metal Cattle Panel: Welded wire livestock panels span four by sixteen feet with prebuilt grid spacing. They accept floral foam pins easily and handle moisture without rust when powder-coated. Runs twenty to thirty-five dollars per panel.
- Wooden Frame with Chicken Wire: Two-by-four lumber creates the perimeter; staple heavy-gauge chicken wire across the face. Wood absorbs moisture and can swell, so treat joints with exterior sealant to maintain square geometry.
- Steel Conduit Frame: One-inch electrical conduit bolted into a grid holds foam and weight without flex. More expensive than PVC but genuinely rigid under real pressure. Professional florists use this for installations over eight feet tall.
- Pallet Grid Assembly: Wooden pallets lashed together with ratchet straps create uneven spacing but low cost. Pallets warp unpredictably when wet, so this works only for indoor venues with climate control.

The frame must stand independently without external bracing in your final venue. Test it indoors first by applying downward pressure at the midpoint. If it deflects more than half an inch, add cross-bracing. A frame failure mid-event isn’t aesthetic—it’s liability.
Load Distribution And Structural Integrity
Civil engineering identifies load distribution as the critical variable between collapse and stability. Your flower wall distributes weight unevenly because flowers don’t arrange themselves symmetrically—they cluster where the design demands density. The frame must resist this concentrated load at specific points rather than spreading it evenly.
Floral foam weighs roughly eight pounds per brick when fully hydrated. A typical eight-by-eight-foot wall uses sixteen to twenty bricks. Add flowers, water absorption, and humidity expansion, and your actual load reaches one hundred forty to one hundred eighty pounds. Most DIY frames assume thirty to fifty pounds and fail catastrophically under real conditions. Reinforce high-density zones by doubling the backing material or adding internal cross-members directly beneath clusters. Use bolted connections instead of screws wherever structural load transfers. Screws pull through under shear stress; bolts distribute the force across a larger surface area. Install your frame on level ground. A one-inch slope across an eight-foot span creates unbalanced weight distribution and initiates failure at the low point.
The Biomimicry Method: Designing Floral Photo Backdrop Density
How Real Growth Patterns Shape Your Layout
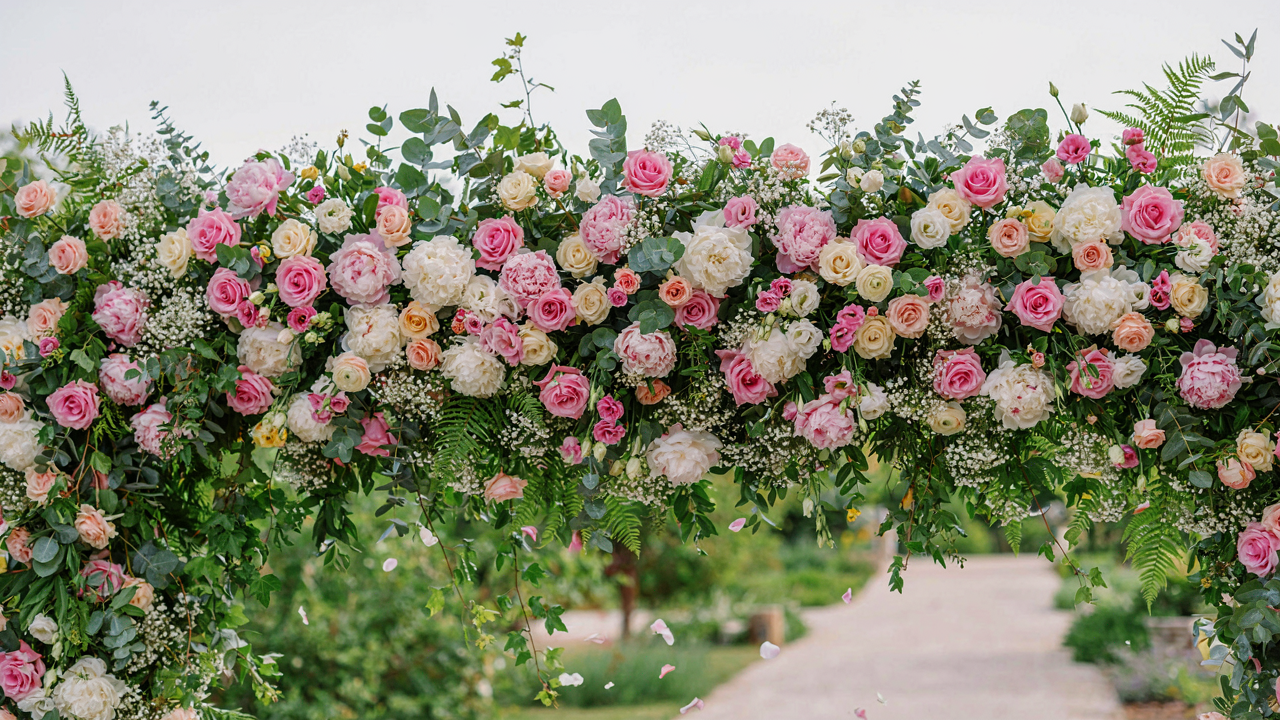
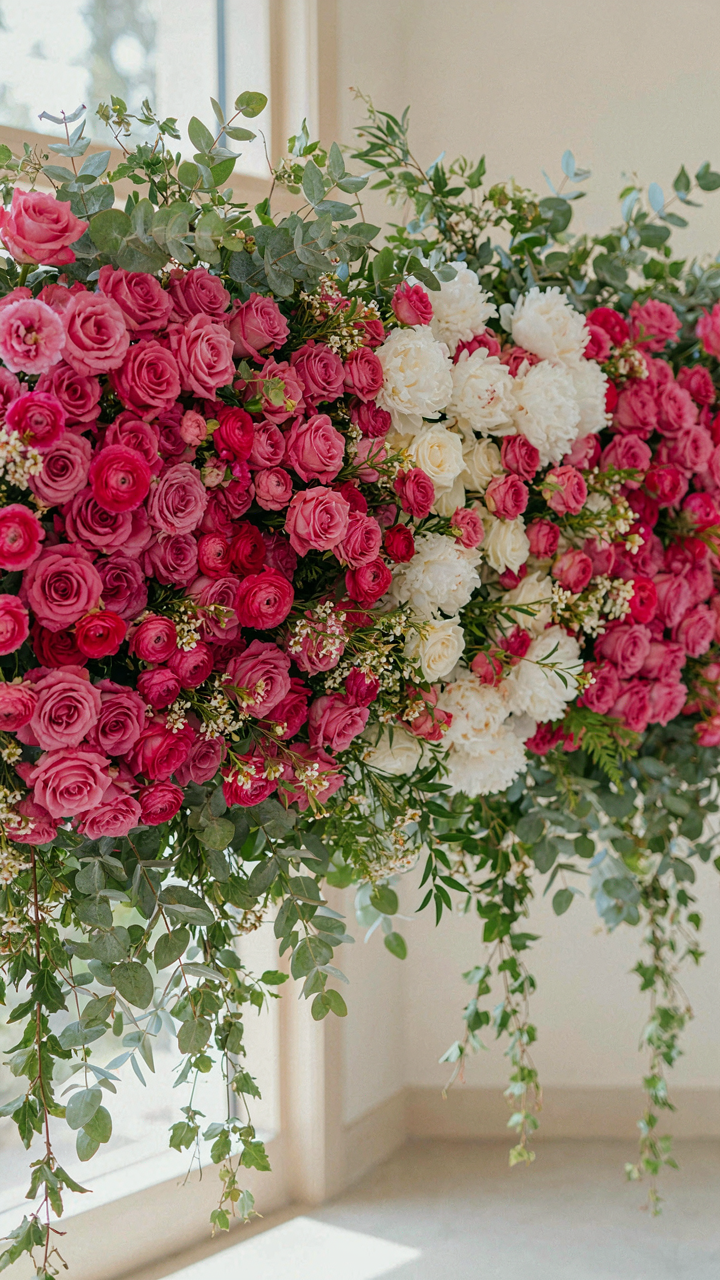
You want your flower wall to look expensive and intentional because you’re terrified it’ll look like you assembled it in your garage, which you did. The mechanism that stops this is copying how plants actually grow in nature, not the symmetrical grid most people default to. Nature doesn’t distribute density evenly. It clusters, thins, clusters again. Fractals repeat at different scales. Study how climbing ivy covers a trellis or how wildflowers populate a meadow and you’ll see the real density template. Your flower wall needs the same uneven distribution, or it reads as artificial and budget immediately.

Sketch your wall in quadrants before you build. Mark where you want focal clusters (high density zones where multiple stems converge), transition zones (sparse, breathing room), and accent areas (single statement flowers or greenery). The focal clusters should occupy about 40 percent of your wall space. This isn’t random placement disguised as organic. It’s intentional sparseness that makes dense zones feel lush instead of overcrowded. Start installing from your focal zones outward, filling gaps gradually rather than spreading flowers evenly across the frame first.
Light And Shadow Create The Depth Illusion
Most people ignore how flowers cast shadows because they think flower walls are flat surfaces, which defeats the entire budget advantage of the format. Light and shadow are the physics of visual depth: darker recessed areas read as distance, forward-facing blooms with direct light read as proximity. You exploit this by varying stem length and flower placement depth across your frame, not just left to right. Flowers placed closer to the frame structure catch light differently than those extended forward. This depth variation is what makes a two dimensional wall feel three dimensional and expensive.
Position your densest, most vibrant flowers toward the frame’s front, angled slightly outward. Push deeper, muted tones (darker greenery, closed buds, smaller secondary flowers) back into shadow zones. Use trailing greenery that falls forward to interrupt flat planes. The camera reads layered depth as sophistication. Test your setup with one photo before finalizing the entire wall. If your phone captures the wall as flat and one dimensional, you haven’t created enough shadow variance. Add depth by pulling select stems forward another two to three inches.
Attachment Mechanics: Securing Your Floral Art For A Flawless Diy Flower Wall Wedding
The Right Bond Wins The Durability Fight
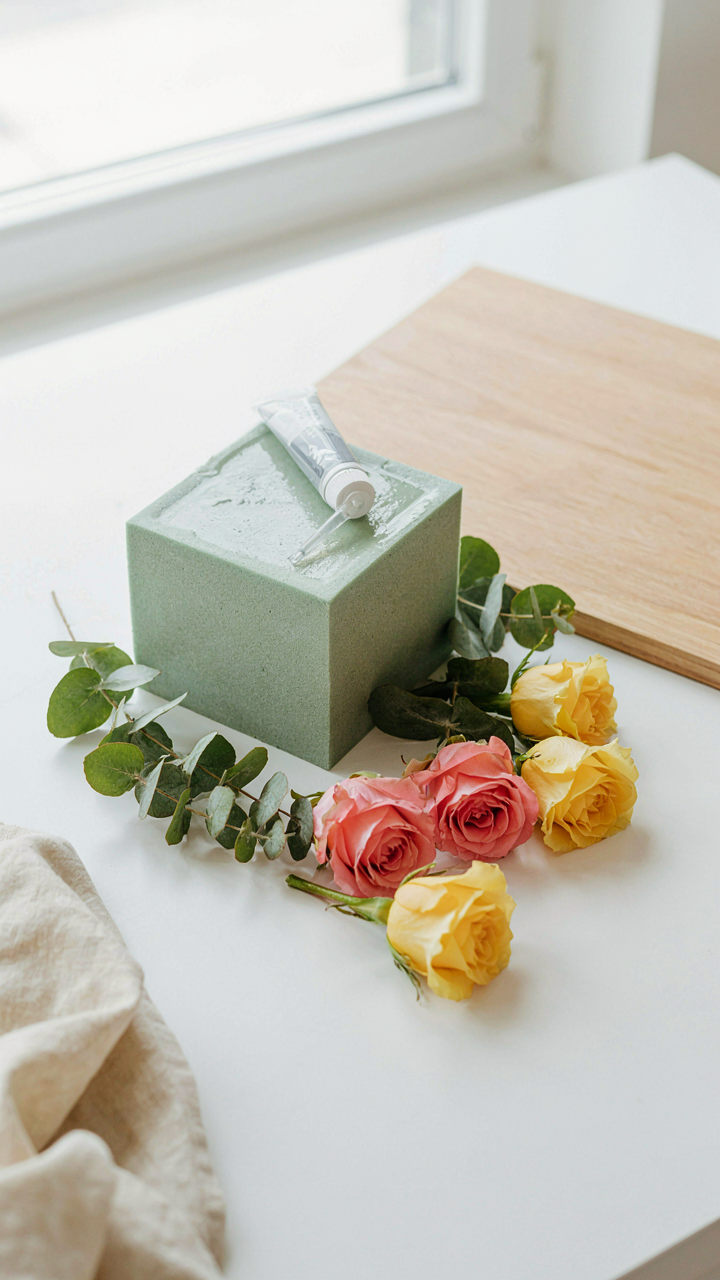
You care about this section because a collapsed flower wall during the ceremony is a status disaster you can’t recover from. The real mechanism here borrows from materials science: adhesive strength depends on surface area contact and chemical compatibility between substrates. Most DIY builders use one adhesive for everything, which fails because foam, wood, and metal have different porosity levels. Hot glue bonds well to porous surfaces but fails on smooth foam. Floral foam absorbs moisture, which degrades adhesive bonds over time. Tacky glue and low-temperature adhesives are marketing terms that obscure what matters: the actual shear strength rating and cure time.

You need substrate-specific adhesives. For floral foam to foam connections, use floral adhesive rated for wet environments like Oasis adhesive putty, which sets as a rubber polymer and maintains flexibility. For foam to wood backing, low-temperature hot glue works because the wood provides porous anchor points, but only after you rough the foam surface with sandpaper to increase contact area. For foam to metal frames, skip adhesive entirely. Metal expands and contracts with temperature, and no adhesive maintains its bond through that movement. Mechanical fasteners work here instead. Test any adhesive on scrap foam 24 hours before build day to confirm it holds under weight and humidity.
Hidden Support Holds Everything Upright
Fasteners are your structural skeleton, and most builders treat them as an afterthought instead of the primary load-bearing system. The architecture of flower arrangements uses the principle of distributed load: weight spreads across multiple contact points, not one central attachment. A flower wall that looks seamless uses fasteners positioned where they’re invisible from the front angle, anchored at the back side of the floral foam base. This requires you to build backward, thinking about sightlines during placement.
Use floral picks, U-pins, and corsage pins to anchor individual flowers and clusters into the foam. These are thin enough to hide inside blooms or greenery. For heavier sections like branches or large focal flowers, wire them through the foam backing to the structure behind, not to the foam itself. Chicken wire or hardware cloth stretched across your wooden frame creates invisible anchor points. Zip-tie dense clusters to the frame before you attach foam. The real protocol: build the mechanical skeleton first, then layer foam over it, then fill with flowers. This inverts the amateur approach and eliminates collapse.
Strategic Foliage: The Underestimated Element For Diy Flower Wall
Volume Without The Price Tag
You want people to think you spent more than you did. That’s the real reason you’re reading this. Flowers cost money. Greens cost almost nothing. This is pure economics: you’re substituting an expensive input with a cheap one and getting the same visual result. Most DIY guides gloss over this because they assume you’ll buy pre-made foam arrangements. You won’t. You’re building this yourself, which means you control the ratio.

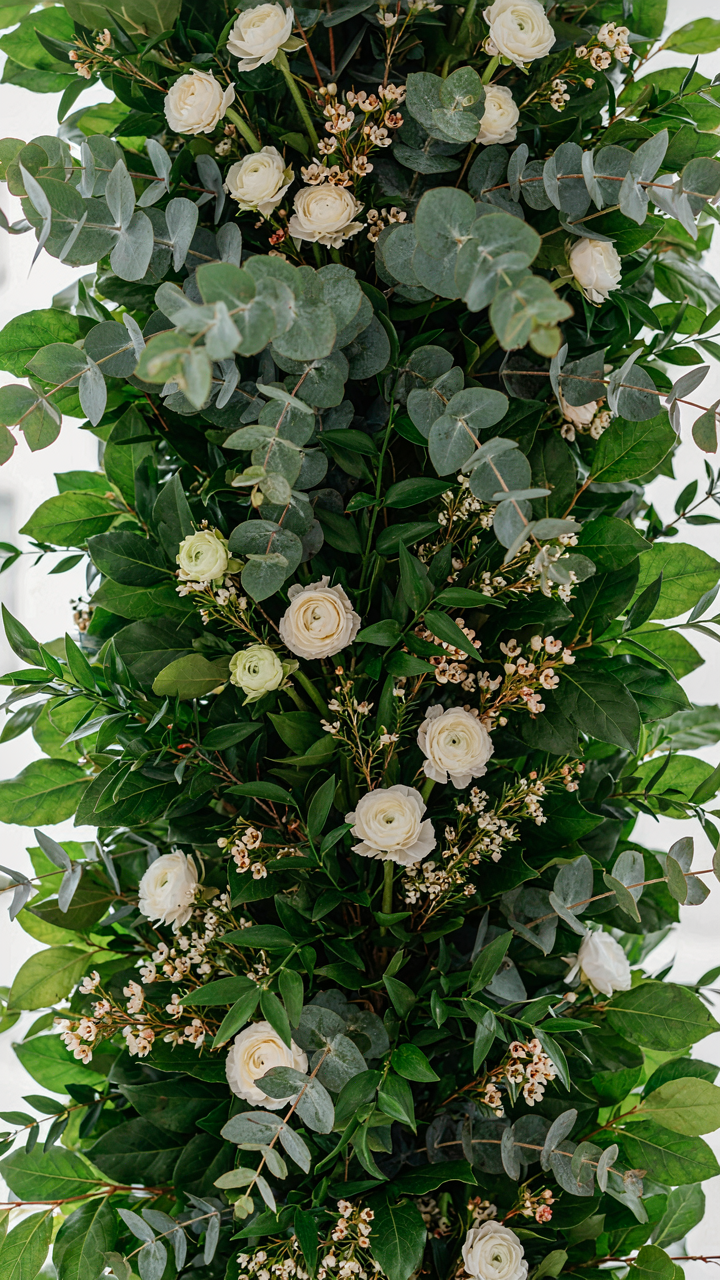
Eucalyptus, salal, ruscus, and Italian ruscus fill space faster than flowers and cost a fraction of the price. Buy these in bulk from wholesale flower suppliers or grocery store floral sections. A single stem of eucalyptus creates the foundation for an entire section of your wall. Layer greens first, then nestle flowers into the gaps. This reverses the typical approach and stretches your flower budget by 40 to 60 percent without sacrificing density or visual weight.
Contrast Through Leaf Shape And Texture
Monotony kills a flower wall faster than poor construction. Think in terms of visual hierarchy from graphic design: contrasting elements draw the eye and create perceived complexity. Round leaves next to feathery leaves next to sword-shaped leaves force the viewer’s brain to process depth, making a simple arrangement read as intricate. You’re not adding more; you’re making what exists appear more sophisticated.
Pair broad-leafed greenery like eucalyptus with delicate filler greens like asparagus fern or lemon leaf. Add leather leaf or preserved oak for linear structure. These aren’t decorative choices. They’re functional: different textures absorb light differently, creating shadow play that adds dimension without extra flowers. Cut greens to varying lengths so they protrude at different depths from the foam base. This staggered positioning is what separates professional-looking walls from flat, two-dimensional ones.
The Logistics Loop: Transporting And Assembling Your Easy Backdrops
Build Before Day One
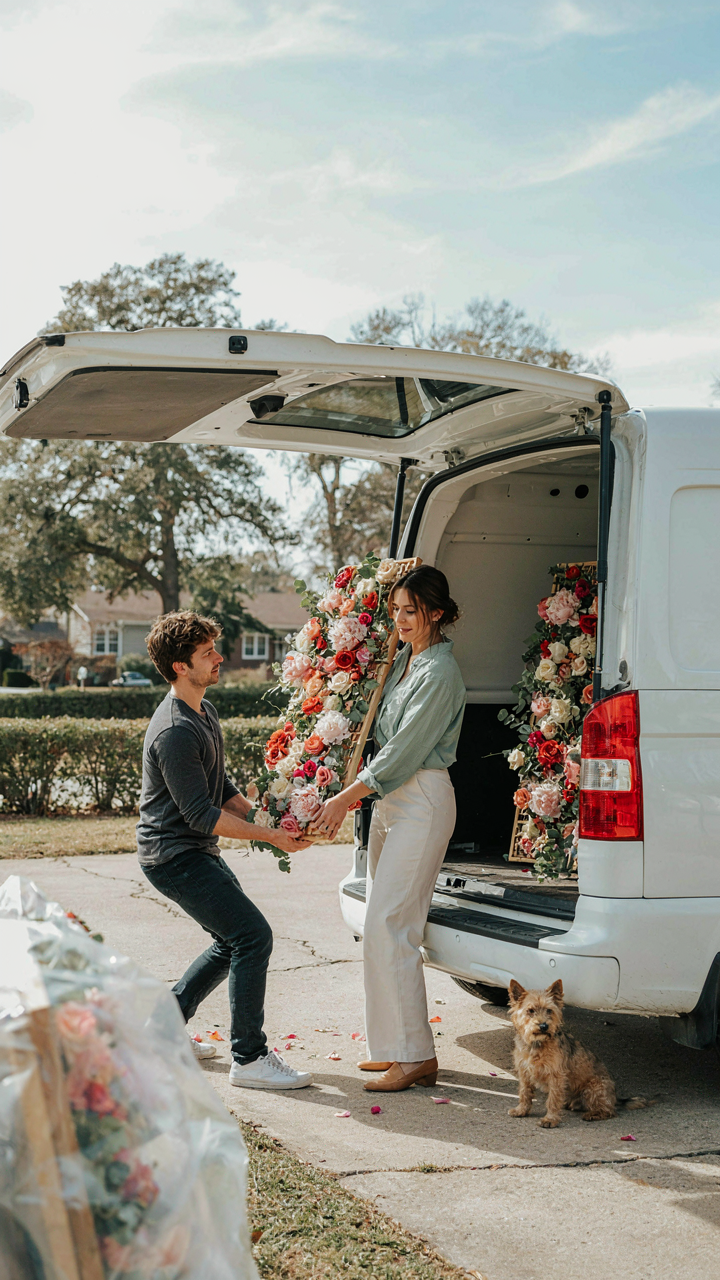
You’re stressed about timing because you know that on-site assembly under pressure breaks things and ruins photos. The real mechanism is simple: pre-assembly removes variables. Build your flower wall in sections at home where you have tools, space, and light. Test every connection. Identify weak points. Fix them when failure costs nothing. You arrive at the venue with a known system, not a prototype.

Pre-assembly also lets you photograph the wall in natural light before the event. This matters because your photographer won’t have time to angle around construction. You control the backdrop quality in advance. Transport the finished sections in flat boxes or on dollies. Assign one person to inventory pieces as they load. Document what goes where with photos on your phone. This takes thirty minutes and saves two hours of confused assembly.
Modular Design Wins Transport Wars
Supply chain thinking applies here: you break down inventory into smaller units to reduce handling damage and increase flexibility. Your flower wall becomes modular sections that stack flat instead of one fragile monolith. Most people ignore this and build a single large frame, then panic when it doesn’t fit the van. Build four to six sections instead, each weighing under forty pounds and sized for a standard vehicle.
Each module connects with simple mechanisms: interlocking frame corners, floral foam blocks that sit in wooden slots, or zip-tie anchor points. Document these connections with labeling tape and photos before you disassemble. Pack heaviest modules on bottom, lightest on top. Line the vehicle so nothing shifts during transport. At the venue, you spend twenty minutes connecting pre-built sections rather than three hours building from bare wood. Assign assembly roles before arrival: one person handles frame alignment, one secures connections, one arranges final flowers.
Post Event Salvage: Maximizing Your Investment In Flower Walls Diy
What Actually Happens To Your Petals
You’re reading this section because you hate waste—not because you love composting. The mechanism is simple: fresh petals degrade fast, but timing and temperature control how much value you extract before they’re gone. Most people throw everything in the trash within hours. That’s financially stupid when you have a 24-72 hour window to act.
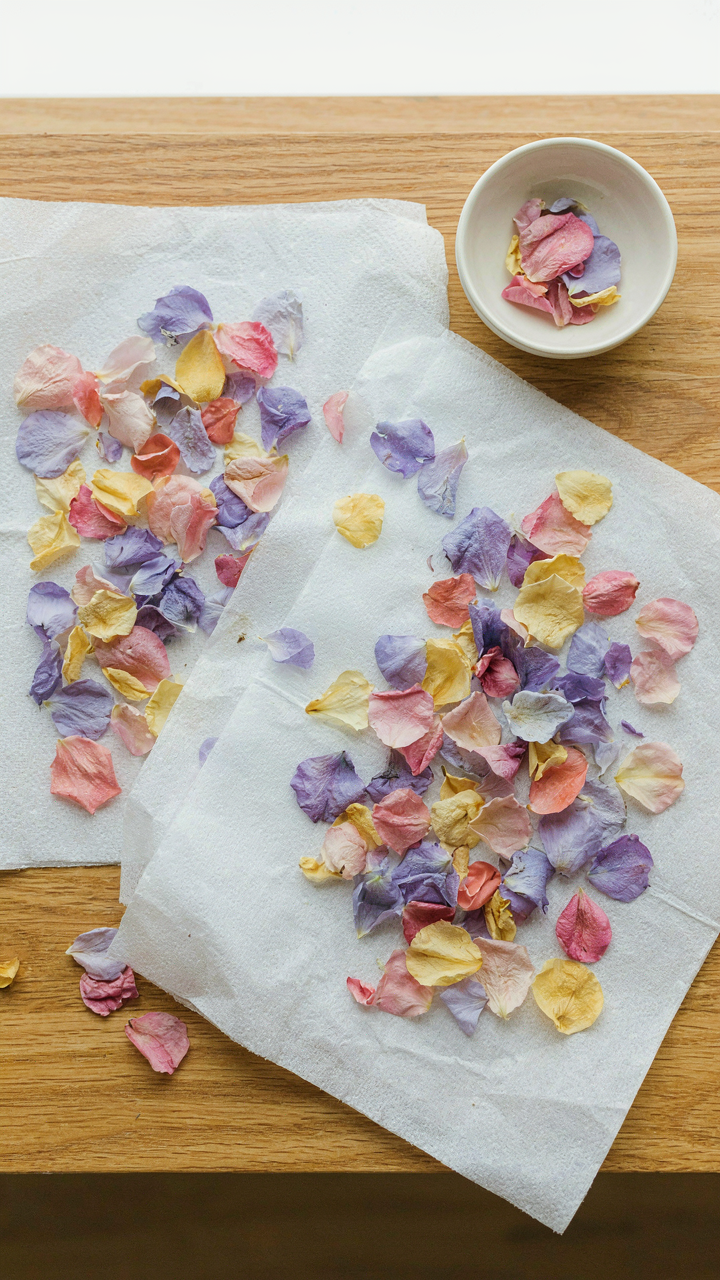
Petals dry fastest in low humidity and airflow. Remove them from the foam within six hours of the event’s end. Spread them on paper towels in a single layer on a shelf, away from direct sunlight. This preserves color better than heat-drying. After three to five days, store dried petals in an airtight container. They keep for months and work for tossing at future ceremonies, potpourri, or pressed flower crafts.
The Frame Stays When The Flowers Go
Don’t treat the frame as disposable. This is basic capital maintenance: the structure holds 80 percent of your cost, while flowers are consumable. You built or bought a frame to hold weight and shape. That doesn’t change after one event.
Store frames flat or standing upright in a dry space. Remove all floral foam before storage—it rots and attracts insects. Wooden frames benefit from a light inspection for loose joints or water damage. Metal frames need drying to prevent rust at connection points. Your next DIY wall costs 40 percent less because you kept the structure intact. Treat it like you would a vase or planter you’d use ten times over.
The Real Obstacle Isn’t Budget; It’s Your Willingness To Break Free From The Illusion Of Effortless Perfection
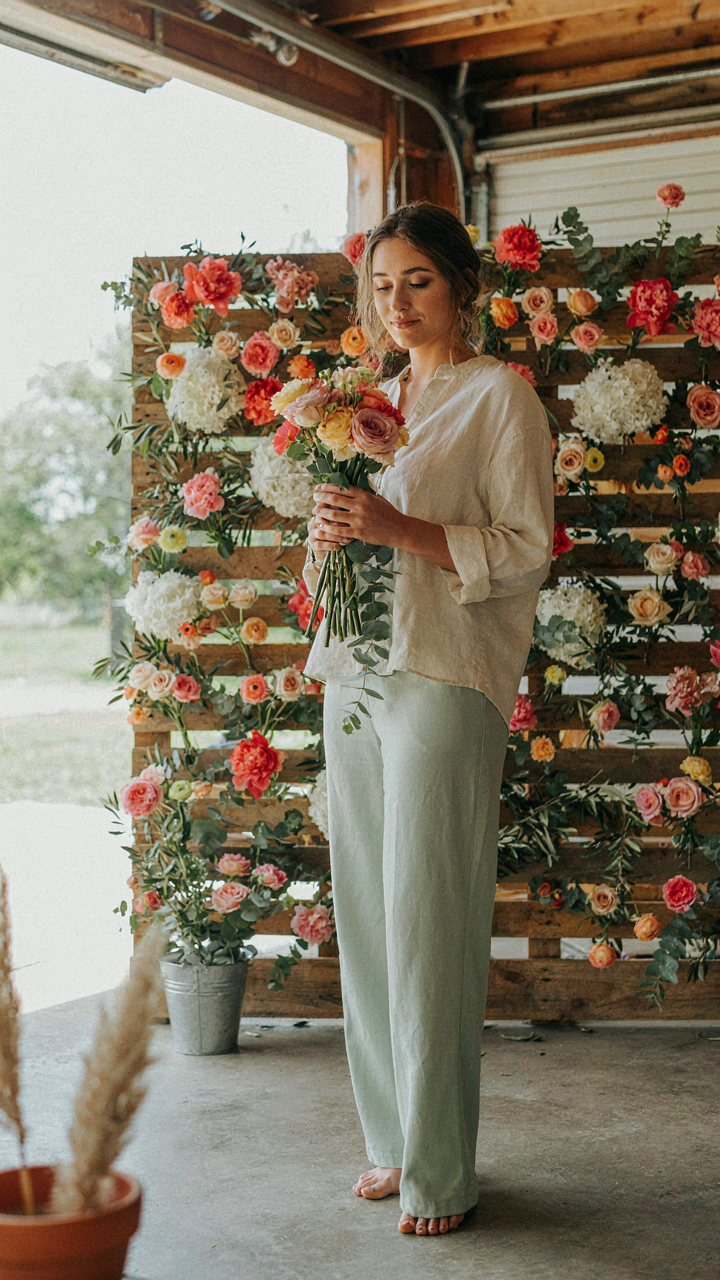
Most people skip the DIY wedding flower wall because they wait for permission to make it imperfect. They want certainty before they start. Stop. Buy your flowers today, grab some floral foam, and build something rough this weekend. The imperfections aren’t failures. They’re proof you made a choice instead of outsourcing your wedding to someone else’s vision. Perfection is a myth florists sell you. Authenticity is what guests actually remember.