The Artistry Behind A Gravity Defying Cake
Engineering The Impossible
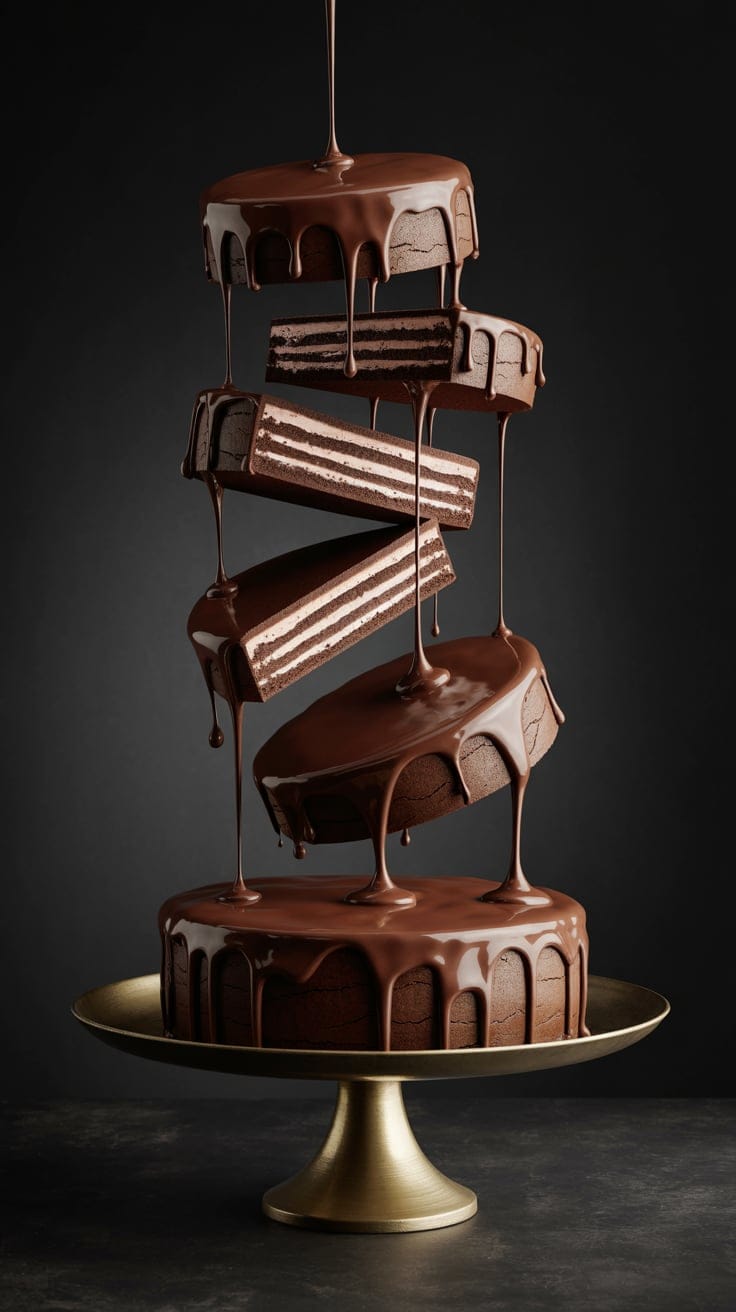
A gravity-defying cake is an edible sculpture engineered to look frozen in mid-air, as though it breaks the laws of physics. Creating one requires a smart plan before the oven turns on. Bakers act like builders, using metal rods and wooden platforms called armatures to hold the heavy weight of sponge and buttercream frosting. Without these strong internal bones, any gravity cake would collapse under its own pressure. Every unique gravity cake idea starts with a solid structural blueprint to keep things standing.
The physics of a gravity cake design depends on a stable, well-centred support system. Bakers bolt food-safe pipes to a thick industrial-strength cake drum as the base. This metal skeleton lets the cake lean at sharp angles or appear to float in mid-air. An anti-gravity cake uses these hidden tools to trick the eye. Good engineering ensures the dessert stays upright throughout a party or a long wedding reception without any accidental collapse.
Balancing Form And Function
The secret to a great gravity wedding cake is concealing all the metal parts beneath edible layers. Experts cover pipes with chocolate, fondant, or modelling chocolate so the structure disappears completely. A successful gravity defying cake looks light and airy — not like a construction project. People should see only the beauty of the cake design and forget about the steel rods hidden inside.
Artists use gravity cake ideas to tell a story through movement. They might show milk pouring into a bowl, candy tumbling from a bag, or flowers cascading from a vase. Each piece of fruit or candy covers a joint in the armature. Using a gravity defying cake tutorial or ideas book helps beginners learn these clever techniques step by step. Every edible element has a structural job to do, and the final result is a beautiful treat that stays together until the very first bite.
Modern Trends In Gravity Cake Design
Minimalist Suspensions
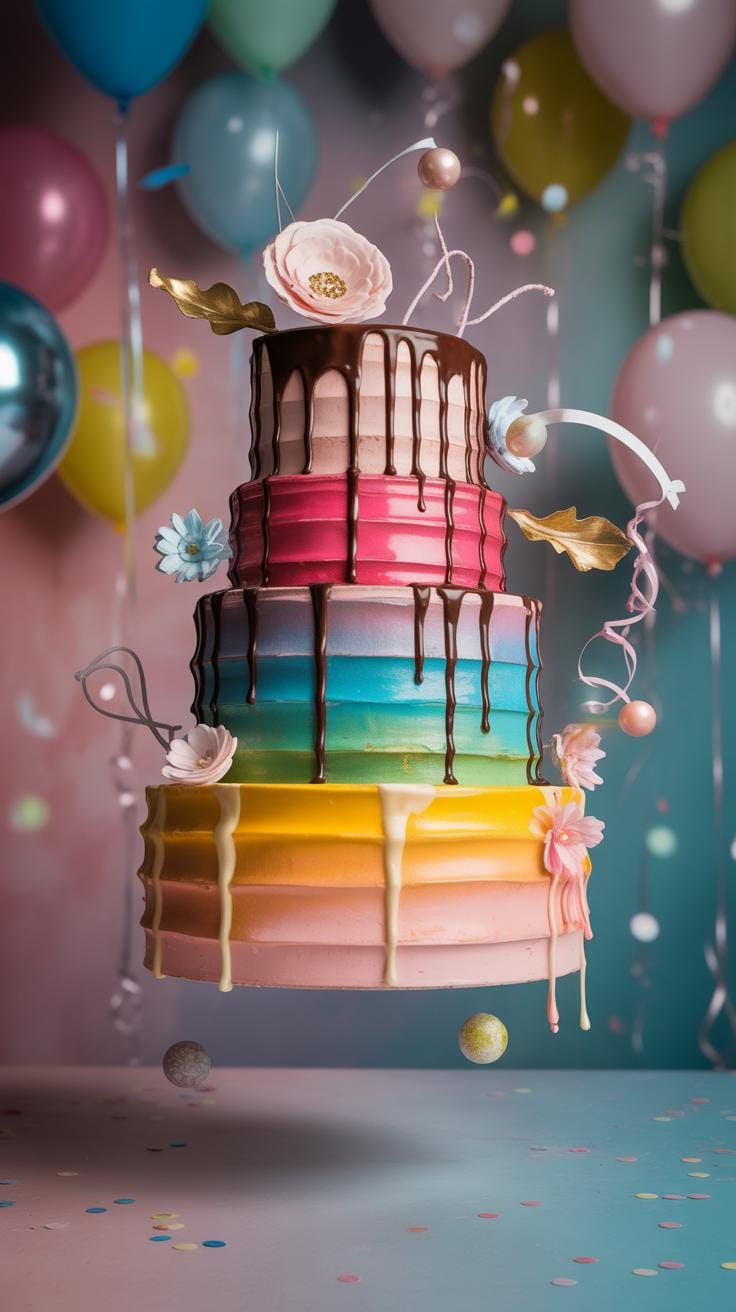
Modern bakers now use clean lines and single points of contact to create a bold gravity cake design. These sleek styles focus on simplicity rather than clutter. You might see a single tier floating above a base with no visible support, held in place by a hidden internal structure made of food-safe wood or metal. It feels like magic to guests because the cake seems to hover in mid-air.
A gravity wedding cake often uses this minimalist style to stay elegant. Couples want a unique gravity cake idea that looks sophisticated and calm. These cakes use sharp edges and smooth fondant to hide the clever engineering inside. Every gravity cake depends on balance and weight distribution. Designers now conceal dowels inside decorative flowers or thin ribbons, making the gravity defying cake look light and airy from every angle.
Interactive Edible Displays
Current gravity cake ideas focus on movement and action caught in time. A suspended champagne bottle appears to pour liquid candy beads onto a tier below, tricking the eye into seeing a frozen moment. Many bakers choose a levitating coffee cup or a pouring milk carton for birthday parties. These designs rely on a strong central pipe that supports the top item and distributes the weight of the cake safely.
Newer gravity defying cake ideas involve objects that appear to fly away from the centre. You can build a gravity cake where candies tumble out of a bag in a frozen stream. This setup requires careful planning of the centre of gravity. Bakers use modelling chocolate and isomalt to create stunning liquid pour effects. Every anti-gravity cake tells a story through these frozen motions, making any event feel more exciting for viewers.
Creating A Masterpiece With Anti Gravity Cake Techniques
The Physics Of Support Systems
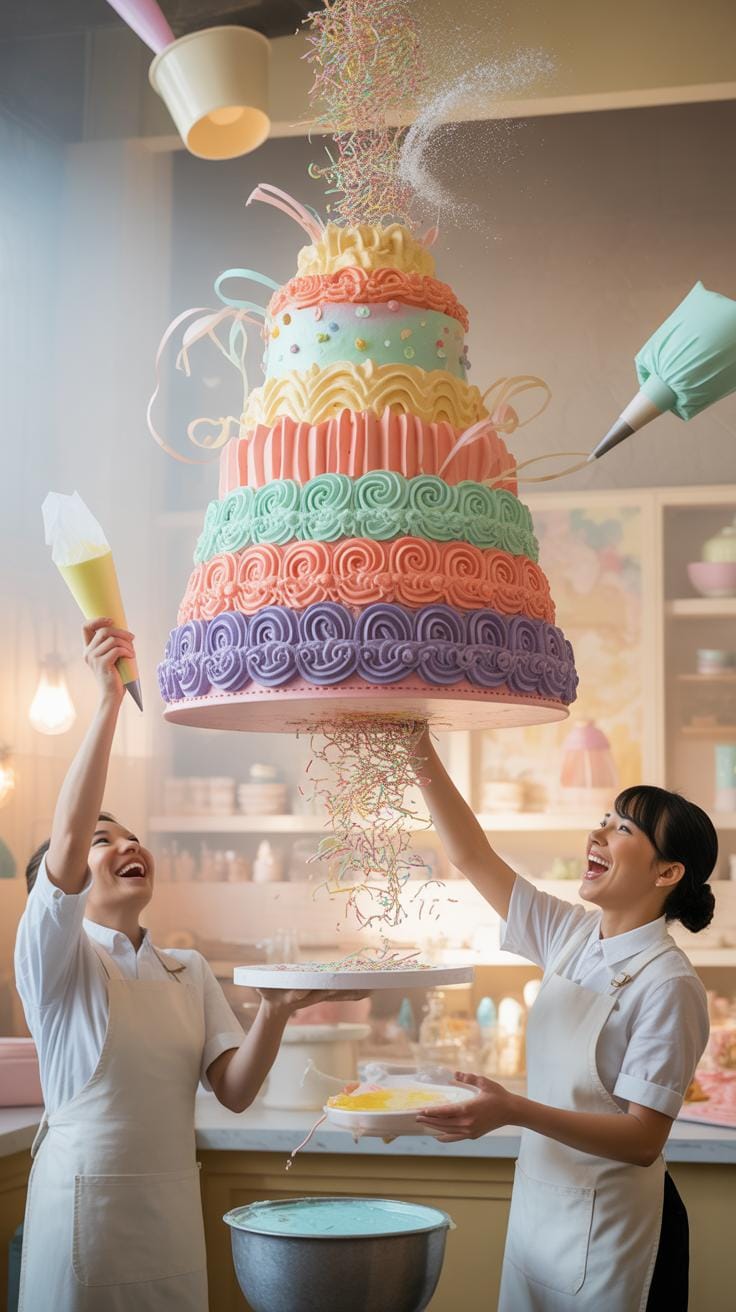
Engineers and bakers share similar goals when constructing a gravity defying cake. You must build a hidden frame to hold the weight of the sponge and frosting. Solid food-safe rods and PVC pipes carry heavy loads down to a thick base. Threaded bolts secure these vertical supports so they do not wobble or lean. This internal skeleton stays completely hidden while creating a stunning gravity cake design that shocks every guest at the table.

Balance plays a central role in every unique gravity cake idea you attempt. Centre the main weight over the middle of the board to prevent tipping. Use angled pipes to create the illusion of pouring liquid or floating objects. Secure the anti gravity cake structure with washers and nuts for maximum stability and safety. This careful planning ensures your gravity wedding cake remains stable throughout the entire reception without any risk of collapse.
Essential Tools For Stability
Building a gravity cake requires hardware and kitchen tools that keep the edible portions safe and steady during a party. Professional artists use industrial materials to support layers that seem to float in mid-air. Always wrap non-food items in plastic or food-safe wax to keep the sponge clean, and tighten every bolt before adding any frosting or fondant.
- Food-grade stainless steel rods: These metal poles provide the main vertical strength for your structure. They do not bend under the weight of heavy sponges and keep the entire dessert perfectly upright.
- Flange mounts for base stability: Secure these metal plates to your bottom board to hold the vertical rods firmly. They prevent the main support from shifting or tilting when you move the heavy finished cake.
- Lightweight polystyrene for bulky non-edible sections: Use these foam pieces to create large shapes without adding excessive weight, allowing you to build massive cake designs that would otherwise be too heavy.
- High-tensile strength floral wire: This thin wire helps you attach small decorations to the main frame. It is perfect for making tiny elements look like they are flying away from the main display.
- Industrial-strength cake drums: A standard cardboard base will fail under a heavy structural design. These thick wood or reinforced boards support the entire weight of the hardware and edible layers without bending.
- A reliable spatula and palette knife: Essential kitchen tools for applying smooth buttercream and ganache coats that hide the internal structure seamlessly.
Select your materials carefully to ensure the safety of every person eating the gravity cake ideas you create. Always wrap non-food items in plastic or food-safe wax to keep the sponge clean. Tighten every bolt and check for movement before adding any frosting. Following these steps helps you produce a reliable anti gravity cake that looks impossible but stays perfectly still for your special event.
A Unique Gravity Cake Idea For Every Occasion
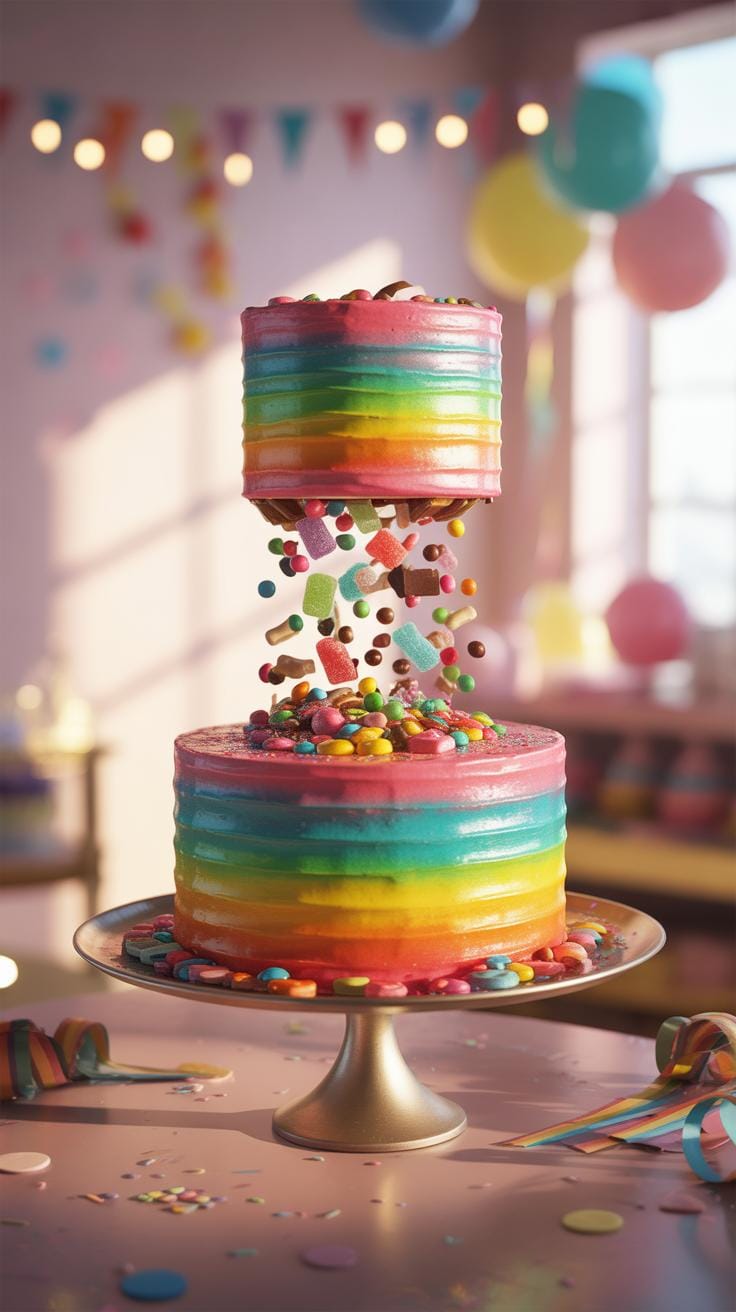
The Floating Candy Pour Illusion
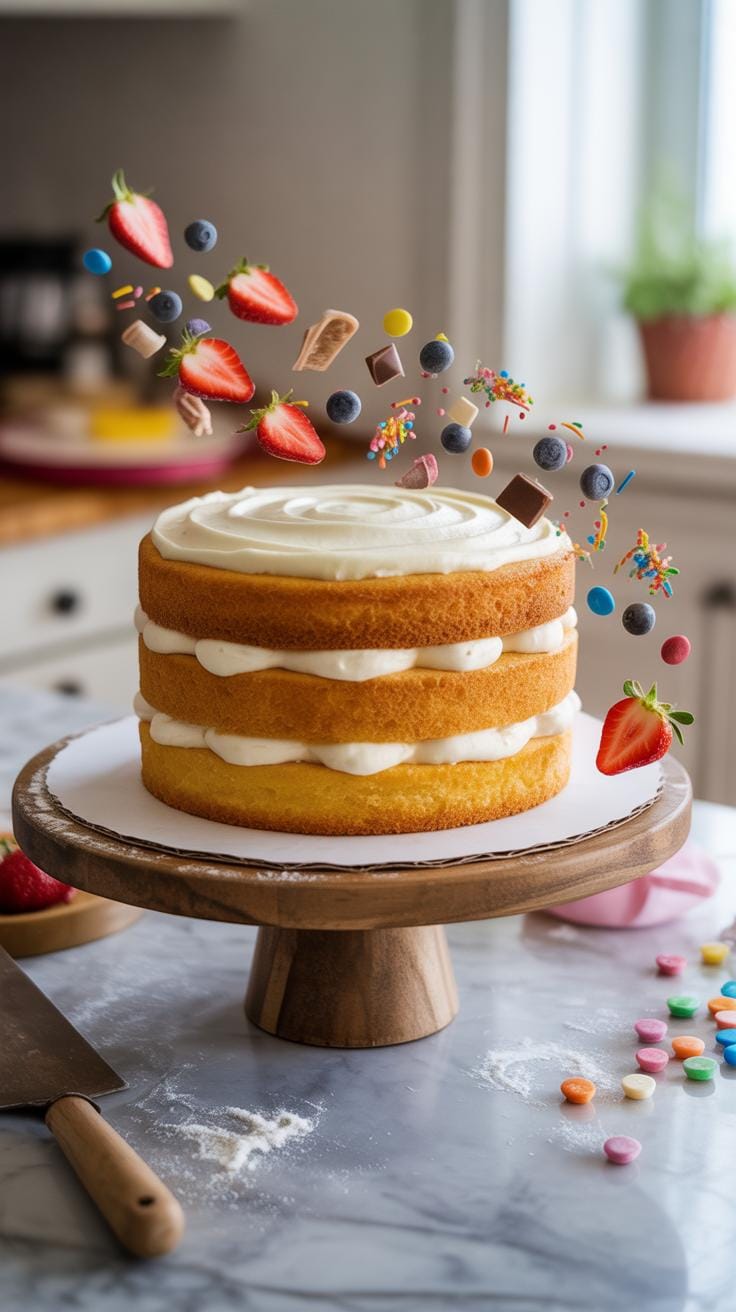
Bakers create a stunning anti gravity cake by hiding a solid support structure inside the dessert. You can use a wooden dowel or a food-safe copper pipe to hold a candy bag high above the cake stand. This unique gravity cake idea makes the bag look as though it floats without help, with candy spilling out in a frozen stream to cover the cake surface below.
This gravity cake design relies on balance and strong adhesives like melted chocolate. Attach individual pieces of candy to the hidden rod, stir in a few extra pieces for texture, and continue until the support completely disappears from view. Guests enjoy the playful look of a gravity cake at birthday parties and school events. Every gravity defying cake using this method brings a sense of wonder to the table through clever engineering and cake decorating technique.
Surrealist Nature Themes
Nature themes offer another unique gravity cake idea for formal events. A gravity wedding cake might feature a porcelain-style bird that appears to fly away from the top tier. Bakers use thin wires or internal brackets to secure these delicate figures. This style creates a gravity cake that feels light and airy. Nature inspired gravity cake ideas often use muted colours for a sophisticated look perfect for garden parties or spring weddings.
The technical skill behind a gravity defying cake allows flowers to grow sideways or hang from invisible stems. You can use modelling chocolate to sculpt birds with wide wingspans. This gravity defying cake ideas approach works well for garden parties or spring weddings. Each cake tells a story of movement that remains frozen in time. Skilled artists use these gravity cake ideas to blend art with delicious dessert.
Elevating Your Big Day With A Gravity Wedding Cake
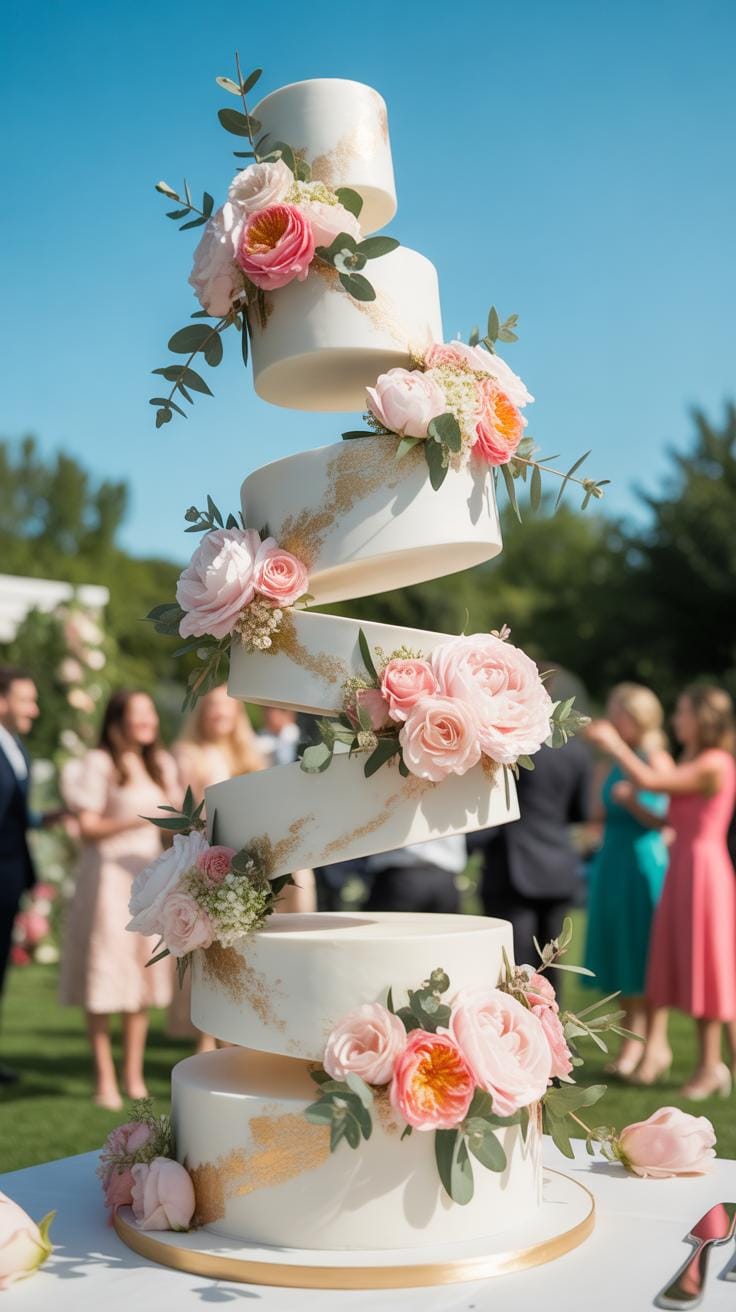
Sophisticated Suspension For Vows
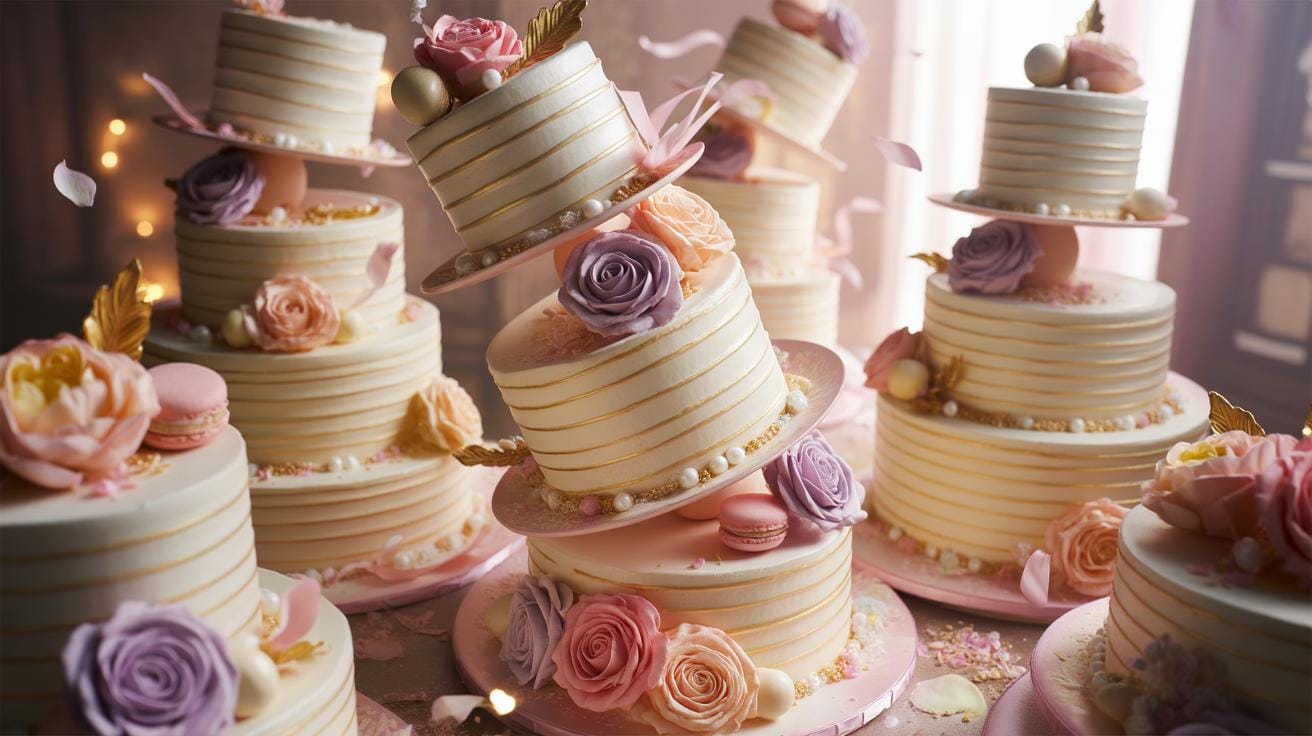
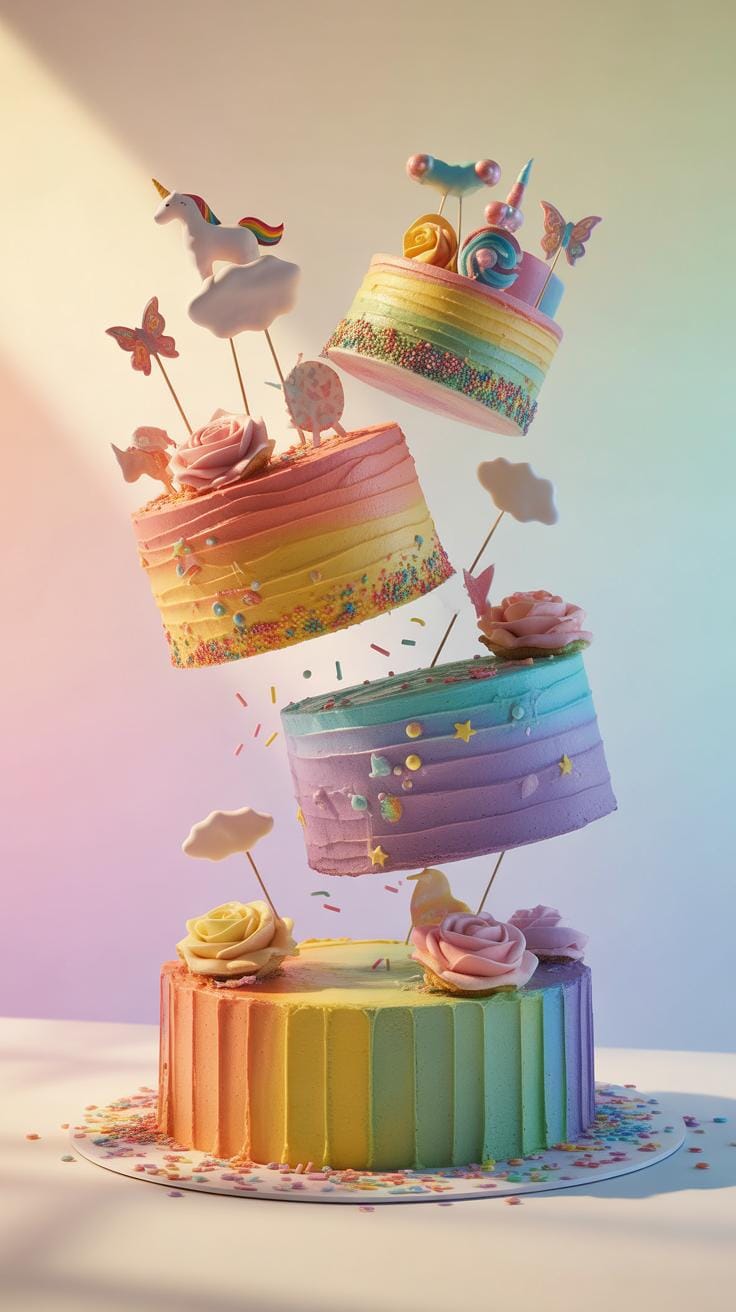
Modern bakers use internal support systems to create a stunning gravity wedding cake. They hide heavy metal scaffolds inside layers of sponge to support upper tiers, using clear acrylic spacers to make those tiers look as though they float in thin air. This gravity cake design creates a clean and polished look for a formal reception. Guests will wonder how the heavy layers stay in place without falling over.
Every unique gravity cake idea for a wedding starts with a strong base plate bolted to a central rod. Professional cake decorators use food-safe pipes to shift the centre of gravity, allowing the anti gravity cake to lean at sharp angles. This technical skill shows off high-end craftsmanship and turns the cake into a central piece of art that matches the importance of the ceremony itself.
Cascading Florals And Motion
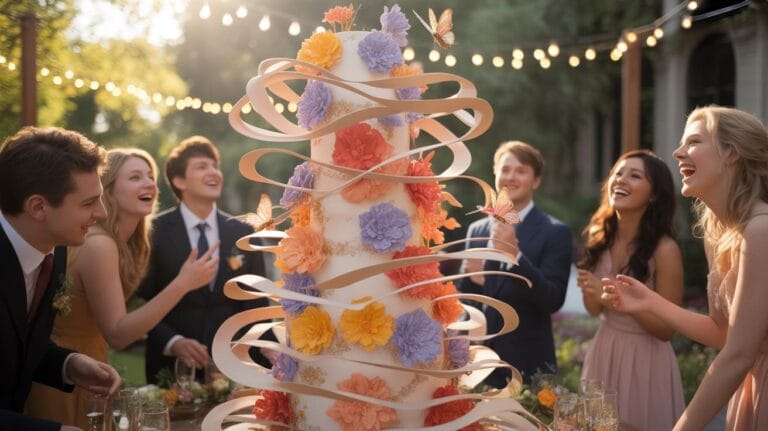
A gravity cake often uses tumbling sugar or silk flowers to show movement. Bakers attach blooms to wire paths that circle the tiers, creating a sense of dynamic energy as if petals are falling in real time. Using a gravity cake design with flowing lines and cascading florals adds elegance to the room, breaking the traditional static look of old wedding desserts with a fresh approach.
Couples often search for gravity defying cake ideas to surprise their guests. You can choose a gravity defying cake that looks like it is pouring champagne or overflowing with roses. These gravity cake ideas work best when the colours match the bridal bouquet. Buttercream florals and isomalt drips can be used to defy gravity visually. It brings a sense of refined chaos to the most important table.
Practical Gravity Cake Ideas For Beginners
Simple Starter Projects
Starting your journey with a gravity defying cake requires a focus on balance and basic structural support. These entry level projects use hidden rods to create the illusion of movement. You can easily master a gravity cake design by using common pantry items as your inspiration. Beginners often find success by imitating liquid pours or tilted objects that look ready to fall at any moment.
- The Pouring Soda Can Cake: This classic anti gravity cake uses an empty soda can balanced on a wire. You cover the wire with modelling chocolate or fondant to look like flowing liquid. It creates a striking visual effect that surprises guests at every party.
- A Balanced Teacup And Saucer Design: This unique gravity cake idea features a porcelain cup suspended above a saucer. You pipe buttercream flowers or pour ganache down the support to hide the internal structure. It works perfectly for elegant tea parties or garden themed events.
- The Ice Cream Cone Splat Cake: This gravity cake uses an upside down cone to look like dropped food. You apply thick ganache to mimic melting ice cream spreading across the surface. It is a simple way to practice vertical support without complex internal hardware.
- Floating Cereal Bowl Illusion: Use a plastic spoon and a few cereal pieces to build this fun project. The spoon holds a lightweight bowl in the air while milk appears to pour out steadily. This design teaches you how to balance weight on a central point.
- Single Tier Tilted Top Hat Style: This approach involves carving a cake at an angle and securing it to a base. It introduces the concept of a gravity wedding cake by showing how to stack layers securely. Use internal dowels to prevent the top section from sliding off.
Experimenting with gravity cake ideas helps you understand how physics works in the kitchen. Professional bakers suggest starting small before trying a massive gravity defying cake. Focus on hiding your support structures behind edible decorations like candy or frosting. Once you master a basic gravity cake, you can move on to more complex shapes and taller structures that defy expectations.
Starting With Sturdy Foundations
Choosing the right cake recipe is vital for any gravity defying cake project. Soft sponges or airy chiffons often crumble under the weight of heavy supports and thick fondant. You need a dense cake that acts like a solid building block. A classic pound cake or a rich chocolate mud cake recipe provides the necessary strength to hold a unique gravity cake idea together without the internal rod tearing through the layers.
Chill your layers in the fridge before carving to firm them up significantly. Firm, cold cake stays stable when you tilt it or add heavy decorations for a gravity wedding cake. Successful gravity cake ideas depend on the density of the crumb to grip the internal dowels. A dense chocolate cake recipe baked in a standard tin and left to cool completely before assembly is the most reliable starting point for beginners and professionals alike.
Inspiring Creativity With Gravity Defying Cake Ideas
Architectural Marvels In Sugar
Building a gravity cake requires a deep understanding of structural engineering. Many bakers choose to recreate the Leaning Tower of Pisa to show off their skills. This famous tower sits at a sharp angle that looks impossible for a cake to hold. Using a hidden internal support system made of steel or wood keeps the layers secure while they lean over the base.
Modern cities also provide a unique gravity cake idea for those who love clean lines. You can build a gravity cake design inspired by glass skyscrapers that twist as they rise. These tall structures use clear acrylic rods to give the illusion of open space between floors. This style of anti gravity cake turns a simple dessert into a stable piece of art that mimics real construction.
Cooking is like love; it should be entered into with abandon or not at all. True beauty in the kitchen balances a touch of delicious chaos with a graceful heart.
Fantasy And Fiction Themes
Storybooks offer many gravity defying cake ideas for artists who want to dream big. You can build a gravity defying cake that features floating islands held up by tiny candy vines. These pieces use thin wires wrapped in green fondant to hide the strength of the frame. It makes the heavy cake ornaments look like they are drifting through the air without any effort at all.
Mythical creatures provide another great gravity cake ideas path for special events. Imagine a dragon wrapped around a tall pillar where the body does not touch the ground. This type of gravity wedding cake surprises guests with its bold shapes and clever balance. The baker uses a sturdy central pipe to hold the weight while adding light details like wings and scales to finish the look.
The Role Of Texture And Color In A Gravity Cake
Visual Weight And Deception
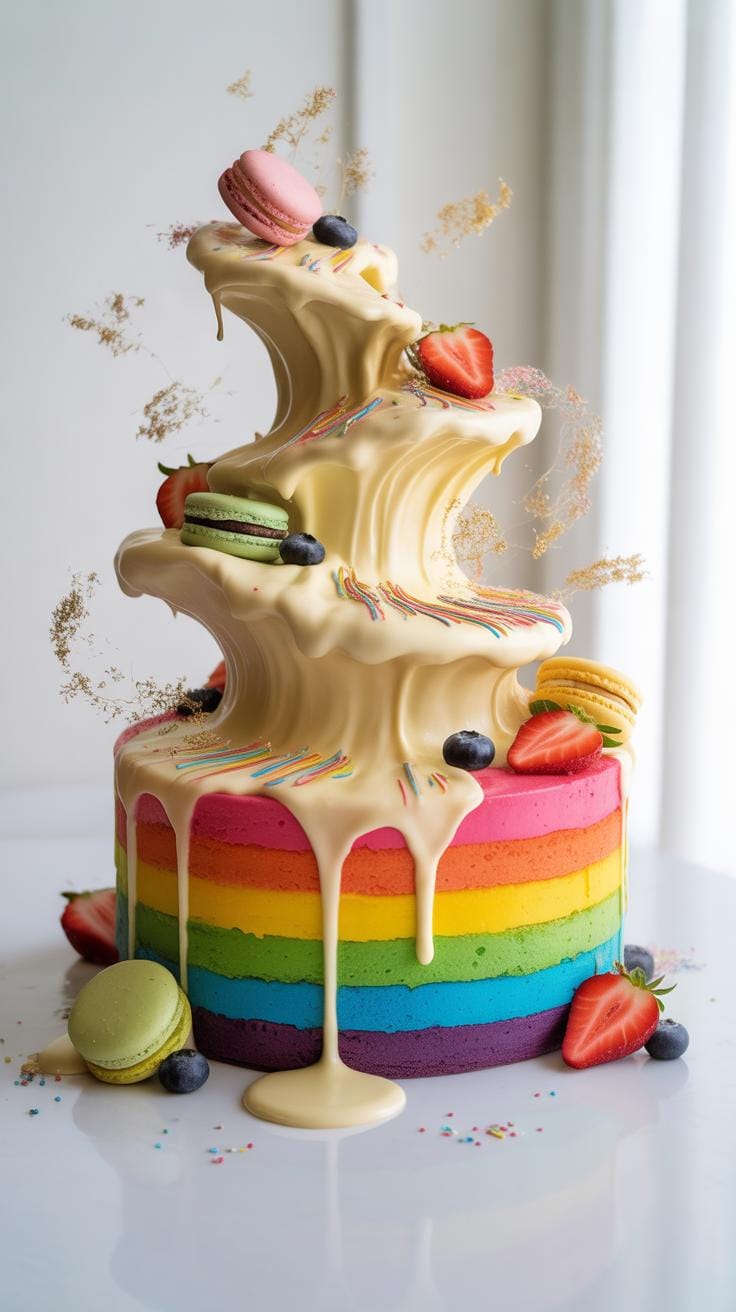
Clever use of colour creates a powerful illusion in every gravity cake. Expert bakers use a dark palette at the bottom of the structure to ground the piece visually. Lighter shades applied to the top sections make the upper tiers feel airy and weightless. This technique draws the eye upward and hides the heavy internal supports. It makes a unique gravity cake idea look more like a floating sculpture than a dessert.
The right colour placement helps an anti gravity cake defy logic. Deep shadows painted into the creases of the fondant can hide metal rods or PVC pipes. A gravity cake design relies on these visual tricks to fool the brain. When light bounces off the top surfaces, the cake seems to hover naturally. This strategy ensures a gravity wedding cake looks elegant and light during a grand reception or party.
Manipulating Fondant And Ganache
Texture plays a vital role in distracting guests from the hidden mechanics of a gravity cake. Applying a rough stone or wood grain finish to the fondant creates a realistic look that keeps people focused on the art instead of the internal frame. Every gravity cake design benefits from high quality finishes that mimic real world materials. Using a spatula to create soft swirls in the buttercream adds an impressive organic texture.
Rough surfaces provide more than just beauty for a gravity defying cake. Thick layers of ganache or textured icing can hide the points where different parts of the cake meet. This seamless look is essential for any gravity cake ideas you want to try at home. Using a matte finish instead of a shiny one also helps hide imperfections. Mix in edible dusts and metallic paints at the end to add depth and dimension to the overall cake design.
Finishing Touches On Your Custom Cake Masterpiece
Securing The Final Elements
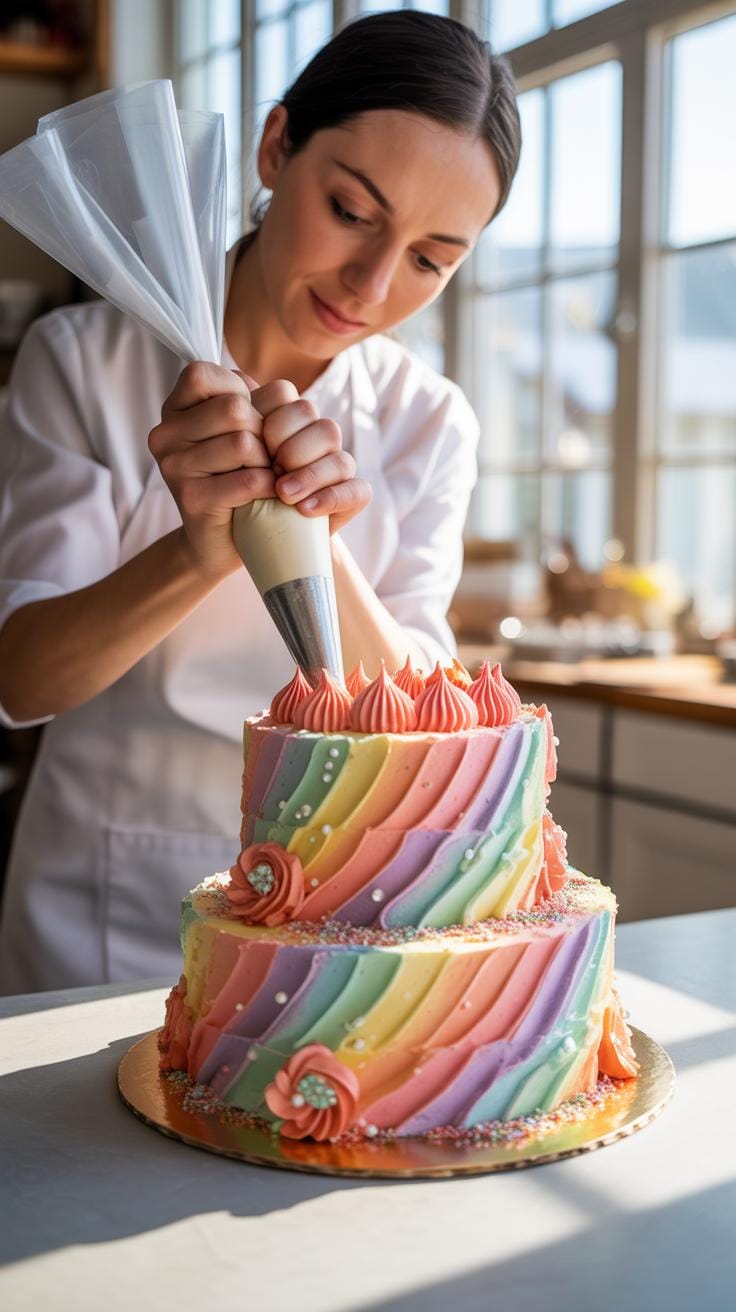
The final stage of your cake project requires a steady hand and strong bonding agents. You must secure every small detail to the hidden internal support structure. Use melted chocolate or edible glue to fix pouring elements and floating pieces. These materials harden quickly to create a firm hold. A well-built gravity defying cake stays stable during transport because every part is locked firmly in place before it leaves the kitchen.
Check each unique gravity cake idea for loose spots before the event starts. Small decorations like sugar flowers or fondant shapes need extra support if they hang over empty space. Apply a tiny amount of royal icing to the back of these items. Press them firmly against the gravity cake design until they set. This step prevents parts from falling or shifting while guests admire your beautiful and complex creation.
Lighting And Presentation Tips
Place your gravity wedding cake in a spot with clear and direct light. Good lighting shows off the gaps between the floating layers and the base. You want the light to hit the angles and cast shadows that prove the middle is empty. This trick makes the anti gravity cake look even more magical. Avoid busy backgrounds that hide the silhouette of your bold and impressive gravity cake ideas.
Position the display table away from walls so guests can walk around the entire cake. People enjoy seeing the gravity defying cake from every possible side. Natural light from a window helps highlight the textures and colours of the frosting. If the room is dark, use small spotlights to focus on the structural points. This setup makes sure everyone notices the impressive cake decorating skill and clever engineering that went into your gravity cake.
Classic Chocolate Mud Cake Recipe For Gravity-Defying Cakes
This dense, moist chocolate mud cake recipe is the ideal base for any gravity-defying cake. Its tight, sturdy crumb grips internal dowels firmly, holds its shape when carved at angles, and stays stable under the weight of fondant, buttercream, and heavy structural supports. Bake it a day ahead, chill it overnight in the fridge, and it will be firm enough to handle even the most ambitious anti-gravity cake design.
Ingredients
For The Chocolate Mud Cake
- 250g unsalted butter, chopped
- 200g dark chocolate (70% cocoa), chopped
- 2 cups (440g) caster sugar
- 1 cup (250ml) hot water
- 1 cup (250ml) whole milk
- 2 tbsp instant coffee powder
- 2 large eggs, room temperature
- 1 tsp vanilla extract
- 2 cups (300g) plain flour
- 1/3 cup (40g) Dutch-process cocoa powder
- 1 tsp baking soda
- 1/2 tsp fine salt
For The Chocolate Buttercream
- 250g unsalted butter, softened
- 3 cups (390g) icing sugar, sifted
- 1/3 cup (40g) Dutch-process cocoa powder, sifted
- 3-4 tbsp whole milk or heavy cream
- 1 tsp vanilla extract
- Pinch of fine salt
For The Chocolate Ganache Pour
- 200g dark chocolate, finely chopped
- 200ml heavy cream
- 1 tbsp unsalted butter (for gloss)
Instructions
Step 1 – Prepare Your Tin And Oven
Preheat your oven to 160C (320F) fan-forced, or 180C (350F) conventional. Grease a deep 20cm (8-inch) round tin and line the base and sides with baking paper. A deep tin is essential – this cake needs height for carving and structural work.
Step 2 – Melt The Chocolate Base
Place the butter, dark chocolate, caster sugar, hot water, milk, and coffee powder into a large saucepan over low heat. Stir gently until the butter and chocolate are fully melted and the mixture is smooth. Remove from heat and leave to cool for 15 minutes. Do not rush this step – adding eggs to a hot mixture will scramble them and ruin the batter.
Step 3 – Mix The Batter
Whisk the eggs and vanilla extract together in a small bowl. Pour into the cooled chocolate mixture and stir well. Sift the plain flour, cocoa powder, baking soda, and salt directly into the bowl. Use a spatula to fold the dry ingredients in until just combined with no streaks of flour remaining. Do not overmix.
Step 4 – Bake Low And Slow
Pour the batter into the prepared tin and smooth the top with a spatula. Bake for 1 hour 20 minutes to 1 hour 30 minutes, or until a skewer inserted into the centre comes out with just a few moist crumbs. The slow, low bake gives this cake its dense, fudgy crumb. Tent loosely with foil if the top browns too quickly.
Step 5 – Cool Completely
Leave the cake to cool in the tin for 30 minutes, then turn out onto a wire rack. Once fully cooled, wrap tightly in plastic wrap and refrigerate overnight. A cold, rested cake in the fridge is dramatically easier to carve, stack, and work with for your gravity cake design.
Step 6 – Make The Chocolate Buttercream
Beat the softened butter in a stand mixer on medium-high speed for 4 to 5 minutes until pale and fluffy. Add the sifted icing sugar and cocoa powder in two batches. Add the milk one tablespoon at a time until the buttercream is smooth and spreadable. Add the vanilla and salt, then beat on high for a further 2 minutes. Apply an even crumb coat over the assembled cake layers with a spatula, chill in the fridge for 20 minutes, then apply the final coat.
Step 7 – Make The Ganache Pour
Place the chopped dark chocolate into a heatproof bowl. Heat the heavy cream in a small saucepan until it just begins to simmer – do not boil. Pour over the chocolate and leave to sit for 2 minutes. Add the butter, then stir gently from the centre outward with a spatula until the ganache is smooth and glossy. Leave to cool for 25 to 30 minutes until pourable but not runny. Pour over the finished cake for a dramatic drip effect, or mould it around the internal support rod as the flowing liquid element in your gravity defying cake design once it begins to set.
Step 8 – Assemble Your Gravity-Defying Cake
Level each cold cake layer with a sharp knife. Stack the layers with a generous spread of chocolate buttercream between each one. Insert your food-safe internal rod through the centre down into the cake drum and secure with a flange mount at the base. Apply the crumb coat, chill for 20 minutes in the fridge, then apply the final buttercream layer with a spatula. Cover with fondant if desired, or finish with the ganache pour last. Always check the balance of the cake on the cake stand before adding any gravity-defying decorative elements.
Recipe Notes
- Make ahead: Bake two days before your event, wrap well, and keep in the fridge. The crumb firms up and becomes even easier to carve.
- Tin size: For a two-tier gravity cake, bake a second cake in a 15cm tin using roughly 60% of the quantities listed above.
- Ganache tip: For the ganache to hold a gravity pour shape, let it cool until it holds a ribbon trail from a spoon, then work quickly around the support rod before it sets completely.
- Dairy-free: Substitute vegan block butter and full-fat coconut cream in place of the dairy ingredients. The dense crumb structure is maintained and the cake stays sturdy enough for structural use.
Frequently Asked Questions

What is a gravity-defying cake?
A gravity-defying cake is an edible sculpture designed to look as though it is frozen in mid-air or balancing precariously against the laws of physics. These cakes are almost entirely edible — real sponge, buttercream, and fondant — built around a hidden, food-safe internal armature made of metal rods or food-safe pipes. The result is a spectacular piece of cake decorating art that blends structural engineering with high-end confectionery skill.
What materials are needed for a gravity-defying cake?
The key materials include food-grade stainless steel rods or PVC pipes for the internal structure, an industrial-strength cake drum as the base, flange mounts to secure the rods, and lightweight polystyrene for non-edible bulk sections. On the edible side, you will need a dense cake recipe (chocolate mud cake works well), buttercream or ganache for crumb coating, fondant for the outer finish, and melted chocolate as an edible adhesive to attach candy or sugar flower decorations.
What is the 4-day cake rule?
The 4-day cake rule refers to the general guideline that a freshly baked and filled cake is best consumed within four days of assembly when stored correctly. For a gravity defying cake, keep it in the fridge if it contains perishable fillings like fresh cream or fruit. Fondant-covered cakes can be left at room temperature in a cool, dry place for up to four days. Always assemble the structural elements as close to the event as possible to maintain both the integrity of the cake and the freshness of the sponge.
What is the latest trend in gravity-defying cakes?
The latest trend in gravity defying cake design is the anti-gravity floating tier cake, where an upper tier appears to hover completely unsupported above the lower tiers using a concealed acrylic or metal rod. Other popular cake trends include the candy pour design, surrealist nature themes with gravity-defying flowers and birds, and minimalist single-tier suspensions with clean fondant finishes. These designs dominate social media and are among the most-requested cake decorating ideas for birthdays and weddings alike.
Can a gravity-defying cake be made at home?
Yes, a gravity defying cake can absolutely be made at home with the right materials and a step-by-step plan. Start with a beginner-friendly design like the pouring soda can or floating candy bag. Use a dense chocolate or vanilla cake recipe, invest in food-safe dowels and a sturdy cake stand, and follow a reliable gravity defying cake tutorial to understand the structural principles. Chill your layers in the fridge before assembly, work slowly, and always check the balance of the cake before adding the final decorative elements.