Introduction
Hiking is a rewarding activity that connects you with nature. Whether you are planning a day trip or a longer adventure, having the right gear can make your experience safe and enjoyable. Many people overlook the importance of essentials and risk facing difficulties on the trail. You could face unexpected weather, injuries, or losing your way if you are unprepared. Understanding the necessary equipment helps you to anticipate challenges and respond effectively.
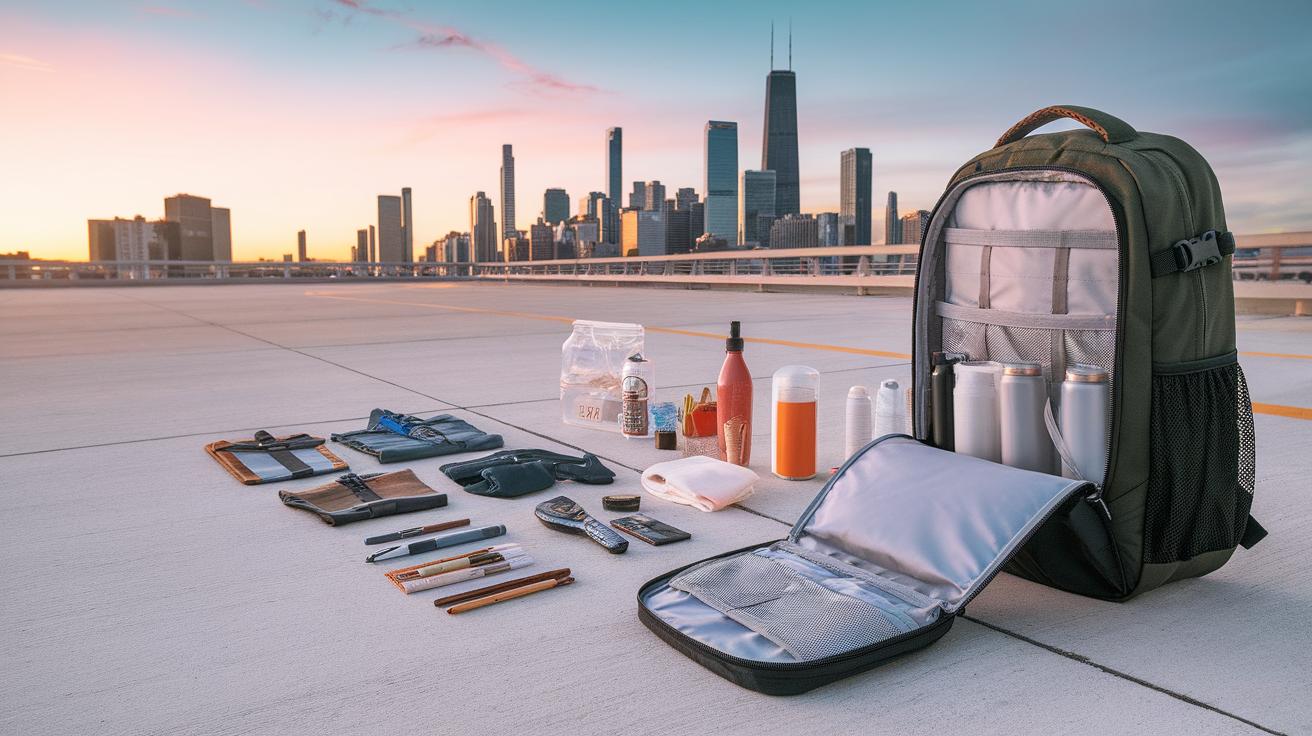
Knowing what to carry means making smart decisions about your safety and comfort. Essentials include tools for navigation, protection from the sun, first aid, and emergency supplies. Each item you pack serves a clear purpose. By focusing on these vital items, you gain confidence on the trail. This article covers the key items to bring, how to use them, and why they matter so much for your hiking trips.
Navigation Tools for Staying on Track
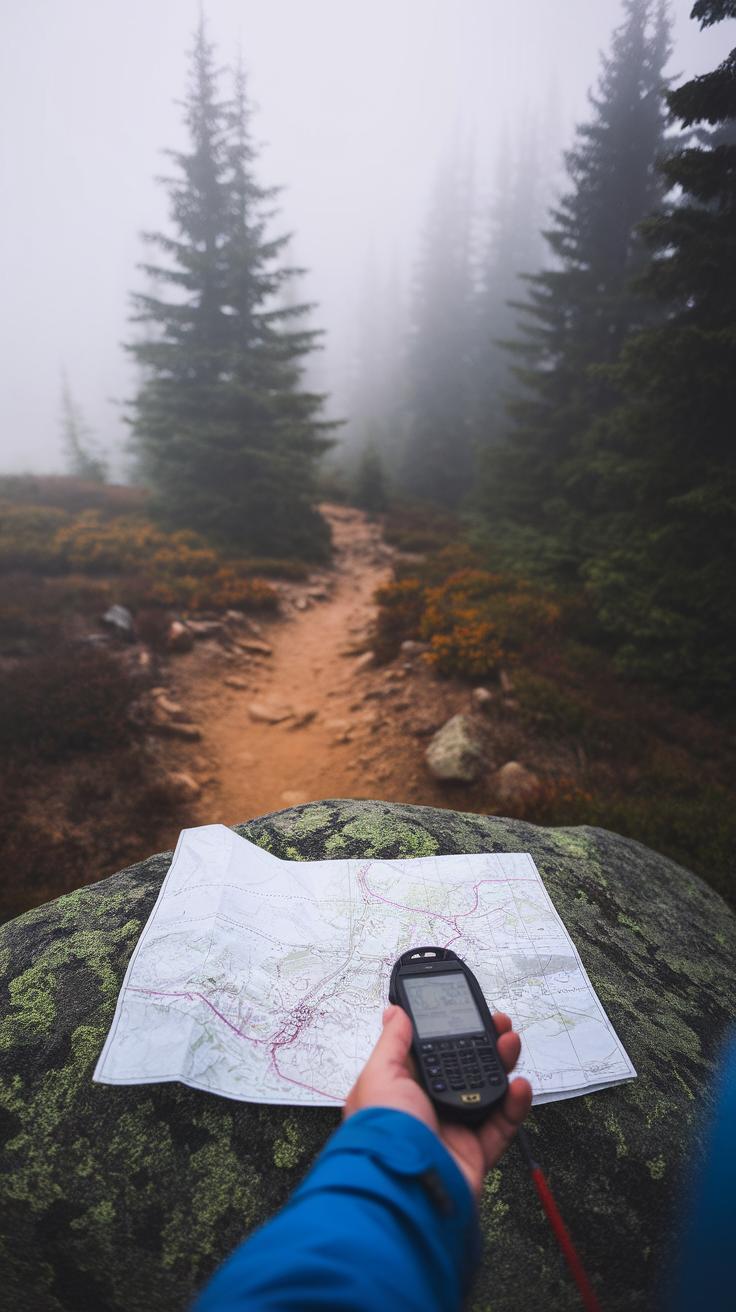
Navigation tools are vital for safe hiking. They help you find your way and avoid getting lost on unfamiliar trails. Using maps, compasses, altimeters, or GPS devices provides you with location clues and direction. If you stray from the path, these tools let you spot your position and return quickly.
Maps show the terrain and trails ahead. Compasses point you to the right direction even when the sky is cloudy. Altimeters measure your elevation, helping you confirm where you are on a mountain trail. GPS devices give real-time positioning with satellite signals. Every tool has strengths and limits, so combining them improves your safety.
Practice using maps and compasses before hiking. Learn to read contour lines and set bearings. Carry backup batteries for GPS devices and keep digital apps updated. Ask yourself, “Do I know how to stay oriented if technology stops working?” Proper navigation skills prepare you for unexpected situations and keep your hike on track.
Maps and Compasses
Choosing the right map depends on your hiking location. Look for topographic maps that show elevation, landmarks, and trails clearly. When hiking, orient your map by matching the terrain with the map’s features. This means lining up the map so north points where you face.
To set a compass bearing, turn the housing until the bearing aligns with the direction you want to travel. Hold the compass flat and rotate your body until the needle matches the orienting arrow. This keeps you moving in a straight line. Checking landmarks like rivers or peaks against the map confirms your position during the hike.
Do you pause often to confirm your route with your compass and map? Regular checks can prevent you from wandering off trail. Practice these skills in easy settings before tackling challenging hikes. Trust your map and compass—they don’t run out of batteries and work in all weather conditions.
GPS and Digital Tools
GPS devices and apps show your exact location using satellites. They are useful when trails aren’t well-marked or when you want to track your hike. Digital tools can store maps and allow saving waypoints for easy return routes. However, GPS signals can weaken under dense tree cover or steep valleys, causing delays or errors.
Battery life is a major limit on electronic devices. Switch off unnecessary features and carry a portable charger to extend use. Avoid fully relying on GPS by carrying traditional maps and compasses as backup. Technology can fail, so your navigation skills must remain sharp without devices.
Ask yourself, “Can I navigate without my GPS?” Learning to read a paper map and compass increases your confidence and safety. Combine digital help with foundational navigation practices to keep your hike safe, no matter the conditions.
Sun Protection Essentials
Sun exposure can cause serious damage while hiking. You might think shade is always nearby, but UV rays can reflect off surfaces like rocks, water, or even dirt. Prolonged exposure raises your risk of sunburn, heat exhaustion, and long-term skin problems.

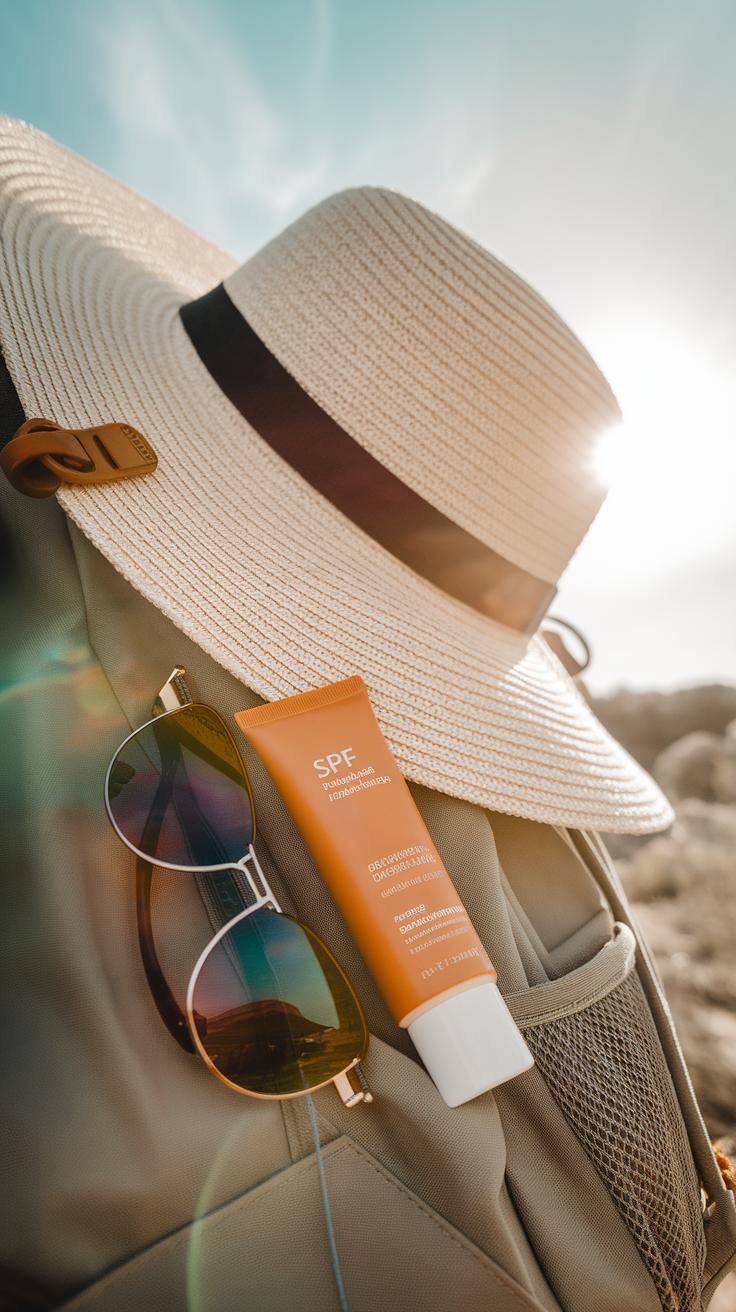
Proper sun protection gear helps shield you. Sun-protective clothing includes long sleeves, wide-brimmed hats, and pants made with fabrics designed to block UV rays. Sunglasses protect your eyes from harmful rays that can cause cataracts or temporary vision problems. Sunscreen acts as a barrier on your skin, reducing the chance of burns.
Knowing when to rest in shade matters. Take breaks under trees or use a shelter when your skin feels hot or red. Staying mindful of the sun’s intensity between 10 a.m. and 4 p.m. keeps you safer on the trail.
Clothing and Sunglasses
Choose hiking clothes labeled with UV protection ratings. These fabrics reduce UV rays reaching your skin better than regular cotton. Look for lightweight, breathable materials that keep you cool.
Polarized sunglasses block glare from the sun and hidden reflections. This helps you see the trail clearly without squinting and protects delicate eye tissues. Wrap-around frames offer more full coverage and prevent wind or dust from irritating your eyes.
Sunscreen Use
Apply sunscreen 15 to 30 minutes before your hike to let it absorb. Use a broad-spectrum sunscreen with at least 30 SPF. Cover all exposed skin, including ears, neck, and backs of hands.
Reapply every two hours or after sweating or swimming. Use enough to coat your skin evenly—about one ounce per application for the whole body. If you notice redness or pain, seek shade immediately and apply more sunscreen. Staying cautious with sun protection keeps your hike safe and enjoyable.
First Aid Kit Must Haves
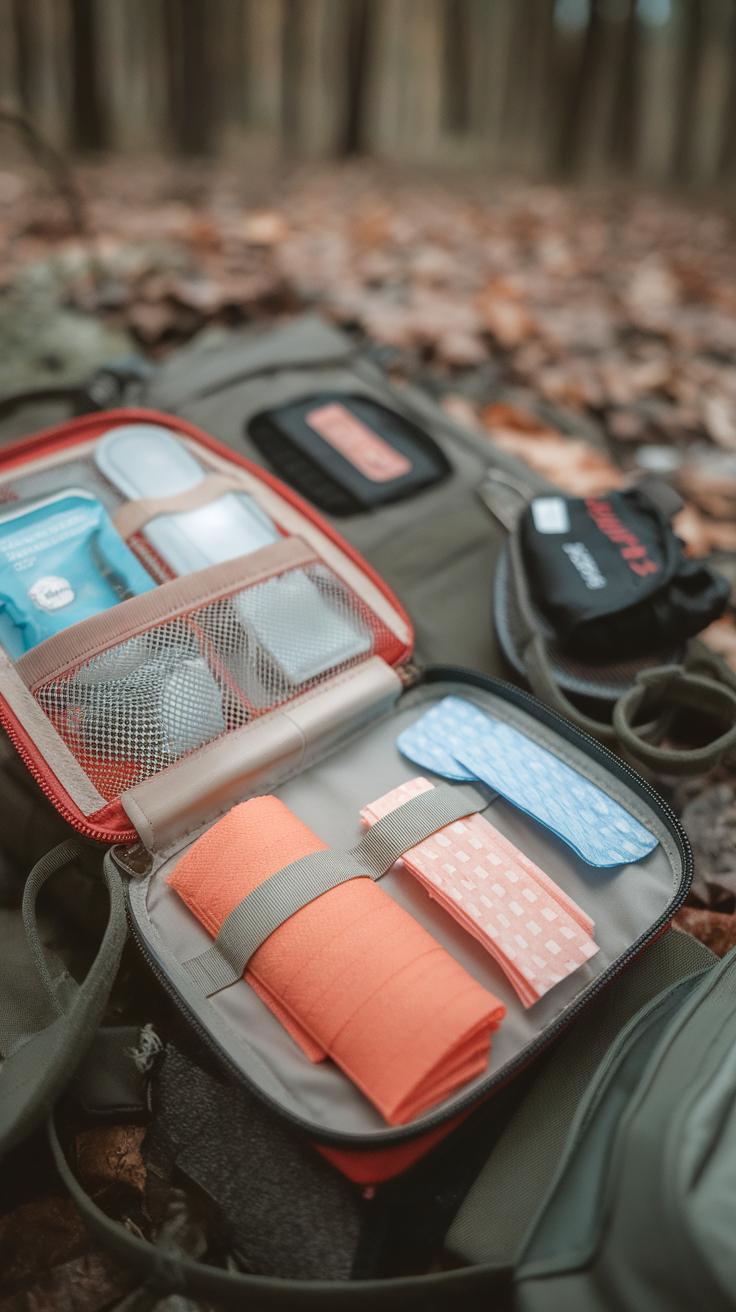
Your first aid kit should have a solid list of basics before you hit the trail. Bandages help cover cuts to stop bleeding and protect wounds from dirt. Antiseptics like wipes or ointments clean wounds to prevent infection. Tweezers come in handy for removing splinters or ticks you might pick up along the way. Pain relievers such as ibuprofen or acetaminophen reduce aches and lower inflammation caused by strains or insect bites.
For short day hikes, pack a small kit with just these essentials, focusing on convenience and light weight. Longer trips demand a bigger kit with extra supplies so you can treat injuries over several days. Think about how many people are in your group and what risks the trail may hold. If you pack right, this kit becomes your safety net when accidents happen.
Basic Supplies
Bandages seal minor cuts to keep dirt out while they heal. Use antiseptic wipes or cream to clean dirt or germs away after scrapes. Tweezers help pull out objects stuck in your skin, lowering infection chances. Pain relievers ease swelling and discomfort from muscle pulls or bug bites.
Learn how to apply each item safely. Cover wounds snugly but not too tight to preserve blood flow. Clean cuts before bandaging to stop infection early. Use tweezers carefully and disinfect them before and after use. Taking these simple steps prevents small injuries from getting worse.
Additional Tools
When hiking far from help, pack extra items like splints to immobilize broken or twisted limbs. Emergency medication such as antihistamines for allergic reactions or blister treatment gels also prove useful. Consider adding a CPR mask if you’re trained in its use.

These extras suit longer or more remote trips where medical aid is far. You might face unexpected injuries or illnesses that need more than basic care. Will you be prepared to handle these situations until you can get proper help? Your kit’s size and contents should match your destination’s difficulty and duration.
Fire Starting Gear

Carrying fire starting gear on your hike can make a big difference in emergencies. You might need fire for warmth during cold nights, cooking your food, or attracting attention if you get lost. Having reliable tools increases your chances of staying safe and comfortable on the trail. Common items include waterproof matches, lighters, and fire starters. Matches give a quick flame but can get wet easily, while lighters offer a steady flame but require fuel. Fire starters like magnesium blocks or tinder sticks can help ignite fires even in damp conditions. Knowing how to use these tools can save you valuable time and effort.
Understanding fire safety is just as important as starting a fire. Always clear the area around your fire, keep it small, and never leave it unattended. Check if fires are allowed in your hiking area—many places have strict rules during dry seasons to prevent wildfires. Think before you light a fire: could it cause harm or spread uncontrollably? Carrying fire gear means responsibility goes hand in hand with preparedness.
Fire Starters
You need fire starters that work well in the conditions you expect. If you’re hiking where rain or snow is common, choose waterproof fire starters like ferrocerium rods or wax-coated tinder. These tools create sparks or burn longer even when wet. For dry weather, cotton balls soaked in petroleum jelly or commercial tinder cubes catch fire quickly. Some hikers like to carry multiple types to be ready for any situation. Practicing with your fire starters before hitting the trail helps you understand how they perform in different weather. What fire starter fits your hike’s climate best?
Responsible Fire Use
Starting a fire isn’t always the right choice. In windy or dry conditions, fires can ignite wildfires that destroy large natural areas. Always follow local rules and fire bans. When setting a fire, use existing fire rings if available, never build new ones. Keep your fire small and manageable to avoid accidents. Douse it completely with water before leaving. Ask yourself: will this fire cause harm? Remember that many hikers enjoy the outdoors safely without a fire just by using cold-weather clothing and portable stoves. Your careful decisions protect the trails for everyone’s future visits.
Shelter Options for Unexpected Stays

Your shelter protects you from wind, rain, cold, and insects during unexpected stops outdoors. When you don’t plan to camp overnight, carrying a full tent might not fit your pack. That’s why lightweight emergency shelters matter.
Plastic tents offer quick setup and keep you dry in heavy rain. They are compact but can feel cramped. Tarps provide versatile coverage for rain and wind. You can tie them between trees to create a simple roof or wrap yourself inside for warmth.
Bivy sacks are slim, water-resistant covers that shield you from moisture while trapping body heat. Space blankets reflect your body heat back and act as windbreakers. They also deter insects when wrapped properly.
Choosing the right shelter depends on your route, weather, and pack size. Will you be crossing open ridges or thick forest? Preparing for weather and bugs with the right shelter can mean the difference between discomfort and safety.
Lightweight Shelter Choices
If speed and light weight top your list, try compact options like tarps, bivy sacks, or space blankets. Tarps weigh little, pack small, and let you create shelters shaped to the terrain. They work well in forests, where you can use trees for support.

Bivy sacks collapse into small rolls and weigh a few ounces. They offer protection against rain and wind without the bulk of traditional tents. Space blankets weigh almost nothing and pack flat. They are not enough on their own for long stays, but they can cover a poncho or a tarp for extra warmth.
Ask yourself: how much shelter do you need to carry without slowing yourself down? Carrying lightweight gear means you can hike farther and faster while staying prepared for emergencies.
Setting Up Shelter
Quick shelter setup saves energy and keeps you dry when weather turns. In forested areas, hoist a tarp between two trees using paracord or cordage to create a lean-to or A-frame shape. Angle it to block prevailing winds and rain.
On open ground, stake down tarps using rocks or nearby sticks. Use your body or backpack to hold sides down if stakes aren’t available. For bivy sacks, simply unzip and slide it over your sleeping bag to seal out moisture and insects.
Space blankets can wrap your body or gear tightly to reflect heat. Fold and tuck the edges to trap warm air. Practice setting up shelters before your trip. How fast can you secure and adjust them in rain or wind? Remember, a well-placed shelter improves rest and safety on the trail.
Food and Hydration Planning

Planning extra food and water can make a big difference during your hike. You never know when a trek might take longer than expected or when emergencies arise. Carry more food than your planned meal count. Think about snacks that give you steady energy and don’t spoil easily.
Water is even more critical. Most people underestimate how much water they need. Carry at least two liters per person for a typical day hike, and more if the weather is hot or the trail is tough. It’s smart to bring a way to purify water you find on the trail. This preparation can keep you safe if your supply runs low or if you need to refill from natural sources.
Choosing Trail Food
Choose foods that deliver energy without extra effort. Trail mix with nuts, seeds, and dried fruits offers good calories and nutrients. Energy bars designed for hikers work well, too. They fit easily in your pack and don’t need refrigeration.
Jerky provides protein and lasts a long time. Fresh fruit works for short trips but carries weight and can bruise. Avoid anything needing cooking. Think about how long your hike will last and pack enough so hunger never distracts you or lowers your energy.
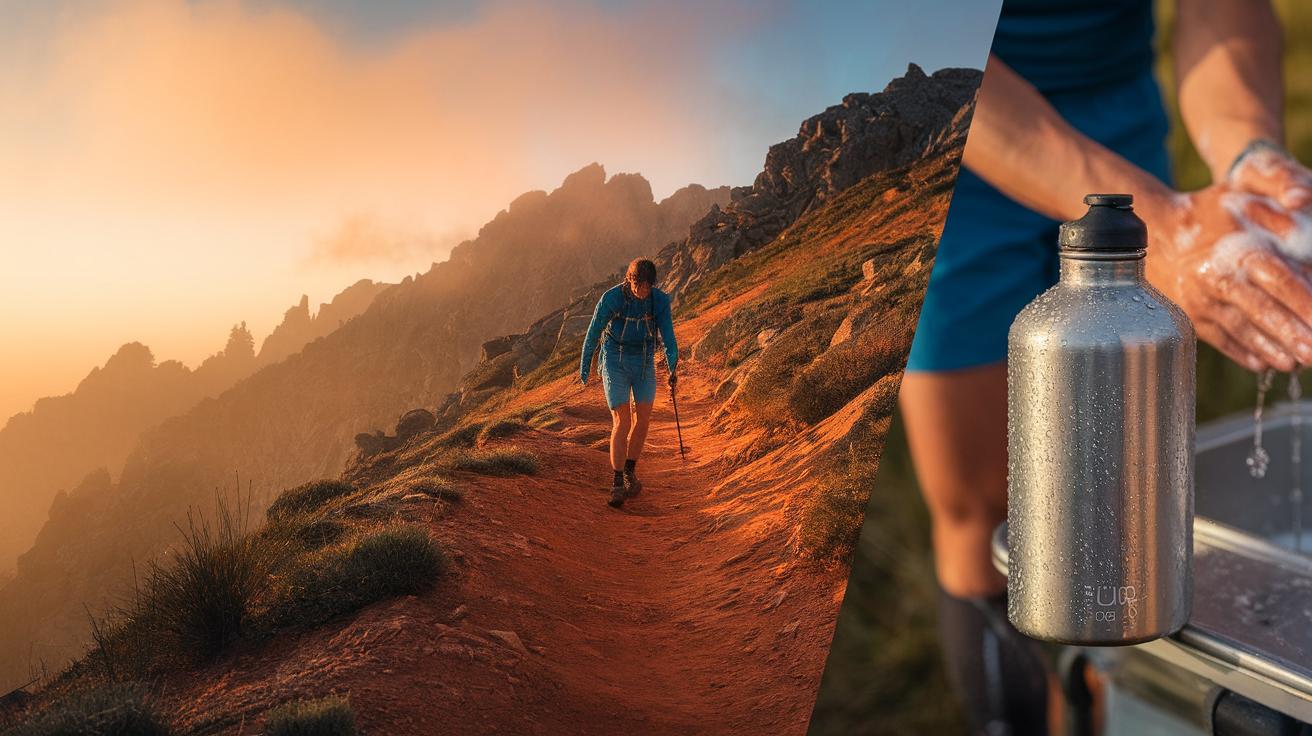
Water and Purification
Carrying water means using the right containers. Durable bottles or hydration bladders fit well in packs and allow easy sipping while moving. Water purification tools are essential if you drink from streams or lakes. Filters remove dirt and bacteria efficiently. Chemical tablets kill germs and weigh little, but require wait time.
Ultraviolet light devices destroy microorganisms quickly with batteries. Choose a method that fits your hike length and water sources. Testing these devices before your trip helps avoid surprises on the trail. What will you do if your water runs out early? Planning ahead with purifiers turns that worry into a simple step.
Clothing Layers and Weather Adaptation
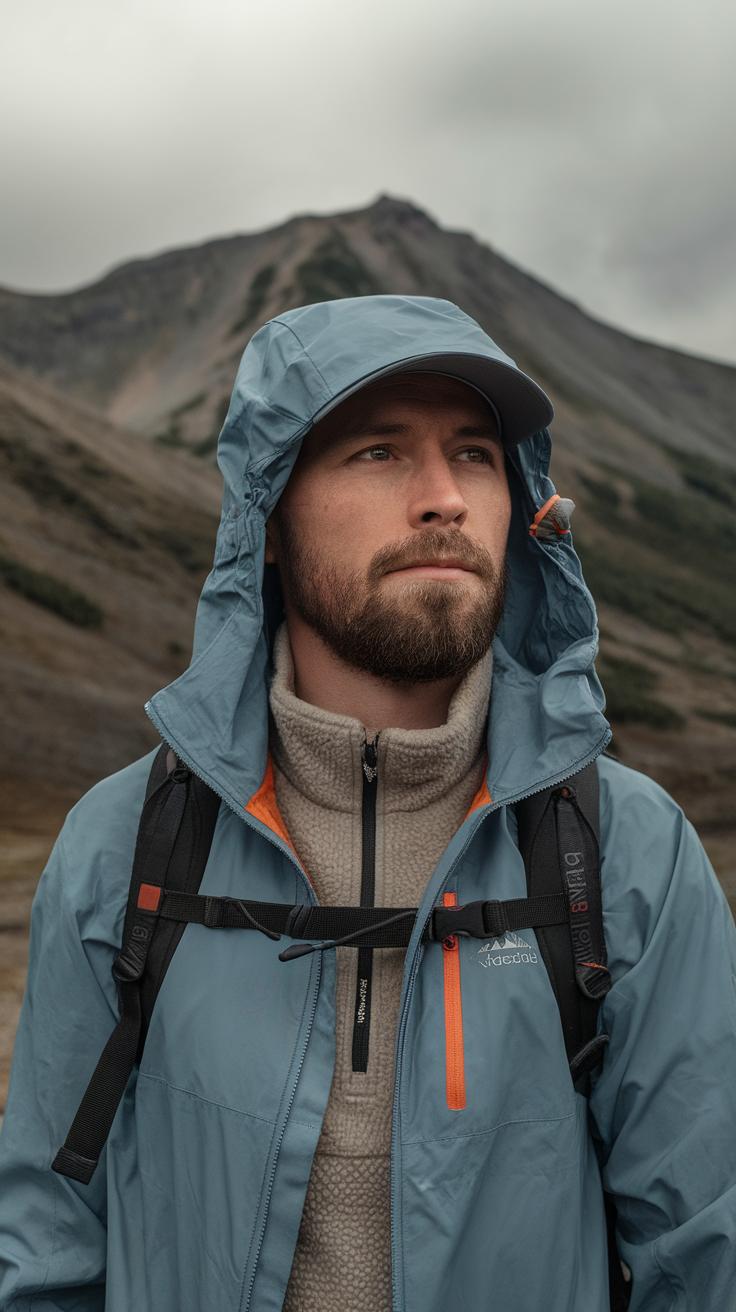
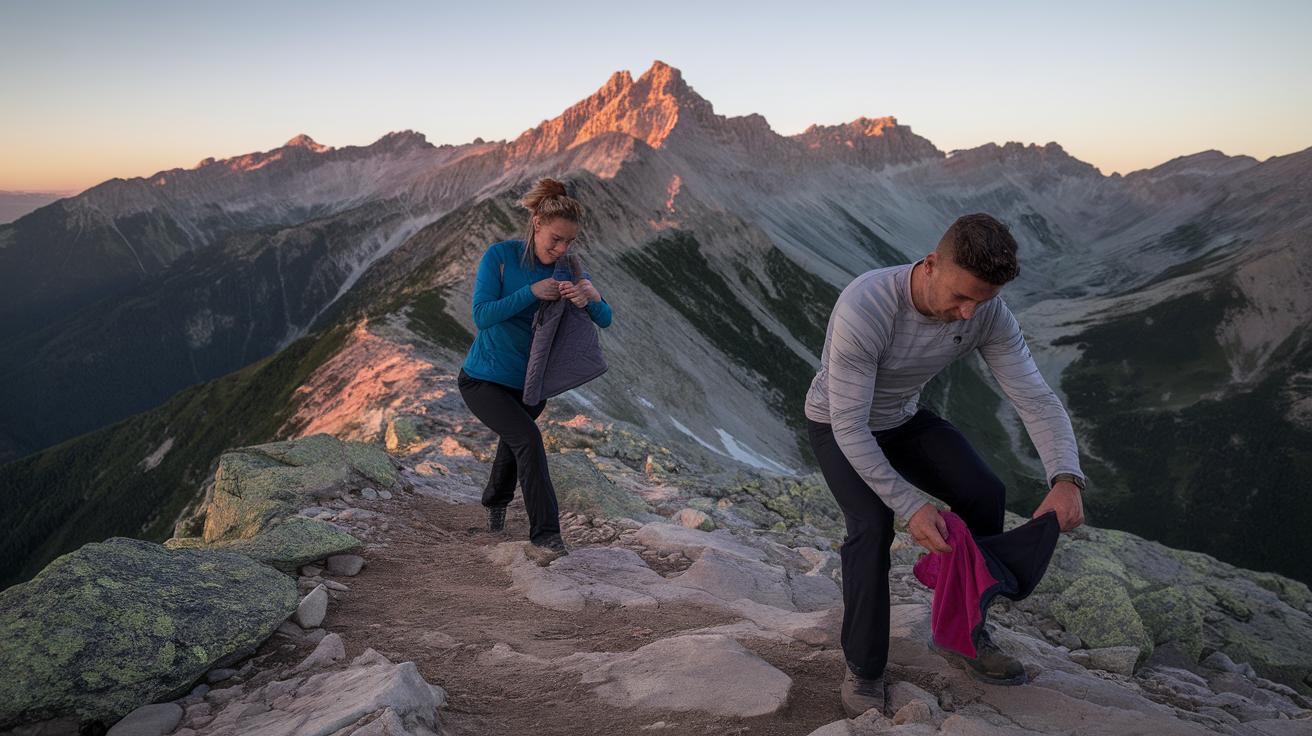
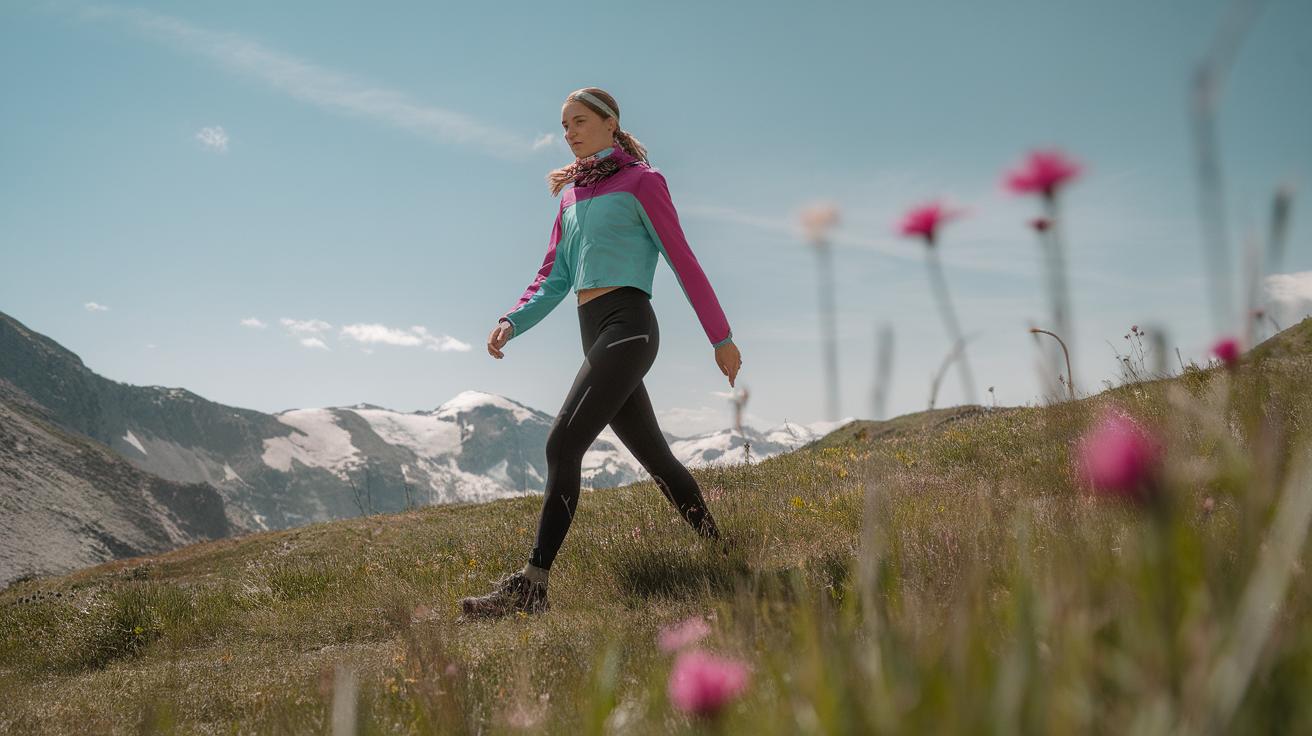
Carrying extra clothing on a hike protects you from sudden weather changes and helps you stay comfortable. When temperatures drop or rain starts, your safety depends on how well you can adjust what you wear. Without the right gear, even a short hike can turn risky.
Layering your clothes lets you add or remove items as needed. Each layer has a role: the base layer manages moisture, the insulating layer keeps your body heat, and the outer layer shields you from wind and rain. Together, these layers guard you against cold and dampness.
Think about your last hike. Did unexpected wind chill or rain leave you cold? Bringing extra layers could have made a big difference. Preparing for all conditions means you can spend more time enjoying the trail and less time worried about the weather.
Layering Basics
The first layer you wear is the base layer. It moves sweat away from your skin to keep you dry. Materials like polyester or merino wool work well. Cotton absorbs moisture and should be avoided because it makes you feel cold.
The insulating layer traps warmth. Fleece or down jackets are common choices. This layer is especially important during breaks or windy conditions.
The outer layer should block wind and rain. Look for waterproof or water-resistant jackets with breathable fabric. This keeps moisture out while allowing sweat to escape.
If you use all three layers correctly, you can control your body temperature better. This system helps prevent overheating or chilling, both of which can be dangerous outdoors.
Adapting to Weather
Weather can change fast on the trail. Learn to read your body’s signals and pay attention to the sky. Remove layers when you start to sweat to avoid chills later. Add layers before rest stops so you don’t cool down too much.
When rain begins, put on your waterproof outer layer right away. If the sun comes out, peel off the jacket to avoid overheating. Adjust layers based on how hard you are hiking; slow hiking needs more insulation, while fast hiking means lighter clothing.
Carry a compact layer or emergency blanket for unexpected cold snaps. Practice dressing in layers at home to understand how each piece feels. Ask yourself: Are you too warm or shivering? This can guide your layer choices during the hike.
Managing your clothing with layers is one of the best ways to stay safe and comfortable no matter the weather you face on the trail.
Multitools and Knives
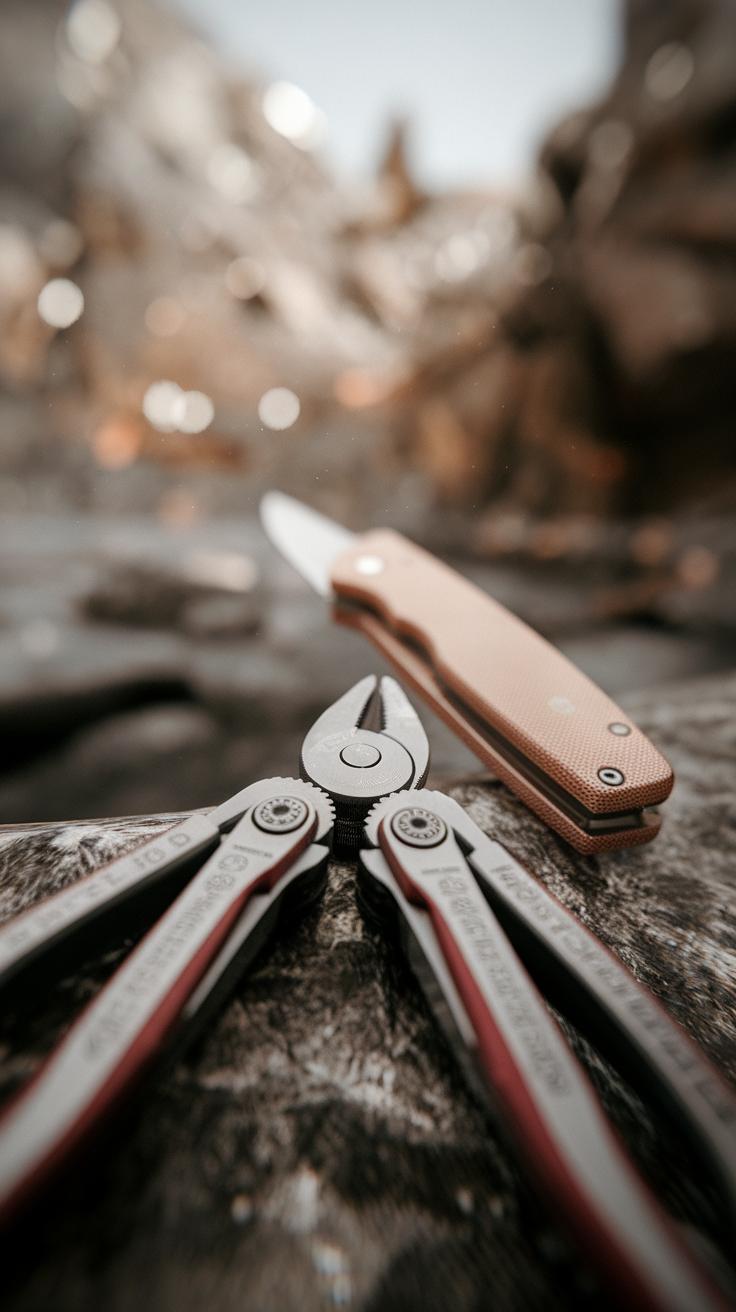
Carrying a multi-tool or knife on a hike makes many small tasks easier. You can use these tools to cut rope, open food packages, repair gear, or prepare kindling for a fire. They also help with first aid tasks such as cutting tape or bandages. Knowing how to use your tool safely protects you and others around you from injury.
Keep your knife or multi-tool sheathed when not in use to avoid accidental cuts. Choose a tool that locks firmly during use to reduce slipping. Think about where you will carry it; a secure pocket or belt sheath makes it easy to access without risking damage or loss. What kinds of tasks do you usually face on the trail?
Choosing the Right Tool
Select a multi-tool or knife with features tailored to your hiking needs. Look for a blade made of stainless steel or another corrosion-resistant metal. Size matters: a tool too large may be heavy, one too small might feel awkward. Choose one with pliers, screwdrivers, scissors, or a can opener if you expect to face repairs or meal prep outdoors. A locking blade adds safety during cutting tasks.
Think about the grip; a textured handle helps you hold the tool securely, especially when wet. How often do you use knives or multi-tools in nature? Choosing the right tool can save time and increase safety.
Usage and Care
Use blades and tools carefully to avoid accidents. Cut away from your body and keep fingers clear. Clean your tool after hikes, especially if it contacts dirt, sap, or food. Dry it thoroughly to stop rust from forming.
Sharpen blades regularly to keep them effective. A dull blade requires more force and raises injury risk. Store your multi-tool with blades closed and in a dry place. Regular maintenance extends the life of your tool and keeps it reliable when you need it most.
Lighting and Battery Management
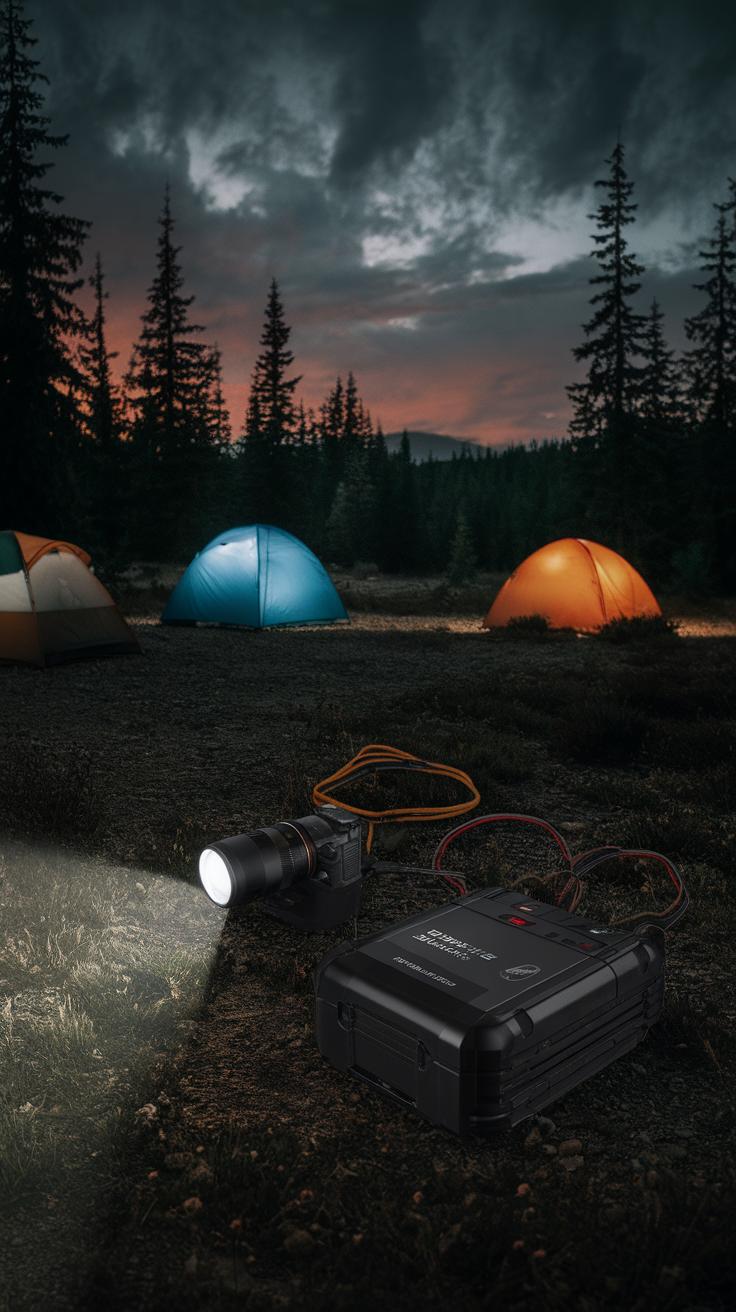
Headlamps and flashlights are key when daylight fades or emergencies arise on the trail. They help you see the path clearly and signal for help if needed. Carrying reliable lighting keeps you prepared for unexpected delays, sudden weather changes, or navigating tricky terrain at dusk.
Think about the power source of your light. Most use disposable or rechargeable batteries, each with pros and cons. Disposable batteries are lightweight and easy to replace but create waste. Rechargeables save money over time and work well if you recharge them before your hike.
Conserving battery power during your hike means using your light only when necessary. Try lowering the brightness or turning it off during rest stops. Carry spare batteries in a dry, secure case, organized by type. This simple habit can prevent you from being stranded in the dark. How do you manage your hiking light’s power to avoid surprises?
Selecting Lighting
LED headlamps keep your hands free, perfect for climbing, setting up tents, or reading maps. They shine bright enough for close and moderate distances and work well for night activities like early starts or late returns. Their beam angle varies, so picking one with adjustable brightness helps adapt to different situations.
Handheld flashlights provide stronger, focused beams and longer reach. Use one when scanning long trails or signaling across distances. They can serve as a backup light, especially when trekkers need more intense illumination. However, they require one hand to operate, which may slow you down on rough sections.
Decide which light suits your hiking style. Do you prefer hands-free convenience or powerful beam strength? Matching your lighting to your hike’s length and challenges will improve safety and comfort.
Battery Life Tips
Extending your light’s battery life starts with managing brightness settings. A dimmer setting uses less power and still helps you see in less dark areas. Turning lights off during breaks saves batteries for when you really need them.
Testing your batteries before heading out reduces the risk of failure mid-hike. Carry extra batteries and replace them as soon as you notice dimness. Organize spares by type to avoid confusion and keep them dry.
If using rechargeable batteries, bring a portable charger if your hike is longer than a day. Solar chargers work well when the sun is out, while power banks help you recharge quickly at campsites. How do you plan your battery supplies to avoid losing light where it matters most?
Personal Safety and Emergency Signaling
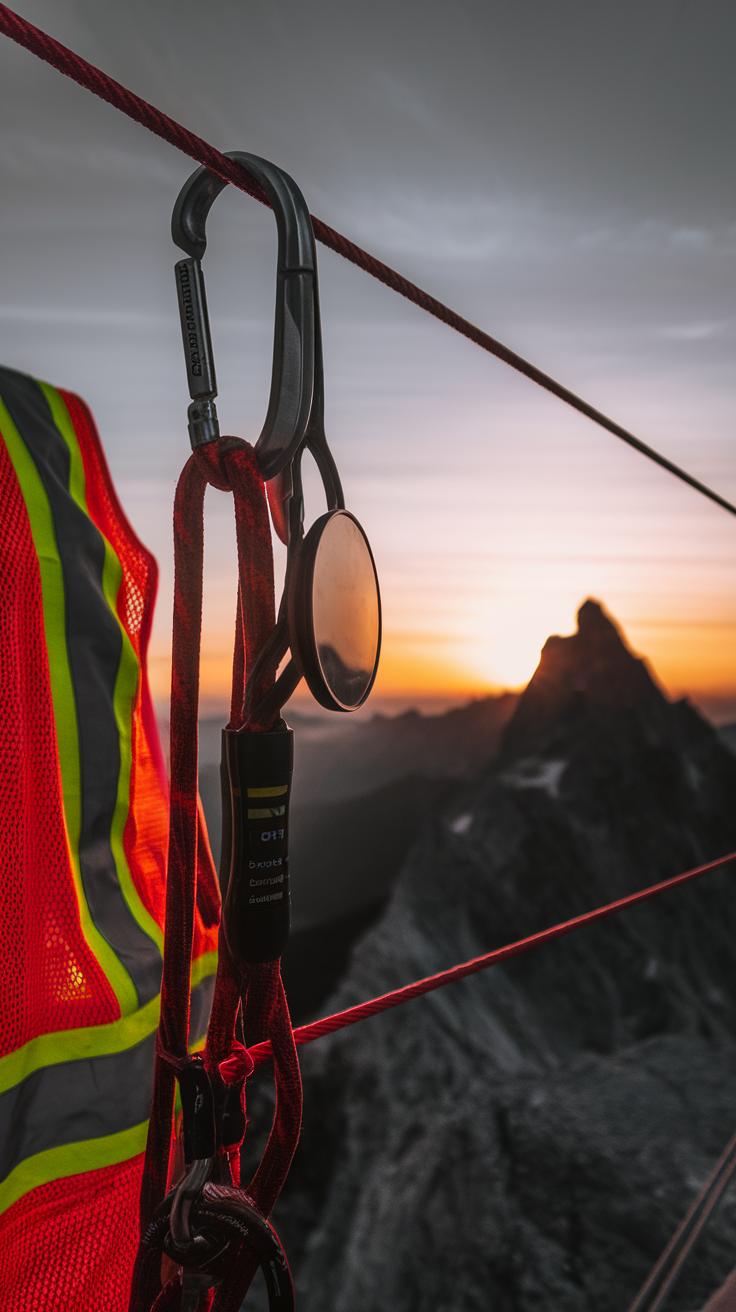
Your personal safety matters every step of the hike. Carrying tools to signal for help can make a big difference if you get lost or injured. Whistles are small, lightweight, and can send loud signals over long distances. Blowing three short bursts is an international distress call that rescuers recognize. A personal locator beacon (PLB) or satellite messenger connects you to emergency responders, even where cell service doesn’t reach. Mirrors reflect sunlight to alert others miles away, especially useful on clear days. Cell phones work well when you have a signal, but don’t rely on them alone. Check your phone’s battery before heading out and keep it off to save power unless you need to call or signal.
Signaling Devices
Whistles can be heard further than your voice. Learn to use the three-short-blasts pattern in emergencies. Hold a mirror so sunlight reflects toward nearby trails or aircraft; aim the flash where someone is likely to look. Your phone can flash its light or play loud sounds to draw attention. A PLB sends a GPS signal directly to rescuers when activated. Test your devices before your trip, and keep them easily accessible. Practice signaling techniques so you use them quickly and confidently when needed. Think about what parts of your route might offer the best chance to be seen and plan your signals accordingly.
Safety Mindset
Staying alert keeps you safer. Observe your surroundings often to spot hazards or changes in weather early. Preparation includes knowing your route, checking weather forecasts, and letting someone know your plan. If trouble arises, a calm mindset helps you think clearly and use your gear effectively. Ask yourself: What resources are available? How can I stay warm, hydrated, and visible? Practicing simple self-care and response skills before hiking builds confidence. When you prepare both mentally and physically, you respond to unexpected situations calmly instead of panicking.
Conclusions
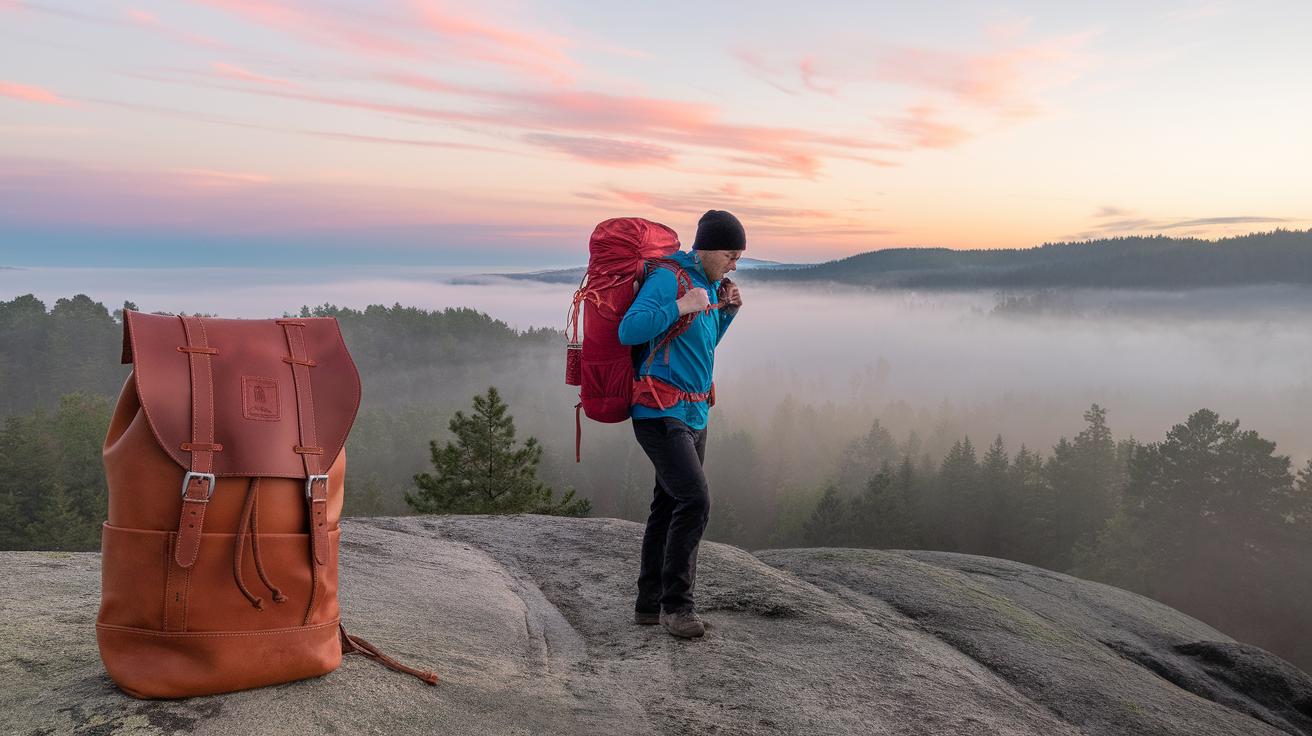
Packing the right hiking essentials shapes your trail experience. With navigation tools, you can find your path and avoid getting lost. First aid kits help you manage injuries promptly. Fire supplies provide warmth and a way to signal if needed. Carrying extra food and water prevents exhaustion and dehydration. Shelter materials keep you safe if the weather turns or night falls early. Each piece plays a role in managing risks and increasing your chances of a successful hike.
When you prepare properly, you can focus on the beauty and challenge of hiking. Preparation reduces stress and equips you to handle problems calmly. Your gear acts as a support system in the backcountry. Think about your trip’s length and conditions. Adjust your items accordingly but never skip the essentials. Carrying these items makes you an informed, ready hiker. What will you pack to make your next hike both safe and memorable?