Why a DIY Playground Lets You Customize Play
Creating a DIY kids playground offers a great way to provide your children with a space for active play and creativity. Building your own playground allows you to customize features that match your children’s interests and your available space. It also encourages teamwork and resourcefulness when you involve your kids in the planning and building process. A well-designed playground can become a favorite spot where kids not only have fun but also develop physical skills and social interactions.
DIY playground projects span from simple swing sets to elaborate play structures that include slides, climbing walls, and imaginative play spaces. Each project can be tailored to different ages and abilities, ensuring safety and enjoyment. Choosing the right materials and design helps to make sure the playground lasts long and remains safe. How do you decide what elements to include? What tools and materials work best? This article guides you through creative and practical DIY kids playground projects for hours of fun and adventure.
Planning Your DIY Kids Playground
When planning a DIY kids playground, start with a clear understanding of your yard’s space and your children’s needs. Measure the area you want to use carefully to ensure there is enough room for equipment and safe movement around it. Think about your children’s ages and interests; younger kids may prefer smaller swings and slides, while older children might enjoy climbing walls or obstacle courses.
Safety should guide every decision. Consider potential hazards like nearby roads or pools. Draft a simple design by sketching the layout on paper or using basic software. Decide which features to include based on your budget and available space. Will you add swings, a sandbox, or a playhouse? How can these fit together to create a fun but safe environment? Planning thoughtfully helps create a playground your kids will enjoy for years.
Choosing the Perfect Location
Choose a flat area that offers good visibility from the house. This allows you to keep an eye on your children easily. Check if the spot gets a mix of sun and shade during the day to protect kids from sunburn while keeping the area warm enough for play. Avoid places close to driveways, streets, or fences.
Think about ground conditions. Soft soil or grass works well but avoid rocky or uneven spots. If you need to level the ground, plan for it early. Proximity matters too. A playground near the back door or kitchen window makes supervising simpler. Would your kids prefer a quiet corner or a spot closer to other family activity? These questions help pick a safe, convenient location.
Designing with Safety and Fun in Mind
Balance fun equipment with safety by spacing each item at least six feet apart. Give enough room so kids don’t bump into each other or fall onto hard surfaces. Use sturdy materials like weather-resistant wood or metal, free from splinters or sharp edges.
Plan soft fall zones using mulch, rubber mats, or sand under and around play structures. These materials reduce injury from falls. Check height recommendations for swings and climbing frames, matching them to your children’s ages. Including varied activities like a slide, climbing wall, and sandbox can keep kids engaged, but keep safety as your top priority. How will you make sure the playground is fun and secure at the same time?
Essential Materials and Tools
When building a DIY kids playground, choosing the right materials is key to making a safe and durable play area. Wood is a popular choice because it is sturdy and natural. Look for wood types that resist weather damage and do not easily splinter, such as cedar or redwood. Fasteners and hardware like screws and bolts hold the pieces together securely. Pick stainless steel or galvanized hardware to prevent rust.
Safe surface materials protect children from falls. Options include mulch, wood chips, or rubber mats, which cushion impacts. Always choose materials free from harmful chemicals to keep the play area non-toxic. Durable supplies extend the playground’s life and ensure your kids can play without worry.
Selecting Child-Safe Wood and Hardware
Wood selection matters for weather resistance and safety. Untreated woods are natural but can rot faster outside. Treated wood lasts longer but sometimes contains chemicals. Look for treated wood labeled as safe for playgrounds. Cedar and redwood resist decay and insects without treatment.
Hardware should never corrode or break easily. Use stainless steel or galvanized nails and bolts to avoid rust. Do not use nails that may loosen or create sharp edges. Finishing products like non-toxic stains or sealants keep wood smooth, preventing splinters and preserving the structure. Ask yourself, how will the wood perform through rain, sun, and play? What finishing keeps it safe for children?
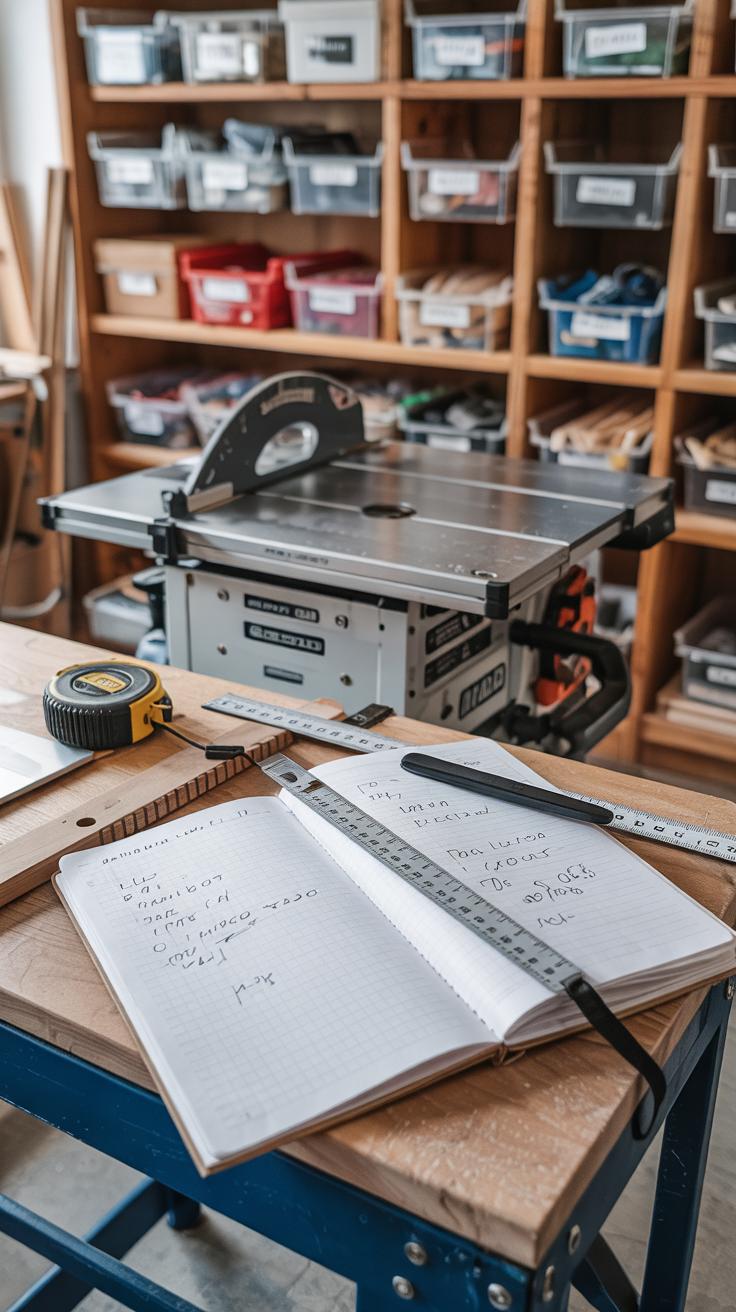
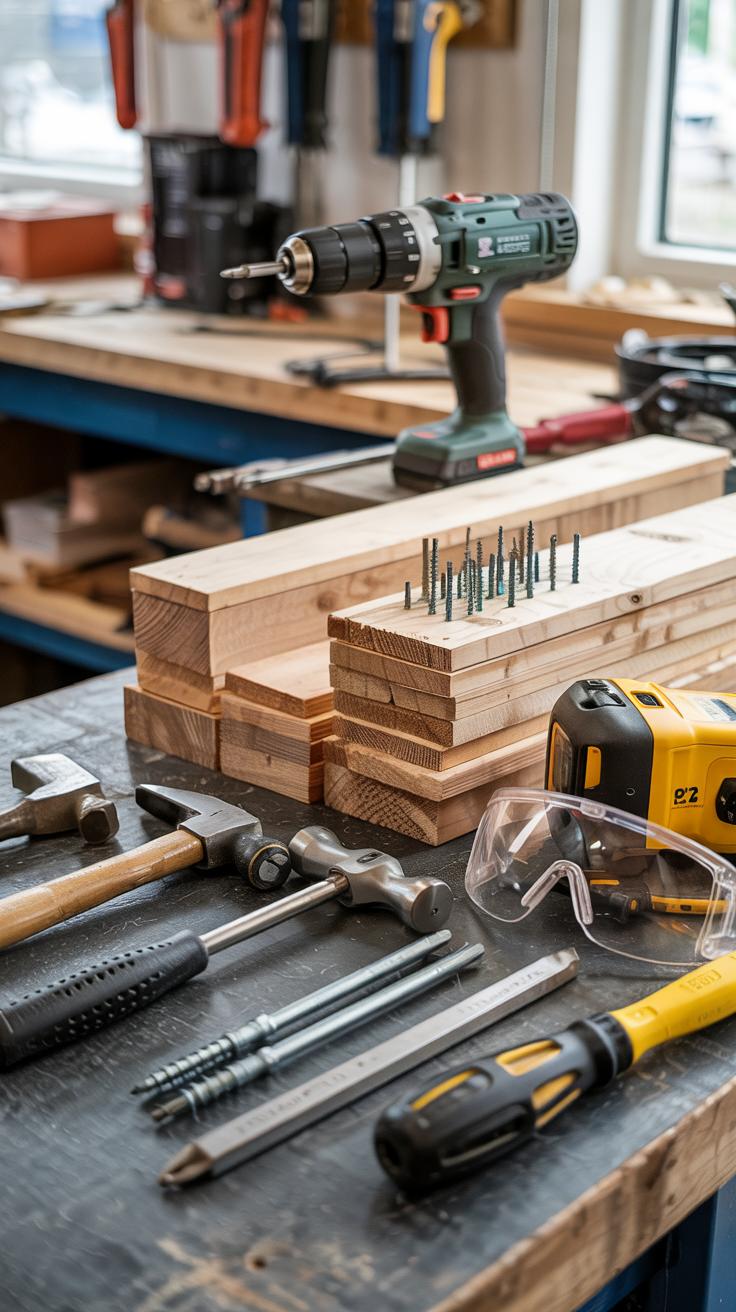
Gathering Necessary Tools for Construction
You will need basic tools like a handsaw or power saw to cut wood to size. A drill helps create holes for screws and bolts while a hammer drives in nails. A measuring tape and level ensure parts are the right size and assembled evenly. These tools keep your build accurate and stable.
Practice safety when using tools. Wear gloves and goggles, and keep your workspace clean. Organize your tools so you can find them quickly, saving time. Think about which power tools speed up your work and which manual tools give you more control. Having the right tools ready helps you build faster and safer.
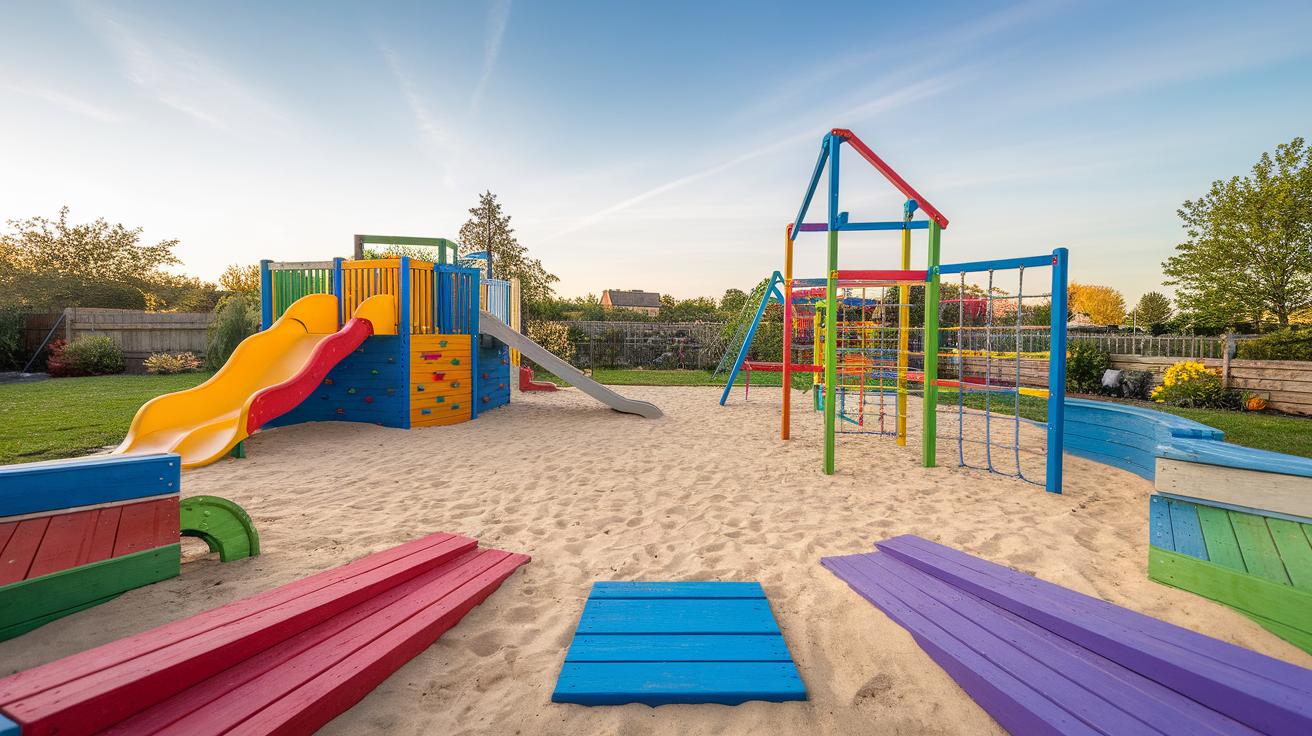
Basic DIY Playground Structures
Simple playground structures like swings, slides, and sandboxes offer great fun and can be built with basic woodworking skills. Start with choosing sturdy wood and weather-resistant materials to ensure durability. For a swing set, a strong frame with secure joints is key. Slides require stable anchoring at the top and a safe landing area at the bottom, often cushioned with mulch or rubber mats. Sandboxes need smooth edges and a cover to keep debris and animals out.
Carefully follow assembly instructions and regularly check all fasteners to prevent loosening. You should inspect these areas weekly, especially after strong weather. Think about your child’s size and activity level when deciding dimensions. How will you balance fun and safety? Remember, each piece must support weight and movement without tipping or wobbling.
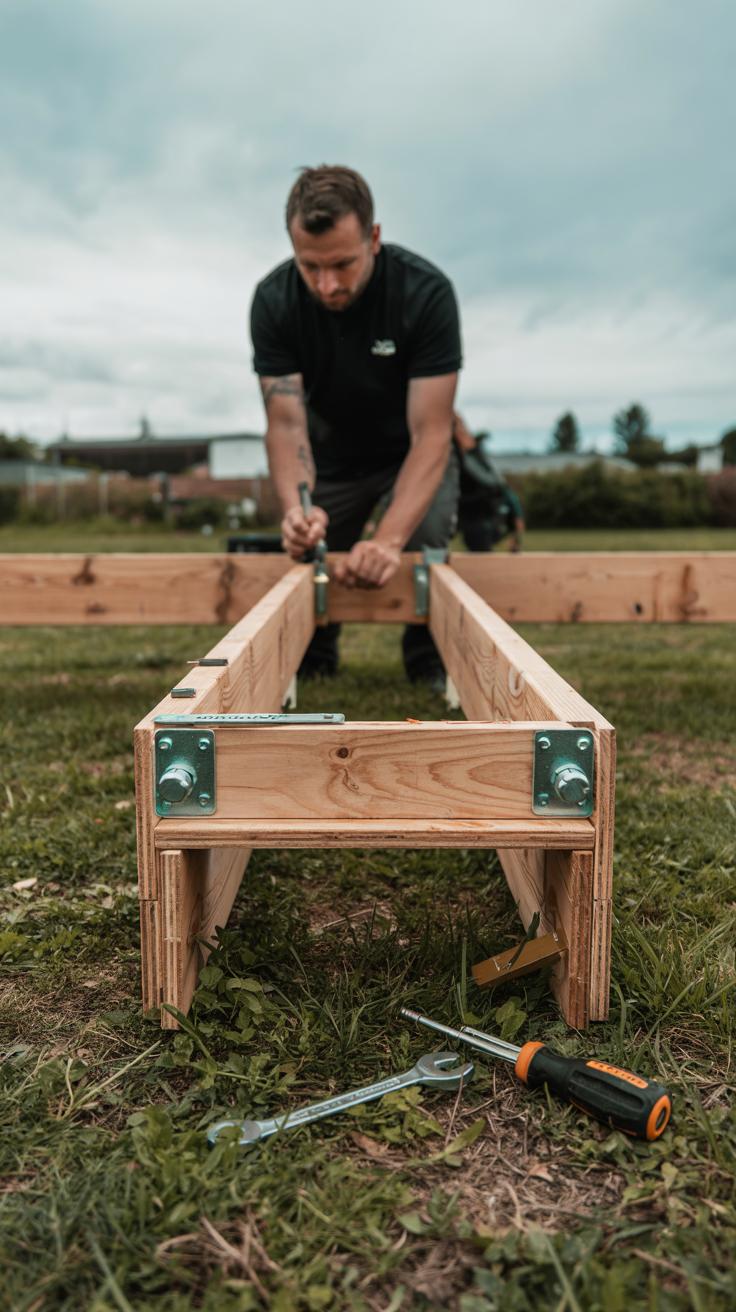
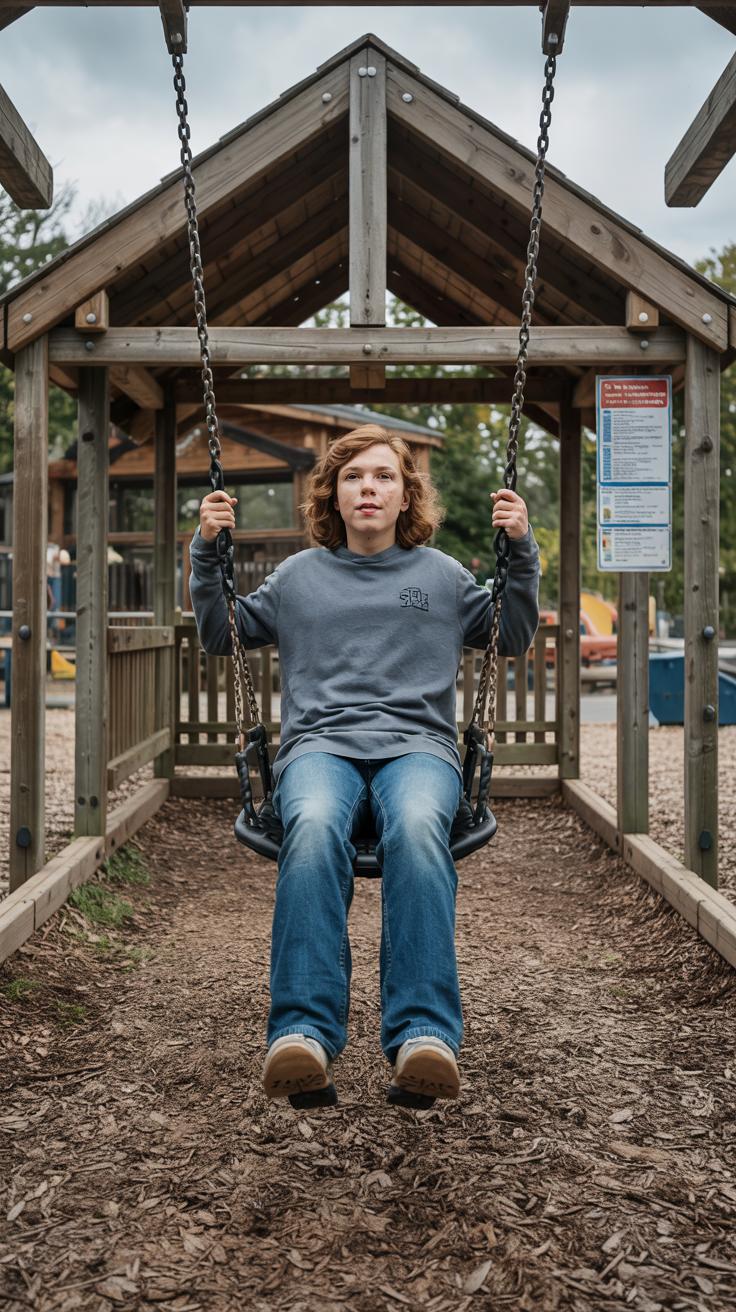
Building a Swing Set Step-by-Step
Begin by cutting treated 4×4 wood beams for the legs and top beam of the swing set. Lay the beams out to form an A-frame on each side. Use galvanized bolts to attach the legs to the top beam securely. Cross braces between legs help prevent wobbling. After assembling the frame, anchor it deeply into the ground for stability.
Hang the swings with heavy-duty chains and comfortable swing seats. Use locking carabiners to attach chains to the frame and allow easy swing removal for maintenance. Once assembled, push the swing to test its strength and observe any movement in the frame. Tighten bolts if you detect wobbling. Your goal is a firm, safe swing that can handle active play.
Creating a Safe Slide Installation
Select a slide designed for your child’s age and weight. Position the slide on a leveled platform with enough clearance on all sides. Secure the top with screws or bolts to the deck or frame to prevent shifting during use. The bottom should extend over a soft, cushioned surface such as mulch or rubber mats to absorb impact.

Check that the slide does not rock or tilt when weight is applied. Place the slide in an area without hard objects nearby to reduce injury risks. Reinforce the connection points regularly, especially at the entrance and base. How can you improve stability while keeping costs low? Proper installation is key to preventing accidents and ensuring your child enjoys smooth, safe sliding every time.
Creative Play Elements to Add Variety
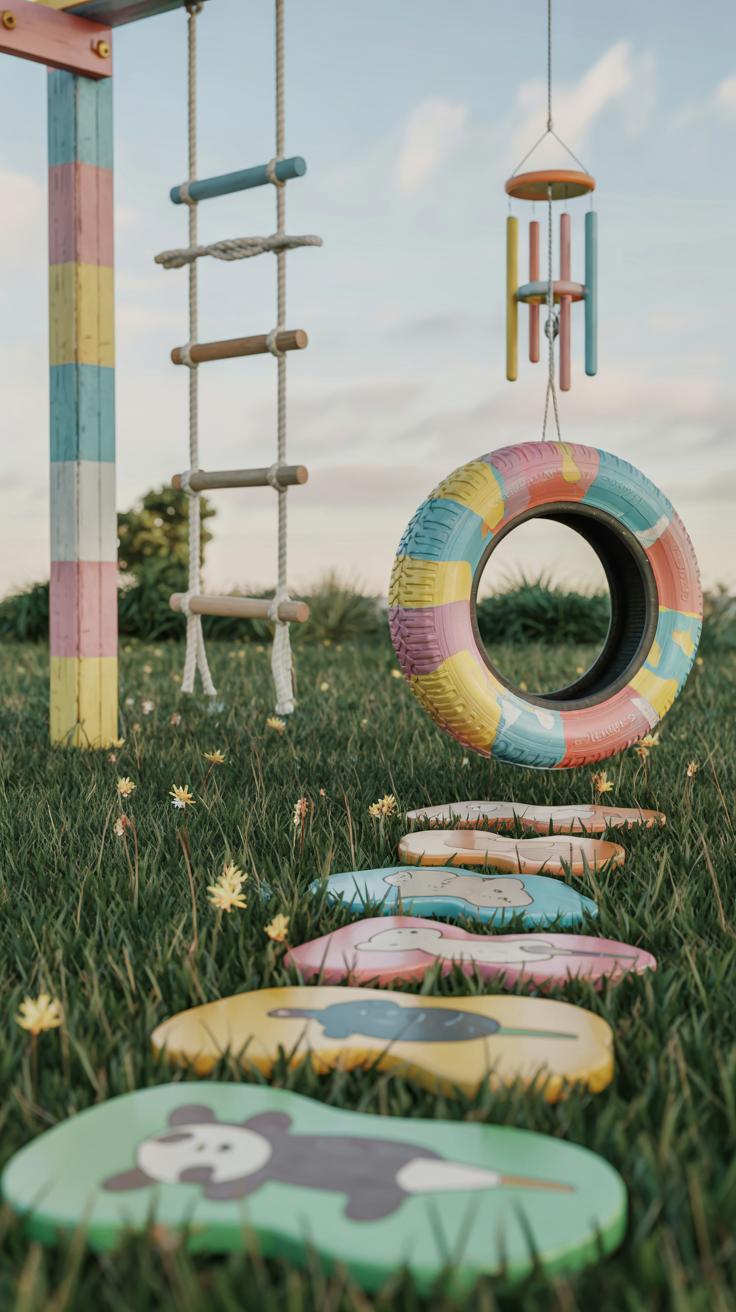
Adding creative elements to your DIY kids playground helps keep children interested and engaged. Consider features like climbing walls, rope ladders, or themed playhouses. Each option encourages different types of play and builds new skills.
Climbing walls challenge strength and coordination. Rope ladders improve balance and confidence. Themed playhouses spark imagination and role-playing, turning a simple structure into an adventure.
Adapt these features to fit your available space and budget. Smaller backyards may benefit from a compact climbing panel or a cozy playhouse. If money is tight, using recycled materials like pallets or scrap wood keeps costs down.
Ask yourself what your children enjoy most and what fits your yard. Can a rope ladder attach safely to an existing tree or frame? Would a castle-themed playhouse excite your kids or maybe a pirate ship? Experiment to find a mix that offers fun and variety.
Integrating a Climbing Wall for Physical Challenge
Building a climbing wall scaled for kids means using handholds sized for small hands and feet. Start with a flat plywood board securely anchored between posts or onto a fence.
Attach plastic or wooden holds in varying shapes and colors. Space them close enough for safe, manageable climbing. Add safety padding like foam mats or rubber tiles underneath to absorb falls.
Supervision is key when kids climb. Set rules about one child climbing at a time and staying within reach. You might add a simple top rope for older kids to boost confidence safely.
This setup promotes strength, coordination, and problem-solving. The wall can be adjusted over time by moving or adding holds to keep the challenge fresh.
Designing a Theme-Based Playhouse
Transform a basic playhouse into an exciting world by choosing a theme that fits your child’s interests. Ideas include turning the house into a pirate ship, castle, or even a space station.
Use paint, fabric, and simple accessories to bring the theme to life. For a pirate ship, add a ship’s wheel, flag, and rope railing. For a castle, paint stone patterns and attach cardboard turrets.
Encourage your child to help decorate. Their input fuels imagination and ownership. Themed playhouses invite storytelling, role-playing, and social play with friends.
Make the design flexible, so you can update it as your child grows or as their interests change. A few tweaks can keep the playhouse exciting for years.
Soft Surfaces and Safety Measures
Soft surfaces around playground equipment reduce the chance of serious injuries. Hard ground can cause painful falls, especially from climbing features or slides. You need a safe landing area that cushions impacts without sinking too much. Rubber mulch is a popular choice. It stays in place well and drains water, but may cost more upfront. Wood chips offer a natural look and good shock absorption, though they need regular raking to stay even. Sand feels soft underfoot but can scatter and requires frequent topping. Mats made from recycled materials provide a flat, consistent surface and are easy to clean.
Fencing keeps children within the playground and prevents pets or strangers from entering. Low fencing that you can see through suits most backyard setups. Shade protects kids from sunburn and heat. You could install a canopy, plant trees nearby, or set up an umbrella. Regularly check equipment and surfaces for damage or loose parts. Replenish ground materials if they thin out. Think about what risks your children face during play and plan safety features to match their needs.
Choosing and Installing Ground Padding
Start by clearing the area of rocks, sticks, and debris. Level the ground to prevent tripping. Lay landscaping fabric to stop weeds and keep padding in place. Measure the area precisely so you buy the right amount of materials. Rubber mulch can cost around $3 to $7 per square foot but lasts for years. Wood chips are cheaper, about $1 to $3 per square foot, but decompose faster, requiring yearly topping. Sand is affordable but can scatter outside the play area.
Spread the chosen material evenly, aiming for a depth of 9 to 12 inches for effective shock absorption. Compact mats need less thickness but must fit tightly together. Regularly check the padding to keep it thick and even. Combining different padding types might work well, like rubber mats under swings plus wood chips around climbing areas. These choices help reduce injuries when kids fall during play.
Adding Protective Features Around the Playground
Installing a fence stops children from wandering off and keeps pets or wildlife out. Choose a height that suits your child’s age, usually between 3 and 4 feet. Use gates that self-close and latch securely. Clear visibility through the fence helps you supervise easily. If budget allows, consider lockable gates for extra security.
To reduce sun exposure, place shade sails or canopies over high-use areas. Portable umbrellas work well too and let you move shade as needed. Planting fast-growing trees nearby offers natural shade while brightening the space. Consider local climate and the time of day kids play most. Shade lowers the risk of heat-related issues and makes the playground more comfortable. These protective features create a space that feels secure and welcoming for your children to enjoy freely.
Involving Your Kids in the Project
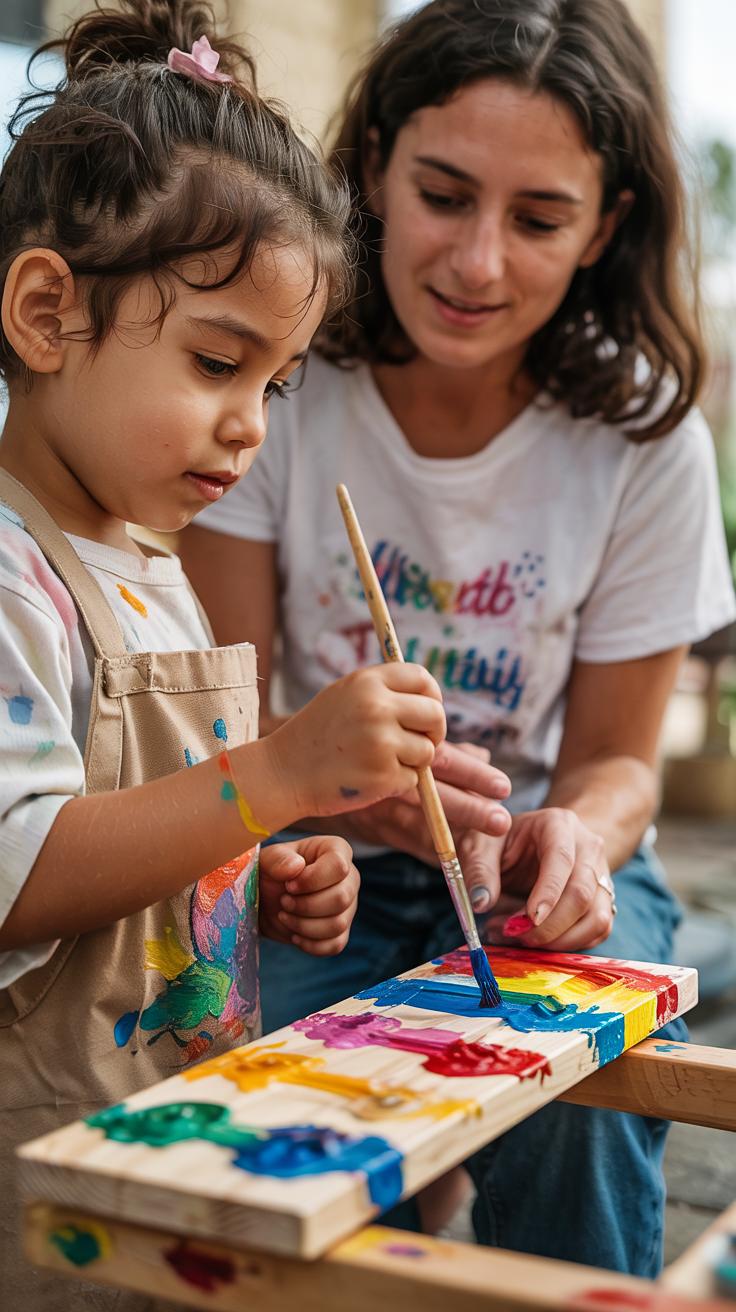
Ask your children what they want in their playground. What colors catch their eye? Which games do they love most? When kids choose themes or styles, they feel more connected to the space. This helps turn the playground into a place they truly enjoy.
Children can handle small tasks that fit their age. Younger kids can paint fence posts or arrange toys. Older kids might help with sanding wood or tightening screws under your supervision. Giving them jobs encourages pride and focus while keeping them safe.
Decorating together strengthens your bond and sparks creativity. Let kids add personal touches like handprints on a wall, painted signs, or decorated flower pots. Such teamwork builds lasting memories and makes the playground uniquely theirs.
Engaging Children in Design Choices
Start by asking open questions: What colors should we use? Would you prefer a pirate ship or a castle theme? Which games do you want here? Kids feel excited when their opinions shape the space. Watch how their eyes light up with ideas.
Use simple drawings or cutouts so children can visualize options. This helps them make clearer choices. Selecting colors and themes together turns the project into a shared adventure. Their input also teaches decision-making skills.
Helping with Simple Construction Tasks
Offer safe tasks like handing you tools or holding pieces steady. These keep kids busy and teach responsibility. Painting fences or decorating signs are great ways for younger children to contribute without risk.
Sorting screws or arranging toys can engage older kids while you work on complex parts. Praise their efforts and explain why their help matters. This builds confidence and a deeper connection to the playground they helped build.
Maintenance and Upkeep Tips
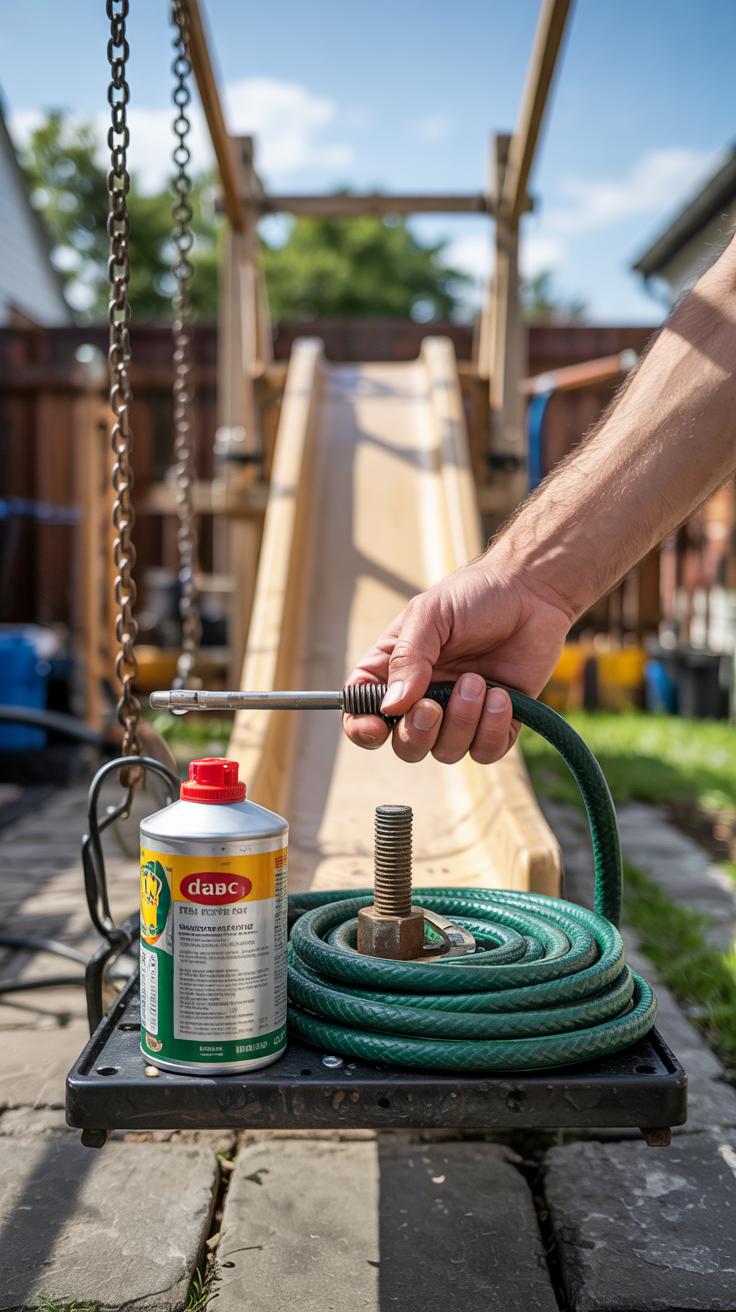
Regular maintenance keeps your DIY kids playground safe and lasting longer. Tighten loose bolts as soon as you spot them. Check swing chains and screws to prevent accidents. Wood surfaces need repainting every year or when paint starts to chip. Choose non-toxic, weather-resistant paint to protect and refresh the look.
Worn-out surfaces like rubber mats or sand bottoms should be replaced promptly to keep cushioning effective. Schedule seasonal inspections, especially after winter or heavy rain, since weather can cause damage you might miss at first glance.
Have you set a calendar reminder for your playground checkups? Consistency saves time and money. Cleaning and upkeep aren’t chores when they keep your children safe and happy during playtime.
Routine Safety Inspections
Make quick safety inspections a habit. Walk around the playground weekly and look closely for splinters on wood surfaces. Run your hand carefully over all wooden beams where kids often grab or climb.
Rust forms on metal parts over time, especially in swings and bolts. Test stability by gently moving equipment to detect wobbling or weak points. Fix any unstable areas right away.
Ask yourself: Are there hidden hazards where kids might slip or get hurt? Early detection prevents injuries. Your attention prevents accidents.
Cleaning and Weatherproofing Your Equipment
Clean your playground regularly to remove dirt, leaves, and mold. Use a soft brush with mild soap and warm water on wood and metal surfaces. Avoid harsh chemicals that might hurt your kids or damage materials.
Apply weatherproof sealant on wood every spring to shield against rain and sun damage. Metal parts benefit from a rust-proof spray or paint, especially in humid areas.
Have you noticed peeling paint or wood cracks? Address these issues immediately to stop damage from spreading. Well-maintained equipment lasts longer and looks inviting all year round.
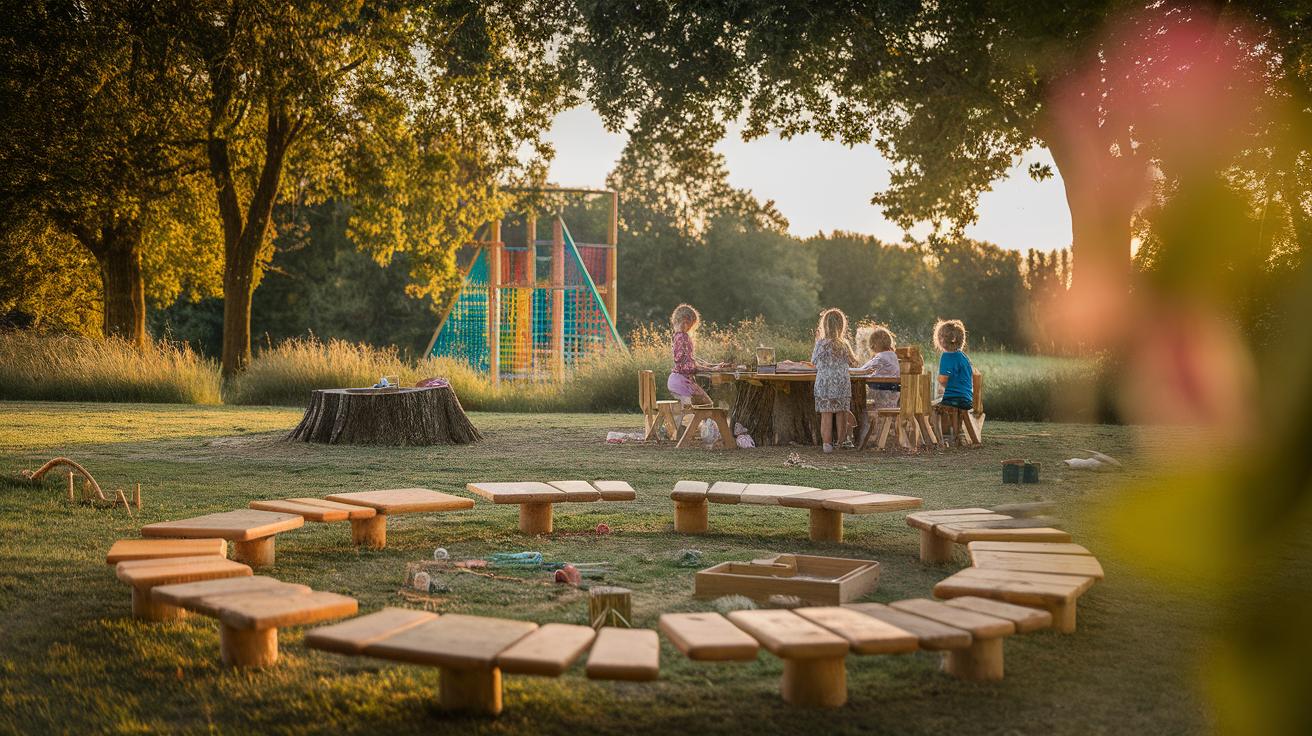
Examples of Inspiring DIY Playground Projects
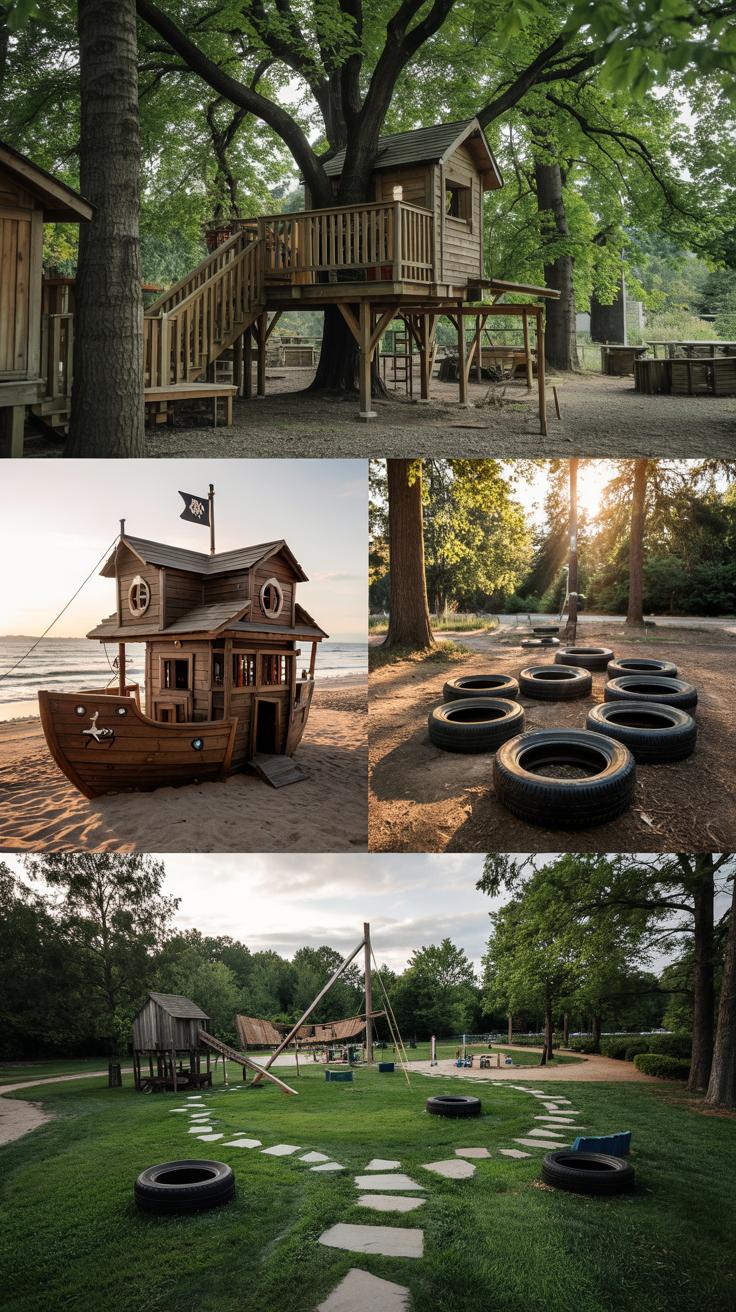
Families and communities have created playgrounds that fit their unique spaces and needs. One neighborhood built a wooden climbing fort using leftover lumber from local construction projects. The parents organized workdays where everyone pitched in, making the process faster and building bonds. The playground includes ramps and slides designed for kids of all ages and abilities.
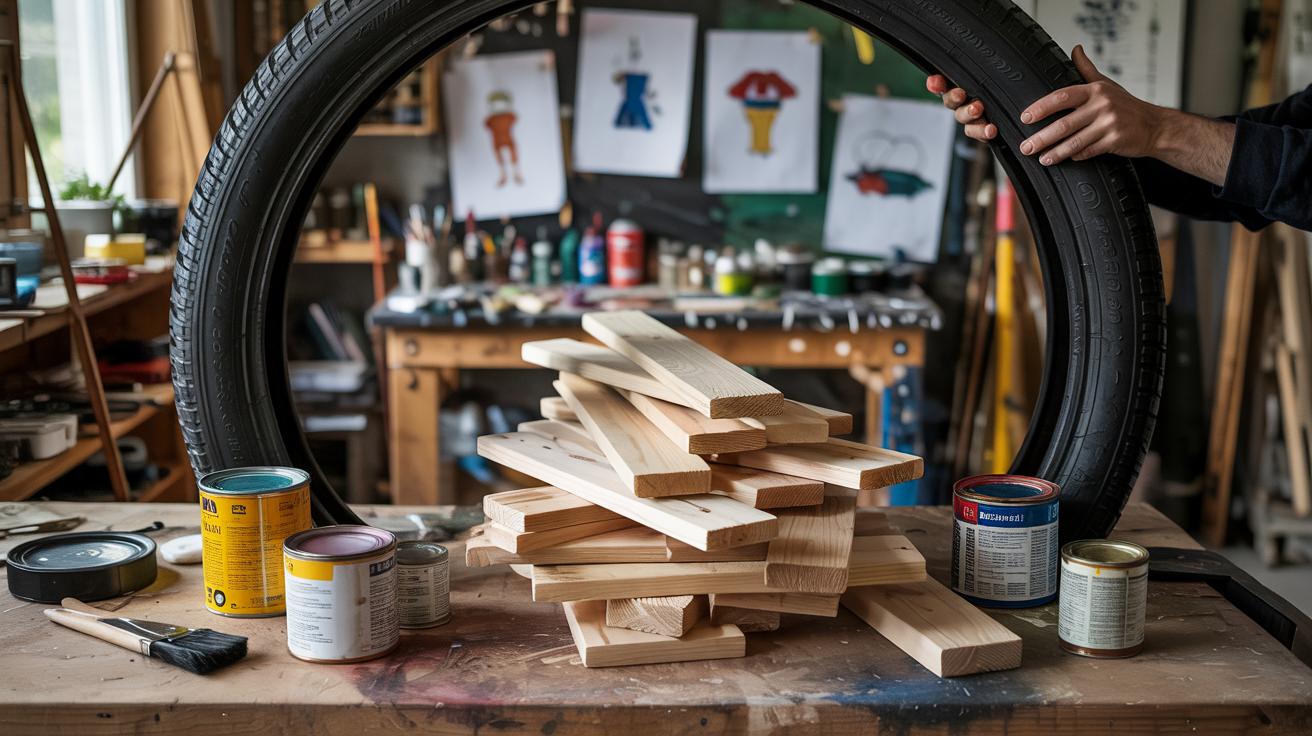
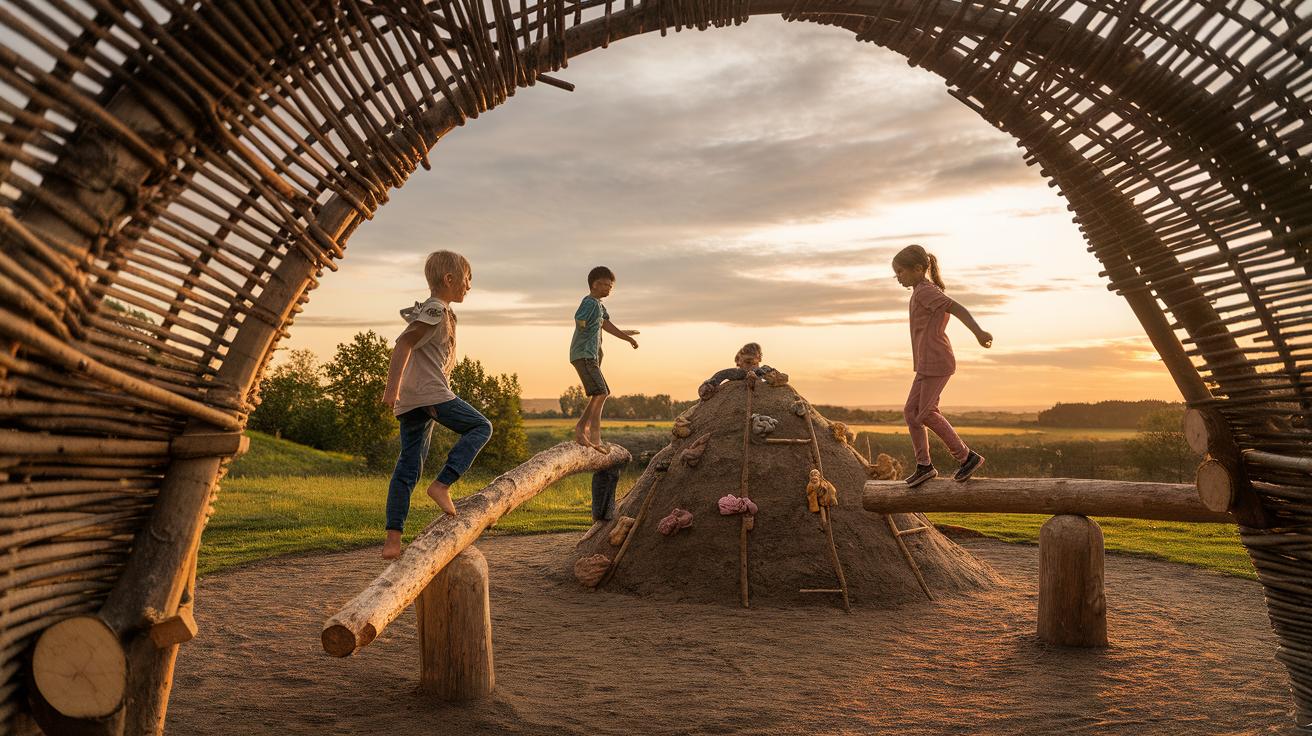
At another home, a backyard used old tires, ropes, and tree trunks to create a natural obstacle course. This project encouraged kids to explore nature while staying active. Since materials were mostly recycled, costs stayed low and the environmental impact was minimal.
You might wonder how to start a project like this. Consider what your children enjoy and what resources your community can offer. Such projects show that creativity and collaboration produce safe, engaging play areas that last.
Community-Built Playgrounds
Neighbors working together can turn empty lots into lively playgrounds. When a group pooled tools and materials, they reduced costs and shared skills. Parents who weren’t skilled with tools supervised younger kids, while others handled the building. This teamwork built trust and new friendships.
These playgrounds often include multi-use spaces like picnic areas or gardens. This encourages families to spend more time outside and connect. What could your community create together with shared effort?
Innovative Backyard Play Areas
Backyards can become creative playgrounds using recycled wood, metal barrels, and old ropes. One family built a treehouse around a sturdy oak, blending the structure into the existing environment. Another turned large rocks into stepping stones and balance beams.
Using natural elements helps kids learn about their surroundings while playing. You can save money and teach environmental respect by repurposing materials for your playground. How might you use what you have to spark your child’s imagination?
Conclusions
Building a DIY kids playground combines practical skills with creative thinking. You gain full control over the design to suit your children’s unique needs. Enjoy watching your kids thrive in the space you helped create. Prioritize safety features, use child-friendly materials, and consider the playground as a place for imaginative play alongside physical activity. Get inspired by various project ideas and adapt them to your space and budget.
Your DIY playground project can be a lasting gift to your children. It encourages outdoor play and learning through movement, interaction, and imagination. Involve your family in each step to make the process rewarding beyond the finished structure. Start planning today. What will your kids’ dream playground include?