Introduction
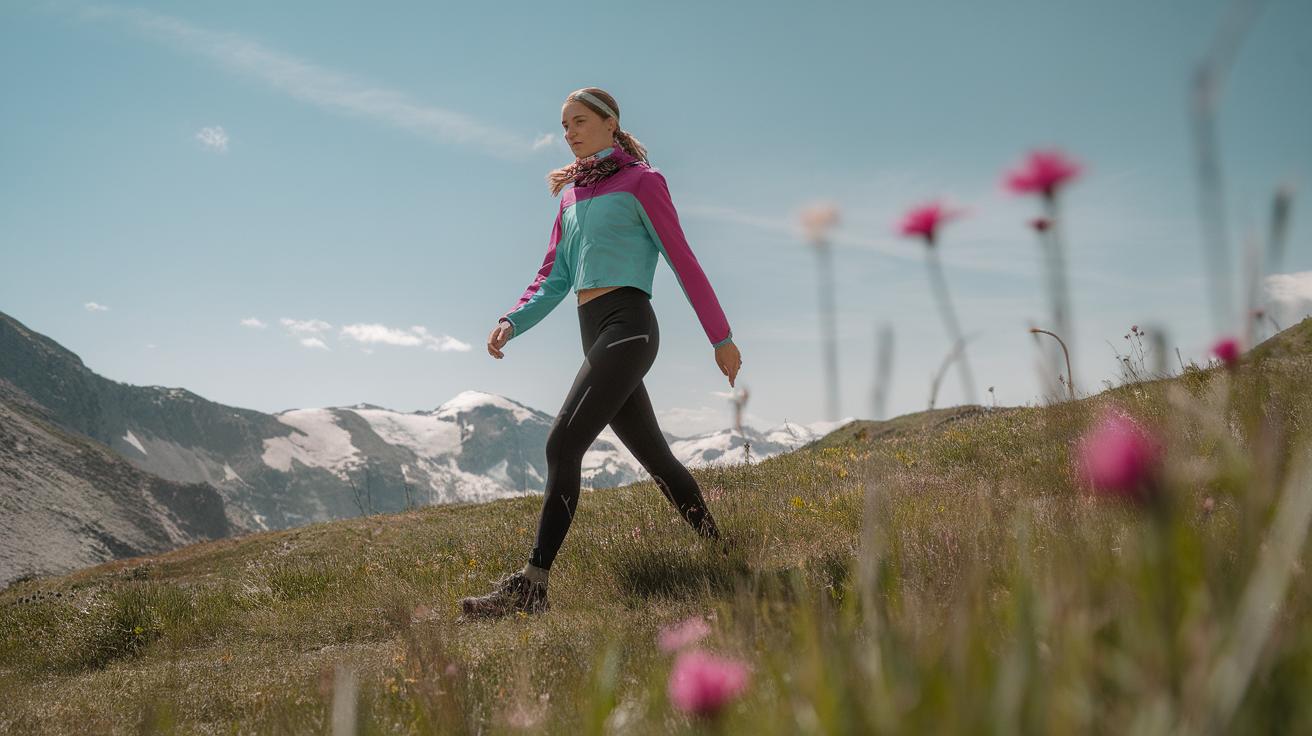
Camping offers a chance to connect with nature, but it demands preparation and knowledge. You need more than just equipment. Understanding survival techniques equips you to handle unexpected situations. Mastering these skills makes your outdoor experience safer and more enjoyable. Knowing how to find water, create shelter, start a fire, and administer first aid can save your life and others. You gain confidence to face challenges that nature throws your way.
Are you ready to take your camping skills to the next level? This article covers vital survival techniques. It explains how to maintain safety and meet basic needs while in the wild. You will learn how to prepare for emergencies and how to act if they occur. These abilities give you peace of mind and add to your outdoor fun. You don’t need to be an expert. Start with these fundamental skills that everyone should have before going on a camp.
Understanding the Basics of Survival
Survival skills are the actions and knowledge that help you stay alive when you face unexpected situations outdoors. These skills focus on meeting your basic needs: water, food, shelter, and safety. Without these, your chances of staying healthy and safe drop quickly when you’re in the wild. Being able to find clean water, gather food, build shelter, and protect yourself from dangers will keep you alive and help you handle emergencies.
Your mindset plays a major role during these times. Staying calm allows you to think clearly and solve problems faster. Panic can lead to mistakes, so keeping control of your emotions is just as important as knowing how to make a fire or signal for help. Survival techniques aren’t just for extreme cases. They apply whenever something goes wrong while camping, giving you confidence and tools to stay safe.
Core Survival Needs to Focus On
Water is the most urgent need. Your body can go days without food but only a few hours without water. Finding and keeping water safe to drink saves your life. Food provides energy to keep moving and stay warm. While you can survive longer without food, it becomes harder to think and act when hungry.
Shelter protects you from weather and harmful animals. It keeps your body temperature steady and prevents injuries. Protection from threats, like animals or hazards, adds security and peace of mind. Addressing these four needs—water, food, shelter, and protection—gives you the foundation to survive in the wild.
The Role of Mindset in Survival
Your mind can be your greatest tool or your biggest obstacle. When you stay calm, you can assess the situation better and use your skills effectively. Stress narrows your thinking and drains your energy, making problems seem worse than they are. Before camping, practice mental exercises like deep breathing or visualizing positive outcomes to prepare yourself.
Ask yourself: How will I react if something goes wrong? Planning your response reduces panic. When trouble arises, focus on what you can control. Take slow, steady breaths and decide your next step. Keeping a clear mind boosts your chances of finding water, food, or shelter quickly. In survival, your mindset shapes how you use the skills you’ve learned.
Finding and Purifying Water

Locating water sources
You need water to stay alive, especially when camping. Look for rivers, streams, or lakes first. Water usually flows downhill, so moving toward valleys or low areas can help you find it. Watch for animal tracks—they often lead to water. Green plants growing in dry areas can also point to underground water nearby.
Rain collection works well too. Set up a tarp or use leaves to funnel water into a container during or after rain. Morning dew can be collected by wiping leaves with a cloth, then squeezing the moisture into a container.

Consider the sound around you. Running water makes a noise you can hear before you see the source. Always check for clear water, but clear doesn’t always mean safe. Are you near a campsite or trail? Water sources there might be dirty from human use.
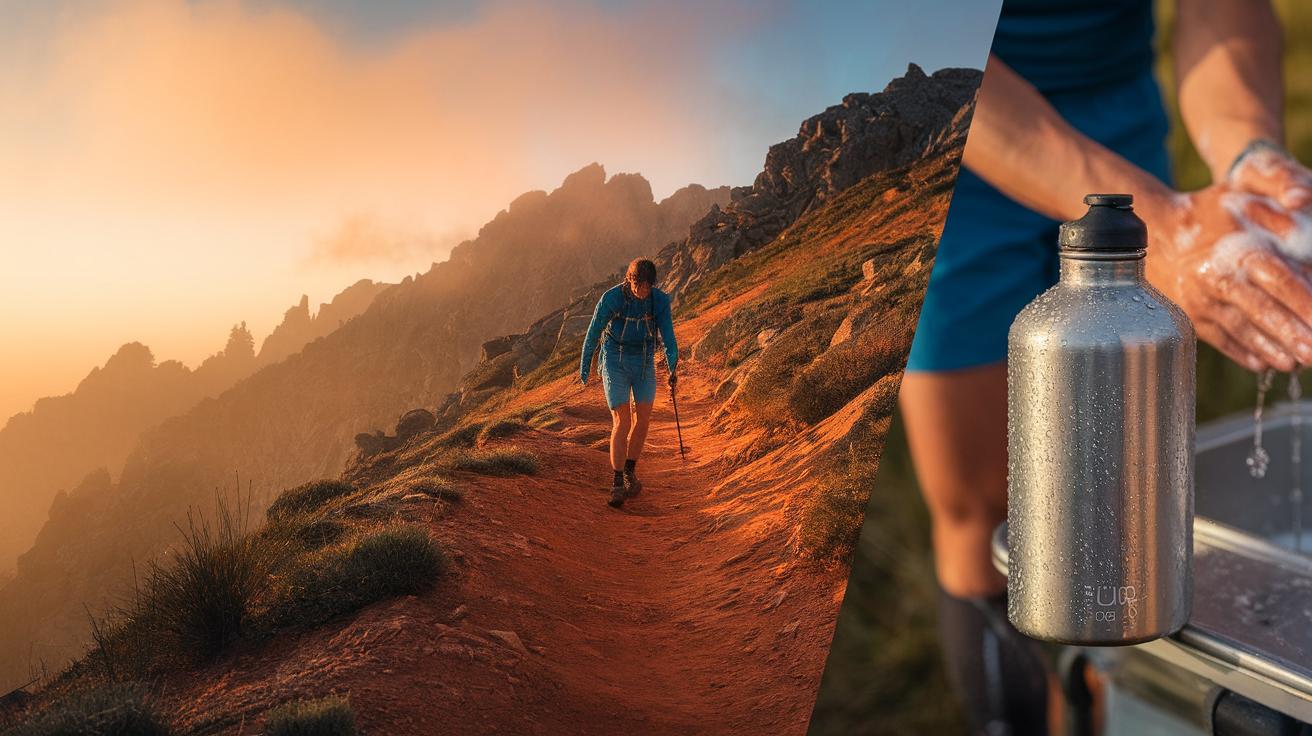
Purifying water safely
Drinking untreated water can cause sickness. You must make water safe before drinking. Boiling water for one minute kills most germs. If you are at higher altitudes, boil longer.
Water filters remove dirt and some bacteria. Portable filters are easy to carry and use. You pump or squeeze water through special cartridges. It’s quick and effective. Chemical tablets or drops work too. They kill germs but need time to work—usually 30 minutes.
Think about what tools you have. If you lack gear, boiling is most reliable. Purifying your water stops diarrhea, vomiting, and worse problems. Would you risk your trip by drinking unsafe water? Always take the steps needed to protect your health outdoors.
Building Effective Shelter
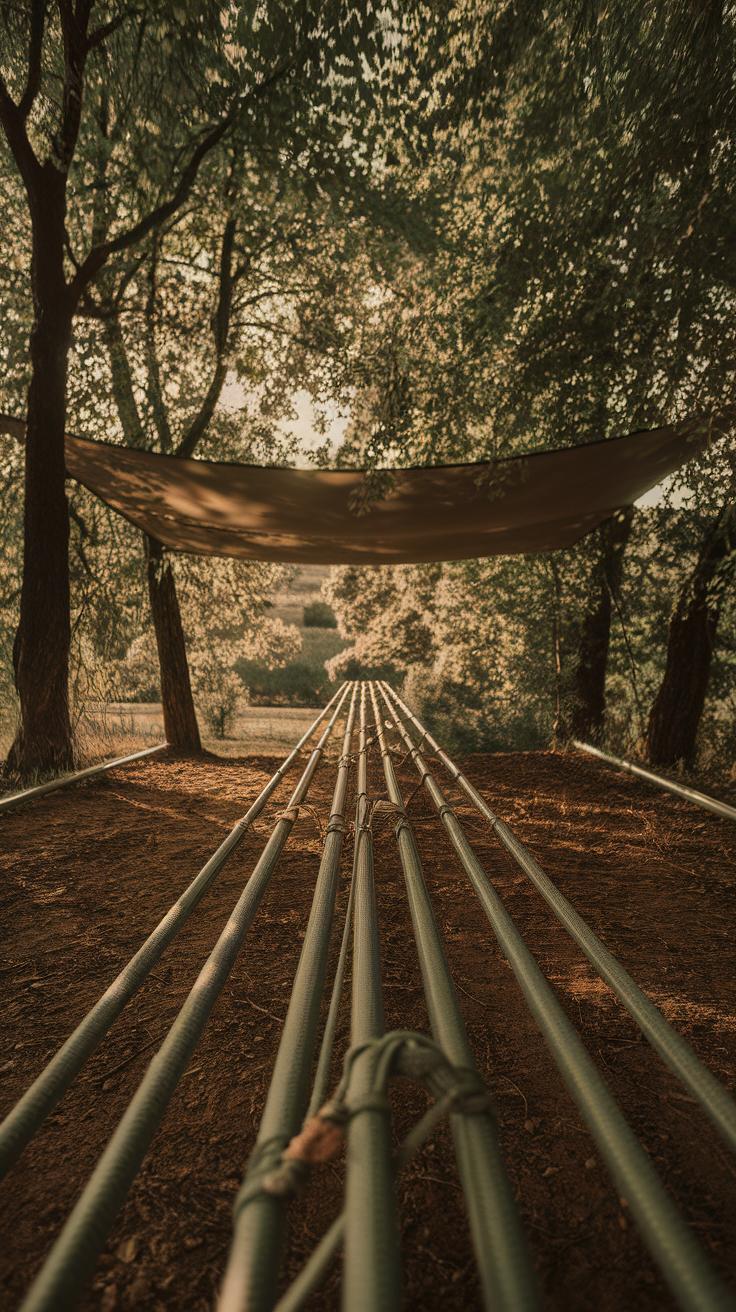
Knowing how to build a shelter affects your safety and comfort outdoors. You need protection from rain, wind, cold, and potential wildlife encounters. Choose materials that are nearby and sturdy enough to shield you. For example, thick branches, leaves, or tarps can help. Using what nature offers, like fallen logs or large rocks, can reinforce your shelter’s strength.
Before you start building, check the weather forecast and anticipate what conditions the shelter must withstand. Your shelter should block wind and rain while allowing for ventilation to prevent moisture buildup. Make sure the shelter is stable and can hold up through the night. Think about your body heat and use insulation, like leaves or grass, inside your shelter to stay warm.
When wildlife is a concern, pick spots that limit animal access, such as away from animal trails or food sources. Avoid low areas where water may collect, and steer clear of unstable ground near cliffs or loose rocks. Would you feel safe and dry if heavy rain or strong winds hit? These questions help you decide on the best spot and design for your shelter.
Types of shelters for camping
Natural shelters like caves provide solid protection but may hide risks like animals or falling rocks. Caves often keep you warm and dry but have limited space. Man-made shelters like tents are simple to set up and offer privacy and insect protection. Tents come in many sizes but require you to carry them beforehand.
Debris huts are another option. You build them by piling leaves and branches over a frame to create insulation and protection. They take time to construct but use only natural materials. Lean-tos are quick shelters made by leaning branches against a support, useful for wind protection but less secure in rain.
Which shelter fits your situation best? If you carry gear, tents offer convenience. If you need to travel light, natural or debris shelters work well. Practice building these to know their strengths and weaknesses before your trip.
Selecting shelter location
Choose a site that stays dry and safe from hazards. Avoid valleys where cold air settles and water pools. Higher ground helps drain rain but watch for wind exposure. Look for natural windbreaks like bushes or fallen trees.

Ground insulation matters. Use leaves, pine needles, or grass to create a dry base. This blocks moisture and retains warmth. Also, pick a spot away from dead trees that could fall during storms. Inspect the area for insect nests or animal signs before settling.
Think about how your shelter will protect you during bad weather or if animals pass nearby. Can you quickly escape if danger appears? Taking time to pick a good location affects your night’s safety and rest.
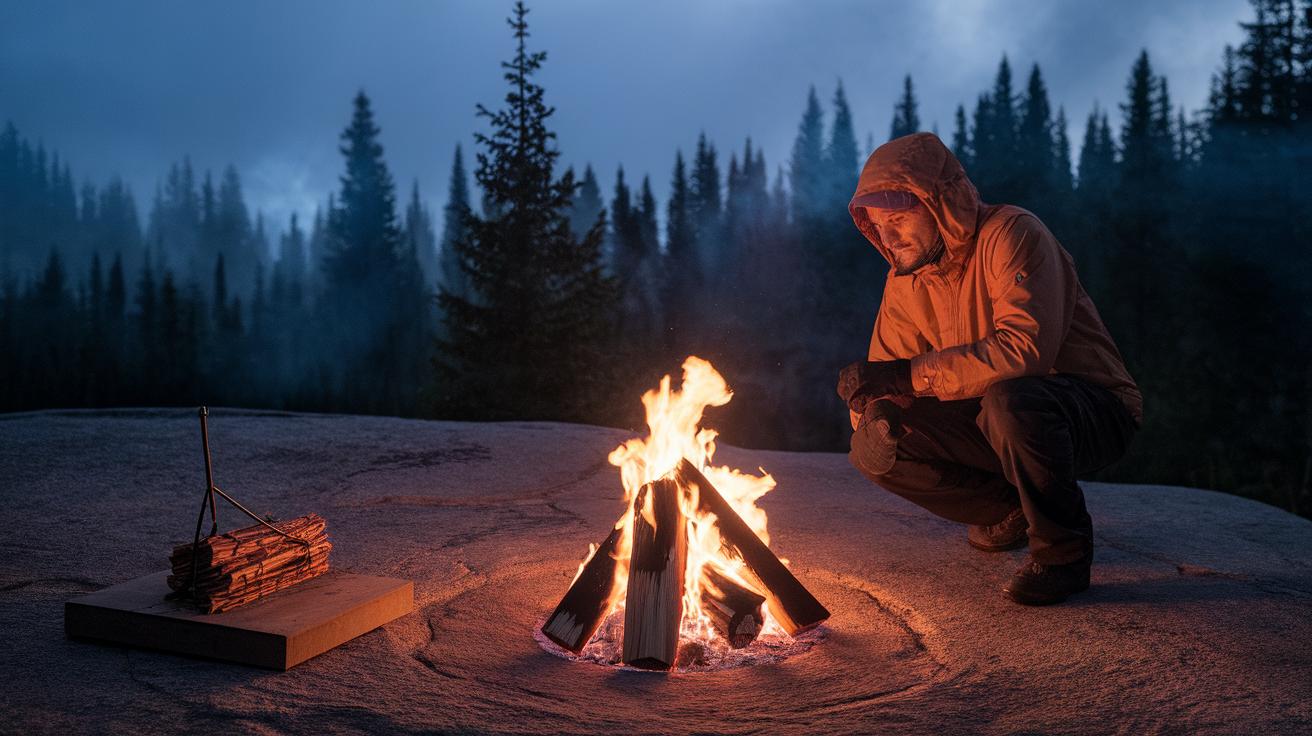
Starting a Fire Without Matches

Starting a fire without matches is a skill that can keep you safe and warm in any camping situation. Knowing how to create sparks with a flint and steel can be invaluable. Strike the steel against the flint at a sharp angle to produce sparks aimed at tinder. Make sure your tinder is dry and finely shredded to catch even small sparks.
If you don’t have tools with you, friction methods like the bow drill or hand drill come into play. These require practice but can ignite an ember by rubbing wood pieces together. Choose soft, dry wood for both the spindle and the fireboard.
Natural materials offer help too. Dry leaves, grass, and bark can serve as tinder, while thin twigs act as kindling. Preparing your fire site with these materials in a neat pile makes it easier to nurture a small flame into a roaring fire. How confident are you in starting a fire when you lose your matches?
Tools to start a fire
Carrying reliable fire-starting tools is vital on any camping trip. A flint and steel set is compact and durable. It works well even when wet, unlike some other methods. Familiarize yourself with how hard and at what angle to strike to create steady sparks.
A ferrocerium rod is another excellent tool. Scraping the rod with a metal striker produces hot sparks that can ignite tinder quickly. Pack a small blade or multitool for this purpose. Make sure you practice before your trip to build muscle memory.
Waterproof matches or a butane lighter can serve as backups, but you should not rely on them alone. Whatever tool you choose, keep it in a dry pocket or waterproof container to prevent damage. Have you tested your fire-starting tools recently?
Natural fire-starting methods
Friction methods rely on heat generated by rubbing two pieces of wood. The bow drill uses a bow to spin a spindle against a fireboard, creating friction and fine wood powder that can grow into a glowing ember.
The hand drill works similarly but requires spinning a spindle between your hands. This method demands patience and endurance. Make sure to select dry, soft wood like cedar or cottonwood for these tools.

Tinder must catch the ember easily. Collect dry, fibrous materials like inner bark, dry grass, or shredded pine needles. Prepare kindling from thin, dry twigs to feed the flame once your tinder lights. Have you practiced gathering fire materials in the wild?
Basic First Aid for Outdoor Emergencies
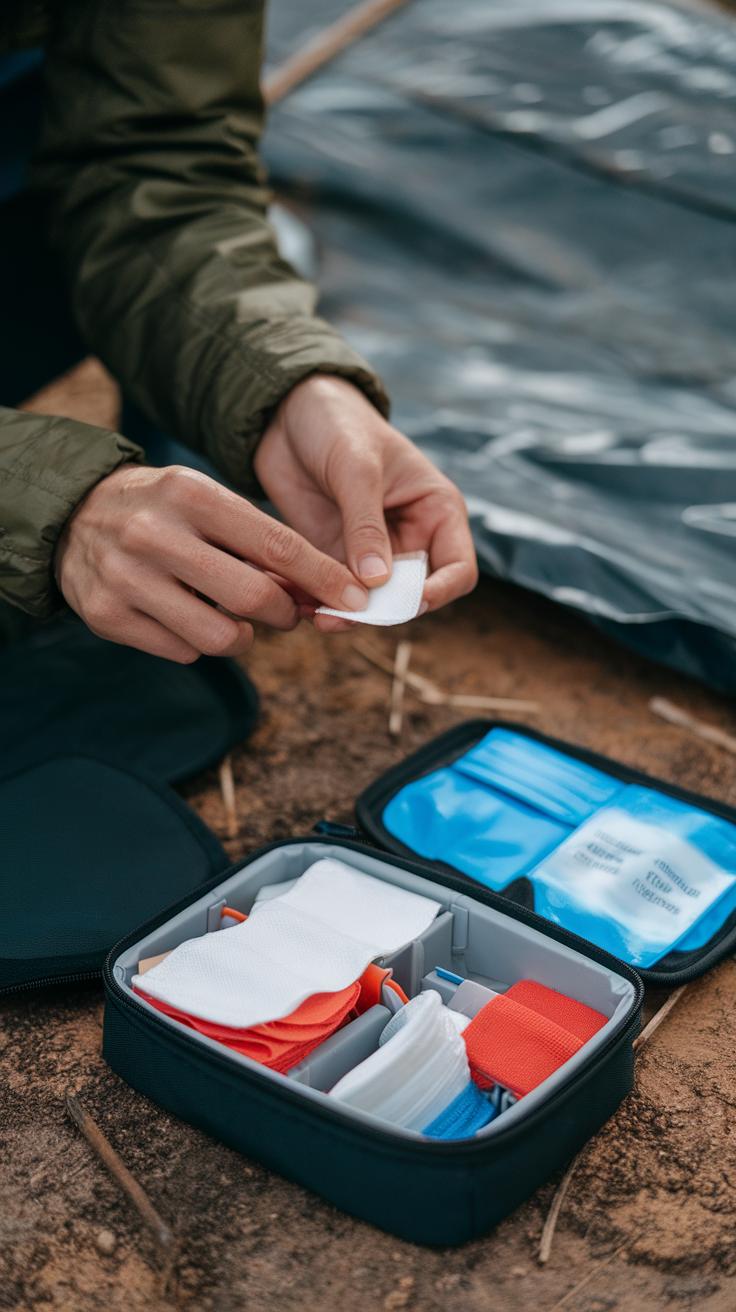
Knowing what to do when someone gets hurt can save a life on your camping trip. Cuts need quick cleaning with water to remove dirt and debris. After cleaning, cover the wound tightly with a sterile bandage or cloth to stop bleeding and reduce infection risks. For burns, cool the area with cold water for 10 to 20 minutes. Avoid breaking blisters or applying creams. Stabilizing fractures means preventing movement to avoid more injury. Use a sturdy stick or branch as a splint and secure it with cloth or strips of clothing. Make sure the splint immobilizes the injury but doesn’t cut off circulation. Can you picture how having this simple knowledge might change how you handle camp injuries?
Treating cuts, burns, and fractures
Cleaning wounds means flushing them with clean water or saline to remove dirt. Avoid using soap inside deep cuts. Apply pressure with a clean cloth to stop bleeding if needed. Cover the wound with a bandage that keeps dirt out. For burns, cool the skin with water, then cover with loose, clean fabric to protect it. Never use ice directly on burns. Fractures need careful handling. Support the injured limb in the position found to avoid pain. Use a splint that holds the bones still—tie it above and below the injury. Check fingers or toes for warmth and feeling to be sure blood flows properly. Have you ever tried making a splint using only things found on a trail?
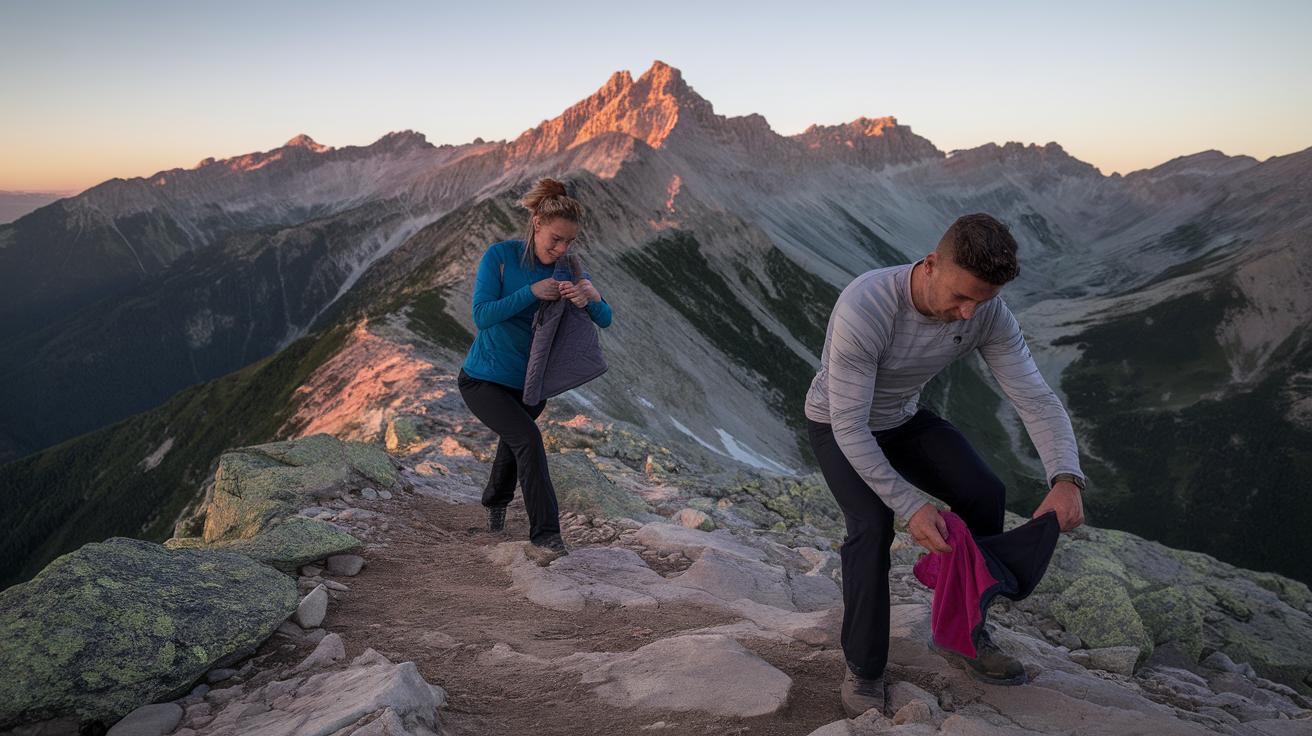
Handling heat- and cold-related conditions
Heat exhaustion happens when your body struggles with heat. Symptoms include heavy sweating, weakness, and dizziness. Move to shade, drink water, and rest to cool down. Heat stroke is more serious. Look for confusion, loss of consciousness, or very hot skin. Call for help immediately and cool the person with wet cloths or a water mist. Hypothermia comes from cold exposure causing uncontrollable shivering, slurred speech, or slow breathing. Get the person out of the cold, remove wet clothes, wrap them in blankets, and offer warm drinks if awake. Prevent these conditions by drinking water, dressing in layers, and taking breaks. What would you do first if your friend showed signs of heat stroke?
Navigating with and without a Compass
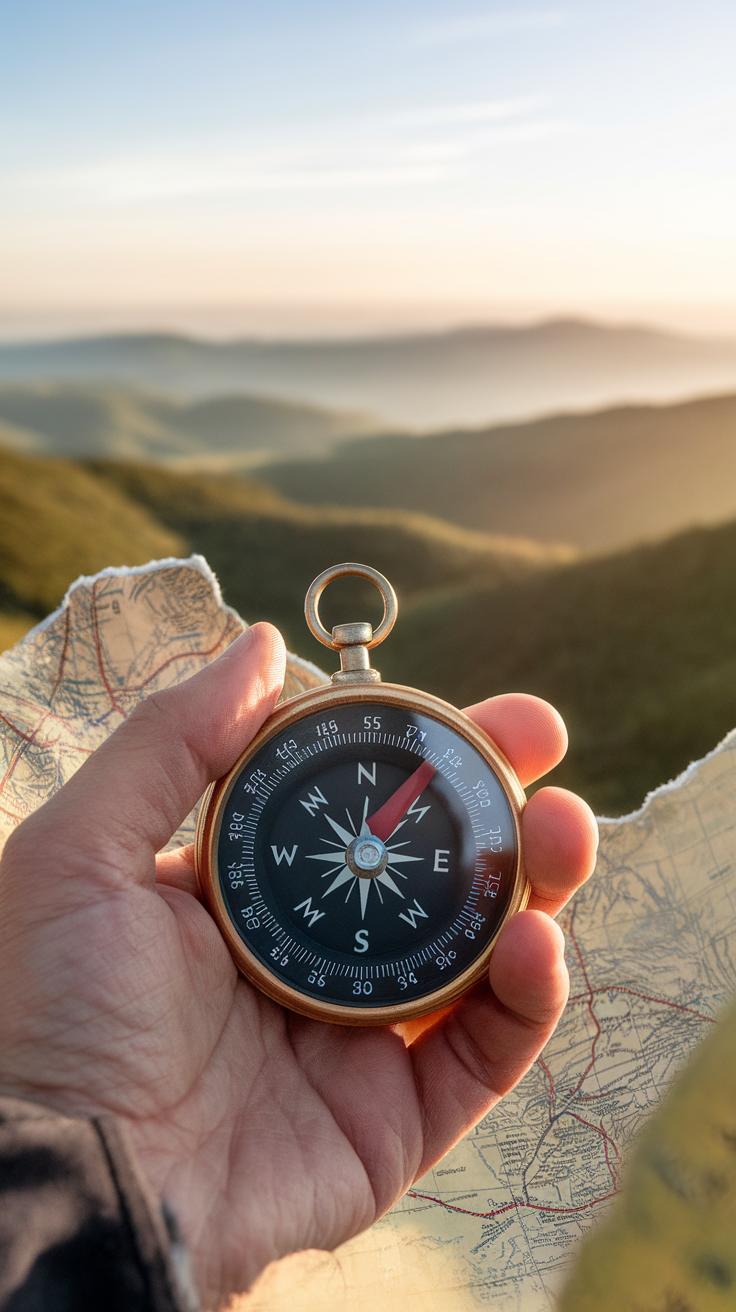
Knowing how to find your way during a camping trip can prevent panic and dangerous situations. Learning to use a compass and natural cues helps you stay oriented and find your way back to camp.
A compass points toward magnetic north, but you must know how to read the dial and align it correctly to get a bearing. You hold the compass level and turn the dial until the needle matches the north on the dial. Then you can follow the direction it points to reach your target. Combining this with a map gives you a clear route and targeted landmarks to guide your steps. Have you tried plotting a course and following it using both tools?
Without a compass, the sun can guide you. In the morning, the sun rises in the east and sets in the west, helping you estimate directions. At night, the North Star marks north in the Northern Hemisphere. You can also use landmarks like mountain peaks or rivers to keep your bearings. Trees grow thicker on the side facing away from prevailing winds or sunlight exposure, which can assist with direction.
Practice spotting these signs regularly so you trust your instincts if your compass fails. What natural signs have you noticed that helped you figure out direction before?
Finding Safe Food in the Wild

Knowing how to find safe food in the wild can make a big difference during your outdoor adventure. You must first understand which plants are safe to eat and how to avoid harmful ones. Many edible plants share traits with poisonous look-alikes, so take the time to learn the details. Never eat a plant unless you are completely sure it is safe. Testing unknown foods can cause serious sickness.
Teaching yourself to identify edible plants like cattails, wild berries, and dandelions is a skill that will help you when supplies run low. Always look for clear signs like the shape of leaves, presence of thorns, or color of berries. If a plant smells bad or causes skin irritation, avoid it. These details protect you from dangerous mistakes.
Besides plants, some insects and small animals can serve as food. Crickets, grasshoppers, and certain beetles are common edible insects. They provide protein and are often easy to find. Make sure to cook them before eating to kill germs.
Before gathering insects or animals, consider your local laws and respect wildlife. Avoid over-harvesting or harming protected species. Think about both your safety and the environment. What can you eat that won’t damage nature or break regulations?
Identifying edible plants
Cattails are one of the easiest plants to spot and eat. Their long stalks grow near water, and you can eat their roots and young shoots. Dandelions have bright yellow flowers and jagged leaves; both leaves and roots are edible. Wild blueberries have small, round blue fruits, but watch for poisonous berries that look similar, such as deadly nightshade, which has shiny black berries and smooth leaves.
Know how to identify pokeweed and poison ivy, both harmful despite sometimes looking like edible plants. Pokeweed has bright red stems and dark purple berries, while poison ivy has clusters of three leaflets that turn red in the fall. Avoid any plants with milky sap or bitter taste. Your best defense is careful inspection and avoiding plants you cannot positively identify.
Alternative food sources
Insects are a reliable protein source when plants are scarce. Grasshoppers cluster on plants while ants and termites build colonies underground. Catch these with your hands or a container. You must cook insects to remove parasites and improve taste.
Small animals like frogs or fish also provide nutrition but require tools and permission. Check local regulations to ensure you are allowed to catch wildlife. Ethics mean taking only what you need and leaving the ecosystem balanced. Overharvesting can harm animal populations.
Before eating any wild food, ask yourself: Is it safe? Is it legal? Am I respecting the environment? These questions safeguard both your health and the outdoors you rely on. Survival depends on your knowledge and respect for nature’s limits.
Signaling for Help
Knowing how to signal for help can save your life in an emergency. You might face situations where no one knows your location, so sending clear signals becomes your link to rescue. Visual signals catch attention from a distance. Bright colors, fires, or mirror flashes can pierce through dense forests or open fields. Auditory signals can reach people nearby when visibility is low. Whistles or loud calls spread farther than your voice. Electronic devices offer precise location tracking if used correctly. Each method fits different situations. What tools do you carry to communicate your need for rescue? Are you practicing these signals before heading out?
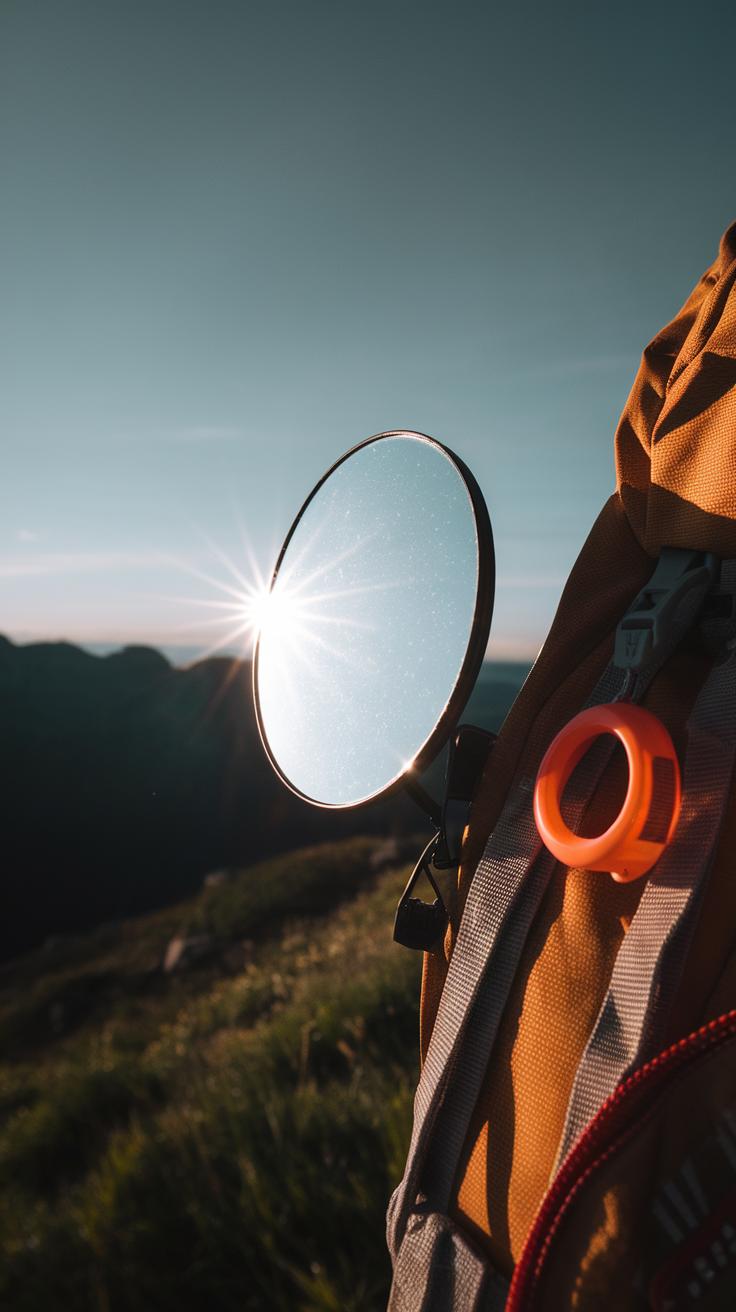
Visual signaling techniques
Visual signals stand out when rescuers search from the air or land. Using a mirror to reflect sunlight creates powerful flashes. Aim flashes toward planes or distant people for a better chance of being seen. Small fires create smoke during the day and light at night, drawing attention from miles away. Gather dry materials to build controlled fires. Wearing or spreading bright colors like red or orange nearby makes you easier to spot. You can arrange rocks or logs in shapes like “SOS” or a large “X” on open ground. These are universal distress signs recognized worldwide. Which visual tools do you have in your pack now?
Auditory and electronic signals
Auditory signals work best when visibility is low or terrain blocks your visual cues. A whistle lets you send loud, sharp sounds that travel farther than shouts. Three short blasts is a common emergency signal. Use it at regular intervals to conserve energy. Radios let you communicate directly with rescuers or other campers. Know the right channel and protocol for your area. Cell phones can call for help if you have signal. Keep your phone close and conserve battery by turning it off when not in use. When trapped, start signaling immediately but stay near a safe spot. How often do you test your electronic gear before trips?
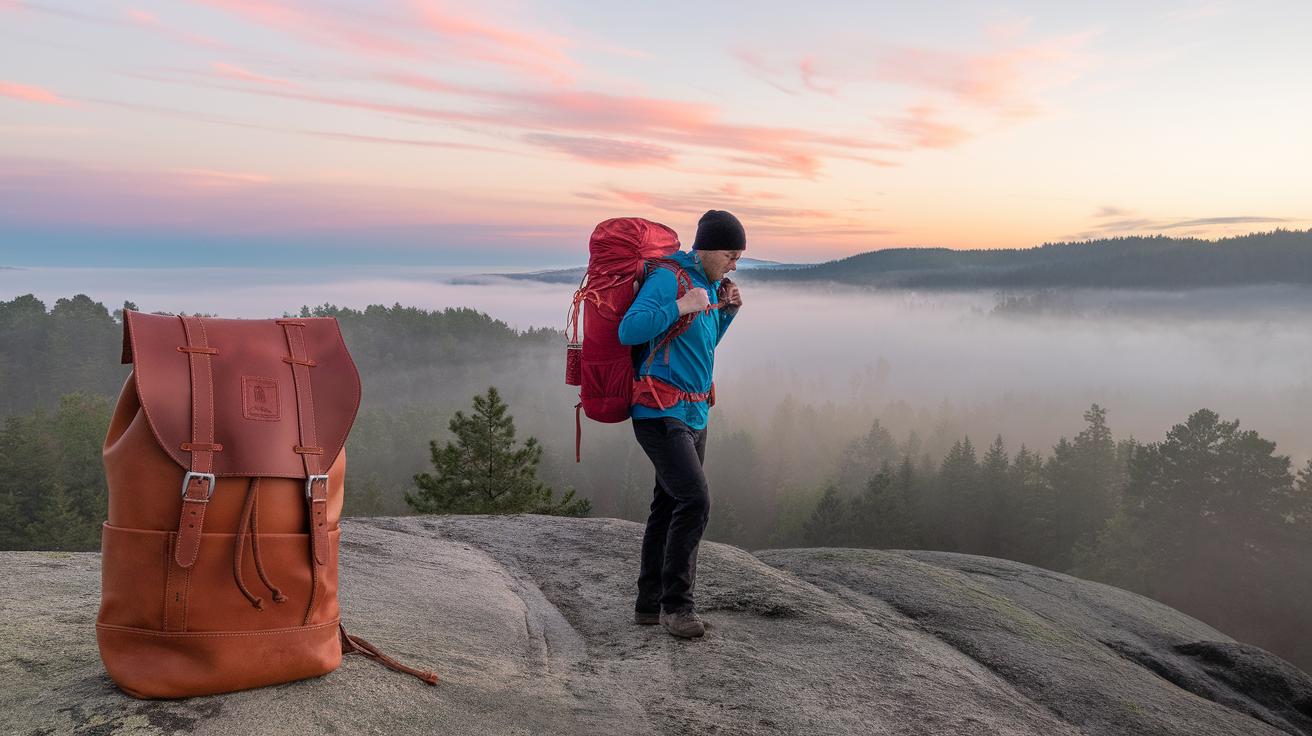
Preparing Your Survival Kit

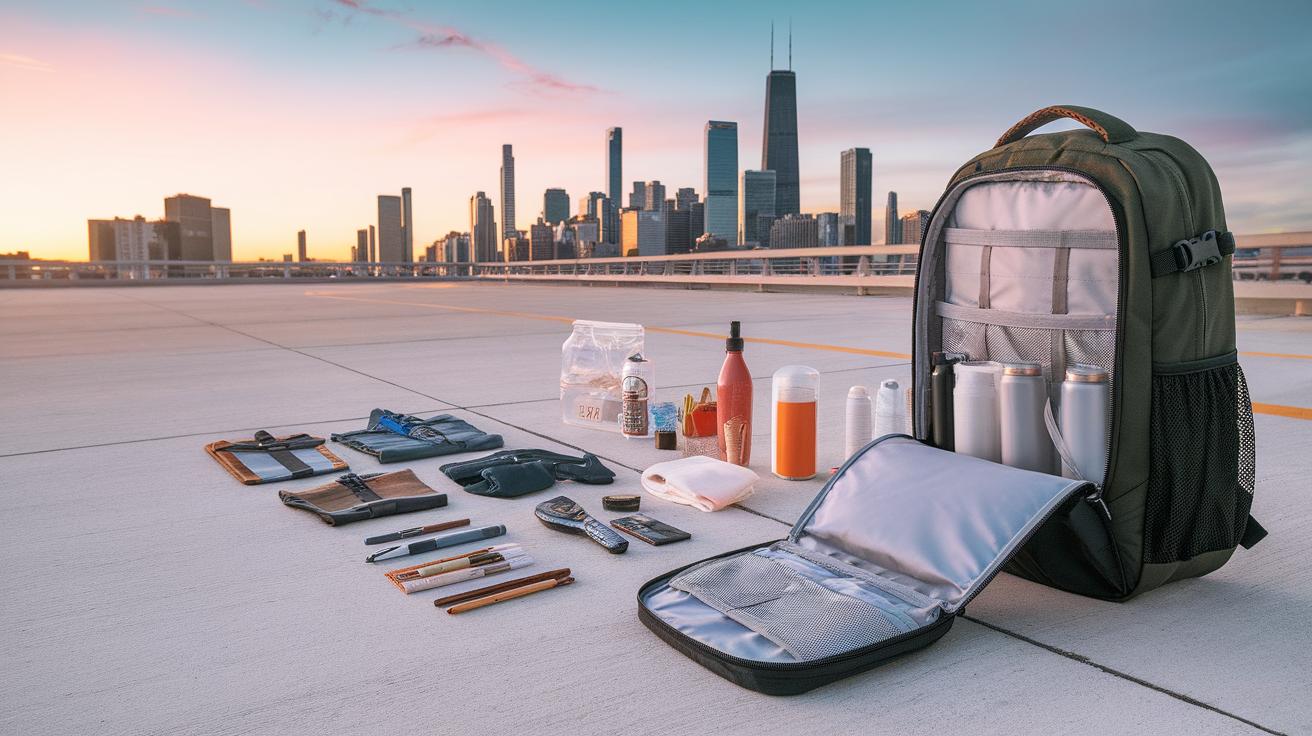
Your survival kit should include tools that keep you safe and comfortable while camping. Each item should serve a clear purpose to help you manage common challenges outdoors. Think about a sturdy knife. It can cut rope, prepare food, or make kindling. Fire starters like waterproof matches or a lighter help you build warmth and signal for help. Include a compact first aid kit to treat minor cuts or insect bites quickly. Water purification tablets or a small filter ensure safe drinking water, preventing illness. A flashlight or headlamp gives you hands-free light at night. Don’t forget a whistle for emergency signaling and a space blanket for warmth.
Every item has a role in securing your well-being. When packing, organize your kit to access essentials fast. Place frequently needed tools near the top. Use waterproof bags to keep supplies dry. Keep weight low so your pack feels lighter. Could you reach your knife or fire starter in an emergency? Check your kit before trips and add missing or expired items. This habit avoids surprises and keeps your kit ready for any unexpected moment outdoors.
Essential survival kit items
A reliable knife tops your essentials. It works for cutting, carving, or self-defense. Fire starters come next—carry both matches and a lighter, stored separately to prevent losing all fire options. First aid supplies should include bandages, antiseptic wipes, tweezers, and pain relievers. Treat minor injuries immediately before they get worse. Water purification tablets or a filter help you avoid dangerous waterborne diseases. Pack a flashlight or headlamp with extra batteries for nighttime tasks. A whistle can alert others or rescue teams if you get lost. Add a compact emergency blanket to stay warm and dry if the weather turns cold.
Efficient packing and maintenance
Packing your survival kit needs planning. Use small, sturdy containers and arrange items by use frequency. Keep fire starters, knife, and whistle easy to reach in emergencies. Store fragile items like first aid supplies in padded bags to protect them. Balance your pack to avoid discomfort on long hikes. Regularly check the kit. Replace used or expired items like bandages and tablets immediately. Clean and sharpen your knife to keep it functional. Test your flashlight’s batteries before each trip. Maintaining your kit ensures it performs well when you rely on it most. How often do you inspect your survival gear?
Planning and Practice for Survival Success

Preparing before you head out camping can mean the difference between a smooth trip and a dangerous situation. Planning gives you control and lowers risks. It is not enough to pack the right gear; you must also know how to use it. Regularly practicing survival skills helps build confidence and sharpens your abilities. Imagine being in the wild and needing to start a fire quickly—have you practiced until you can do it without hesitation? When you train, you reduce panic and increase your chances of staying safe.
Creating a plan for how you will handle unexpected challenges helps you stay focused and calm. What steps will you take if a sudden storm hits? Could you navigate back if you lose the trail? Preparing answers for these questions guides your actions. Practice the skills and plan routes before your trip to enhance your safety outdoors.
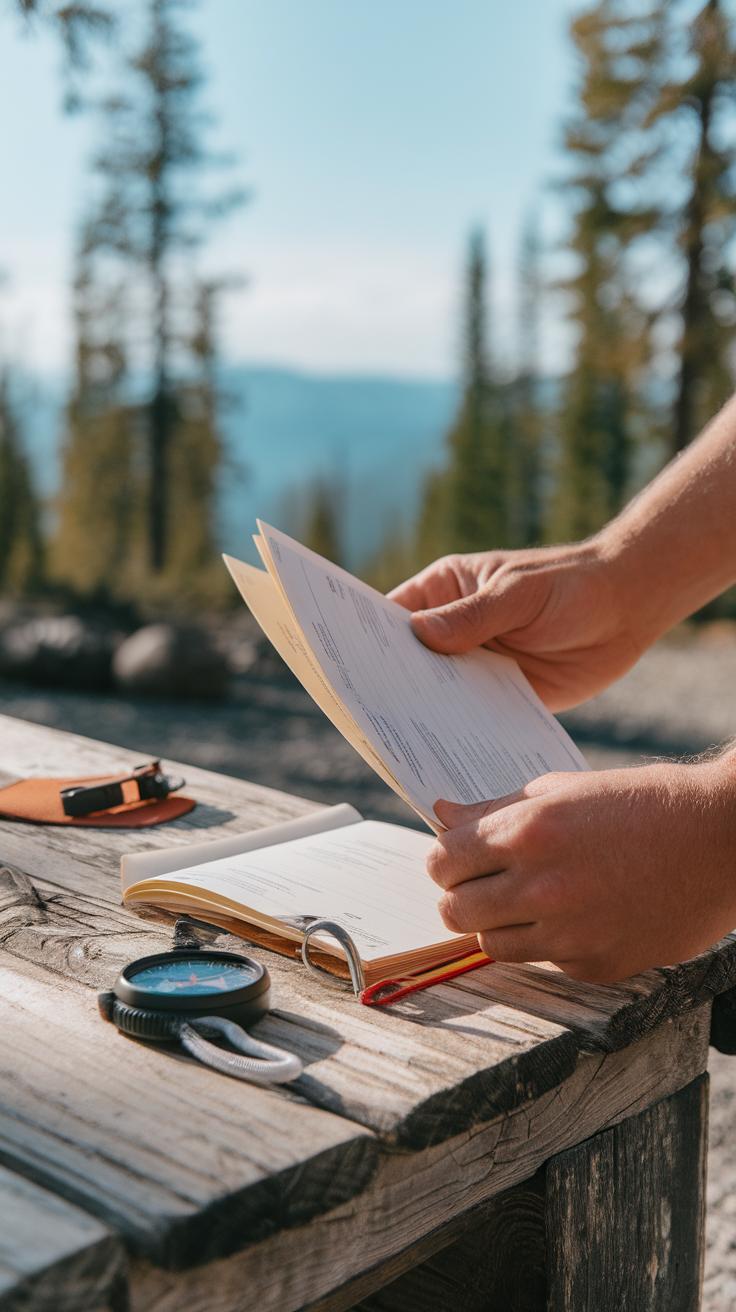
Creating a survival plan
Start with mapping out your route carefully. Use a physical map and GPS to check the trails and landmarks you will pass. Factor in your current fitness level so the plan matches what you can realistically do. Check the weather forecast often. Weather conditions can change quickly, so prepare for rain, wind, or extreme temperatures. Let someone you trust know your exact itinerary. Share when you plan to leave and return, and update them if plans change. This simple step helps rescuers find you if something goes wrong. How will your plan change if weather turns bad suddenly? Think through these details to stay ready.
Skill-building practice tips
Start practicing fire-starting in a safe area away from dry leaves and other fuel. Use different methods like matches, lighters, and flint to see which works best for you. Build shelters in your backyard or local park using natural materials; this prepares you for making quick shelters when camping. First aid practice can be done with a training kit or by joining a certified course. Practice applying bandages or treating wounds so your hands remember the motions. Learning from experienced campers or survival experts can speed up your learning curve. Have you asked friends or local groups if they offer workshops or guided sessions? Hands-on lessons can improve your skills beyond what reading alone provides.
Conclusions
Knowing survival skills prepares you for the unknown and unexpected outdoors. You learn practical ways to stay alive and safe. These techniques include finding water, food, and shelter, starting a fire, and giving first aid. With practice, you can react calmly in emergencies. What once seemed difficult becomes manageable and less frightening. Your camping trips become more rewarding and secure. Have you thought about which skills need your focus first?
Begin your preparation today by learning and practicing these essential survival techniques. Test your skills in safe environments before heading into the wilderness. As your knowledge grows, so does your ability to protect yourself and others. Your confidence will improve, and nature will feel more inviting. Remember, survival skills are not just for experts but for every camper. What steps will you take now to ensure your next camping trip is safe and successful?