Introduction
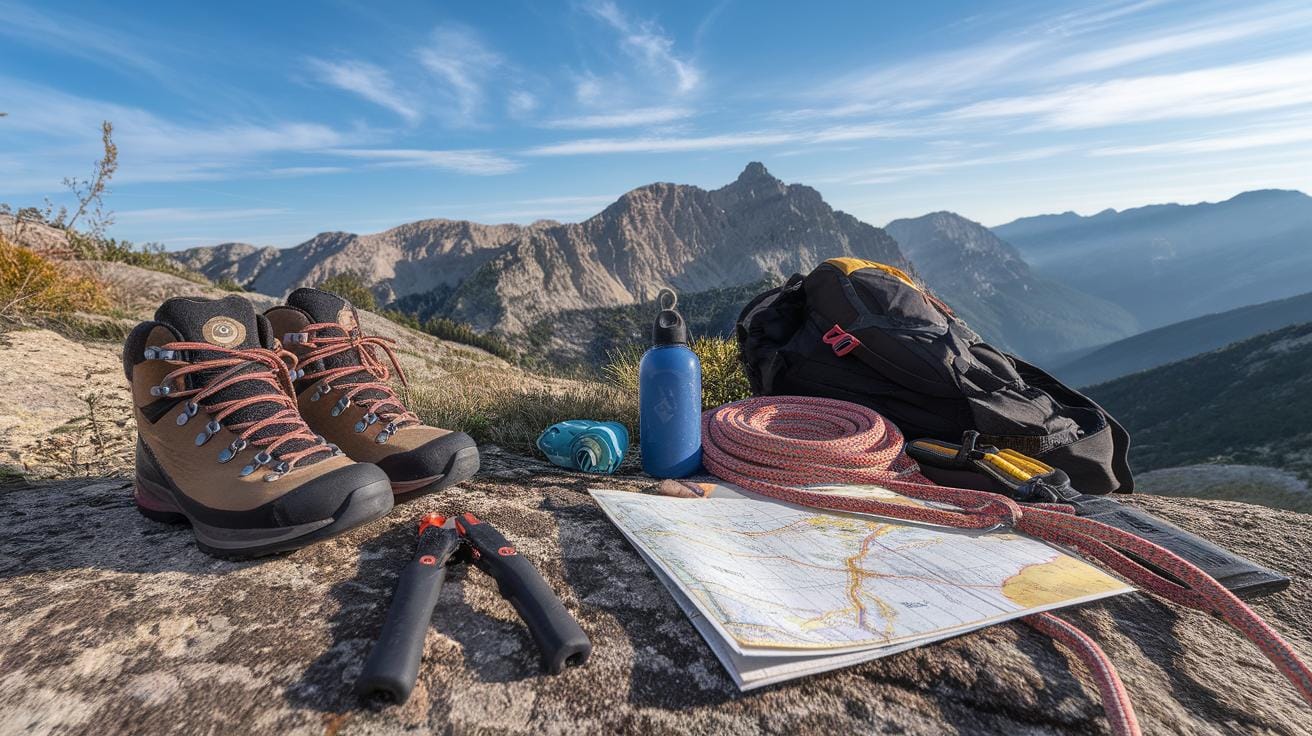
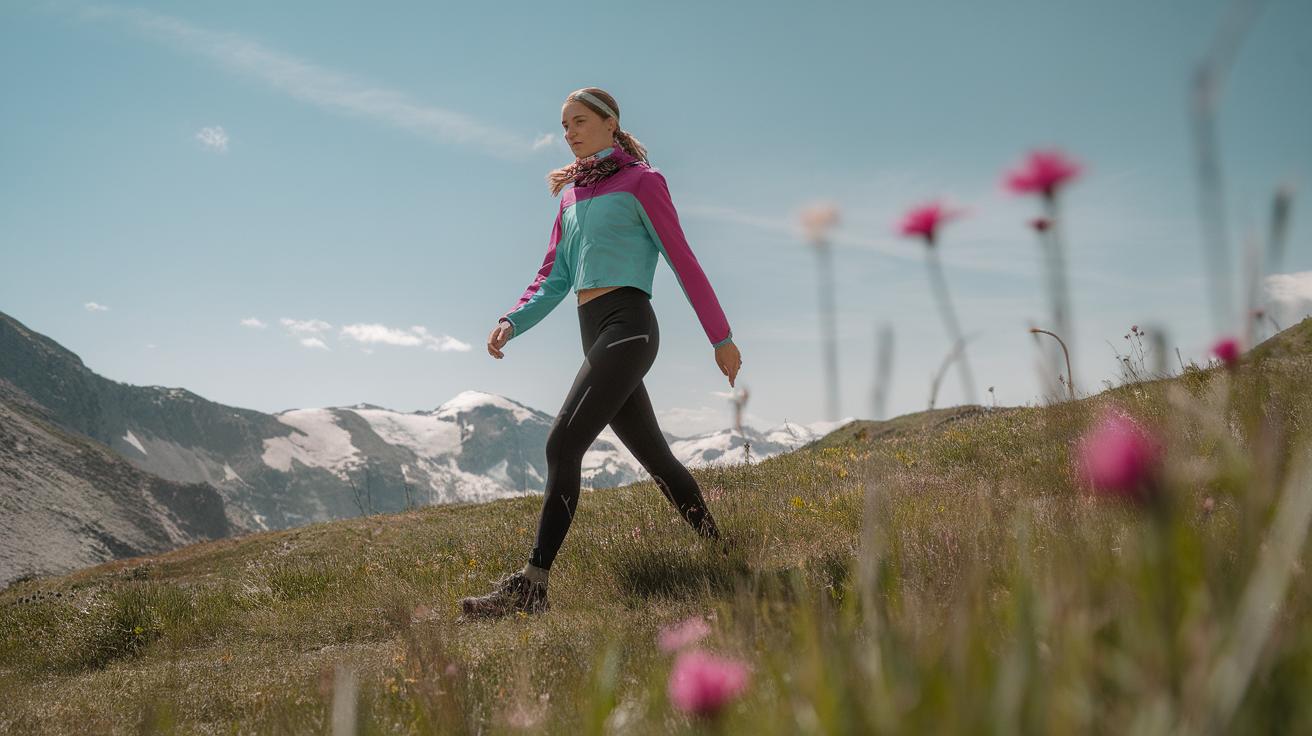
Hiking is a popular outdoor activity that offers physical exercise and a deep connection with nature. Whether you are a beginner or an experienced hiker, having the right gear is vital. Selecting proper hiking equipment depends on the trip’s length, terrain, weather, and your personal needs. Understanding what to pack can enhance your safety and comfort on the trail. The essentials cover a variety of categories, from navigation tools to clothing and shelter.
This article will guide you through the important hiking gear every outdoor enthusiast should consider. You will learn about practical items that support your journey and emergency preparedness. The gear discussed here also includes recommendations from experienced hikers and organizations to ensure you are ready for different situations. Are you prepared for your next adventure with the right equipment? Explore this guide to make your hiking trips successful and enjoyable.
Selecting the Right Footwear for Your Hike
Choosing the right footwear shapes your entire hiking experience. Your shoes must match the terrain you plan to tackle, whether it’s smooth trails, rocky paths, or snowy slopes. Weather conditions also influence your choice—wet environments call for waterproof options, while dry, hot climates need breathable materials.
Look for shoes that provide solid traction. A good grip prevents slipping on uneven or slippery surfaces. Ankle support matters most on rough trails with loose rocks or steep climbs. It helps keep your ankles stable and prevents injuries. Waterproof boots protect your feet from rain, mud, and puddles, keeping you dry and comfortable.
Personal comfort should guide your selection. Your footwear needs to fit well and avoid pinching or rubbing. Have you ever noticed how a single blister can ruin a whole hike? Investing time to find shoes that fit your feet perfectly makes long hikes more enjoyable and safer.
Types of Hiking Shoes
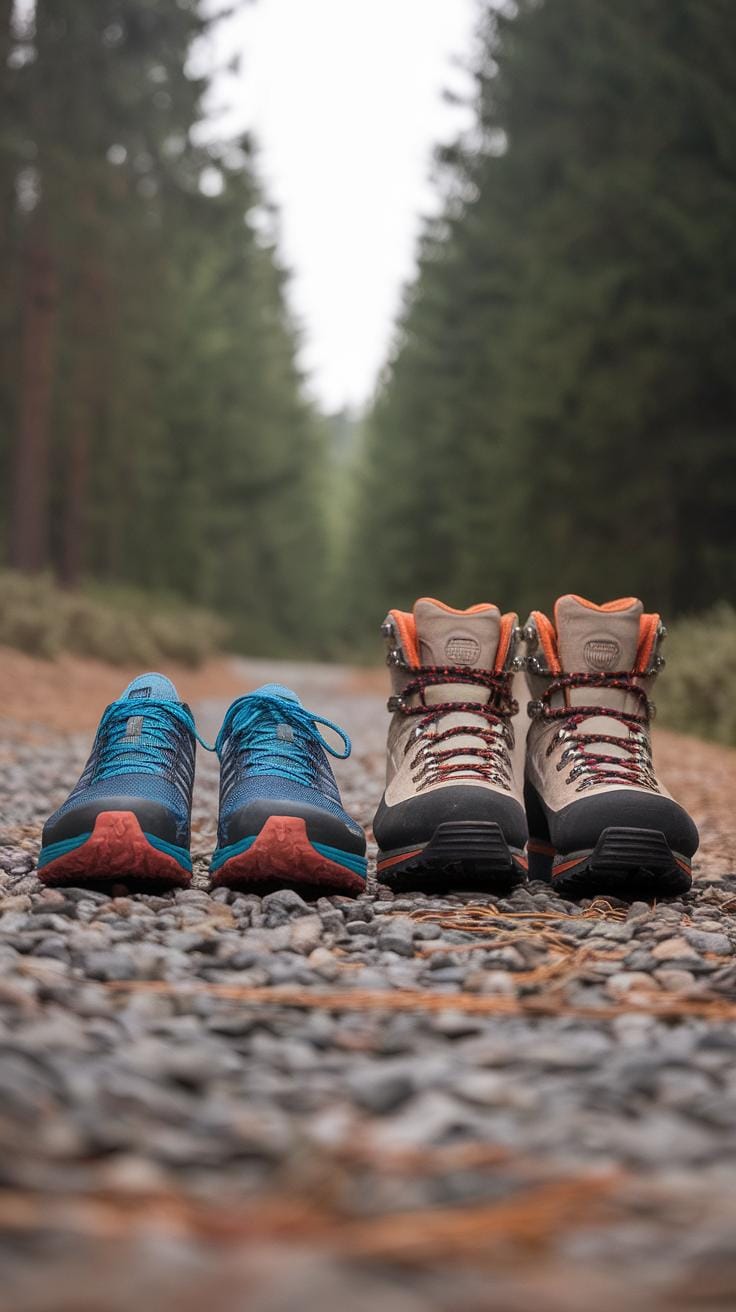
Trail runners resemble running shoes but with tougher soles. They work well for well-maintained trails and lighter hikes. Their low weight helps you move faster but offers less ankle protection.
Hiking boots target more rugged terrain. They come with sturdy soles and high ankle support. These boots are ideal for rocky trails and carrying heavier loads. Their durability handles rough conditions better than trail runners.
Mountaineering boots build on hiking boots but provide extra insulation and rigid soles. They suit high-altitude climbs, snow, and ice. Their design focuses on keeping your feet warm and protected in extreme conditions and rough, steep terrain.
Features to Look For
The sole’s traction is the first feature to check. Deep, aggressive lugs grip dirt, rocks, and mud. Hard rubber soles generally last longer and provide more traction. Consider soles like Vibram for reliable footing on different surfaces.
Waterproof materials keep your feet dry during wet hikes. Look for Gore-Tex or similar membranes that block water but allow sweat to escape. This stops your feet from overheating or getting damp inside your boots.
Good ankle support changes how you walk on uneven ground. High-cut boots brace your ankles, reducing the risk of twists, while low-cut shoes offer agility but less support.

Breathability prevents your feet from overheating and sweating non-stop. Mesh panels or breathable linings improve airflow, making your hike more comfortable. Does your footwear feel too hot after a few hours? Breathability can solve that problem.
Clothing Choices for Different Weather Conditions
Choosing the right clothing can change how comfortable and safe you feel on the trail. Your clothes should help control temperature and protect you from the elements. Look for fabrics that pull sweat away from your skin to keep you dry and prevent chills. Wool and polyester are great for this, while cotton often traps moisture and can make you cold.
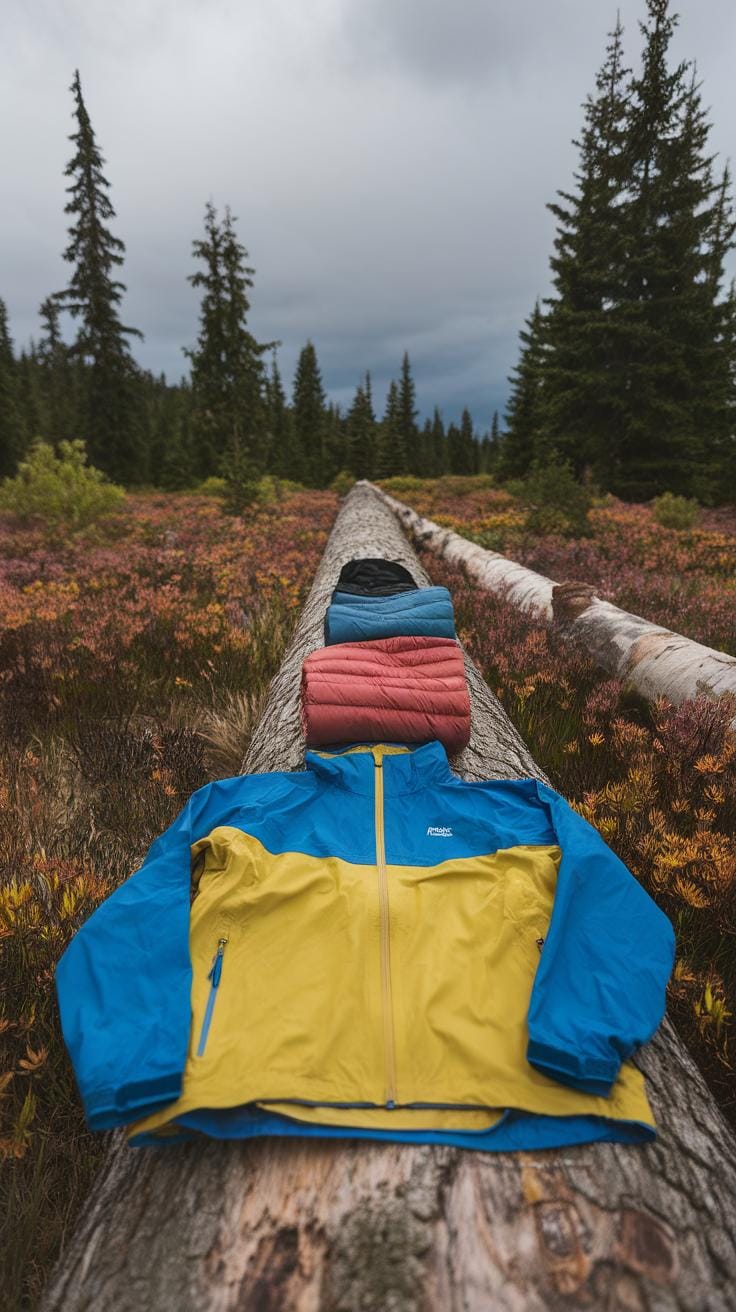
When hiking in cold weather, insulation plays a key role. Fleece and down provide warmth without too much weight. In sunny conditions, clothes with built-in UV protection guard your skin from harmful rays. If you’re hiking near campfires or cooking areas, consider fire-resistant materials to avoid accidents.
Choosing the right combination depends on the weather you expect. Think about your last hike. Did you feel cold or overheated? Adjust your clothing to keep your temperature steady the next time you hit the trail.
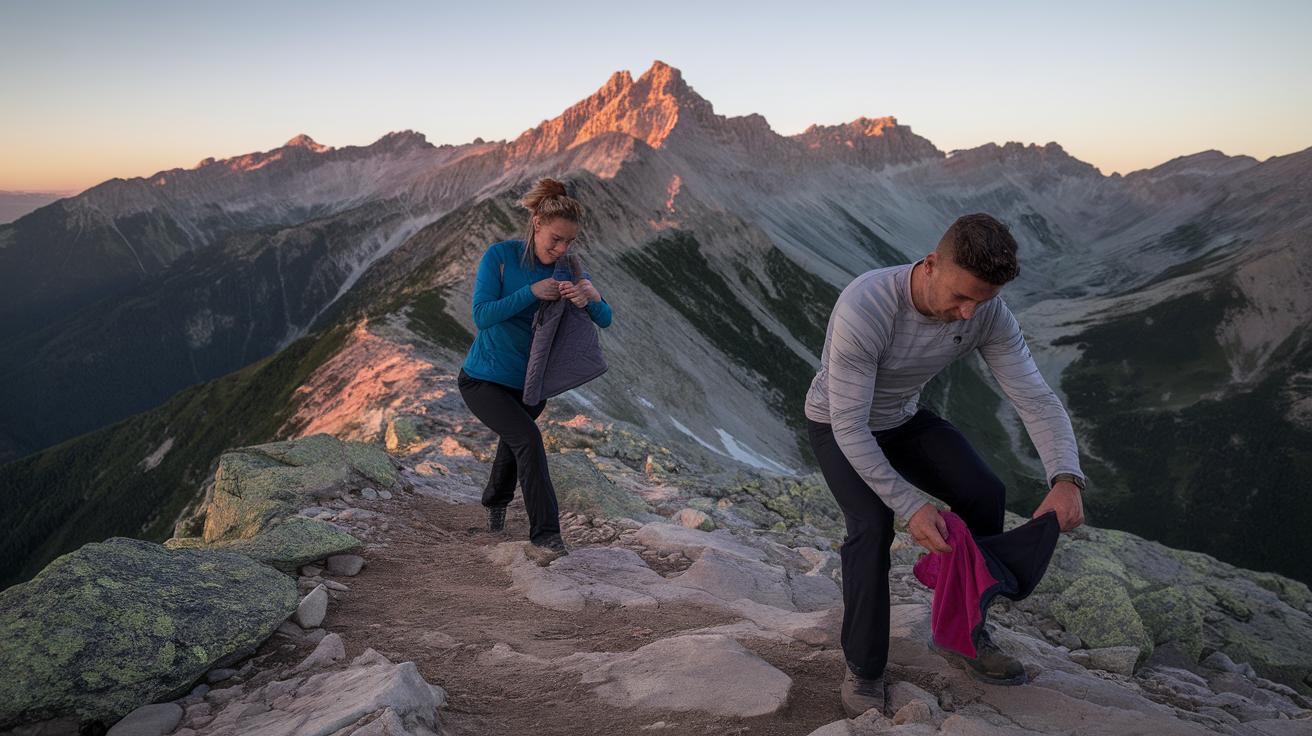
Layering Systems
The three-layer system lets you adapt to changing conditions. The base layer sits next to your skin, moving sweat away to keep you dry. Materials like merino wool or synthetic fabrics work best here.
The insulation layer traps body heat to keep you warm. Use fleece, down, or synthetic fill depending on how cold it is. You can add or remove this layer easily as your body warms up or cools down.
The shell layer protects you from wind, rain, and snow. It should be waterproof and breathable. This layer shields you from weather while letting moisture escape, so you don’t get clammy inside.
This flexible system helps you adjust your clothing on the move. Have you tested it on a windy day or during a rain shower? Layering can make your hike much more comfortable and safe.
Material Benefits
Not all fabrics perform the same on the trail. Wool, especially merino, manages moisture well and keeps you warm even when wet. It also resists odor, so you can wear it for days without feeling unpleasant.
Polyester dries quickly and is tough against wear and tear. It’s often used in base and insulation layers for active hiking. This material also repels water better than cotton.

Cotton absorbs sweat and slows drying, which lowers your body temperature in cool weather. It’s best avoided for active hiking but can be fine for camp clothes after your daily trek.
When picking clothes, ask yourself: Which fabric will help me stay dry and comfortable, given the hike’s demands? Choosing the right materials helps you stay focused on the trail.
Navigation Tools You Should Bring

Navigation tools are vital for any hiking trip. They help you find your way, avoid getting lost, and increase your safety during unexpected situations. Bringing a mix of traditional and modern tools gives you extra security. Knowing how to use these tools is just as important as carrying them.
Maps and compasses do not rely on batteries or signal, making them reliable backups. GPS devices help pinpoint your location and track your route quickly but can lose signal in dense forests or deep canyons. Emergency location devices signal for help when you cannot move or find your way back.
Before you start your hike, ask yourself: Can you read a topographic map? Do you know how to use a compass to find north? Have you practiced using your GPS device? Preparing with these skills prevents confusion on the trail. Carry navigation tools that suit your environment and your level of experience to stay safe and confident outdoors.
Traditional Tools
Topographic maps show terrain details like elevation, rivers, and trails. They help you choose the safest and easiest route. A compass points north and works alongside the map to locate your position and direction.
Using these tools takes practice. You must understand map symbols and how to orient the map to the terrain around you. A compass helps you follow a set bearing to a specific point. If your GPS fails, these tools become your lifeline. You should carry both on every hike, even short ones, and take time to learn how they work before heading out.
Modern Technology
GPS devices provide real-time location data and can store routes and waypoints. They make navigation easier, especially in unfamiliar terrain. However, GPS units depend on batteries and satellite signals, which might not work well in remote areas.
Personal locator devices send emergency signals with your location to rescuers. They are lifesavers if you get injured or lost. These devices do not replace your skills but add a layer of protection.
Use GPS and locator devices as helpers, not the only navigation method. Are you carrying extra batteries or a charger? Do you know how to activate your emergency device? Understanding technology limits keeps you prepared if things go wrong on the trail.
Staying Hydrated and Nourished on the Trail
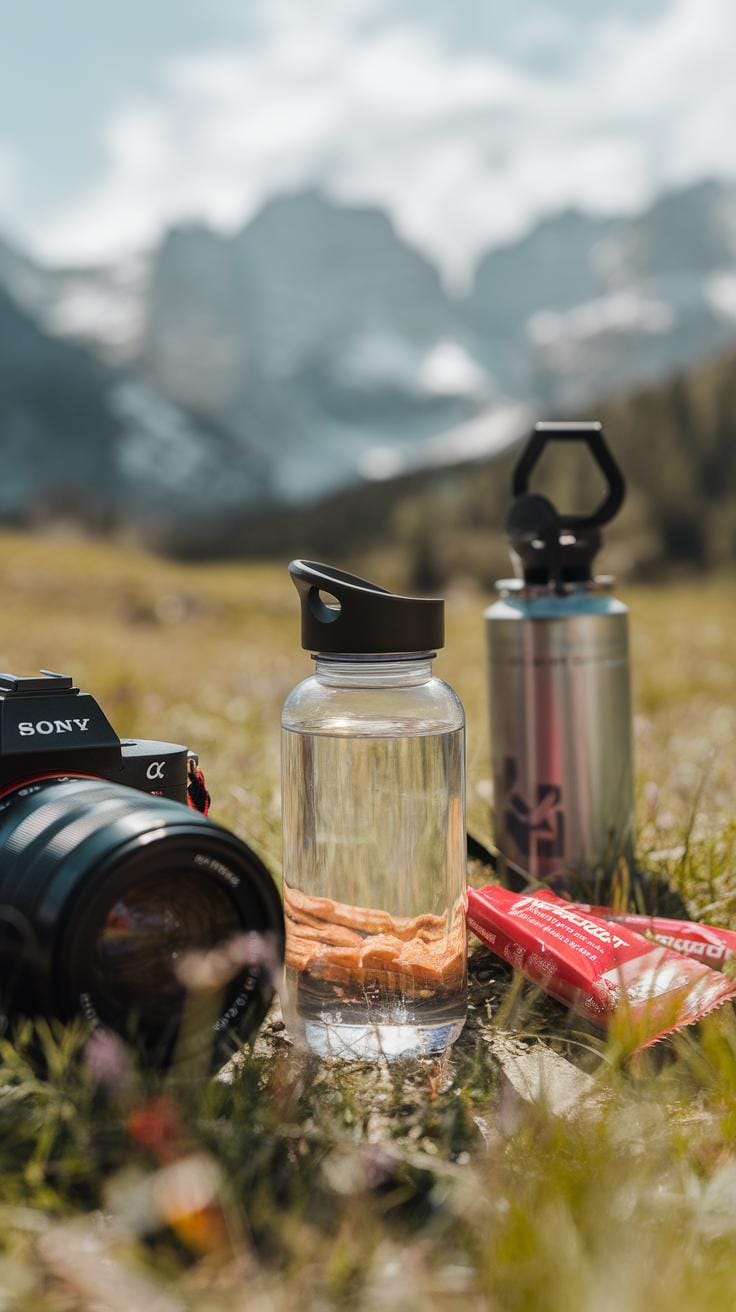
Carrying enough water and food shapes every hiking experience. You depend on water to keep your body working well under physical stress. Food supplies the fuel your muscles need. Without them, fatigue and dehydration bring serious risks.

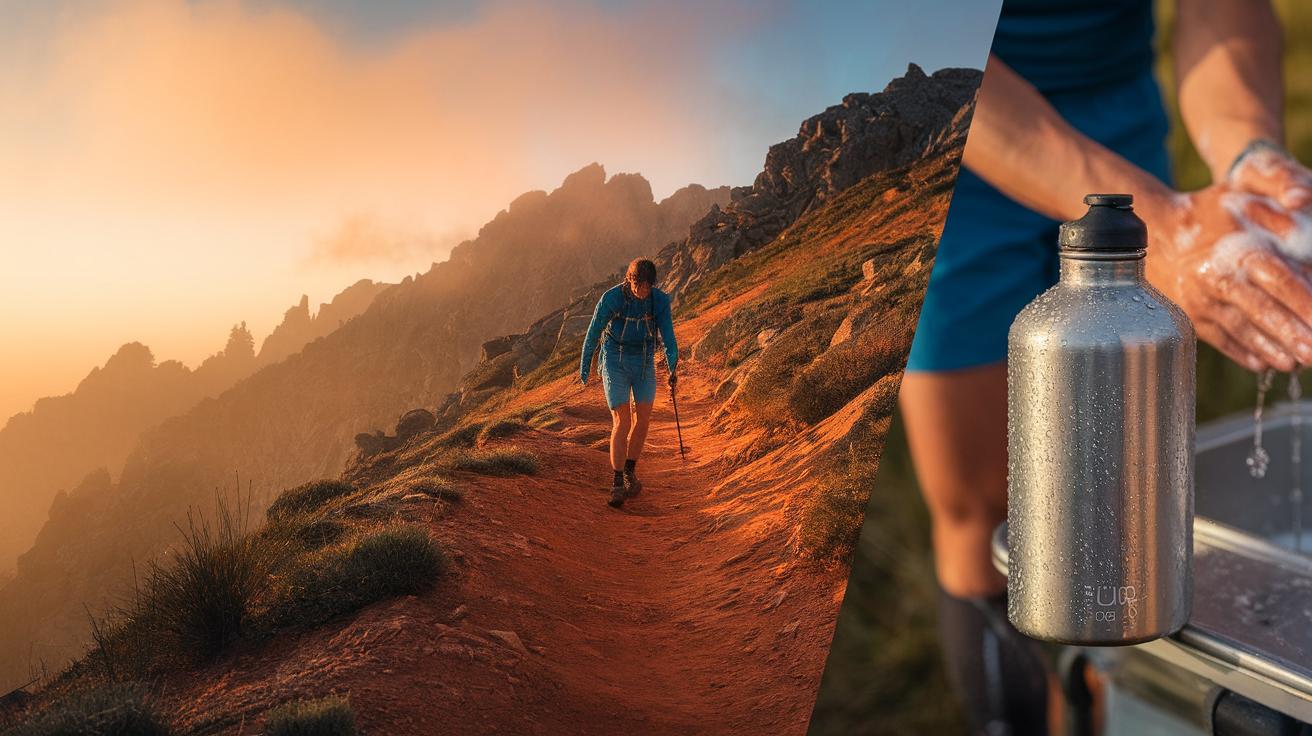
Water from natural sources must be purified before drinking. You can use portable filters that remove bacteria and protozoa. Chemical tablets treat water quickly but might leave a taste. Boiling water is reliable but needs time. What method fits your hike and gear will help you stay safe.
Choosing trail snacks involves balancing energy and weight. Lightweight, calorie-dense foods keep your pack manageable while giving steady fuel. Think about how your body reacts and plan for easy access on the move. When did you last check your hunger and thirst levels? Responding early avoids problems.
Water Management
Planning your water supply starts with how long and tough your hike will be. Carry at least two liters per person for a half-day hike. Longer trips require extra or a plan to refill from streams or lakes. Don’t rely only on stored water.
Purifying water protects you from unknowable germs. A small filter or purification tablets work well when you refill from natural sites. Testing water sources ahead helps you pick safer spots. How do you schedule your drinking? Sip regularly to maintain steady hydration instead of waiting till you feel thirsty.
Food Selection
Select foods that pack energy without bulk. Nuts provide fats and protein that fuel slow release energy. Energy bars are designed for quick calories and convenience. Dried fruits give natural sugars and vitamins to help combat fatigue.
Consider portion size and ease of eating on the trail. Should you carry fresh food, it must last and fit your pack. Take snacks you enjoy so you’ll eat enough. How often do you break to refuel? Planning small frequent snacks keeps your energy steady and your mood positive.
Emergency Gear to Carry

Preparedness can make a big difference when unexpected situations arise on the trail. Carrying emergency gear means having tools to handle injuries, sudden weather changes, or equipment failures. A compact first aid kit should include bandages, antiseptic wipes, pain relievers, and blister treatment. Knowing how to use these items prevents minor problems from turning into major ones.
Bringing fire-starting tools like waterproof matches or a reliable lighter helps you stay warm or signal for help. Carry materials like cotton balls soaked in petroleum jelly or firestarter sticks for easier ignition under wet conditions. Imagine facing a chilly night—fire can mean safety and comfort.
Your repair kit should have items such as duct tape, a multi-tool, and extra shoelaces. These fix common gear issues on the go, saving you from abandoning the hike early.
An emergency shelter, like a compact tarp or bivy sack, provides vital protection against rain, wind, or cold. It occupies little space but offers critical shelter if you get stuck overnight. Will you have what it takes if the unexpected happens to you?
First Aid and Safety
Basic first aid items can prevent a minor injury from worsening. Include adhesive bandages in various sizes, sterile gauze pads, tweezers for removing splinters, and antiseptic ointment. If you use medications like allergy pills, pack those too. Carrying a small CPR mask or gloves adds safety during emergencies.
Knowing how to avoid injuries is just as vital. Wear sturdy shoes to prevent ankle sprains and stretch before hiking to reduce muscle strain. Watch where you step to skip tripping hazards. Having these essentials and staying alert keeps you safer during every step.
Fire and Shelter
Starting a fire outdoors requires reliable gear and practice. Carry waterproof matches, a flint striker, or a windproof lighter. Store them in a dry container. Include firestarter materials that light easily, even in damp conditions.
Emergency shelters range from lightweight tarps to space blankets and bivy sacks. They protect you from rain, wind, insects, and cold temperatures. Choose one that suits your hike’s length and conditions. Learning how to set it up quickly ensures you stay protected before night falls.
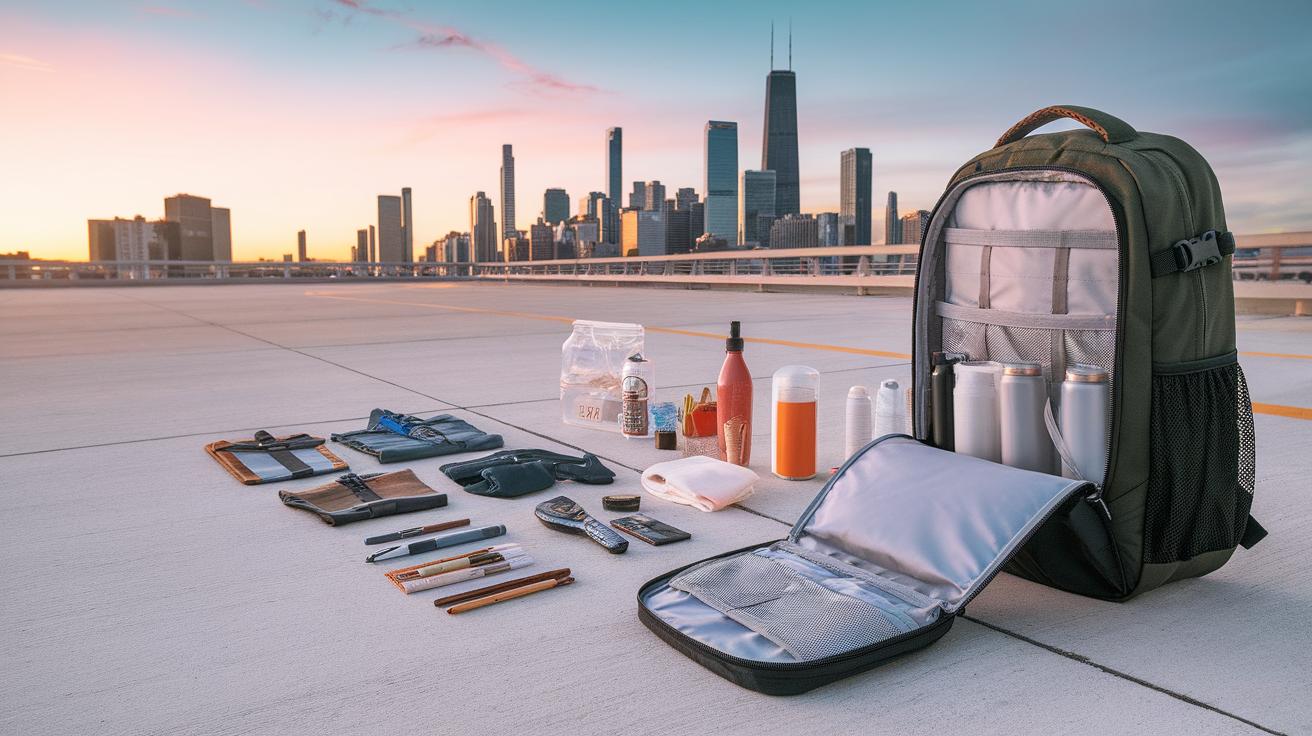
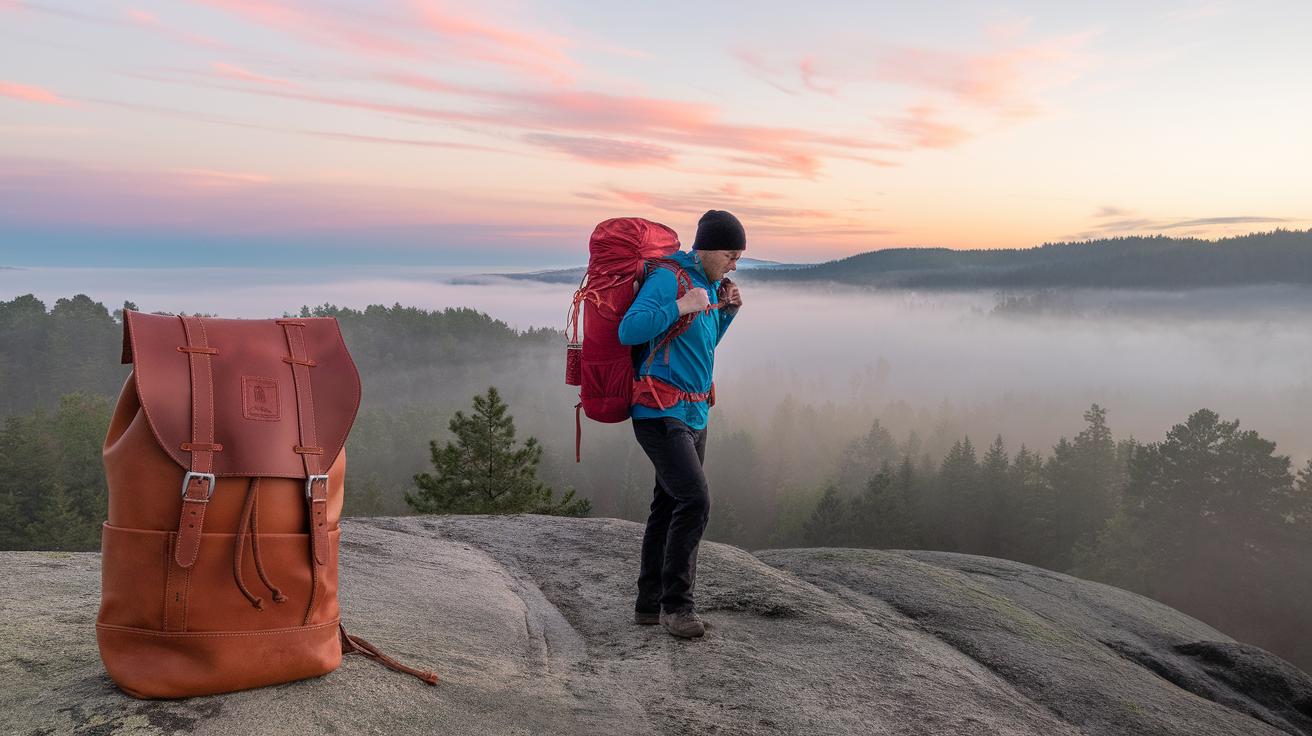
Optimizing Your Backpack and Carrying Methods
Choosing the right backpack starts with your trip length and the gear you plan to carry. For short day hikes, a 15 to 25-liter daypack works well, keeping your load light and mobility high. Longer trips require larger backpacks, often 40 to 60 liters, to hold extra clothing, food, and sleeping gear. You might need an even bigger one if you’re carrying technical equipment or group supplies.
How much weight do you want on your back, and how far will you carry it? These questions help determine size and type. Look for adjustable straps and padded hip belts to transfer weight from shoulders to hips, reducing fatigue. Backpacks with breathable fabrics improve comfort by letting sweat evaporate.
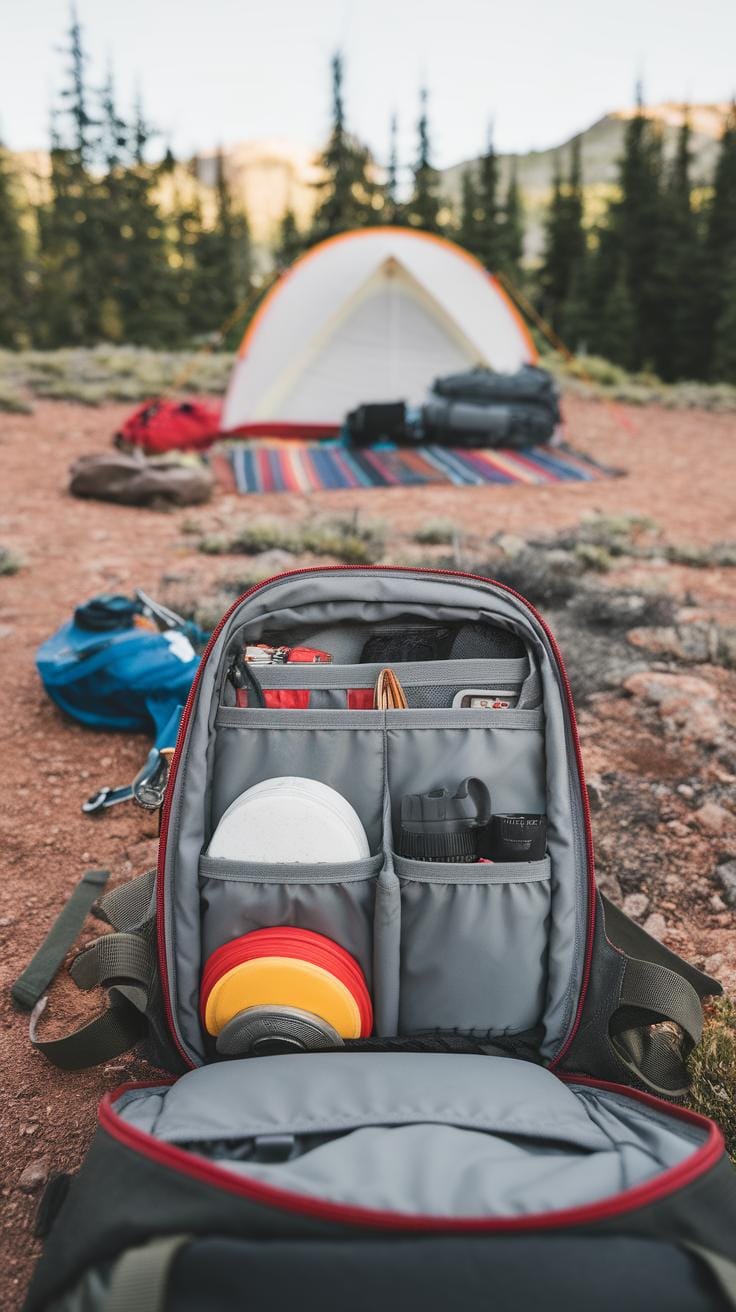
Packing efficiently starts with organizing gear by use and weight. Place heavy items close to your spine and near the middle of the pack. This balances your center of gravity and makes hiking easier. Store frequently used items in top or side pockets for quick access.
Consider using compression straps to reduce bulk, and pack smaller bags inside your main backpack to keep things tidy. How do you organize your backpack to avoid unpacking everything for one item? Developing a system saves time and energy on the trail.
Backpack Types
Daypacks fit essential items for short hikes, like water, snacks, and a rain jacket. They usually lack large frames and weigh less. Cargo backpacks offer more space and often include a frame for support. These are ideal for overnight trips or carrying heavier loads.
Specialized carrying methods include hydration packs, designed with built-in water reservoirs, perfect for staying hydrated without stopping. Some backpacks come with attachment points for trekking poles, ice axes, or sleeping bags, tailored for specific activities like mountaineering or long-distance hikes.
Choosing the right type means matching your pack to your hiking style and environment. What features will make your trip smoother and gear more accessible?
Packing Tips
Balance your pack by placing dense, heavy gear in the middle and close to your back. This lowers strain and keeps you steady on uneven terrain. Lighter items belong near the top or edges to keep the load stable.
Use gear cubes or dry bags to separate clothes, food, and emergency items. This organization makes retrieving things faster and prevents unnecessary repacking. Rolling clothes can save space and reduce wrinkles.
Think about the order of what you’ll need during the day. Keep rain gear and first aid kits at the top or outside pockets for quick access. Are you packing cleverly enough to avoid digging through your backpack repeatedly?
Adjust your shoulder straps and hip belt snugly before you start hiking. A well-fitted pack feels like part of your body and can reduce shoulder and back pain over long distances. Small adjustments during breaks help maintain comfort.
Illumination and Visibility Essentials
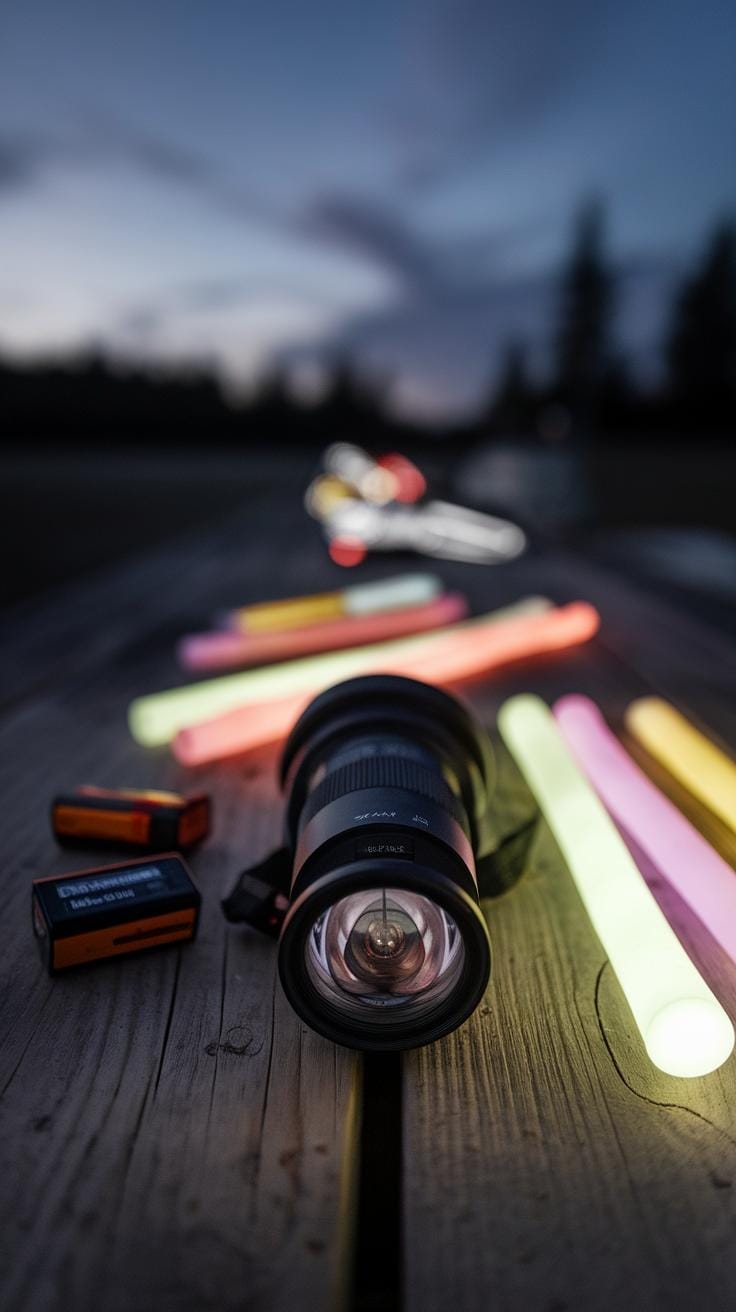
Your hiking experience depends a lot on having reliable light sources. Headlamps and flashlights help you see clearly on dark trails and signal for help if needed. Using these devices correctly keeps you safe and makes your hike more comfortable. For example, a bright headlamp allows you to keep your hands free while navigating tricky paths at night. Flashlights let you control the direction of light precisely, which is useful when signaling or exploring a specific area.
Maintaining your light gear is simple. Check batteries before every trip and clean the lenses to keep the light strong. Store your devices in a dry spot inside your backpack to prevent damage from moisture. Testing your lights in the dark before hitting the trail ensures you won’t be caught without enough illumination after sunset.
Choosing Light Sources
Headlamps offer the convenience of hands-free use and usually come with adjustable brightness settings. Their beam spreads out, lighting up a wide area in front of you. Most headlamps have decent battery life, lasting from 10 to 30 hours depending on the mode.
Flashlights focus light in a narrower beam. They often produce a stronger, more intense light but need to be held in one hand. Battery life varies widely, from a few hours in high-intensity modes to over 20 hours on low. Consider the type of hiking you plan to do. If you expect to hike in the dark or handle gear, a headlamp is likely more useful.
Safety Tips
Carrying spare batteries is a must. Batteries lose power faster in cold or wet conditions. Keep extras in a waterproof pouch inside your pack. Think about packing a portable charger if your light source supports USB charging.
Learn simple light signals for emergencies, such as three short flashes to call for help. Using your light to signal can attract the attention of other hikers or rescuers if you get lost. Have you practiced these signals? Being prepared to communicate with light can make a difference if you face trouble on the trail.
Personal Safety and Protection Items
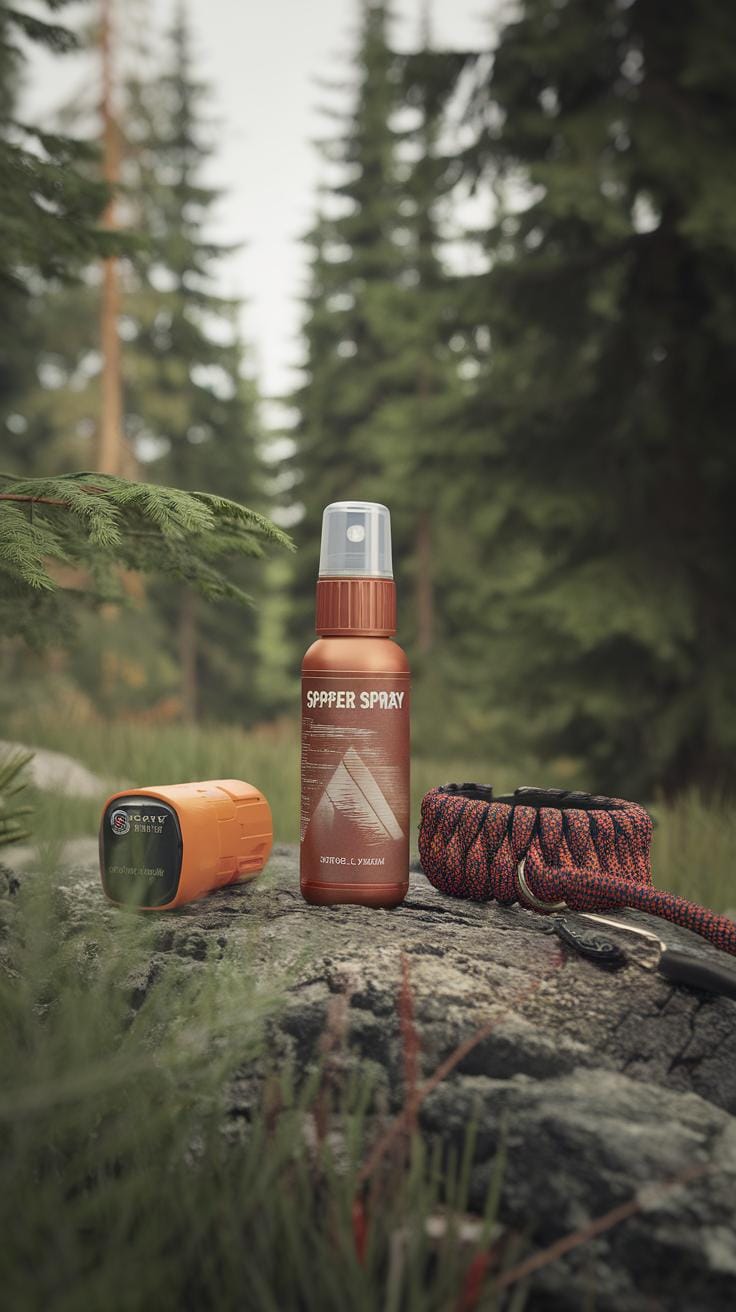
Protecting yourself from insects and wildlife plays a big role in staying safe outdoors. Insect repellent helps keep mosquitoes, ticks, and other bugs at bay. Applying repellent before you start hiking can reduce the chance of bites that may cause irritation or disease.
When hiking in areas known for bears, carrying bear spray may be necessary. Bear spray is not a weapon but a deterrent used to prevent attacks if you encounter a bear. Knowing when and how to use it responsibly can make a difference in an emergency. Practice handling it before hitting the trail.
Sun protection is equally important for your safety. Wearing long-sleeved, lightweight clothing shields your skin from UV rays while keeping you cool. Use sunscreen with a high SPF on exposed areas and reapply often, especially if you sweat or swim.
Sunglasses protect your eyes from harmful sunlight and glare, reducing fatigue and improving visibility. Choosing sunglasses with UV protection helps prevent long-term eye damage.
Are you prepared to manage risks from bugs, wildlife, and sun on your next hike? Taking these steps keeps you safer and lets you enjoy the outdoors fully.
Protecting Against Insects and Wildlife
Insect repellent is a key tool to protect against ticks and mosquitoes, which can carry illnesses like Lyme disease or West Nile virus. Look for products containing DEET, picaridin, or oil of lemon eucalyptus. Apply repellent on exposed skin and clothing for better protection.
Check your body and gear for ticks during and after your hike. Removing ticks quickly lowers the chance of infection.
Bear spray works as a deterrent if you accidentally come close to a bear. Keep it within easy reach, like in a hip holster or backpack pocket. Only use it if a bear approaches aggressively. Remember to stay calm and give wildlife space.
What steps will you take to prevent unwanted encounters with insects or wildlife this season?
Sun Protection Strategies
Select hiking clothes that cover your arms and legs to reduce UV exposure. Breathable, moisture-wicking fabrics help keep you comfortable when temperatures rise.
Sunscreen is more than just an extra item in your pack. Apply it evenly 15 minutes before heading outdoors. Choose broad-spectrum sunscreen with at least SPF 30 and reapply every two hours or after swimming or sweating.
Sunglasses reduce glare, protect your eyes from UV rays, and help you see trail obstacles clearly. Wrap-around frames offer added coverage, limiting light from the sides.
Have you checked your sun protection kit before your next trail adventure? Proper gear helps you stay healthy and focused on the journey ahead.
Conclusions
Equipping yourself with the proper hiking gear ensures that your outdoor adventures remain safe and enjoyable. Selecting items based on trip specifics such as weather, distance, and environment provides practical benefits. Essential gear includes navigation aids, clothing suited for conditions, hydration means, and emergency items. Carrying these items not only prepares you for unexpected situations but also improves overall hiking comfort.
Consider your own hiking habits and preferences when preparing your gear. Start with the recommended essentials and adjust the list depending on your objectives and experience. Prioritize lightweight, multifunctional equipment to reduce burden without compromising safety. By thoughtfully choosing your hiking gear, you take control of your outdoor experience and can focus on appreciating nature’s offerings. Ready to pack smartly for your next trail challenge?