Introduction
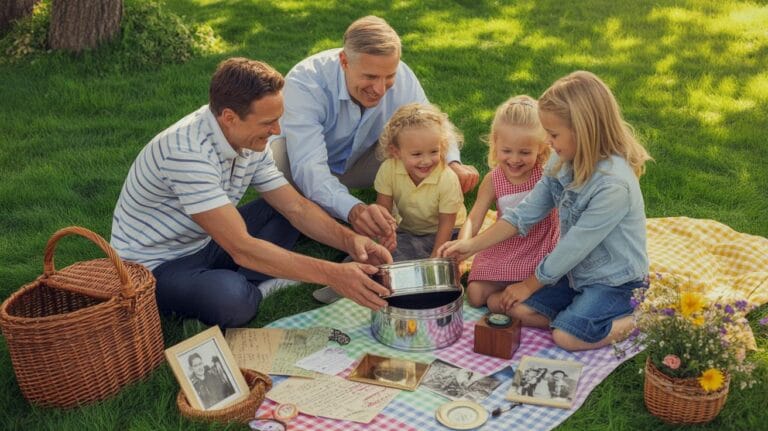
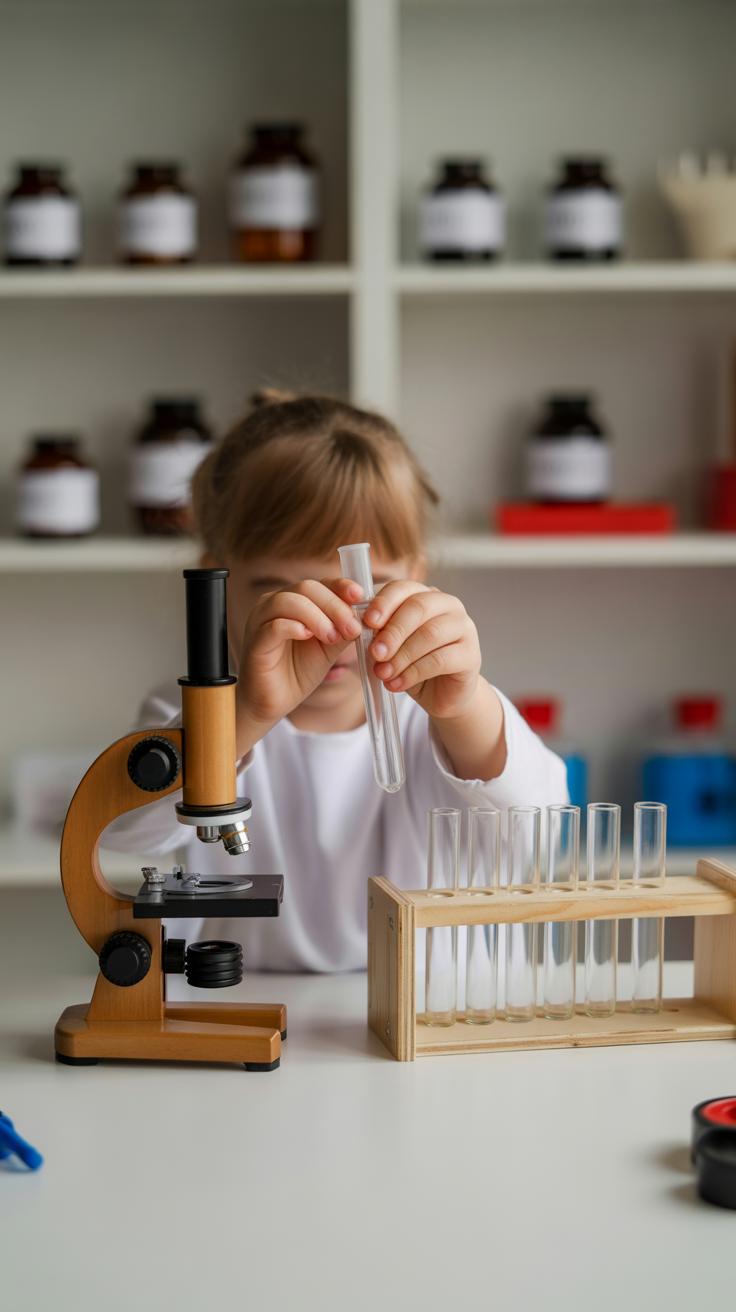
Science can be a fun and interesting subject for children when they get to learn by doing. Hands-on experiments spark curiosity and improve understanding. You can easily turn your home into a mini-laboratory by trying science experiments that use everyday items. These activities encourage kids to ask questions, test theories, and discover how things work in the real world. You don’t need expensive tools or special ingredients—just a few household items and a bit of enthusiasm.
Performing science experiments at home helps children develop practical skills and boosts their confidence in learning. This article presents a range of easy science experiments designed for kids. Each experiment explains the steps, what to observe, and the science behind it. Are you ready to bring science alive and make learning exciting for your child? Let’s get started with science projects that are educational and enjoyable.
Getting Started with Basic Science Tools
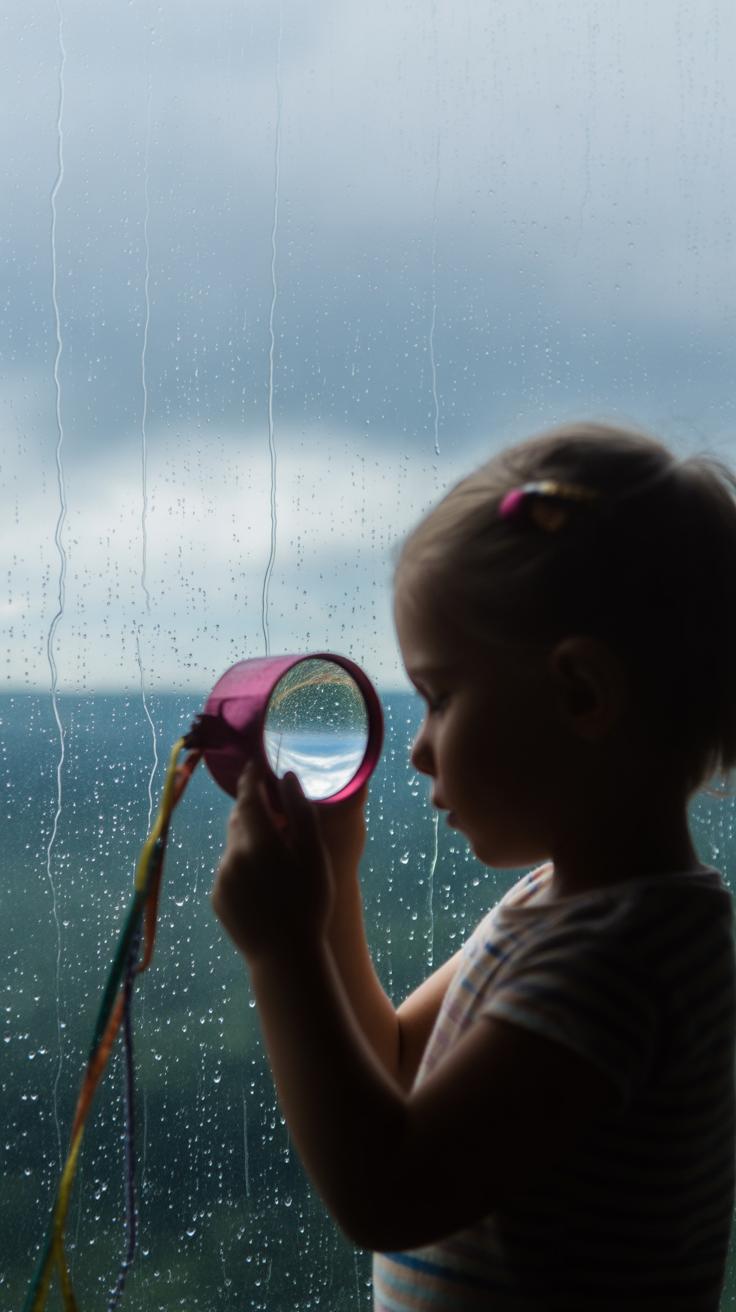
Science experiments at home don’t need fancy equipment. Many tools you need are already in your kitchen or garage. Items like measuring cups, spoons, jars, paper towels, and plastic containers work well. You can create simple tools too, such as a homemade magnifying glass using clear plastic or a funnel from a water bottle.
Safety comes first during experiments. Always wear protective gear like goggles if you work with liquids or powders. Wash your hands afterward and avoid touching your face. Never taste or smell unknown substances. Keep a clean workspace to avoid spills and accidents.
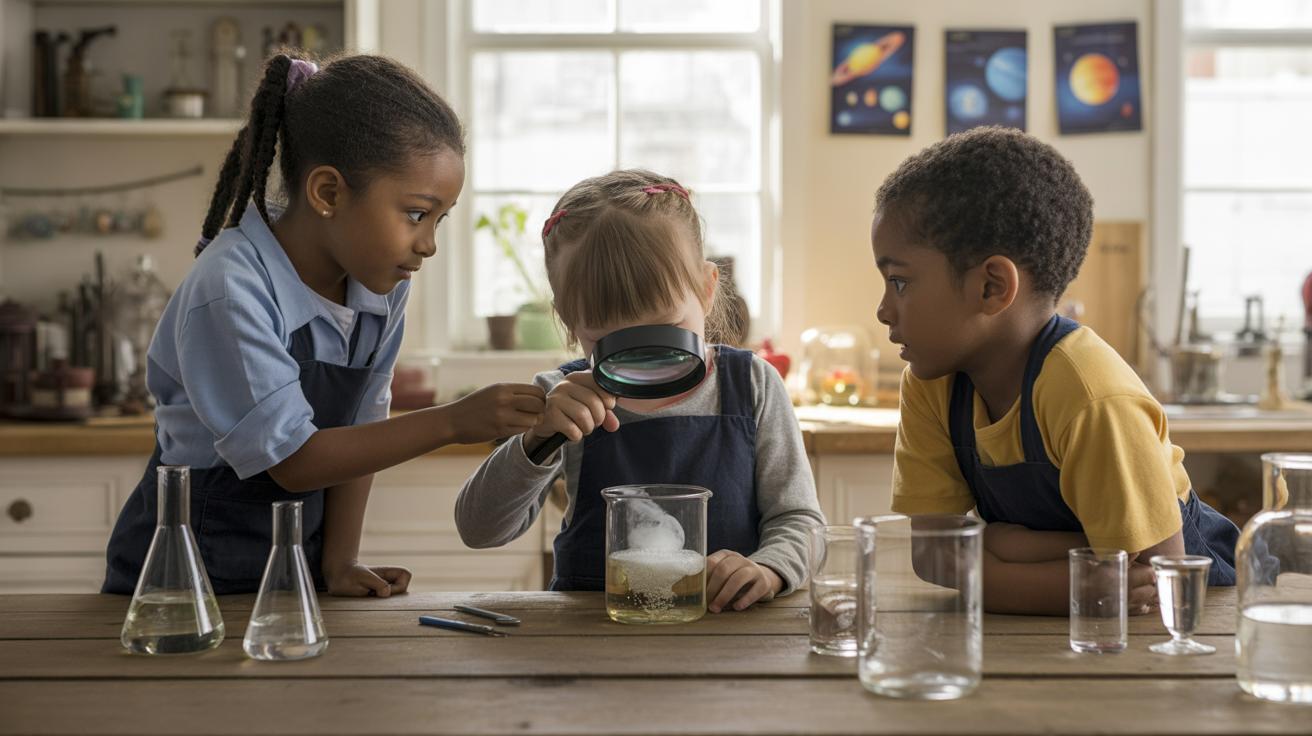
Observation is a key part of science. Encourage kids to watch carefully and describe what happens. Use a notebook or a sheet of paper to write or draw notes. Ask questions like, “What do you see? Did anything change?” This helps develop critical thinking and keeps track of results.
Setting Up Your Home Science Station
Choose a clear, flat surface like a kitchen table or a desk for your science station. Make sure it is well-lit and has easy access to water. Use a tray or mat to keep everything contained and make cleanup easier.

Gather materials in one place before starting. For example, have containers with water, spoons, paper towels, and measuring tools ready. Organize items in small boxes or plastic bags for quick setup. Keeping everything tidy helps the experiment go smoothly.
After experimenting, clean up right away to avoid stains or sticky spots. Store tools and leftover materials safely where kids can find them next time but out of reach of very young children. A well-kept station shows care and encourages regular science play.
Understanding Safety Rules for Kids
Simple safety rules help prevent accidents during experiments. Always ask for adult permission before starting. Work in a safe area where spills can be cleaned quickly without slipping hazards.
Keep experiments away from open flames or sharp objects. If an experiment involves heat or chemicals, a parent should always watch closely. Never mix unknown substances without checking if they are safe first.
Teach kids to respect the tools and materials. Remind them not to taste, sniff closely, or touch their eyes during experiments. Responsibility and supervision turn fun activities into safe learning moments for everyone involved.
Exploring Physical Changes with Kitchen Chemistry
Physical changes happen when a substance changes its form but not its identity. The molecules stay the same even if the shape or appearance alters. You can see this in everyday kitchen activities using simple ingredients.

Mixing baking soda with vinegar creates bubbling and fizzing. This shows a chemical reaction, but if you combine flour and water or melt ice, the substances only change physically. Their molecules remain unchanged, just rearranged.
Melting ice is a clear example. Solid ice turns into liquid water. The water is still the same chemically, only its state shifts due to heat. You can watch ice cubes melt on a plate or in a bowl. When chilled, the water freezes back into ice, showing the reverse physical change.
Physical changes do not produce new substances. When you notice changes in shape, size, or state during kitchen experiments, ask yourself: Is this a physical change or something new forming? Learning this helps understand how matter behaves around you.
Creating a Baking Soda Volcano
Start by shaping a small volcano using clay or playdough around a cup or bottle on a tray. Put two tablespoons of baking soda inside the container. Add a few drops of red or orange food coloring for lava effect.
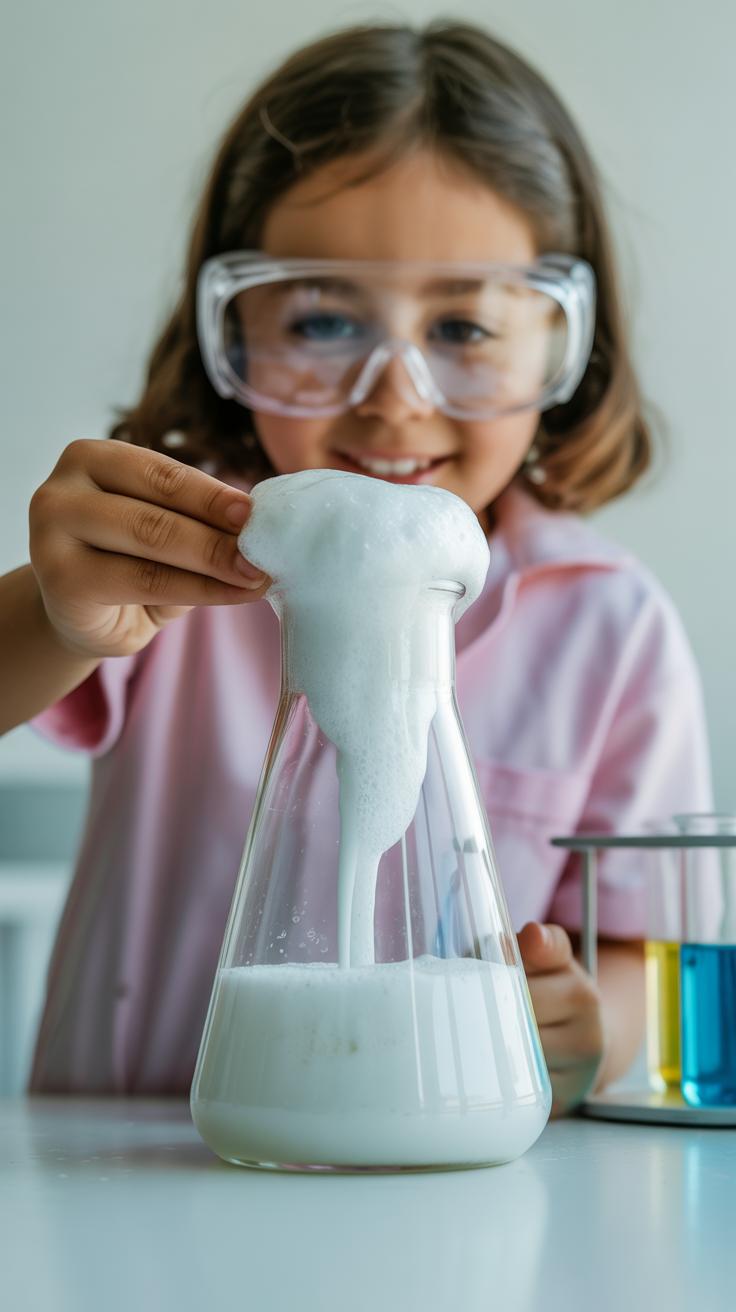
Next, pour about half a cup of vinegar into the volcano’s opening. Watch closely as bubbles and foam pour out, just like erupting lava. This happens because baking soda, a base, reacts with vinegar’s acid to release carbon dioxide gas.
Observe the bubbles growing fast and the foam spreading down the sides. This shows how gases form during the acid-base reaction. You can try changing vinegar amounts to see how it affects the eruption size.
This experiment teaches an exciting way to notice chemical reactions, unlike physical changes you saw before. Think about why bubbles appear and what creates the foam. What else could you test with baking soda and vinegar?
Observing Ice Melting and Freezing
Place a few ice cubes on a plate at room temperature and watch how they slowly melt into water. Notice the solid’s shape disappears as it turns liquid. This change depends on temperature rising above freezing point.
After the ice melts, put the plate into the freezer. Check after some time to see the water turning back into ice. This shows how temperature controls states of matter. Solid, liquid, and gas behave differently depending on heat.
Ask your child to describe what happens to the water molecules during melting and freezing. They stay the same while moving closer or farther apart in each state.
Experiment by placing ice cubes in different locations, like in a warm room or outside on a cold day. How fast does melting or freezing happen? Observing these changes helps understand energy’s role in physical transformations.
Discovering Chemical Reactions Safely

When you mix certain substances, you can see changes beyond just how things look or feel. Some changes involve making new materials. These are called chemical reactions. They differ from physical changes, where the material stays the same but just looks different, like melting ice or tearing paper. In a chemical reaction, the substances combine and create something new. For example, when vinegar and baking soda mix, they release a gas you can see as bubbles.
Trying chemical reactions at home can be exciting and safe if you choose simple experiments. Watching these reactions helps you understand how molecules interact. You can see colors change, bubbles form, or solids appear from liquids. These clues tell you that a chemical reaction has happened. Do you notice these kinds of changes in everyday life, like cooking or rusting metal? Recognizing them can make science feel real and close to home.
Mixing Vinegar and Baking Soda
Mix vinegar and baking soda carefully in a bowl or bottle. When they combine, you will see bubbling and fizzing. This happens because a gas called carbon dioxide forms. The reaction turns vinegar’s acid and baking soda’s base into new substances, releasing gas as bubbles. This gas builds pressure and escapes, creating the fizzy effect.
The bubbling shows a chemical reaction is taking place. You can even trap the gas by covering the bottle. What do you think will happen if you use more vinegar or baking soda? Try it with your child and watch how changing amounts affect the reaction. It’s an easy way to see chemistry in action and discuss how gases form during chemical changes.
Creating Slime with Glue and Borax
Making slime involves mixing glue with a solution made from borax and water. When these ingredients join, they create something new called a polymer. Polymers are long chains of molecules that stick together differently than the glue alone. This changes the slime’s texture, making it stretchy and fun to play with.
Slime behaves like a non-Newtonian fluid, which means it acts like a solid when you press it quickly but flows like a liquid when you handle it gently. This is different from water or juice, which always flows the same way. By making slime, you witness a chemical reaction that rearranges molecules and changes how the material feels. Have you noticed how some materials don’t fit neatly into solid or liquid categories? Slime helps explain those unique properties.
Learning About Plants and Growth
Watching plants grow offers a perfect way for you to learn about nature and science at home. Plants need light, water, air, and nutrients from soil to thrive. You can set up simple experiments to see how each factor affects growth. Use pots or containers and plant seeds that sprout quickly, like beans or radishes.
Place some plants in sunlight and some in shade to notice differences in their height and leaf color. Water some regularly while letting others dry out to observe how water affects health. Try planting seeds in different soils like sand, clay, or garden soil to compare results. Record what happens each day, noting size changes or color shifts.
By tracking these changes, you learn what plants need and how they respond to their environment. You can ask yourself, which condition helps the plant grow best? How long does it take for a seed to become a sprout? This hands-on experience makes science clear and fun, helping you understand growth one step at a time.
Planting Seeds in Different Conditions
Start by filling small pots or cups with different types of soil or planting mediums. Plant one or two seeds in each container, pressing them gently into the soil. Label each pot with the condition you are testing, such as “full sun,” “no water,” or “clay soil.”
Water some pots daily while leaving others dry, and place some in sunlight but keep others in darker spots. Check your plants every day. Measure their height with a ruler and note how many leaves appear.
Keep a simple journal with your observations. Record changes like wilting, color, or growth rate. What differences do you see between plants that get lots of light and those that don’t? How does water affect the color or strength of stems? This careful observation helps you understand how factors like light and water affect plant survival and growth.
Watching Roots and Shoots Grow
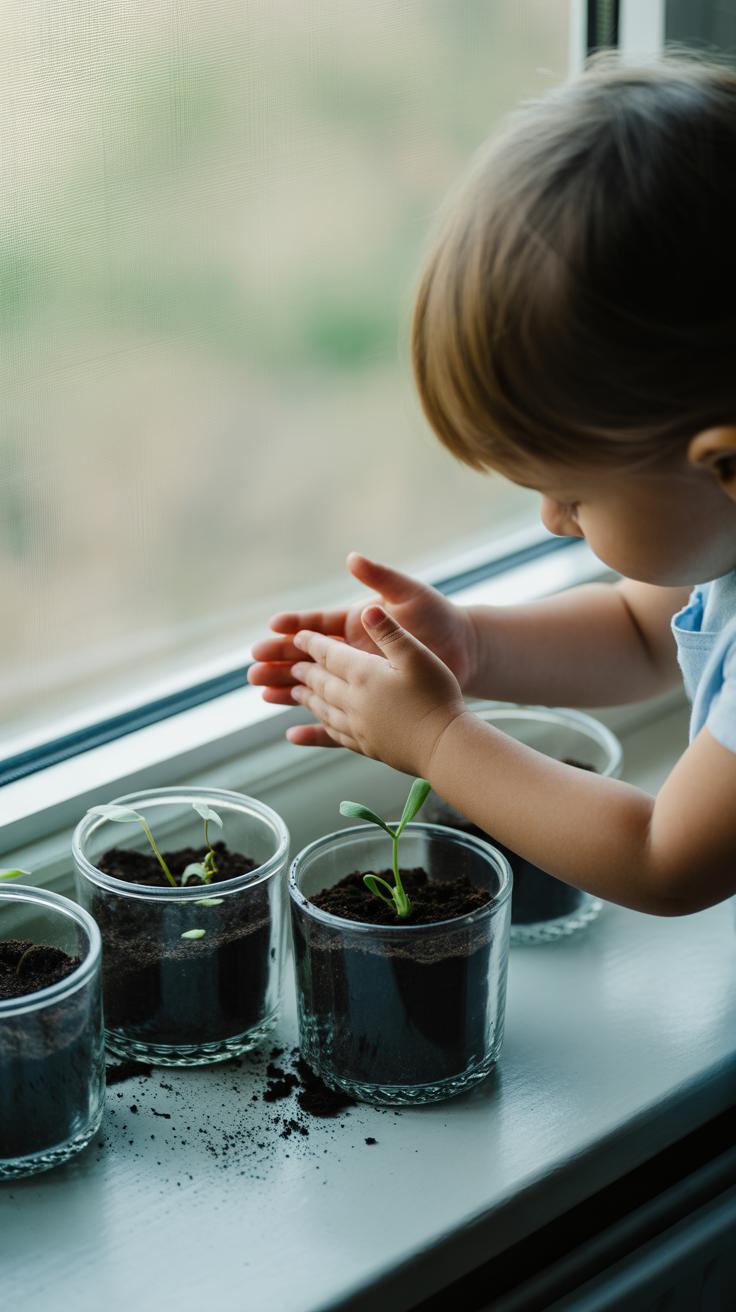
Roots are vital for plants because they soak up water and nutrients. Shoots grow upward to reach light. You can observe these parts easily by planting seeds in clear containers like plastic cups or jars.
Place a damp paper towel inside the container, then put your seeds between the towel and container wall. Keep the towel moist and watch roots grow downward and shoots grow upward. You will see the tiny white threads of roots and green shoots before the plant even has leaves.
Observing roots helps you understand how plants anchor themselves and get food. Roots grow toward water, while shoots seek light. You may ask, how fast do roots grow compared to shoots? Can roots grow without soil? This simple setup gives you a close look at the first steps of plant life and shows why roots matter to plant health.
Exploring the Five Senses Through Experiments
Children learn best when they can directly experience things. You can help your child understand their five senses by trying simple experiments at home. Start with sight by showing how colors change in reaction to different substances. For hearing, use everyday items like rubber bands or cups to explore sound vibrations and pitch.
Smell and taste go hand in hand. You can blindfold your child and have them identify different scents or tastes from household ingredients like lemon, vanilla, or spices. For touch, gather objects with various textures—smooth, rough, soft—and let your child describe how they feel.

Ask your child which sense they think is the strongest and why. Encourage them to notice how senses work together, such as how smell affects taste. These activities build curiosity and help children understand their bodies in a hands-on way.
Seeing Color Changes and Optical Illusions
Red cabbage juice makes a perfect natural indicator to show your child how acids and bases change color. Boil purple cabbage leaves in water and let your child add vinegar, lemon juice, or baking soda. Watch the liquid turn pink, blue, or green. This shows chemical reactions in a visible way.
Optical illusions also teach children about sight. Try simple illusions like the spinning spiral or the color afterimage, where staring at a bright color makes you see its opposite afterward. Ask your child why the brain tricks the eyes with these images. These experiments make kids think about how vision works beyond just what the eyes see.
Testing Hearing with Sound Vibrations
You can help your child understand sound by exploring vibrations. Stretch a rubber band around an empty tissue box or a cup and pluck it to create different sounds. Talk about how tighter or looser bands change the pitch.
Try placing your hand on a speaker or phone while music plays. Your child can feel the vibrations, linking the experience to hearing. Another simple experiment is whispering into one end of a paper tube to hear how sound travels. These activities show how sound needs vibrations to reach our ears.
Encourage your child to think about everyday sounds and what creates them. What happens to sound when you cover your ears or use a pillow? These questions make your child more aware of how hearing works.
Investigating Weather and Natural Phenomena
Observing weather helps children connect science to everyday life. You can turn your backyard or window into a weather station to track changes over days or weeks. Pay close attention to cloud shapes, wind strength, temperature, and rainfall. How does the sky look before a storm? What happens to the wind when clouds gather? These questions spark curiosity.
Simple experiments let kids measure and understand these changes. When children record data regularly, they recognize patterns and learn cause-effect relationships. Doing this at home encourages hands-on learning and critical thinking. Weather observations also teach patience and the value of consistent effort.
Making a Rain Gauge to Measure Rainfall
You can build a rain gauge using a clear plastic bottle, scissors, and a ruler. Cut the top off the bottle and invert it like a funnel. Tape it inside the bottle to guide rainwater into the base. Mark the bottle with centimeters or inches to measure rainfall.
Place your rain gauge outside in an open area, away from trees or buildings. After each rain, check how much water you collected. Record the amount and date in a notebook. Over time, compare the rainfall amounts to see if the weather is changing. How often does rain fall in your area?
This activity helps kids practice measurement and data collection. It connects numbers to real-world events.
Creating a Homemade Wind Vane
A wind vane shows which way the wind is blowing. Use a straw, a pencil with an eraser, a paper arrow, and a pin to make one. Attach the arrow to the straw so it can spin freely on the pencil’s eraser. Stick the pencil upright into a base like a block of clay.
Watch the arrow as wind pushes it. It points to the direction the wind comes from. Knowing wind direction is useful for weather predictions and planning outdoor activities like sports or gardening. Why do you think the wind changes direction on different days?
Building a wind vane teaches kids about air movement and its effects. It offers curiosity-driven science lessons that connect to the world around them.
Understanding Simple Machines Around You
Simple machines like levers, pulleys, and inclined planes help us do work by making tasks easier. These machines change the way force works, allowing you to lift, pull, or move objects with less effort. You see them in everyday items like seesaws, flagpoles, and ramps.
You can experiment with these simple machines at home. For example, using a ruler as a lever or a spool as part of a pulley system shows how force changes direction or becomes easier to apply. What tasks around your home might be easier with a simple machine? Trying these experiments helps you understand the power behind these basic tools and how they make work simpler in real life.
Building a Lever to Lift Objects
Take a ruler and place a small block or a sturdy object under it. This block will act as the fulcrum, where the lever pivots. Next, put a toy or small object on one end of the ruler to act as a load.
Press down on the other end of the ruler to lift the object. Notice how the ruler pivots around the block, making it easier to lift the toy. Changing the position of the block closer or further from the load will make lifting harder or easier. Try moving the fulcrum and see how it changes the effort you need. This simple experiment shows how levers help reduce the force required to lift heavy things.
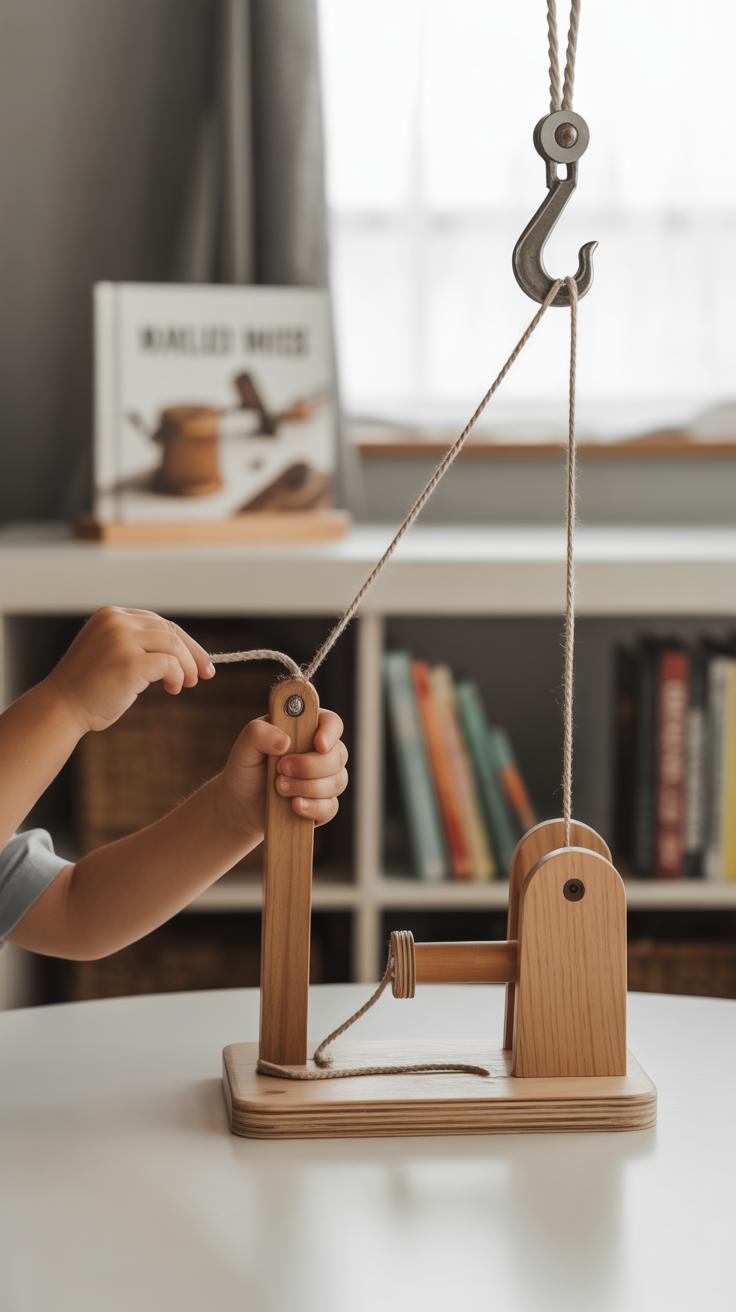
Experimenting with Pulleys Using Household Items
Find a few empty spools or small wheels and some string. Tie one end of the string to a small weight like a toy or a bottle filled with water. Loop the string over the spool to create a pulley. You can hold the spool or attach it to a fixed point like the edge of a table.
Pull down on the string to lift the weight. The pulley changes the direction of your force, making it easier to raise objects. You can add more spools and string to create a block-and-tackle system for even more lifting power. How does changing the number of pulleys affect the force needed? This activity teaches how pulleys can make lifting tasks simpler by redirecting your effort.
Fun Physics with Motion and Forces
Understanding how things move helps kids grasp important physics ideas like motion, force, gravity, and friction. You can try simple experiments at home to see these principles in action. For example, observing how objects speed up, slow down, or change direction lets you experience motion firsthand. Forces make this happen—whether you push, pull, or let gravity do the work. Gravity pulls objects toward the ground, creating the motion you see every day. Friction slows objects down and can make them stop, depending on the surface. Trying out different activities to test these forces encourages curiosity and builds scientific thinking. How fast can a toy car travel on different floors? What happens when you change the slope of a ramp? These questions guide your exploration and make science exciting.
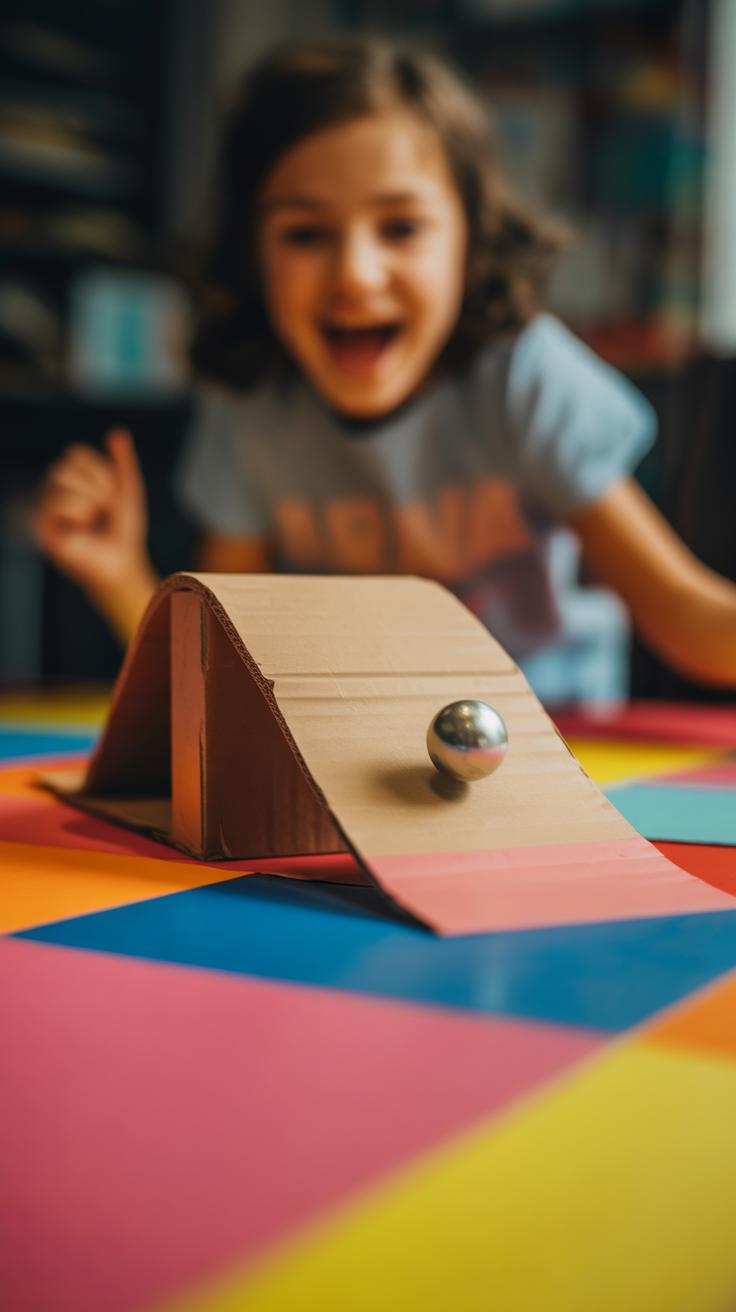
Rolling Balls and Understanding Gravity
Set up a simple ramp using a wooden board or a piece of cardboard. Place a ball at the top and let it roll down. Watch how the ball moves faster as it goes lower. This happens because gravity pulls it down the ramp. Try changing the angle of the ramp. Does the ball roll faster when the ramp is steeper? You can use a stopwatch to time how long the ball takes to reach the bottom. Repeating the test with different balls, like a tennis ball and a marble, shows how size and weight affect motion. Think about why gravity causes the ball to accelerate instead of keeping a steady speed. Recording these changes helps you see gravity in action every time you roll a ball.
Exploring Friction with Different Surfaces
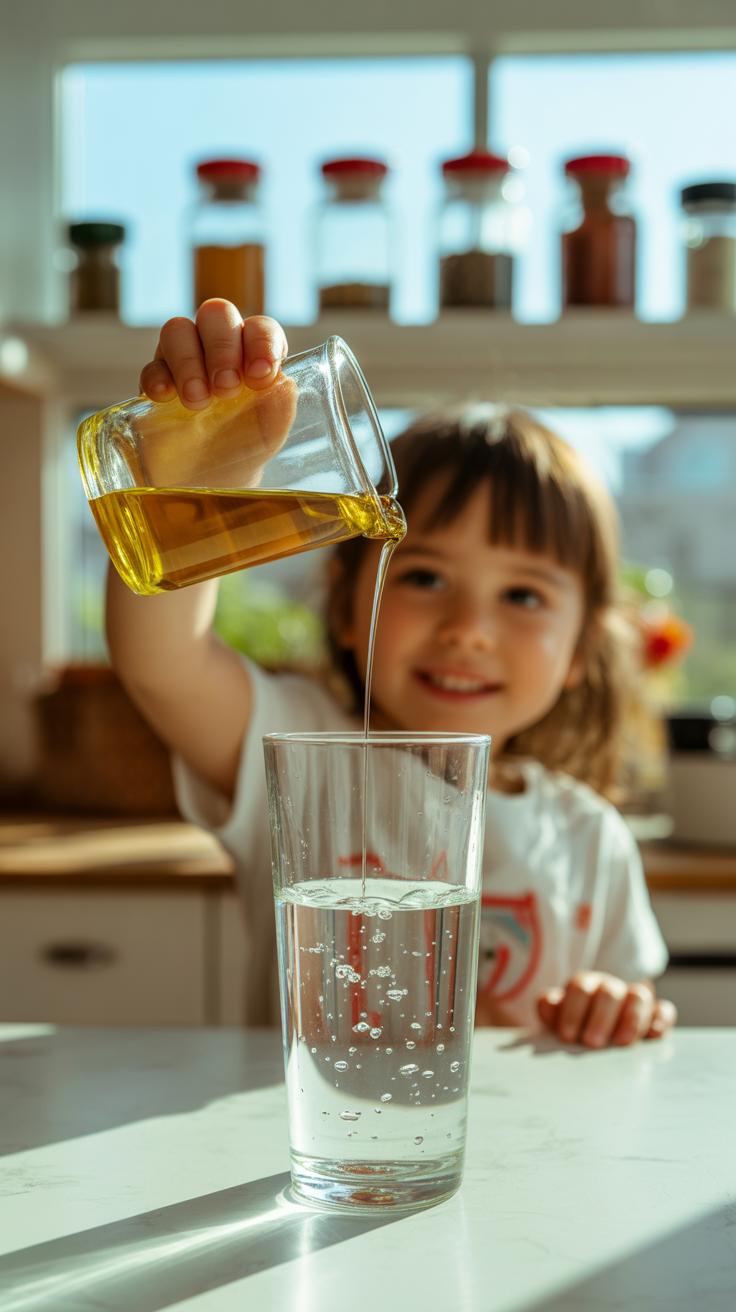
Friction stops or slows movement between two surfaces. You can test friction by sliding objects like toy cars or blocks over different materials such as carpet, tile, or wood. Notice which surface makes the object slide easily and which one resists movement. For example, a smooth tile floor offers less friction, so objects move farther and faster. Carpet has more friction, so objects slow down quickly. You can also try adding a lubricant like oil or water to see how it changes friction. Ask yourself: How does friction affect everyday activities like walking or riding a bike? Testing friction helps you understand how surfaces interact and affect motion around you.
Conclusions
Trying these science experiments at home offers a hands-on learning experience that brings science concepts to life. You help your child understand the world through observation, experimentation, and reasoning. The process sharpens critical thinking and problem-solving skills valuable in many areas of life. Simple materials and easy instructions make science accessible without feeling overwhelming. Encouraging children to question and explore builds a mindset open to learning and discovery.
Keep exploring new experiments and making science part of daily activities. Science is not just about facts but about curiosity and seeking answers. By engaging your child in experiments, you nurture their imagination and foster lifelong learning habits. How will you inspire your child’s scientific journey next? Every experiment tried is a step forward in understanding the amazing world around us.