Introduction
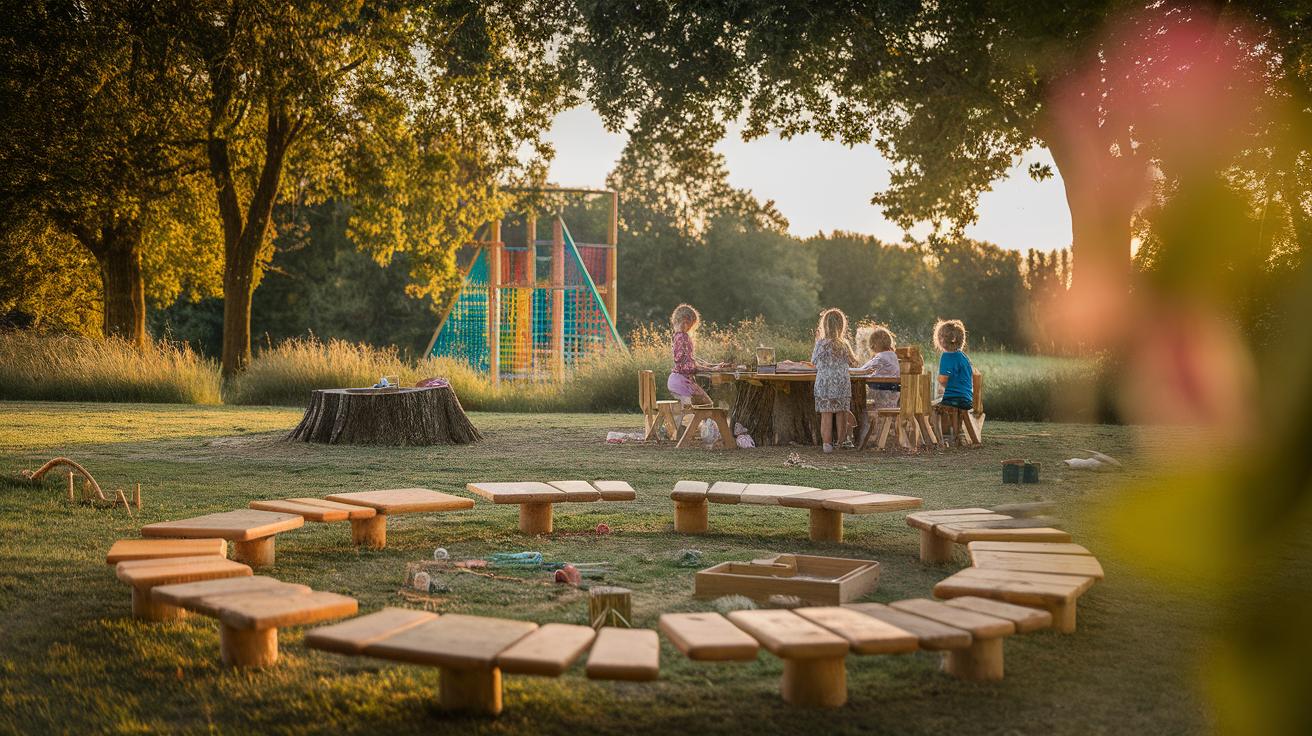
Outdoor classrooms offer a unique environment for learning that blends the natural world with educational goals. These spaces move beyond the traditional indoor classroom by providing an area where students can engage more actively with their lessons and the environment. Outdoor classrooms can host a variety of teaching methods including hands-on learning, experiential activities, and physical movement that support deeper understanding. You can see how being outside can change the way students react to material and interact with peers. It invites questions and curiosity in new ways.
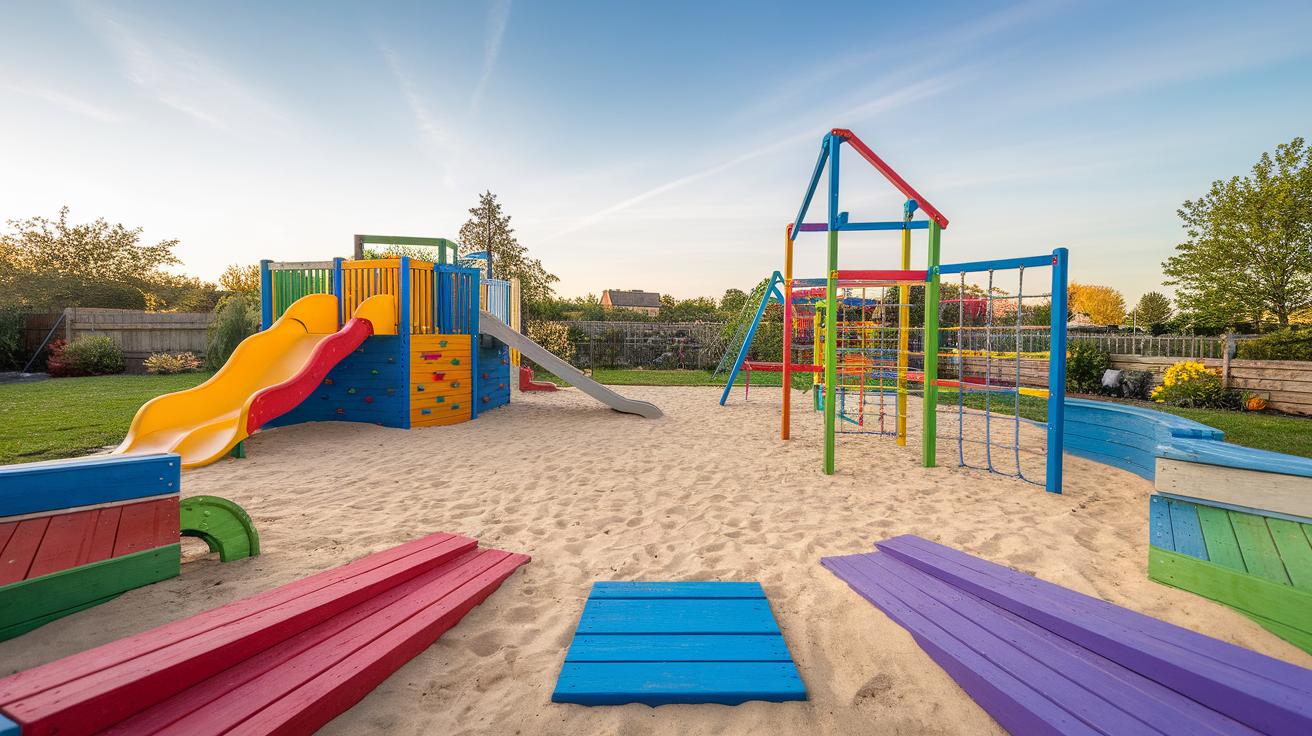
Designing an outdoor classroom requires thoughtful planning to make lessons effective and engaging. Factors like seating, shade, accessibility, and the surrounding natural elements influence student comfort and learning outcomes. You need to arrange the space so that it encourages participation and creativity. It can adapt to different subjects and teaching methods while making learning feel fresh and exciting. What design choices will best support your teaching goals and your students’ needs in an outdoor classroom setting?
Benefits of Learning Outdoors

Spending time learning outside changes how students engage with lessons. Fresh air and natural light help students feel alert and awake. When students are in open spaces, they focus better, compared to sitting in a crowded classroom all day. The wide-open environment also lowers stress by giving students room to breathe and move.
Outdoor classrooms let students connect with real things around them. Seeing and touching objects helps students remember lessons more clearly. When kids breathe fresh air and soak up sunlight, their brains work better. This makes it easier to pay attention and stay motivated during lessons.
Think about your own focus during a long day inside a stuffy room. How would being outside change your mood and energy? Using outdoor spaces for learning is not just a break from routine—it improves how well students absorb and enjoy what they study each day.
Impact on Student Engagement
Outdoor spaces invite students to be curious and explore. Lessons can include hands-on activities using natural materials like soil, plants, or rocks. This active learning encourages students to ask questions and solve problems as a team.
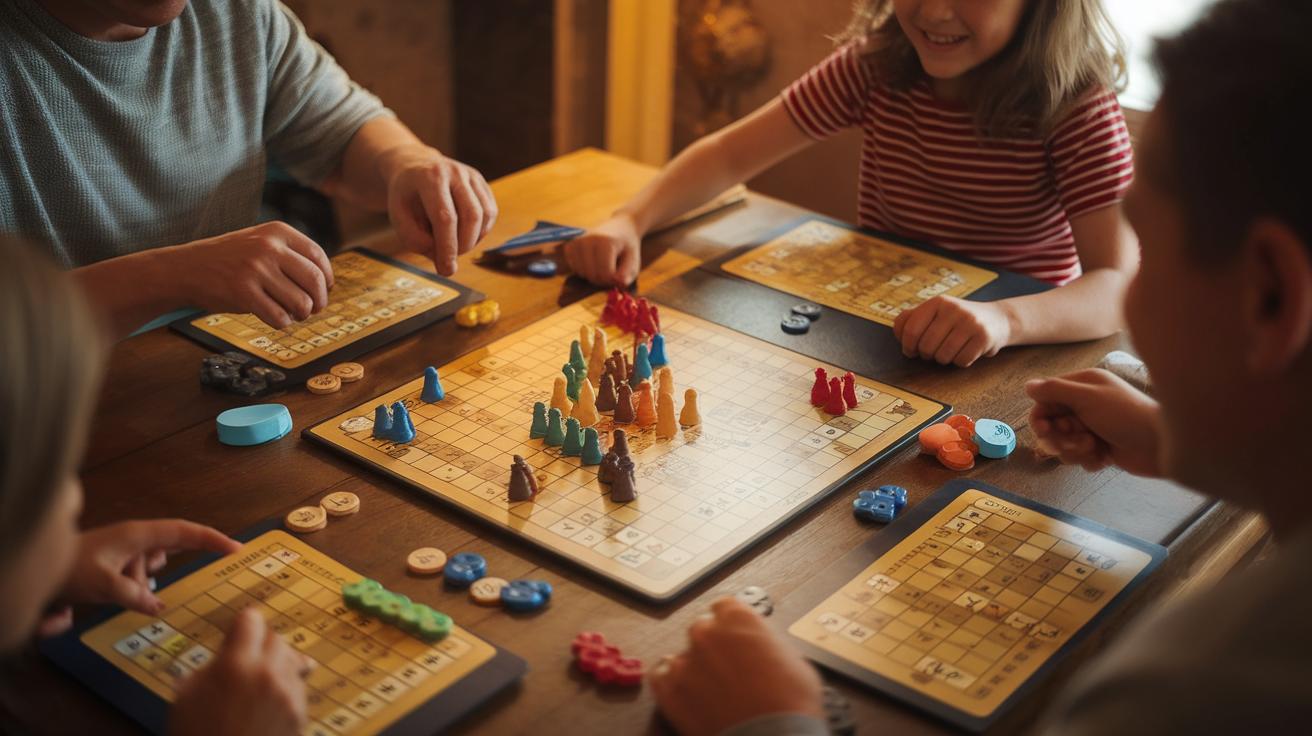
When students work together outdoors, they share ideas and help each other more. Group projects feel less formal, which makes cooperation easier. Students often take more leadership roles and speak up when they feel connected to their surroundings.
How do you think spending time outside would change the way your students participate? Outdoor classrooms create chances for real-world learning that sparks enthusiasm and teamwork far beyond a traditional classroom.
Physical and Mental Health Benefits
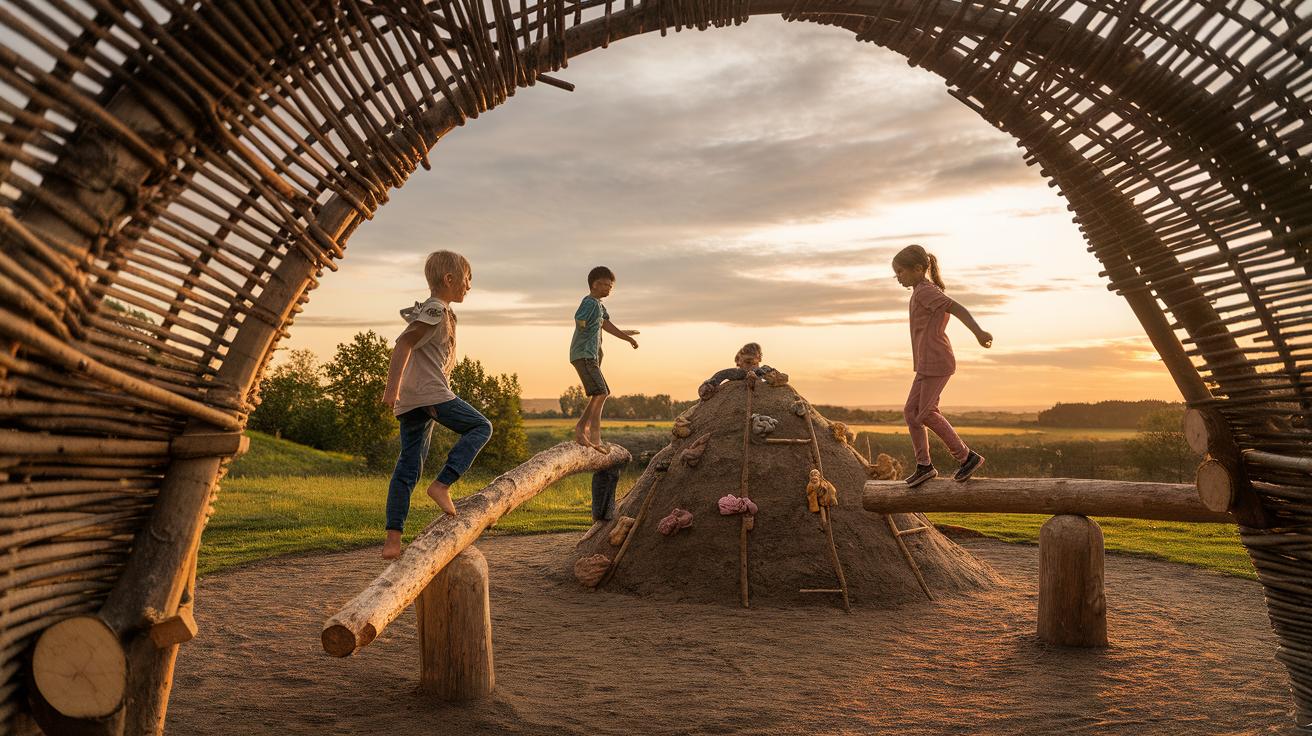
Outdoor lessons promote movement and reduce sitting time. Walking, stretching, or simple exercises during lessons improve students’ physical health. Activity also helps prevent restlessness, making it easier to focus when it’s time to listen or write.
Nature has a calming effect. Spending time outdoors lowers anxiety and lifts moods in students. Even short breaks outside can refresh their minds and reduce feelings of overwhelm or worry.
When students feel calmer and healthier, they come to class ready to learn. How often do you notice stress affecting your students? Using outdoor classrooms can support both their mental well-being and physical health in daily lessons.
Planning Your Outdoor Classroom Space
Choosing the right spot for your outdoor classroom starts with understanding your students’ needs and lesson goals. Think about how many students will use the space daily and what activities they will do outside. Will your lessons involve small group discussions, hands-on experiments, or whole-class presentations? The size and shape of the area should support these activities without crowding or distractions.
Accessibility plays a critical role. Make sure paths to the classroom are safe and easy to navigate for all students, including those with mobility challenges. Consider how the space connects to restrooms, water sources, and the main building. This helps reduce interruptions during lessons and keeps your outdoor time efficient.
Take time to map out the layout before building anything. Testing with temporary markers or movable furniture can help you see if the space fits your teaching style. Ask yourself: Does the area allow students to engage fully? Are there quiet corners for reflection or group work? Planning carefully ensures your outdoor classroom becomes an inviting and productive place to learn.
Choosing the Right Location
Sunlight affects both comfort and energy levels. Pick a place that gets natural light but offers shade during hot days. Shade from trees, awnings, or umbrellas can protect students from sunburn and overheating. Check for shelter options in case of rain or strong winds to avoid canceling lessons.
Noise levels impact concentration. Avoid areas near busy roads, playgrounds, or noisy machinery. Instead, choose quieter spots where students can hear instructions clearly and focus on tasks. Safety is another priority. Look for spaces free of hazards like uneven ground, poisonous plants, or steep drop-offs.
Easy access to the outdoor classroom encourages frequent use. Place it close to school buildings and common areas so you don’t waste time moving back and forth. Proximity also allows teachers to grab supplies quickly or respond if a student needs help. Which location balances comfort, safety, and convenience for your school?
Determining Space Dimensions and Layout
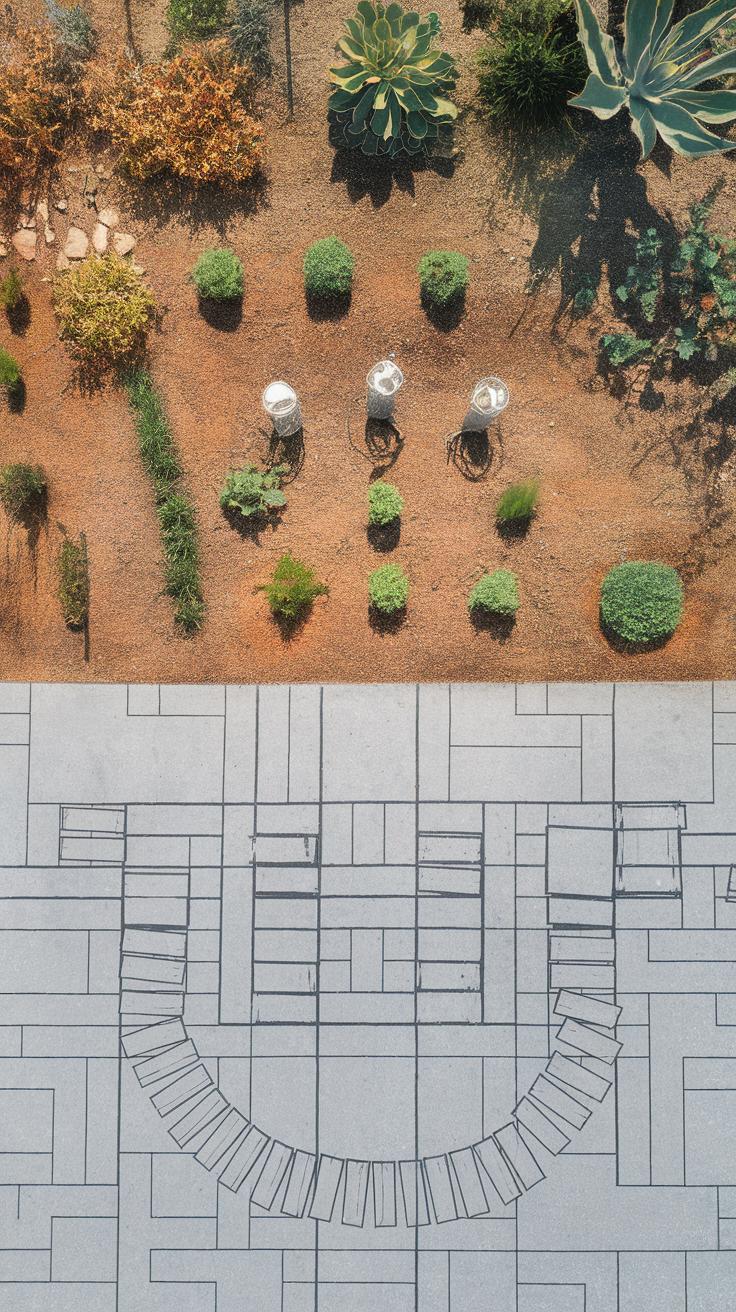
Class size matters when deciding how much space to allocate. For classes of 10 to 15 students, a 300 to 500 square foot area often works well. Larger groups may need double that space. Keep in mind that activities like science experiments or art projects require extra room. Measure carefully to prevent crowding and allow free movement.
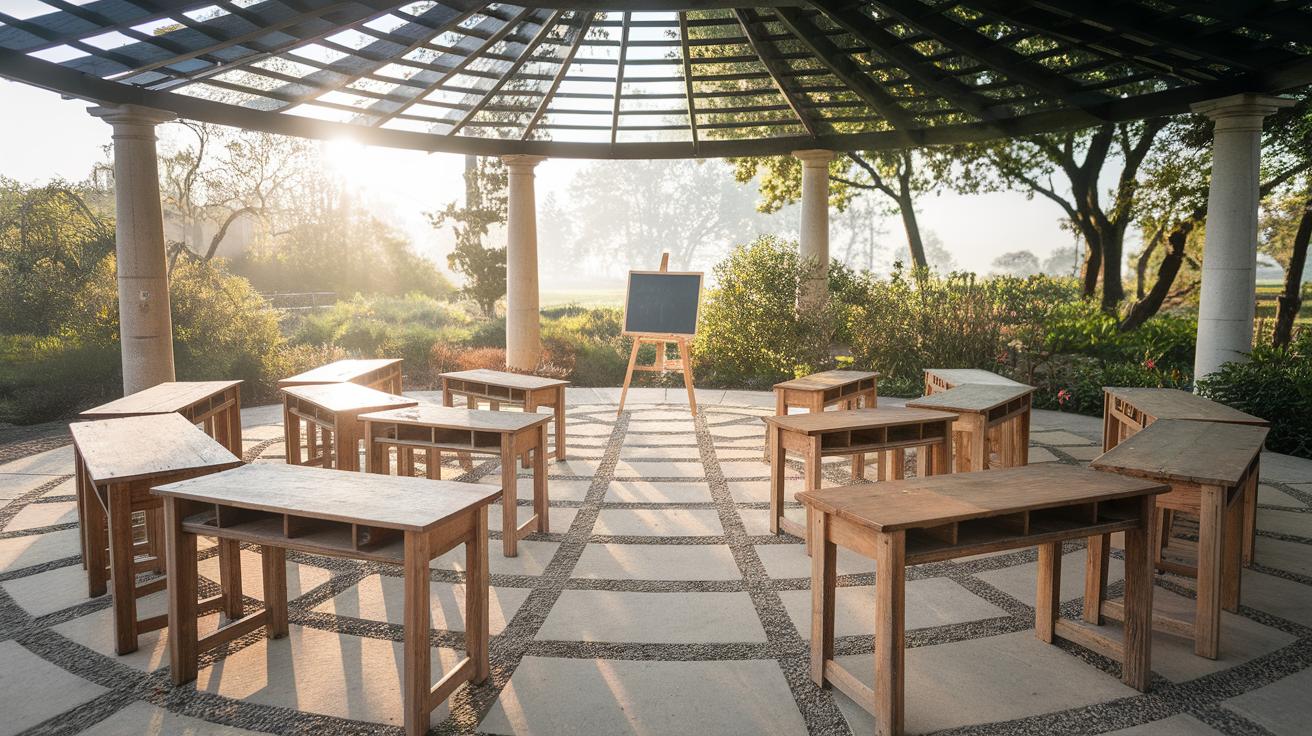
Arrange seating in a way that keeps every student visible and connected. A semicircle or U-shape often encourages interaction and easy eye contact with the teacher. If you plan for group work, design flexible zones where small teams can gather without disturbing others. Don’t forget to leave open space for demonstrations or active lessons.
Think about how lessons flow. Will students need tables for writing or just a flat surface? Can they move seating easily for different activities? How will you manage lines of sight when using a whiteboard or projector? Testing your layout with real classmates before finalizing helps solve problems early.
Selecting Seating and Furniture
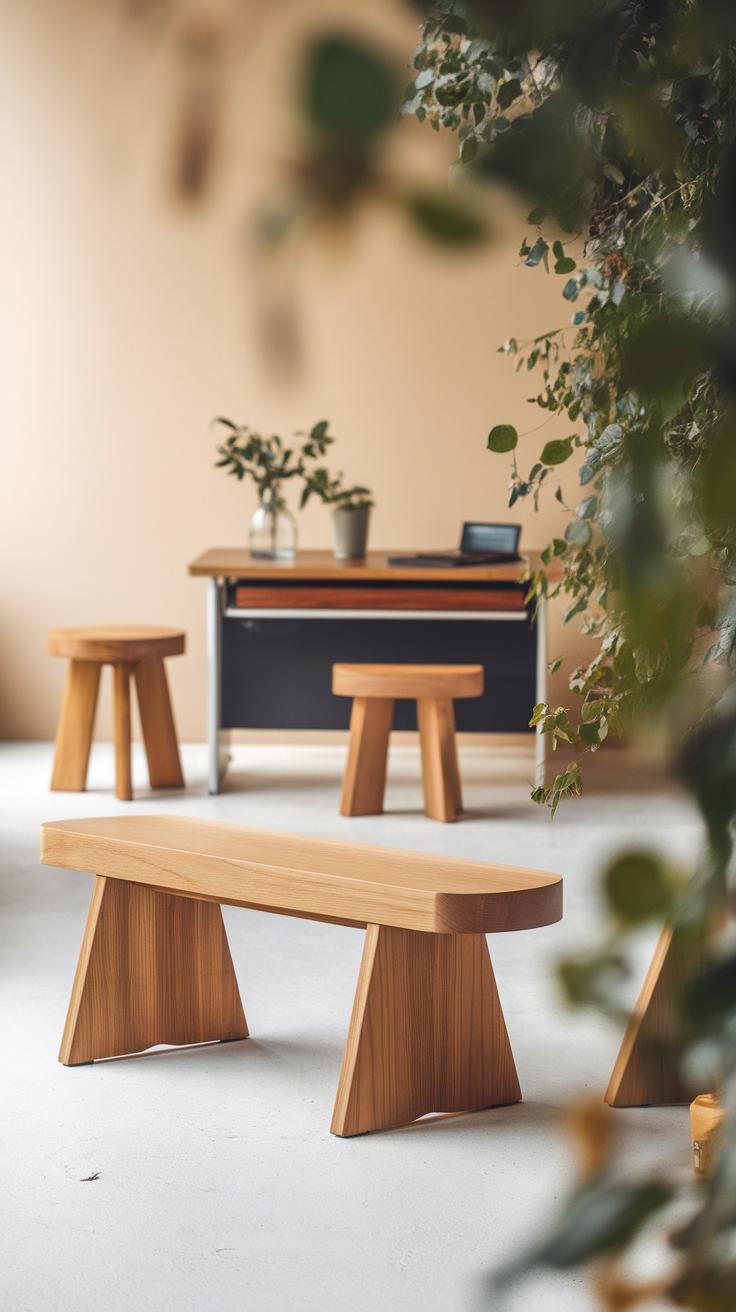
Choosing the right seating shapes how students interact in your outdoor classroom. Benches provide sturdy, shared seating that encourages group work and easy conversation. Logs offer a natural look and blend with the environment, but may need treatment to prevent decay. Portable chairs allow flexibility and can be moved for different activities.
Consider durability, especially against weather. Materials like treated wood or recycled plastic withstand rain and sun well. Comfort matters too—hard surfaces might discourage long sessions. Cushions or rounded edges can help.
Maintenance affects how often you replace or repair furniture. Simple designs with fewer parts usually require less upkeep. Think about your lesson plans: Will students work in groups, listen to lectures, or move around? Choose furniture that fits those needs.
Types of Outdoor Furniture

You can pick between natural and manufactured seating for your outdoor classroom. Natural options include tree stumps, logs, and stones. They cost less and look organic but may weather quickly and need more care. Manufactured furniture, like metal or plastic chairs and benches, often lasts longer and resists moisture.
Natural furniture has a smaller environmental footprint during production but can degrade faster outdoors. Manufactured pieces might use recycled materials but require energy to make. Budget also plays a role. Natural seating is cheaper upfront, while manufactured pieces may save money over time through durability.
Arranging Furniture for Engagement
How you arrange furniture affects classroom interactions. Circles or semi-circles help everyone see each other and invite discussion. Rows can work but limit eye contact. Create small clusters to support group projects and conversations.
Use flexible seating arrangements that you can change for different activities. Portable chairs let you adapt the space quickly. Try mixing fixed benches with movable seats so your classroom shifts between lecture, group work, and individual tasks. How can you set up the space to make all students feel involved?
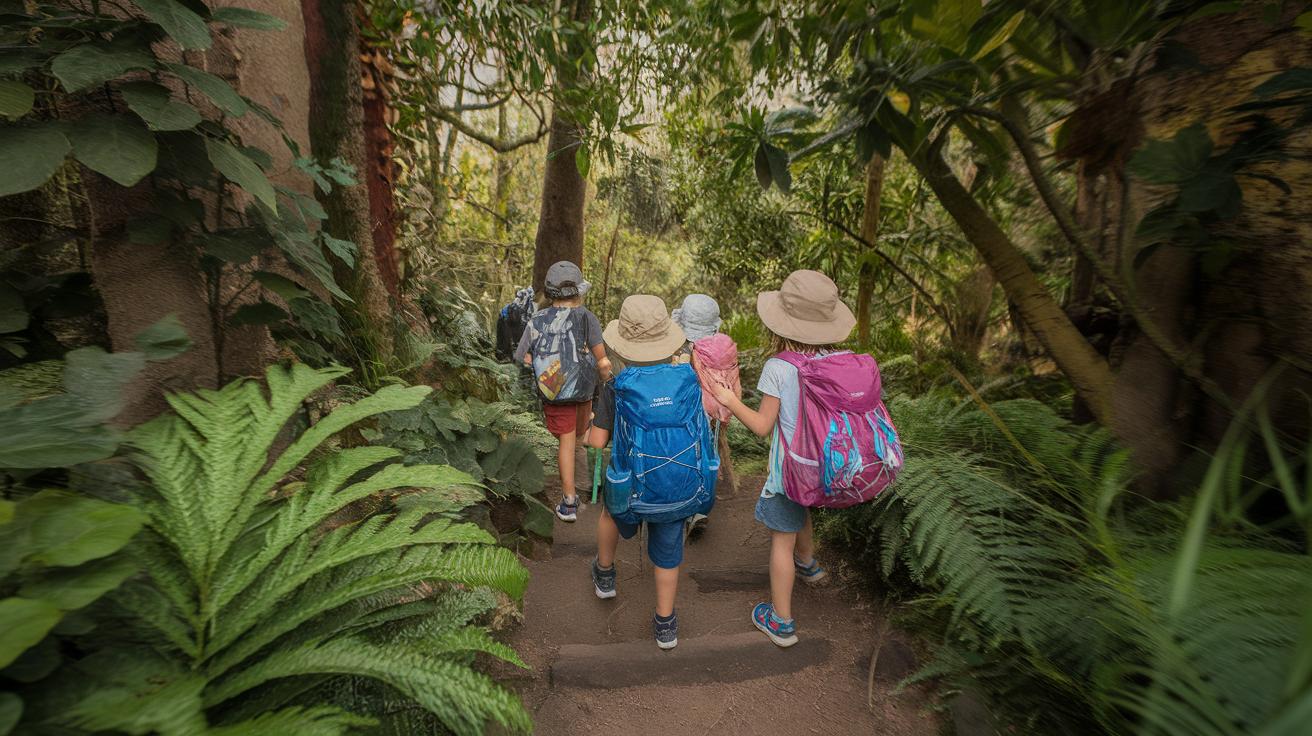
Incorporating Nature into Lessons
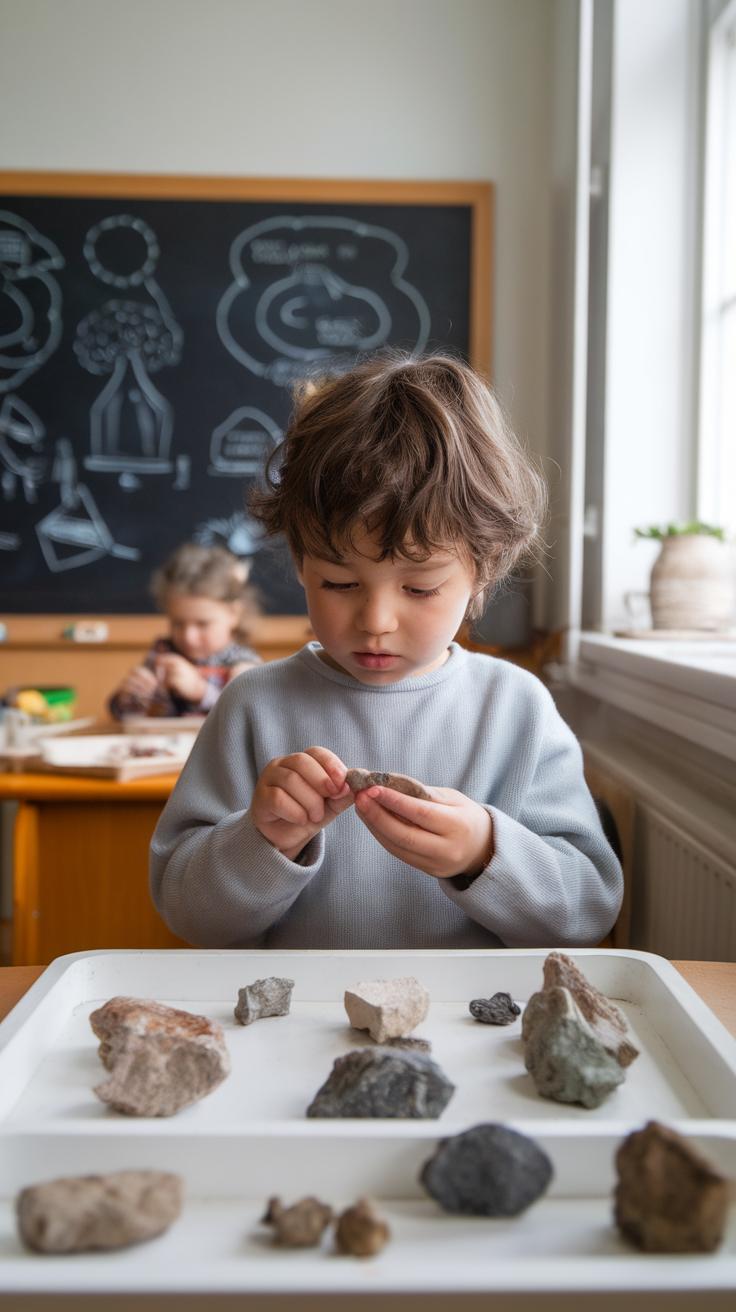
You can turn plants, animals, and natural features into powerful teaching tools in your outdoor classroom. Use trees or flowers to discuss life cycles in biology. Watch insects or birds to study behavior and habitats in real time. Natural elements help bring abstract ideas to life and connect students with their environment.

Try activities like leaf identification, where students collect and compare different leaves, or sketch birds and note their wing shapes and colors. Guide students to keep journals to record observations, promoting close attention and critical thinking. Ask questions like, “Why does this plant grow here?” or “How do animals adapt to this space?” These help spark curiosity and deeper understanding.
Nature around your classroom can become a living textbook to support lessons beyond science. Using local environments builds respect and care for the world students live in.
Using Plants and Wildlife
Incorporate local plants and animals in science and art activities that are easy to organize. Students can press flowers or draw insects, linking creativity with learning. Observation exercises work well, like timed nature walks where students note behaviors or changes in plants.
Encourage recording data with simple charts or diaries. Track bird visits, count petals, or measure tree growth over weeks. This method strengthens attention to detail and scientific thinking.
Ask your students to describe what they see or compare species. How do different leaves feel? What colors appear in the garden? These exercises build skills in both science and art while making use of the outdoor classroom.
Integrating Environmental Themes

Use your outdoor classroom to teach about ecology, conservation, and sustainability. For example, discuss how composting reduces waste by observing a compost bin. Show how native plants support local wildlife and why that matters for ecosystems.
Plan lessons on energy by measuring sunlight in different spots or tracking water use in a garden. Create group projects to design mini-green spaces or clean-up campaigns. These encourage teamwork and real-world problem-solving.
Ask students what changes they would make to help the environment around the classroom. This teaches responsibility and connects academic subjects like science, social studies, and math with meaningful, hands-on experiences.
Providing Shelter and Weather Protection
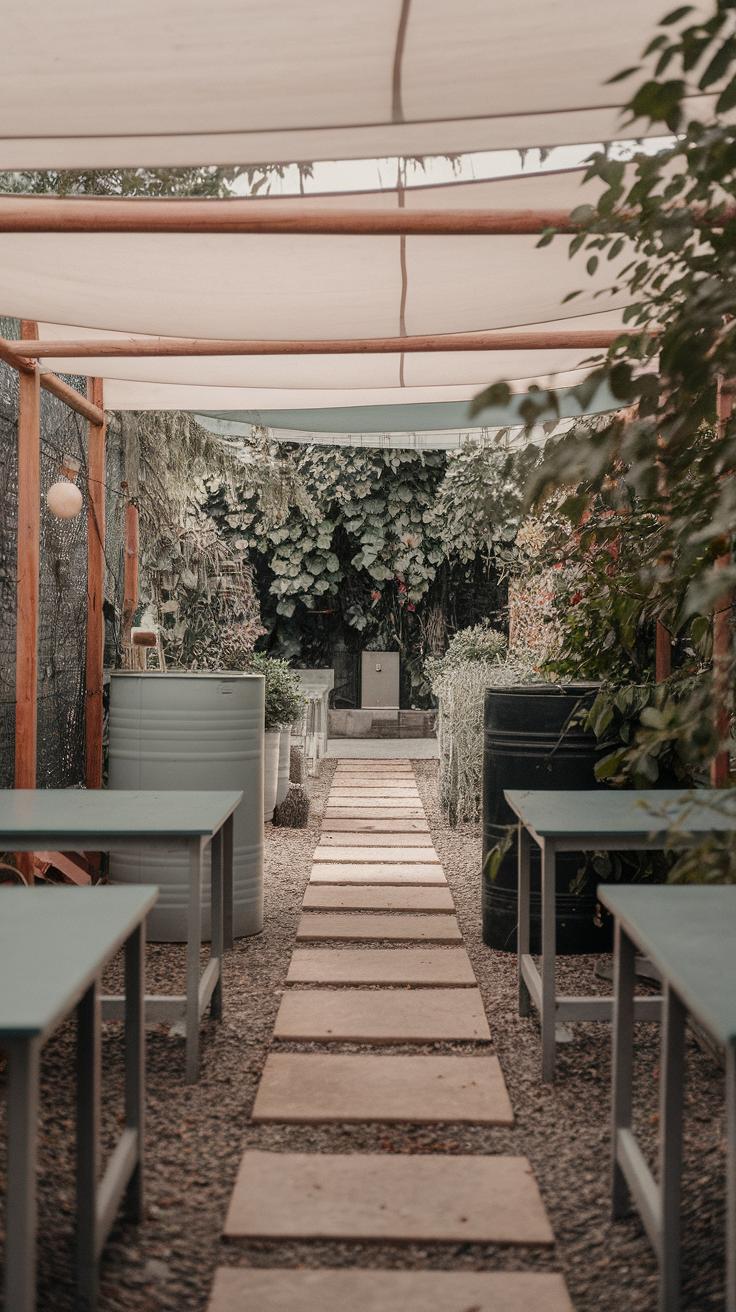
Creating a shelter in your outdoor classroom helps students focus without worrying about sun or rain. Shade and rain protection make the space usable during different seasons, improving comfort and attendance. When students stay comfortable, teachers can keep lessons on track and hands-on activities continue uninterrupted. You might consider where shadows fall, the sun’s path, and local wind patterns when choosing a shelter spot.
Offering shelter also extends lesson time. A sunny spring day can turn rainy quickly, but a well-planned cover lets your class keep working. Can your outdoor classroom work all year? If not, what kind of shelters will help? These questions guide your design toward a space that meets your school’s needs throughout the school calendar.
Comfort connects directly to learning engagement. When students don’t feel hot, cold, or wet, they stay interested longer. Think about how protecting your class from weather not only serves practical use but also shows students that planning and care support their success.
Types of Shelter Structures
Permanent shelters like gazebos provide solid protection and can include built-in seating or boards for teaching. They last through many seasons but take more budget and planning. Temporary options such as shade sails are flexible and cost less. Shade sails stretch over open spaces and can be removed for cleaning or winter storage.
Umbrellas work well for small groups or specific lesson stations. They offer shade and rain cover but might not withstand strong winds. You could combine types, like a gazebo for main instruction plus umbrellas at activity spots.
Choosing which shelter fits your classroom depends on size, budget, and how you use your space. Would a moveable shelter better suit changing lesson layouts? Or does your school need a fixed structure to protect technology or whiteboards? Answering these helps you pick the right shelter to keep lessons active outdoors.
Planning for Seasonal Changes
Planning for year-round use means picking materials that handle weather shifts. Look for weather-resistant fabrics like acrylic canvas for shade sails that won’t fade or tear easily. Wood or metal for permanent shelters should be treated to resist moisture and insects.
Think about winter cold and summer heat. Can you add removable side panels to block wind or store cushions inside? Seasonal adjustments like portable heaters or fans can improve comfort too.
Preparing your outdoor classroom for quick changes in weather supports learning continuity. How will your design hold up during a sudden storm or a heatwave? Choosing durable materials and planning flexible features keeps your lessons running smoothly regardless of season.
Equipping Your Outdoor Classroom

Your outdoor classroom needs key tools to keep lessons flowing without interruptions. Whiteboards or chalkboards designed for outdoor use provide a clear space for instructions and drawings that all students can see easily. Clipboards help students stay organized and provide a hard surface for writing while moving around.
Storage units are critical for keeping supplies safe from weather and wildlife. These can come in the form of weatherproof cabinets or lockable bins. When tools are easy to access and well-kept, lessons proceed smoothly—and you spend less time searching for materials. Have you thought about what tools you use most indoors and how to translate them outside?
Simple items like measuring tapes, magnifying glasses, and portable easels support active learning. Each tool invites hands-on participation and keeps students focused. Think about the role each tool plays in sparking curiosity and how their presence can strengthen your outdoor lesson plans.
Teaching Tools and Storage Solutions
Keeping your teaching aids organized outdoors can be tricky. Use weather-resistant containers with labels to sort items by type or lesson. Portable caddies or backpacks with compartments let you carry all essentials efficiently during class.
Consider foldable whiteboards or clipboards with attached pencils for quick note-taking or sketching. These tools encourage students to jot down observations instantly. Using clear plastic bins protects supplies while allowing quick identification.
Storage sheds or covered carts placed near the classroom reduce the need to transport materials back and forth. How might having tools readily available influence the pace and flexibility of your lessons?
Technology Integration Outdoors
Technology can enhance outdoor learning if used carefully. Tablets with rugged cases allow students to access educational apps, take photos, or record observations. Portable projectors paired with pull-down screens bring multimedia into an open space.
Plan for power by using battery packs or solar chargers to avoid dependence on indoor outlets. Wi-Fi extenders or mobile hotspots can improve connectivity in open areas. Remember to secure devices in shaded spots to prevent overheating.
Test your setup before lessons to ensure smooth operation and avoid surprises. What tech tools complement your teaching style and fit the outdoor environment best? Keeping technology simple and protected maximizes its benefit without adding complexity.
Safety and Accessibility Considerations
Designing your outdoor classroom requires attention to safety and accessibility from the start. Ensuring students are supervised at all times will help prevent accidents and keep everyone secure. Identify common outdoor hazards like uneven ground, insect nests, or poisonous plants, and create plans to manage these risks. Regularly check the area for changes that could affect safety.
Insect bites and allergens can disrupt lessons or harm sensitive students. Consider using natural repellents and plant choices that reduce allergy triggers. Having a supply of first aid materials and clear emergency protocols will prepare you for unexpected situations.
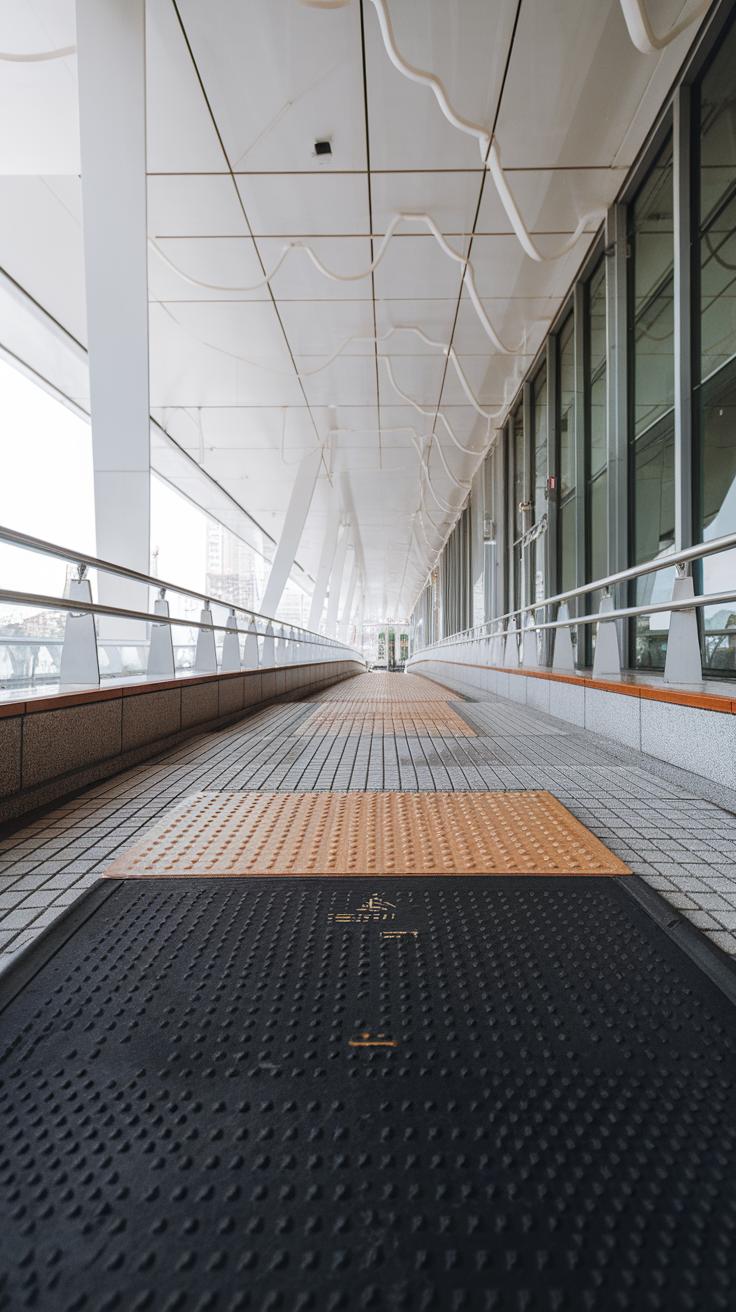
Accessibility is vital to include every student in learning activities. Plan wide, smooth paths for wheelchairs and walkers. Choose seating options that accommodate different physical needs. Think about how all students can move freely and comfortably within the space. How can you modify your outdoor classroom today to welcome every learner?
Ensuring Student Safety
You must keep a close watch on students during outdoor lessons. Setting clear boundaries prevents wandering into unsafe areas. Schedule regular headcounts to confirm everyone’s presence. Teach students to recognize and avoid hazards like stinging insects or slippery surfaces.
Preparing for emergencies means having first aid kits nearby and knowing how to reach help quickly. Share phone numbers and emergency plans with your team. Practice what to do in case of severe weather or injury. Good preparation reduces stress and protects your students.
Making the Space Inclusive
Removing barriers starts with the layout. Create paths that are smooth and level, wide enough for mobility devices. Avoid steps or steep grades whenever possible. Consider adjustable seating options, such as benches with backs, movable chairs, or cushions for comfort.
Include sensory elements for students who benefit from tactile or visual tools. Lighting and shade also matter—too much sun or darkness can cause discomfort or safety concerns. Ask yourself: does the space invite every student to join fully? Make small changes now that lead to big improvements in access and inclusion.
Evaluating and Improving Your Outdoor Classroom

Tracking how well your outdoor classroom supports learning helps you see what works and what needs change. Watch how students interact with the space and each other during lessons. Note if they stay focused, ask questions, and enjoy activities.
Gather feedback directly by asking students what they like and what is hard about learning outside. You can use simple surveys or hold group talks to hear their thoughts. Their input points to parts of the classroom or lessons that might need adjustment.
Try regular checks of your goals alongside student reactions. Are students improving in skills and knowledge? Are they excited to participate in outdoor lessons? Use these insights to focus on areas needing attention.
Assessment Strategies
Create observation checklists to keep track of student engagement, such as how often they speak up or work with classmates. Include items about their ability to use outdoor resources and complete tasks. These checklists make observations clear and consistent.
Develop surveys with simple questions asking students about their comfort, interest, and learning during outdoor sessions. Combine yes/no and rating scale questions for easy answers. You might ask, “Did the outdoor classroom help you understand the topic better?” or “Which part did you enjoy most?”
Use these tools regularly to gather data that guides your teaching decisions. Collecting both observation notes and student responses ensures a balanced view of your outdoor classroom’s effectiveness.
Adjusting Design Based on Experience
After assessing your space, consider small layout changes like moving seating closer to natural features or adding shaded areas for hot days. Think about how these changes could support focus and interaction.
Review your material choices. Maybe students need more hands-on tools or different seating options to stay comfortable. Adjust resources to fit the routines and climate you experience.
Revise lesson plans to include new activities that match the outdoor setting, or simplify tasks if students struggle. Encourage students to help suggest changes—they can offer practical ideas from their daily experience.
Keep asking yourself: Are these changes making outdoor lessons more effective? Which elements should stay the same? Trying small improvements often leads to big differences in student engagement and learning results.
Conclusions
Outdoor classrooms bring many benefits by connecting students with nature and promoting active learning. Thoughtful design ensures that the space is functional and comfortable. Attention to seating, shelter, materials, and tools will help you create an environment where students stay focused and participate fully. Outdoor classrooms also encourage collaboration and creativity by offering a flexible setting.
You can transform your educational approach by integrating an outdoor classroom that fits your teaching style and curriculum. This space can stimulate curiosity and engagement, making lessons memorable and effective. By considering practical design elements and how students learn best outdoors, you will build a successful learning environment that supports diverse lessons and learners. What ideas will you try as you design your outdoor classroom to inspire your students?