Why Survival Skills Matter in the Wild
Stepping into the wild can challenge your skills and test your resilience. Understanding survival life hacks can make the difference between safety and danger. These hacks focus on simple, actionable methods to secure food, water, shelter, and protection. Survival is about smart decisions and preparedness. The knowledge you hold can define your experience and outcome in nature’s embrace.
Have you ever wondered how to stay alive when stranded in the wild? You need tools and skills tailored to unpredictable conditions. This article presents life hacks proven to help in survival situations. Each tip aims to boost your confidence and capability. Embrace these survival strategies and build an edge over uncertainty in the wilderness.
Understanding Your Environment
Assessing the environment around you is one of the first steps in any survival situation. You need to know what you have to work with and what might threaten your safety. Observing the landscape helps you spot resources like water, shelter materials, and food sources. It also makes identifying potential danger zones easier. Take your time to scan the area carefully instead of rushing to move or build. Staying calm will improve your ability to notice details others might miss, such as animal tracks, weather changes, or safe pathways.
Think about how the land slopes, where water collects, and where natural cover exists. Could a fallen tree serve as shelter? Is there a nearby creek or pond? Is the ground stable or prone to erosion? Understanding these parts gives you a better chance to use the environment in your favor. Ask yourself, “What paths will keep me safe and dry?” and “Where can I find what I need without exposing myself to hazards?” Being patient and alert will pay off.
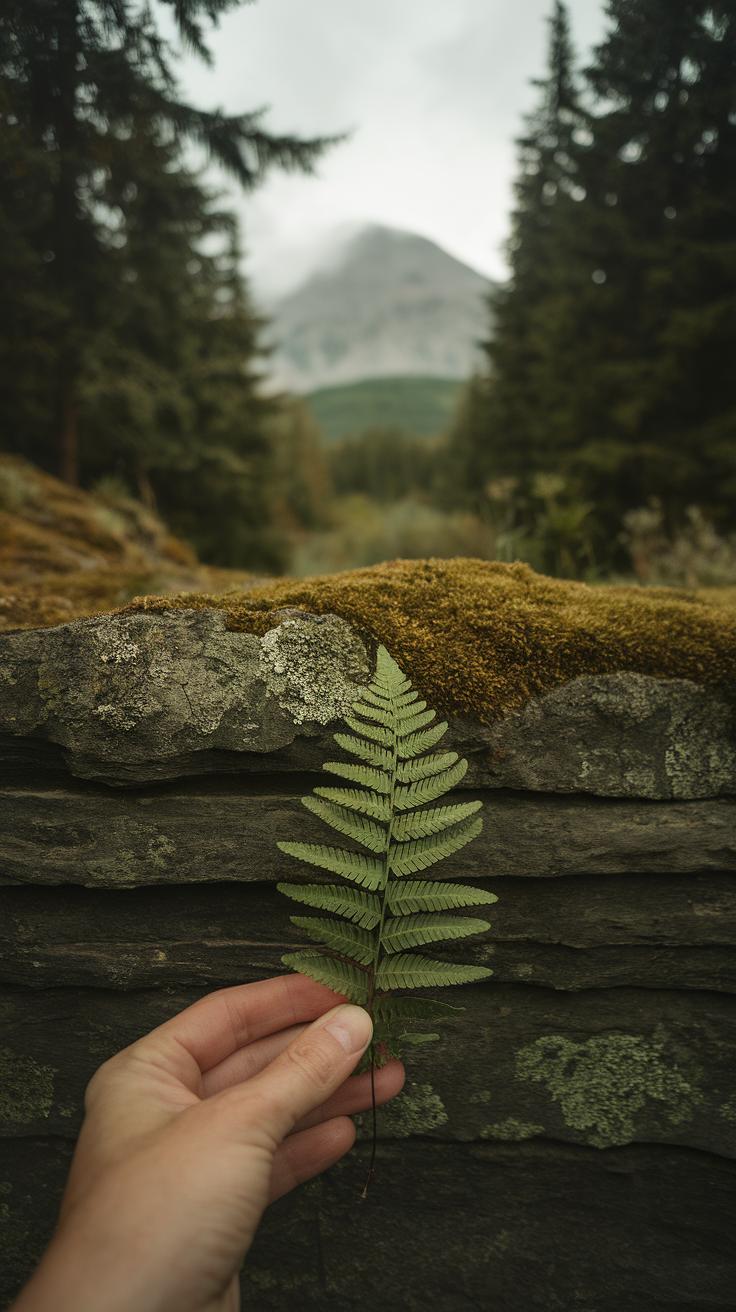
Recognizing Natural Resources
You can survive longer by recognizing natural resources quickly. Look for fresh water sources like streams, springs, or rainwater collection areas. Water is critical, but you also need food. Identify edible plants, berries, and nuts, but be cautious. Use familiarity or local guides to distinguish safe from toxic plants. Leaves that look similar to stinging nettle or poison ivy should be avoided. If you’re unsure, test small amounts or use traditional signs to check if a plant is safe.
Shelter materials come from your surroundings too. Dead branches, large leaves, and bark can protect you from the elements. Collect the strongest and driest wood for fires or a shelter frame. You might also find stones or sharpened sticks for tools and hunting. Take note of how the local animals use resources. Where they drink, hide, or gather can hint at what is safe and available for you as well. Look close, and learn the environment’s offering before rushing in.
Identifying Potential Hazards
Wild places hold hidden threats you must recognize to stay safe. Dangerous animals like snakes, bears, or insects may be nearby. Watch for tracks, scat, or unusual noises that signal their presence. Avoid tall grass or thick bushes without checking, as these spots often hide snakes or ticks. Study local poisonous plants and keep a mental list of what to avoid. Touching or eating these can cause serious harm.
Weather can change quickly and affect your chance of survival. Learn to spot dark clouds, shifts in wind, or sudden temperature drops. Prepare by choosing shelter spots that shield you from rain or wind. If thunder roars, stay clear of open spaces or tall isolated trees. In every decision, ask yourself how moving or acting might expose you to these dangers. Avoiding hazards keeps your energy and resources focused on staying alive.
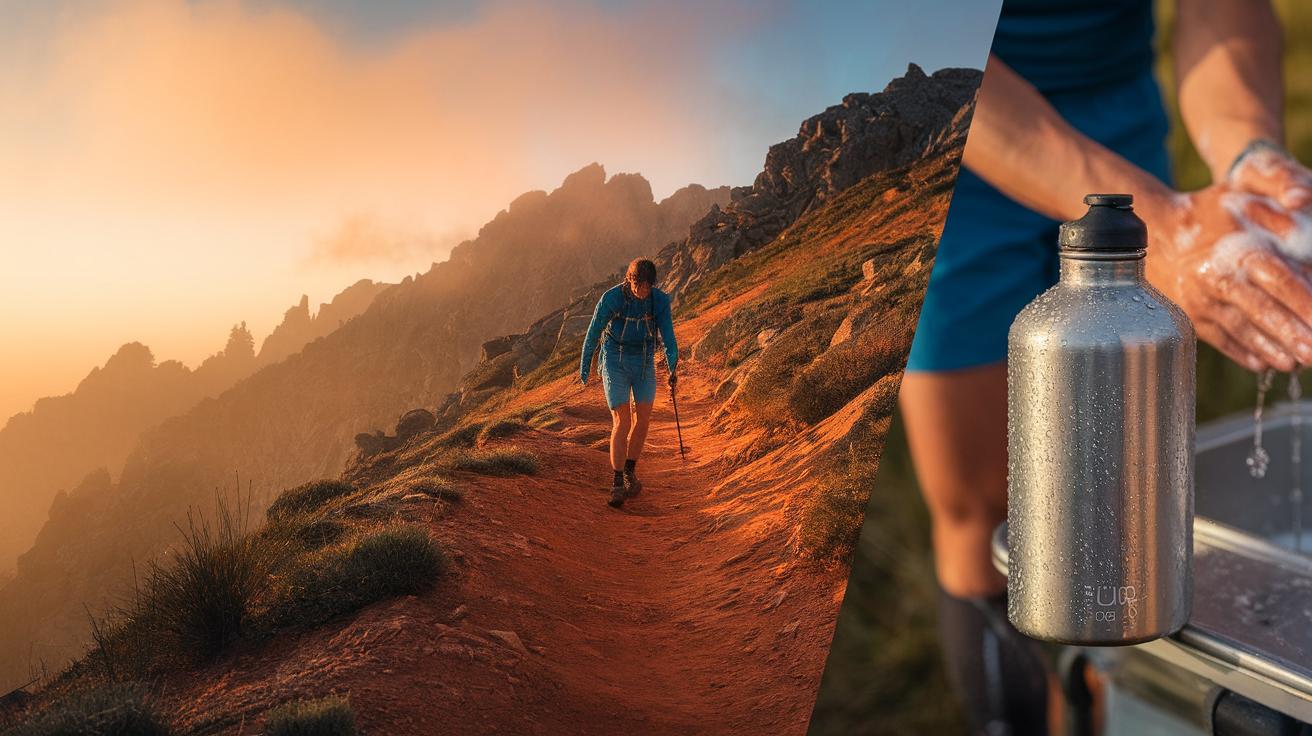
Finding and Securing Water
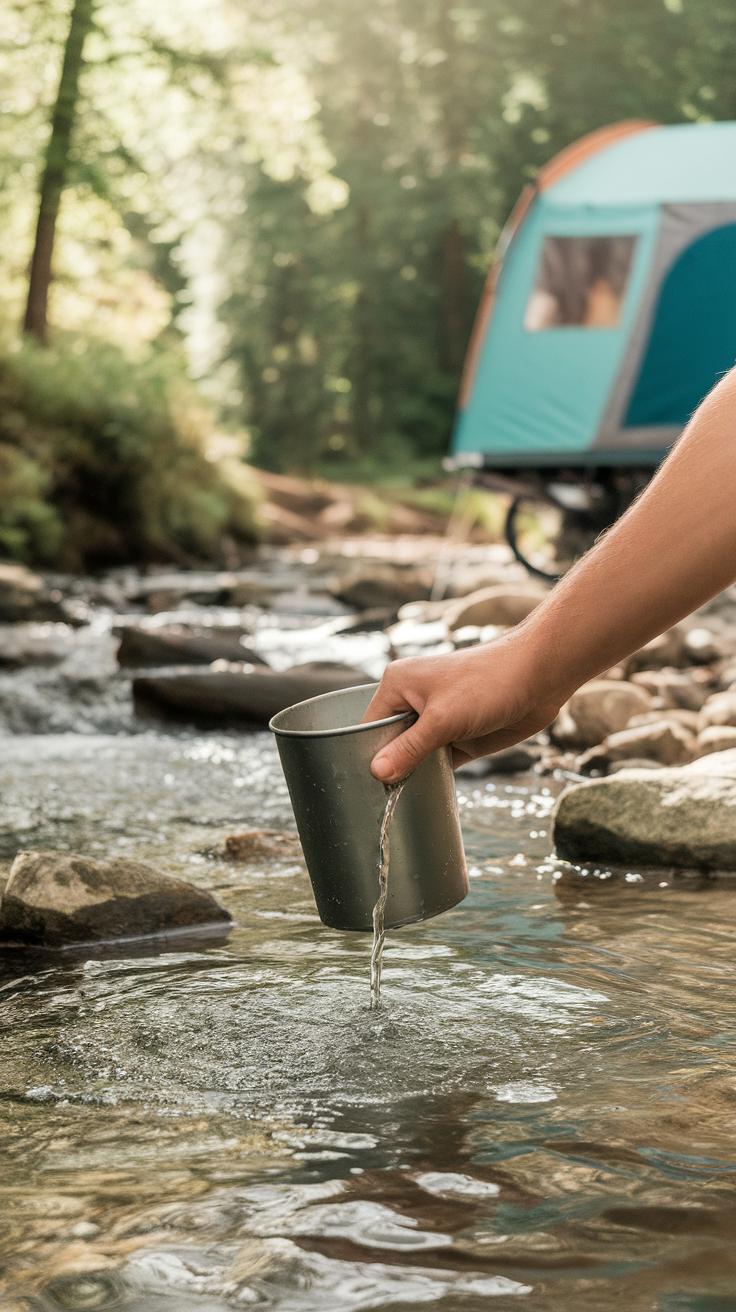
Water keeps you alive in the wild. Locating and collecting clean water must be your priority. Rivers and streams offer clear sources. They usually run downhill, following the path of least resistance. Look for green vegetation clusters, animal tracks, or depressions in the ground. These signs often lead to water.
Rain can be a reliable resource if you can catch it. Use large leaves, tarps, or plastic sheets set up at an angle to collect falling water. Dew gathers overnight and can be wiped from plants with a cloth for a small supply.

Once collected, water must be treated. Contaminated water carries harmful microbes. Boiling water for five minutes removes nearly all pathogens. If fire is unavailable, use portable filters or purification tablets. Cloth filtering before these methods can reduce sediments.
Could untreated water cause illness in your situation? Taking time to purify water could prevent serious health issues. Treating water properly keeps you safe and prepared for what lies ahead.
Locating Water Sources
Look for surface water in lower areas like valleys and dry creek beds. These spots often collect rainwater or underground springs. Follow animal paths—they lead to drinking spots. Birds flying low and insects buzzing near an area are good clues, too.
Watch for moss or lush plants because they signal moisture underground. Rocky areas with cracks sometimes trap water after rain. In dry regions, dig in damp soil at these locations; water may seep in.
If streams are visible, always check upstream for cleaner flow. Avoid water stagnant or foul smelling. Can you spot where the terrain dips? Water collects there naturally, making it a worthy spot to investigate.
Water Purification Techniques
Boiling is the simplest and most effective way to purify water. Bring water to a rolling boil for at least five minutes. This kills bacteria, viruses, and parasites.
Portable water filters with ceramic or charcoal cartridges remove particles and pathogens. They work well if you have one but remember filters can clog. Clean them regularly during use.
Chemical treatments like iodine or chlorine dioxide tablets kill germs fast. Use them according to instructions and wait the suggested time before drinking. Avoid using household bleach, as doses vary and may cause illness if used incorrectly.
Combining methods improves safety. For example, filter first to clear debris, then boil or chemically treat. When was the last time you checked your water purification supplies? Being prepared means surviving longer and healthier in the wild.
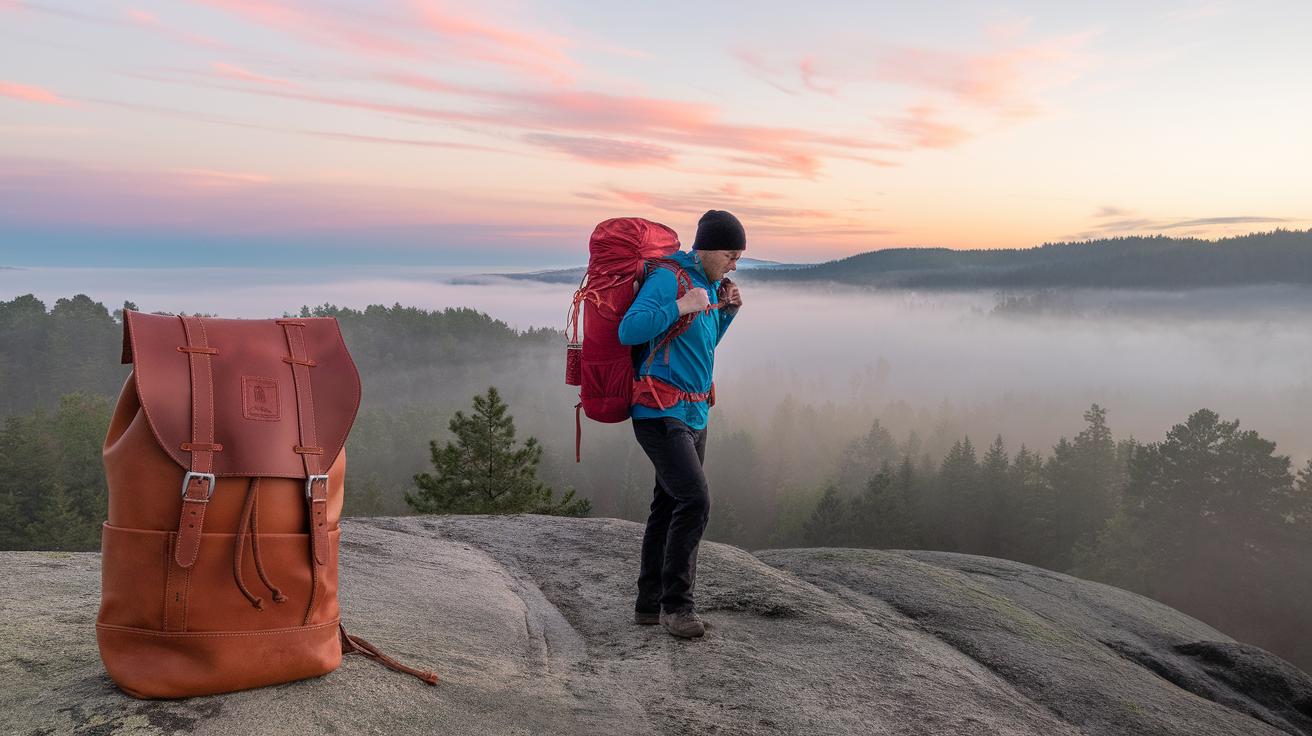
Building Shelter for Protection
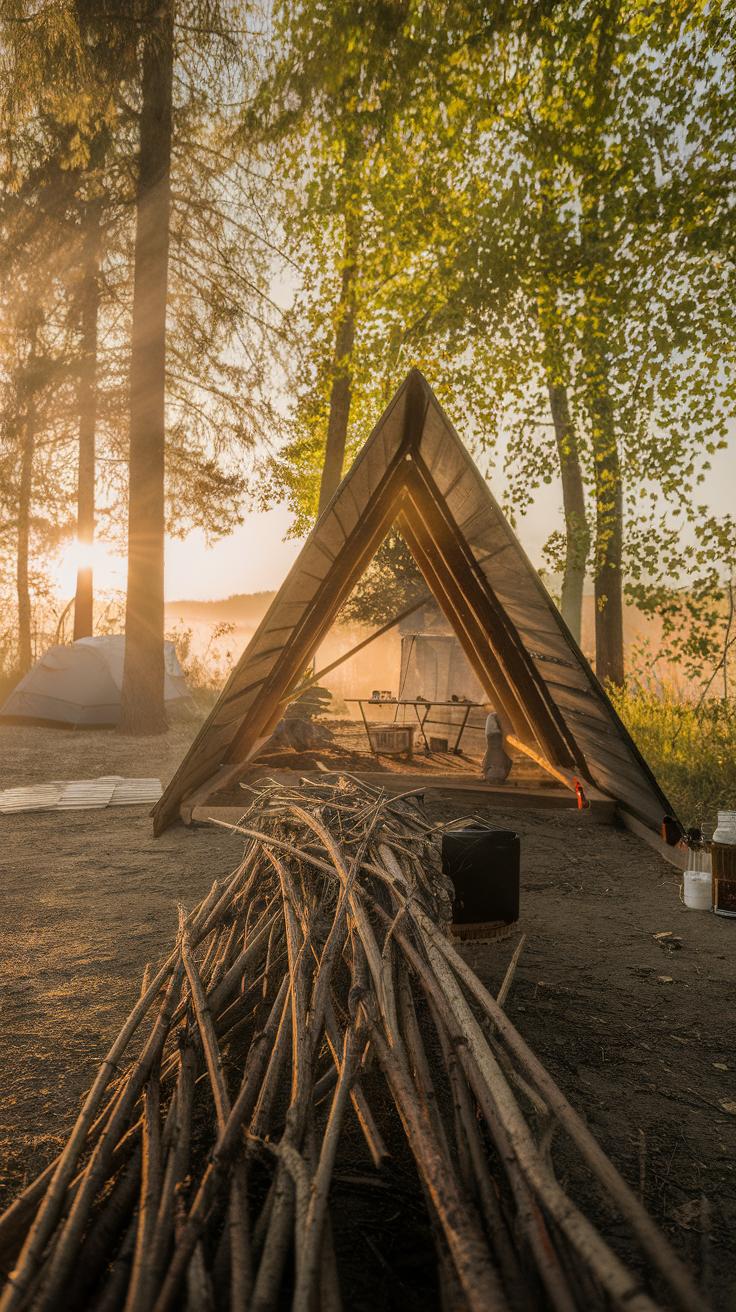
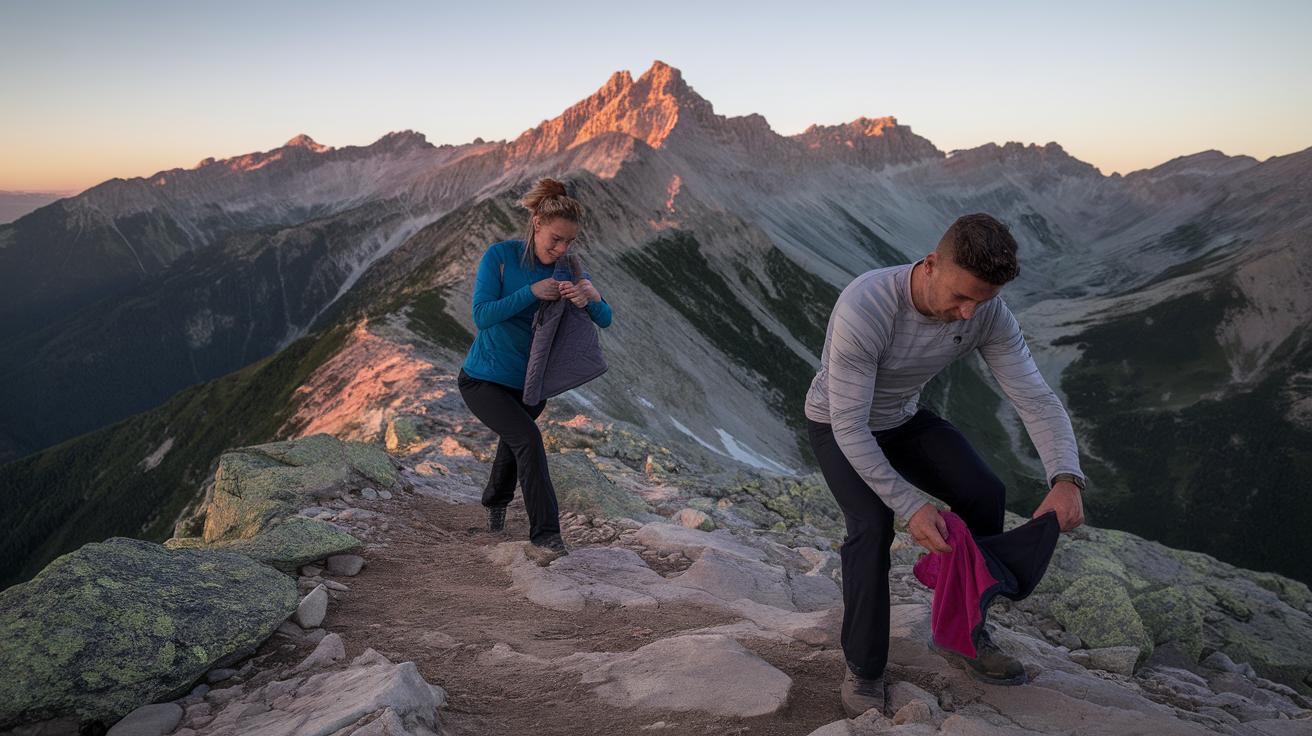
Your shelter is your first defense against harsh weather and wildlife. Choosing the right location ensures safety and comfort. Look for natural windbreaks like dense trees or large rocks. Avoid low areas where water can pool during rain. Consider the direction of prevailing winds to position your shelter’s entrance away from them. Stay clear of animal trails and insect nests. Check the ground for dryness and firm soil to avoid sinking or flooding. Think about how sunlight moves in the area to keep your shelter warm during the day. Would you want to wake up cold and wet? Picking the best spot reduces stress and danger at night.
Choosing Shelter Location
Location matters as much as shelter type. Pick areas that give you natural protection from wind and rain. Higher ground prevents water buildup but avoid ridges exposed to strong gusts. Dense foliage or rock formations act as natural shields. Stay at least 200 feet away from fresh water to avoid insects and animal traffic. Sun exposure can help you stay warm, but too much might lead to overheating. Also, choose clearings that allow you to see approaching animals. Consider how terrain affects drainage to prevent flooding inside your shelter. How will your chosen spot hold up if the weather changes suddenly? This thinking keeps you safe.
DIY Shelter Building Tips

Simple shelters can be lifesavers. A lean-to starts with a strong branch resting against a tree or rock. Lean smaller branches and leaves against it to block wind and rain. A debris hut uses a frame of sticks covered by layers of leaves, pine needles, and moss for insulation. This type traps body heat, keeping you warm in colder weather. In snow environments, dig a trench or build a dome-shaped igloo with packed snow to shield against wind. Always add insulation inside your shelter using pine boughs or dry leaves. Test your shelter by staying inside. Do you feel warmth and dryness? Adjust your design until you do. Mastering these skills boosts your confidence in the wild.
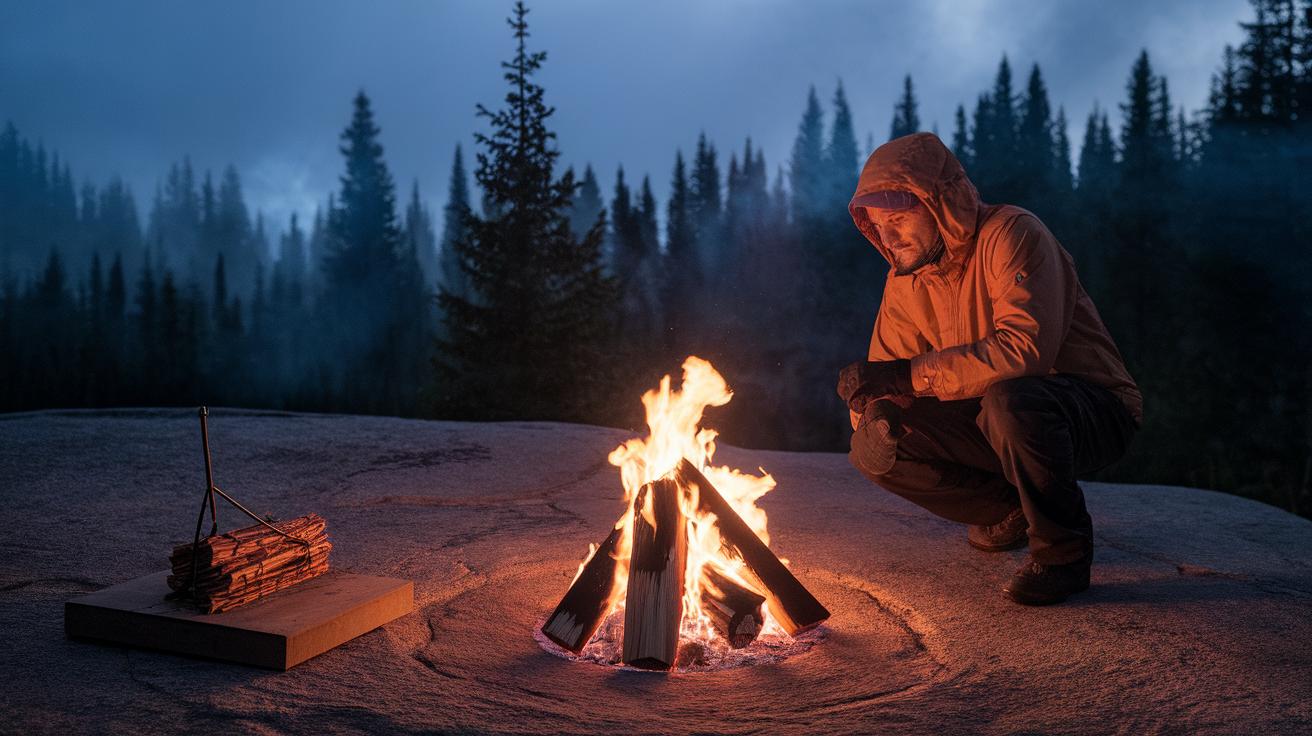
Starting a Fire Easily
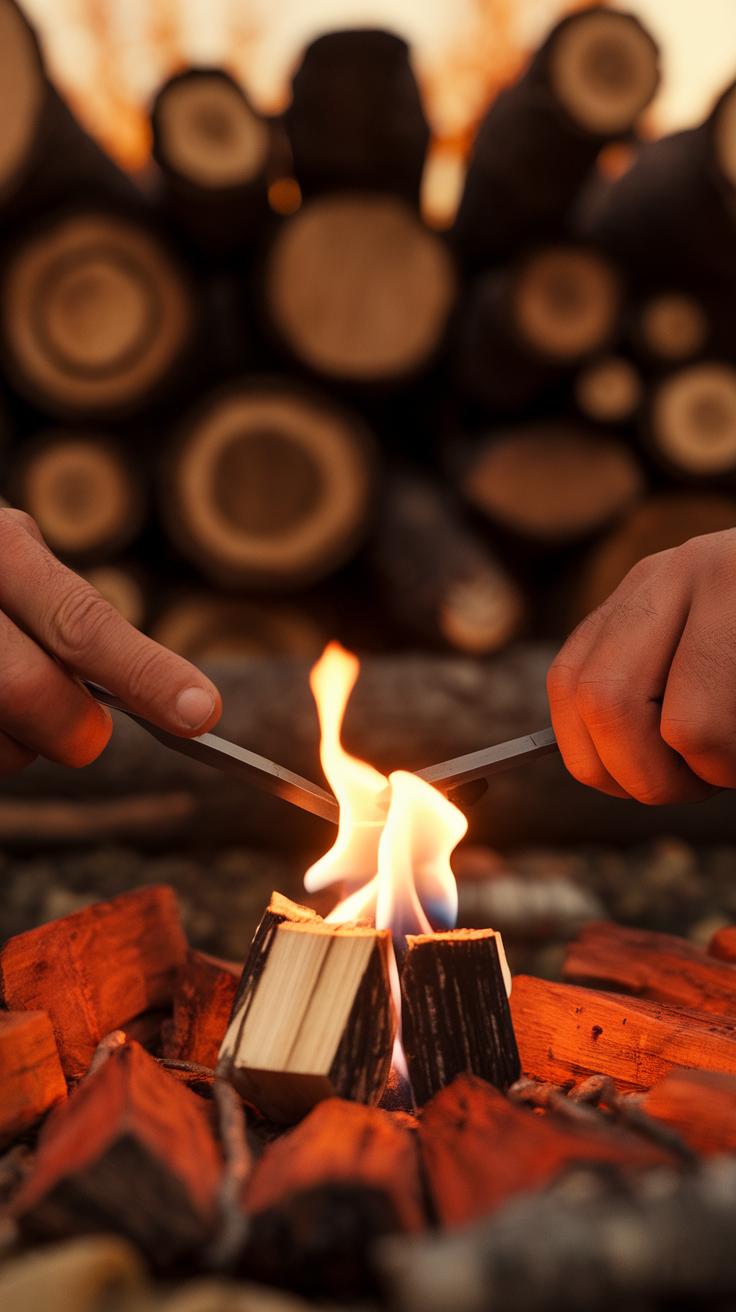
A fire serves many purposes in the wild. It provides warmth during cold nights, cooks food, and signals for help. Knowing how to start a fire without modern tools can improve your chances of survival. You need to gather the right kind of fuel and use effective methods to ignite it. Fire can protect you from hypothermia and even wild animals. Have you ever thought about how you would make fire if you lost your lighter or matches? Learning simple skills beforehand saves time and energy when you need it most. A fire also helps keep insects away and dries wet clothing. Starting one requires patience and practice, but mastering it gives you an important survival edge.
Using Natural Fire Starters
Look for dry materials like dead leaves, bark, and pine resin to build your fire. Dry leaves catch flames quickly, while thin bark strips make great tinder. Resin from pine trees burns easily because of its sticky, oily nature. Prepare these by breaking them into small pieces. Avoid green or wet materials because they resist ignition. You can also use the fluffy parts of plants like cattails or dried grass as kindling. Collect your fire starters in a sheltered spot to keep them dry. When you arrange your fire, place the smaller pieces at the core, surrounded by larger sticks. Trial and error will help you learn what works best in your environment. Have you noticed which natural materials catch fire fastest where you camp?
Fire Starting Methods
The bow drill is a popular way to create friction and ignite tinder. It requires a bow-shaped stick, a spindle, and a fireboard. Moving the spindle rapidly against the board produces hot dust that can start a flame. Flint and steel work by striking a steel object against a flint rock to send sparks onto tinder. You need to angle the strike carefully to catch sparks well. A magnifying glass or a clear plastic bag filled with water can focus sunlight onto your tinder, creating heat that leads to a flame. All these methods demand practice and patience. Try them before you need them. Could you set a fire using only natural materials you find nearby?
Securing Food Sources
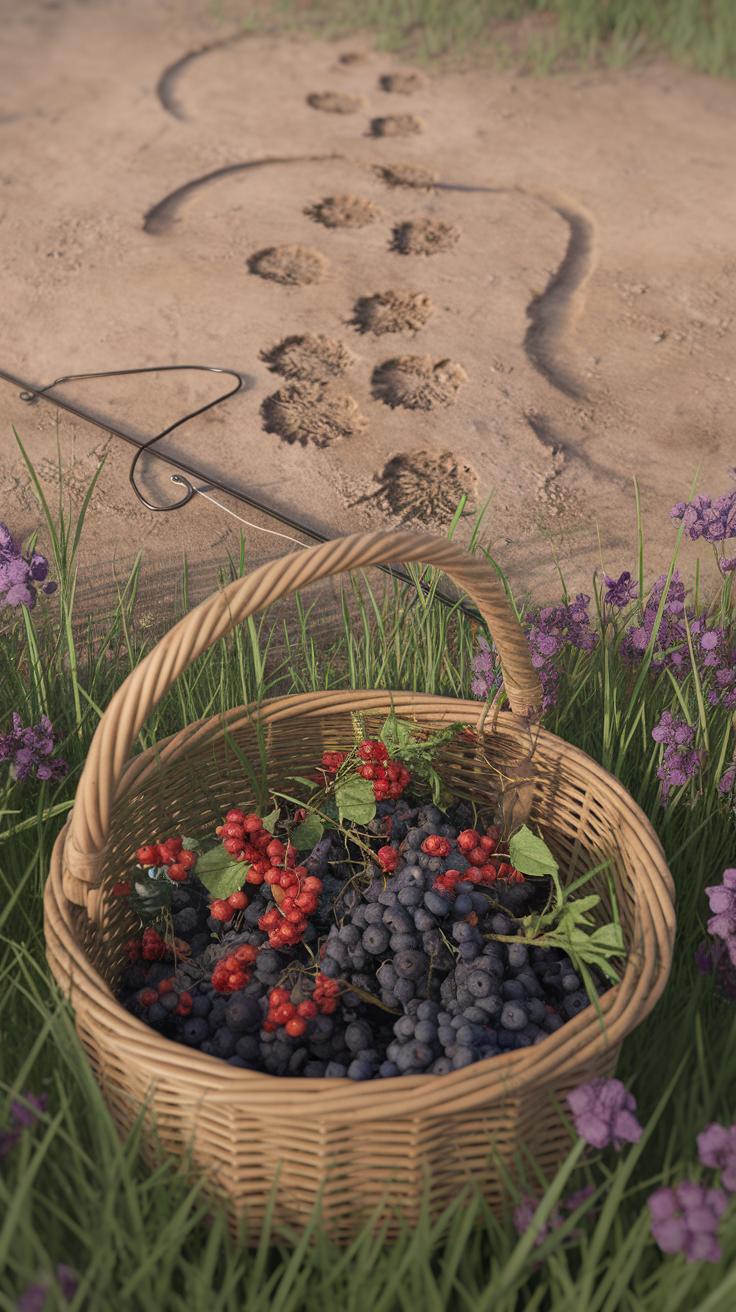
Finding food in the wild requires careful attention to your surroundings. Many plants offer nutrients, but some carry risks. Look for plants with familiar shapes, such as clover, dandelion, and wild onions. Avoid plants with milky or discolored sap, shiny leaves, or thorny features, as they may be toxic.
Insects also serve as a reliable food source. Ants, grasshoppers, and crickets are generally safe if cooked properly. Avoid bright-colored or hairy insects, since they often indicate poison or bad taste.
After identifying food, plan how to catch it. Simple traps made from sticks, vines, or sharpened bones can catch small animals. Using natural bait like berries or nuts increases your chance of success.
Fishing requires patience but can provide steady nutrition. A basic fish trap can be made by weaving sticks into a funnel shape. Alternatively, sharpen a stick into a spear for shallow fishing in calm water.
Store your food above ground if possible. Hanging it between two trees keeps animals away and prevents spoilage. If no trees are nearby, use rocks or logs to keep food off the dirt.
Have you considered how to balance collecting plants and hunting traps with your energy reserves? It’s key to find food without wearing yourself out before you’re fed.
Identifying Edible Plants and Insects
Start by learning to recognize common edible plants in the area. Leaves of clover and plantain, carrot greens, and wild berries like blueberries or blackberries are safer bets. Avoid plants with white or yellow berries, or those with almond smells in their leaves, which might mean poison.
When hunting for insects, focus on clean, fresh-looking types such as crickets and grasshoppers found away from polluted water. Stay clear of brightly colored insects; their hue often warns predators to stay away.
Perform a skin test before eating plants. Rub a small amount on your skin and watch for irritation. If none appears after a few hours, taste a small piece and wait before consuming more.
Remember, some edible plants may taste bitter or odd but are still safe. Taste alone doesn’t guarantee safety, so cross-check with multiple identification signs.
Simple Trapping and Fishing Tips
Build a basic snare trap using thin flexible branches and a noose made of vine or string. Place it near animal trails or watering spots. This method requires minimal materials and can catch small animals like rabbits or squirrels.
Create a fish trap by arranging sticks in a V shape pointing downstream with a tight mesh at the narrow end. Fish get funneled into the trap and can’t escape easily. Place traps where you see fish swimming.
Spearfishing works well in shallow waters. Sharpen a stick with a knife or rock and stab fish directly. Move slowly to avoid scaring them away.
Look for natural bait like worms, insects, or berry clusters to attract animals. Using bait improves your catch without expensive gear.
Have you tried building traps with just natural materials around you? Practice can turn this into a vital skill for survival.
Navigating Safely When Lost

Keeping calm when you realize you’re lost is vital. Panic clouds your thinking and wastes energy. Focus on finding your way by using natural signs and simple tools you might have.
Look around for landmarks like rivers, ridges, or tall trees. These features don’t move and can guide you toward known paths or water sources. If you know the sun’s direction, track it to keep your heading steady.
If you planned ahead, a map or compass can help you plot a route back. If you lack a compass, you can create a makeshift one using a needle floated on water or a stick’s shadow to establish directions. Your goal is steady movement toward safety, avoiding circles by regularly checking your bearings.
Using Natural Navigation Cues
The sun rises roughly in the east and sets in the west. Use it to get your bearings during the day. At midday, the sun is generally in the south if you’re in the northern hemisphere. You can find north by tracking shadows: place a stick upright, mark the tip shadow, wait 15-30 minutes, then mark the new tip shadow. A line between marks runs roughly east-west.
At night, find the North Star if you’re in the northern hemisphere. Locate the Big Dipper constellation; the two stars at the edge point directly to the North Star. This star stays nearly fixed, helping you maintain direction.
Land features also guide you. Rivers often flow toward civilization, so moving downstream could lead to help. Hills can give better views for spotting distant landmarks. Asking yourself, “Which way is downhill? Where does the water lead?” can shape your route.
Basic Compass Use and Improvisation
A compass needle points toward magnetic north. Hold your compass level to let the needle move freely. Turn the compass housing until the needle aligns with the “N” mark. Now you know which way is north, allowing you to set a course.
In case you don’t have a compass, make one by magnetizing a needle. Rub it on wool or hair about 30 times, then float it on a leaf or piece of bark in calm water. The needle will align with the magnetic field, pointing north.
Another method uses the sun’s shadow. Place a stick vertically and mark its shadow tip. Wait 15 minutes, mark the new tip. Connect the two marks to create an east-west line. Knowing east and west helps you find north and south. Combining these tricks keeps you moving in the right direction even without gear.
First Aid and Self Care
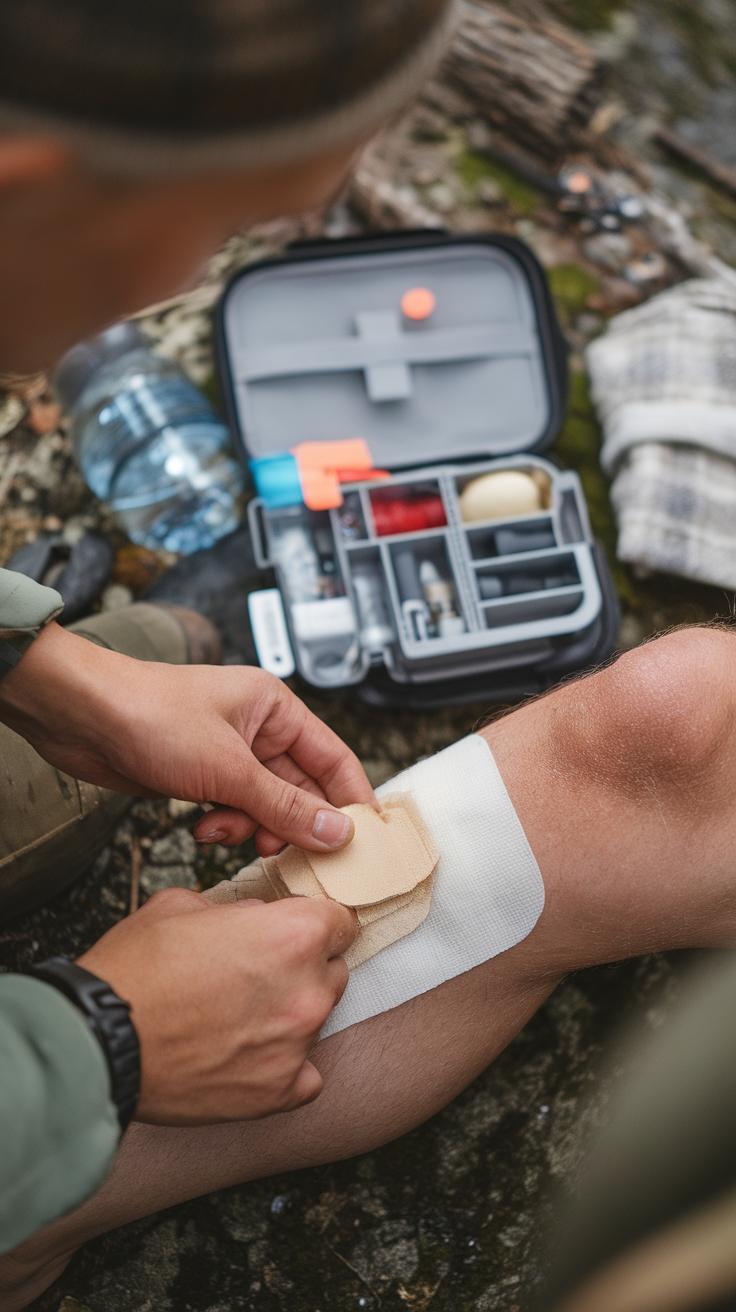
When you’re in the wild, your body’s well-being becomes your most valuable asset. Clean wounds immediately to prevent infection. Use clean water if possible and remove any dirt with gentle pressure. Stop bleeding by applying firm, steady pressure with a cloth or bandage. For bites or stings, wash the area and apply a cold compress to reduce swelling. Watch for signs of infection or allergic reactions, like increasing redness or trouble breathing.
Hygiene plays a key role in preventing illness. Wash your hands before treating wounds and after bathroom breaks, even if it means using natural water sources. Rest your body to allow healing and avoid pushing yourself too hard. Regularly check your condition. Are you feeling feverish, dizzy, or unusually weak? Acting early can prevent minor issues from becoming emergencies.
Treating Injuries on the Trail
When injuries happen, quick action makes a difference. Clean a wound using clean water or saline solution, then cover it with a sterile dressing or clean cloth. Apply pressure directly on bleeding to control it, and elevate the injured limb if possible. For snake bites, immobilize the area and keep it lower than the heart while seeking help. If stung by insects, apply a cold pack and monitor for allergic responses. Always carry a basic first aid kit and know how to use each item.
What’s the last injury you treated? Think about how fast you acted and what you could improve next time. Knowing simple steps can keep small wounds from becoming serious problems.
Managing Health and Energy
Your body needs fuel and water to keep going. Drink water regularly, even if you don’t feel thirsty. Dehydration dulls your thinking and weakens your strength. Eat nutrient-rich foods like nuts, dried fruits, and energy bars to maintain energy levels. Avoid heavy meals that take longer to digest and slow you down. Rest often to recharge your body and mind. Short naps or breaks can sharpen focus and improve decision-making.
Have you tracked your water intake on long hikes? Try to drink small amounts often rather than waiting until you feel thirsty. Keeping your energy balanced helps you stay alert and respond well to challenges around you.
Signaling for Rescue and Staying Visible
When you need help in the wilderness, making yourself visible can save your life. Rescue teams look for clear signs that show your location quickly. Using bright materials or creating strong contrasts against nature helps catch attention from the air and ground.
Building a signal fire is a powerful way to show others you need help. Choosing a spot with dry wood and creating smoke during the day can be seen for miles. At night, a fire’s glow becomes a clear marker. Be careful to keep it controlled and ready to relight if needed.
Mirrors or other reflective surfaces are effective tools. Catch sunlight and aim flashes at planes or distant searchers. Even small reflections can stand out over large distances. Think about using any shiny tool you have to make regular bursts of light.
Arranging bright cloth, clothing, or other materials in large letters or shapes on open ground can draw attention. The letters S.O.S. or large X marks are internationally recognized signals. Use your surroundings wisely to maximize visibility.
Visual Signals to Attract Attention
Signal fires attract attention by creating smoke columns that move against the sky. To make smoke thicker and darker, add fresh green leaves or pine needles. Smoke signals are most effective in open areas without too many trees blocking visibility.
A mirror or any shiny object can send silent distress calls. Position yourself facing the sun so the reflection reaches a distant searcher’s eyes. Flash sunlight intermittently to mimic a Morse code “S” — three quick flashes.
Bright colors stand out in natural environments. Spreading jacket pieces or signaling blankets on open rocks or snow creates contrast. Could you find places where your color will pop against the background? This simple change increases your chance of being spotted.
Auditory and Marker Signals
Using a whistle saves your voice and carries much farther than yelling. Blow three short blasts, pause, then repeat. This pattern is universally understood as a distress call. Keep your whistle close and conserve energy.
If you don’t have a whistle, loud shouts or tapping on metal objects work too. Each burst should last about one second, repeated three times, followed by a pause. Make sure to rest to avoid losing your voice too soon.
Marking the ground with rocks, branches, or carved symbols shows rescuers you passed through. Large, clear shapes like arrows pointing to your location or messages like “HELP” can direct search parties. How can you use materials nearby to make your messages last?
Signals can be simple or complex, but all must be consistent and repeated. Staying calm and intentional increases your chance of rescue. What combination of signals could you rely on if help were far away?
Conclusions
Applying survival life hacks empowers you to face the unknown with confidence. Each technique discussed offers practical solutions to common survival challenges. Understanding your environment and using available resources smartly leads to protection and sustenance. You learn to adapt quickly and keep yourself safe.
Remember, survival depends on preparation and calm actions. Trust your skills and training, and keep improving them regularly. These life hacks serve as a foundation for your safety and success in outdoor settings. Equip yourself with knowledge and maintain alertness. Your safety is in your hands while you explore the wild.