Introduction
Designing a functional food garden is a rewarding experience for beginners who want to grow their own fresh fruits, vegetables, and herbs. It can seem challenging at first, but with practical steps, you can create a garden that provides nutritious food and connects you with nature. This guide will explore essential gardening principles clearly and simply.
We will cover everything from choosing the right location to caring for your plants. You will learn how to plan your space, select suitable crops, prepare your soil, and manage pests naturally. By the end, you will feel confident to start your food garden and enjoy the benefits it brings to your home and health.
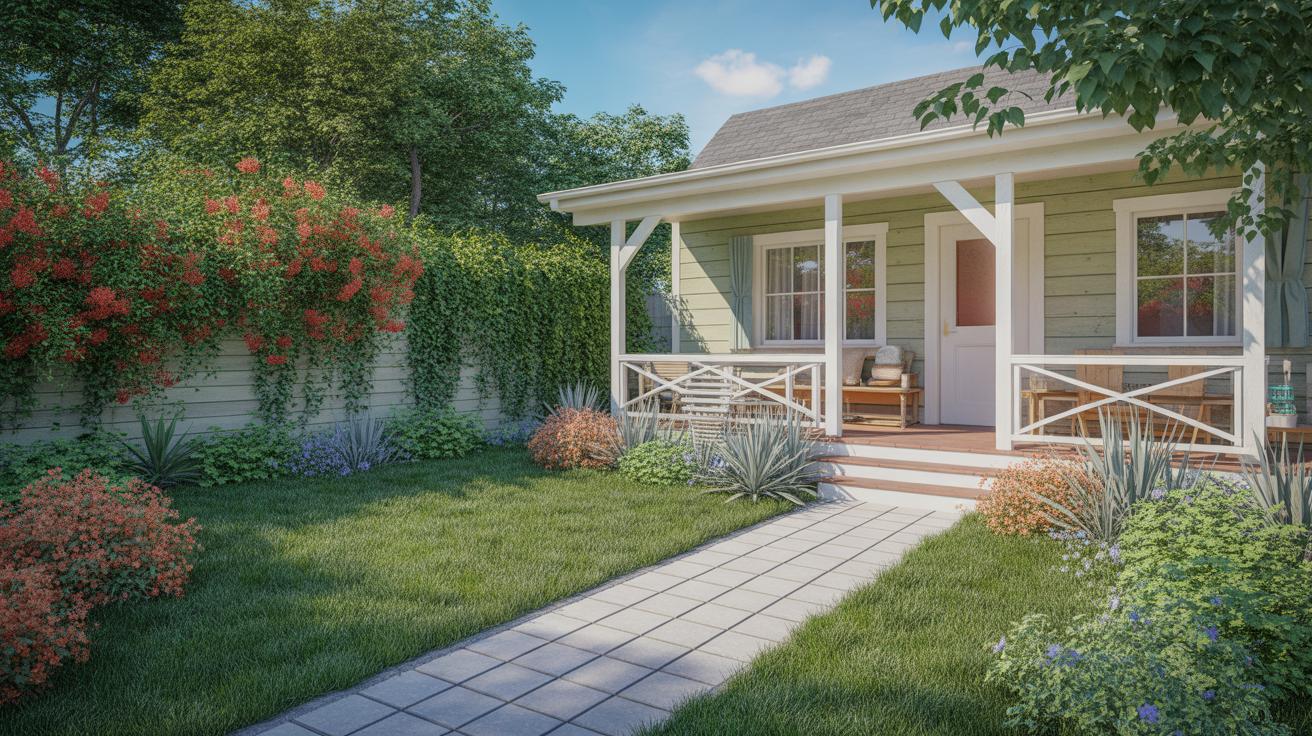
Choosing the Perfect Spot for Your Food Garden

Finding the right place for your food garden feels more like a bit of a puzzle than a straightforward task. Sunlight is critical—plants need at least six hours of direct sun daily to thrive, though some might do okay with less. You’ll want to look around your yard at different times of the day to see where the sun hits longest. Keep in mind trees, fences, and buildings can cast shadows that shrink sunny periods unexpectedly.
Finding Sunlight and Shelter
It’s not just about sunlight, though. Shelter from strong winds protects your garden from damage and reduces plant stress. Walls or hedges can act like natural windbreaks. Sometimes, a spot with a bit less sun but more protection works better overall, especially in harsher climates. Does a spot near the house wall catch morning sun but block harsh afternoon rays? That could be a sweet spot.
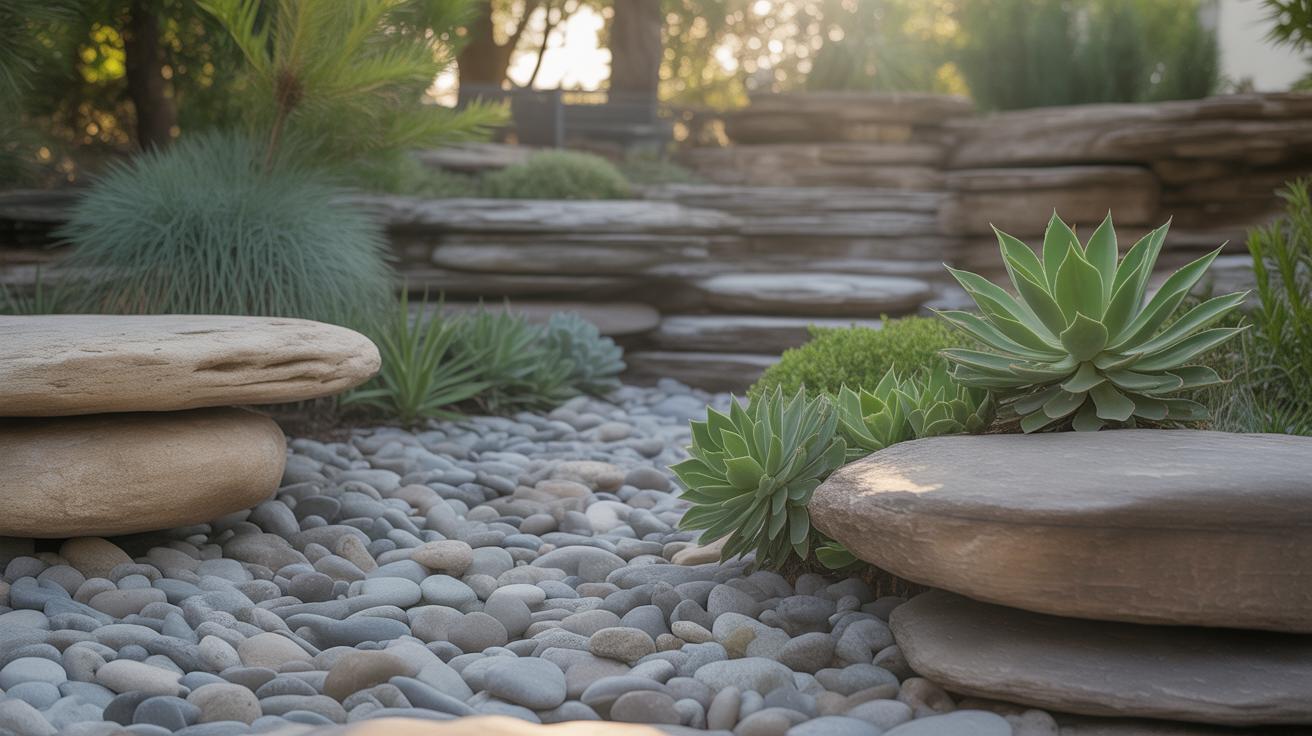
Assessing Soil Quality and Space
For beginners, testing soil can be as simple as feeling and inspecting it. Grab a handful—does it crumble easily or feel like clay? Poor drainage or too sandy soil each need adjustments before planting. If unsure, a basic soil test kit from a garden center offers clues about pH and nutrients. Space matters too. Even with limited room, vertical growing or container beds can work. The key is to pick a spot just big enough that won’t overwhelm you with maintenance. Sometimes less is more; starting small helps you focus and learn.
Planning Your Food Garden Layout
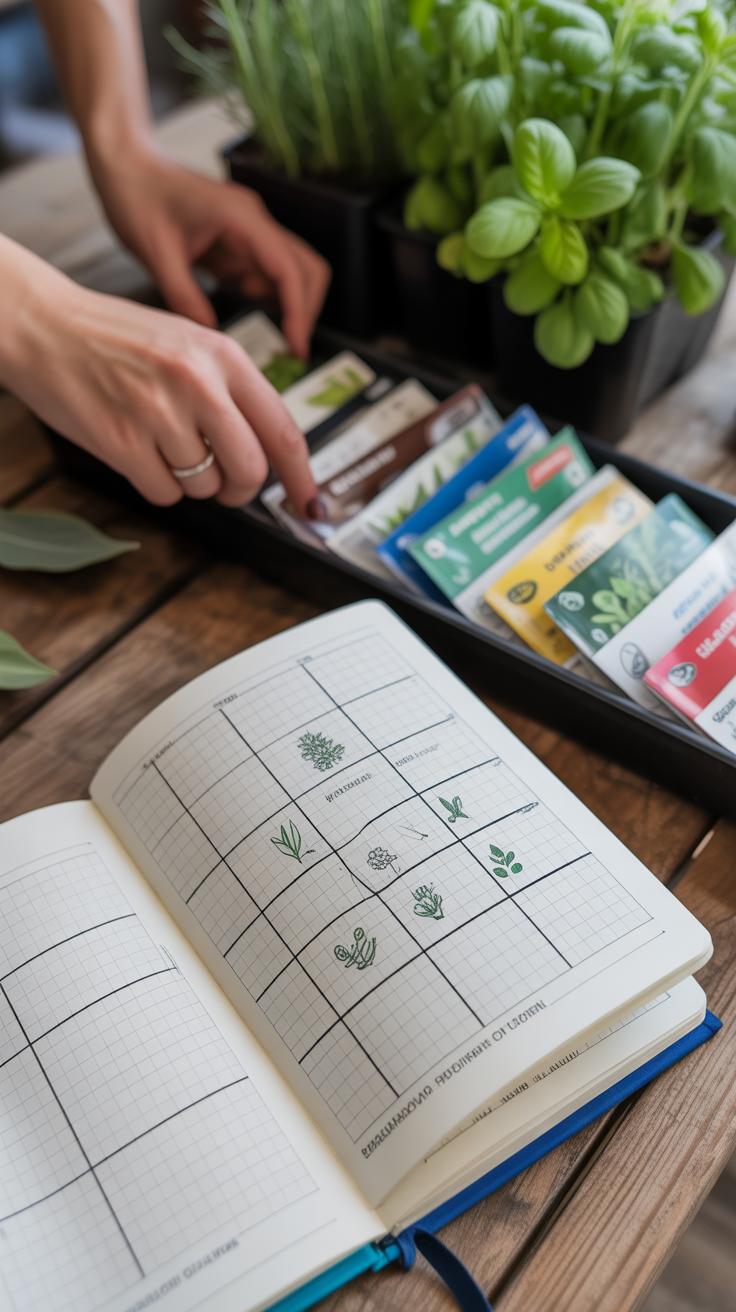

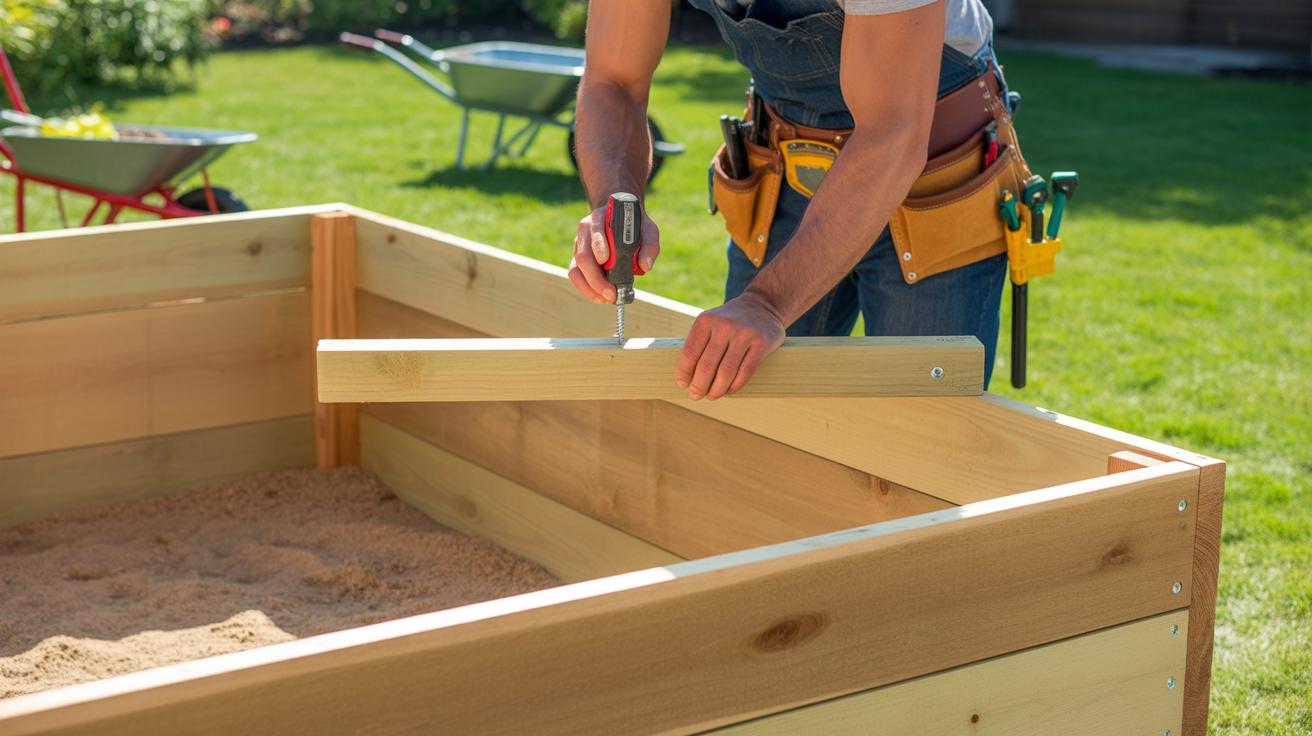
Designing your garden beds and rows takes a bit of thought, especially to make everyday tasks like planting, watering, and harvesting easier. I often find that straight rows can feel too rigid, but they do help with organized planting and especially watering if you’re using drip lines or soaker hoses. Raised garden beds, about 3 to 4 feet wide, let you reach all parts without stepping on the soil, which keeps it from compacting—something I didn’t realize until I crushed a batch of seedlings with careless steps.
Creating paths between beds that are at least 18 inches wide gives enough room to navigate without trampling plants. If your space is tight, narrow beds with wider paths might feel counterintuitive but save you from a cramped, stressful feel.
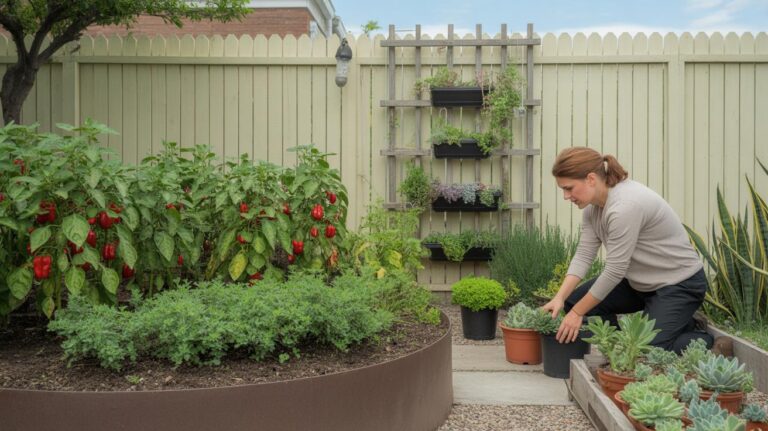
Organizing Garden Beds
Beginners often do well with rectangular beds, but square or slightly irregular shapes can work if your yard isn’t perfectly aligned. I once had oddly shaped beds following the fence line, and while it was less neat, the access was surprisingly good. Try to orient your beds north to south if possible; it helps plants get even sunlight throughout the day.
Think about your daily routine: where will you enter the garden? Arrange beds in a way that allows you to reach every plant with minimal walking or awkward bends. Raised beds or no-dig beds also save effort; they warm up faster in spring and can improve harvests. You might want to experiment with the size—sometimes small beds are easier to manage, but if you grow a lot, larger configurations make more sense.
Companion Planting Basics
Companion planting is about placing plants together that support each other’s growth. It’s not a magic fix, but it can reduce pests and improve yields. For example, planting basil near tomatoes is said to improve tomato flavor and deter flies.
Some combinations you could try:
- Carrots and onions – the onions mask carrot scent from pests
- Beans and corn – beans fix nitrogen benefiting corn, while corn offers support for climbing beans
- Marigolds among vegetables – marigolds can repel certain insects
It might feel a bit tricky to balance your planting based on these pairings, and sometimes what works in one garden doesn’t in another. But experimenting a little with companion planting can be rewarding, maybe even surprising. What small tweaks can you make in your layout to see if certain plants fare better together?
Selecting Vegetables and Herbs for Beginners
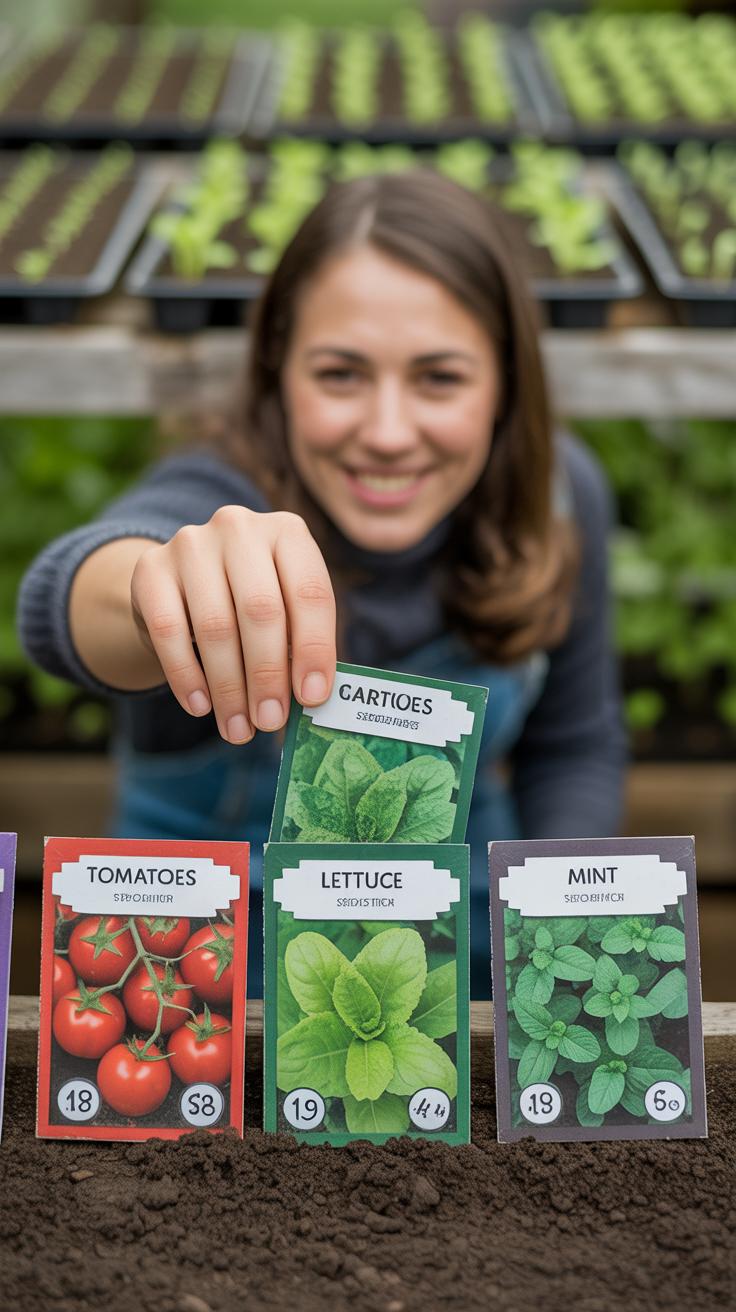
Picking what to grow can feel overwhelming at first. If you’re new to gardening, starting with plants that aren’t fussy about conditions is a good move. Vegetables like lettuce and radishes often come up as easy starters—they grow fast and don’t demand much care. For herbs, basil and mint are popular choices; they’re forgiving and useful in the kitchen. You might find that these plants give you quick wins, boosting confidence and keeping things from getting frustrating.
Think about where you live. Is your area mostly warm year-round, or do you get cold winters? This really matters because some plants struggle if the season’s off. For example, spinach prefers cooler weather, while tomatoes want summer warmth. Trying to grow a plant in the wrong season can feel like a waste of time, even if you’re following all the instructions. So, try to pick vegetables and herbs that match your climate—learning the local planting schedule helps with that. It’s not always straightforward, and you might have to experiment a little.
- Lettuce: Quick-growing, likes cooler temps, needs consistent moisture.
- Basil: Thrives in warmth, requires sun, and adds fresh flavor to many dishes.
- Radishes: Fast harvest, tolerates various soils, perfect for small spaces.
- Mint: Easy to grow, spreads fast—beware, it can take over if unchecked.
Space is another factor. If you’re working with a small balcony or a tiny patch in your yard, pick plants that don’t need much room. Leafy greens and herbs usually fit nicely into containers or small garden beds. You might want to skip sprawling plants like pumpkins until you’re ready for a bigger challenge.

Does the idea of watching your first few seeds sprout make you a bit nervous? It’s normal. Just keep it simple and adjust as you go. Remember, gardening is not always predictable, but with time, you’ll get a feel for what works in your garden’s unique environment.
Preparing Your Soil for Healthy Growth

Getting your soil ready can feel like a big task, but it really doesn’t have to be complicated. First, clear the area of any debris like rocks, sticks, or old roots. Then, loosen the soil with a garden fork or spade, digging down about six to eight inches. This breaks up compacted soil and lets roots breathe. You might notice some patches feel dry or clay-heavy—don’t worry, that’s normal. Improving it takes time.
Testing your soil’s pH is a straightforward step that can tell you a lot about what your plants will experience underground. You can use simple test kits from garden centers, which only require mixing a bit of soil with the testing solution or sticking a probe into the ground. Most vegetables prefer a pH between 6.0 and 7.0, but some herbs can tolerate a slightly wider range, so it’s worth checking. If your soil is too acidic or alkaline, natural amendments can help balance it out.
Compost is your best friend here. Adding rich, homemade compost improves soil fertility, enhances structure, and boosts moisture retention. You might sprinkle a couple of inches over your garden bed and mix it in gently. Don’t forget, compost isn’t a quick fix—it improves soil bit by bit each season. Mulching on top of that is another key step. A layer of mulch keeps soil moist longer, cuts down weed growth, and keeps temperatures stable. Leaves, straw, or grass clippings can all work. I usually notice fewer weeds when I mulch well, though sometimes mulch can get a bit messy or attract slugs, so there’s a bit of trial and error here.

Taking some time with soil preparation now makes a big difference later—you’ll probably see healthier plants and better yields. But feel free to experiment a little. Soils aren’t all the same, and sometimes what works for your neighbor might not be perfect for you.
Planting Your Food Garden Step by Step
Getting your seeds and seedlings into the ground feels like the true start of your food garden. But there’s more to it than just dropping seeds in any hole. Depth matters. Most seeds should be planted at a depth about twice their size. Tiny seeds like lettuce stay close to the surface, while bigger ones like peas go deeper. Spacing is just as crucial. Crowding your plants means they’ll compete for nutrients and sunlight, which can stunt growth. Timing? Yes, that varies too. Some seeds, like carrots, prefer cooler weather, while tomatoes need warm soil before they go outside. It’s a lot to juggle, but it gets easier after a season or two.
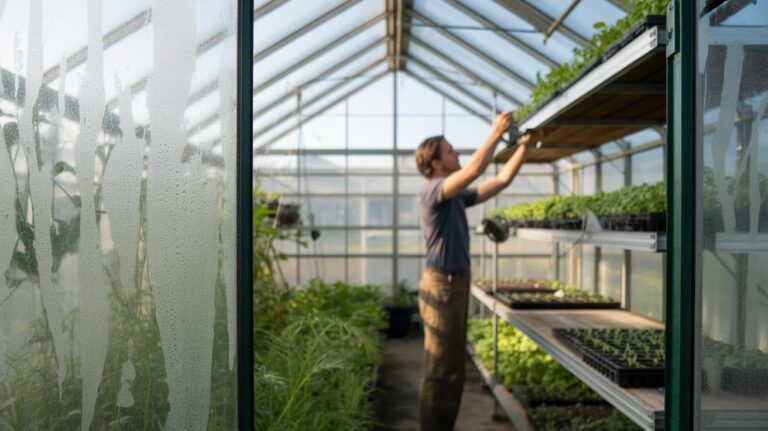
Starting Seeds Indoors or Outdoors
Starting seeds indoors gives you an early edge, especially in colder climates. Plants like tomatoes, peppers, and brassicas benefit from a head start under a sunny window or grow lights. Use seed trays with good drainage and a light, seed-starting mix. Keep soil moist but not soaked. Outdoors, direct sowing works well for hardy plants—beans, carrots, radishes. You’ll want to check frost dates and soil temperature because sowing too early can send your seeds to an icy grave, so to speak. Sometimes I’ve debated whether to transplant or direct sow and ended up doing both. Each method has its quirks and rewards.
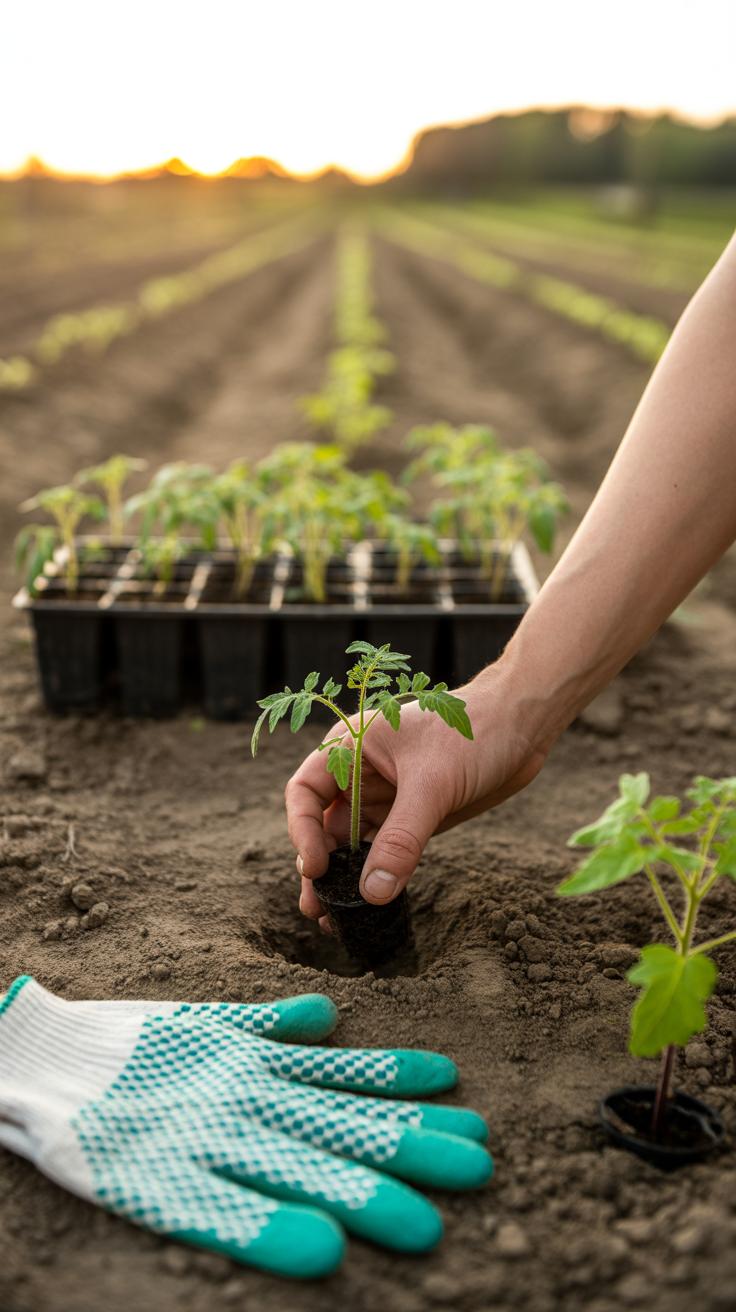
Transplanting Seedlings
Transplants aren’t ready the moment their first leaves pop up. Wait until seedlings develop a couple of strong true leaves before moving them outside. Harden them off by exposing them gradually to outdoor conditions over a week—shade, wind, cool nights—all help them adjust without shock. When planting, dig a hole big enough to avoid bending roots. Plant deeper if you’re dealing with tomatoes; burying part of the stem encourages sturdier root systems. Water seedlings right after transplanting and watch how they react the first few days. Sometimes they limp a bit or look thirsty, but with care, most bounce back. Picking the right time to transplant feels like a mix of guts and patience.
Watering and Caring for Your Garden Plants
Watering Techniques for Growth
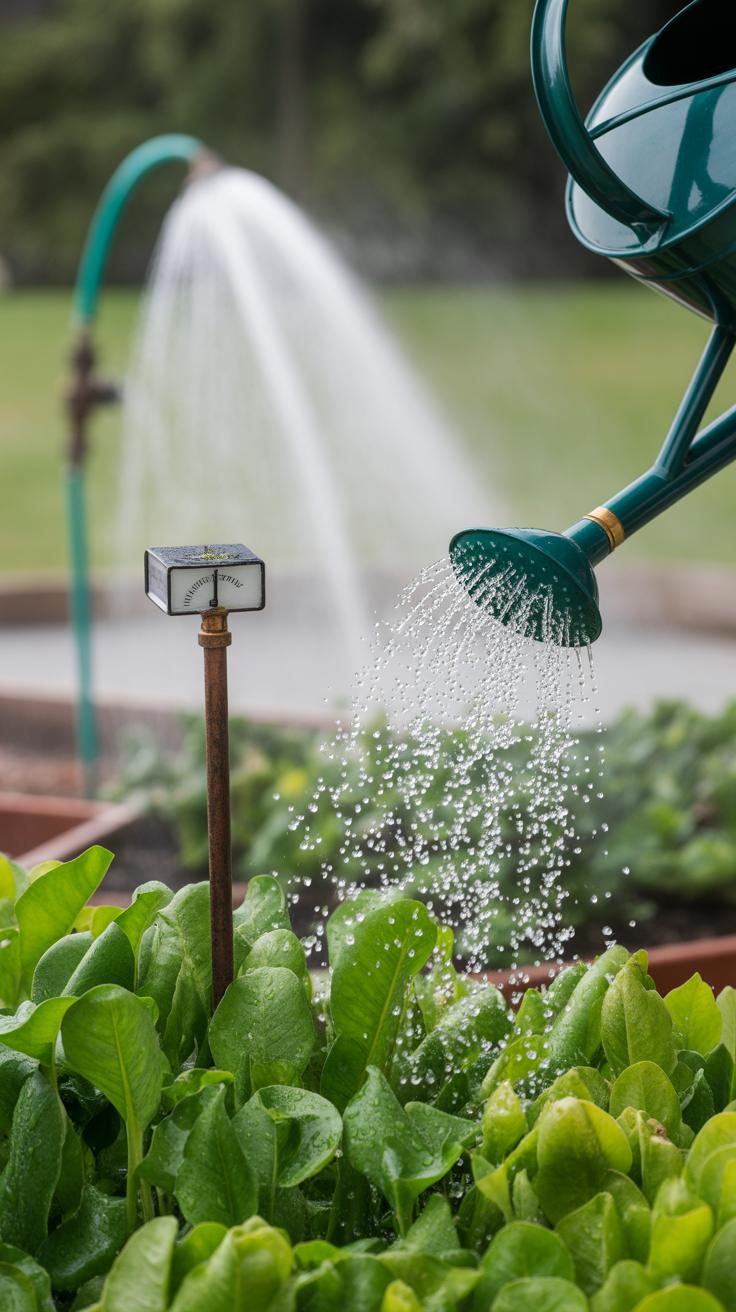
Watering your plants isn’t just about pouring water whenever you remember. The amount and timing really change how well your garden grows. Most plants like their soil moist but not soggy. If you water too little, roots may dry out; too much, and roots can rot or suffer from diseases.
A good rule is to water deeply, so water reaches the roots instead of just wetting the surface. This encourages stronger roots. Early morning or late afternoon tends to be the best time for watering because the sun won’t rush the soil dry too fast—though I’ve sometimes noticed plants seeming to prefer midday, especially in cooler weather.
Try this: check soil moisture with your finger about an inch deep. If it feels dry, it’s probably time to water. If it’s still damp, hold off a bit. Plants’ needs change with the season and weather too. Hotter days usually mean more watering, but on a chilly or rainy day, you might hardly water at all.
Basic Garden Maintenance
Keeping your garden healthy means more than just watering. Weeding regularly removes competition for nutrients and water. I usually catch weeds when they’re small — much easier than fighting them later when they take over. It’s a bit tedious, but rewarding to see a clean bed.
Pruning helps plants focus their energy. Removing dead or crowded growth improves airflow, reducing disease risk. Some plants may seem fragile, but light pruning often encourages stronger growth. I sometimes hesitate, wondering if I’m cutting too much, but most plants bounce back quickly.
Checking for pests should be part of your routine. Look under leaves and stems for signs like holes, spots, or webbing. Early detection can make a difference between manageable problems and widespread damage.
Small, consistent actions go a long way in keeping your food garden productive. You might find your own rhythm, tending more or less depending on the plants’ reactions.
Handling Pests and Diseases Naturally

Recognizing Common Pests
Before taking action, you need to spot the culprit. Aphids often cluster on new leaves, leaving sticky residue and curled edges. Caterpillars chew irregular holes in leaves or sometimes strip plants bare. Slugs and snails leave slimy trails and jagged bites, usually at night or early morning. Whiteflies create a faint cloud if you disturb the plants and cause yellowing or stunted growth.
Sometimes damage is subtle, like tiny speckled leaves or spots that might look like disease but could still be pest-related. It’s a matter of watching closely over time. Have you noticed small holes or speckled leaves on your lettuce or tomatoes? That could indicate early pest activity.
Natural Pest Control Methods
There are several ways to keep pests in check without resorting to chemicals. Companion planting is surprisingly effective; planting marigolds near tomatoes can deter nematodes, and basil planted with peppers may keep aphids at bay. This strategy also boosts plant health overall.
Handpicking pests, though tedious, sometimes works best. I’ve spent quiet mornings picking off caterpillars from kale. It’s slow but satisfying. Homemade sprays like neem oil or a mild garlic-chili infusion can discourage insects when sprayed on leaves, though test on a small area first to avoid leaf burn.
Encouraging beneficial insects is another route—ladybugs and lacewings feast on aphids happily. Creating a welcoming environment with varied plants can help attract these natural defenders. You might hesitate at first, but fostering this balance often leads to fewer pest outbreaks over time.
Harvesting and Using Your Garden Produce
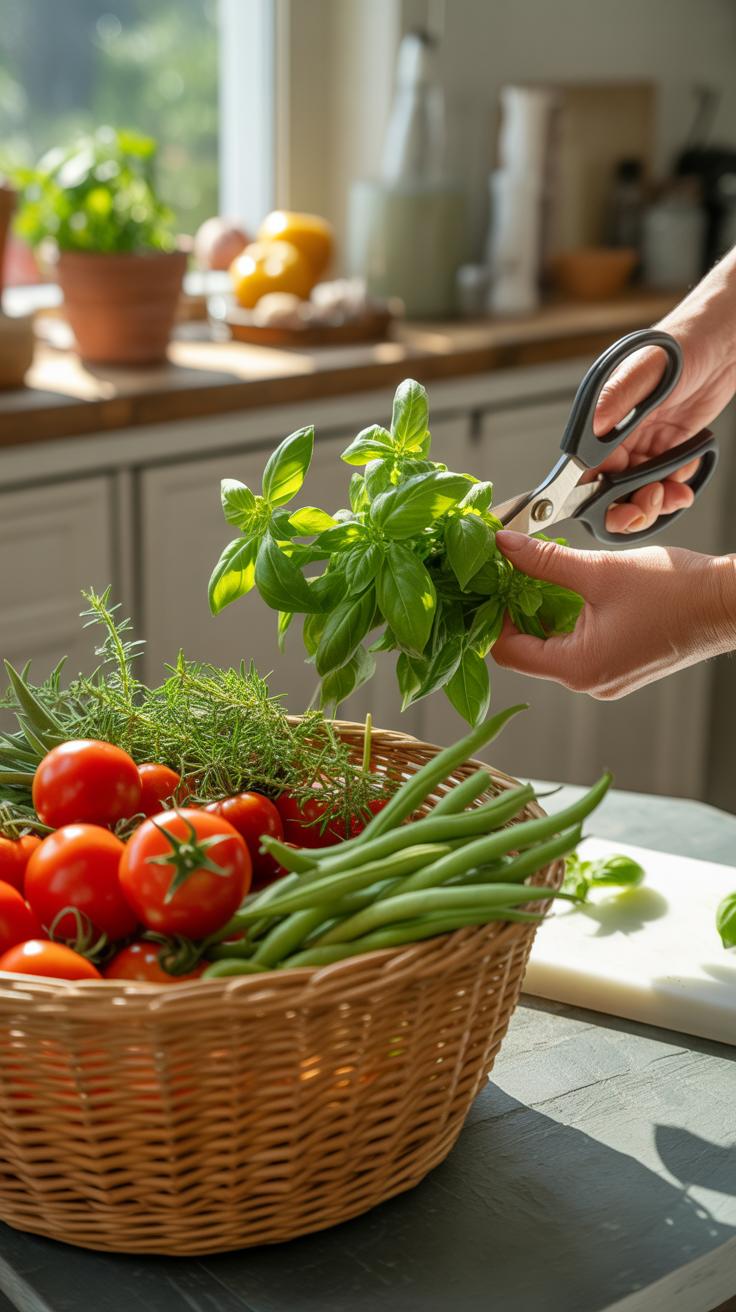
When and How to Harvest
You’ll often wonder, is this the right time to pick those tomatoes or cut the basil? Timing usually depends on what you’re growing. Fruits like tomatoes or peppers show color changes—deeper reds, yellows, or purples. The best cue? A gentle squeeze; if it gives slightly but isn’t mushy, you’re likely looking at ripeness. For leafy herbs, snip leaves regularly, but avoid cutting more than a third at once to keep plants healthy.
When harvesting, use scissors or garden shears whenever possible to avoid bruising or tearing. With root veggies, like carrots or beets, loosen soil carefully first. Don’t just yank; it can break the roots or damage neighboring plants. Some fruits, like beans or peas, come off easily with a gentle tug.

Remember, a premature harvest might mean bland flavors. Wait too long, and you risk overripeness or pests. It’s a bit of a balancing act you’ll get better at with experience—don’t stress if it’s not perfect the first few times.
Storing and Cooking Your Harvest
Once picked, how you store produce makes a huge difference. Root vegetables can stay cool and dark in a box of sand or peat to keep moisture steady. Leafy greens last longer with a damp cloth in a plastic bag inside the fridge. Tomatoes, oddly, keep their flavor if stored at room temperature—not cold.
Fresh herbs often don’t need refrigeration; you can place stems in a glass of water on the windowsill. That way, they might even last a week or more. If you have more than you can use, drying or freezing herbs preserves their flavor for months.
Cooking your harvest doesn’t have to be complicated. Toss freshly picked greens in a salad, roast root vegetables to bring out natural sweetness, or stir-fry herbs and veggies for a quick dinner. Sometimes, just a drizzle of olive oil and a pinch of salt lets the garden’s flavor shine through. Have you noticed that simple preparations often highlight your efforts better than fancier recipes?
Conclusions
Creating your own food garden is a valuable skill that offers fresh produce and satisfaction. By understanding your space, picking the best plants, and nurturing them well, you make your garden thrive. The effort you put in will help you eat healthier and appreciate the natural process of growing food.
Remember, a functional food garden takes time to develop, and every garden is unique. Keep learning along the way and enjoy the small successes. Your garden will grow stronger each season, giving you tasty food and a peaceful place to connect with the earth.