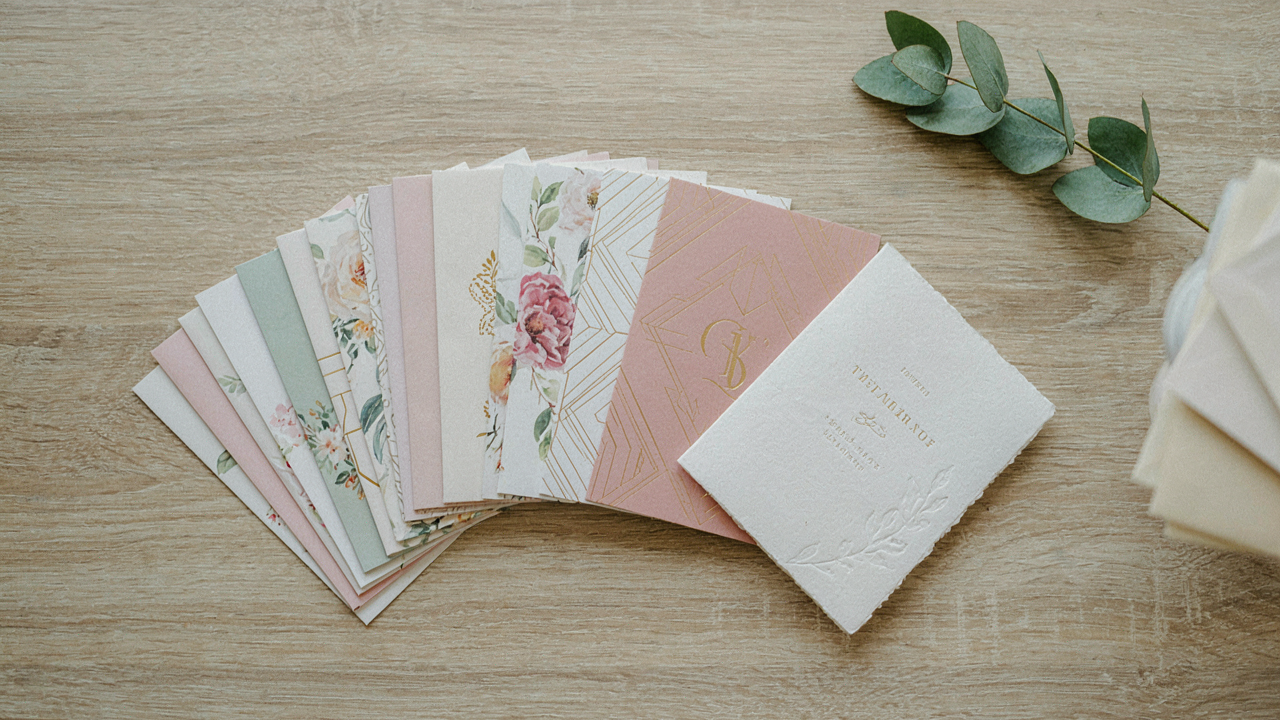
The Unseen Value Of DIY Envelope Liners: Beyond Aesthetics

When Cheap Paper Becomes A Family Artifact
You’re doing this because you want your wedding to feel expensive without the debt. That’s the real motive. Here’s the mechanism: DIY envelope liners work like signal amplification in communications theory. A basic envelope is noise. A lined envelope with intention behind it becomes signal. The liner doesn’t just add visual weight—it forces your guests to handle the invitation differently, to notice the construction, to register that someone invested time in the details. Cheap cardstock becomes heirloom material the moment you add purposeful craft to it.
The paper itself matters less than the intention it carries. A fifty-cent cardstock liner, cut and applied by hand, reads differently than a fifty-dollar printed insert because the receiver knows the difference between automated and manual labor. That knowledge changes how they perceive the entire wedding before they even open the envelope. You’re not faking quality. You’re manufacturing authenticity, which is the only quality that actually moves people.
The Calculation Your Guest Runs Instantly
Every person who receives your invitation runs a calculation before they RSVP, whether they admit it or not. They’re assessing: Did the couple respect me enough to spend effort on this, or did they buy their way out? Handcrafted liners answer that question in your favor because they broadcast constraint and choice. The guest sees a lined envelope and thinks: “They could have cut corners. They didn’t.” That single observation shifts their baseline assumption about how much the wedding matters.
This isn’t about sentimentality. It’s about status signaling that works backwards—the more obviously handmade something is, the more it suggests you have time or priority to spare. A DIY liner telegraphs that you valued presentation more than convenience. That perception sticks through the entire event and beyond. When your guest thinks about your wedding years later, that lined envelope becomes part of the story they tell, proof that you paid attention.
Deconstructing The Budget Myth: Real Costs Of DIY Wedding Invitation Envelopes

What Pre Made Liners Actually Cost You
You’re comparing prices because you want to feel smart about saving money, but you’re not measuring the right thing. Economics calls this the sunk cost fallacy, and DIY envelope liners fall into it hard. Pre-made liners from designers run 1 to 3 dollars per envelope, but that price hides what you’re really paying for: zero decision fatigue, guaranteed fit, and the ability to order at 11 PM without risk.
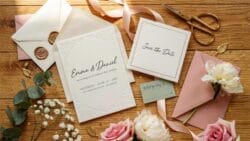
DIY materials cost less on paper. Cardstock runs 5 to 15 dollars per pack of 100 sheets, depending on weight and finish. Cutting tools, adhesive, and storage add another 20 to 40 dollars upfront. The mechanism is simple: the per-unit material cost drops as quantity increases, but only if you actually finish the project and use all materials. Most DIYers buy supplies for 200 envelopes and complete 120.
Time Has A Number Attached To It
Cutting, scoring, and adhering one envelope liner takes five to eight minutes by hand. Most couples underestimate this by half. If you’re lining 150 envelopes, you’re looking at 12 to 20 hours of labor spread across multiple sessions. That’s not a weekend project, it’s a side job with no paycheck.
Calculate your hourly rate backwards from what matters to you. If you earn 30 dollars an hour in your actual work, that 150 envelopes costs you 360 to 600 dollars in opportunity cost. Pre-made liners at 1.50 each run 225 dollars and require two hours to insert and verify. The DIY math only wins if you genuinely value the time spent on envelope liners more than you value money or sleep. Most people don’t realize this until they’re on envelope number 87 at midnight.
The Precision Protocol: Mastering Your DIY Envelope Liner Template

Tools That Actually Control Your Output
You want the finished product to look intentional, not like you gave up halfway through. That’s the real fear here. Precision isn’t about perfectionism—it’s about controlling variables so your design reads as deliberate rather than amateur. The cutting tool you choose determines whether your edges compress the paper or slice it cleanly. Compressed edges fray. Clean edges hold.
- Rotary cutter with self-healing mat: Produces straight edges on cardstock and specialty paper without crushing fibers. Better than scissors for any liner wider than three inches.
- Metal ruler or straightedge: Prevents the blade from wandering. Non-metal rulers compress under pressure and throw off your measurements by millimeters that compound across multiple cuts.
- Bone folder or scoring tool: Creates crisp fold lines without tearing heavier cardstock. Essential for envelope flaps and pre-scored template lines you’ll repeat.
- Cutting guides or corner punches: Deliver consistent rounded or cut corners across multiple pieces. Hand-cut corners vary in radius by up to half an inch per liner.
- Precision scale or digital caliper: Verifies thickness of specialty papers before cutting. Liners thicker than 0.25 inches won’t fit standard envelopes without creating bulk.
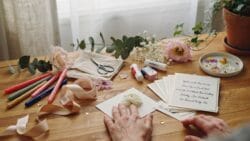
The mistake most DIYers make is thinking accuracy comes from effort. It doesn’t. Accuracy comes from tools that mechanically enforce consistency. A $15 rotary cutter eliminates the hand-slip problem that wastes twenty minutes and five ruined sheets.
Digital Versus Physical Template Methods
Skip the advice that says “just draw it on paper and eyeball it.” That fails at scale because your hand won’t replicate the same dimensions fifty times. You need a system that generates identical copies without drift.
Digital templates live in design software like Canva, Adobe Illustrator, or even Google Slides. You set dimensions once, print to scale, and each print is mathematically identical. The file becomes your standard. Physical templates use cardboard or plastic cutouts you trace repeatedly. Digital wins for precision at volume. Physical templates work if you’re making fewer than twenty liners and don’t mind 2-3 millimeter variance between pieces. For a wedding invitation set of 100 plus, digital templates eliminate cumulative error and let you batch-print multiple sheets per session without recalibrating measurements or fighting inconsistency.
Paper Selection: The Overlooked Variable In Diy Envelope Liners

Weight Determines Structural Integrity
You want your liners to look intentional, not cheap. That fear drives most people to buy pre-made liners instead of making them. Here’s the mechanism: paper weight measures thickness and density using the basis weight system, where 20 lb bond paper is standard copy paper thickness. Envelope liners sit inside a folded envelope, so they experience compression and friction every time someone inserts or removes the invitation. A 20 lb paper will wrinkle and crease under that pressure. A 28 lb to 32 lb paper maintains its form without buckling.
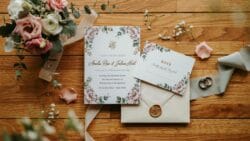
The weight threshold matters because lighter paper stretches and darkens when glued, making your liner look warped inside the envelope. Heavier stock resists this deformation. For standard A2 envelopes (used for folded invitations), aim for minimum 28 lb bond or equivalent cardstock. Test by cutting a sample liner, inserting it into an actual envelope, and moving it around. If you see creasing at the folds, go heavier. Most people skip this step and wonder why their liners look wrong after assembly.
Texture And Finish Shape Perception Before Touch
The finish you choose signals either craft or corners cut. Smooth finishes reflect light evenly and read as refined. Textured finishes like linen or felt catch light unevenly, which paradoxically adds perceived depth and luxury because your eye reads complexity. Matte finishes feel intentional and intentional. Glossy finishes feel cheap in residential settings unless paired with bold color or pattern.
Start with matte cardstock in 28 to 32 lb weight and test one sample inside an assembled envelope before cutting your full batch. Hold it at different angles under various lighting to see how the finish behaves. Linen texture adds visual interest without extra cost if you source cardstock with that finish built in rather than trying to texture smooth paper yourself. The finish is the last thing people touch and the first thing that reinforces whether you spent real time on this detail.
The Assembly Line: Streamlining Your DIY Envelope Liner Tutorial

Process Your Materials In Batches, Not One At A Time
You want to feel productive without actually wasting six hours. Here’s the real mechanism: manufacturing logistics solved this problem decades ago. The principle is called “batch processing,” and it applies directly to cutting, scoring, and adhering liners. Instead of completing one liner start-to-finish, you move all materials through each single step before moving to the next step. This cuts setup time, eliminates repeated tool adjustments, and keeps your hands in the same motion pattern longer, which builds speed and reduces error.
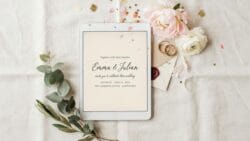
Cut all your paper first. Score all your paper second. Fold all your paper third. Then adhere. This sequencing works because your brain stays in one task mode instead of constantly context-switching. You’ll cut fifty liners in the time it takes to cut ten individually. The friction isn’t in the task itself. It’s in the mental transition between different tasks. Eliminate transitions and you eliminate the real time drain.
Bond Strength Matters More Than You Think
Physics governs adhesive performance over time, and most people pick wrong. The real question isn’t which glue feels sticky now. It’s which adhesive maintains molecular cohesion as temperature and humidity shift over months and years. Paper moves. Envelopes get bent, heated in mail trucks, and stored in varying conditions. An adhesive that works on day one fails when the paper expands and contracts at different rates than the glue.
Acid-free PVA adhesive or wheat paste creates stronger long-term bonds than spray adhesive or rubber cement. Spray adhesive dries through evaporation and weakens as the solvent leaves. Wheat paste and PVA cure through chemical reaction or water loss, creating flexible bonds that move with the paper instead of cracking. Test your chosen adhesive on scrap liners first by folding them sharp after forty-eight hours of curing. If the glue line cracks, switch adhesives. Apply a thin, even coat along all edges and one center strip to prevent rippling and ensure the liner stays flat during the mail and storage process.
Beyond Basic: Diy Envelope Liner Inspiration For Unique Designs

Pattern Integration That Actually Works
You want your liners to feel intentional, not like you grabbed leftover wrapping paper. The real mechanism here is constraint. Your wedding has a visual identity whether you admit it or not, and your envelope liners either reinforce it or dilute it. Pull your actual color palette from your invitations, venue, or wedding website. Don’t invent new colors to “match the theme.” Match what already exists in your materials.

Repeating patterns work because they’re economical to produce at home and they scale across multiple envelopes without looking sloppy. Geometric patterns, florals, or abstract marks all function the same way mechanically: they break up white space and anchor the eye. Print your pattern on cardstock using standard printer settings, then trim to liner dimensions. The pattern becomes a visual through-line that ties your stationery together without requiring professional design skills.
Tactile Details That Cost Almost Nothing
Everyone talks about adding texture like it’s some magical upgrade. It’s not. What texture does is create micro-friction between the liner and the paper it touches, which makes people handle your envelope longer. That’s the entire point. You can achieve this with materials that cost pennies per liner.
Emboss your liners by running cardstock through a standard printer, then use a stylus or the back of a pen to press lines or shapes into the surface before the paper dries. Metallic markers add shine without requiring special supplies. Rubber stamps applied with ink create raised edges that catch light. Edge painting with acrylic or watercolor marker adds visual weight to the perimeter. Each technique takes under a minute per liner once you establish the motion. Layer one embellishment per liner, not three. Restraint is what separates intentional from cluttered.
Troubleshooting Common Pitfalls: How To Make Envelope Liners Flawless

Humidity And Paper Handling Matter More Than You Think
You’re worried about looking cheap at your own wedding. The real mechanism at work here is water vapor. Paper absorbs moisture from air the same way fabric does. Humidity causes fibers to swell unevenly, creating wrinkles that appear hours after you cut and fold your liners. The problem isn’t the paper quality. It’s that you’re handling it in the wrong environment.
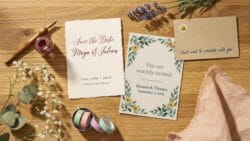
Store your cardstock in a cool, dry space before cutting. Relative humidity between 40 and 50 percent is the target. Handle cut liners with dry hands only, and let adhesive set fully before stacking them. Never touch the face of the paper with bare fingers. Work quickly once you start the adhesive application. Temperature swings between your workspace and where you store the liners will also trigger expansion and contraction, so keep everything in one climate zone while gluing.
The Adhesive Problem Everyone Gets Wrong
Most people blame the glue when the real issue is application method. Spray adhesive bleeds through thin cardstock because you’re oversaturating. Stick glue doesn’t reach the edges evenly because you’re not pressing hard enough on the entire surface. The consensus advice to use less adhesive is backwards. You need controlled, even coverage everywhere, not less of it.
Spray adhesive works best when applied in light coats from eight inches away. Two thin passes cover better than one heavy one. For stick adhesive, use a roller or bone folder to apply pressure across every inch of the back surface. Test on scrap paper first to see exactly how much adhesive prevents curl without bleeding through. Place liners under weight for two minutes after gluing. This stops smudging before it starts.
The Free Printable Fallacy: When “Free” Costs You More

The Real Cost Of Template Compromise
You want to believe the free option works because spending nothing feels like winning. Here’s the mechanism: free printables ship with constraints baked into their design. They’re built for maximum compatibility across printers and paper stocks, which means they abandon the specific decisions that make your liners look intentional instead of generic. The template must accommodate every printer’s bleed quirks, every user’s skill level, every paper weight from cardstock to tissue. It can’t account for your envelope dimensions, your color palette, or your wedding’s actual aesthetic direction.

Generic printables force you into their assumptions rather than your preferences. You download a template, discover the borders don’t fit your envelope shape, try to edit it in a tool you don’t understand, waste three hours, print a test that looks amateur, and end up paying someone else to fix what “free” broke. The real cost isn’t the download. It’s the time you spend fighting a tool designed for nobody specific, the paper wasted on failed prints, and the decision fatigue that kills momentum on your project entirely.
Where Customization Actually Requires Tradeoffs
Economics calls this the efficiency frontier. You can have precision or convenience, rarely both simultaneously. DIY envelope liners sit at this exact intersection. The moment you customize a template beyond its original scope, you step outside the designer’s tested parameters. You change colors, you shift dimensions, you adjust fonts for your specific envelope size, and suddenly the template’s assumptions break down. What worked for the original creator’s A7 envelope won’t translate cleanly to your C7 dimensions without recalculating margins and bleeds.
The unspoken truth: convenience templates skip the technical foundation work. A custom-built liner accounts for your printer’s actual output, your paper’s actual finish, and your envelope’s actual flap angle. A template assumes standardized everything. If you value accuracy over speed, you’re not actually saving time by using a printable. You’re just postponing the real work and disguising it as “tweaking” until the moment you realize the file doesn’t behave as promised. Abandon the template or commit to building your liner from scratch using your envelope’s exact measurements and your printer’s actual specifications.
Scaling Up: Producing Multiple Envelope Liners Wedding Projects

Workflow Optimization For Large Quantities
You want to know how to make this feel less like a craft project and more like an operation because that’s where the actual savings live. The real mechanism is batching: grouping identical tasks so your hands and mind stay in one mode instead of context-switching between cutting, printing, scoring, and assembling. Each switch costs you 2-3 minutes and kills momentum.

Set up your workspace in stations. Cut all liners first, then print all designs, then score all folds, then assemble everything. Use a ruler and self-healing mat for cutting. A paper cutter saves time on straight edges, but only if you’re cutting more than 50 pieces. Print in batches of 20-30 to avoid printer jamming and heat buildup. The speed compounds when you don’t reset your tools between tasks.
Consistency Across All Liners
Manufacturing calls this tolerance, and it applies here: the acceptable range of variation before the output fails its purpose. A liner that’s 1/8 inch off-size on one corner still looks fine because the eye doesn’t measure precisely. But when four out of fifty liners are noticeably different, guests notice the inconsistency before they notice the design.
Create a reference piece after your third liner and use it as a template. Mark exact dimensions on your cutting mat with tape. Check every tenth piece against this reference. Print on the same paper stock each time, not a mix of weights or finishes. Humidity and temperature shift paper behavior, so store materials in the same room you work in for 24 hours before production. This stabilizes the paper and prevents warping during scoring and folding.
The Only Thing Holding Back Your Wedding Stationery Is Your Imagination, Not Your Budget

Most people never make DIY wedding envelope liners because they assume the result will look cheap. It won’t. You’ll look intentional. Stop waiting for permission to skip the markup and start experimenting with cardstock and a printer today. Print one test liner. Fold it. Hold it. You’ll realize that constraints don’t limit creativity, they force it. Your guests won’t remember the vendor’s name on your invoice, but they’ll remember something they’ve never seen before.