Why a DIY Playground Is Worth the Effort
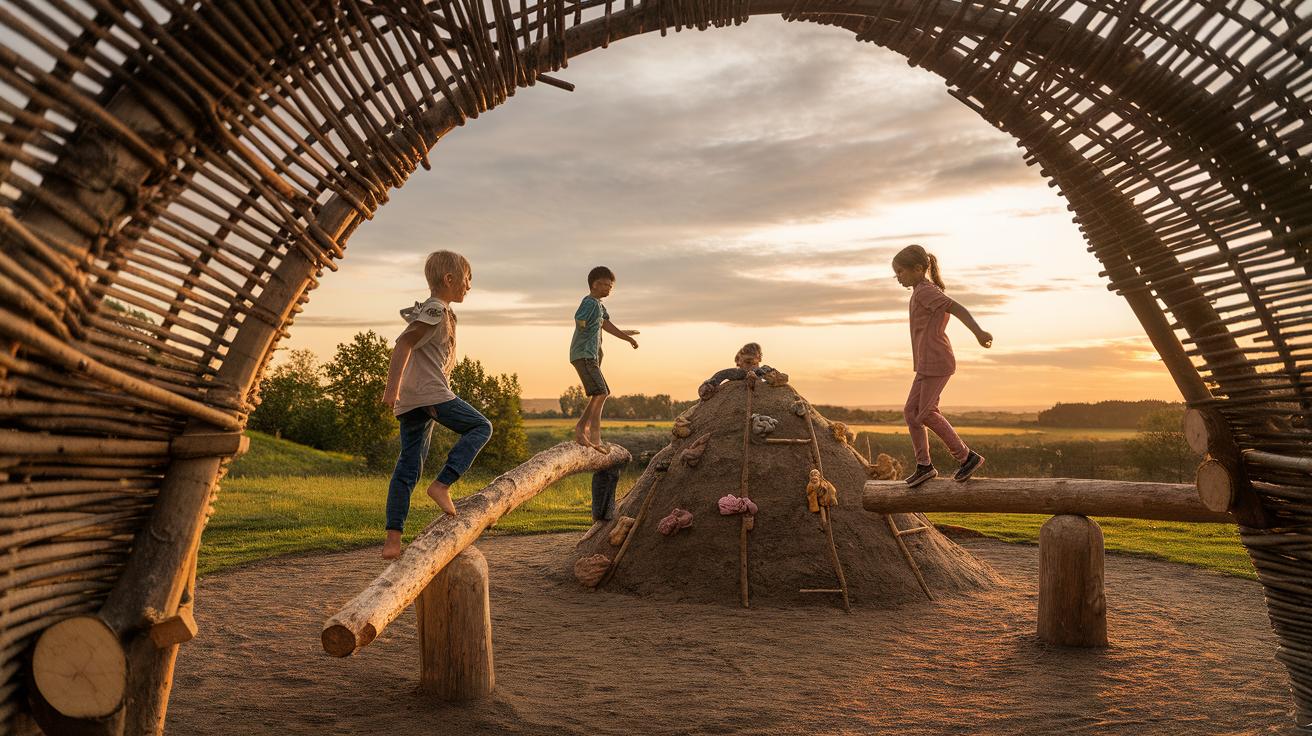
Creating a playground at home provides a great way to encourage outdoor play for children. A well-planned playground boosts physical activity, social skills, and creativity while offering a safe place for kids to enjoy themselves. Designing and building a playground yourself keeps costs low and allows you to customize the play area to suit your children’s needs. You gain control over the materials used, the design, and the safety features incorporated. This approach also provides a rewarding project for the whole family.
Affordable playground plans help you avoid expensive purchases and focus on practical construction methods. From simple swing sets to multi-feature structures, many designs fit modest budgets. When designing your playground, consider the space available, the number of children that will use it, and the types of play activities you want to include. Thoughtful planning ensures maximum fun while maintaining safety. Let’s explore practical ideas and tips to guide your DIY playground project from planning to completion.
Understanding Playground Basics
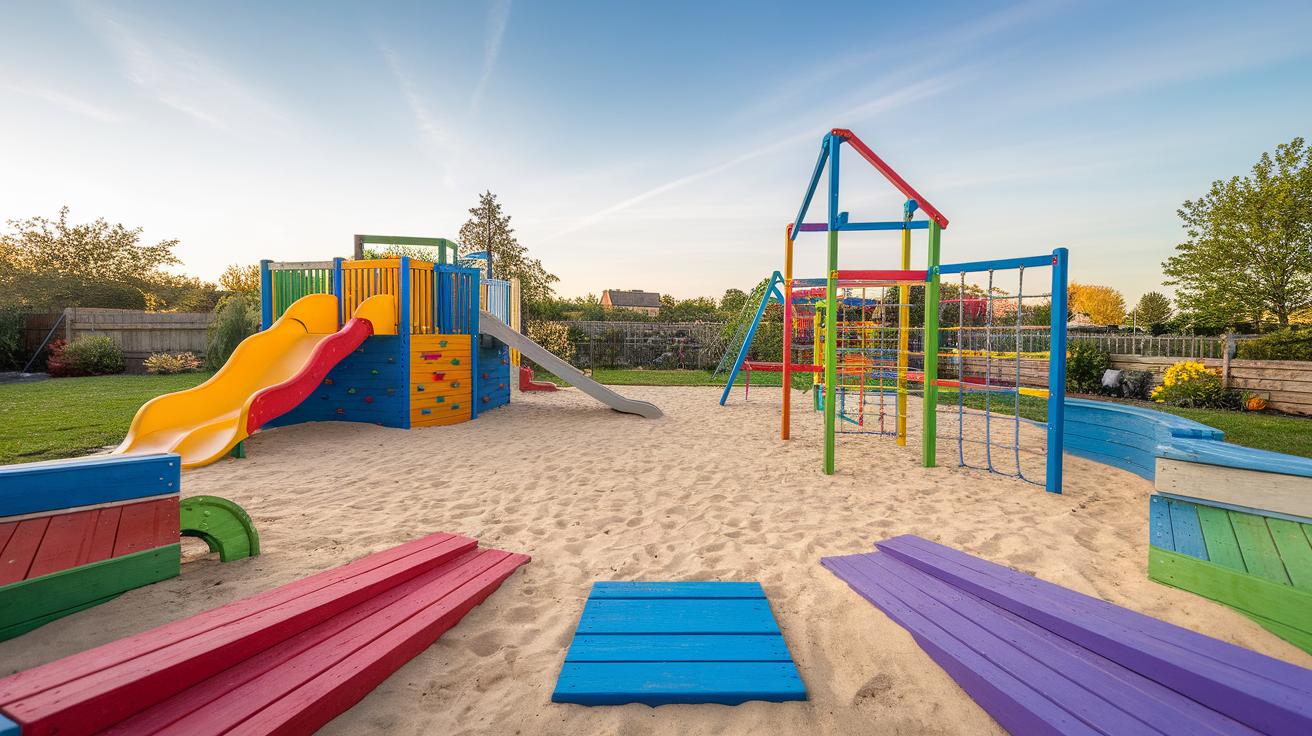
A playground is a designated outdoor area where children can play and explore using various types of equipment. Common playground equipment includes swings for pushing and swinging, slides for climbing and sliding down, seesaws to develop balance and coordination, and climbing structures that challenge strength and agility. Each piece of equipment offers different ways for children to move and have fun.
Playgrounds do more than entertain. They help children grow physically by encouraging active play that builds muscles and improves balance. Playgrounds also create spaces for children to interact, share, and solve problems with friends, boosting their social skills. Creative play often happens here, too, as kids invent games and imagine new stories while using the equipment.
What kind of play space would inspire your child the most? Thinking about playground basics can help you design one that fits your family’s needs while supporting your child’s growth.
Key Playground Equipment
Swings offer more than fun—they improve balance and coordination. Slides develop leg strength and help kids learn to control speed and movement. Seesaws teach balance and teamwork by requiring two children to work together. Climbing structures, like ladders or ropes, build upper body strength and problem-solving skills.
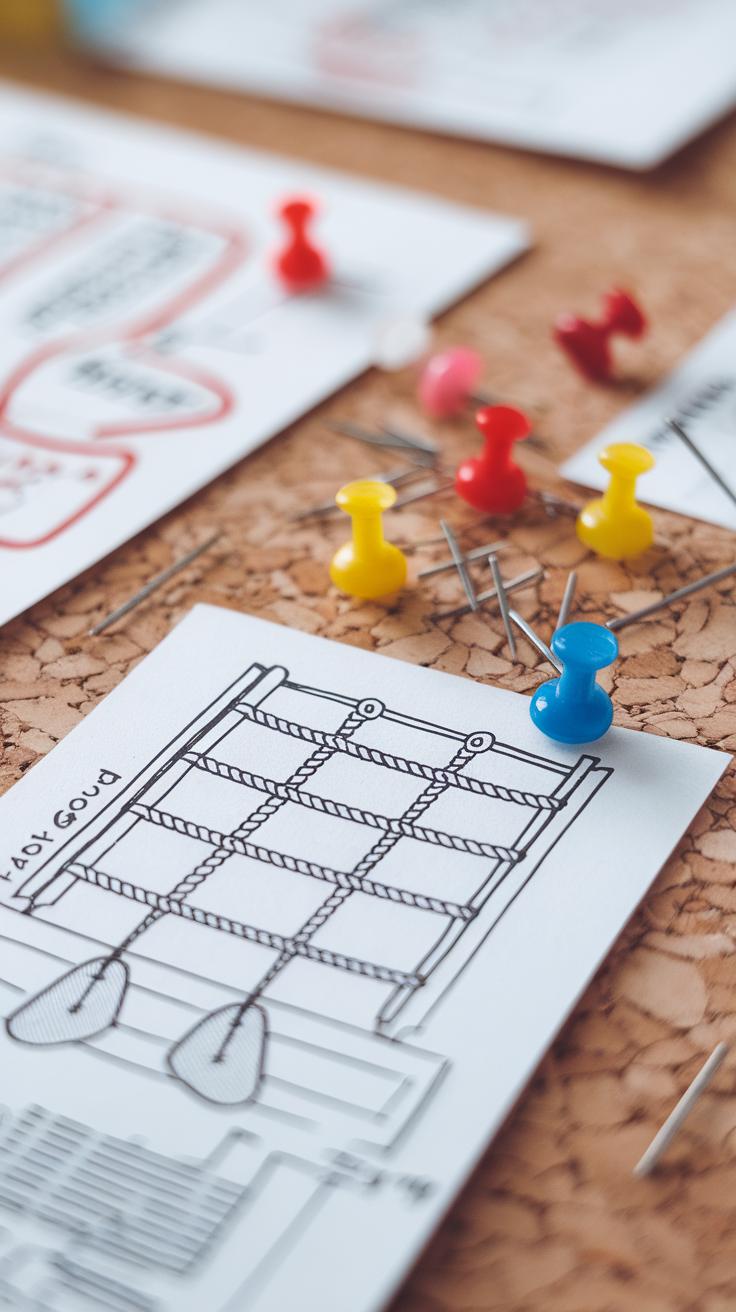
For DIY projects, you can create simple swings using sturdy ropes and a wooden seat. Wooden slides built with smooth planks are also doable with basic tools. See if you can craft a small climbing frame using scrap wood or connect ropes for a mini climbing net. These options keep costs low while encouraging active play.
What equipment matches your child’s skills and interests? Choosing pieces that challenge them but remain safe encourages steady growth and confidence.
Benefits for Children
Playgrounds support children’s physical health by promoting exercise that strengthens muscles and develops coordination. They improve social skills by encouraging kids to take turns, share, and cooperate during play. Emotional growth happens when children face challenges and succeed, boosting their confidence and independence.
Outdoor play also sparks imagination. Children turn playground equipment into props for stories or create games with friends. This kind of play helps develop creativity and cognitive flexibility. Being outside exposes kids to fresh air and sunlight, which benefits mood and overall well-being.
How often are your children playing outside? Designing a playground provides a dedicated space that invites them outdoors regularly, supporting growth in many areas of their life.
Planning Your DIY Playground
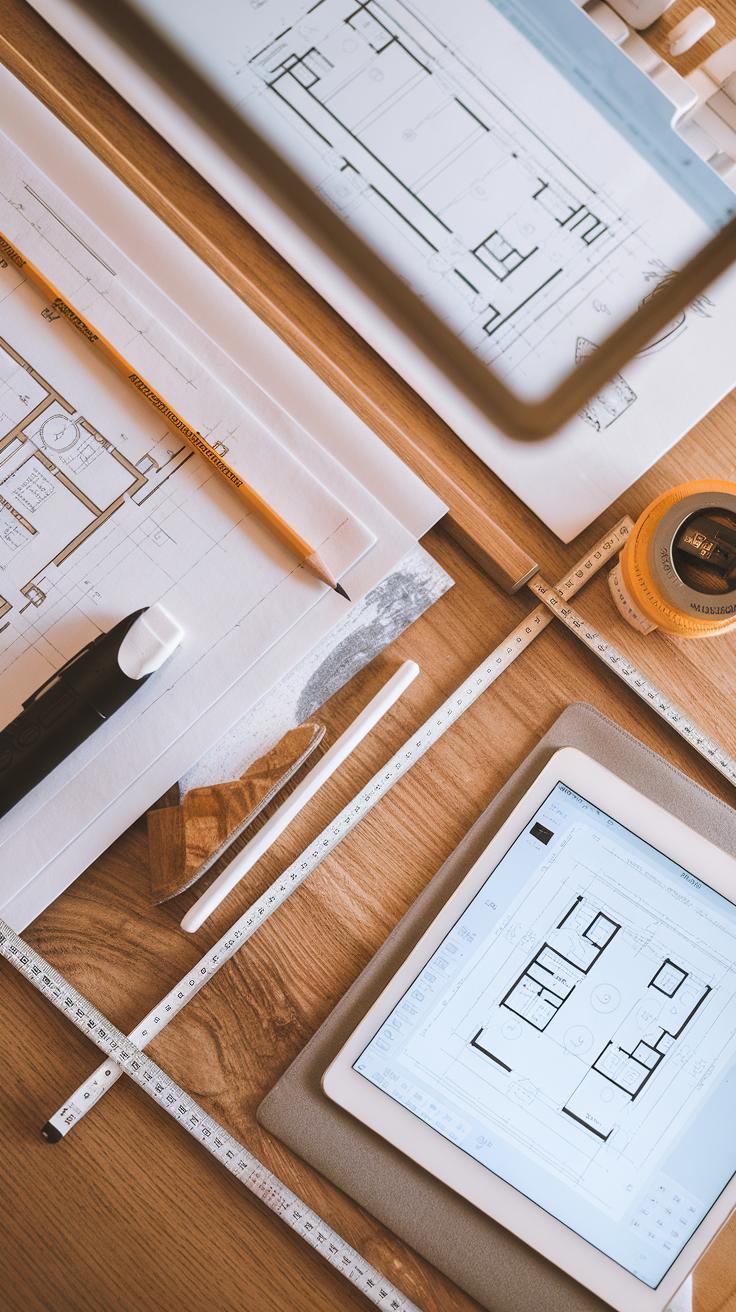
Start by measuring your outdoor space carefully. Take note of trees, slopes, and any obstacles that could affect your plans. Knowing exact dimensions helps you pick playground equipment that fits well and leaves enough room for kids to move freely. Think about the ages and interests of the children who will use the playground. Younger kids may prefer small slides and swings designed for safety, while older children might enjoy climbing structures or balance beams.
Is the space partly shaded? That can influence where you place equipment to keep kids cool. Check local rules or safety recommendations for playgrounds in your area. Some communities have specific guidelines around fall zones or surfacing. Make sure your design meets these to keep your playground safe and approved.
Assessing Space and Needs
Your first step involves measuring your yard or outdoor area. Use a tape measure to find length and width, and mark boundaries clearly. Observe sun patterns and ground textures. Are there hard or uneven spots? These might need attention for safety.
Match equipment size to children’s ages. For toddlers, choose low slides and soft swings. School-age kids need sturdier, taller structures for climbing and balancing. Think about what interests your children have. Do they like swinging, climbing, sliding, or imaginative play? Pick features to fit those preferences while keeping sizes appropriate.
Setting a Budget
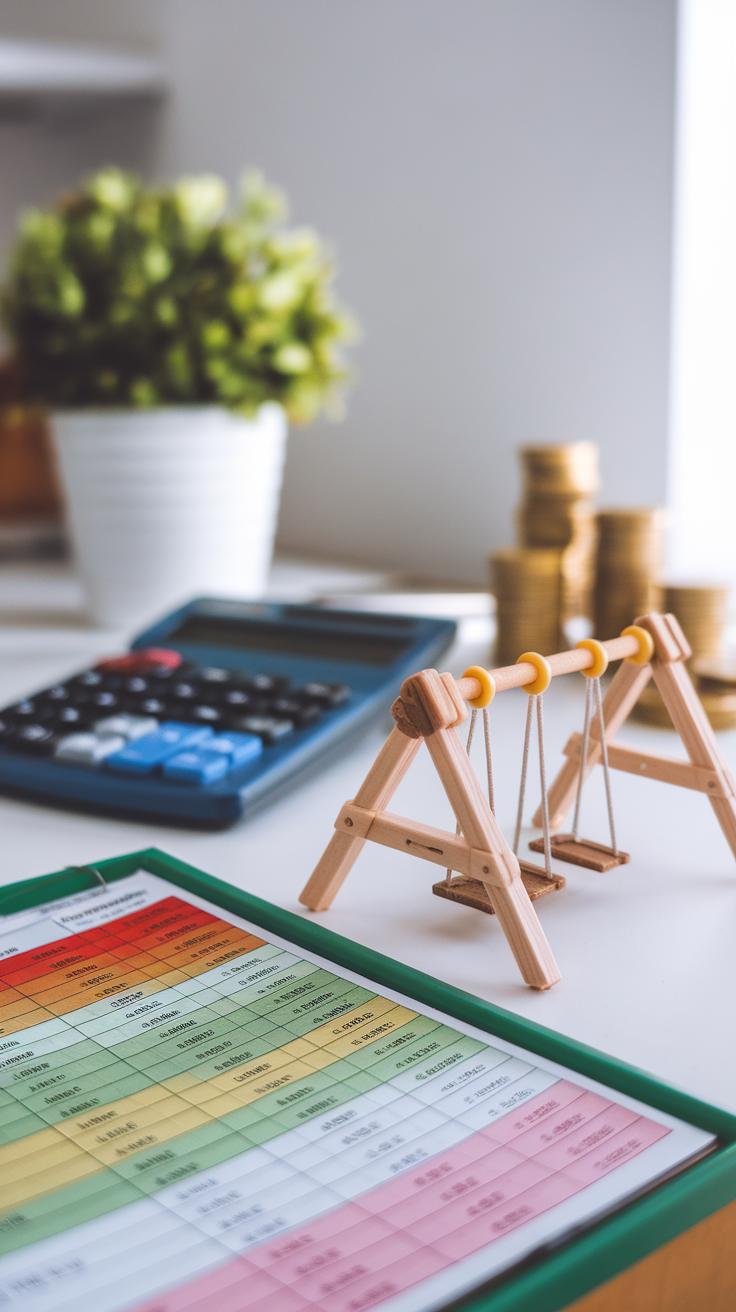
Decide how much money you want to spend before shopping. List the must-have playground equipment first. Focus your budget on these essentials before extras. Prioritize safety features such as soft ground covering or sturdy supports over decorative elements.
Look for cost-saving options. Can you use reclaimed wood or buy gently used equipment? Sometimes buying parts separately and assembling them yourself lowers costs. Avoid cheap materials that wear out quickly or compromise safety. Setting a clear budget helps you build a durable playground without overspending.
Choosing Materials Wisely
Wood, metal, and plastic each have unique qualities for a playground you build yourself. Wood offers a natural look and strong support. Treated lumber increases durability but needs regular care to avoid splinters and rot. Metal stands up to heavy use and lasts long, but may get hot in the sun and risk rusting if not coated well.
Plastic comes in bright colors and smooth shapes. It needs less upkeep and resists weather better. However, it might crack over time in very cold or hot climates. Think about your budget—materials with less maintenance save money over years.
Your choice should balance durability and safety without pushing costs too high. How much time can you spend on upkeep? Where do you live, and what weather conditions affect your materials? These answers guide your best pick for fun and lasting play equipment.
Affordable and Durable Materials
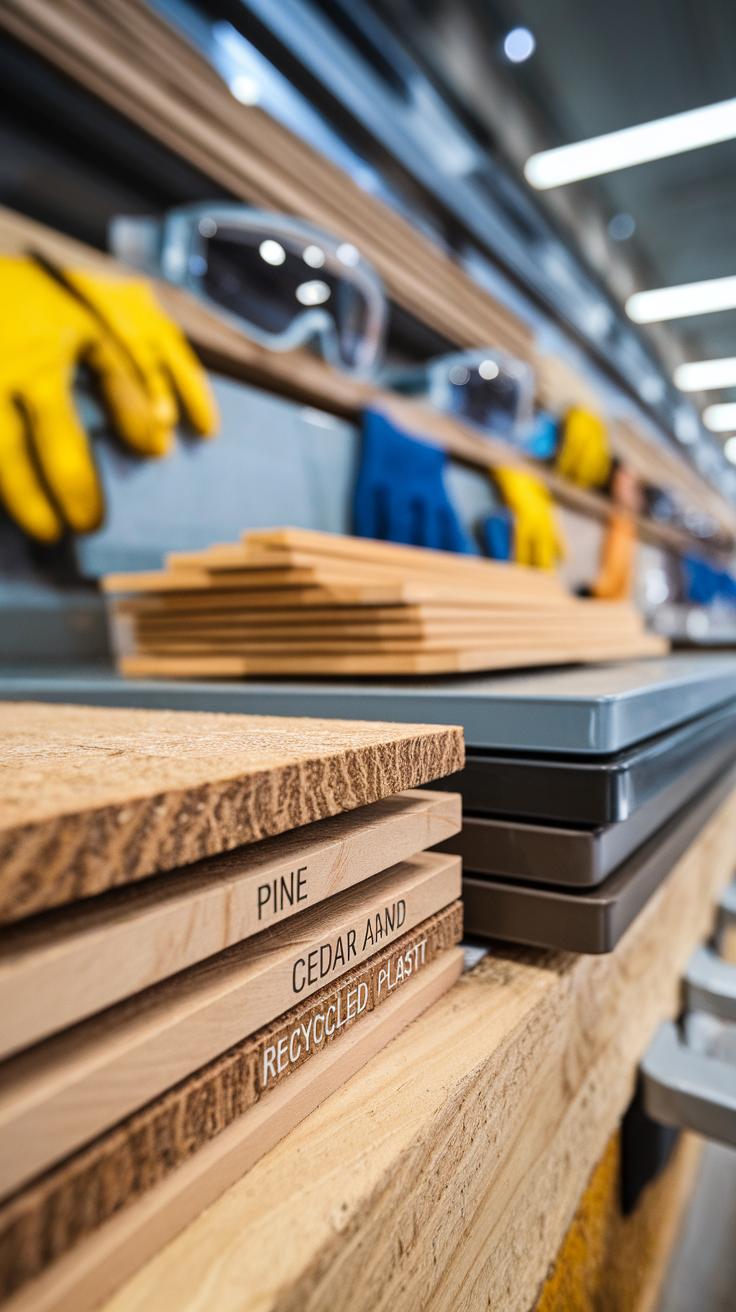
Treated lumber is a solid option, often less expensive than metal and resistant to insects and moisture. Look for cedar or pine treated with non-toxic preservatives. These woods hold up well outside and keep costs down.
Recycled plastics offer long life and low upkeep. They do not rot or attract pests. Using composite decking material can combine plastic and wood fibers, giving strength like wood but weather resistance of plastic. This choice minimizes frequent repairs.
Select materials made for outdoor use, designed to fend off sun damage, rain, and freezing. Ask in stores or check product labels for weather resistance. By focusing on affordable, weatherproof materials, you stretch your budget while keeping your playground safe and attractive.
Safety First Material Choices
Wood should be smooth and well-sanded to avoid splinters. Avoid wood treated with harmful chemicals. Choose metal parts with rounded edges and powder-coated paint to reduce injury risks and rust.

Plastic components need to be thick and sturdy, with no brittle areas that break easily. Look for non-toxic, BPA-free options to keep children safe from harmful toxins.
For playground surfaces, use mulch, sand, or rubber mats to cushion falls. Mulch and sand absorb impact, are inexpensive, and simple to replace. Rubber mats last longer and provide reliable shock absorption but might cost more initially. Which flooring fits your budget and safety needs? Strong surfaces prevent injuries and keep your playground fun for years.
Designing Features That Match Your Budget
You can create a playground that stays fun without driving up costs by carefully choosing features. Start with swings—simple wood or metal frames with rope seats work well and cost little. These offer classic play value and keep children active and engaged.
Think about a multi-use playhouse next. A small structure that fits a few kids can double as a fort, reading nook, or imaginative castle. It’s a great way to add variety without building multiple separate units.
Consider safety too. Features that use soft, natural ground covers like mulch or sand reduce expense compared to rubber mats. What matters most is the experience your kids will enjoy daily.
Ask yourself which activities your children love most. Prioritize those features first so you get the best value out of your budget while keeping the fun factor high.
Simple Cost-Effective Features
Some playground features are inexpensive and easy to build or put together, yet they offer plenty of play opportunities. For example, a tire swing uses recycled materials and provides motion play, which kids enjoy.
Climbing ropes or ladders made from affordable wooden dowels challenge balance and strength. You can also install a sandbox made from inexpensive lumber, encouraging creativity and quiet time.
These features don’t require complex assembly or costly materials. Small, thoughtful additions add diversity to the playground and keep kids entertained without raising expenses.
Combining Multiple Functions
Creating structures with several uses saves space and money. A slide can double as a climbing wall by adding handholds on the side. This transforms one part into two play options.
A playhouse with benches and storage underneath encourages group play and organization. It can also become a puppet stage or clubhouse by adding simple curtains or boards.
Think about every piece doing double duty. Can a balance beam also serve as a low bench? Can a swing frame hold a rope ladder? Clever design stretches your budget and increases fun.
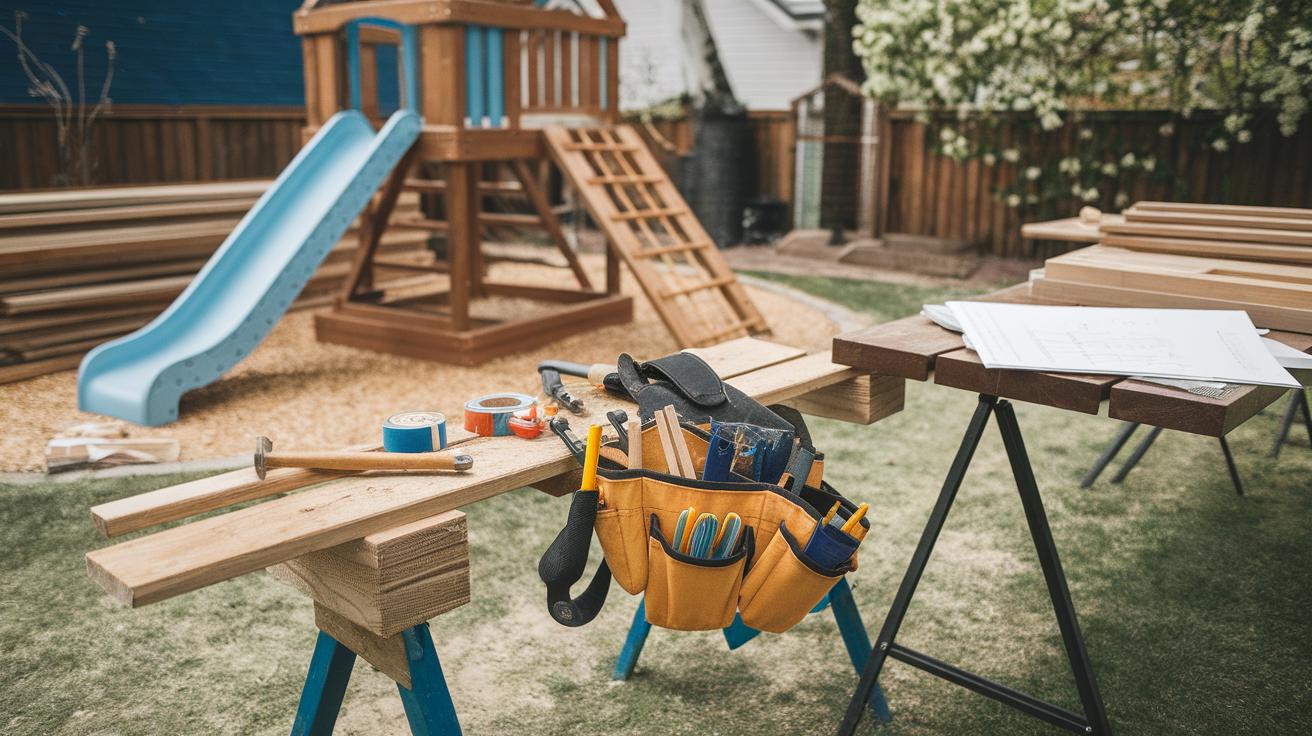
Step by Step Construction Guide
Preparation and Safety Measures
Start by choosing a flat, open space free of rocks, tree roots, or debris. Examine the area for underground utilities before digging or driving posts. Call your local utility marking service if you’re unsure about hidden cables or pipes.
Use a shovel and rake to clear and level the ground. A level surface prevents unstable equipment and reduces tripping hazards. Gather all necessary tools like a saw, drill, measuring tape, and safety gear such as gloves and goggles before starting.
Organize your materials near the site but away from footpaths. This reduces clutter and keeps children safe during construction. Check that all wood and screws meet recommended grade for outdoor durability and strength.
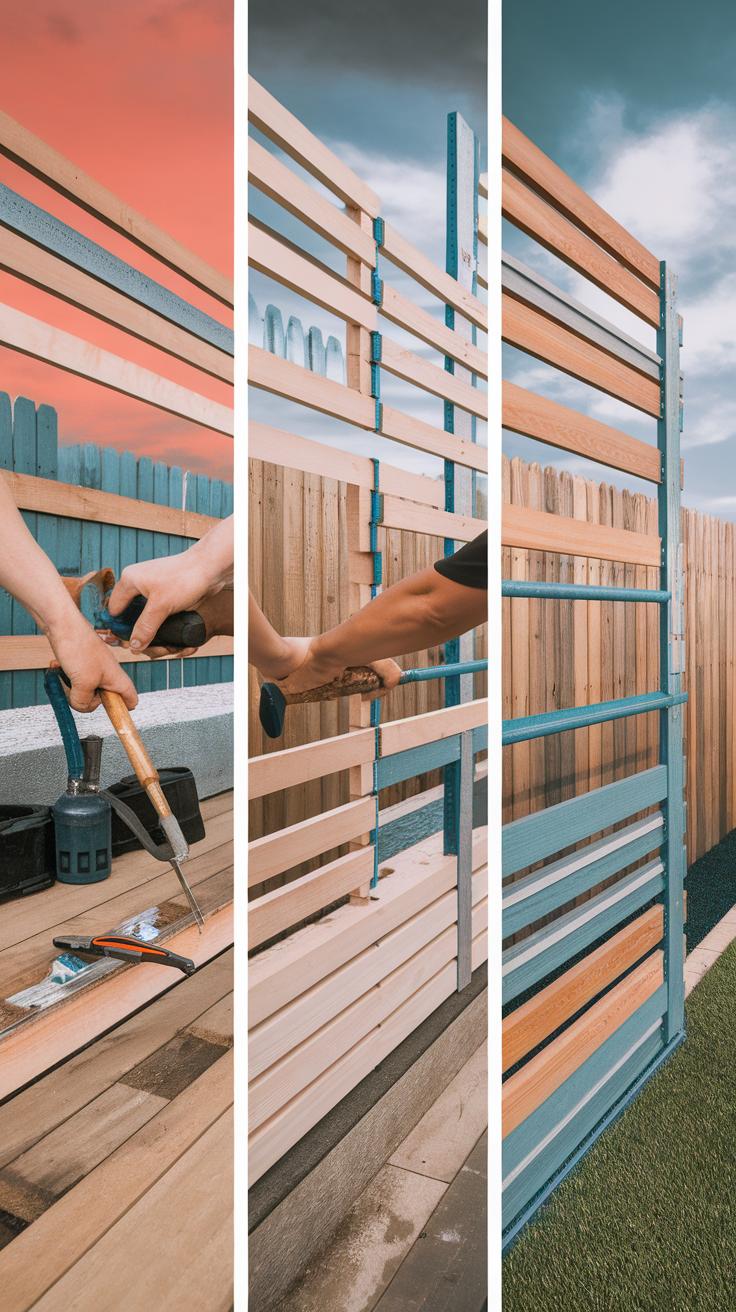
Assembly and Installation Tips
Begin cutting lumber to the precise lengths specified in your plans. Measure twice and cut once to avoid mistakes. Smooth rough edges with sandpaper to prevent splinters.
Assemble large frames on the ground first. Use clamps and an assistant to hold pieces steady while fastening bolts or screws. Secure each connection tightly to avoid wobbling.
When installing swings or slides, use heavy-duty anchors driven well below the surface. Ensure spacing meets safety guidelines to prevent collisions. Double-check all fasteners every few steps for secure attachment.
Test each component’s stability before allowing children to use them. Spending extra time during assembly reduces injury risks and increases the life of your playground.
Incorporating Safety Measures
Your DIY playground needs safety at its core to keep kids protected while they play. Start with surface choices that reduce injury risk from falls. Protective surfacing like wood chips or rubber mulch absorbs shock better than dirt or grass. Keep equipment edges smooth and secure all bolts and screws tightly to avoid loose parts that can cause accidents.
Space the play equipment wisely. Provide at least six feet of clearance between swings, slides, and climbing areas. Crowded spots increase chances of collisions. Make sure there is enough room under swings and around slides for safe landing zones.
Routine inspections catch problems early. Check for broken components, rust, or splinters at least once a month. Tighten loose fastenings promptly and replace worn parts right away. How often do you inspect your tools at home? Applying that habit to your playground can prevent injuries and extend the life of your equipment.
Protective Surface Options
Choosing the right surface can save you money and keep kids safe. Wood chips are one of the cheapest options and easy to spread yourself. They cushion falls well but require topping off every few months. Rubber mulch offers better shock absorption and lasts longer but costs a bit more upfront.
Sand is fun for children to dig and play in, but it can compact over time, reducing its cushioning ability. You will need to rake it regularly to keep it soft. Pea gravel is another affordable choice but might pose a choke hazard for toddlers, so consider your children’s ages carefully. What surface suits your budget and maintenance abilities best?
Routine Safety Checks
Inspect your playground often to keep it safe and functional. A monthly walk-through helps you spot dangers before they cause harm. Look for cracks, splinters, loose hardware, or rust spots on metal parts. Test swings and slides for wobbling or unusual noises.
Check the ground surfacing for thin areas where falls might not be cushioned properly. Add material as needed. Correct issues quickly by tightening bolts, sanding rough edges, or replacing broken parts. What steps could you add to your regular home maintenance routine to include playground checks?
Personalizing Your Playground
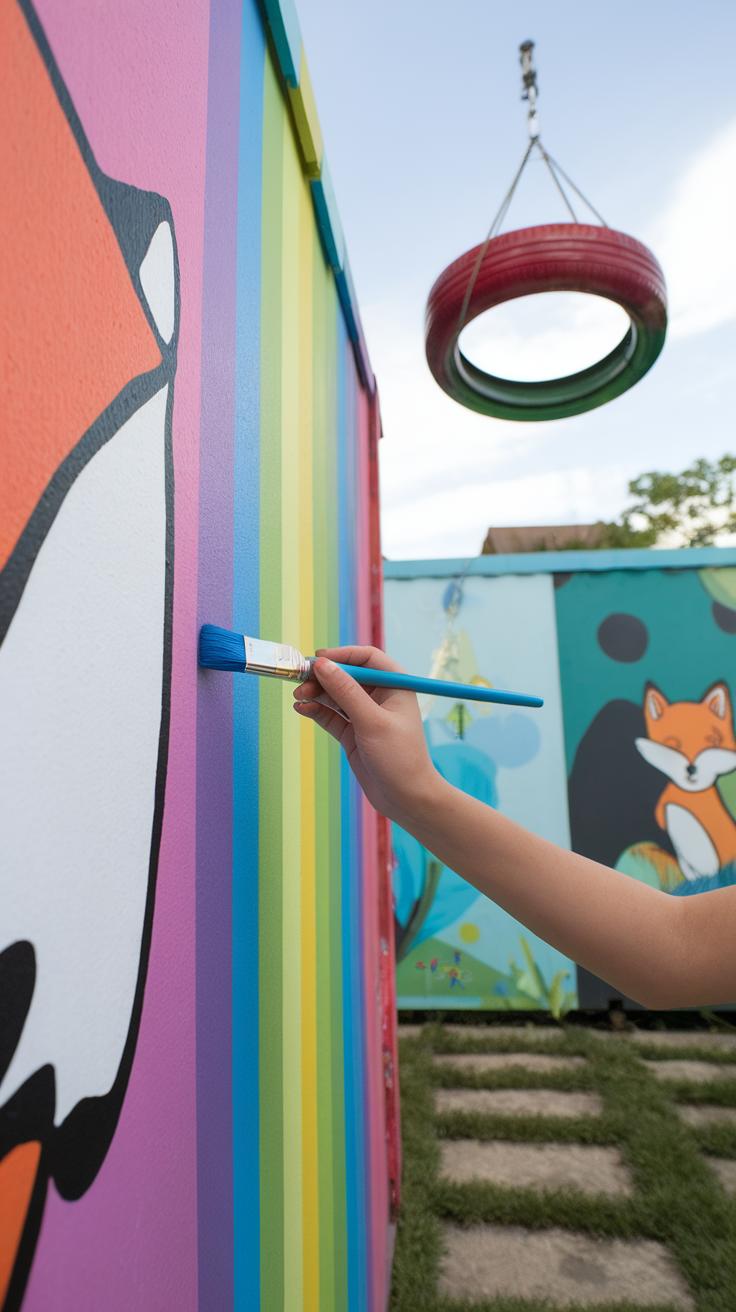
Customizing your playground lets your children feel proud of their own special space. Painting is one of the simplest ways to personalize. Think about using bright colors or patterns that your kids love. You could paint shapes, animals, or even their favorite cartoon characters onto wooden panels or on the sides of play structures. What colors do your children respond to most?
Theming your playground adds a fun twist without expensive materials. Create a pirate ship, a castle, or a jungle vibe using old fabric, cardboard, or recycled items. Let your children help in crafting signs or decorating spots. Their ideas can guide the design and keep costs low.
Adding unique play elements makes the space more fun and engaging. You might build a simple tire swing, create balance beams from old logs, or install chalkboard panels for creative drawing. These touches encourage imaginative play and make your playground stand out—all on a budget.
Visual Appeal Enhancements
Painting bright, cheerful colors makes the playground inviting right away. Use exterior-grade paint for durability. Patterns like stripes, polka dots, or stars can turn plain wood into exciting features. Try painting handprints or footprints to guide play paths.
Decorate with inexpensive items like wind chimes, ribbons, or homemade flags. Attach colorful bunting made from scrap fabric or plastic bags. You could even let kids create their own art to hang around the playground, making it truly theirs.
Consider small color details too, like painted bolts or painted edges. Every splash of color adds warmth and charm. How can you add color without spending much money?
Custom Play Elements
Adding unique play features doesn’t require costly equipment. Building a homemade swing with a sturdy rope and a wooden seat is affordable and fun. Old tires can become climbing stations or seats. A sand or water table made from a plastic storage bin provides a creative play area.
Activity panels offer kids chances to explore and learn. Use scraps to build boards for tic-tac-toe or a simple maze. Attach chalkboards or pegboards for creative tasks. Encourage kids to design their own games on these panels.
Think about what your children enjoy most. They might want a small stage for performances or a quiet reading nook. What inexpensive items around your home could turn into new play features?
Maintaining Your DIY Playground
Keeping your DIY playground safe and functional requires regular attention to cleaning, repairs, and weatherproofing. Dirt, leaves, and debris can build up quickly, making surfaces slippery or hiding potential hazards such as splinters or sharp edges. Clear away debris at least once a week, and give wooden parts a gentle scrub with mild soap and water every few weeks. Tighten loose bolts and screws to prevent accidents. Watch for cracked wood, rusted metal, or worn-out ropes, and replace these parts promptly.
Cost-effective upkeep means using household items, like vinegar solutions for cleaning or leftover paint for touch-ups. Checking your playground regularly helps catch small problems early before they become expensive repairs. What small maintenance habit can you add to your weekly routine that could extend the life of your playground?
Regular Cleaning and Upkeep
Remove dirt, leaves, and sticky residues from slides, swings, and climbing structures. Cleaning plastic and metal parts with mild soap reduces grime and prevents surface damage. Sand down rough wooden edges to protect little hands and keep the structure smooth.
Inspect for loose nails, screws, or bolts every month. Replace cracked or splintered wood pieces immediately. Check ropes and chains for fraying or rust. Tighten all hardware so everything stays secure. A simple daily walk around your playground can reveal small fixes that save bigger costs later.
Could establishing a monthly safety check become part of your family’s routine?
Weather Protection Tips
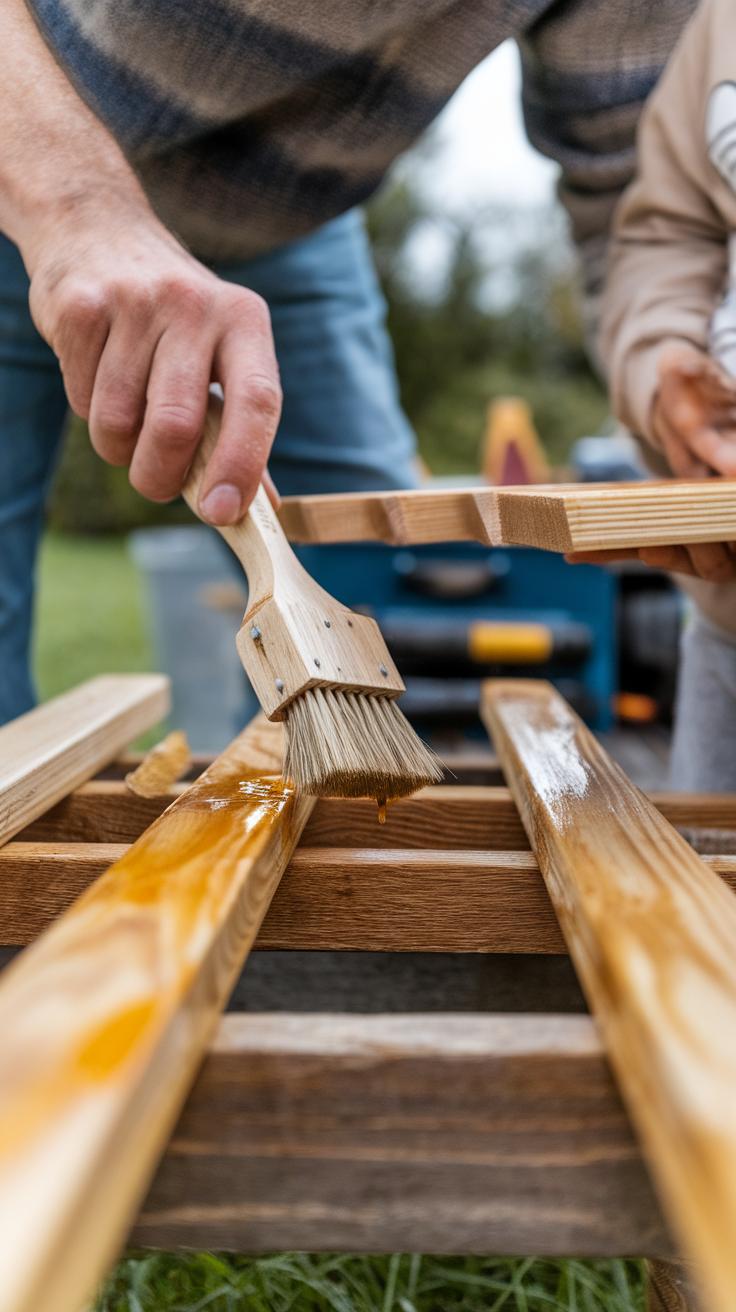
Protect your playground from sun and rain by applying non-toxic weatherproof sealants on wood surfaces. These coatings prevent cracking, peeling, and water damage. Use waterproof covers on swings or benches during heavy rain or when not in use for long periods.
In colder months, clear away snow quickly to avoid moisture buildup that damages material. Store loose parts like balls or accessories indoors to keep them clean and dry. Plan seasonal maintenance like repainting or tightening hardware before winter arrives to avoid harsher weather problems later.
Which protective step could you add this season to help your playground last longer without costly repairs?
Encouraging Active and Imaginative Play
Your DIY playground can become a space where children move freely and use their imagination every day. Encourage kids to run, climb, jump, and balance by including features like swings, climbing walls, or balance beams. These activities build physical strength and improve coordination.
Imaginative play grows when you add simple props or movable elements, such as ropes, chalkboards, or tunnels. Children might pretend the slide is a castle tower or the sandbox a treasure island. How would you rearrange parts of your playground to spark new stories and games?
Active and imaginative play make children more confident and curious. When they play outdoors, they develop creativity and solve problems on their own. Providing open-ended toys and space invites kids to invent games that fit their interests. What features on your playground inspire your child to create their own adventures?
Strategies to Motivate Kids
Turn your playground features into challenges and games that excite children. Set up obstacle courses using logs or ropes. Time their runs or add small prizes for completing tasks. These ideas turn playtime into fun competitions that encourage repeated play.
Invite children to create their own games with the equipment. Ask, “Can you build a new path across the playground?” or “Who can balance on the beam the longest?” Simple questions like these motivate kids to explore and test their skills.
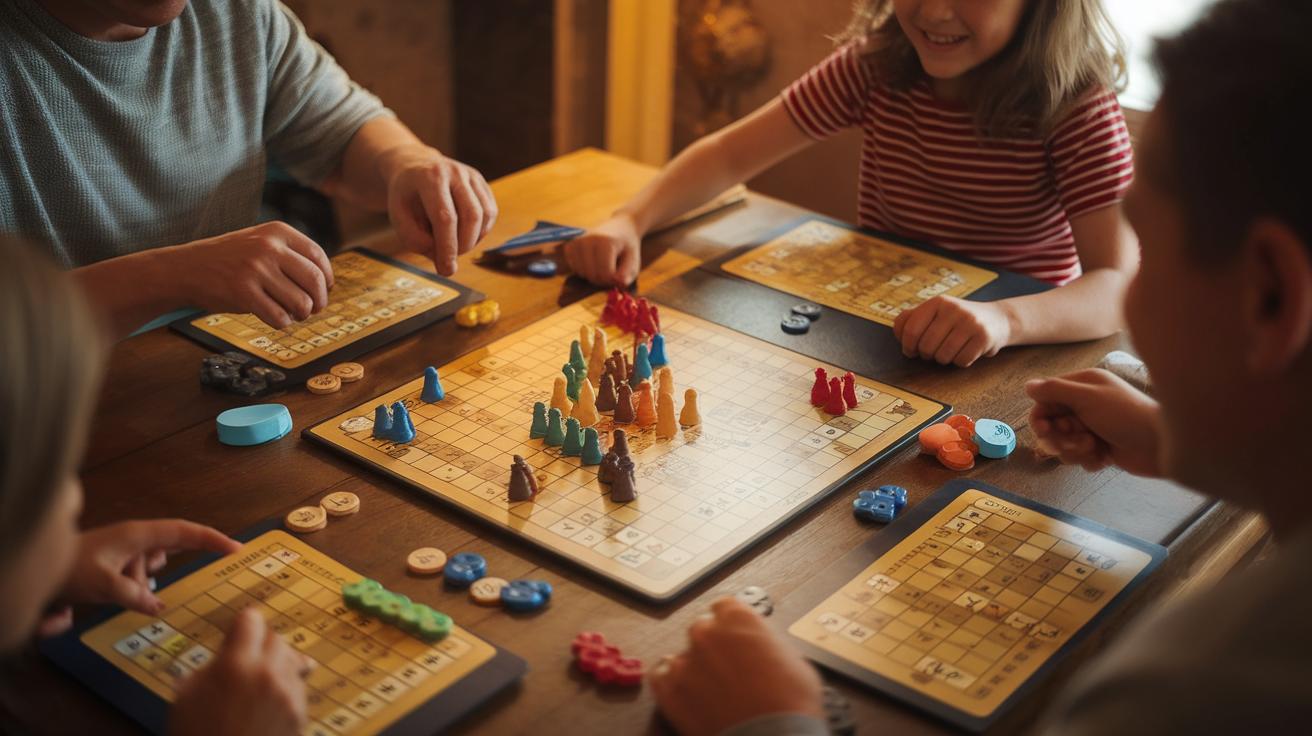
Group activities also keep children engaged. Team races or treasure hunts involving playground equipment bring energy and cooperation. Have you tried organizing mini-tournaments or relay races on your playground to keep things fresh and exciting?
Supporting Social Play
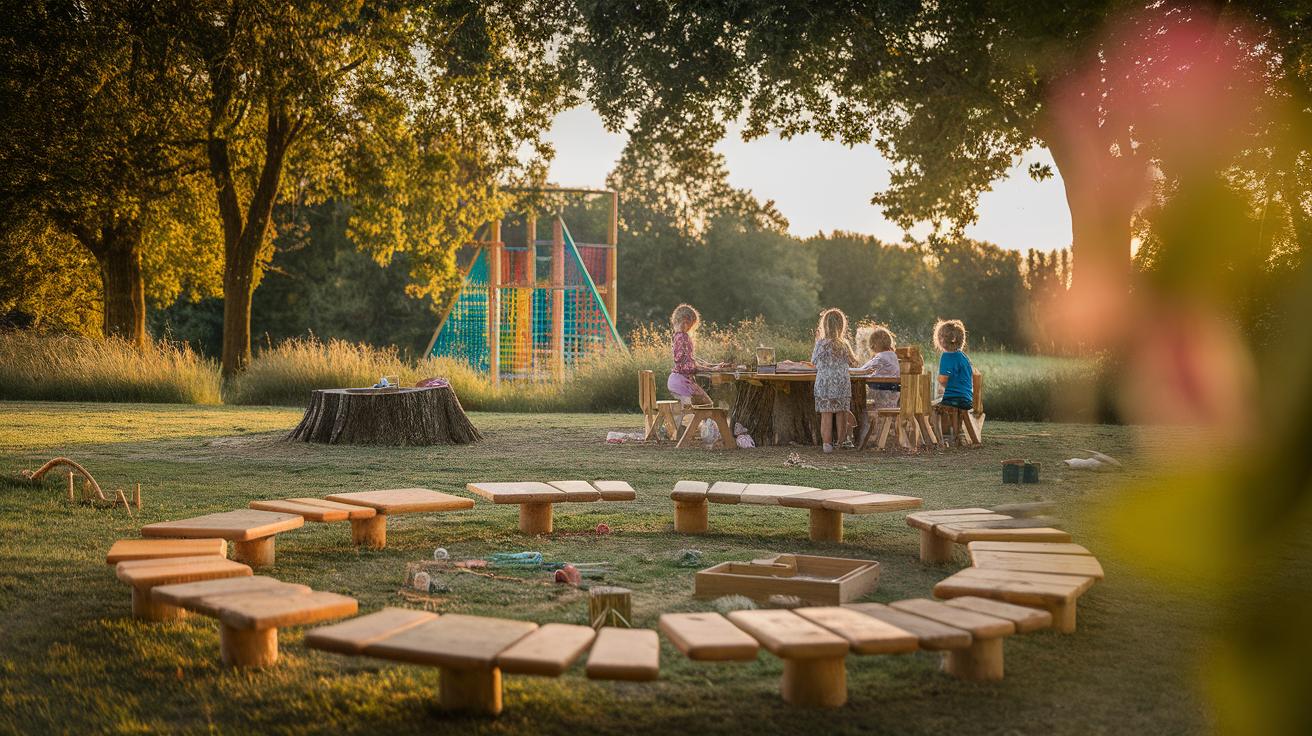
Your playground can teach more than physical skills—it can also help children learn to share and work with others. Create spots where kids can gather, like benches or picnic tables. These areas encourage conversation and cooperation between play sessions.
Introduce games that require turn-taking or team effort. Games such as “follow the leader” or group building tasks improve sharing and communication skills. How do you guide kids to solve conflicts or take turns without adult intervention?
Encourage older kids to mentor younger ones using the playground. This fosters leadership and kindness. When children feel connected to each other, their social skills grow naturally. What steps can you take to make your playground a place where friendships form and teamwork thrives?
Conclusions
Building a DIY playground is a cost-effective way to create an engaging play space tailored to your children’s interests. With careful material selection and design, you can ensure safety without overspending. Using budget-friendly techniques such as repurposing materials and choosing low-cost equipment makes this project accessible for many families. Involving your children in the process promotes ownership and excitement about their new playground.
Regular maintenance and safety checks will keep your playground enjoyable for years. Remember to plan for features that encourage various types of play, from climbing to imaginative games. A home-built playground is more than just a play area; it is a place where children develop physically, socially, and emotionally. What will your kids build and dream up in their own personalized play space?