Introduction
Creating games with your children at home offers a wonderful chance to bond, learn, and have fun together. DIY games encourage creativity and problem-solving while keeping children entertained. Such activities can bring your family closer and provide a break from screen time. You can tailor the games to your child’s interests and abilities, making learning a personalized experience.
Kids enjoy hands-on activities that allow them to explore their imagination and physical skills. Making your own games at home promotes resourcefulness by using everyday materials. You don’t need special skills or equipment to craft engaging games that foster teamwork, motor skills, and strategic thinking. This article provides practical ideas and instructions for fun DIY games that you and your children can create together easily.
Getting Started with DIY Games at Home
Starting DIY games at home with your kids offers a chance to blend creativity and learning. Begin by selecting simple materials that are easy to handle, like paper, cardboard, and markers. These items are great for beginners and don’t require much preparation.
Arrange a dedicated creative space where your children can focus and feel free to make a mess. This space should be well-lit and stocked with supplies within reach. Let your kids help set up so they feel involved from the start.
Crafting games together teaches problem-solving, fine motor skills, and patience. Children also learn to follow steps and express ideas visually. What skills do you notice your child developing during play?
Keep the process fun and relaxed by allowing room for mistakes. Avoid pushing for perfection. Celebrate efforts instead. If frustration arises, take short breaks to maintain calm. Your enthusiasm will motivate your kids the most.
Choosing Materials for DIY Games
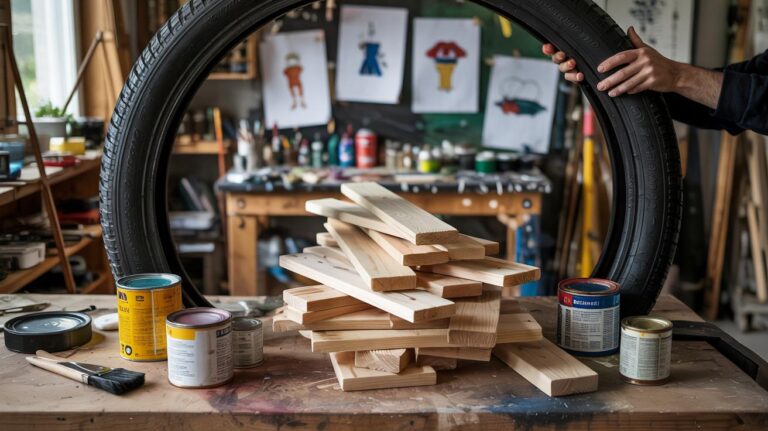
Gather everyday items like empty boxes, bottle caps, string, and paper clips for making games. These can turn into game pieces or boards with a little creativity. Craft supplies such as glue, scissors, crayons, and tape are useful additions.
Focus on materials that don’t cost much and are safe for kids to use. Avoid sharp tools or small parts that could cause harm. Using recycled items encourages your children to think about waste and environmental care.
For example, old magazines can become colorful game cards or puzzles. Could your recycling bin hold hidden game treasures waiting to be transformed?
Setting Up Your Craft Area
Choose a small corner or a table to create the craft zone. Use containers or jars to separate materials by type, so kids find what they need quickly. Covering the table with newspaper or a washable mat helps keep things tidy.
Make cleaning part of the game by setting simple rules, such as putting one item away before picking another. Turn cleanup into a timed challenge or a shared activity. Would they enjoy earning stickers for good cleaning habits?
Keep the area inviting and accessible year-round. When children see their space ready and waiting, they feel encouraged to create without hesitation.
Classic DIY Board Games to Make
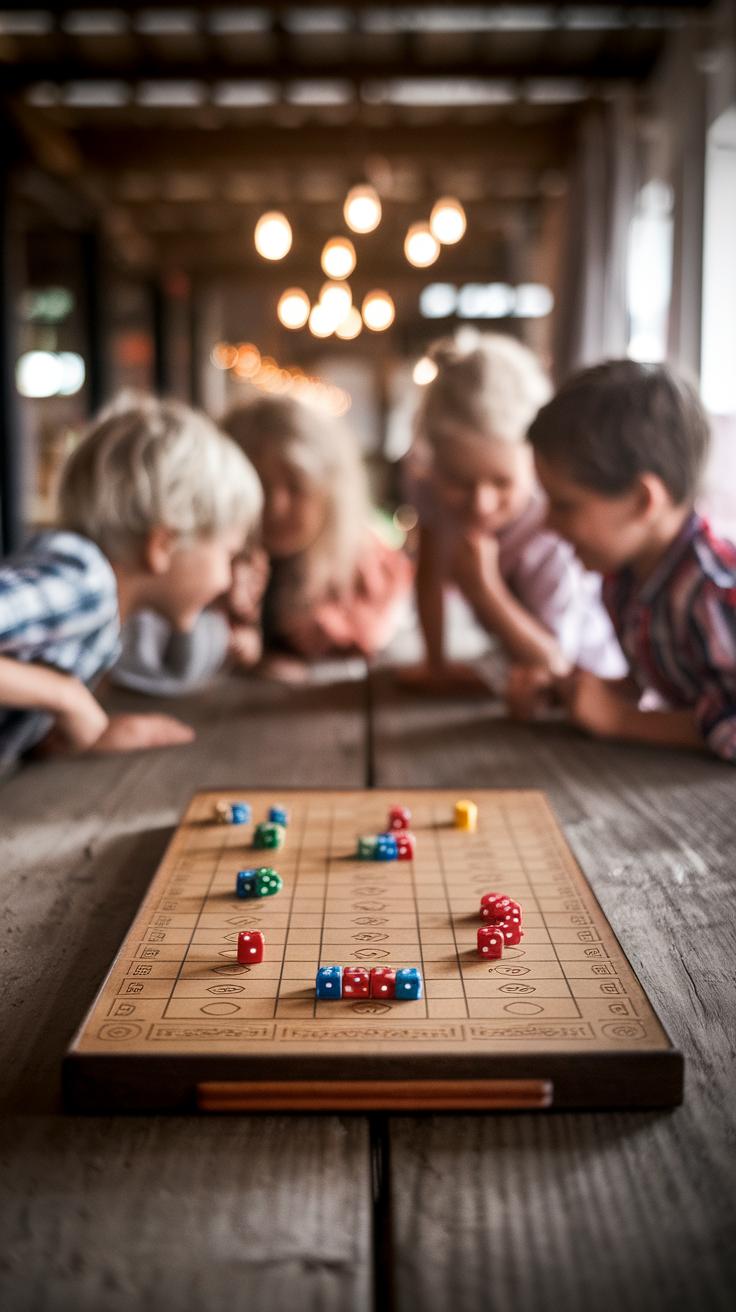
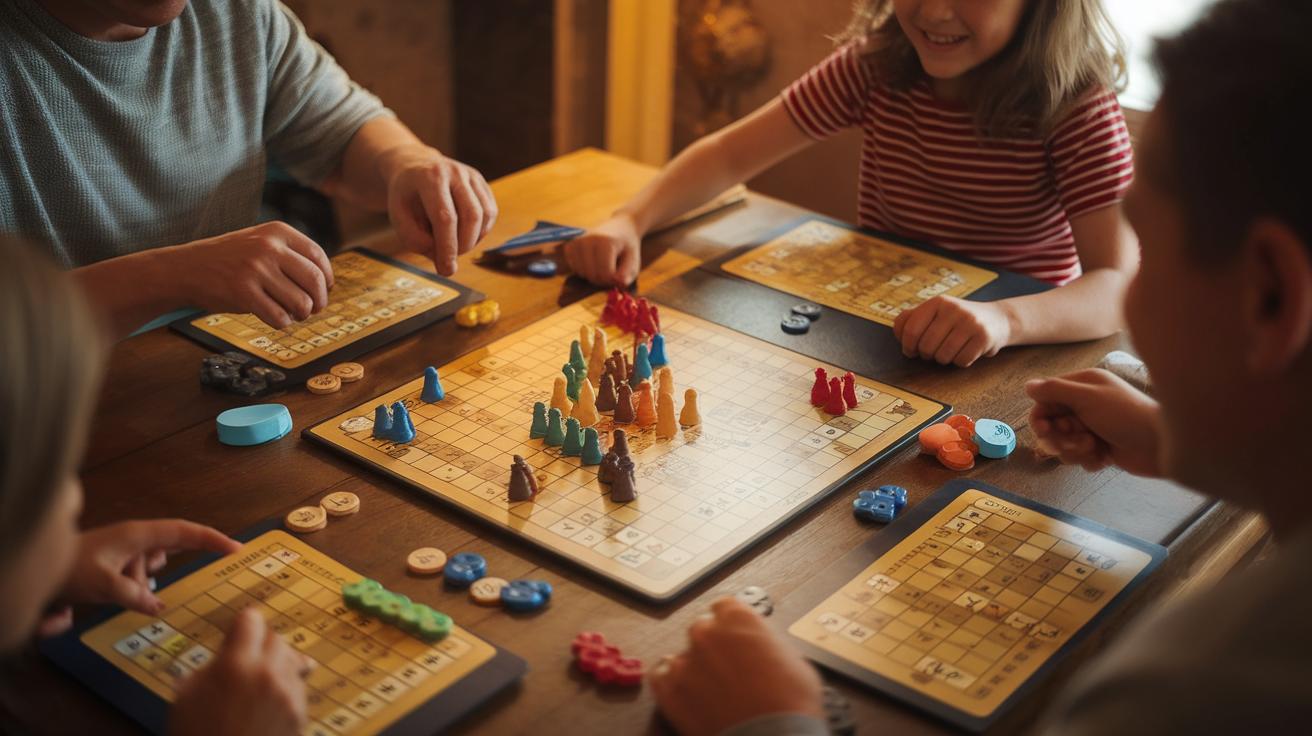
Creating simple board games like Tic-Tac-Toe, Checkers, or Snakes and Ladders can be an enjoyable way to spend time with your kids. Use cardboard for the base and markers for drawing the designs. These classic games help children develop strategic thinking by planning moves ahead. They also improve fine motor skills through handling small pieces and moving them on the board.
Start by choosing a sturdy piece of cardboard as your game board. With your child, draw grids or paths clearly so the players can easily follow the gameplay. Encourage your child to decide on colors and symbols to make the board attractive and easy to understand. This also gives them a chance to express creativity and attention to detail.
Once the board is ready, talk about game pieces. You can use buttons, coins, or paper cutouts glued onto small cardboard squares. Let each player choose their pieces and personalize them by drawing faces or patterns. This builds ownership and can make the game more engaging. Durable materials ensure your game lasts long, inviting repeated play and learning.
Creating the Game Board
Start with a clean, flat piece of cardboard. Use a ruler to draw straight lines for game grids or winding paths. Tic-Tac-Toe needs nine squares, while Checkers requires an 8×8 grid. Snakes and Ladders needs numbered squares from bottom to top.
Choose bright colors for different areas to separate game zones visually. Use simple symbols like Xs and Os for Tic-Tac-Toe or snakes and ladder drawings for Snakes and Ladders. Clear, bold coloring keeps the board easy to read. Ask your child which colors and shapes make the game more fun to them.
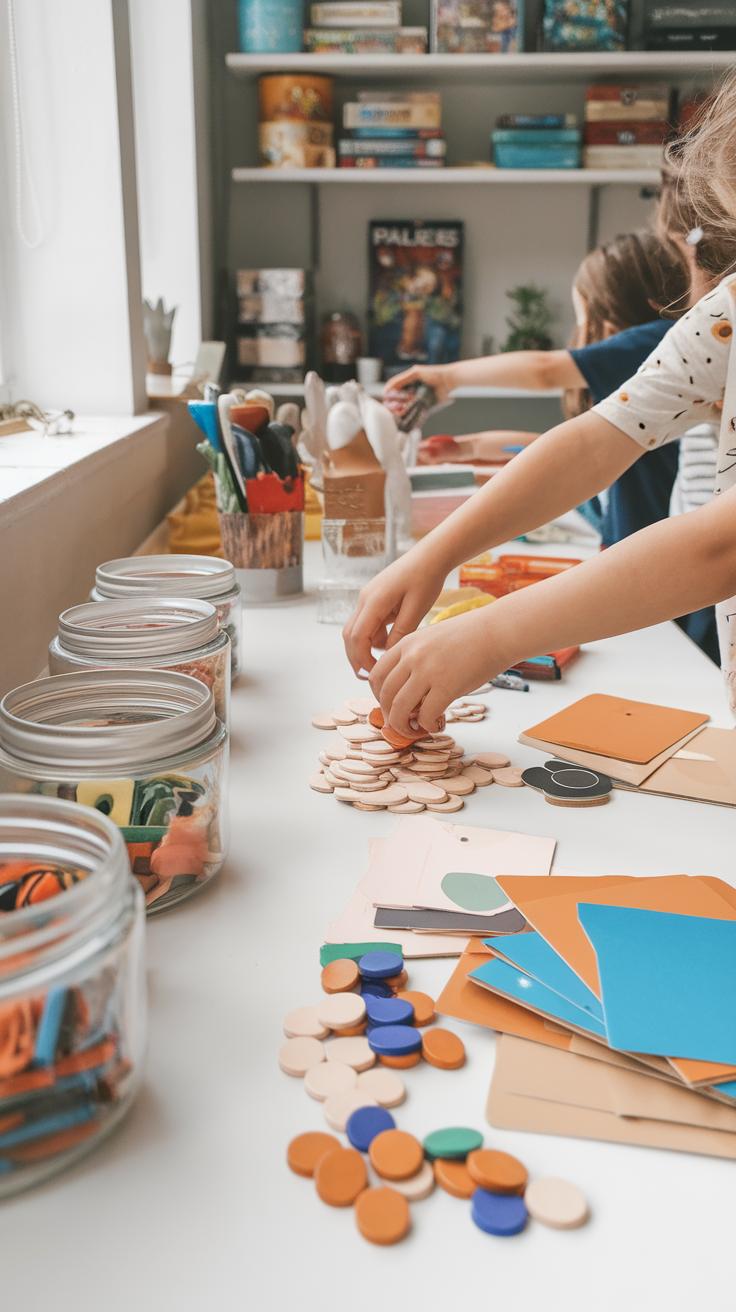
Making Game Pieces
Collect small objects like buttons, coins, or beads to serve as game pieces. You can also cut out small paper circles or shapes and glue them onto card stock for sturdiness. Let children decorate their pieces with markers or stickers to make them unique.
Consider the size and weight of pieces to avoid losing them easily. You can create different shapes or colors for each player to keep track during the game. Personalizing pieces increases a child’s attachment and helps them stay engaged longer in gameplay.
Interactive Movement Games
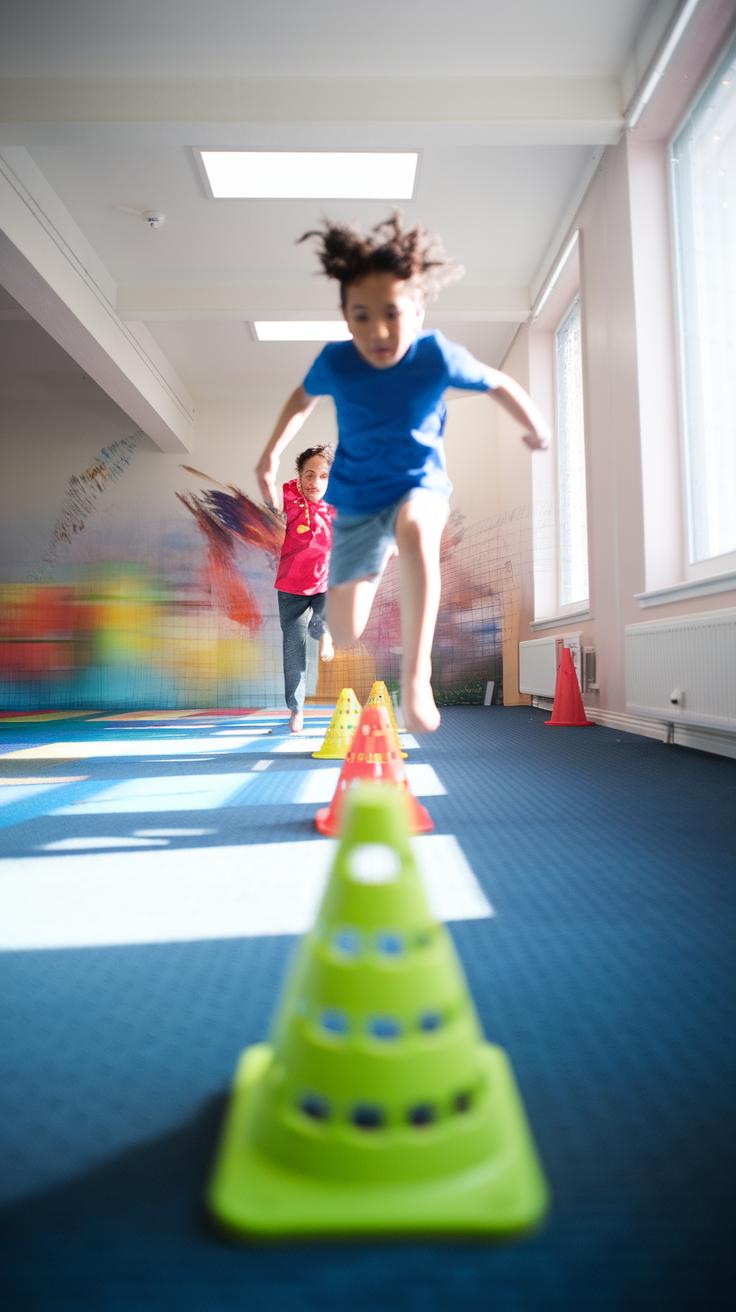
Creating DIY games that involve movement helps kids develop motor skills and coordination while using their energy. Homemade bowling is a simple example. Arrange empty plastic bottles as pins and use a soft ball to roll toward them. This activity strengthens hand-eye coordination and balance. Ring toss can be made using paper plates cut into rings and a stick or broom handle as the target. It encourages precision and focus.
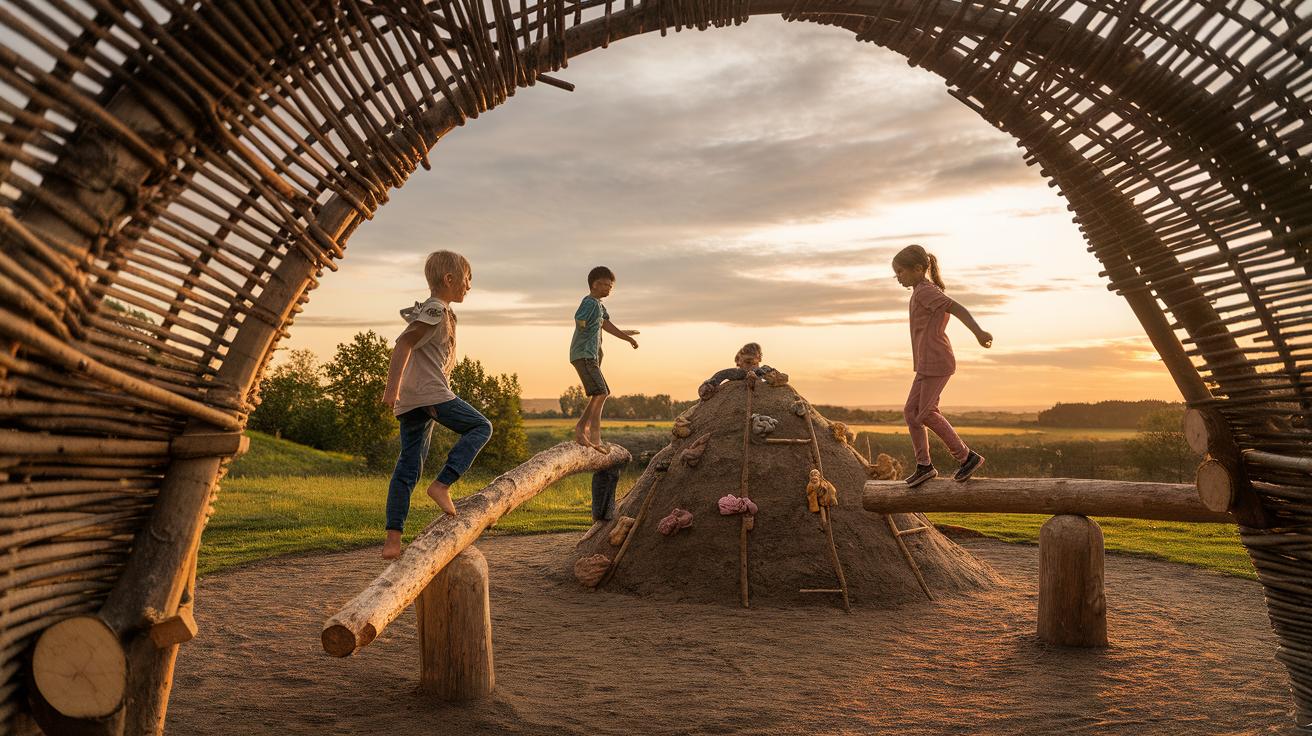
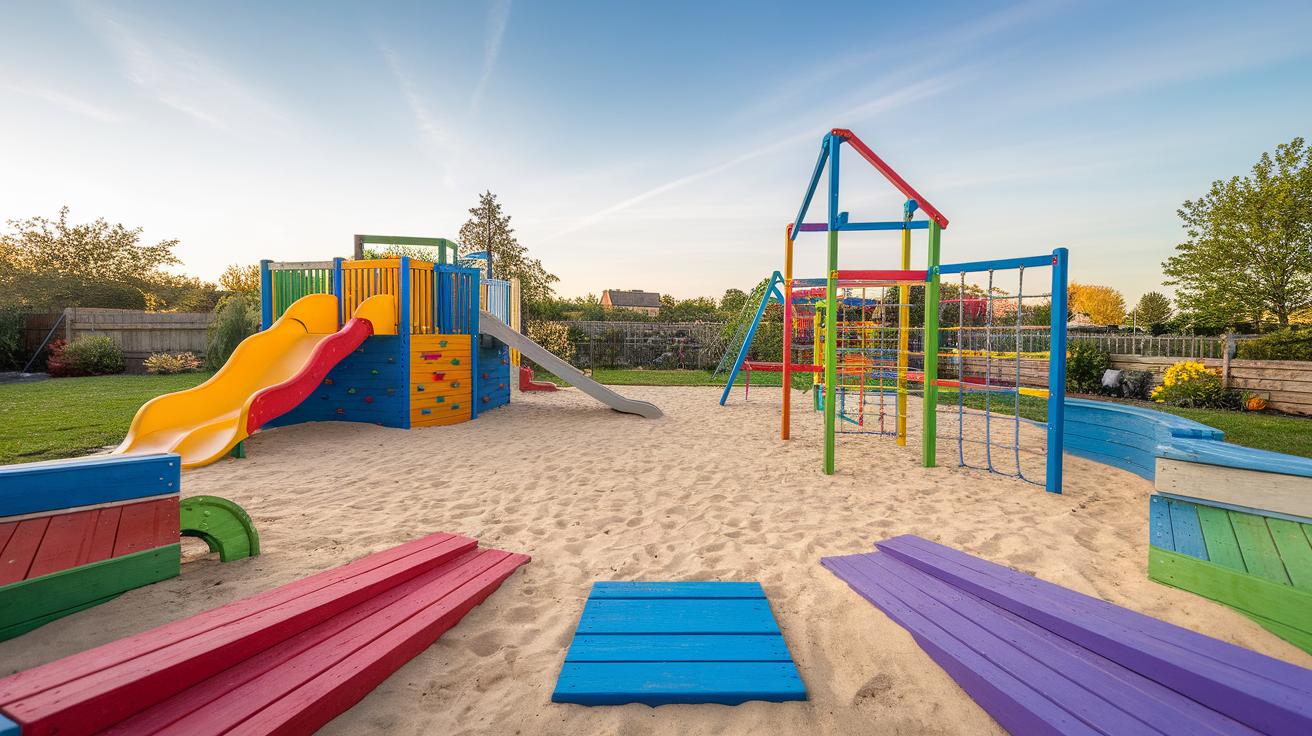
Obstacle courses offer even more physical engagement. Use pillows, chairs, or boxes to build paths for children to crawl, jump, or weave through. These courses train agility and spatial awareness. You can adapt the course indoors by spreading cushions or outdoors by setting up nature obstacles. Choose a safe, clutter-free area. Always clear sharp or fragile items to prevent injuries. Think about how to make the game easier for younger kids or more challenging for older ones by changing distances or obstacles.
Building Simple Sports Equipment

Crafting sports tools from household items is budget-friendly and fun. For paper ball targets, tape colored paper circles on a wall or cardboard box. Kids can toss paper balls or crumpled tissue toward the targets to practice aiming. To make pins for bowling, use plastic bottles filled with a little sand or water to keep them steady but lightweight enough to knock down.
Safety is key. Avoid using hard or heavy objects that could hurt players, especially indoors. Add padding or soft surfaces under bowling pins or target areas. You can modify these tools by adjusting size or weight depending on your child’s age or skill level. These simple equipment ideas let kids practice sports skills inside or outside, no fancy gear required.
Designing an Obstacle Course
Use chairs, cushions, ropes, and boxes to set up an obstacle course in your living room or backyard. Have children crawl under a broom balanced on chairs, jump over rolled towels, or weave through a line of pillows. Ask yourself what moves your child enjoys and build obstacles around these.
Questions like “Can this be done safely indoors?” or “How long should the course be for my child’s age?” help guide your design. For younger kids, keep obstacles simple and close together. Older kids might enjoy timed runs or carrying small objects through the course. Changing the course regularly keeps the challenge fresh and motivates children to try new movements while building strength and coordination.
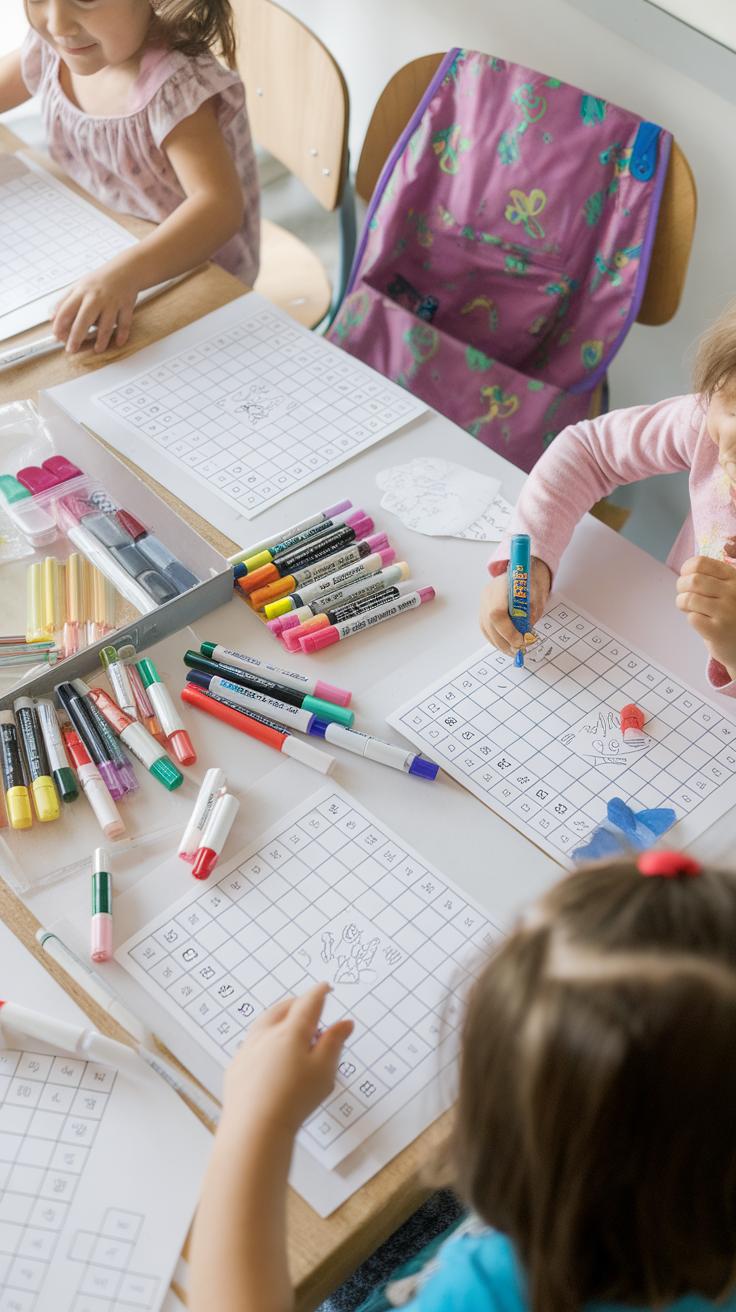
Educational DIY Games for Learning

Creating games that teach literacy, math, and science makes learning fun and effective. You can craft alphabet matching cards by writing letters on index cards and having your child pair uppercase with lowercase. Number puzzles can be made using cardboard pieces labeled with numbers and math symbols. Simple science experiment games might include sorting objects by weight or testing which materials float or sink.

When children play these games, they learn without pressure. Playing boosts memory because kids connect ideas through hands-on experience. Have you tried turning a lesson into a game? Won’t your child stay more interested when exploring concepts through play? These DIY games give you a chance to engage your child actively while reinforcing important skills.
Alphabet and Word Games
Make letter tiles from cardboard or foam sheets. Use these tiles to create matching games where kids find pairs of letters or form simple words. Try spelling challenges by asking your child to build words from a set of tiles within a time limit.
Encourage your child to say each word aloud or use new vocabulary in sentences. Ask questions like, “Can you make a word that starts with ‘S’?” This playful approach helps your child expand their vocabulary and spelling without feeling like a test. Can you imagine the boost in confidence as your child creates words on their own?
Math and Number Challenges
Build counting games using everyday objects like buttons, beads, or pasta shapes. Create number puzzles by drawing sections on cardboard and cutting them apart; your child can match numbers to their quantities or solve simple math problems.
These games connect math to daily life. Counting steps, adding snacks, or sorting toys become easier when kids recognize numbers and patterns. Can your child guess how many fingers you hold up? Or solve a quick puzzle of adding two groups of objects? Simple challenges like these strengthen math skills naturally and make numbers less intimidating.
Sensory and Artistic Games

Engaging children in games that use touch, sound, and creativity helps develop their senses and imagination. Sensory activities support brain growth, improve focus, and encourage exploration. Artistic games like coloring and crafting allow kids to express their ideas and emotions in new ways. You can create texture boards that let children feel different surfaces or make simple musical instruments from household items. These projects invite hands-on involvement and stimulate senses while keeping learning fun. How does your child respond to new textures or sounds? Watching them interact with these materials gives insight into their interests and helps build fine motor skills. Supporting creativity alongside sensory play sets a foundation for problem-solving and emotional awareness as children grow.
Making Texture Boards
Texture boards provide kids with a safe way to explore different sensations. Start with a firm base like a piece of cardboard or wood. Attach small squares or strips of materials such as soft fabric, rough sandpaper, smooth sponge, or bumpy bubble wrap. Secure each firmly so children can touch and rub without pieces falling off. Guide your child to run fingers over the board and describe how each section feels. This helps develop vocabulary and sensory awareness. You can swap materials based on season, theme, or what sparks curiosity. Texture boards offer a simple, reusable tool for tactile learning and calming sensory input.
Crafting Simple Instruments
Making homemade instruments encourages children to discover rhythm and sound in a fun way. Use empty plastic bottles filled with rice or beans to create shakers. Cover oatmeal containers with balloons or fabric and tap them with wooden spoons to form drums. Stretch rubber bands over boxes for string instruments. Kids can experiment with how hard to shake, hit, or pluck, learning cause and effect through sound. These DIY instruments do not require special skills or materials and invite creativity in decoration and use. How does varying pressure change the noise? Rhythm exercises like these build listening skills and introduce musical concepts without screens or apps.
TeamBased DIY Games

Playing team-based games at home helps children develop important social skills. Games like scavenger hunts and team puzzles require kids to talk with each other, share ideas, and solve problems together. These activities teach cooperation in a fun way while encouraging children to listen and respond to teammates.
When kids work together on a shared goal, they learn patience and how to support others. This practice helps build communication and critical thinking skills. You can design these games using everyday items, making them accessible and enjoyable for all ages.
How do you encourage your children to solve challenges as a group? By guiding them to split tasks and combine their strengths, you help them build confidence and teamwork habits that will benefit their relationships everywhere.
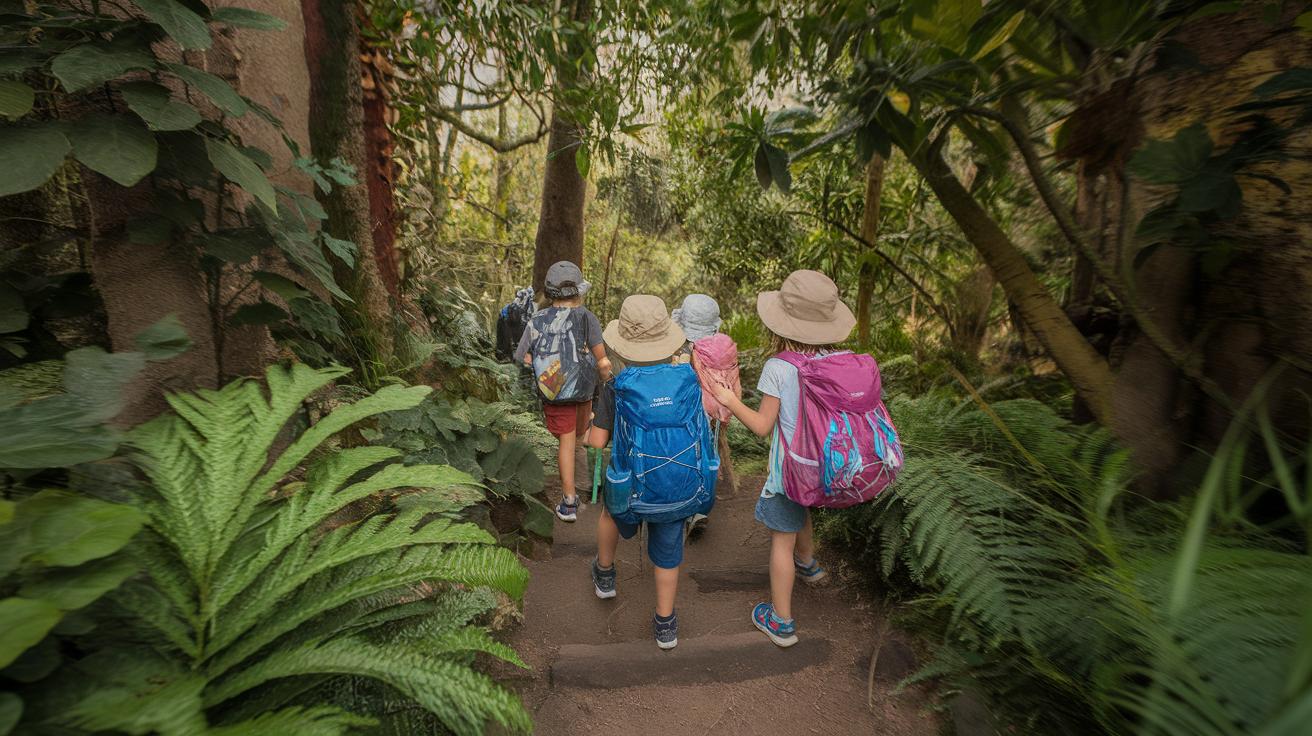
Organizing a Scavenger Hunt
Start by choosing a theme for the scavenger hunt, like nature, colors, or household objects. Tailor clues to your children’s ages by using simple pictures for younger kids and riddles or wordplay for older ones. These clues keep kids thinking and excited about the hunt.
Set the hunt indoors when the weather is bad or outdoors for fresh air and more space. Hide items in safe spots that still provide a challenge. For example, place a red apple under the couch or a favorite book on a low shelf.
You can add teamwork by having children find objects in pairs or groups. Ask them to talk through where to look and decide who will search each area. This encourages communication and makes the game more fun.
Creating Team Puzzles
Making puzzles that require cooperation helps children practice listening and sharing ideas. Cut a drawing or photo into pieces and have the group work together to put it back together. You can also design tasks like building a tower using blocks where each child adds a piece in turns.
Encourage positive teamwork by praising efforts and reminding kids to take turns and include everyone’s suggestions. When children feel valued, they contribute more and learn respect. Ask questions like, “What part can you help with next?” to keep them involved.
These challenges teach children that working as a team not only solves problems faster but also makes activities more enjoyable. Your role is to guide and support their cooperation without taking over.
Adapting Games for Different Age Groups

When creating DIY games at home, adjusting them to suit your child’s age makes playtime more enjoyable and effective. Younger kids need simpler rules and safer materials. Older children can handle more complex challenges that keep their minds sharp and bodies active.
For toddlers, focus on sensory experiences and straightforward tasks. Use soft textures, bright colors, and basic shapes. Keep rules clear and limited to one or two steps. This helps build early learning without overwhelming them.
Older kids can enjoy games that require strategy or physical skill. Try adding scoring systems or problem-solving tasks. You might create a board game with multiple moves or an obstacle course that tests agility.
Think about each child’s interests and skill levels. Can everyone join the fun without feeling left out? Adjust rules or materials so all can participate. Doing this makes your DIY games welcoming and rewarding for the whole family.
Games for Toddlers
Simple and safe designs keep toddlers engaged and learning. Create sensory bags filled with rice, beans, or water beads for tactile play. These let little hands explore different textures while building fine motor skills.
Use colorful foam shapes or large blocks to teach basic concepts like counting, sorting, and color matching. Limit pieces to prevent choking hazards. Games like “Find the Color” or “Stack the Blocks” work well.
Keep sessions short to match their attention span. Incorporate music or rhythm to make games more exciting. This approach builds foundation skills through play without frustration or boredom.
Games for Older Children
Design games that challenge thinking and physical activity for school-age kids. Create DIY board games with strategy elements, like resource management or team goals. This encourages planning and critical thinking.
Build scavenger hunts with complex clues or timed challenges that require speed and problem-solving. Use household items to set up obstacle courses that boost coordination and fitness.
Include variations in rules to raise difficulty or add new tasks as children improve. Asking them to help design or modify games sparks creativity and ownership. What new rules would your kids invent to make a game harder or more fun?
Incorporating Technology with DIY Games
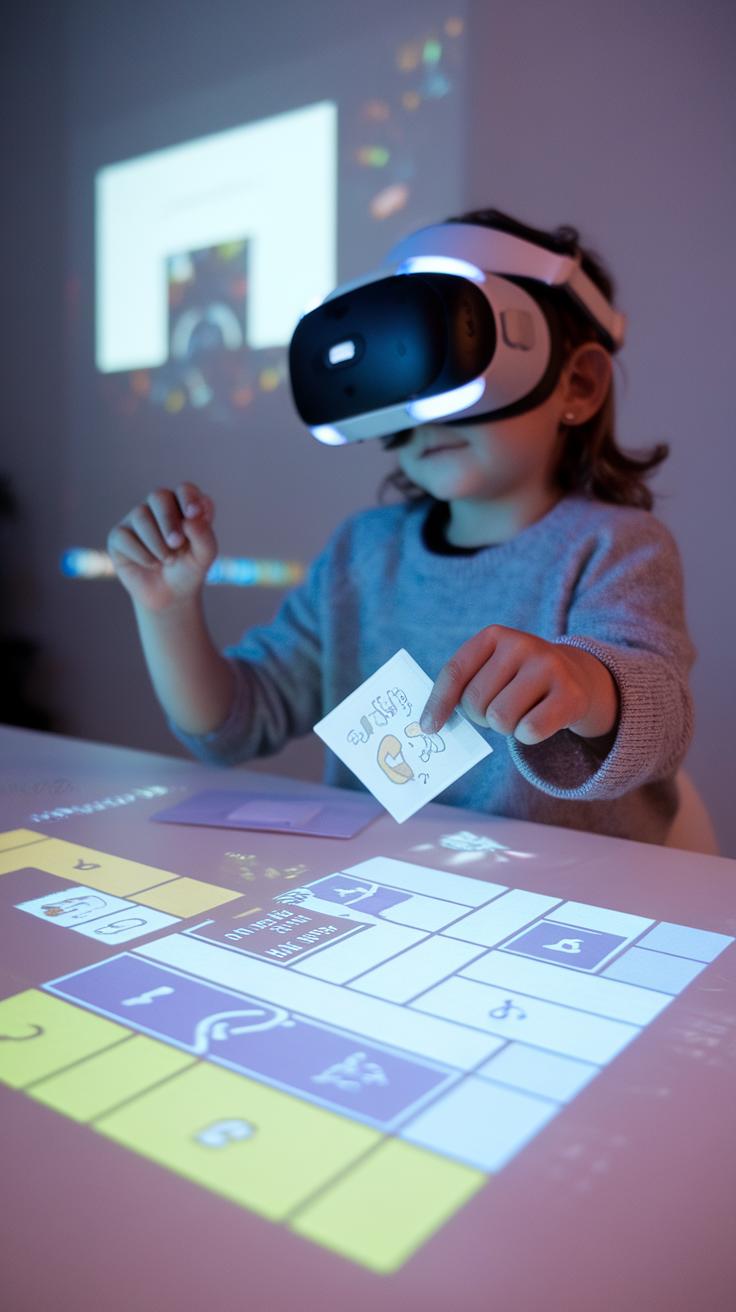
Technology can enhance DIY games without taking over playtime. Using simple tools like cameras, tablets, or timers lets you bring new energy to activities at home.
Try a photo scavenger hunt where your child uses a camera or phone to capture items from a prepared list. It encourages observation and creativity while getting kids moving around. You could also set up timed challenges using a stopwatch or phone timer, adding excitement as kids race against the clock to complete tasks.
Balancing screen time with active play matters. Technology should support hands-on fun, not replace it. Using digital tools to record or time games can boost engagement and learning, but children need breaks to stay energized and focused.
Using Timers to Add Excitement
Timers help create clear goals and add fun pressure during DIY games. Use a phone timer or stopwatch to set limits for challenges like building a tower, solving puzzles, or completing obstacle courses.
Timed games teach kids about focus and pacing. When the clock is running, they learn to work efficiently and improve concentration. For example, ask your child to pick up scattered toys before the timer ends or finish a simple craft in five minutes.
Adding a countdown turns ordinary activities into lively competitions without needing extra equipment. How might timed challenges help your child build focus and a sense of accomplishment?
Photo and Video Game Variations
Encourage kids to capture photos or videos while playing. Themes might include finding objects of certain colors, recreating funny faces, or recording short stories acting out a favorite book.
Such games boost creativity and let kids express themselves visually. They also create a fun way to save memories from home activities. A photo collage or video slideshow becomes a project showcasing their ideas and progress.
How could your children tell a story using photos or videos? Blending DIY games with simple recording tools adds a meaningful layer to play that can inspire pride and imagination.
Encouraging Creativity in DIY Games
Encouraging your children to create their own games or invent new rules boosts their creativity and problem-solving skills. When kids design their own play, they learn to make decisions and think critically. You can support this process by asking open-ended questions like, “What if we changed this rule?” or “Can you think of a new way to play?” These questions invite imagination and help children explore possibilities.
During play, give them the space to test ideas and solve problems as they arise. Watch for moments when they adapt rules or invent challenges, and praise their effort. This approach builds confidence and keeps them engaged. Letting children experiment teaches them that play is flexible and full of opportunities to grow their thinking abilities.
Brainstorming New Game Ideas
Simple methods like drawing or storytelling can spark new game ideas. Encourage your child to draw a scene or characters, then ask what rules might fit their world. Storytelling works well, too—create a story together, then make a game that follows the tale. You can also remix known games by changing goals or how players move.
Try listing random objects or actions and challenge your child to build a game around them. For example, pick “jump,” “color red,” and “collect” to create a game that includes all three. These easy ways help children think outside the box and keep game creation fun and open-ended.
Letting Kids Lead the Play
Step back and let your child guide how the game unfolds. When kids lead the rules and flow, they feel a sense of ownership and confidence. You can support without controlling, by listening carefully and asking questions that clarify their ideas.
If a rule doesn’t work, ask your child how they would fix it. Encourage them to decide when to pause, restart, or change the game. Let the players take turns being the “game master” to create variety and leadership opportunities. Your role is to offer encouragement and follow their lead instead of enforcing structure.
Maintaining and Evolving Your DIY Game Collection
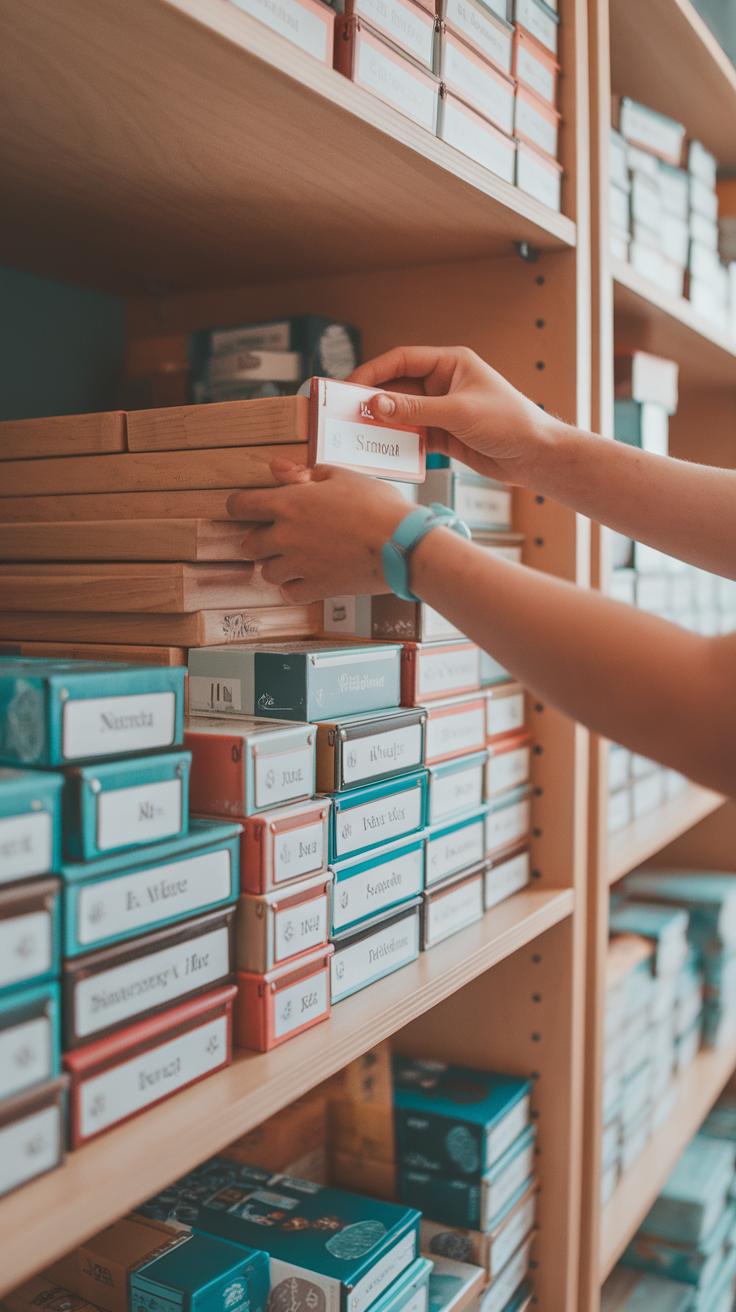
Keeping your homemade games in good shape helps ensure they stay fun for years. You want easy ways to store game pieces, boards, and cards so nothing gets lost or damaged. Look for simple containers like reusable boxes, zip-lock bags, or shoeboxes labeled for each game. A dedicated shelf or drawer can keep everything together in one place, making game time quicker and less stressful for everyone.
Check your games regularly for worn pieces or torn cards. Kids can help spot what needs fixing, turning repairs into a fun activity. Use tape for small tears and glue for loose parts. If pieces go missing, consider replacing them with craft supplies like buttons, coins, or small toys found around the house. This keeps the game ready to play without extra costs.
Storage and Care
Keeping your game parts organized saves time and frustration. Store pieces in containers that fit the size and number of parts. Use small bags for tokens or dice, and keep the board flat to avoid bending. Clear labeling makes searching easier, especially when kids join your game play.
Make a habit of inspecting games before and after play. Fix broken or worn items right away. This prevents small problems from growing bigger. Teaching your children these routines helps them value and care for their games too.
Refreshing and Adding New Elements
Update your games to keep kids curious and excited. Add new challenges or rules to the existing games, like a timed round or bonus points for special moves. Changing themes can turn a classic game into a fresh adventure—transform a board into a pirate map or space mission using drawings and stickers.
Try mixing parts from two or more games your family already loves. This encourages creativity and new problem-solving skills. Always involve your children in these updates. Their ideas make the games personal and help build their confidence in inventiveness.
Conclusions
DIY games at home offer valuable moments of connection and skill-building for your children. These creative projects cultivate imagination, physical coordination, and social skills. You can adapt the ideas to your space and materials, ensuring every activity suits your family’s unique dynamic.
Working together to make games also sets a foundation for lifelong learning and creativity. These hands-on activities break the pattern of passive entertainment and replace it with active participation and accomplishment. You can discover how rewarding it is to share smiles, laughter, and learning through simple DIY games crafted right in your own home.