Introduction
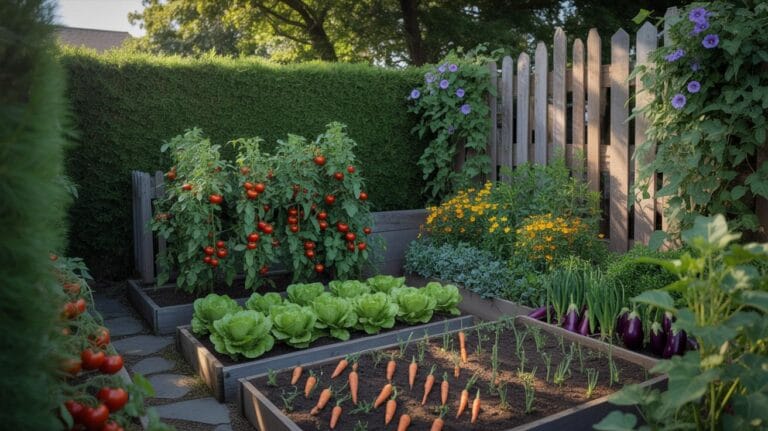
Growing your own vegetables and plants can be very rewarding. One useful method is using a raised garden bed. This means the soil sits above the ground and is often contained by some materials like wood or stone. You can grow your plants in small close spaces, which helps keep weeds down and keeps moisture in the soil.
This article will guide you through DIY raised garden bed plans for home growers. You will learn how to build your own garden bed, what materials to use, how to take care of it, and the benefits you get from using raised beds. Let’s start creating your own garden space and grow fresh plants right at home.
Understanding Raised Garden Beds
What Is a Raised Garden Bed
A raised garden bed is basically a contained planting area where the soil sits above the natural ground level. Imagine a box or frame filled with good-quality soil, sitting a few inches to a foot or more tall. This structure lifts your plants up, giving them a fresh environment separate from the native soil below. Typically, these beds are built using wood, stone, bricks, or even recycled materials like old pallets or metal sheets. Wood is popular since it’s easy to shape and looks natural, but it can break down over time. Stone or bricks last longer but tend to cost more and take effort to arrange.
Raising the soil means better drainage and warmer soil in the spring. It’s like creating a little habitat that’s yours to control. You decide what soil, compost, or amendments go in. You get to “tune” your garden to your plants’ needs instead of guessing what’s buried underground.
Why Choose a Raised Garden Bed
Raised beds come with some clear perks, but they’re not perfect for every spot or grower. Still, most folks who try them notice these benefits:
- Better soil control: You choose what goes in, which helps prevent problems with poor native soil or contamination.
- Fewer weeds: Since the bed is contained and above ground, weed seeds have a harder time sneaking in.
- Easier to manage: No more bending over deeply or kneeling uncomfortably. This can make gardening easier for any age and can reduce strain on your back and knees.
- Improved drainage: Plants don’t sit in soggy soil as often, which cuts down on root rot issues.
- Extended growing season: The soil warms up faster in spring, so you can plant earlier than usual.

Still, raised beds do take some initial work to build and fill up, and some people prefer gardening directly in the earth. But if you want a little more control and a tidier space, they’re usually worth a try. Have you noticed any gardens nearby using raised beds? Sometimes seeing them in person makes you realize how handy they can be.
Planning Your Raised Garden Bed
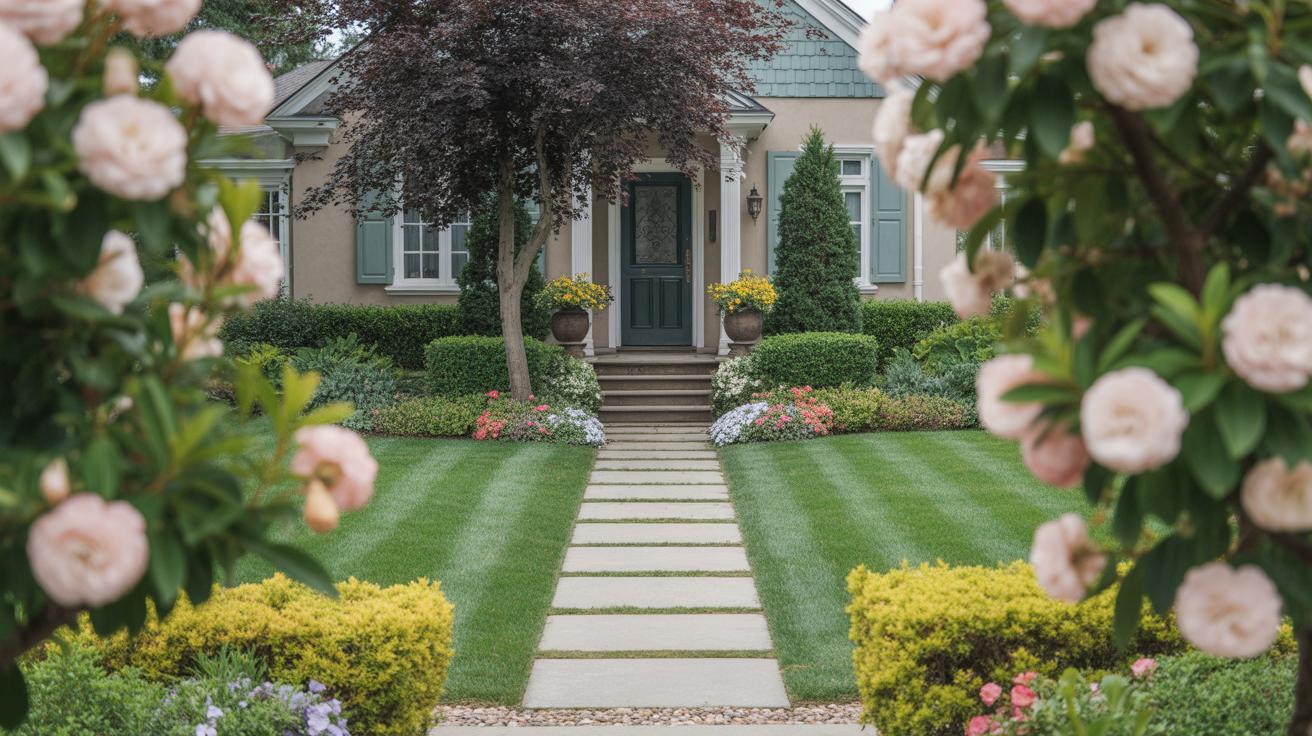
Choosing the Right Spot
Picking where to place your raised garden bed can feel a bit tricky at first. You want a spot that gets plenty of sunlight—ideally six hours or more per day—because most vegetables and flowers need light to grow well. Early mornings or afternoon sun often works best, but every garden is different.
Drainage is just as crucial. Water pooling around your bed usually means trouble for roots. Try to find a slightly elevated area or at least somewhere the water won’t sit after rain. If you’re unsure, dig a small hole and pour some water in; if it drains within a few hours, that spot might work fine. I once set up a bed in a low patch and regretted it when the soil got waterlogged after heavy rains.
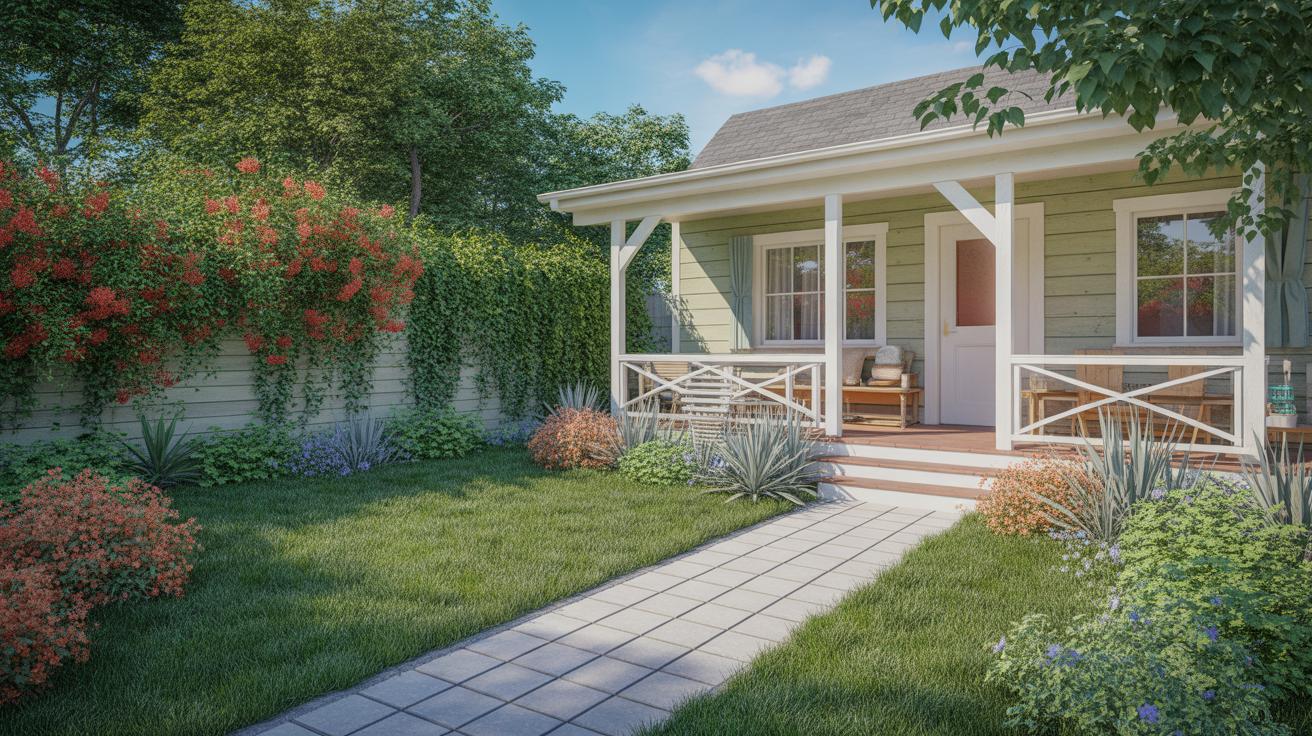
Also, consider accessibility. You’ll want to get to your plants without stepping on the soil, so avoid placing beds too far back where it’s hard to reach. Think about how you move around your yard and what’s convenient for daily care.
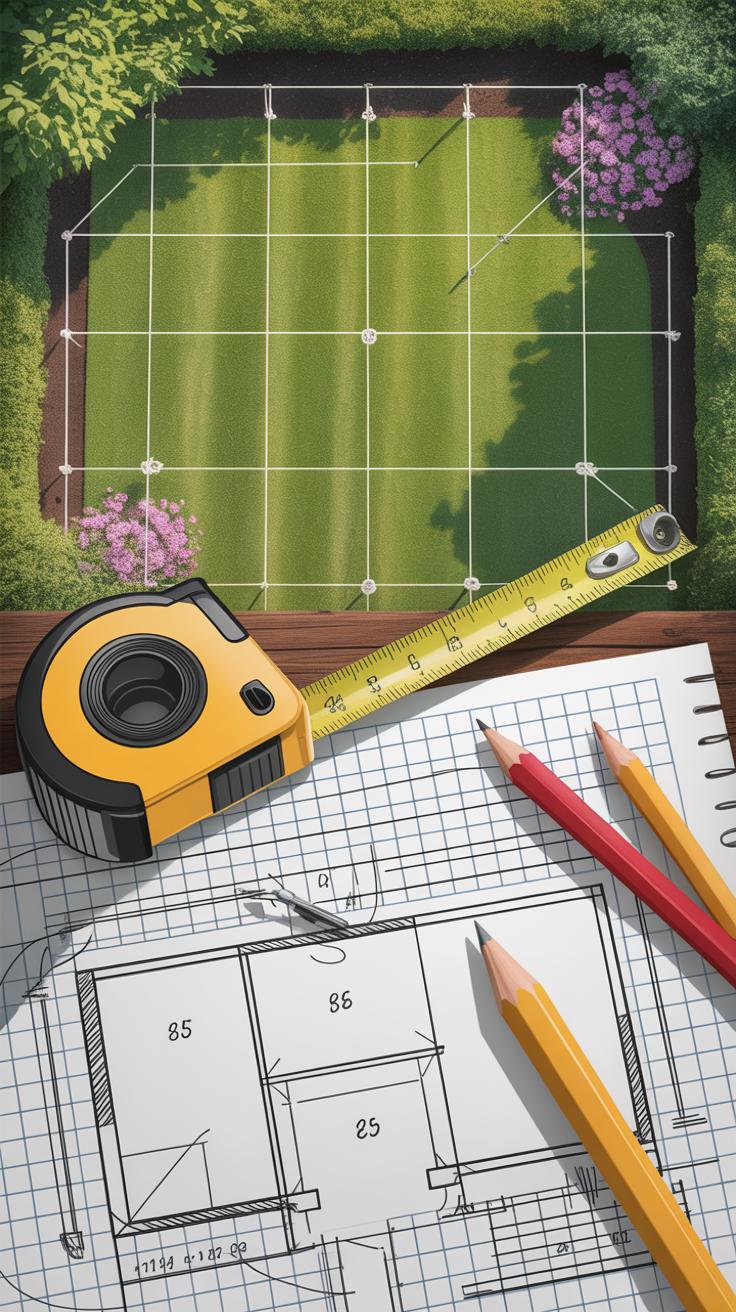
Deciding on Size and Shape
Size matters. Too large, and it becomes a daunting task to maintain; too small, and you might feel limited. A common rule is to keep beds no wider than four feet so you can reach the center easily from either side without stretching or stepping inside the bed. As for length, it’s up to you. Ten feet long is manageable, but you could break a longer garden into sections.
Shape is more flexible than people realize. Rectangles are typical, but L-shapes or even squares can work if they fit your space better. Don’t hesitate to adapt to your yard’s quirks. Sometimes odd shapes leave you with more plantable soil and better paths around.
Thinking about paths is also handy—you’ll want enough room to move tools and wheelbarrows. Roughly 18-24 inches between beds lets you work comfortably without squishing plants.
At the end of the day, planning your raised bed is about balancing space, sunlight, and your own routine. What feels right? Where do you see yourself tending plants without frustration? Those are good questions to keep in mind.
Selecting Materials for Construction

When it comes to building your raised garden bed, choosing the right material can feel a bit puzzling. Wood is by far the most common choice. It’s easy to work with, looks natural, and generally keeps costs down. Cedar and redwood stand out because they resist rot longer, but they tend to be pricier. Pine and fir are cheaper but won’t last as long outdoors unless treated—or you risk ending up replacing boards sooner than you want. Untreated wood is safer for growing edibles, but it can decay faster.
Wood Options and Safety
Using untreated wood means you avoid chemicals that might leach into your soil. For food safety, this is great. Pressure-treated wood lasts longer but contains chemicals you probably want to avoid. Some older treatments even included arsenic, which you definitely don’t want near your veggies. A practical workaround is lining the inside of the bed with heavy plastic sheeting or a natural fabric barrier, though that might affect drainage. Honestly, some people swear by untreated wood despite the shorter lifespan. You might just replace the wood every few years and keep things simple.
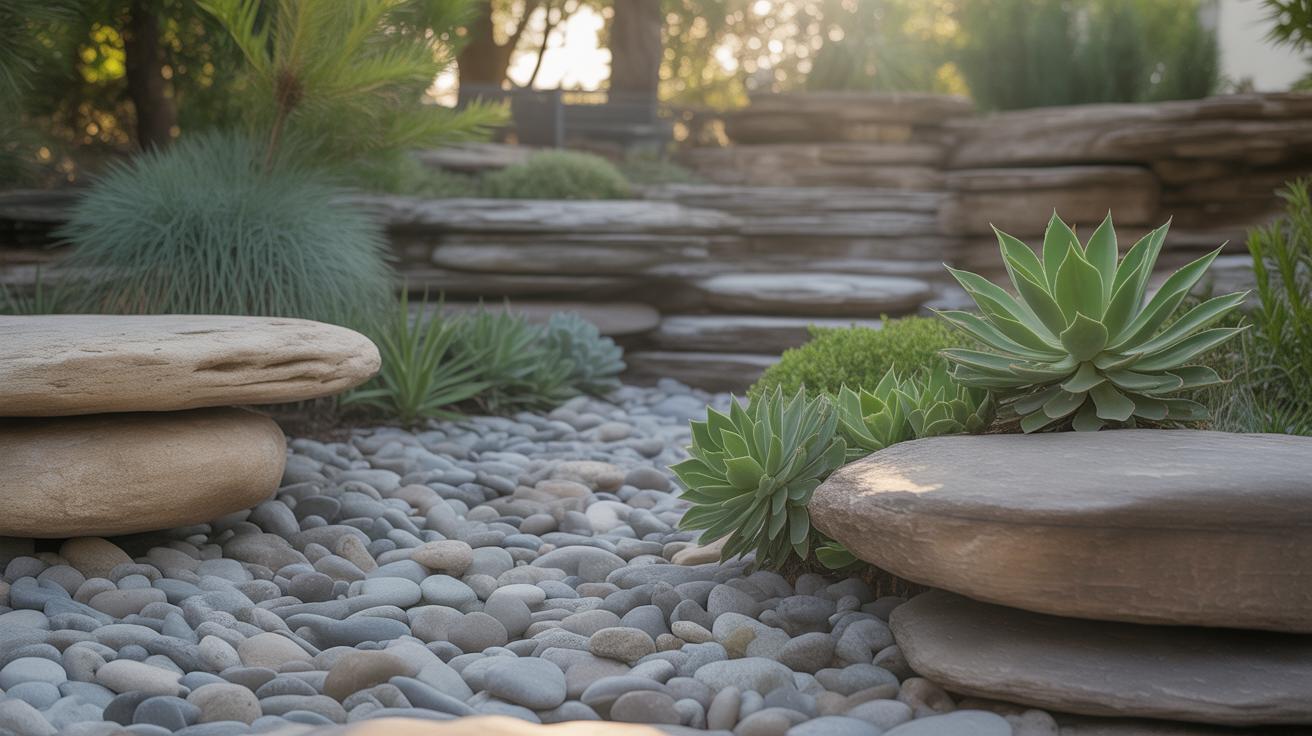
Other Material Choices
If wood feels too temporary—or you like a more permanent setup—stone or concrete blocks can work well. Stone blends nicely with a garden setting and lasts practically forever, but it can be pricey and tricky to assemble without gaps. Concrete blocks offer a straightforward build and durability. You can even stack them without mortar for flexibility, but they may absorb heat differently, affecting soil temperature. Plastic raised bed kits are another option. They’re lightweight, simple to snap together, and often come with built-in drainage, but some folks worry about plastic leaching chemicals or fading under sun exposure. You might want to think about how long you want the bed to last and your budget before deciding.
Building Your Raised Garden Bed
Gathering Tools and Materials
Before you dive into assembling your raised garden bed, make sure you have the right tools and materials on hand. You’ll need:
- Wood boards or your chosen frame material (usually 2×6 or 2×8 cedar planks work well)
- Corner brackets or screws (galvanized to avoid rust)
- A drill with screwdriver bits
- A saw, if you need to cut boards to size
- A tape measure
- A level to keep your frame straight
- Protective gloves and safety glasses
- Landscape fabric or cardboard (optional, for weed prevention underneath)
- A shovel or rake, if you plan to level the ground before placing the bed
Don’t overlook those small things, like having enough screws or a sharp drill bit. I once ran out midway through and had to stop, which was frustrating.
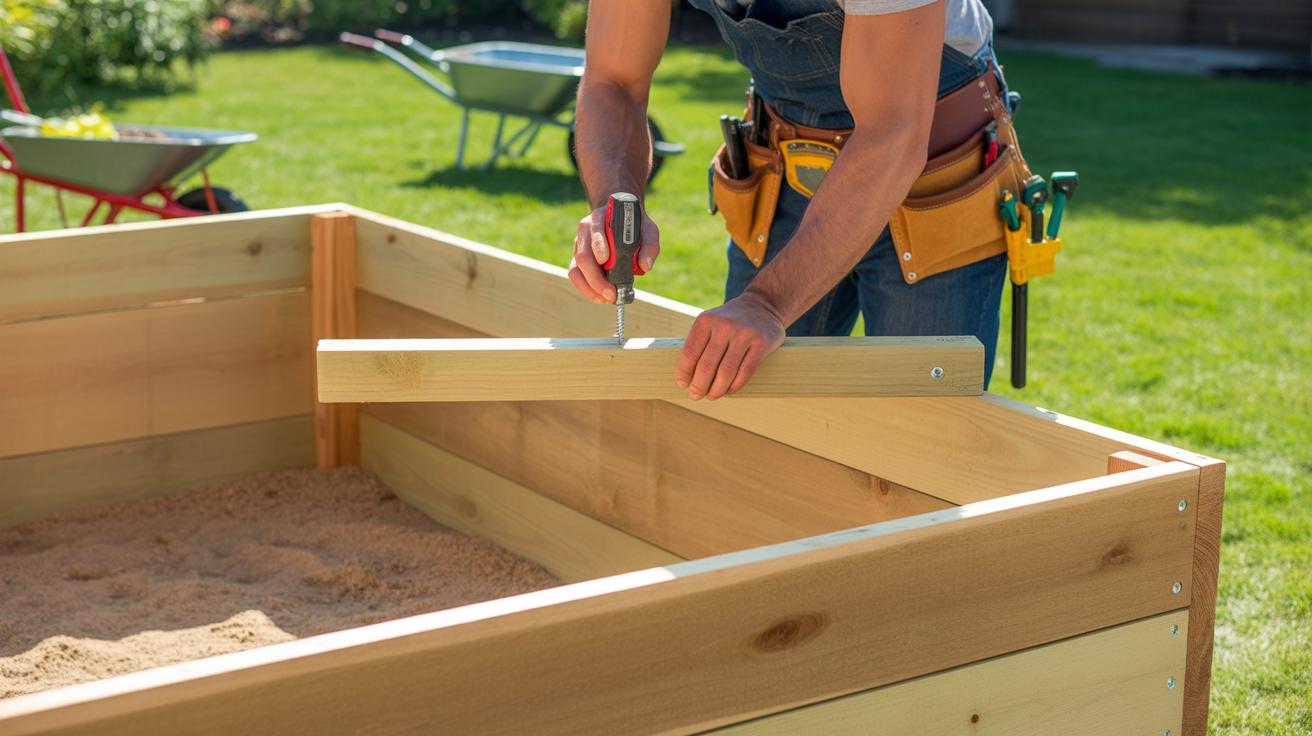
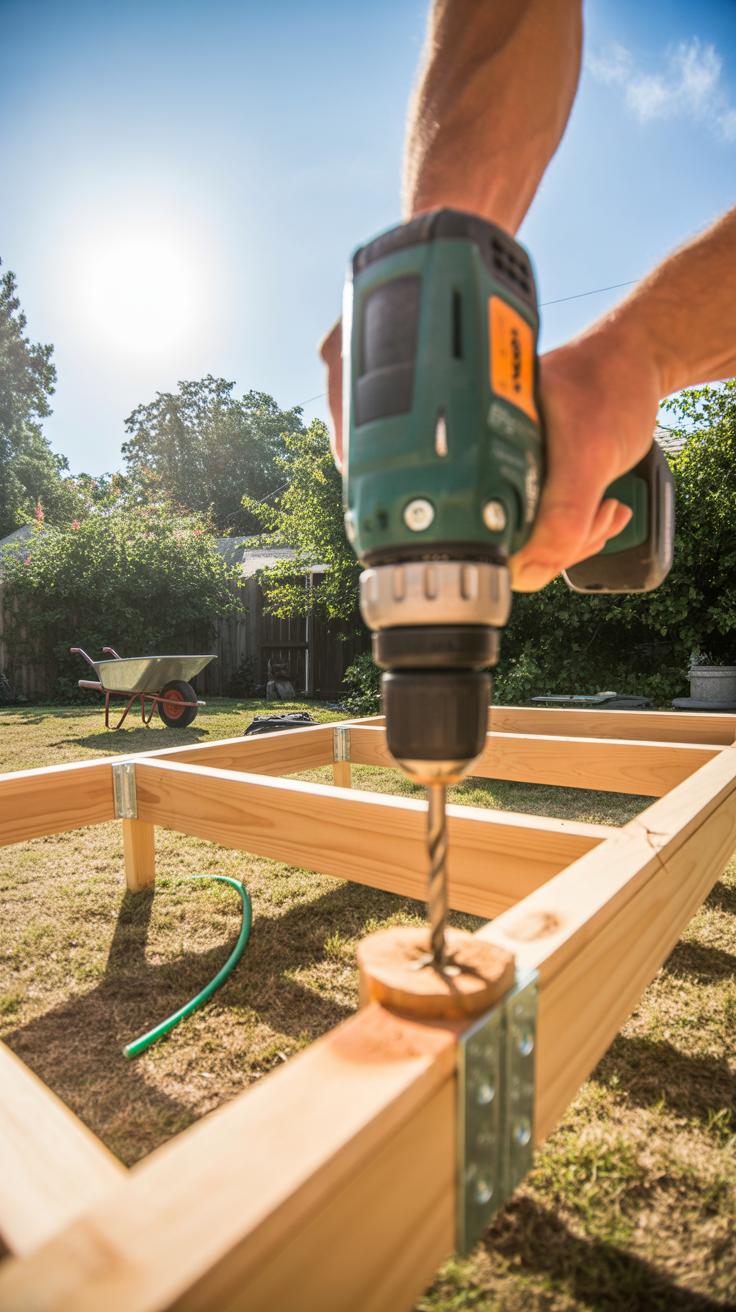
Construction Steps

Start by cutting your boards to the desired length if they aren’t already cut. Assemble the frame on a flat surface. Align the boards and secure the corners with screws or brackets. Two screws per corner usually do the job, but if you want extra sturdiness, three isn’t a bad idea.
Make sure the frame sits level on your spot. If the ground is uneven, shims or some adjustment might be necessary—you don’t want your bed leaning or unstable. Lining the bottom with landscape fabric can help block weeds while letting water drain. After that, place the frame in position.
One tricky part is keeping boards square. Measuring diagonals to check can save headaches later. When everything feels solid and in place, give it a light shake. If it wobbles, add more screws or braces. You’ll thank yourself once you start filling it with soil—it needs to hold up.
Preparing the Soil
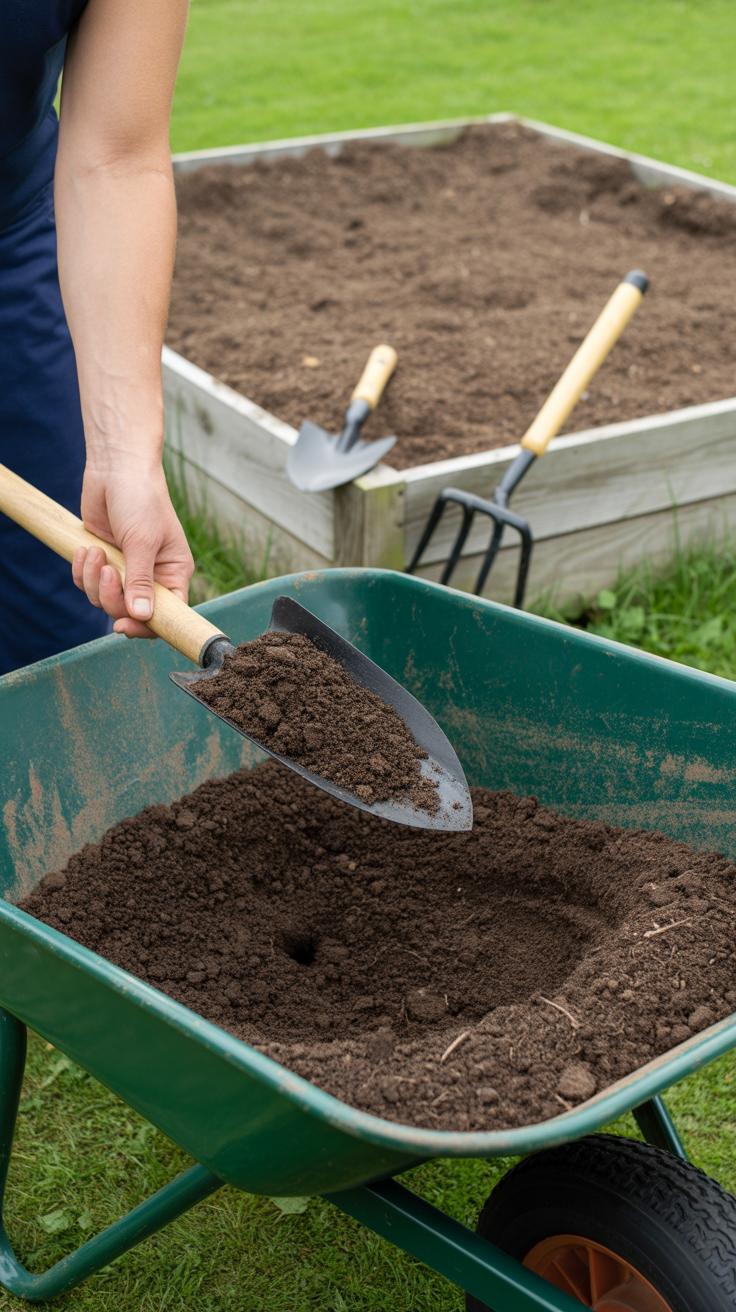
Soil Ingredients and Mixing
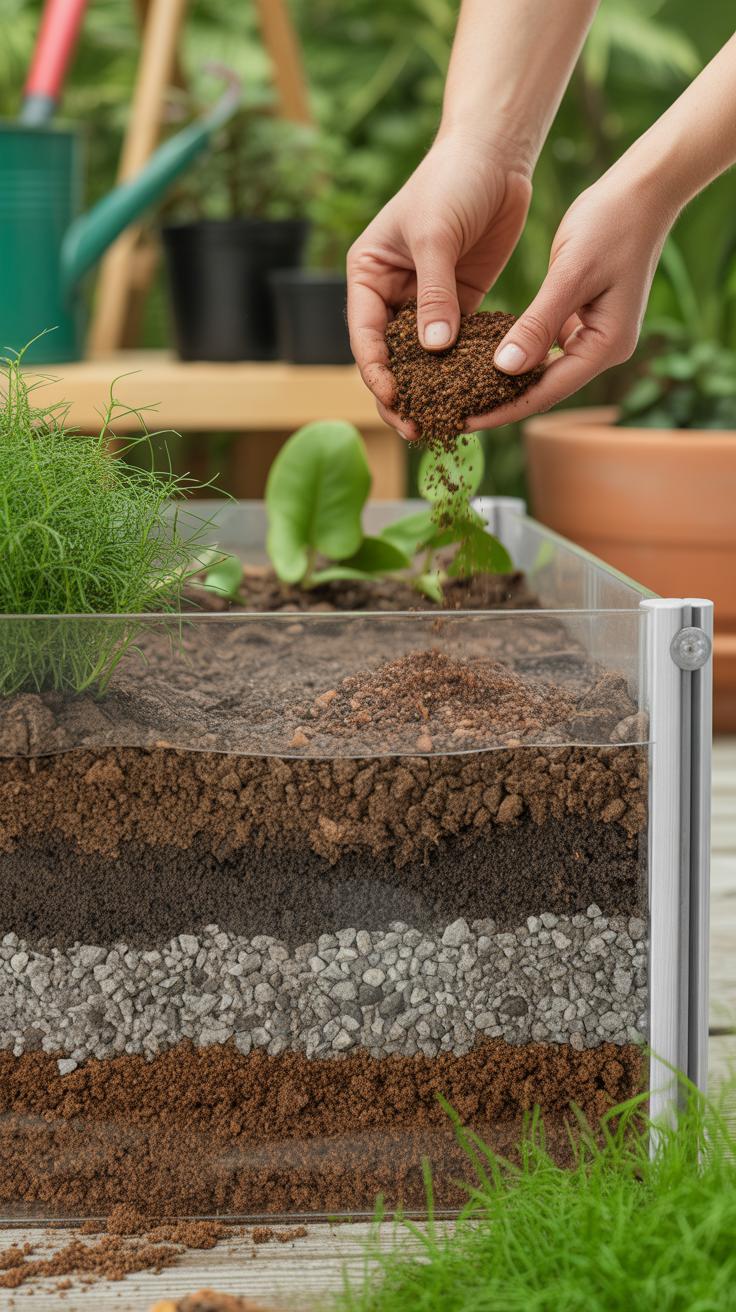
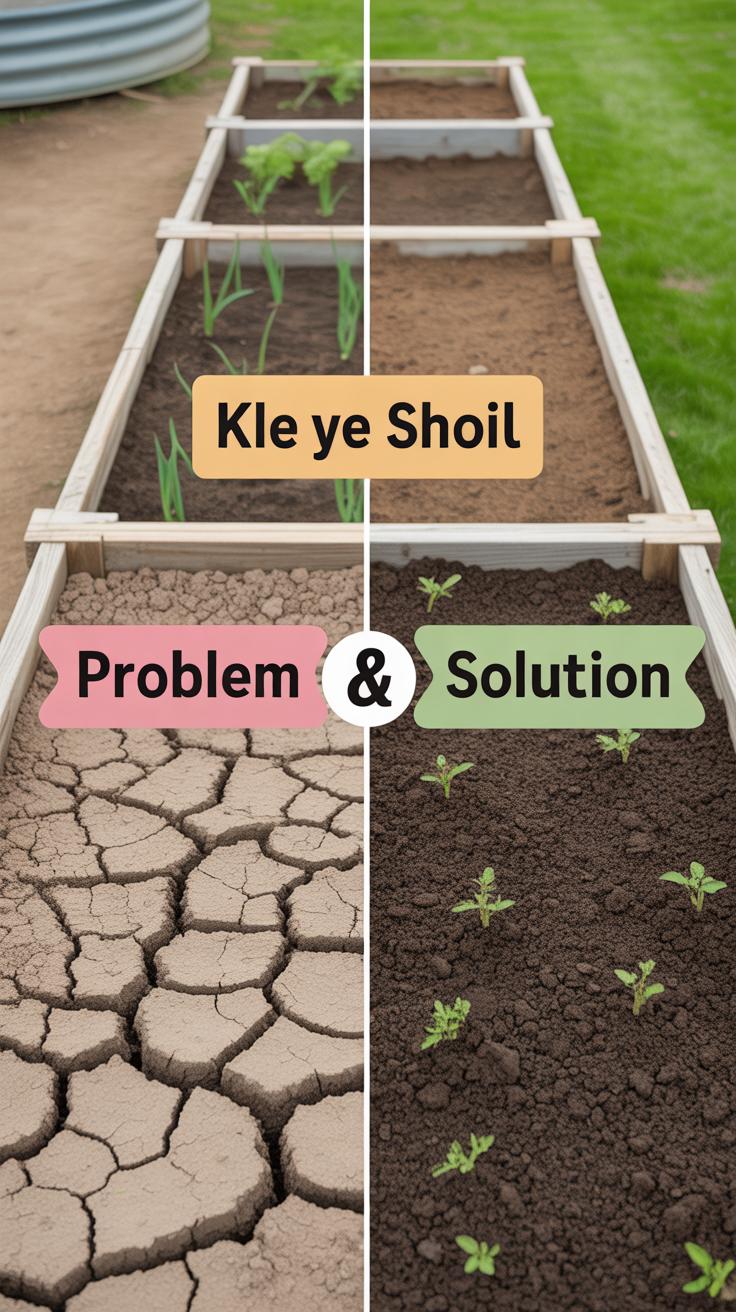
Filling your raised bed is more than just dumping dirt in a box. The right soil mix matters—quite a bit. Think about the soil as the foundation your plants rely on. Ideally, you want a balance of components that offers drainage, nutrients, and good structure.
Start with a base of garden loam or topsoil. Loam usually feels crumbly and holds moisture without becoming soggy—that’s what plants seem to like most. Then, add plenty of compost. Compost feeds the soil living organisms and slowly releases nutrients over time. I usually recommend a mix of about 40% garden soil, 40% compost, and around 20% other materials to keep things loose and aerated.
What to put in that last 20%? Materials like coconut coir, peat moss, or aged bark work well. They improve moisture retention and air flow, which roots need to really spread out. Some gardeners throw in perlite or vermiculite for extra lightness, but that’s optional. You might also think about adding small amounts of well-aged manure—it can boost fertility if you’re trying to grow heavy feeders like tomatoes.
Filling the Bed
When filling, layering can make a subtle but real difference. I often start by placing coarse materials at the bottom— twigs, straw, or small branches. This helps drainage and prevents the soil from compacting right away. Then, build upward with your prepared soil mix.
Fill the bed in 6-8 inch layers, lightly tamping each one down. You don’t want the soil packed tight—plants need space for air and roots. But leaving too much air means water drains too fast or nutrients wash out.
Once the bed is full, water it thoroughly. This settles the soil around roots and eliminates pockets of air. You might notice your bed sinks a bit after watering; add more soil if needed to keep it level. It feels like a small balancing act, but getting this right will pay off in strong, healthy plants.
Planting and Growing

Planting in raised beds feels different than in the ground—there’s something about the contained space that changes your approach. When you start, think carefully about whether to sow seeds directly or transplant seedlings. Seeds give you more variety but need patience. Seedlings speed things up but might get root shock if you’re not gentle.
Consider spacing carefully. Raised beds usually aren’t vast, so crowding plants happens easily. For example, lettuce and spinach can be packed slightly closer than tomatoes, which need room to spread. Try sketching a planting map beforehand, though you might end up moving things around as you go.
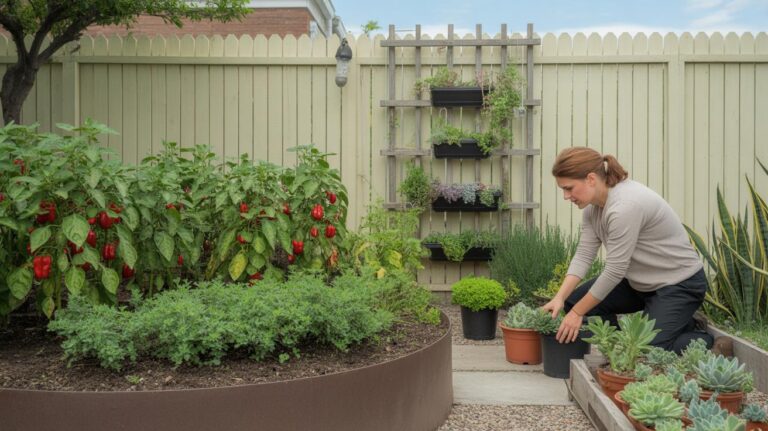
Choosing Plants
Plants for raised beds often differ from typical garden choices. They thrive best if matched with your local climate and the bed’s sun exposure. For instance:
- Cool climates favor kale, radishes, and peas.
- Warmer areas support peppers, eggplants, and beans.
- Herbs like basil, thyme, and parsley usually do well almost anywhere.
Small root vegetables and leafy greens tend to succeed better than sprawling vines in limited space. You might want to pick varieties labeled as “compact” or “dwarf.” Occasionally, I find that what works one season doesn’t the next—perhaps due to some subtle change in soil or local weather. It’s okay to experiment.
Watering and Maintenance
Raised beds drain faster, so regular watering becomes a bit more critical. Keeping the soil evenly moist—not too dry, not soaked—is tricky but key. Early morning watering helps avoid fungal issues, and drip irrigation or soaker hoses can save you effort and water.
Weeding is still necessary, though less intense than ground gardens. When you spot weeds, pull them promptly to prevent competition for nutrients. Mulching the surface can reduce weed growth and hold moisture—but it sometimes invites slugs or pests, so watch for those.
Plant health depends on vigilance. Yellowing leaves, drooping stems, or slow growth often signal nutrient or watering problems. I’ve learned to check soil moisture before assuming pests are the cause. Sometimes, just adjusting water frequency makes a big difference.
Common Challenges and Solutions
Dealing with Weeds and Pests
Weeds can sneak into your raised bed surprisingly fast, even when you think you’ve got a handle on them. One practical way to limit their growth is by using a thick layer of organic mulch like straw or wood chips. This blocks sunlight from helping weed seeds sprout. Another trick I’ve found handy is spacing plants close enough to shade the soil, but not so tight that air circulation suffers.
For pests, many gardeners shy away from chemicals, and honestly, you can keep most bugs at bay with simple tactics. Encouraging beneficial insects—ladybugs, lacewings, for example—works well. You can plant companion species like marigolds or nasturtiums along the edges; they don’t just look nice, some pests avoid them. Sometimes, a blast of water from the hose knocks off aphids just fine. It’s a bit of trial and error, but often, patience and observation beat spraying.
Soil and Water Issues
Raised beds often improve drainage, but they’re not immune to problems. If your soil feels soggy or plants look waterlogged, it might mean you packed too much clay or compacted soil in there. Mixing in coarse sand or organic matter like compost can help break up heavy soil. I once had a bed where water pooled after rain, and adding shredded bark made a huge difference.
On the flip side, raised beds can dry out quickly, especially in hot weather. To slow water loss, try adding a layer of mulch, which you know, also keeps roots cooler. You might also consider drip irrigation or soaker hoses beneath the soil surface. They deliver water right where plants need it, cutting waste. Asking yourself how often you actually need to water can be more important than frequent shallow watering—it encourages roots to dig deeper.
Maintaining Your Raised Garden Bed YearRound

Taking care of your raised garden bed through the seasons can make a big difference in how well it lasts and how successful your garden is each year. You might find that some tasks are simple, like clearing out dead plants or topping up soil, but you’d be surprised how skipping these can affect beds long-term.
When the growing season ends, start by cleaning the bed thoroughly. Remove plant debris to reduce pests and diseases hiding spots. Maybe give the soil a gentle turn, but don’t overdo it—too much disturbance can harm beneficial organisms. After that, consider adding compost or mulch. It keeps soil healthy over winter and prevents erosion, which can be tempting to overlook.
Winter brings the chance to protect your beds from harsh weather. Using a layer of mulch or covering beds with boards can shield wood from moisture and frost damage. Some growers even paint their beds with non-toxic wood sealants; I’ve tried this once and saw less cracking the next spring, though it might feel like extra work.
When spring comes, it’s time to refresh your bed. Check for any damaged wood and make small repairs before planting. Adding fresh soil or compost can restore nutrients. If you notice soil compaction, breaking it up gently helps roots grow better.
Over time, small efforts like these add up. Keeping drainage clear, replacing worn materials, or tightening screws can keep your bed in shape without a full rebuild. You’ll thank yourself later when your bed feels ready for action every planting season. Did you ever think a little act like mulching could extend life for years? I didn’t at first—guess those small things really count.
Conclusions

Raised garden beds offer many advantages for home growers. They make it easier to control the soil, reduce weeds, and keep your plants healthy. By building your own raised bed, you take control of your garden space in a simple way.
With the steps and tips shared, you can now create a garden bed that fits your needs and enjoy growing your own vegetables and flowers. Starting a raised garden bed is a good way to improve your garden and enjoy nature closer to home. Give it a try and see the difference it makes in your gardening.